June 6, 2015
The ship has finally arrived! Clearing and delivery of cargo will take a few days as there are certain legalities which need to be taken care off. I hope to be able to start on the build later this week. I will post pictures of the delivery and unloading as soon as possible.
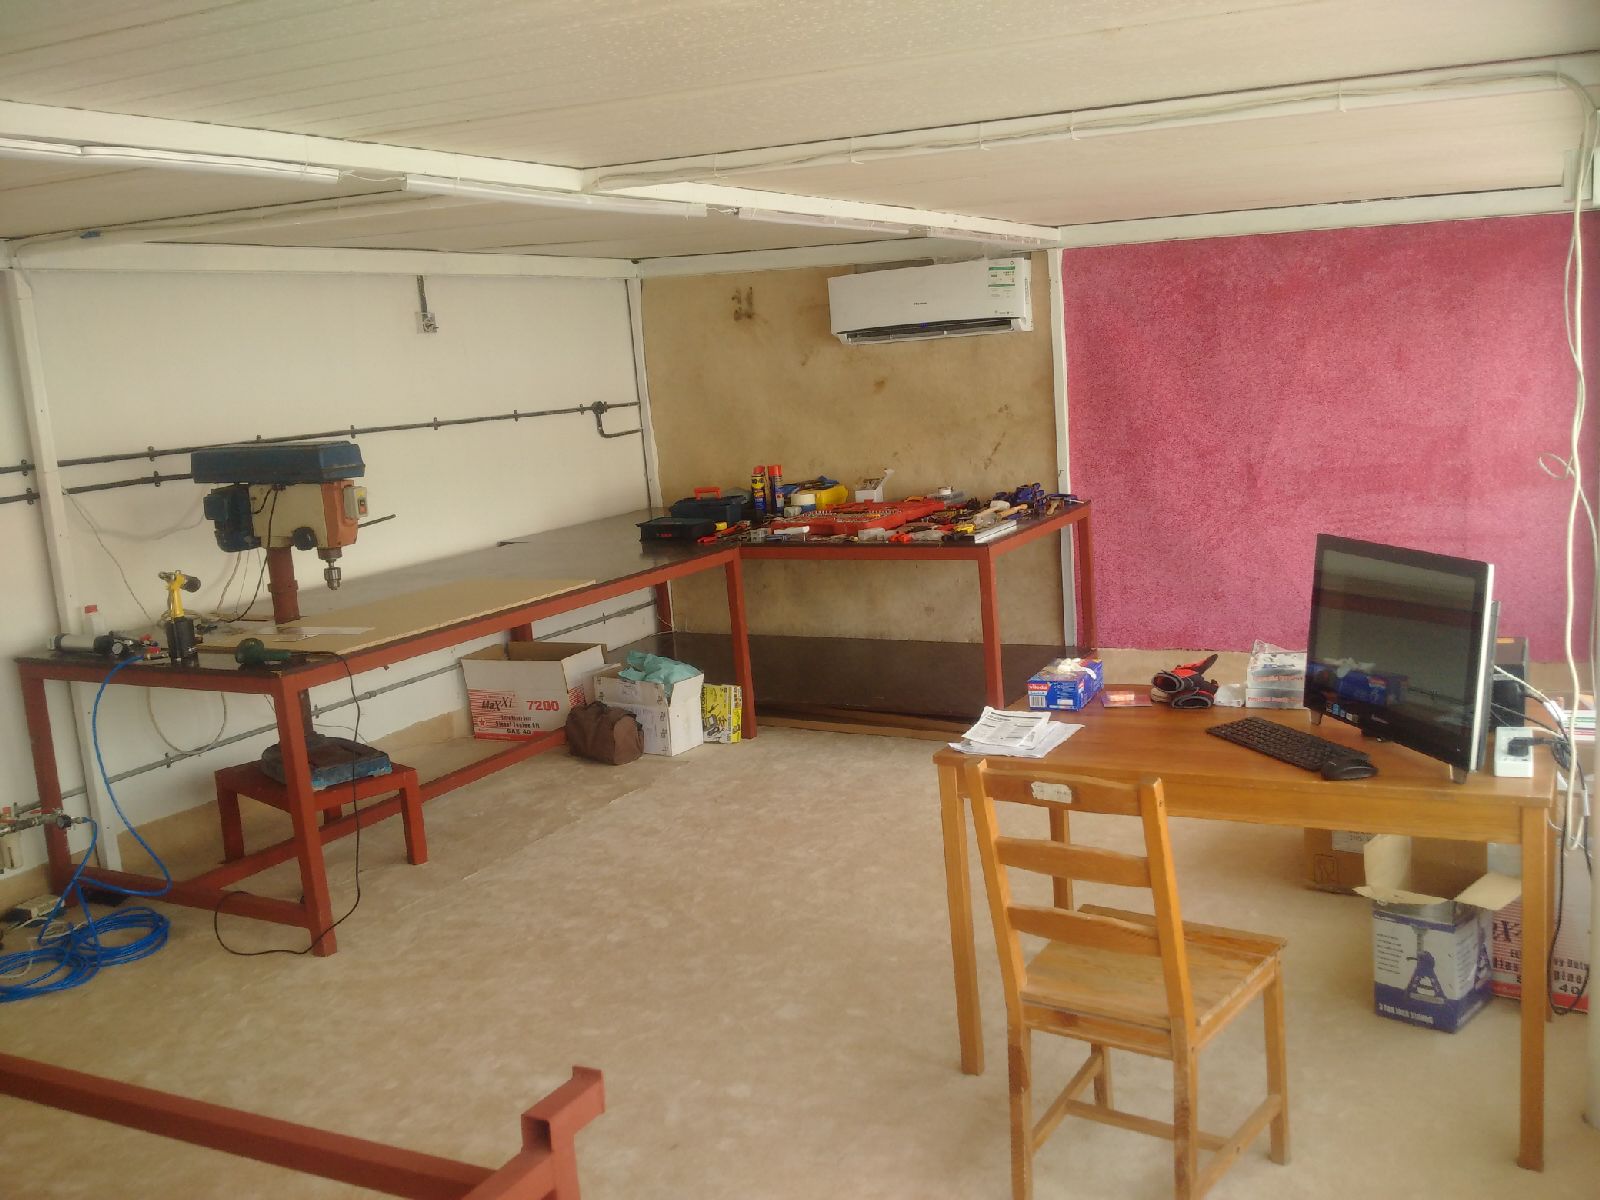
I have also finished with all the prep work in the garage - I now have my computer setup, an AC/fan, cleaning supplies, all safety equipment (gloves, eye/ear protection, paint mask, disposables), stationery, and consumables (WD40, Brake Cleaner, Threadlock, Antiseize, Lubricants) - so now I am completely ready to start the build...

June 11, 2015
Build Time Today: 4 hours
Total Build Time: 4 hours
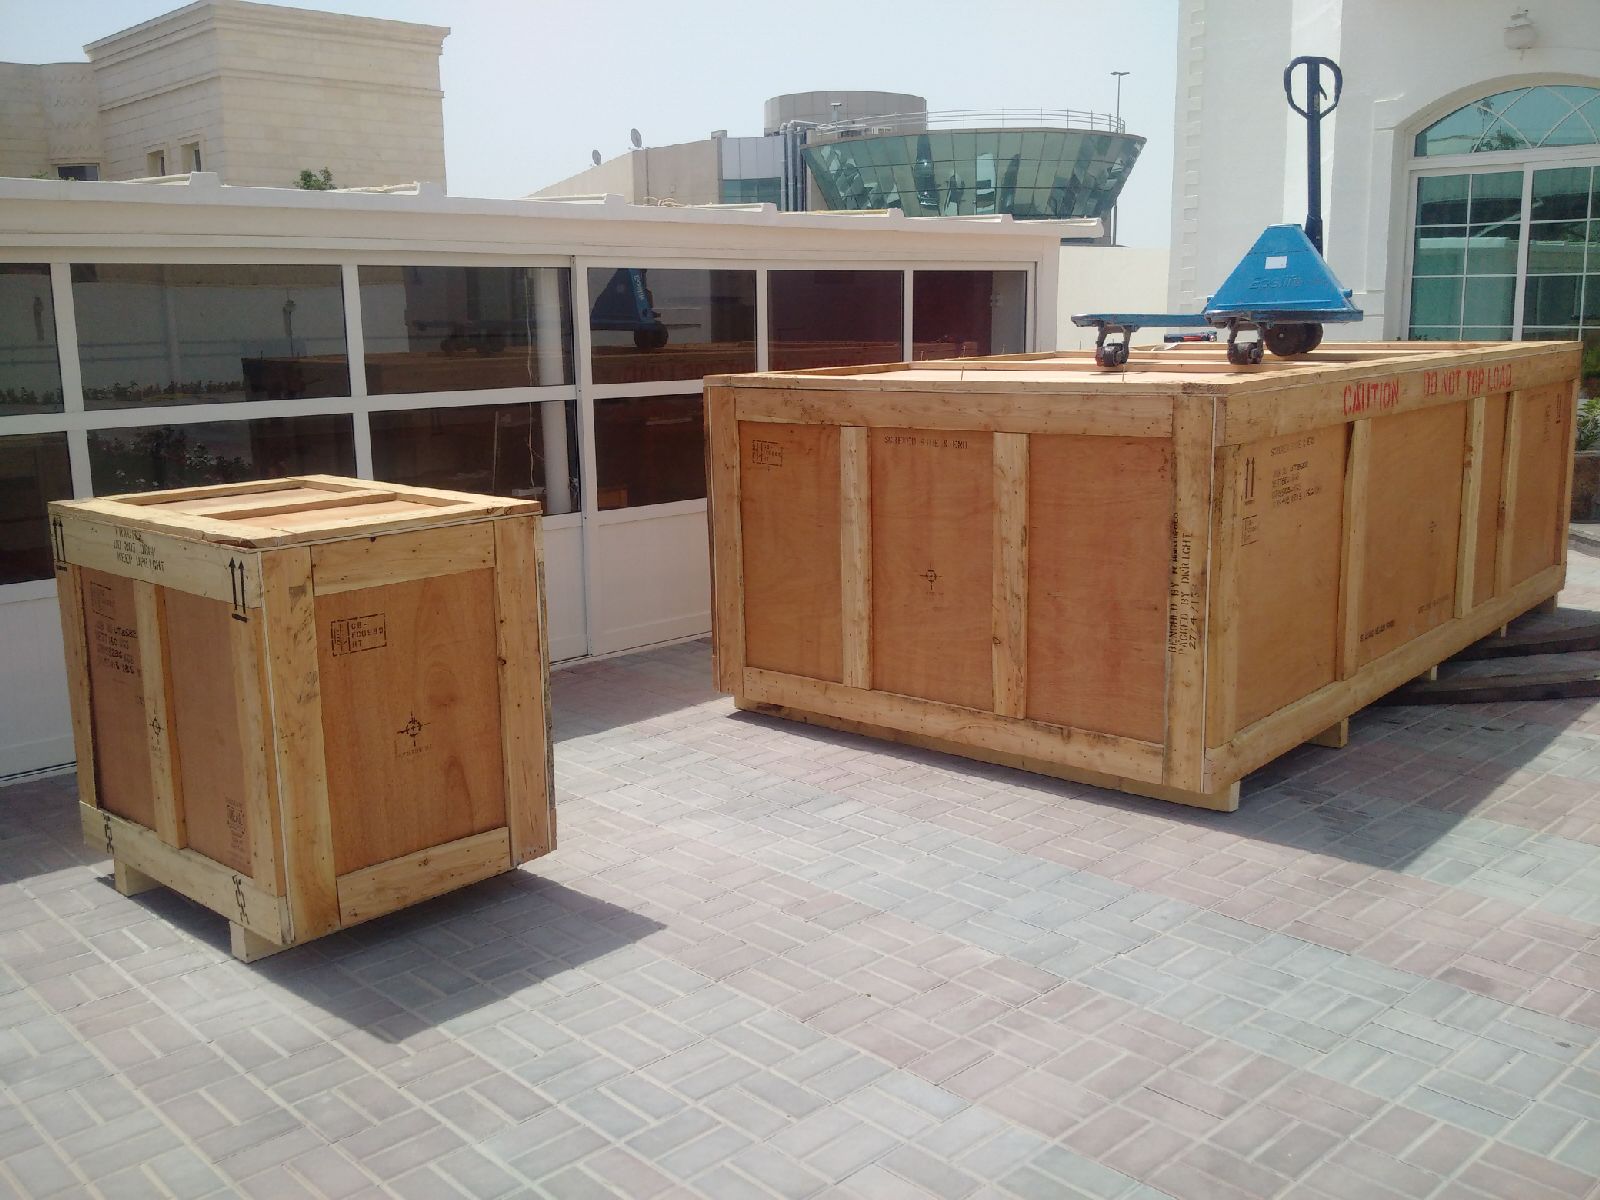
The big day! The container was delivered today from the port after a few days of running between customs and other approval offices. There were 3crates in the container - the big crate with the chassis and body (and some parts), and medium crate with parts, and a small crate with the LS3 engine. It took about 2 hours to get the crates on the ground from the container.
I am now finally going to start my build!
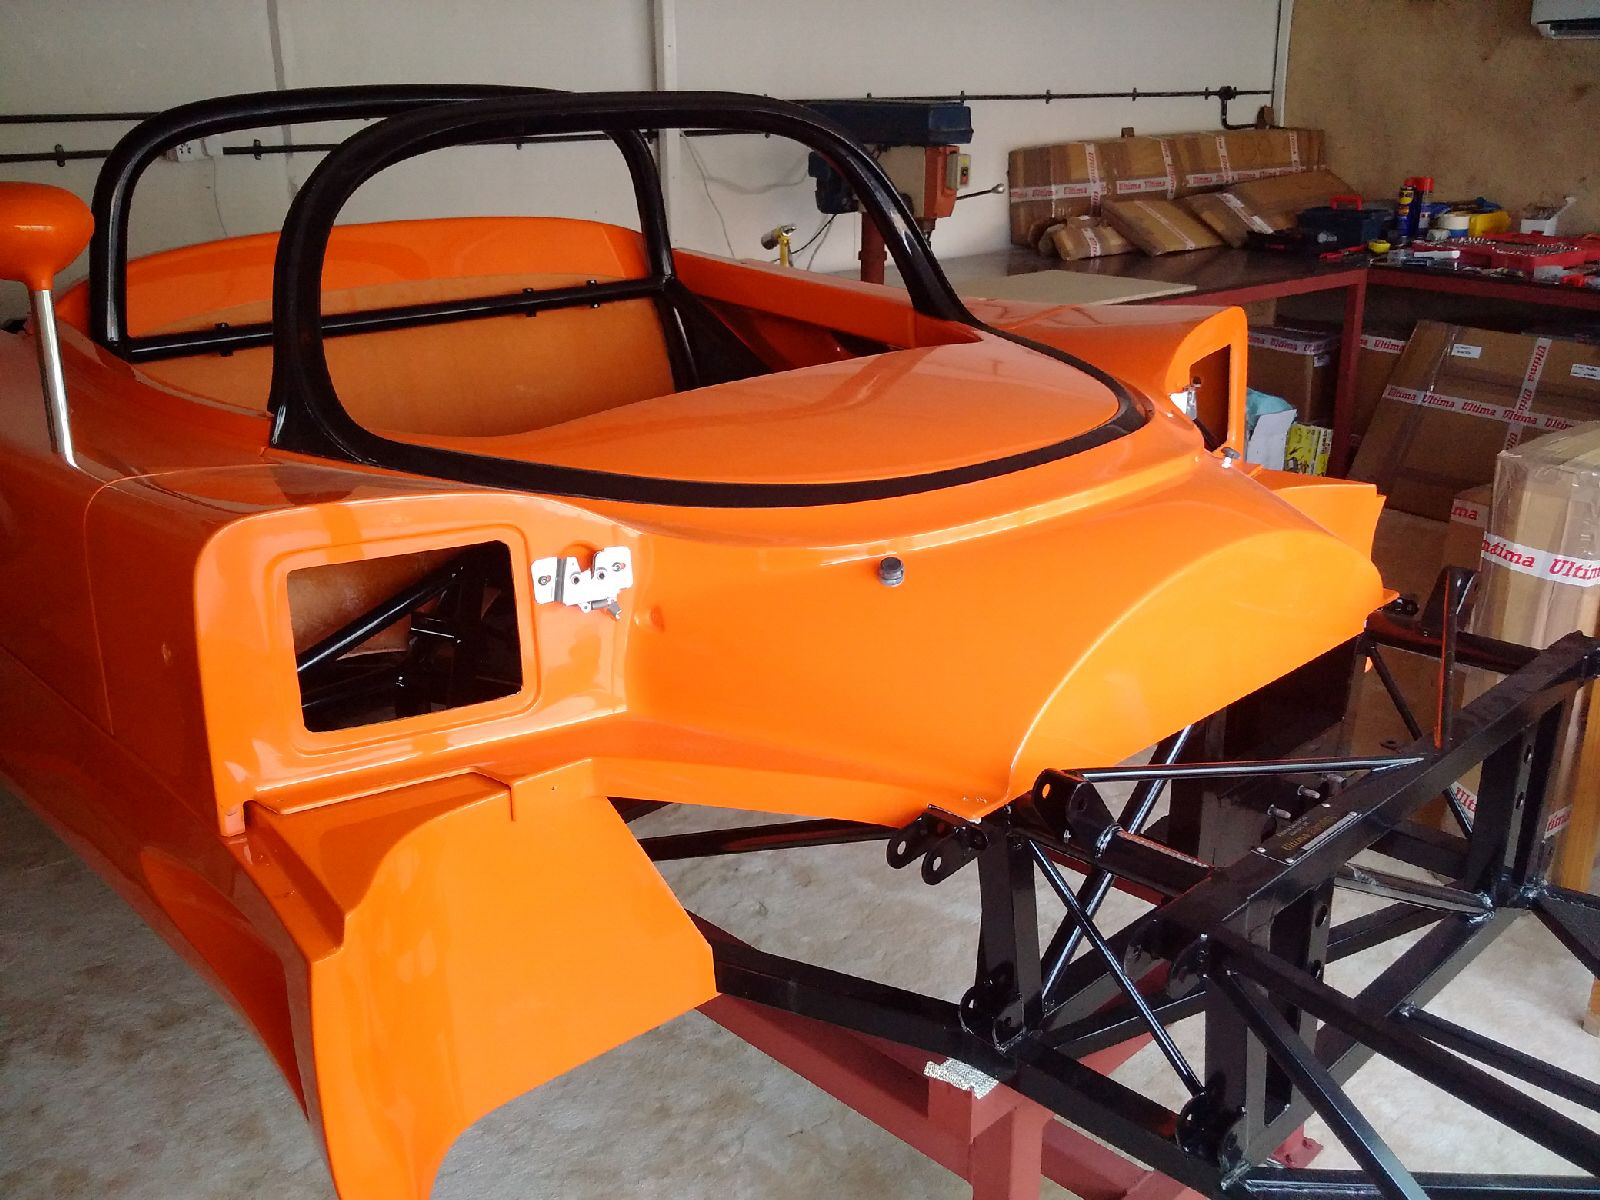
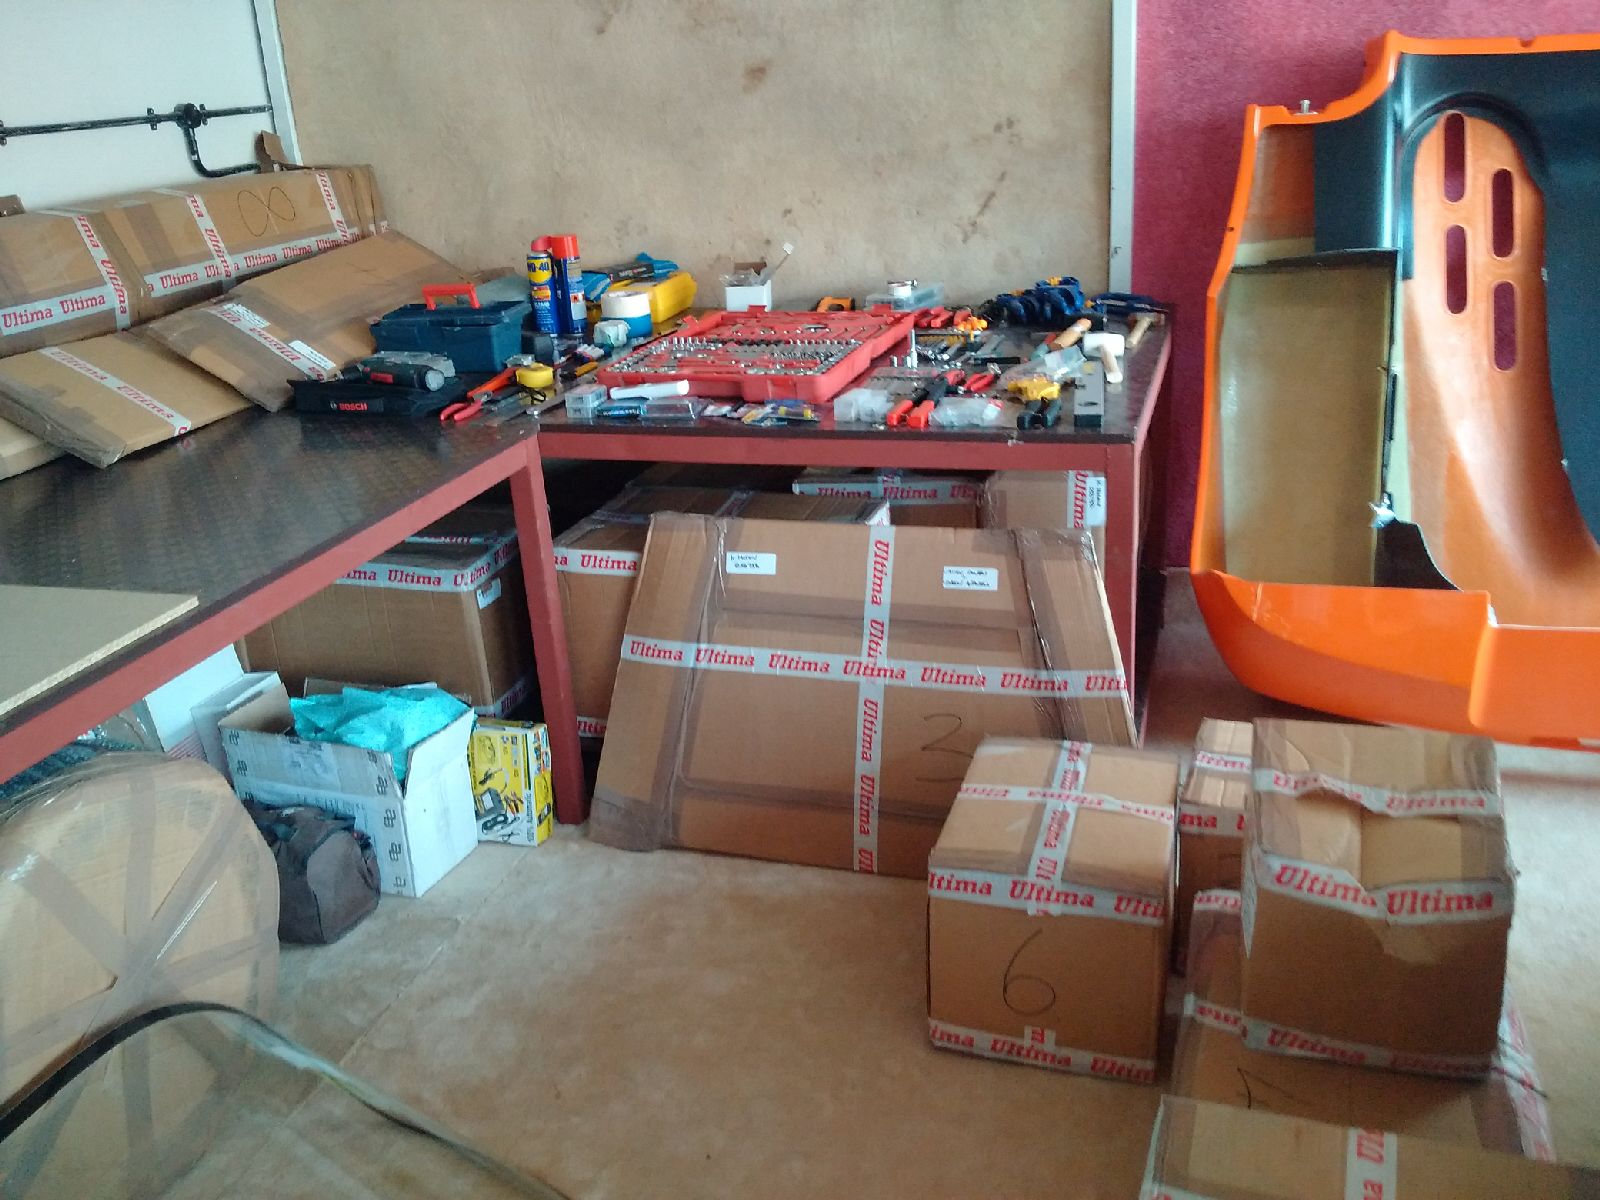
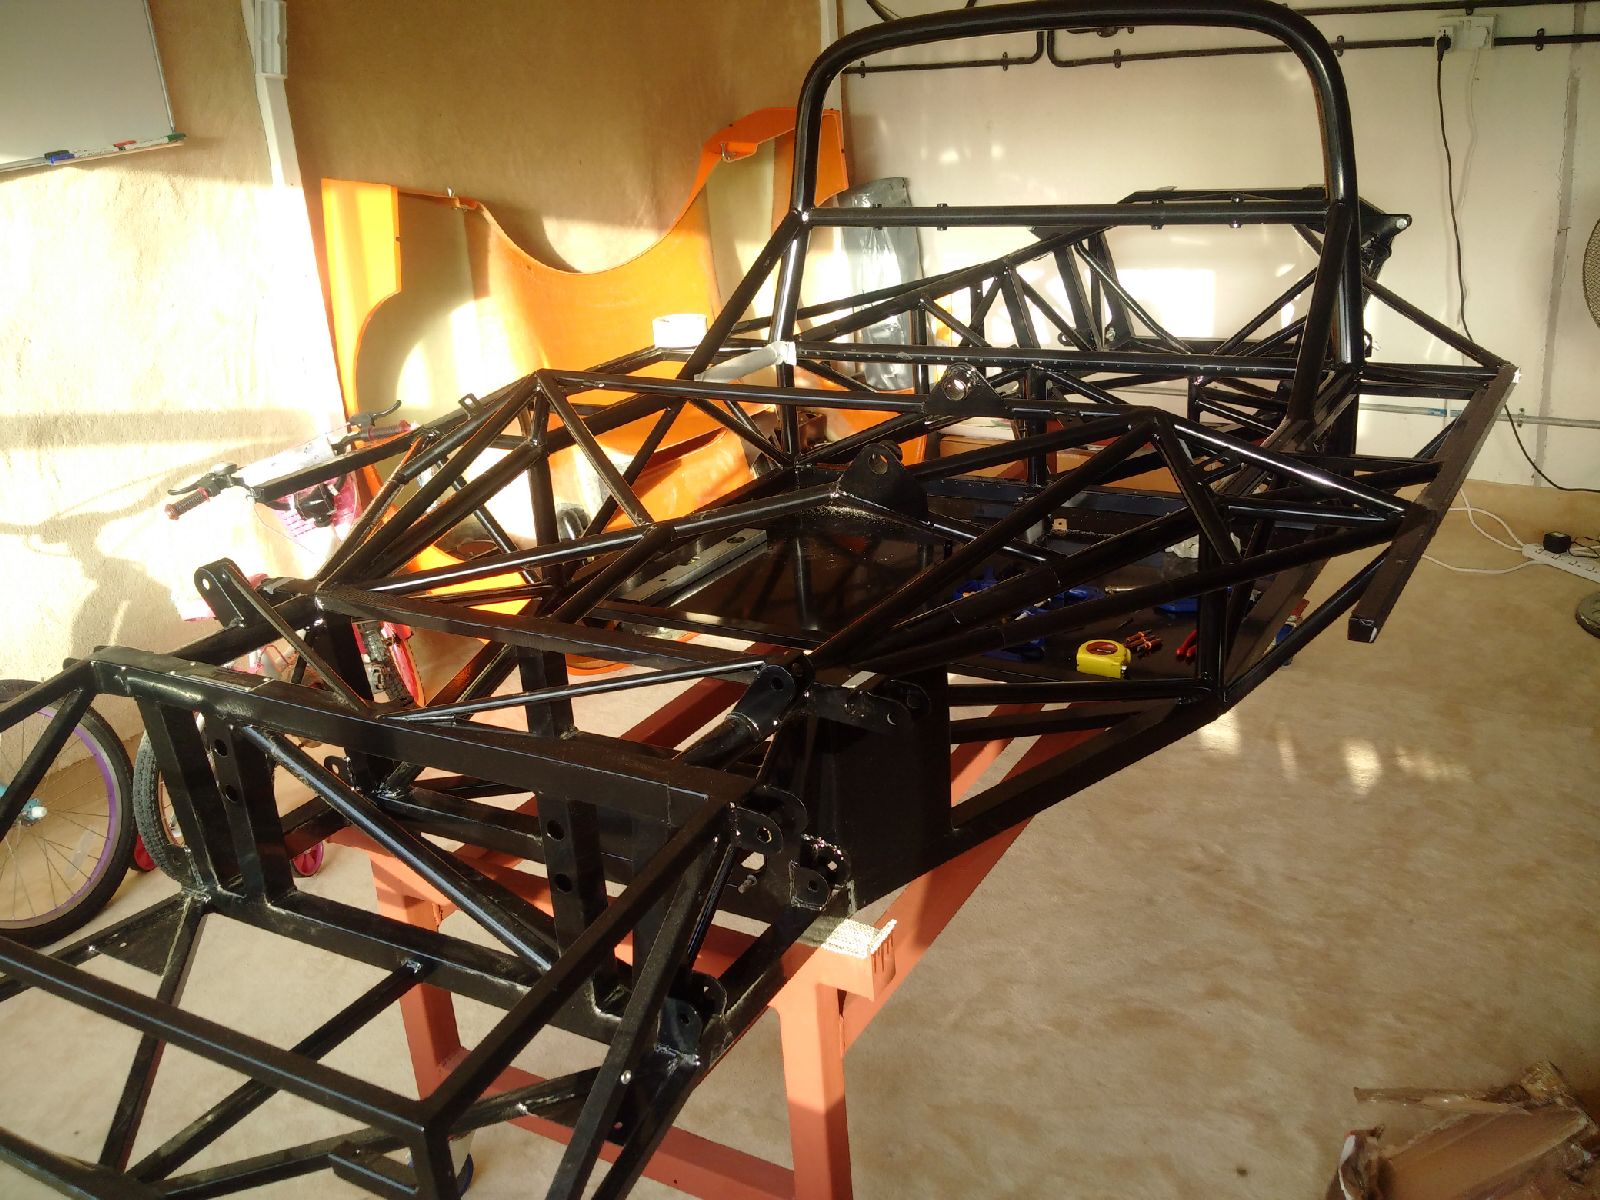
First step was to remove all the cartons and put them in the garage. Inventory will be another item for the to-do list, but I will leave that till later next week. Now, I need to get the body off and place the chassis on the build dolly. Rear and Front clips were removed from their respective rose joints (without turning the rose joint) - I forgot to check how many washers were on each side of the joint, so now I will have to be careful during the clip install to make sure I check where to place the washers (and how many on each side). I then removed the front windscreen (taped in) and the windscreen frame. Then I started work on removing the doors and center section. However, about 4 hours into the process, I am calling it a day as it is over 43C outside, and I am now starting to feel dizzy in the heat. I got a couple people to help me put the chassis (with body attached) on the dolly and roll it into the garage. Rest of the body will be removed tomorrow, and then finally I can start some actual 'build' work.


June 12, 2015
Build Time Today: 4 hours
Total Build Time: 8 hours
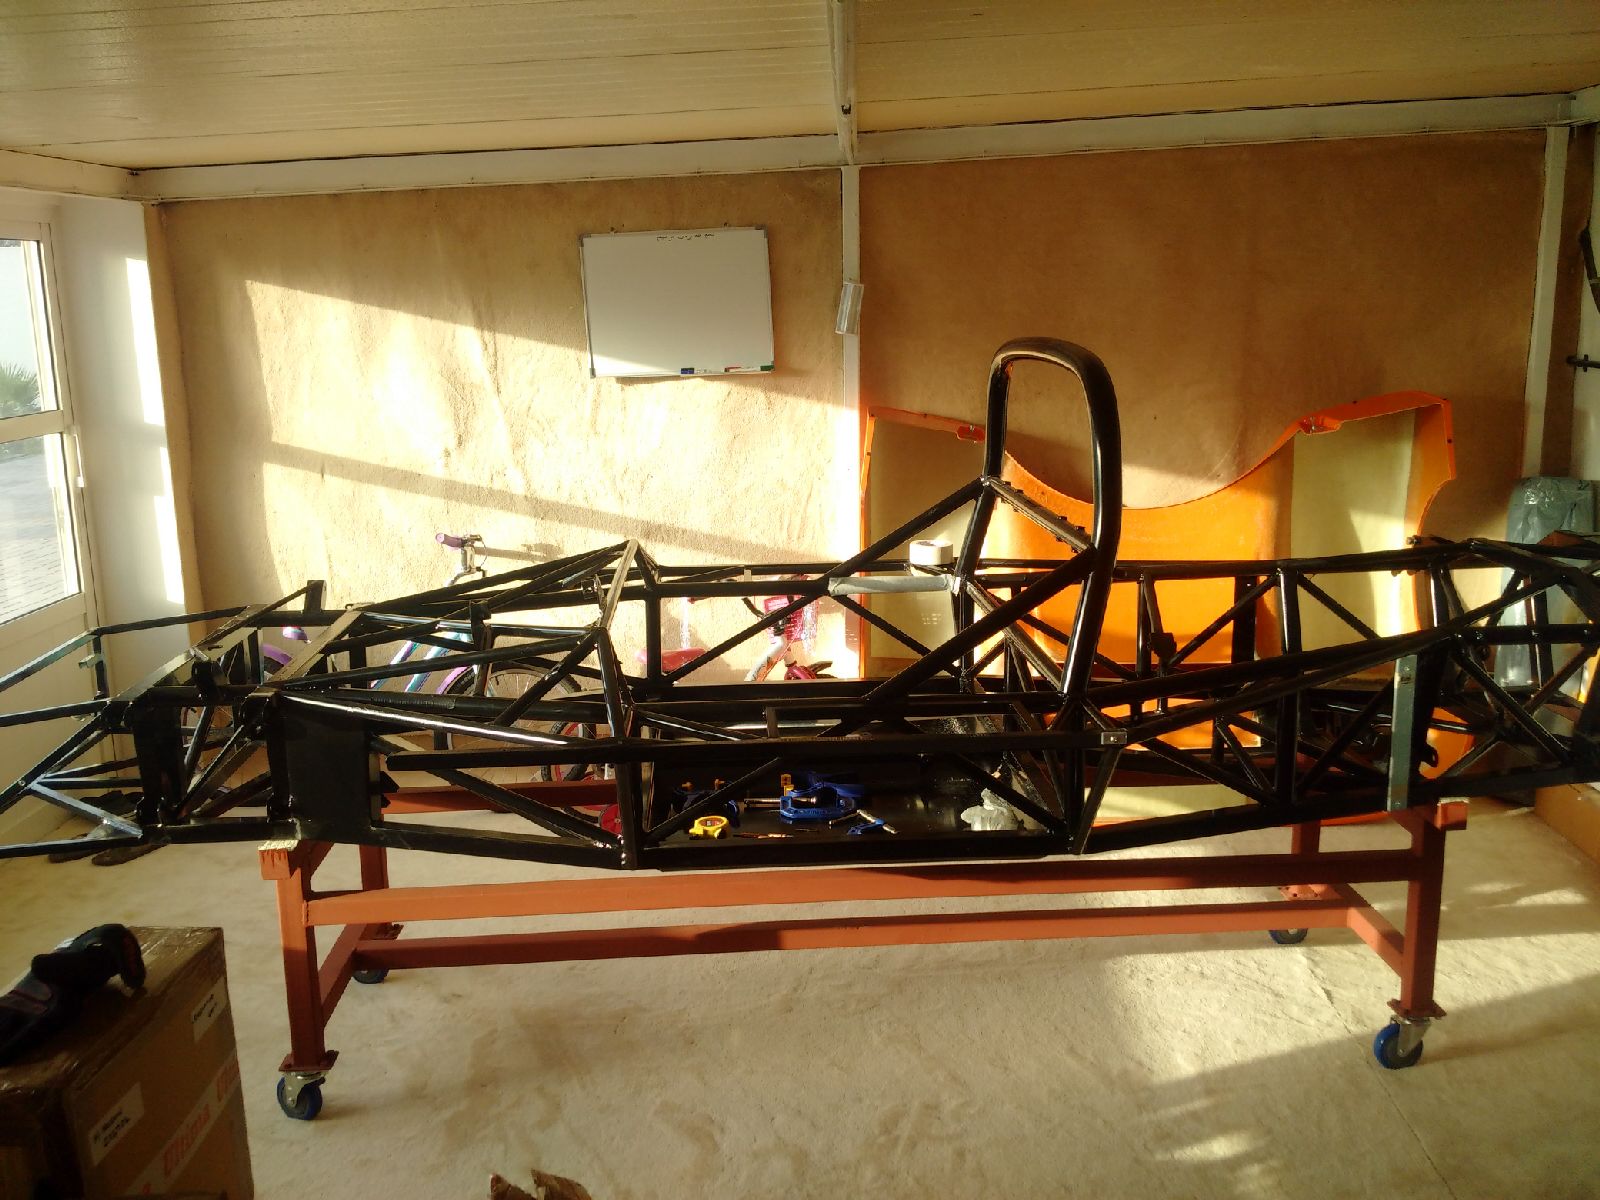
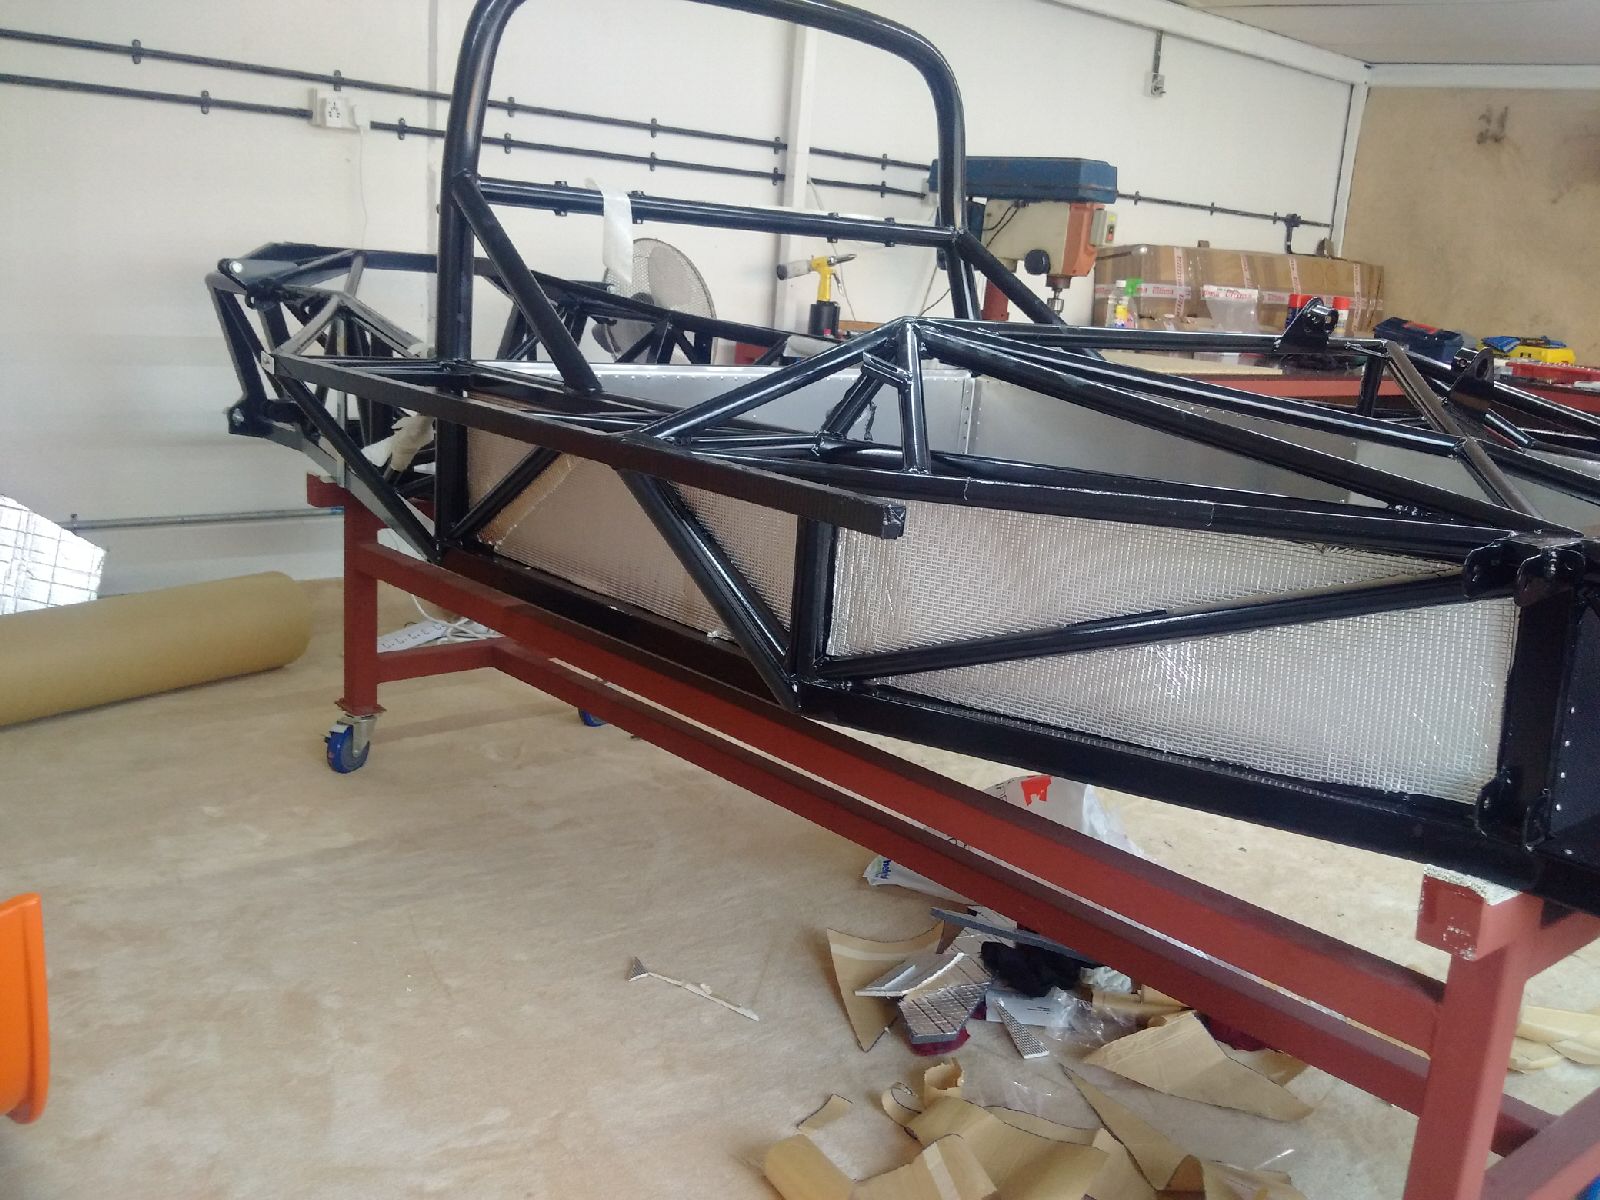
Took an early start to the build - in the workshop at 7am. After posting a question on PH for door and center section removal, I was given great advise on how to remove the door struts - and the doors, center section and rear center section were all removed within an hour. The chassis is now bare and ready to start work. The workshop on the other hand, has WAY too many boxes, body parts, and tools! I don't know how I would be able to build this thing in a one-car garage! My admiration for those who have has just gone up... Now I can finally start the build, but that will have to wait till tonight as its Friday (weekend) and the kids want to go out for breakfast, swimming, etc etc...
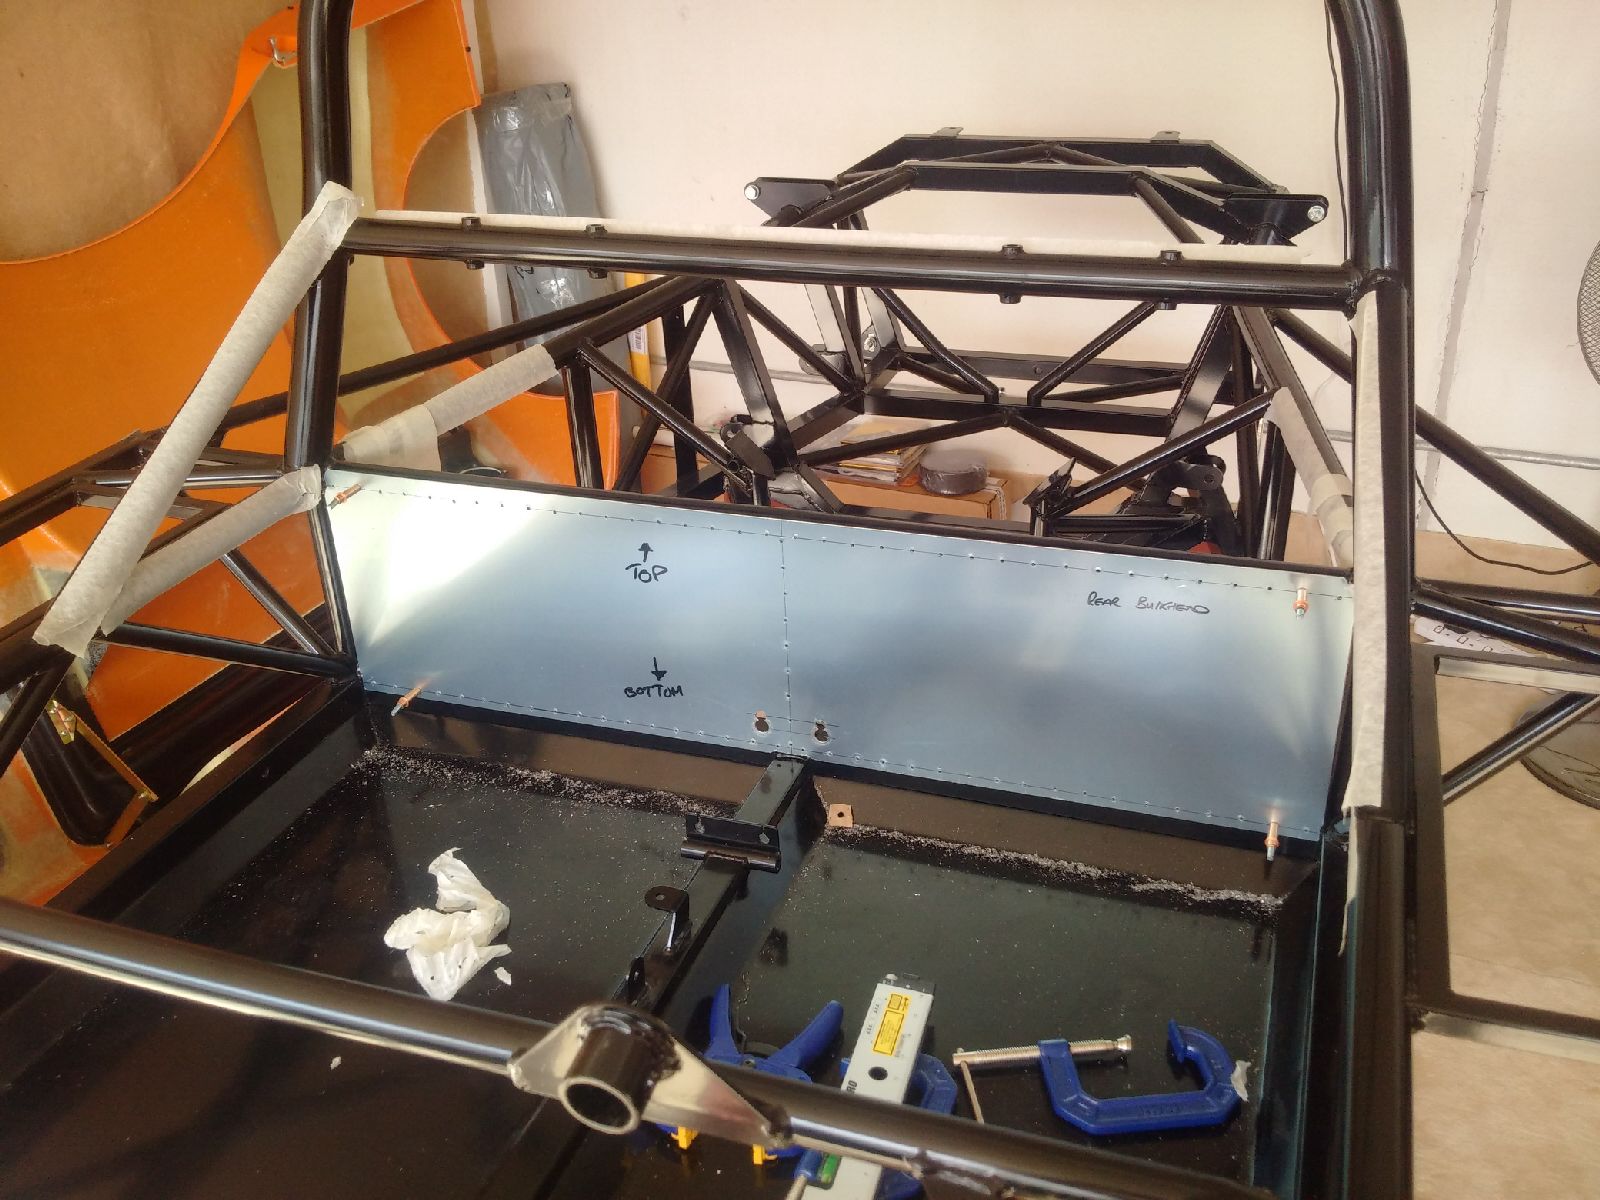
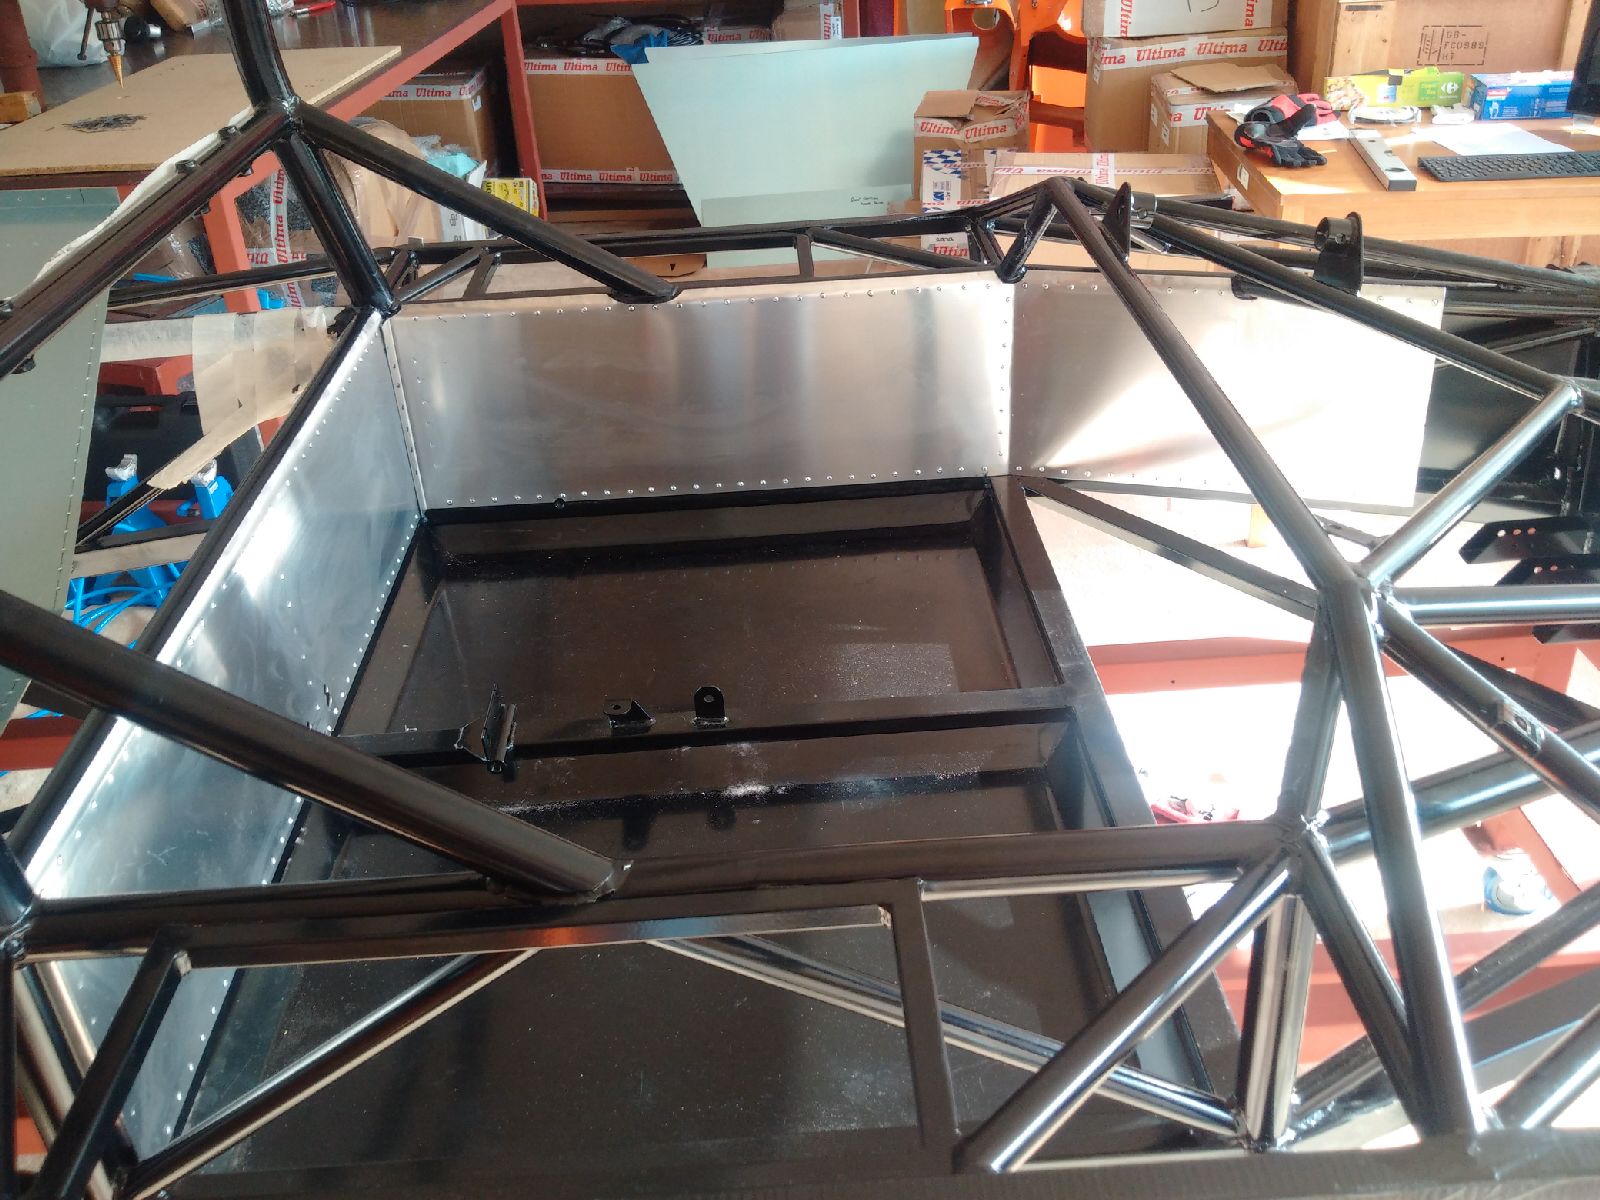
10pm: I started the paneling with the rear bulkhead. Drew a vertical center line, and 2 horizontal rivet lines (at 18mm and 10mm). Offered the panel to the chassis, marked the areas to nibble/file and repeated till the panel fit flush to the chassis. I then drilled holes in the panel at 30mm, deburred the panel (both sides) and then went back to the chassis to drill the holes in the steel. Deburred the those holes, applied some Waxoyl and have decided to call it a night.
June 13, 2015
Build Time Today: 6 hours
Total Build Time: 14 hours
Came back early in the workshop to complete the rear bulkhead - I still had to drill the holes for the handbrake and gearbox cables. Following the sizes on CJ's site, and consulting the build manual, I drilled two holes in a keyhole shape - a large 16mm hole on the bottom and smaller 12mm hole on the top. Deburred these holes, and the rear bulkhead panel was now ready! I clecoed it to the chassis, and was done with it!
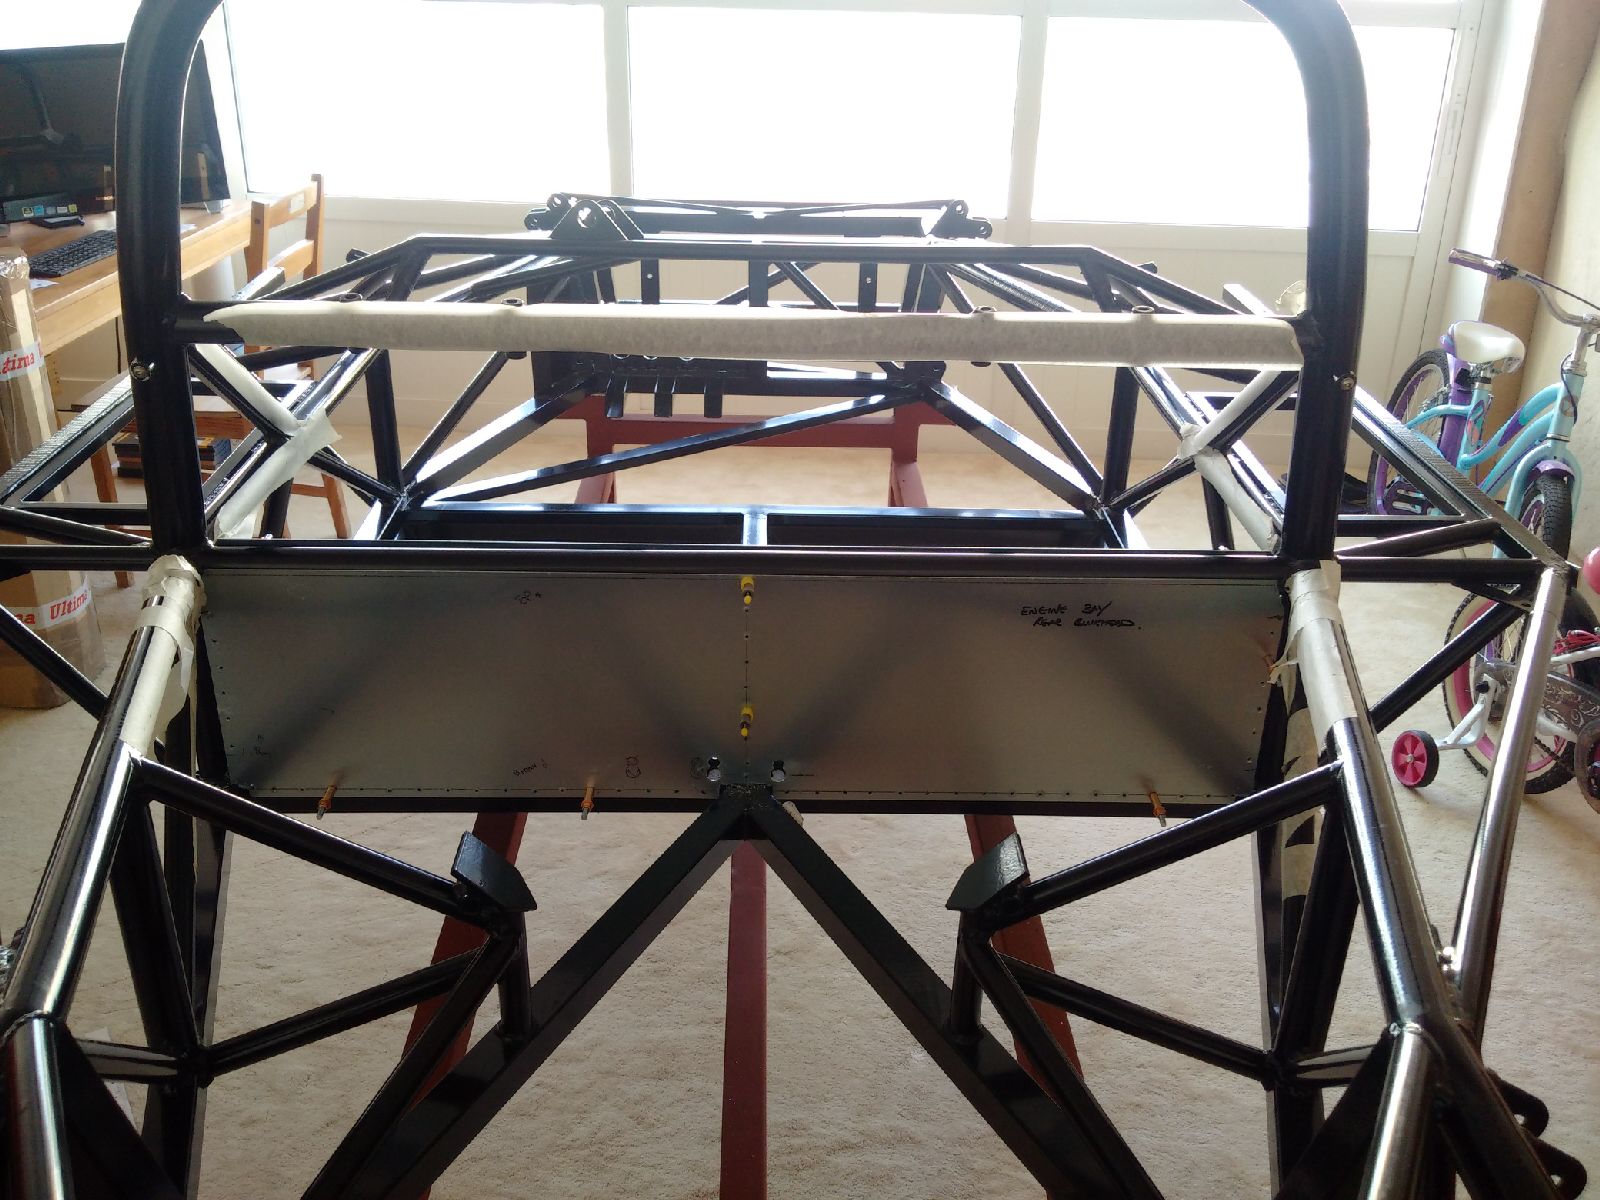
I then went for the Engine Bulkhead panel (rear bulkhead double skin) - although this is normally done later, I wanted to do it earlier so that I could adjust the handbrake/gearbox cable holes and not have to worry about it later. Pretty much the same drill followed - nibble, file and get panel to fit - and THIS panel took forever (about 3 hours out of 6 hours build time today). Once it fit, I drew the bottom rivet line, and then the keyhole shape for the cables. The panel was fitted 20mm above the bottom of the lower chassis rail, and then the chassis was drilled. All holes deburred, and chassis waxoyled. I also took this time to fit the support brackets between the rear and engine bulkhead panels. I cut the brackets down to 19cm in size, drilled and attached it to the chassis with rivets (my first rivets on the chassis are ON!!). I then also drilled the holes in the engine bulkhead panels, so the engine panel is also now ready! Only the top line of rivet holes remain, but those will be drilled when the center section is installed.
Two panels done, and thats it for today!


June 14, 2015
Build Time Today: 4 hours
Total Build Time: 18 hours
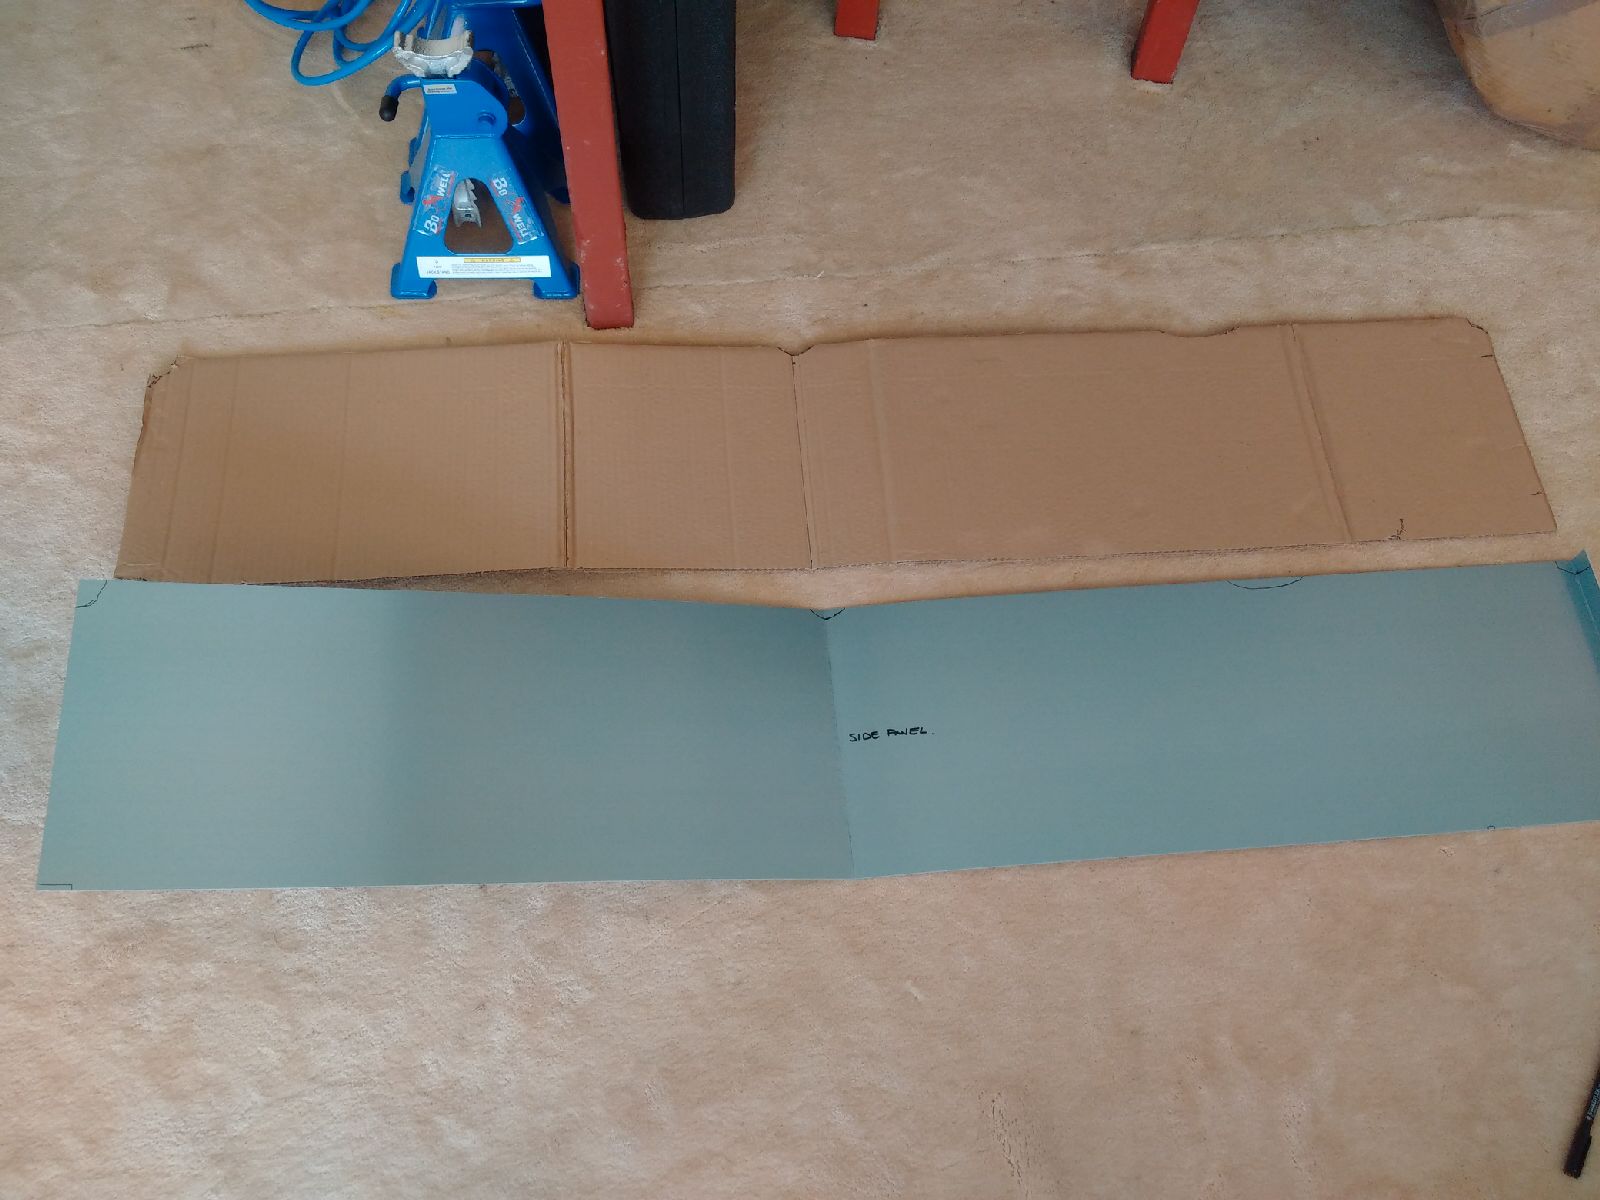
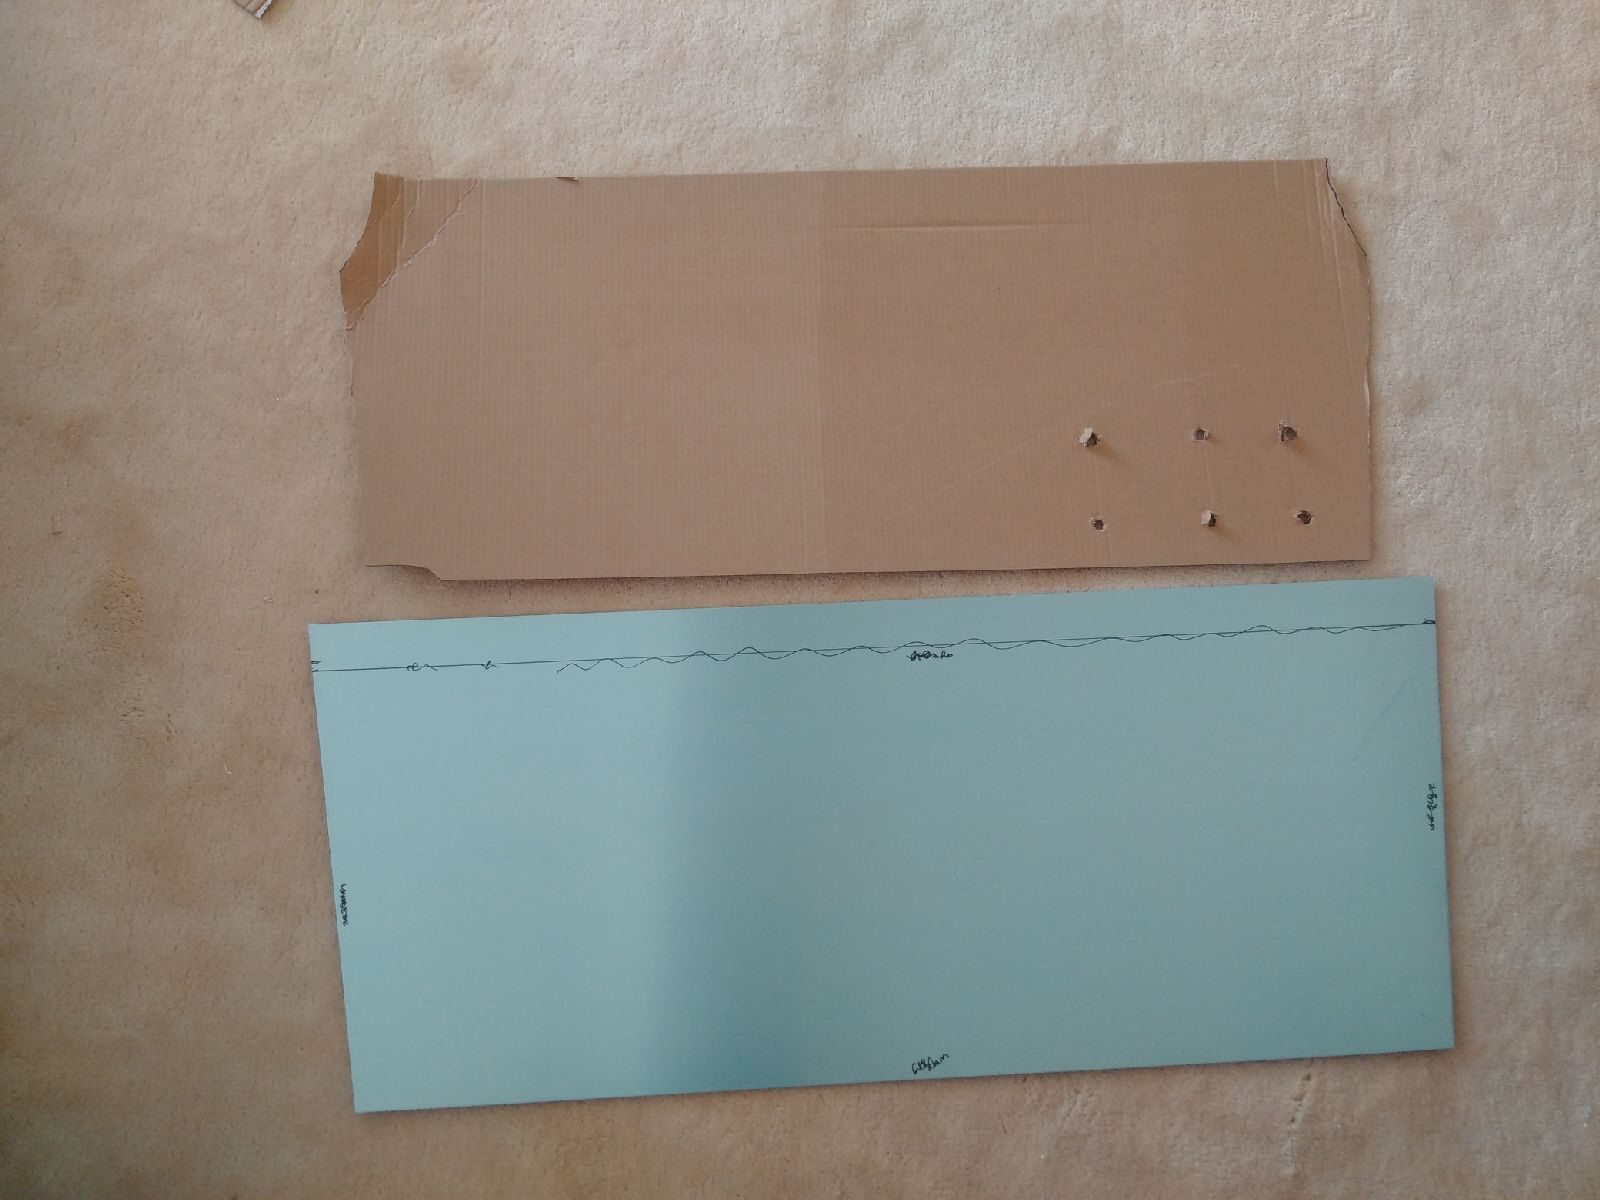
I decided to attach the passenger side panel today - first made a template from a piece of carton, and then copied that onto the ally panel. Even then, it took about 10-12 file/refit/file/refit iterations to get the panel to sit correctly. One problem I faced was the panel would not sit flush against the chassis members - took over an hour to realize that it was slightly longer in length than needed, and shortening it by about 5mm on the footwell side took care of the problem. Side panel was drilled, deburred, pinned to chassis and chassis drilled, deburred and waxoyled.
I then made the template for the drivers side panel, and then called it a day!
June 15, 2015
Build Time Today: 5 hours
Total Build Time: 23 hours
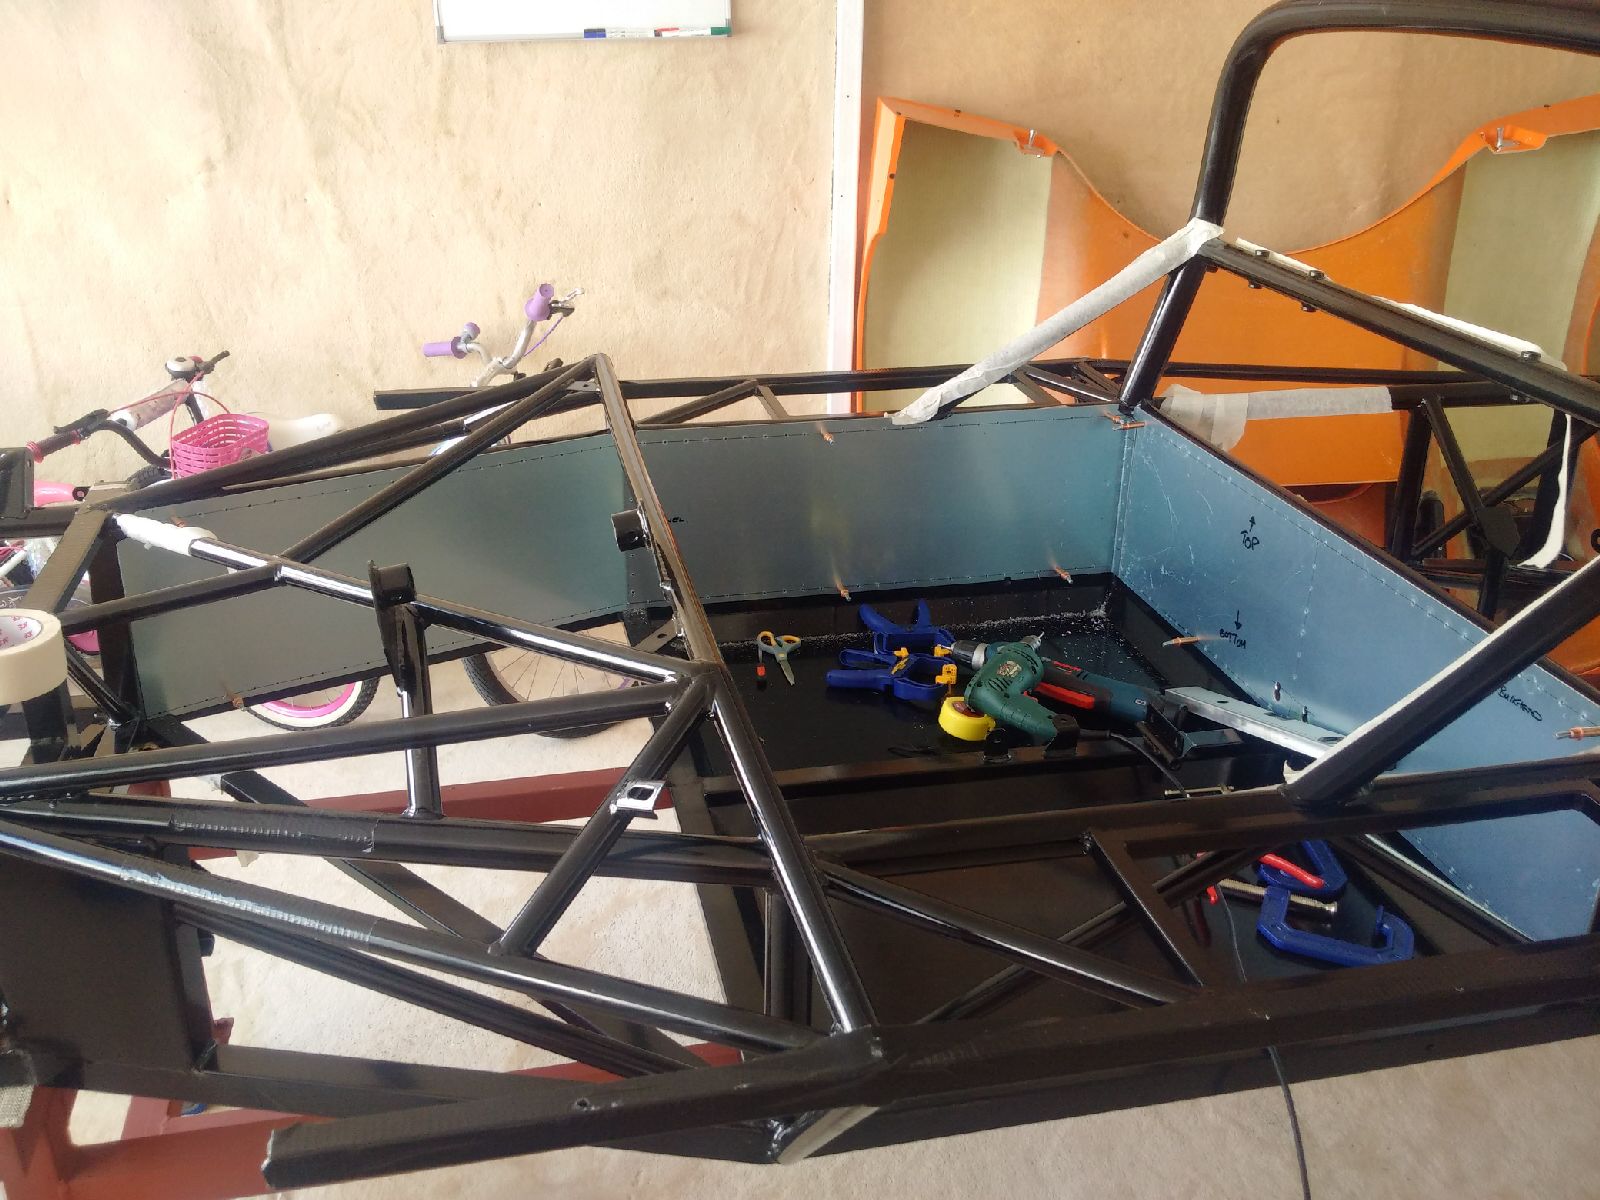
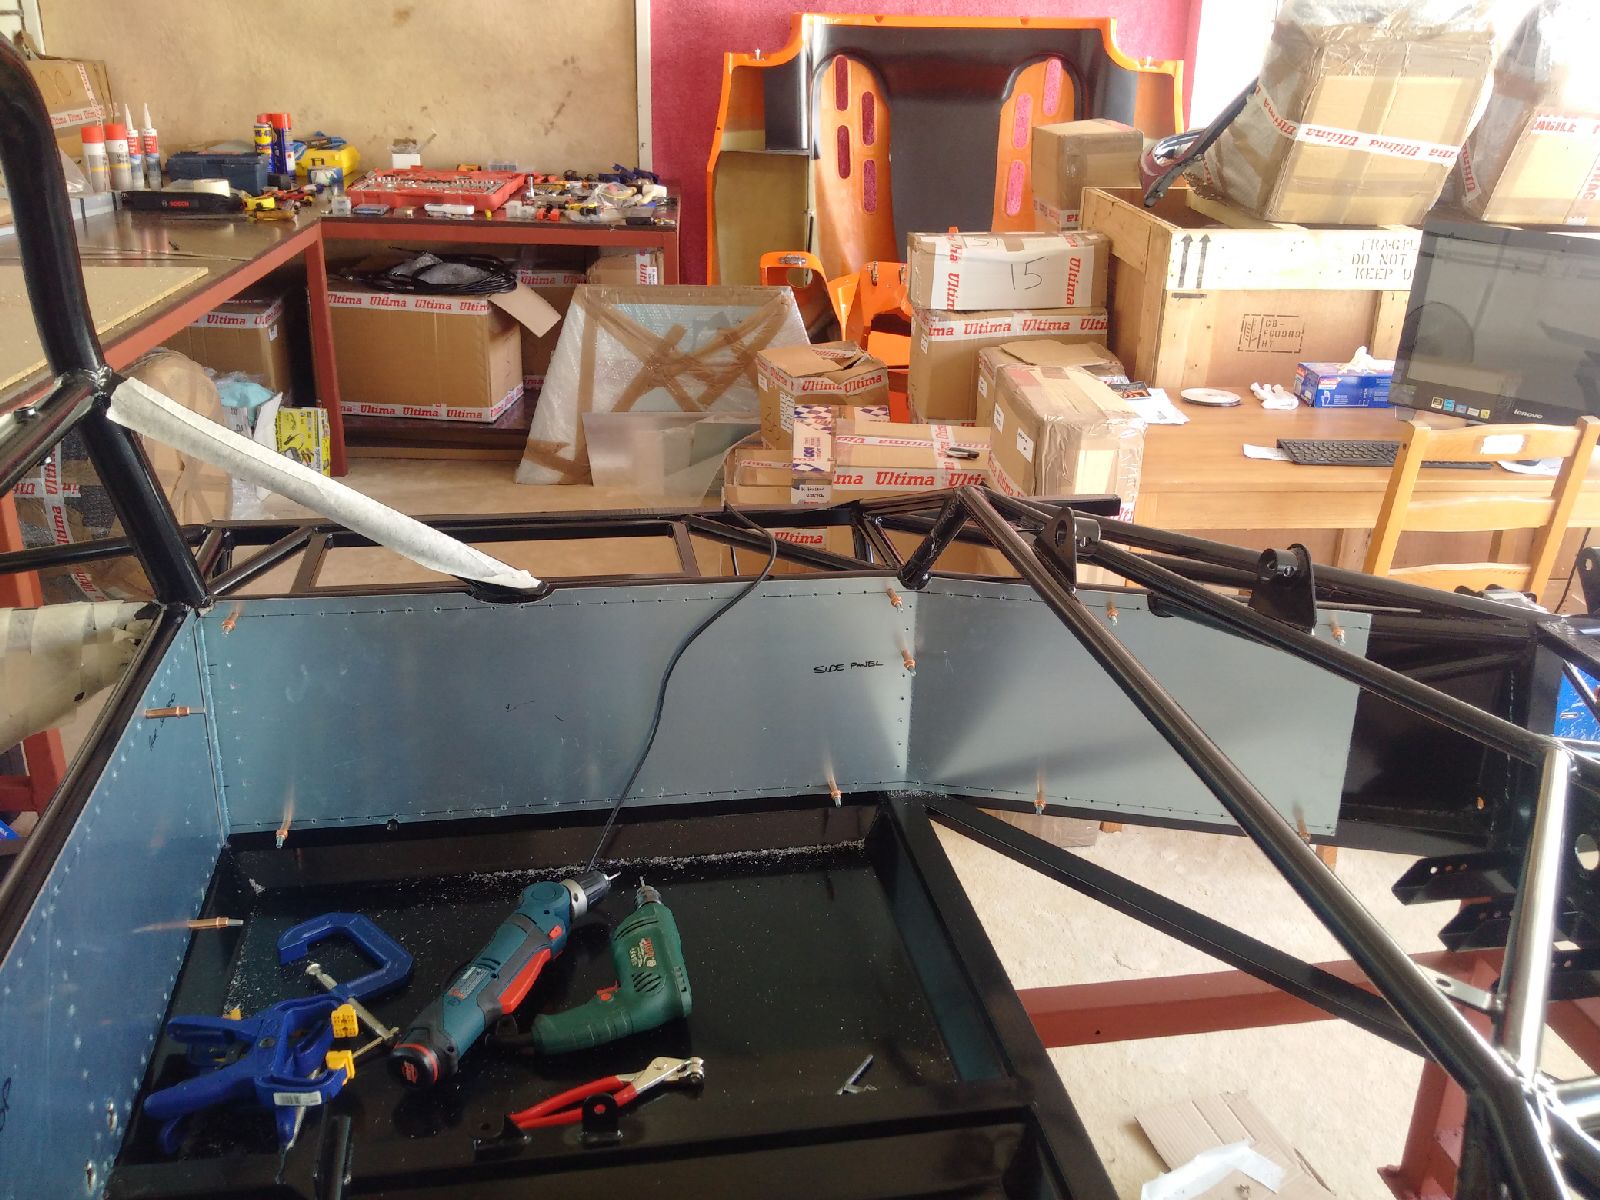
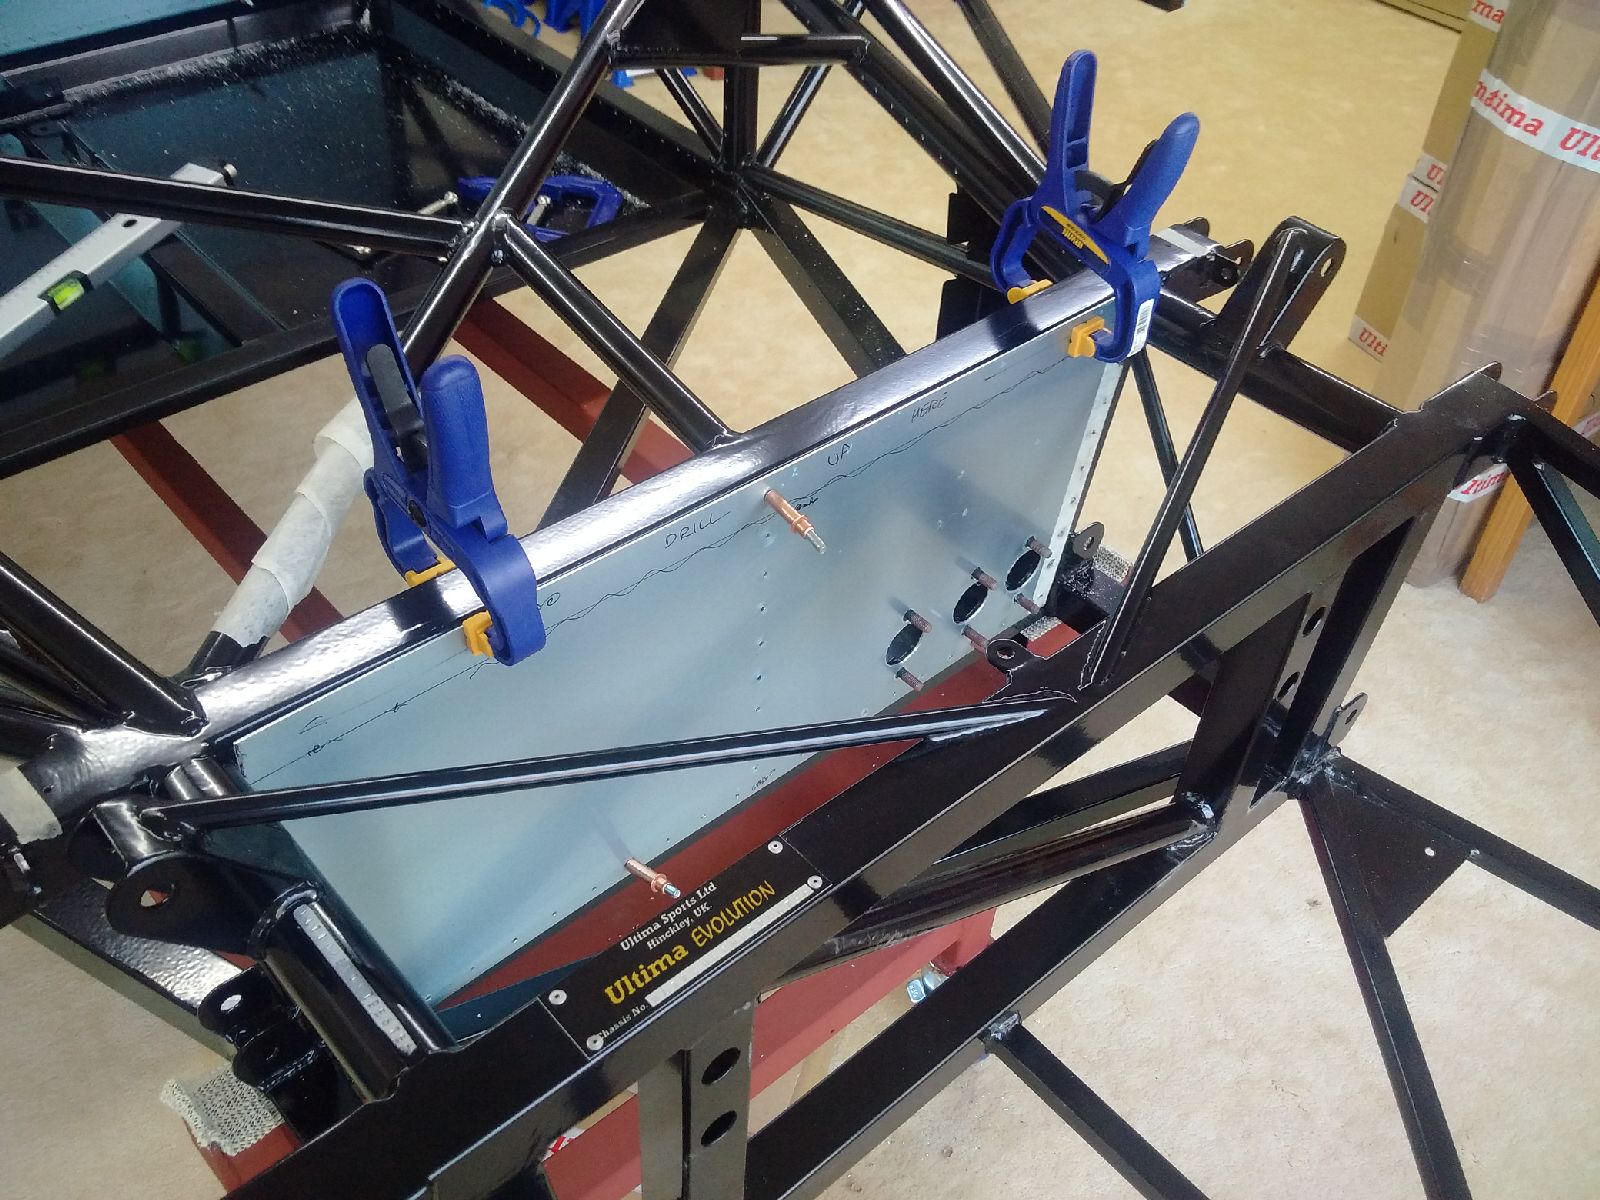
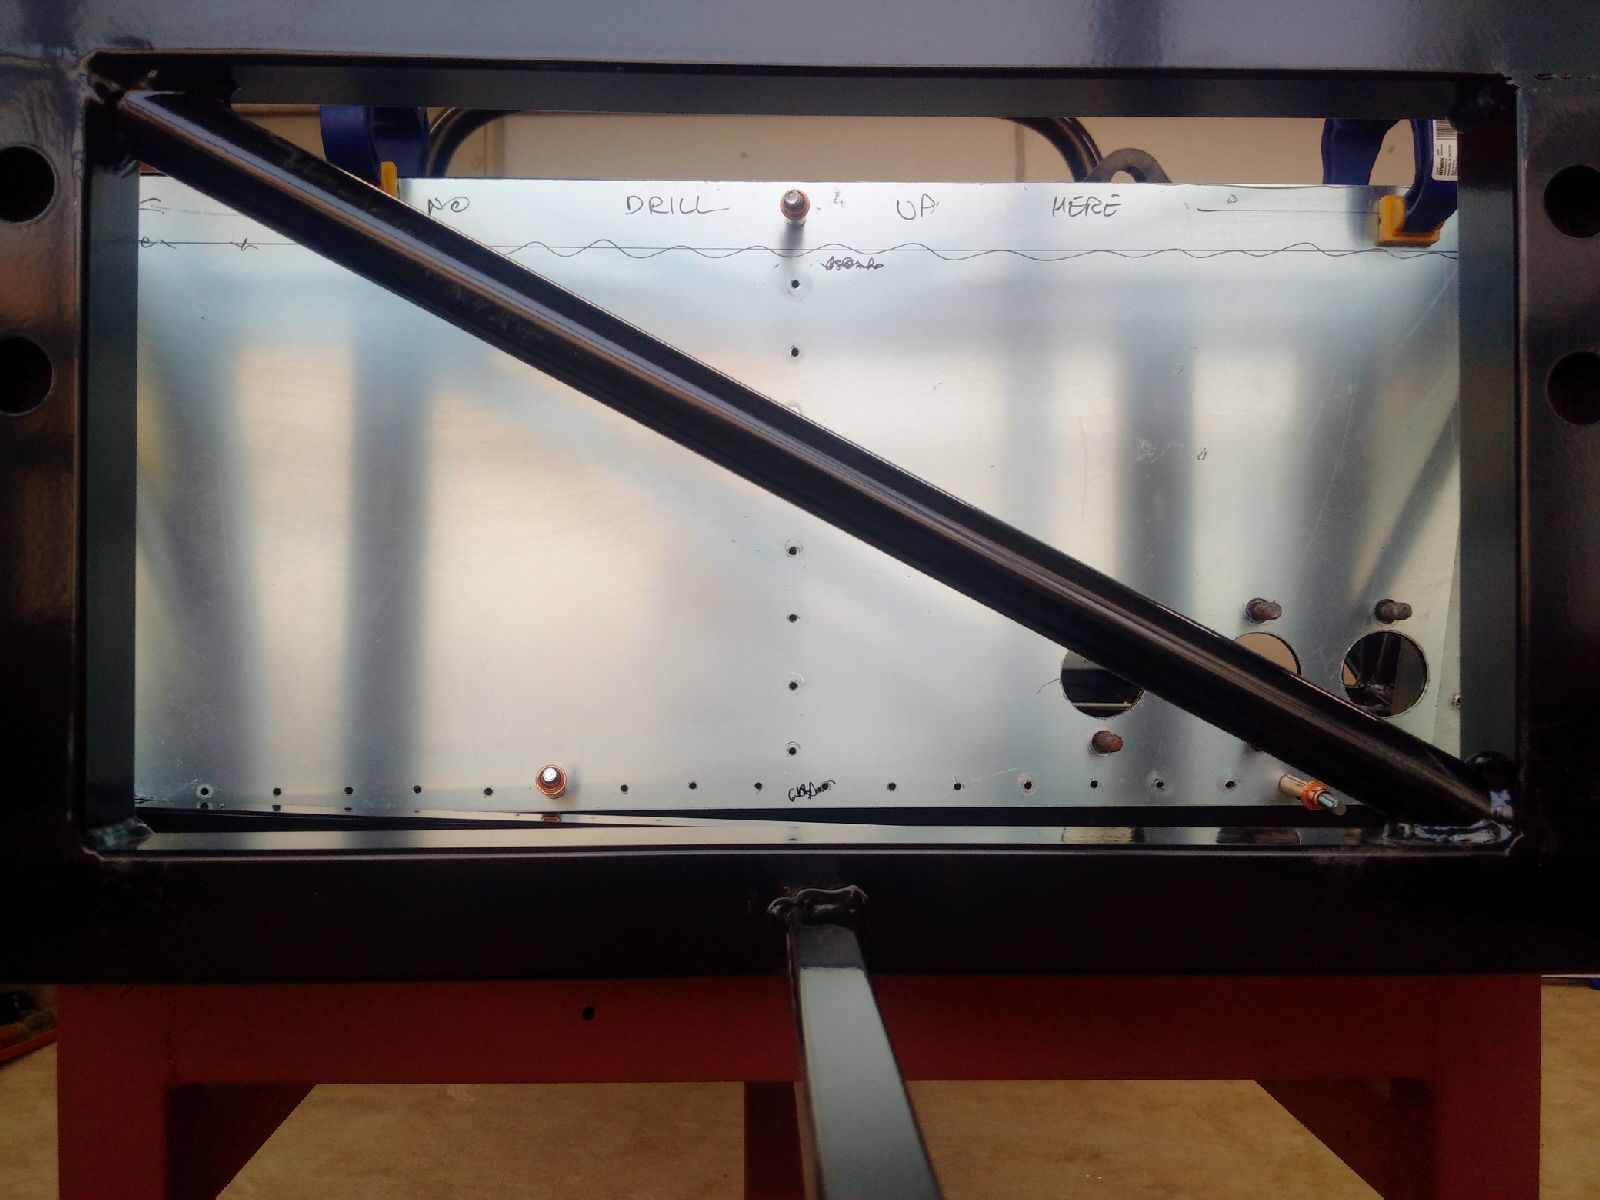
I got back to garage after work and went back to the drivers side panel. The template was ready from yesterday, so it was transferred to the ally panel, and then the panel was nibbled, filed, and fit to the chassis. Lather Rinse Repeat... Finally the panel fit perfectly. Then it was marked out for rivet holes, drilled, deburred, skinpinned to the chassis, and the chassis drilled, deburred and waxoyled.
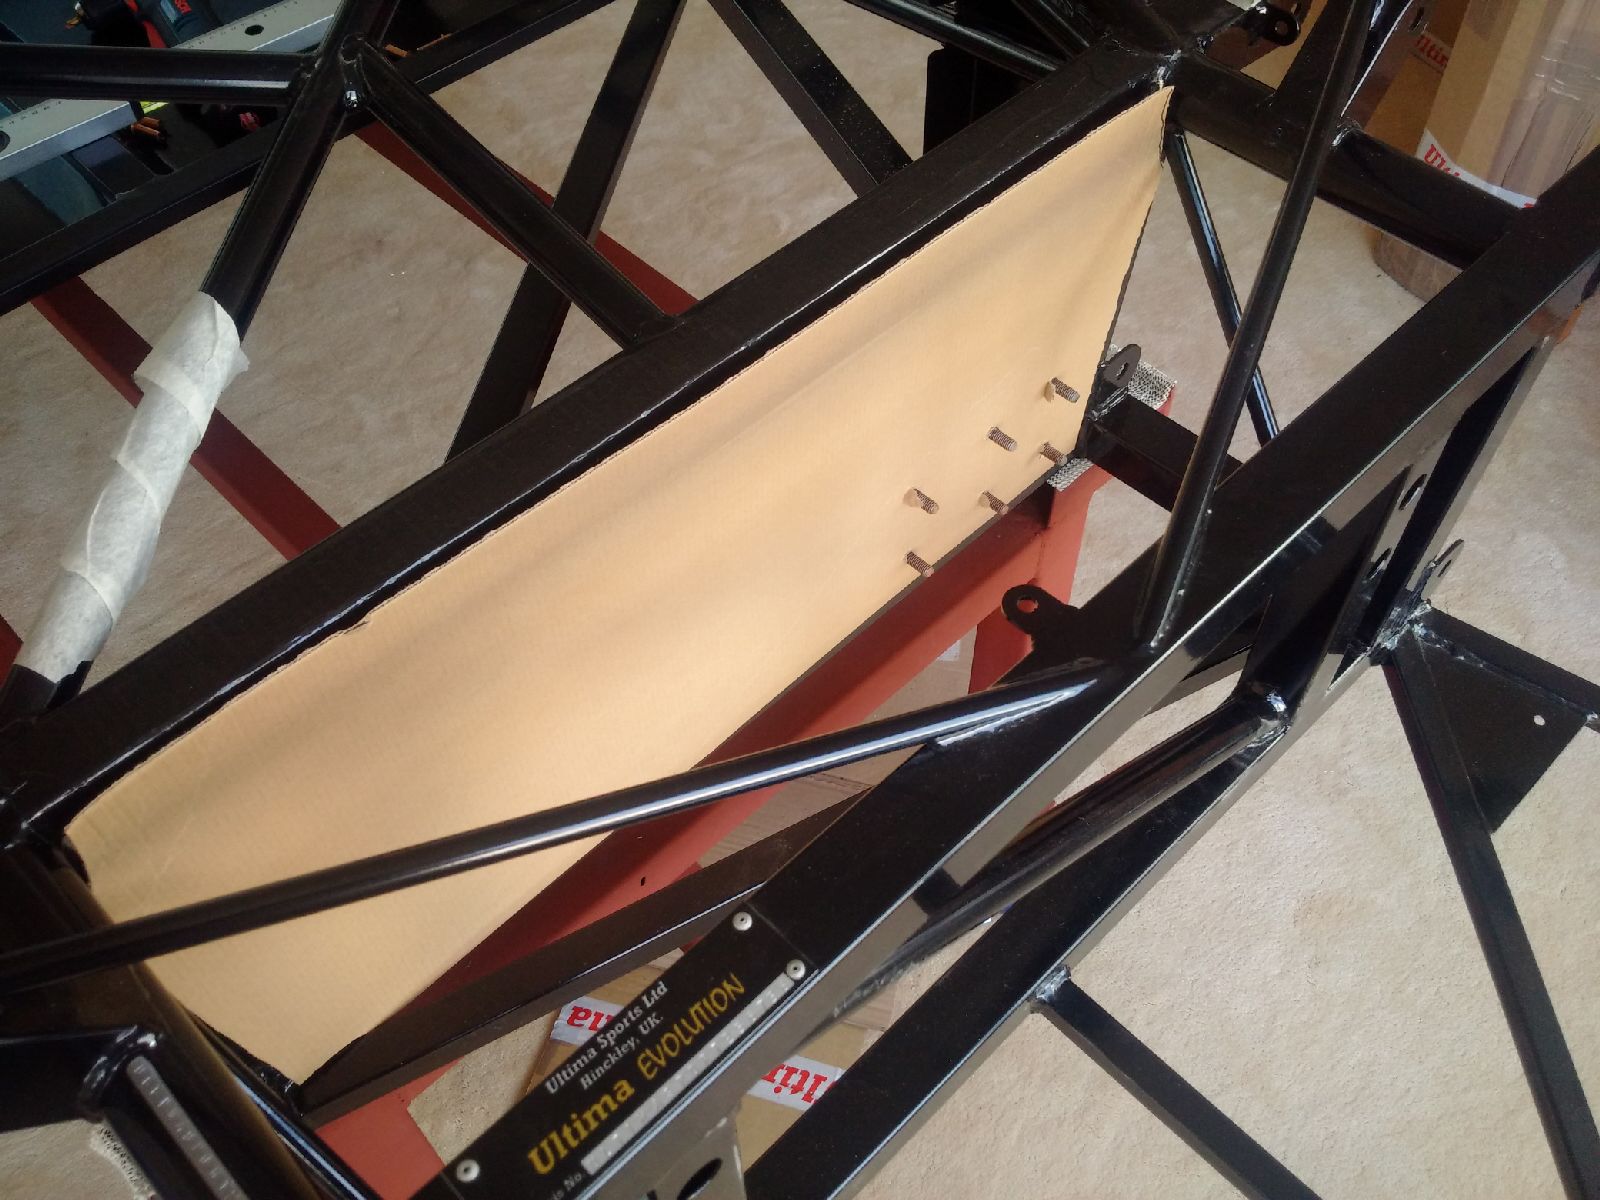
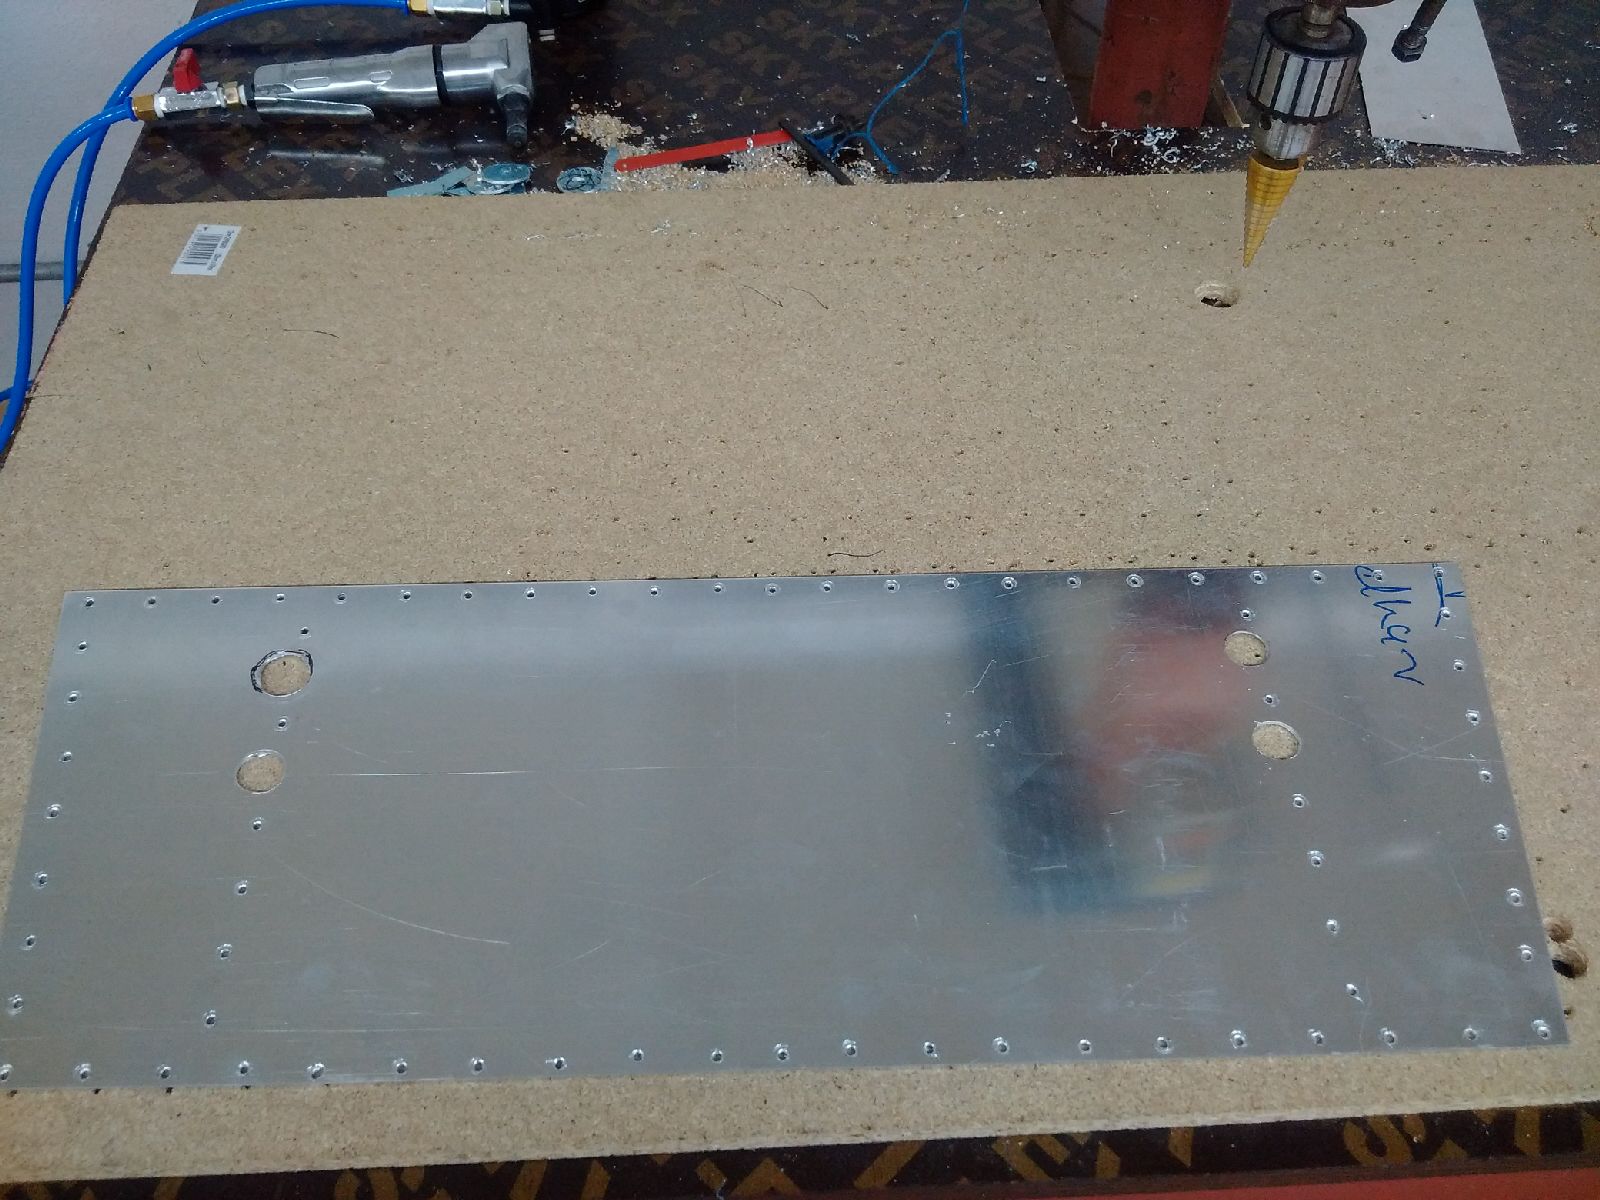
I then decided to work on the front bulkhead - this is a tough panel to get right. Again a template was made, taking care to mark the mastercylinder studs and holes. The template was then transferred to the ally panel, which was nibbled, filed and tested on the chassis. Once it was fitting perfectly with just the stud holes made (10mm holes for 8mm studs), the mastercylinder holes were drawn from the back, and cut out using a step drill. The panel was then marked for rivet holes (Not on the top, as this will be riveted later on with the body), drilled and deburred. It was then skin pinned to the chassis, and I decided to end work for the day - time to go swimming and relax a bit...
June 16, 2015
Build Time Today: 5 hours
Total Build Time: 28 hours
First order of business today was to drill the chassis for the front bulkhead panel. The 90-degree drill is a life saver for this panel - some of those rivet holes were almost impossible to reach. Once the chassis was drilled and deburred, it was waxoyled and the panel put aside.
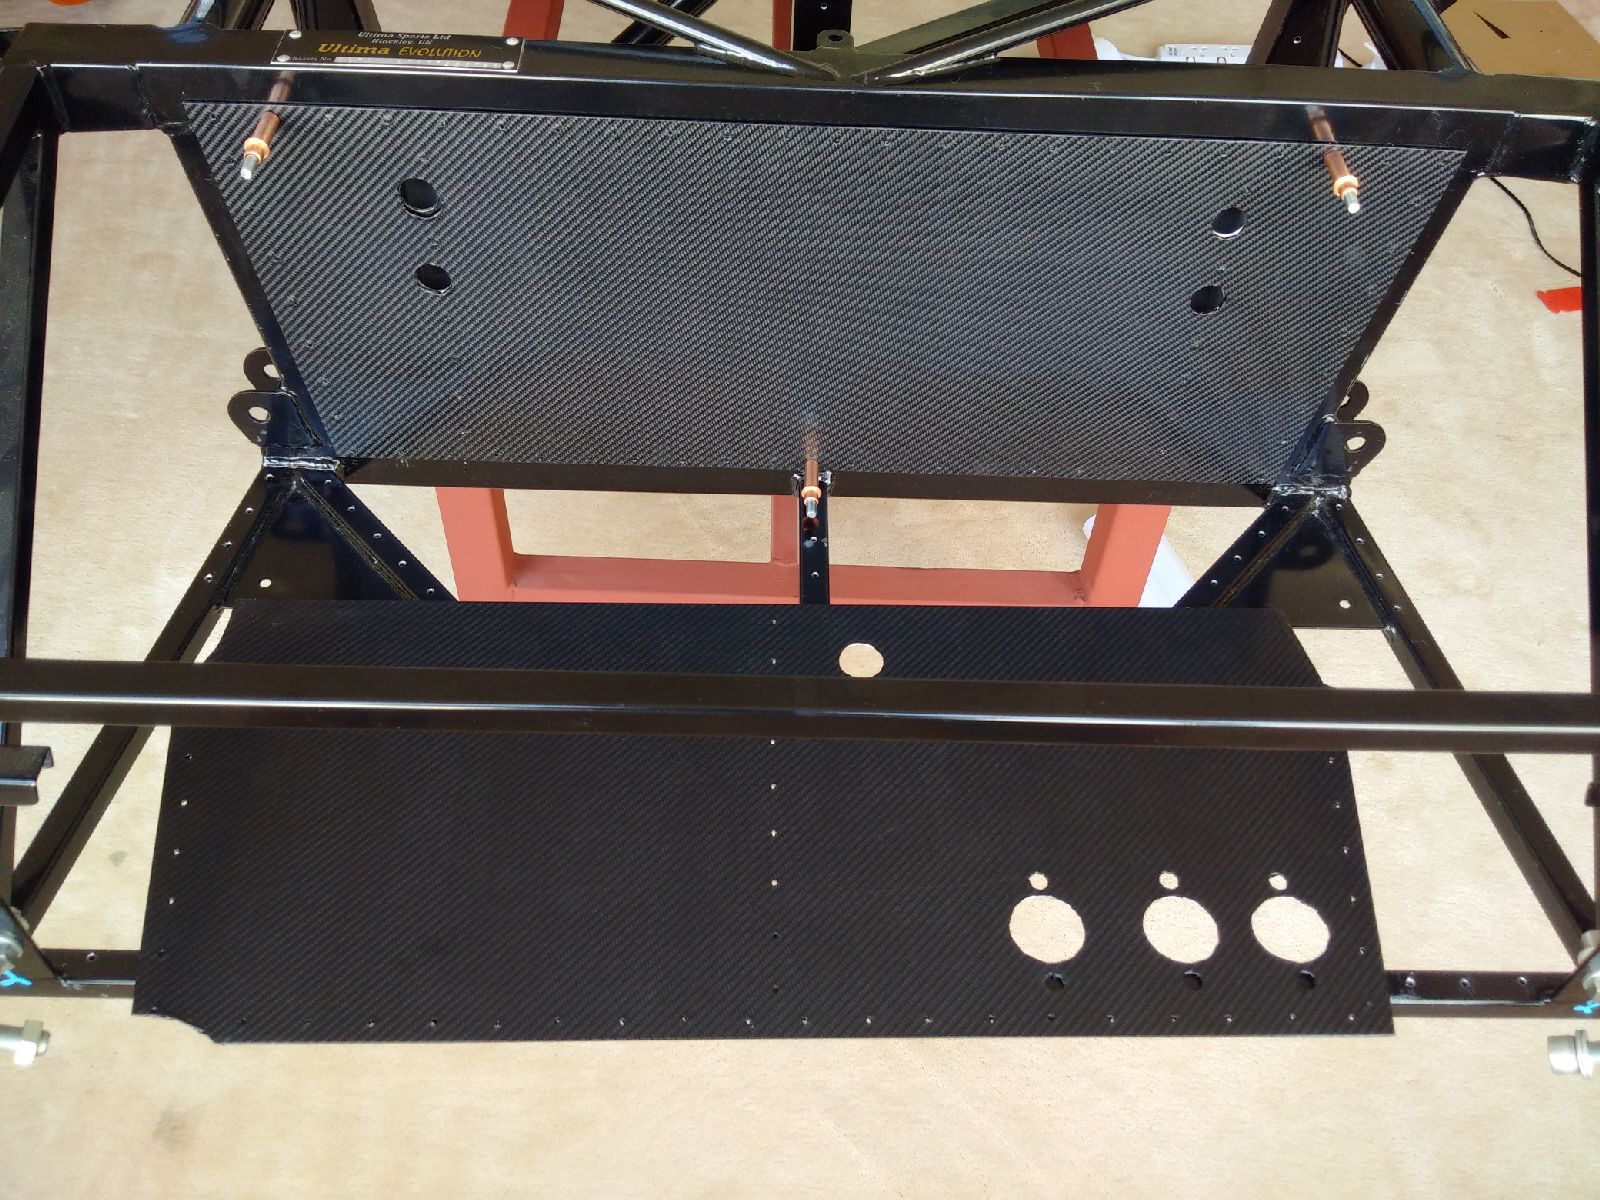
Then I took the top radiator panel - it was notched in all four corners, and the middle of the rear to clear all welds. Chassis lines were marked from below, and then the panel was drilled at 30mm intervals, deburred, skin pinned to chassis and then the chassis drilled, deburred and waxoyled. I also drilled a small hole into the panel from the bottom to mark the radiator bobbin location. This hole was later widened to 16mm. Also, be sure to remember that the rear line of rivets will go onto the ally tube supplied separately. Another panel done!

Finally, I decided to work on a custom made radiator bulkhead panel - using a spare piece of ally (thanks Surti), I cut out a template similar to the front bulkhead panel, and then marked for rivet lines. I also marked out the 4 holes for the rack bolt access. Drilling, deburring, chassis drilling, deburring, and waxoyl - the radiator bulkhead panel was ready.
Tomorrow it will be rivet time!
June 17, 2015
Build Time Today: 3 hours
Total Build Time: 31 hours
First, Ramadan Mubarak/Ramadan Kareem to everyone! Today is the first day of Ramadan, so I expect the amount of work I get done then next 30 days to be at a slower pace. Fasting in 40+C heat, and then working on this project is hard!
I spent an hour in the afternoon taking care of some pre-rivet stuff: adding CF bling to the panels. Radiator bulkhead and Front bulkhead were done first, and I will do the radiator and battery panels later next week.
Later in the evening, I returned to the garage to start the riveting. I cleaned the chassis members, applied the black seal/bond (I HATE this stuff), skin pinned the panel and inserted rivets, and started to go off on them with the air riveter. Two hours in, I had the rear and drivers side panels in. Already pushing past midnight, I decided to call it a night.

Note: There are a few rivets that were missed as apparently I forgot to drill the chassis holes. Those will be taken care of later on once all panels are in, and the black stuff has dried.
June 18, 2015
Build Time Today: 3 hours
Total Build Time: 34 hours
Today was getting the riveting finished so that the chassis could be turned over this weekend. I got the passenger side panel and the front bulkhead riveted - standard procedure of cleaning chassis, skin pin the panel, and rivet away.
I also made a template for the battery panel - which will be made and installed later, but I had time to kill so this was the next item on the agenda. The chassis will only be turned over late tomorrow when I get some help.
I also installed the radiator bobbins (First nuts on the chassis ;)) and cleaned out the pedal pivot holes in preparation for the inversion of chassis.
June 19, 2015
Build Time Today: 1.5 hours
Total Build Time: 35.5 hours
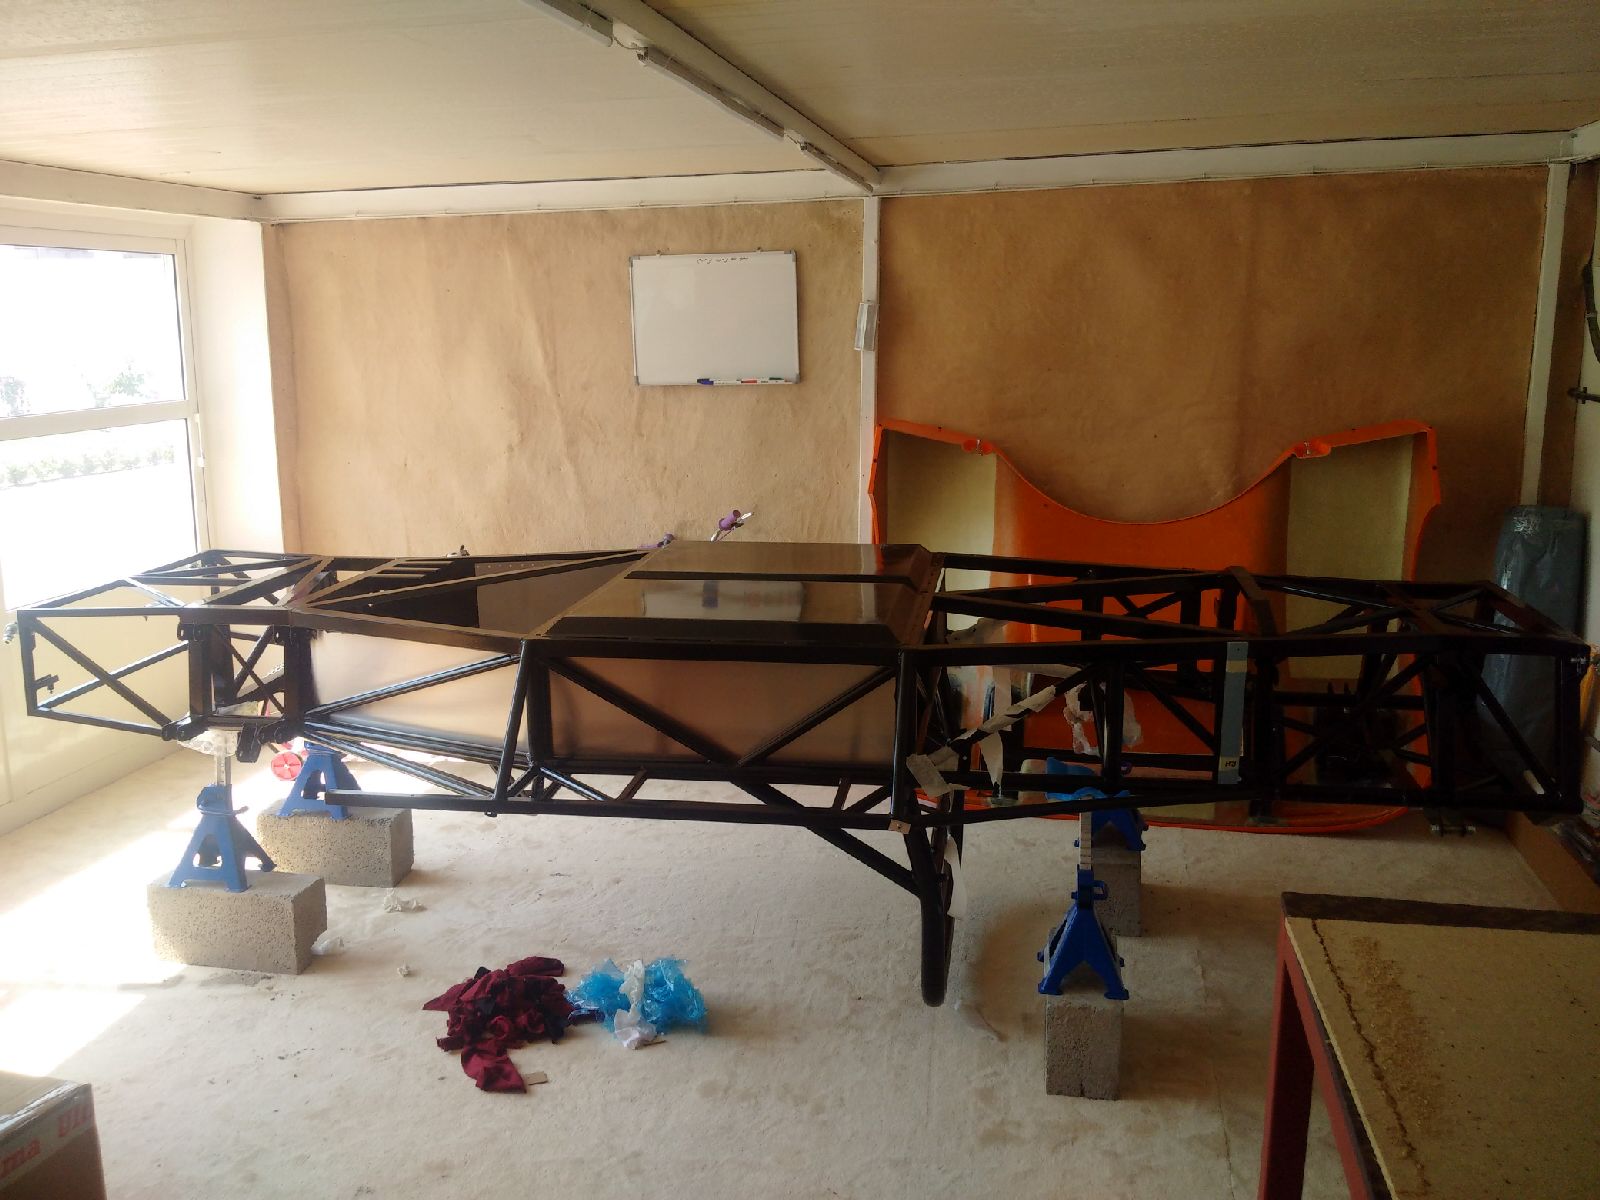
The chassis was turned over today! It took 6 people to do the job - 4 holding up the chassis, while the other 2 moved the dolly and placed jack stands below the inverted chassis.
Once inverted, I checked all 3 floor panels for clearance, and there is almost no trimming required. However, I noticed that the floor panel was not even because one of the pedals (clutch) was not aligned correctly with the others/chassis members. It is lower to the ground (higher when inverted) and did not allow the floor panel to sit flat. I will need to rectify this later before riveting the floor pan to the chassis.
I marked the radiator and battery tray floors and drilled them. I then placed them on the chassis and skin pinned them only. Drilling the chassis and deburring will also be done tomorrow, so I am done for today.

June 20, 2015
Build Time Today: 2.5 hours
Total Build Time: 38 hours
Today I marked the passenger floor panel, and drilled the panel for rivet holes. Then all 3 floor panels were offered up to the chassis, and all holes in the chassis were drilled - did I mention how much I hate drilling steel? Once all chassis holes were done, I deburred the panel holes. Chassis holes will be deburred and waxoyled tomorrow, as I am done for the night.

June 21, 2015
There was no work today on the Ultima front. Between work, masjid, and a sehori party, the day just flew by. Back to the build tomorrow.
June 22, 2015
Build Time Today: 3 hours
Total Build Time: 41 hours
Back to the workshop today. First I deburred the chassis holes and waxoyled them, there by prepping the chassis for the riveting tomorrow. Hopefully I will be able to turn it back around in a couple days
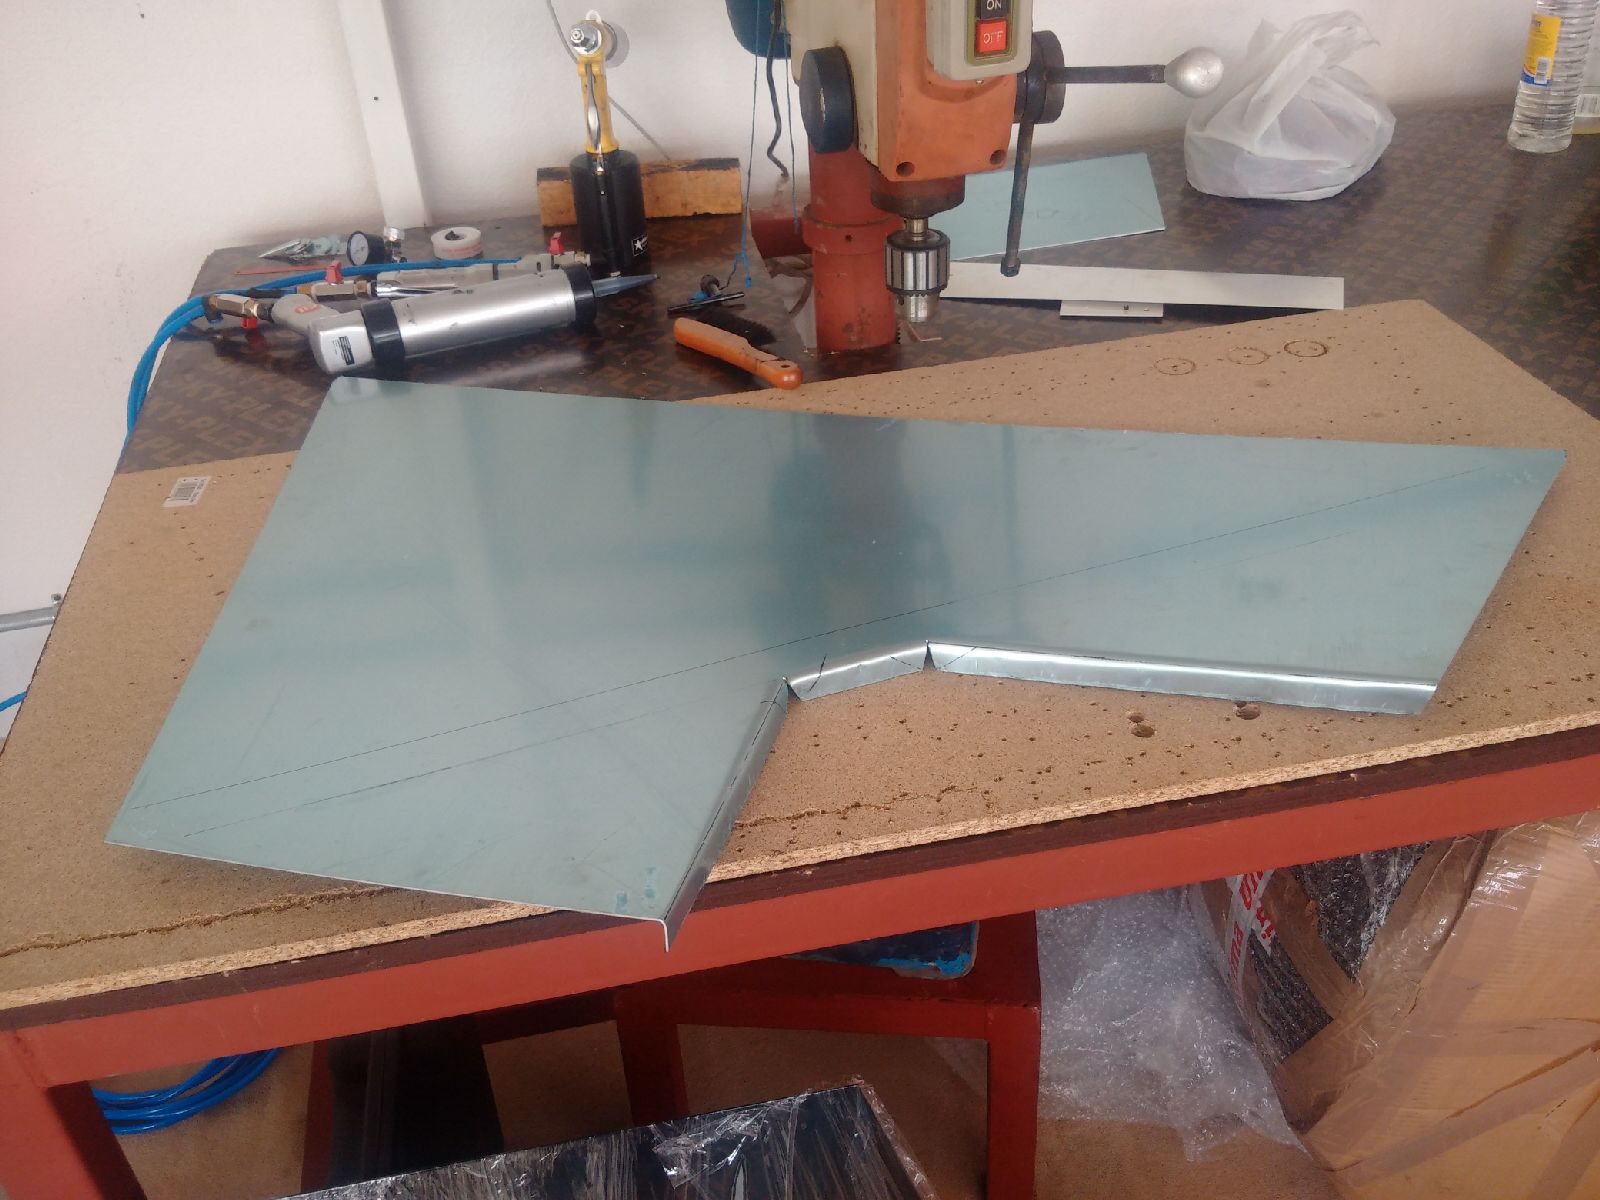
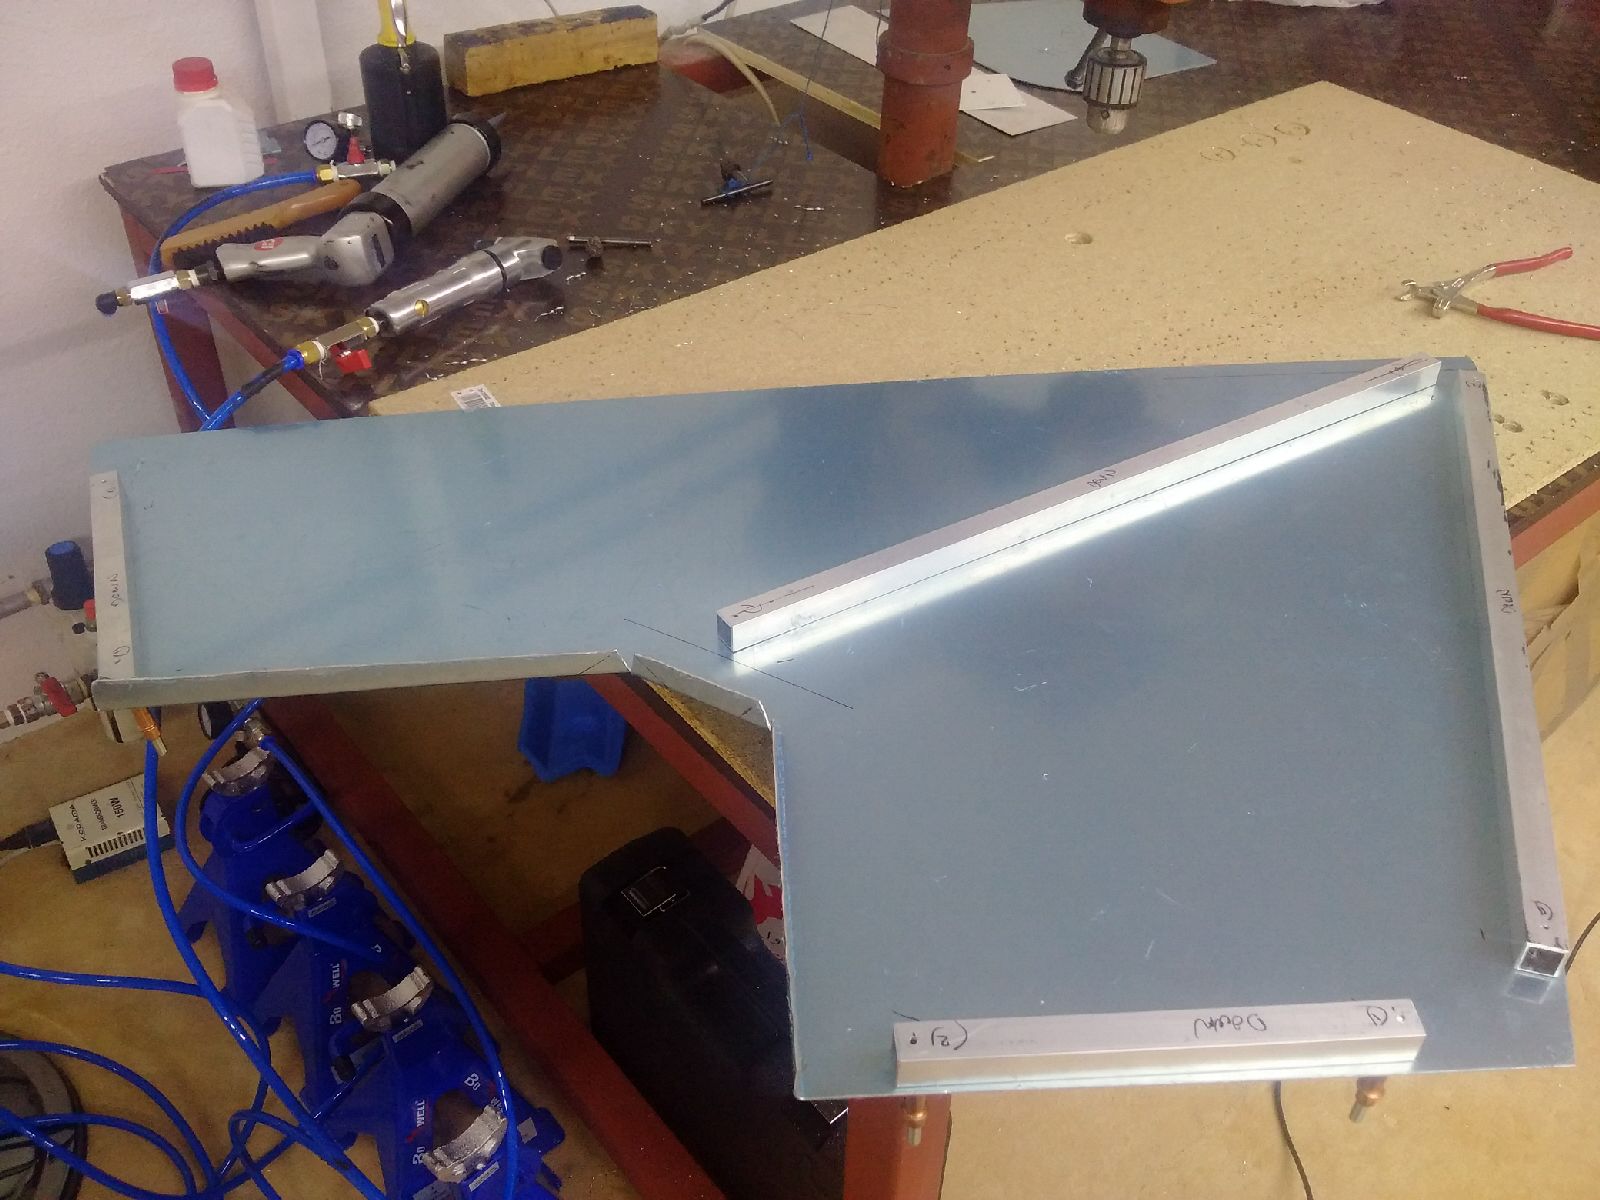
I then decided to the mark the passenger floor (double skin) panel for the chassis member and pedal area, so that I could get an accurate cut and bend for the pedal removal section. Checking and double checking all my numbers, I cut out the pedal area as marked on the build CD, and then folded the 20mm flanges on all 3 sides.
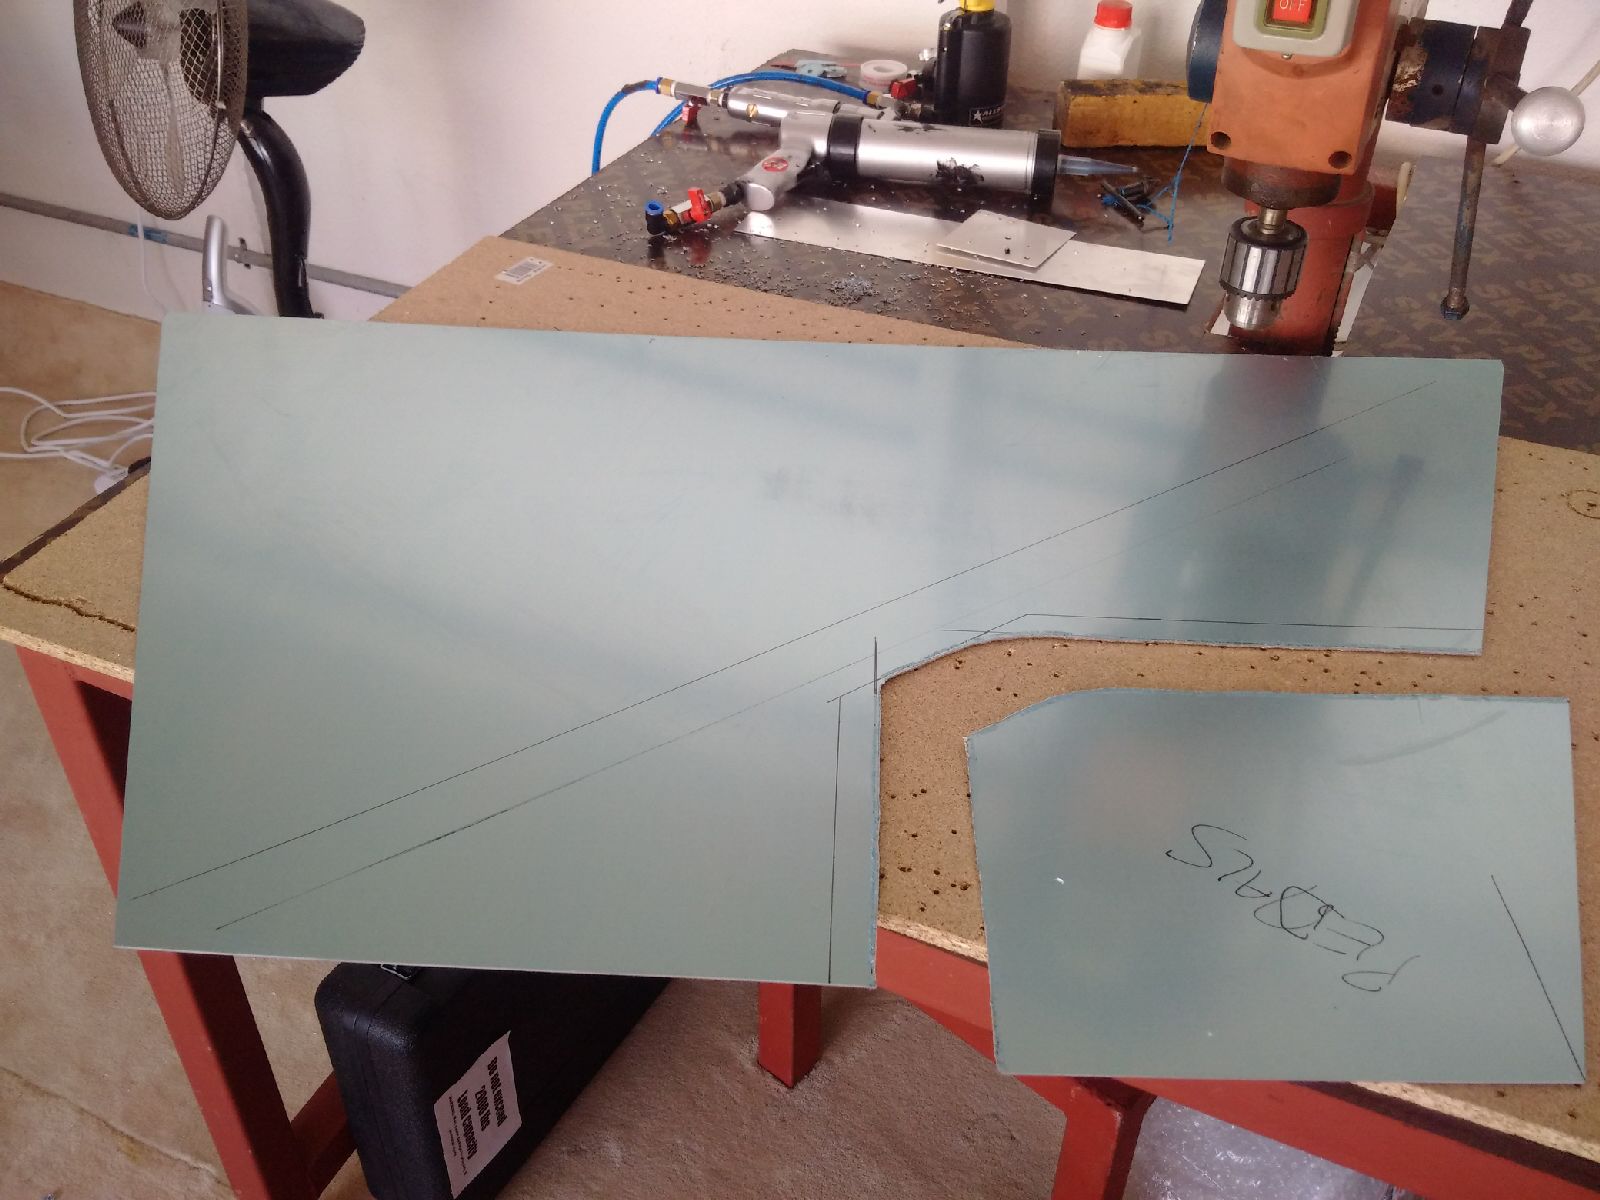
I also took some time to cut out the battery panel from the template made previously.
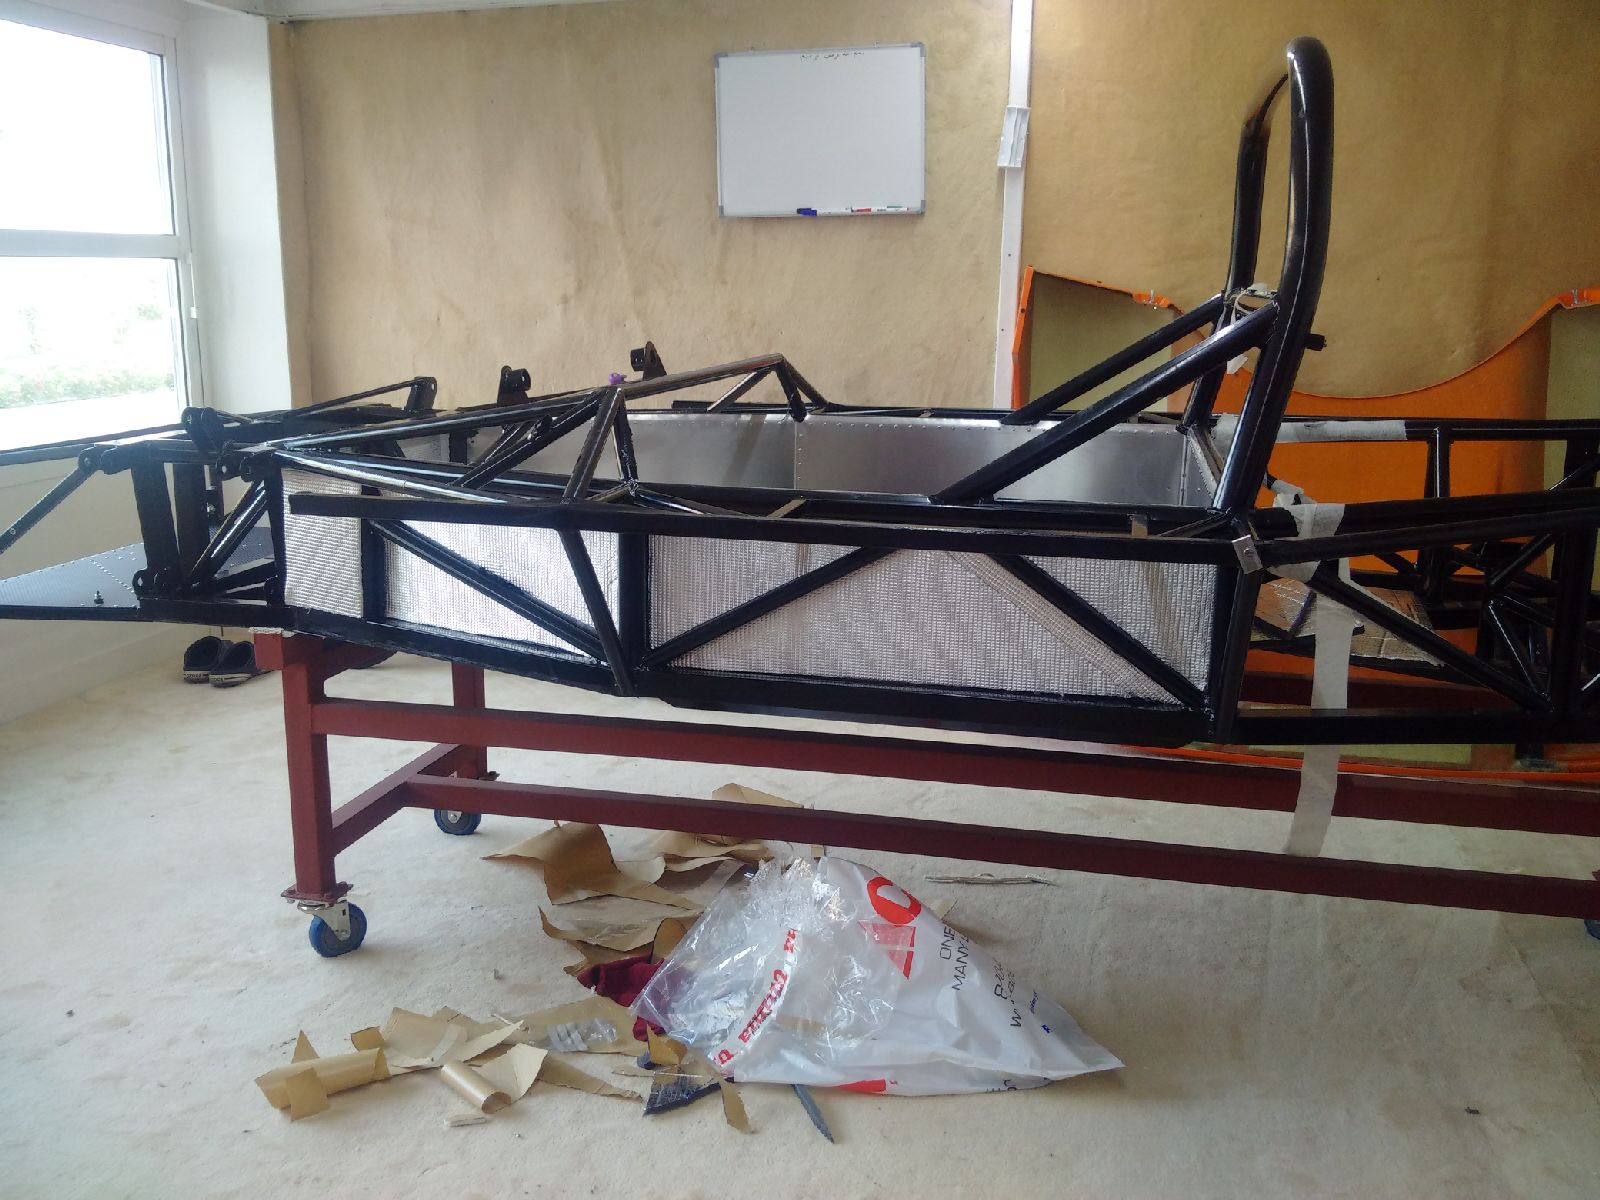
I also found time to start cutting out the insulation material to fit between the chassis members on all four sides. I am using two different types of insulation material: a really thick self adhesive material made of sound proofing material with a heat reflective top layer, that will be used between the rear and engine bulkheads and in the passenger floor (between the double skins). I am then also using a thinner self adhesive sound deadening/heat reflective material for the side panels and front bulkhead. I was able to cut the thinner material and prep 12 small cutouts for all the chassis member gaps on the sides and front.
Final job of the day was finishing the prep for tomorrow's riveting session - the radiator double skin and mastercylinder panel were covered in Carbon Fibre.

June 23, 2015
Build Time Today: 3 hours
Total Build Time: 44 hours
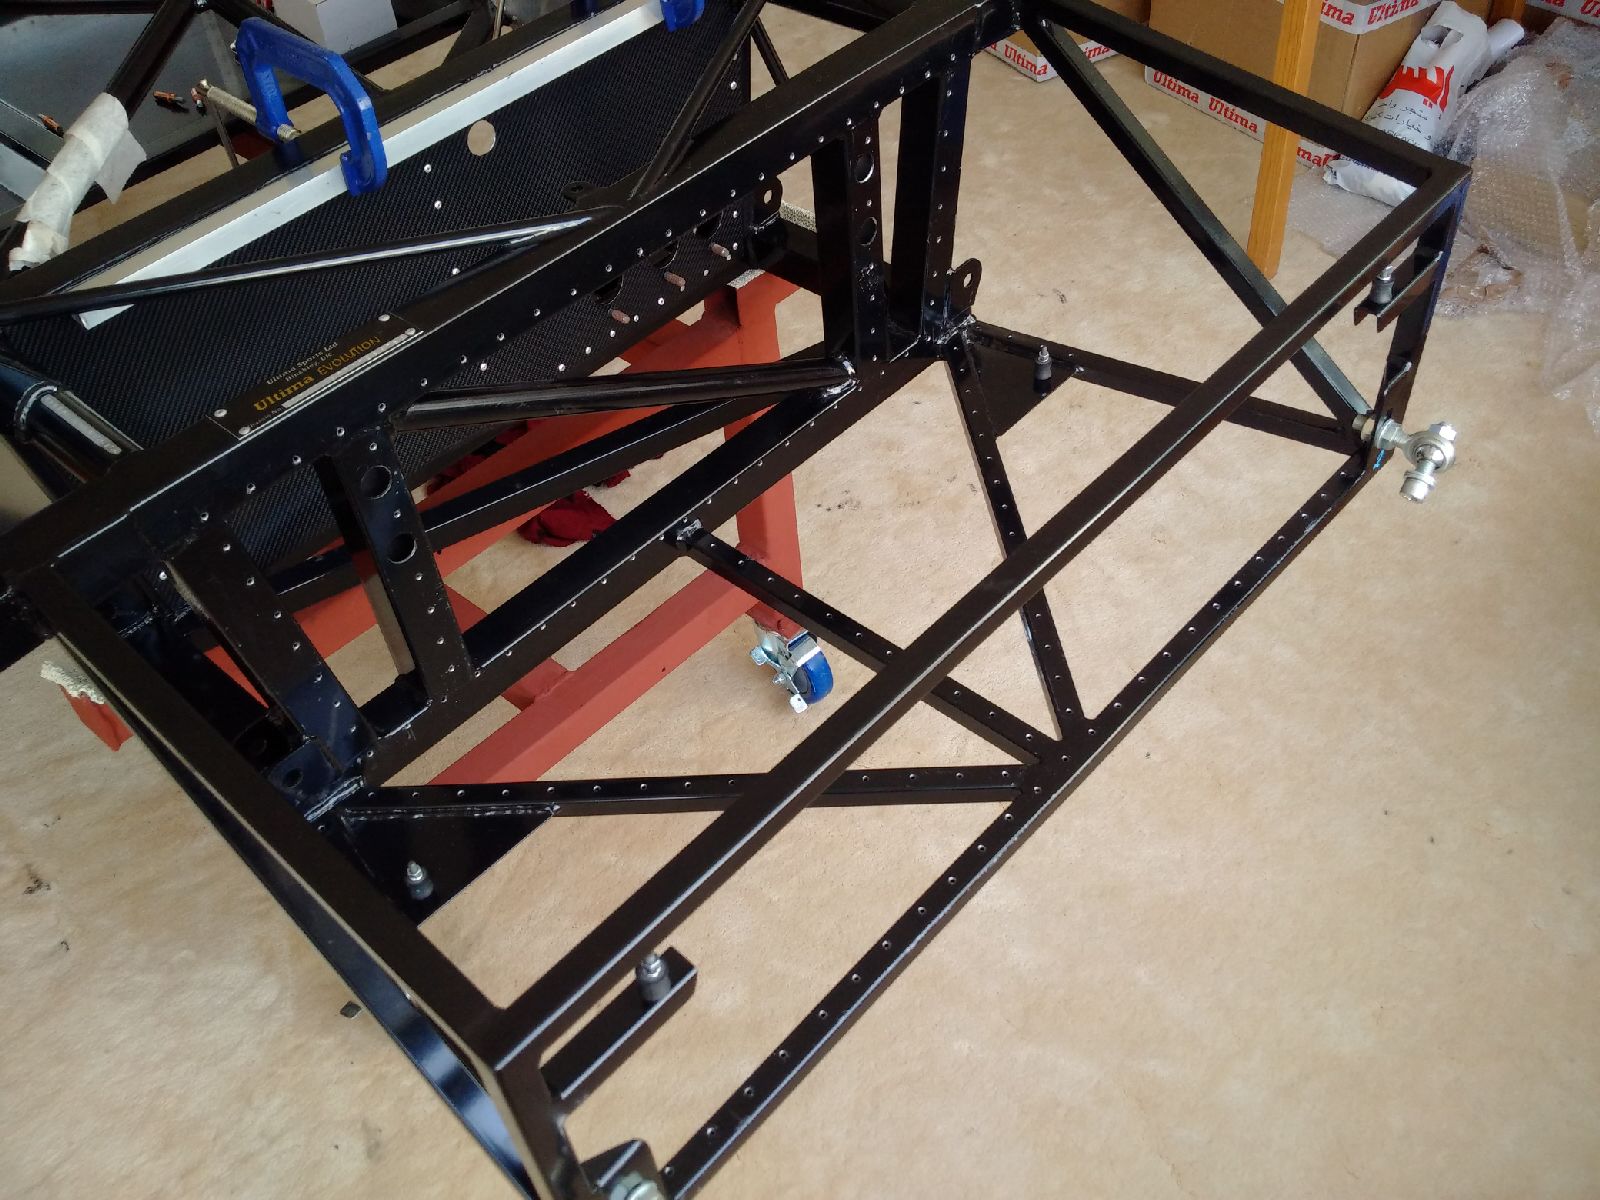
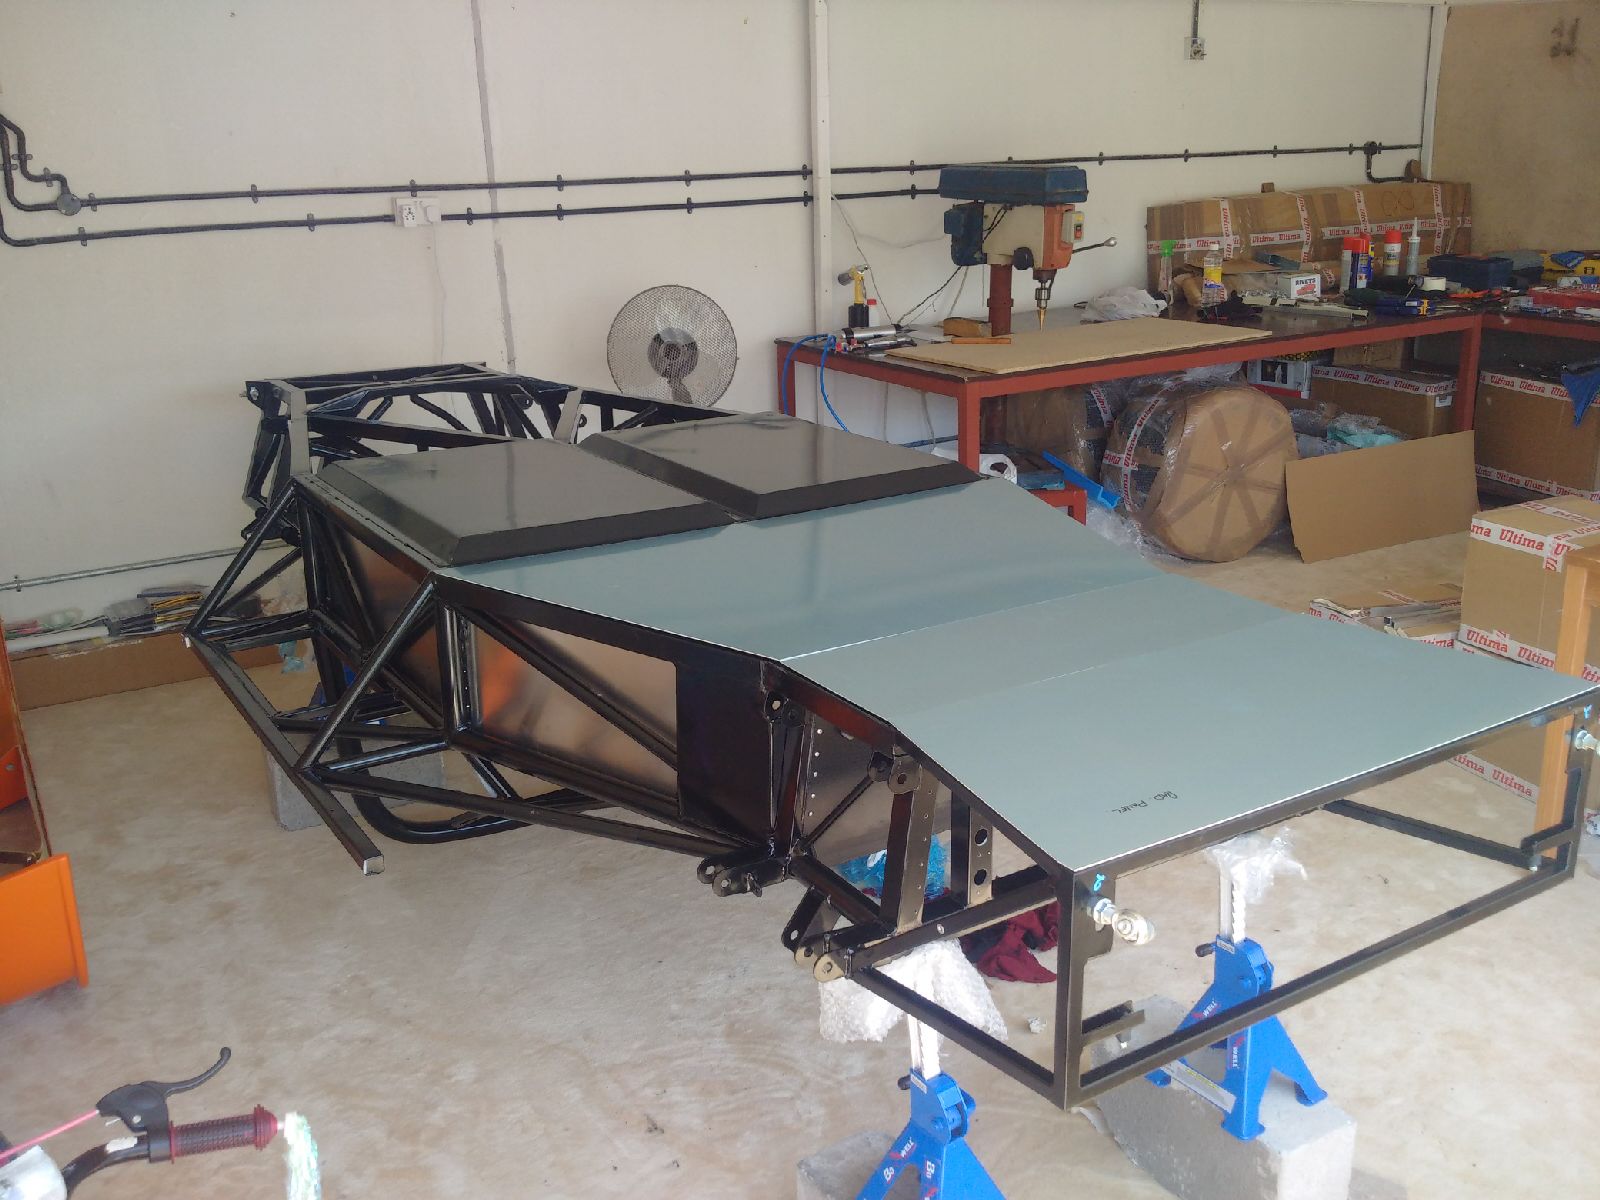
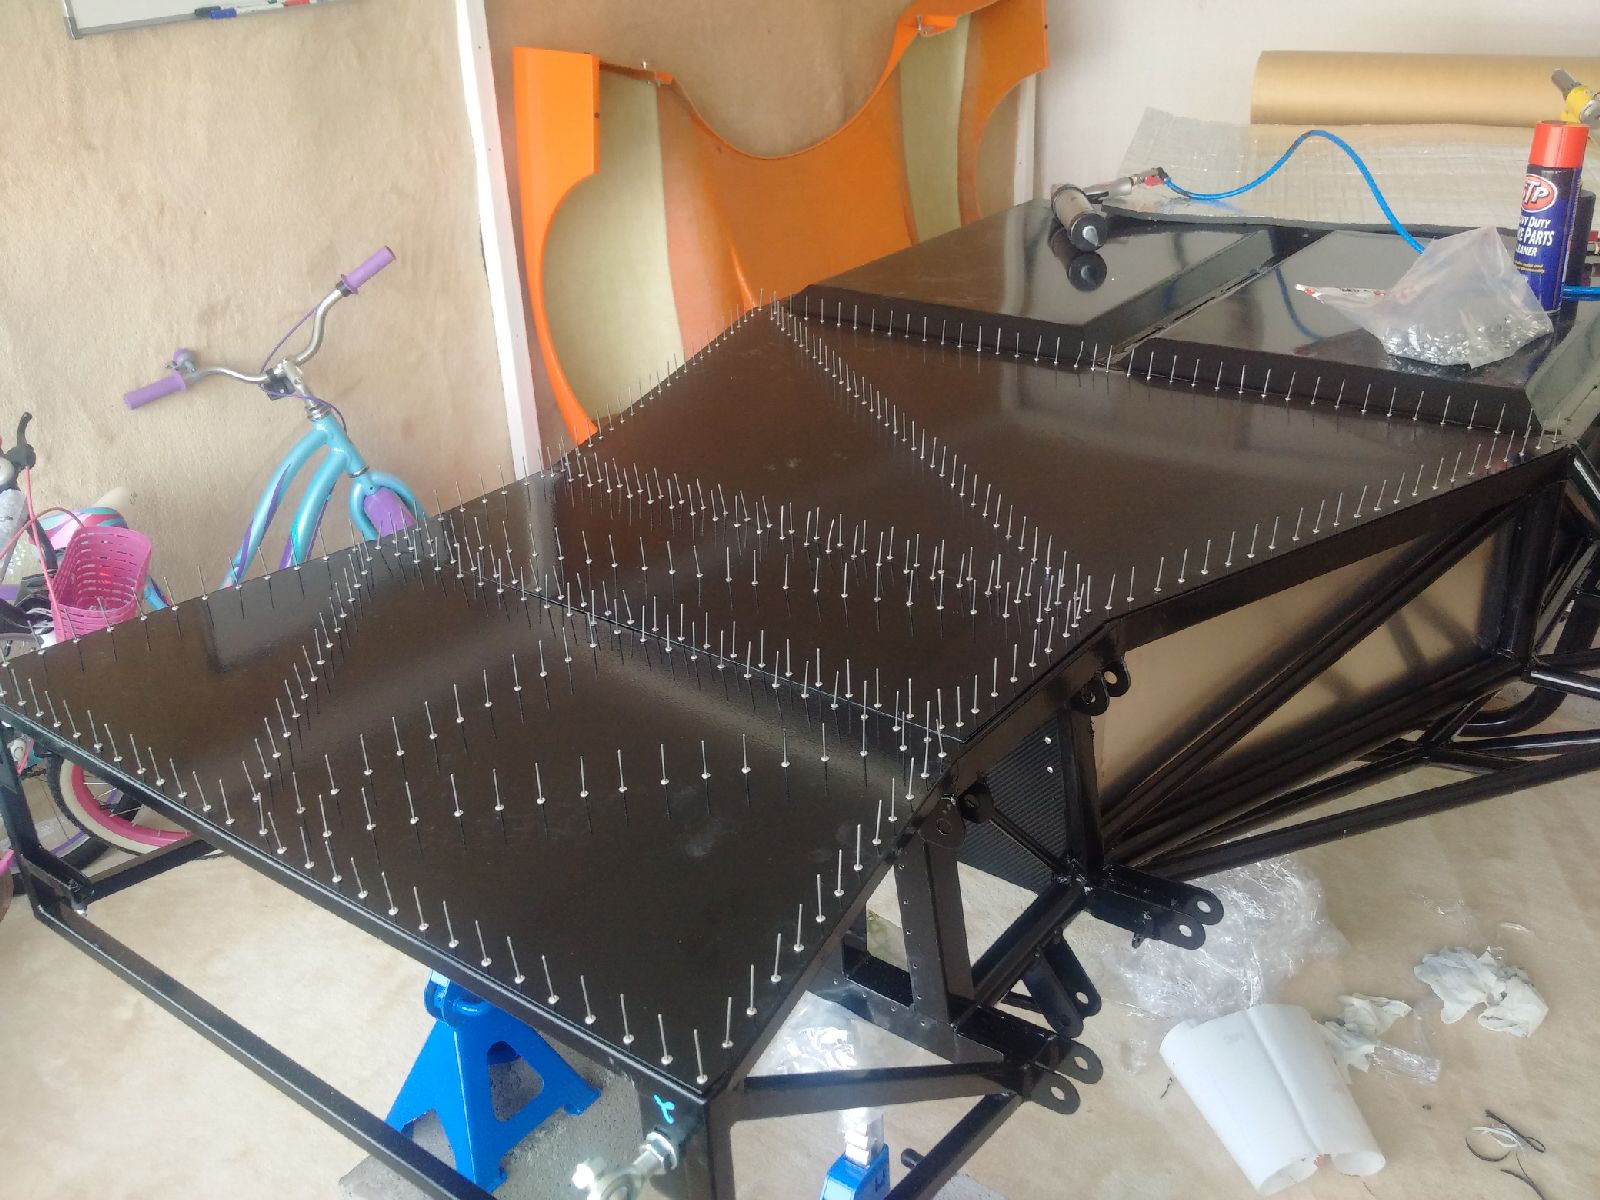
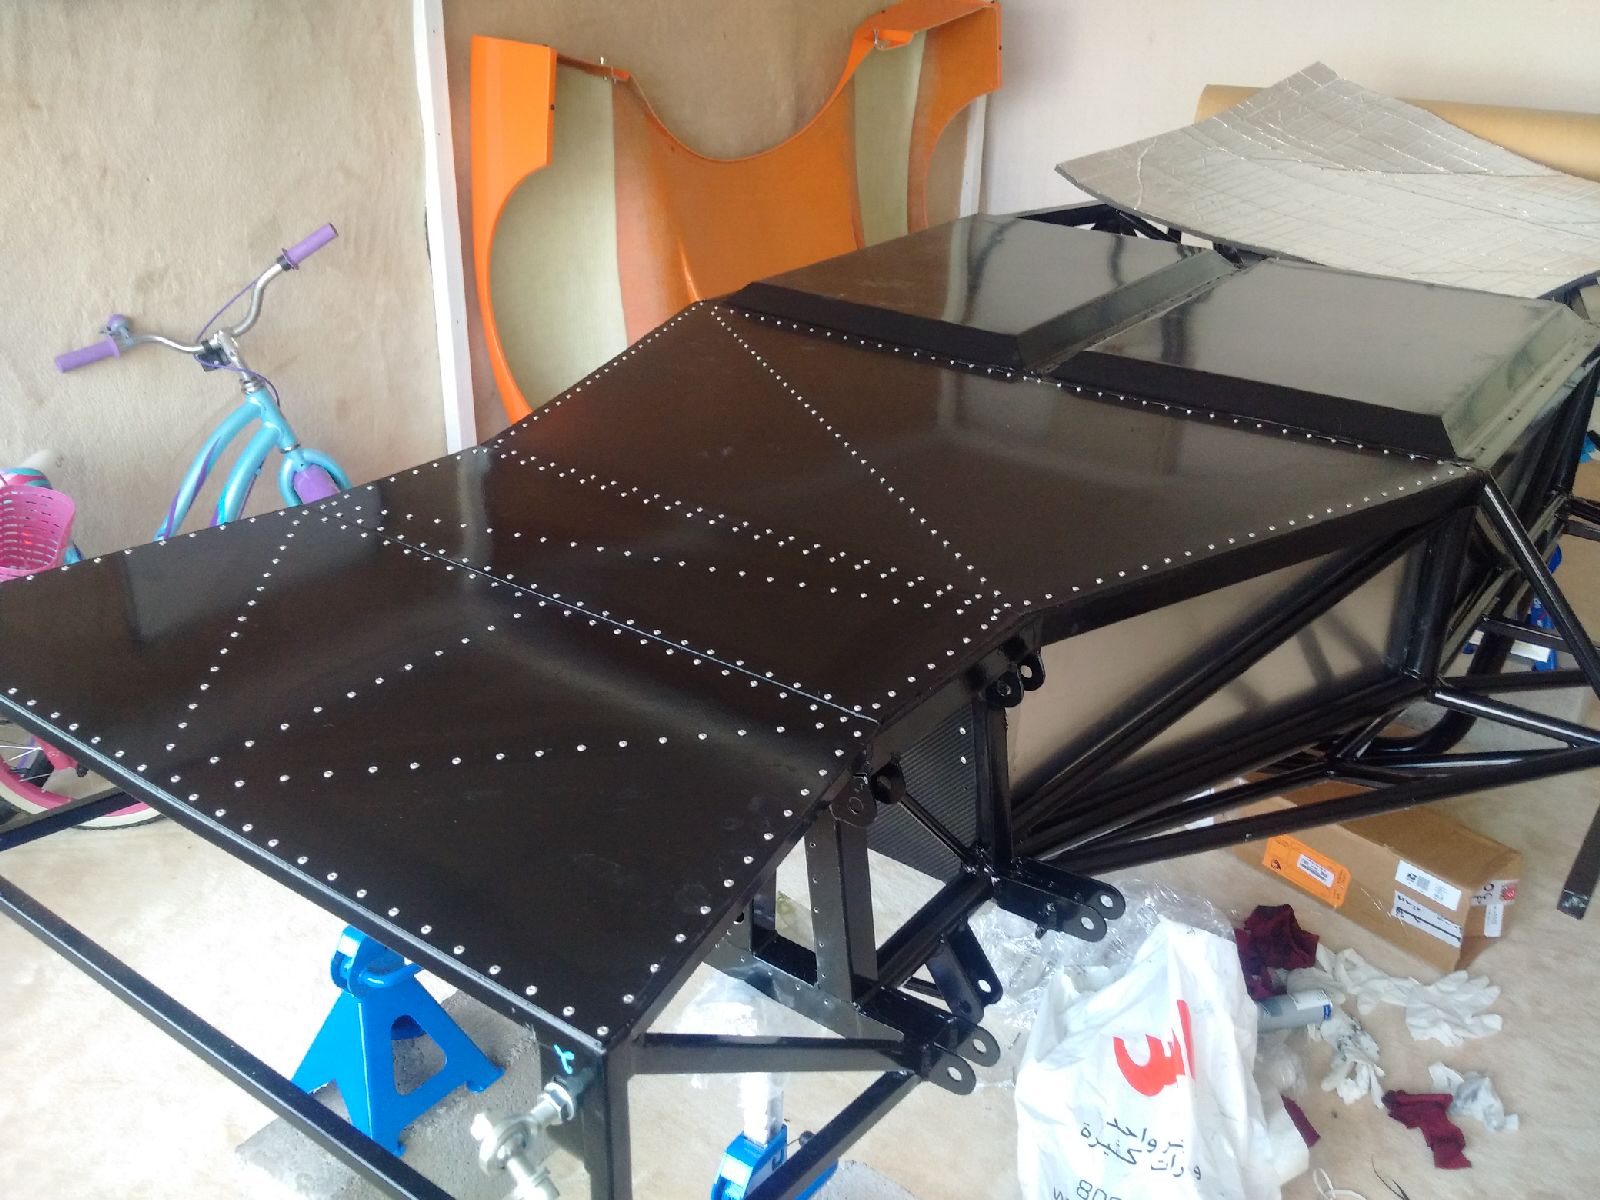
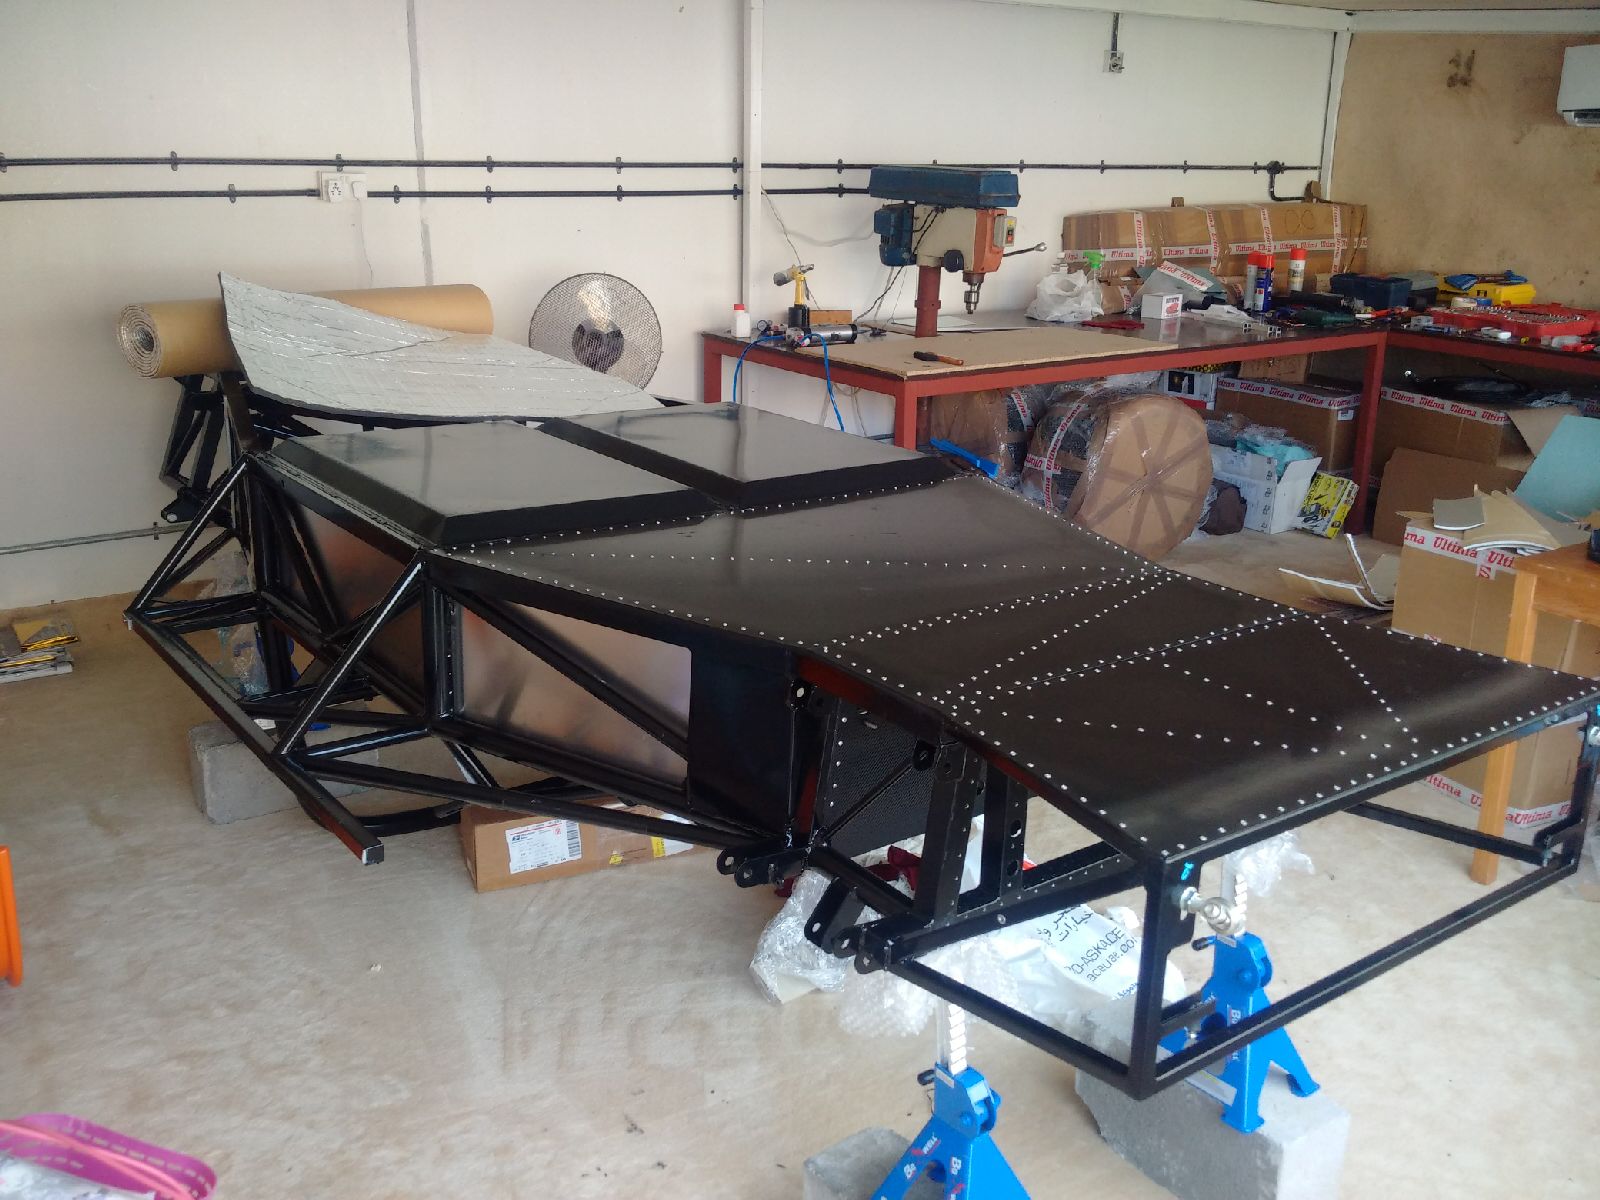
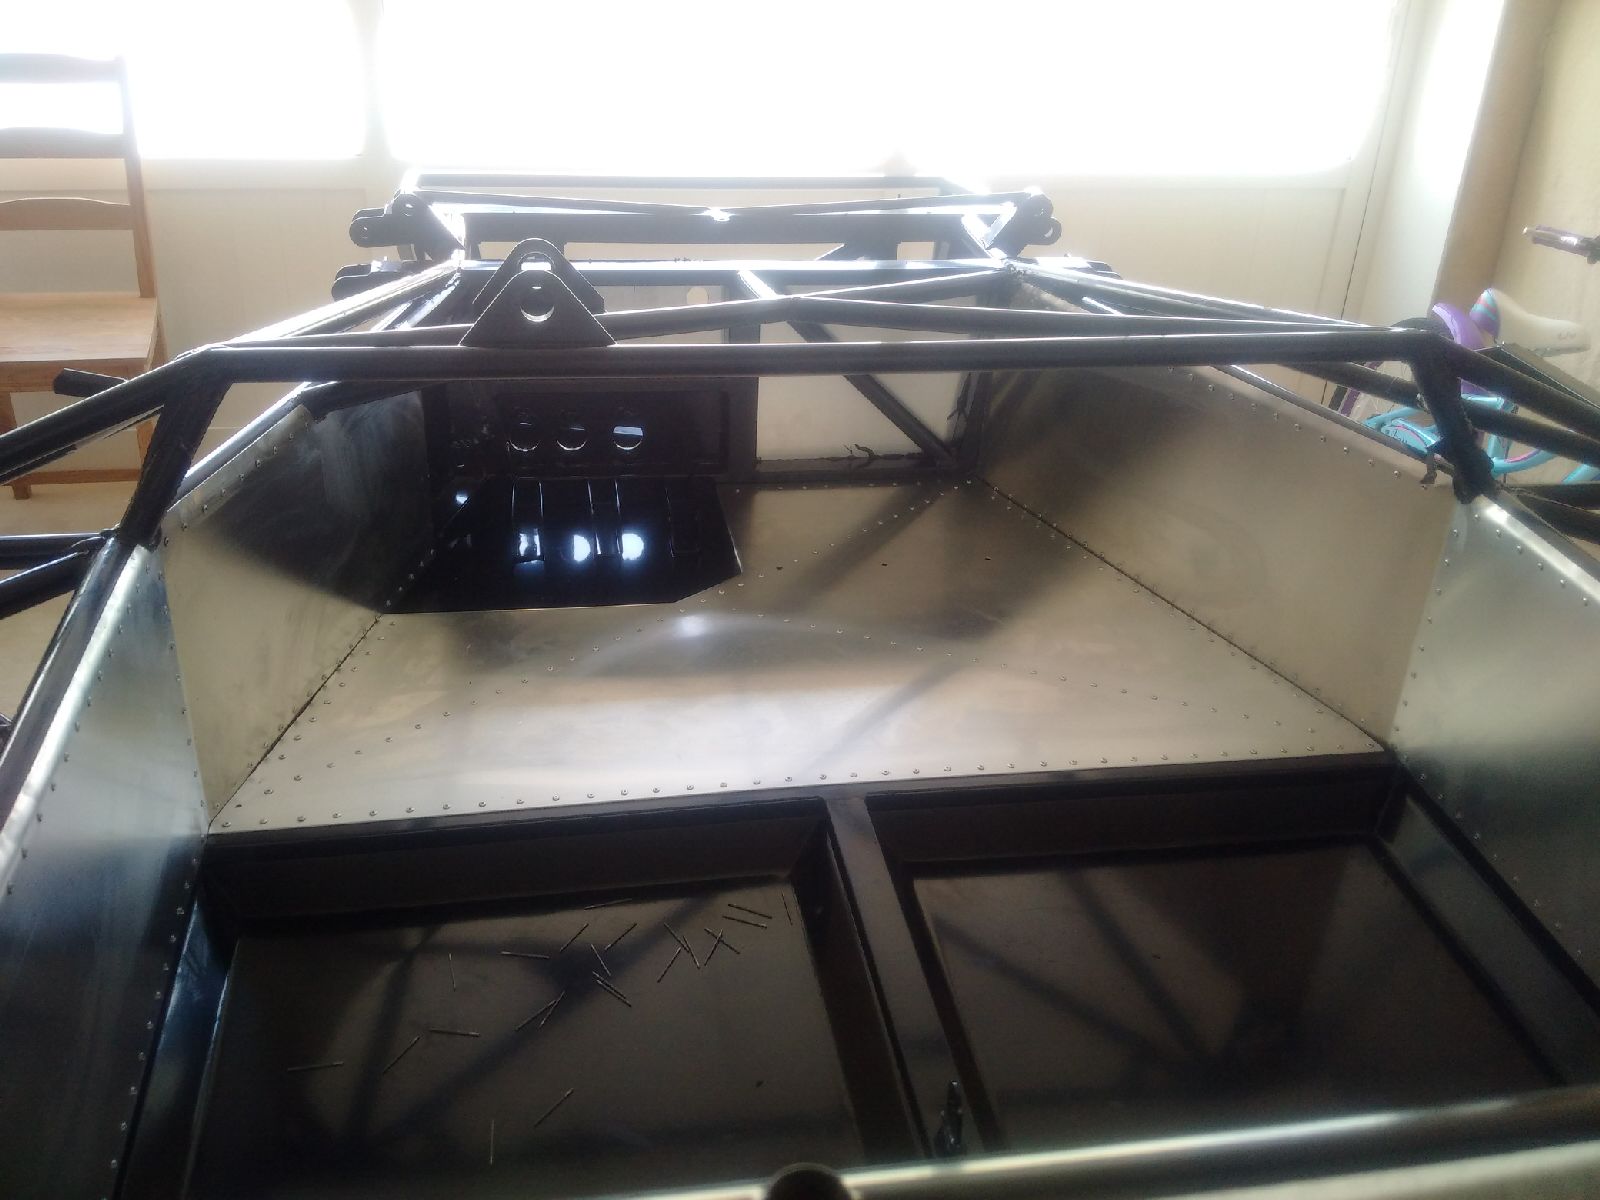
Today I got to rivet the floor panels in! First, as you will notice in the pictures, the ally panels are no longer the bright metal silver, but instead a shiny black - I have had them powder coated black to match the rest of the chassis and the seat pans - should any poor soul have to see the bottom of the car, it will be all black (and probably the last thing they see)...
Once all three panels were in, I marked off all the leading edges of the seat pans (which are only welded in) and the passenger floor panel. and dutifully applied the black sealant to create a water tight seal - I don't want any water entering the cabin from below from any point!
All this done, the chassis is now ready to be flipped back over again! Done for today, chassis flip and further panels tomorrow!
June 24, 2015
Again there was no work today on the Ultima front. Back to the build tomorrow.
June 25, 2015
Build Time Today: 4 hours
Total Build Time: 48 hours
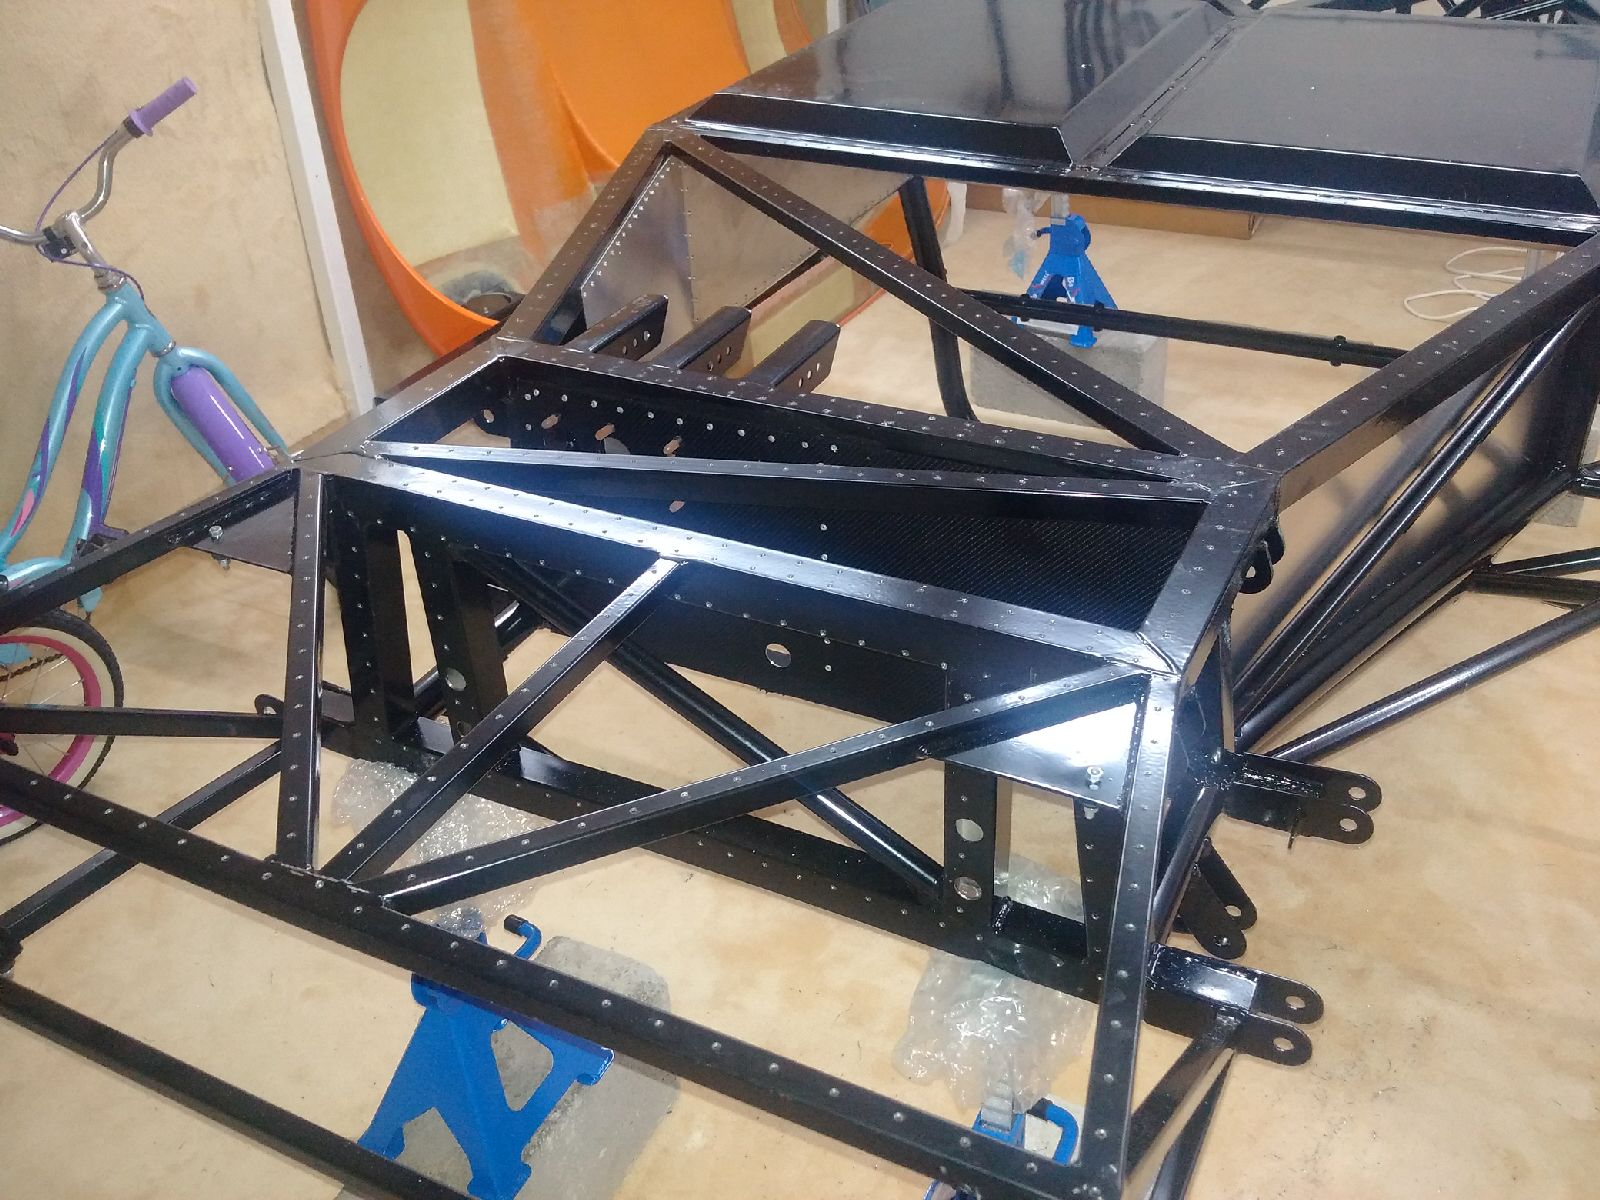
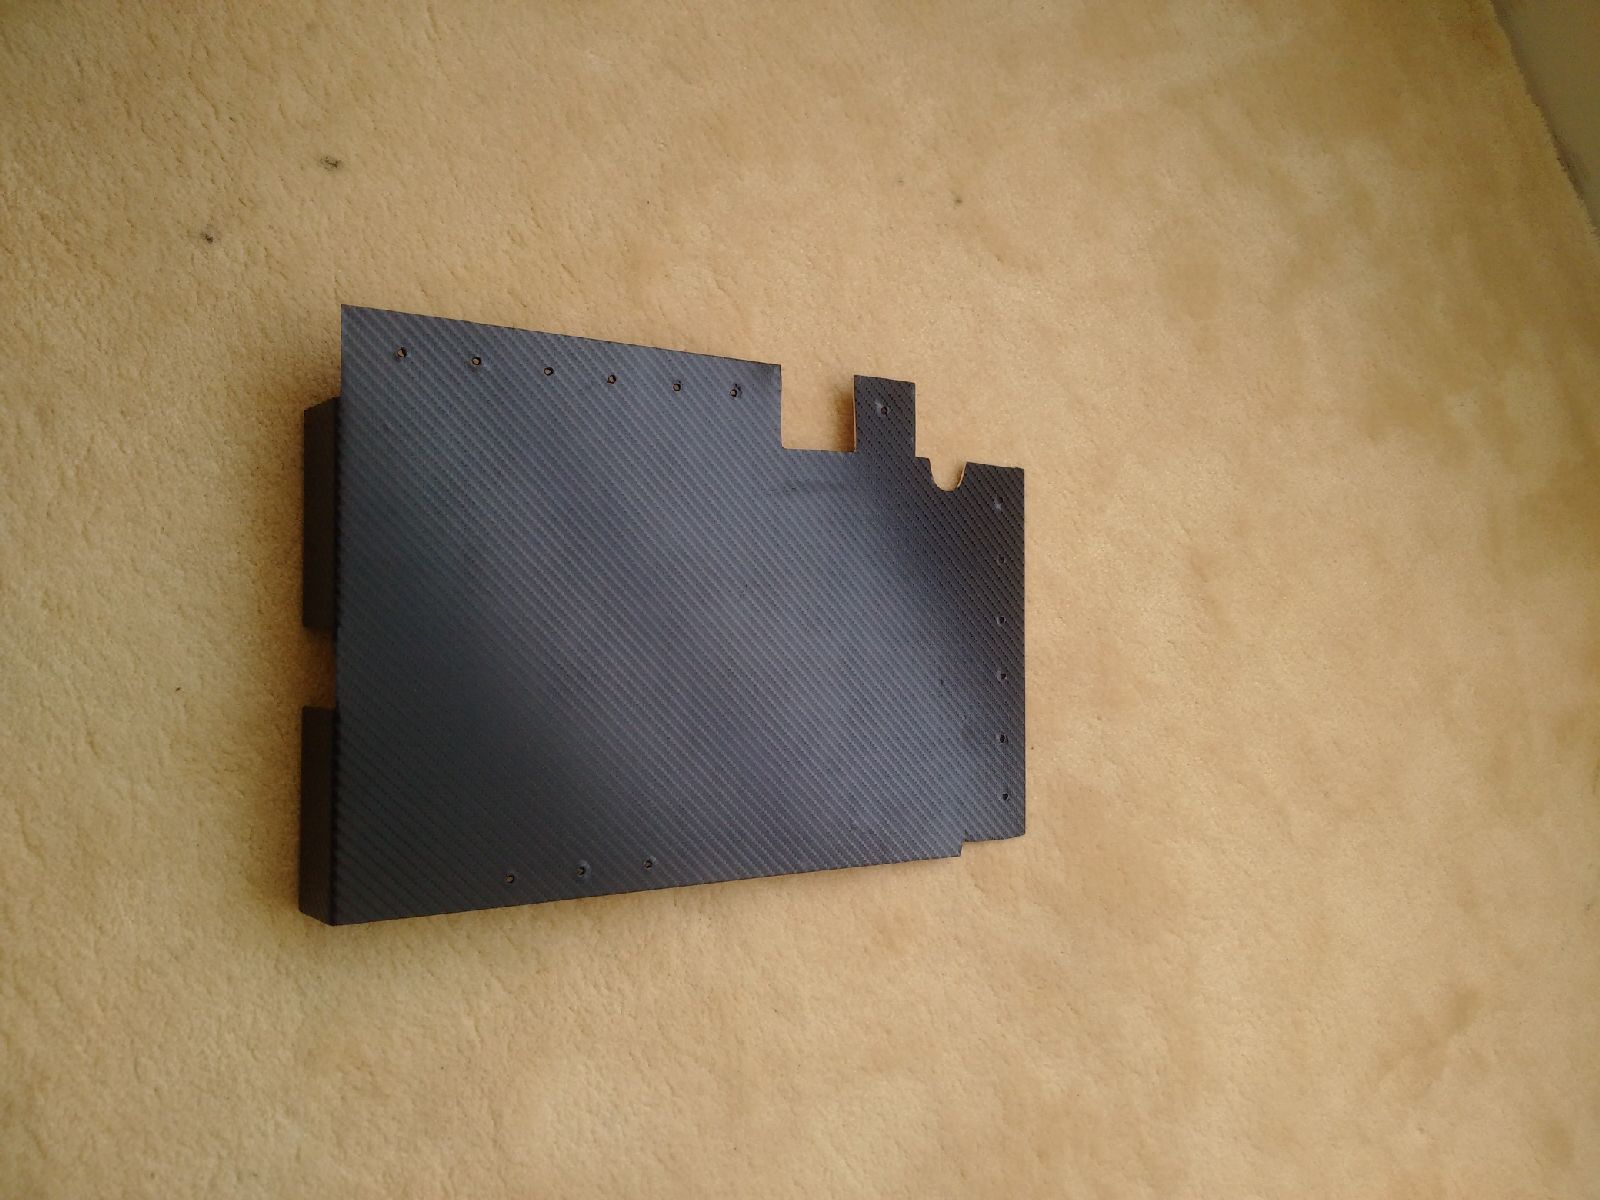
The chassis was flipped over again. I got to work on the battery panel - this is one of the hardest panels, especially with the new chassis which has an additional diagonal running on the bottom of the chassis which also requries a cut out on the panel. The panel was trimmed to fit, drilled, deburred and then covered in CF. Chassis was drilled, deburred and waxoyled, and then the panel was riveted (with the application of black sealant)
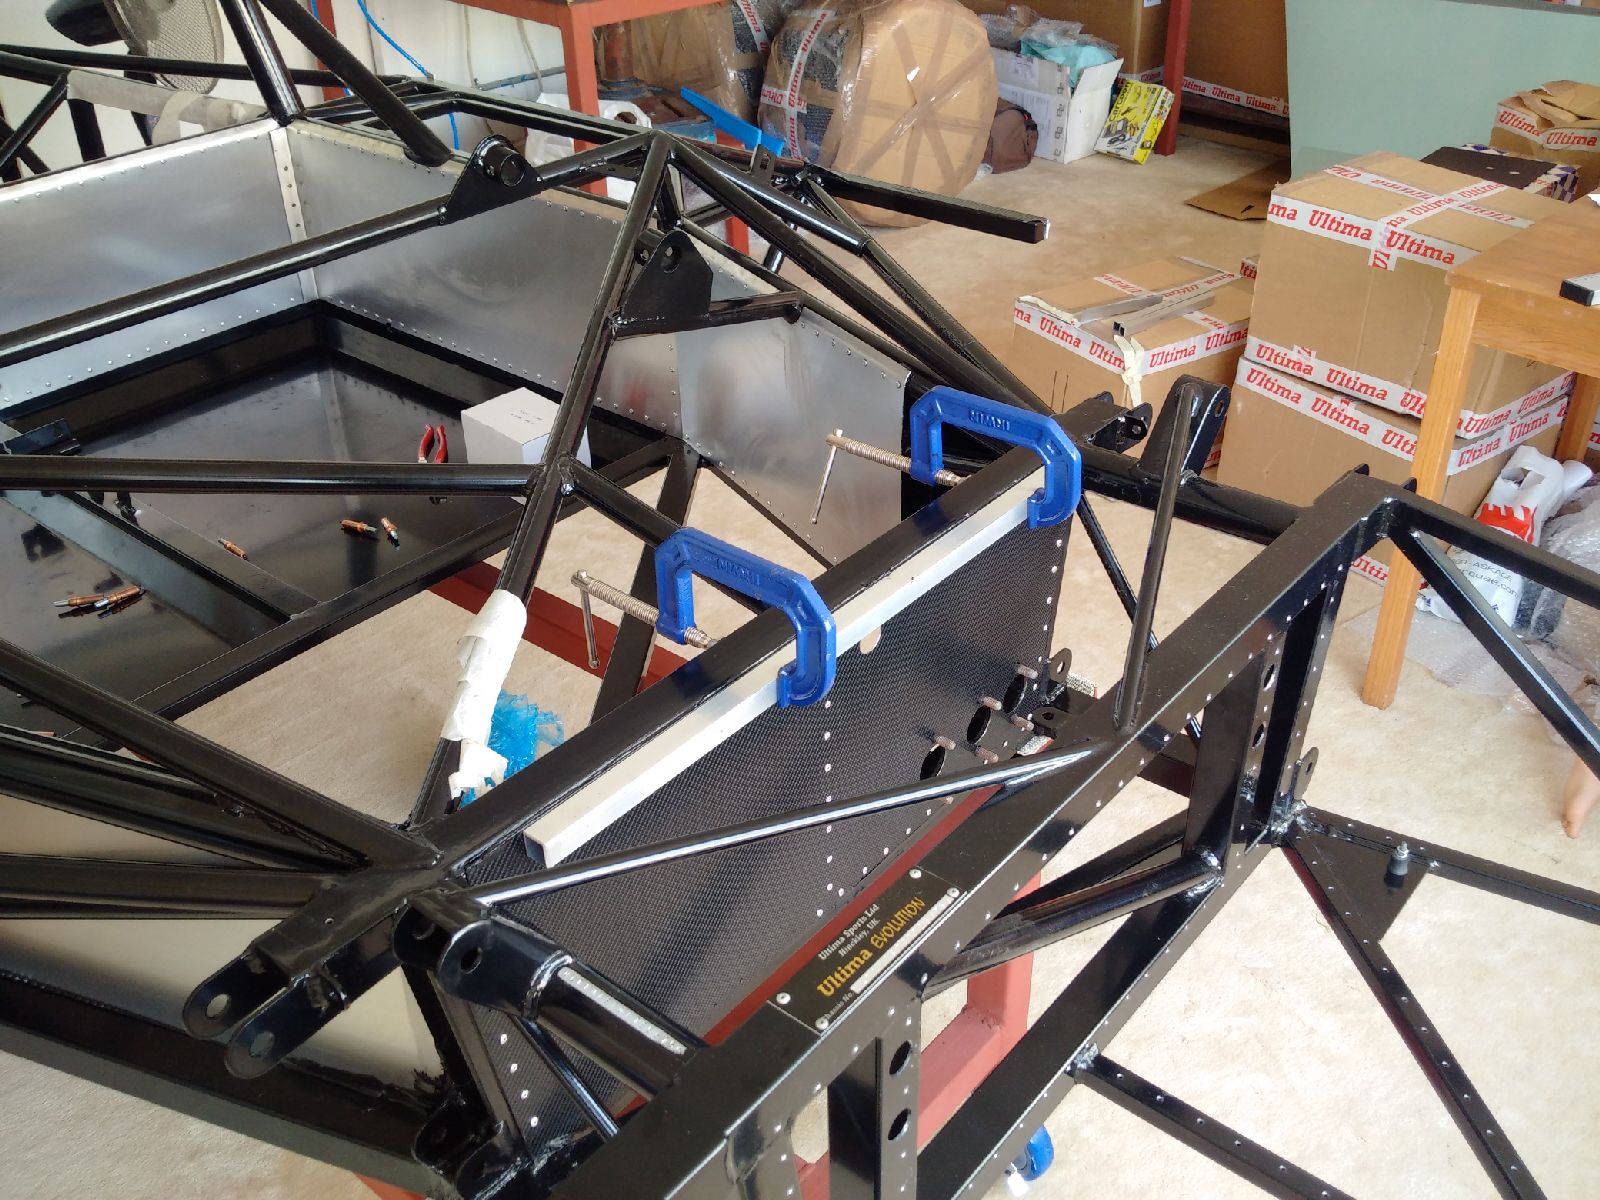
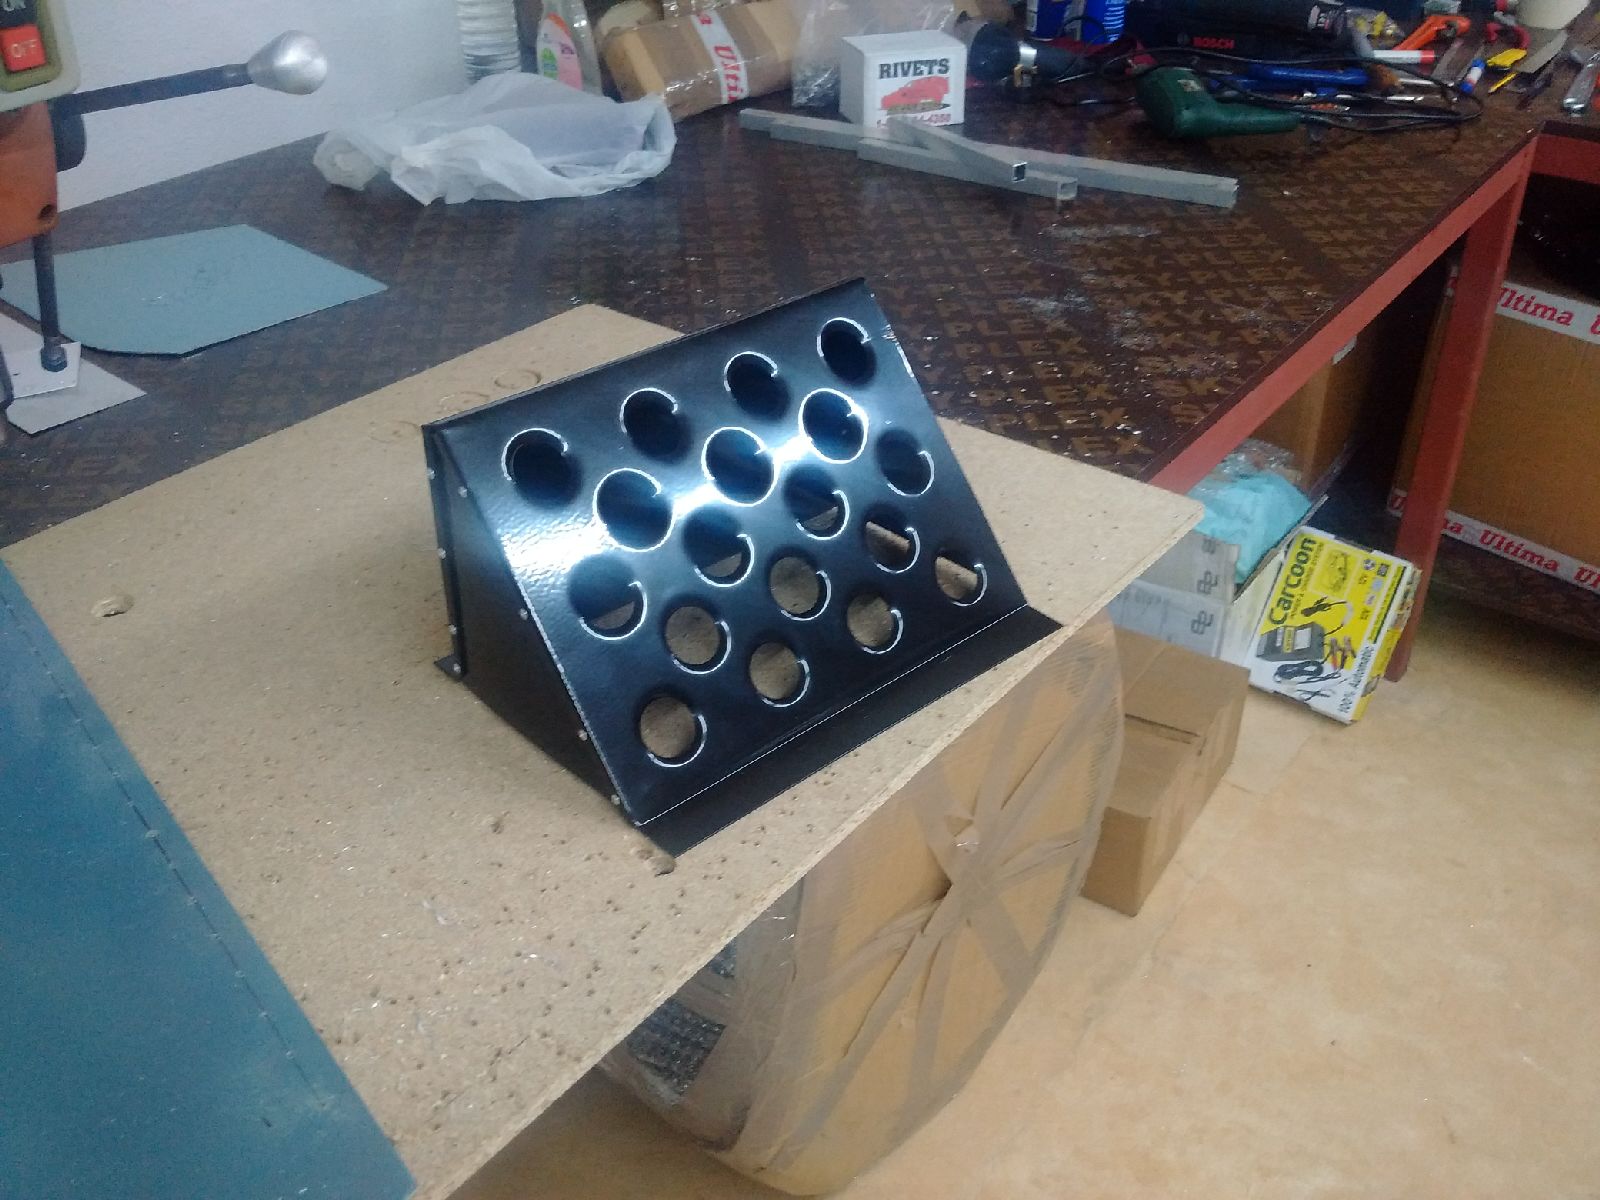
Attention then turned to the radiator panel. I marked and drilled for the two support brackets in the rear. Once those were riveted on to the panel, the entire panel was placed on the chassis and riveted with additional black sealant. The front was also held on with G-clamps until the sealant sets because there are no rivets where the future radiator 'ear' panels will be placed.
Last for today, I started work on the passenger floor panel. Trimming the sides, and then marking the 4 support brackets, I was tired of aluminum work for today. I turned my attention to the passenger foot rest (the 'oh shit' support). This too has been powder coated black, so that it goes with the black carpet in the future. I prepared the foot rest for installation, and then called it a day.


June 26, 2015
I seem to have the flu! Now work today - just soup and sleep...
June 27, 2015
Build Time Today: 5 hours
Total Build Time: 53 hours
Still feeling weak with the flu, but decided to spend a few hours in the garage while I recuperate. Came back to the passenger floor panel - got the four support brackets drilled, put the sealant on, and riveted it to the floor. Then I prepared the thick insulation to go between the supports/chassis members, and after a little felting around, was able to get the insulation to sit perfectly between all the criss-crossing members.
I also drilled the 6 rivnut holes for the passenger foot rest, but my rivnut tool does not have the correct size for the rivnuts sent by Ultima. I will need to come back to this!
The floor was then placed in the chassis, and riveted on after application of the black sealant. Thats it - the floor is in! Passenger foot rest to follow...


June 28, 2015
Build Time Today: 6 hours
Total Build Time: 59 hours
I started off the day with applying the insulation to panels. Both sides, and the front and rear panels all received a form of insulation. The gaps between the chassis and panels was also filled midway with an application of sealant to prevent drumming.
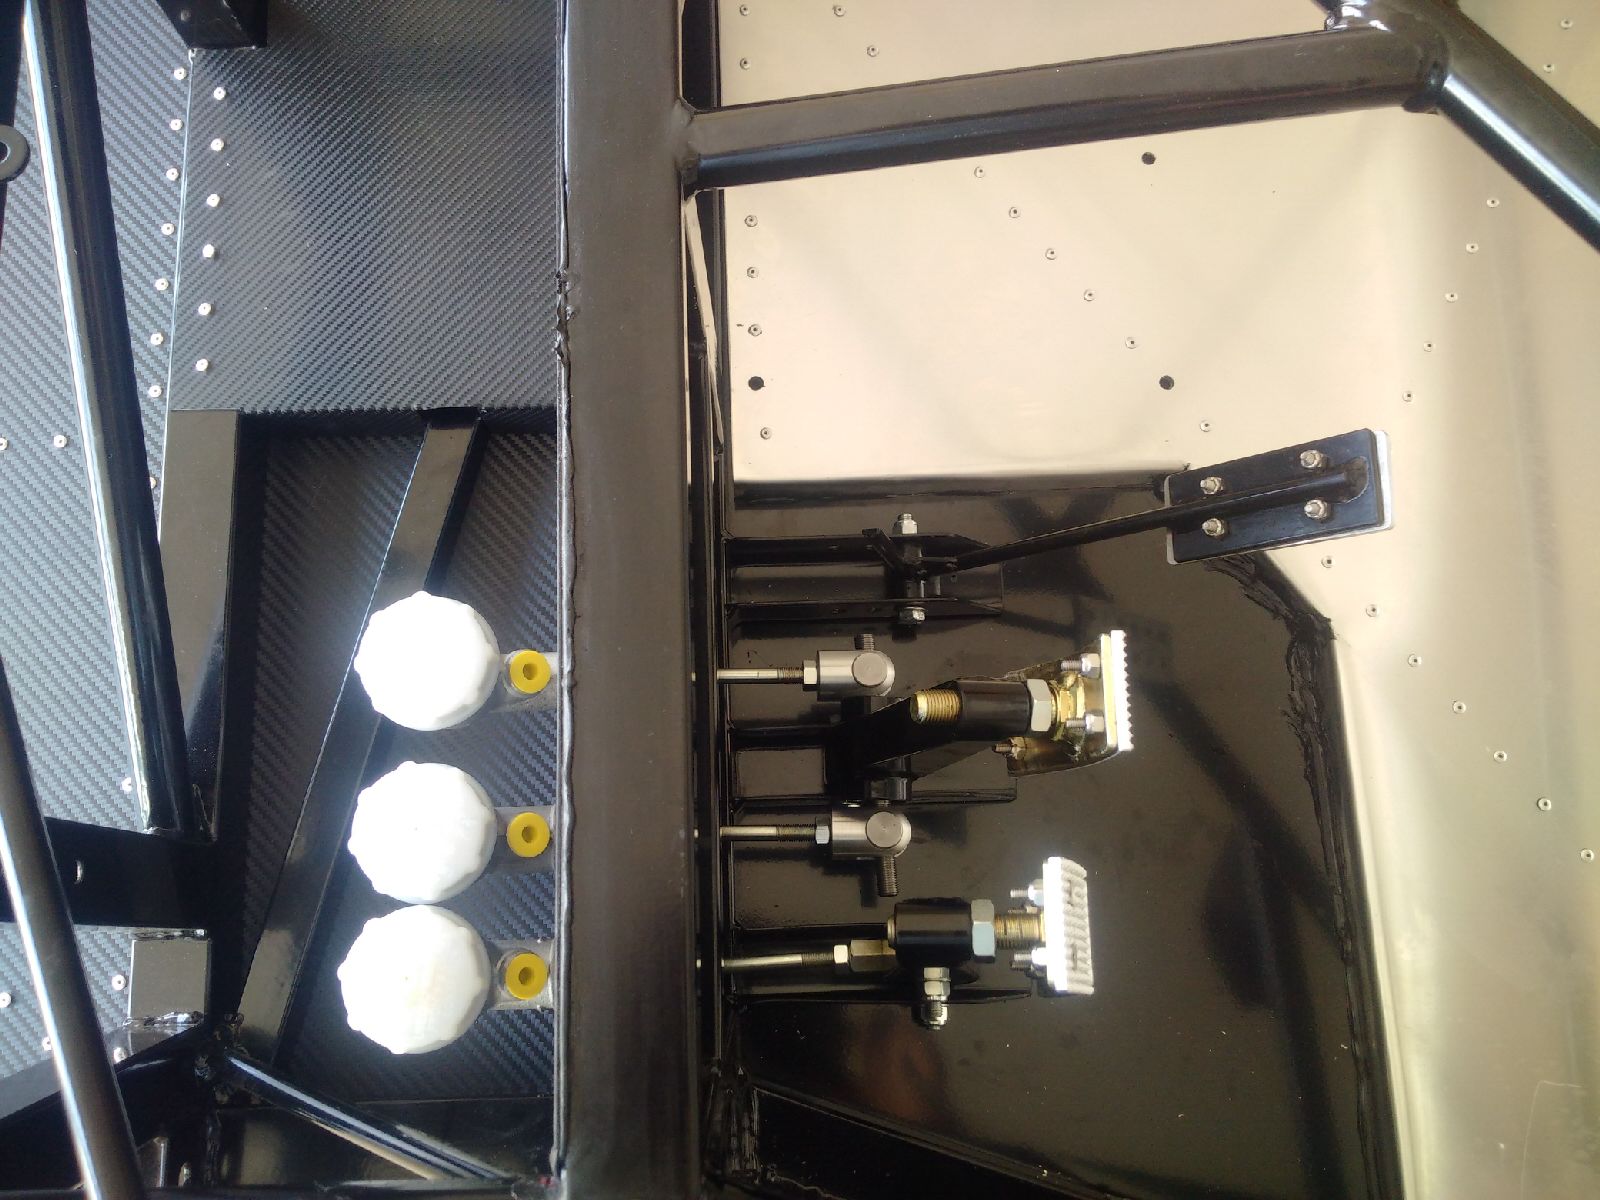
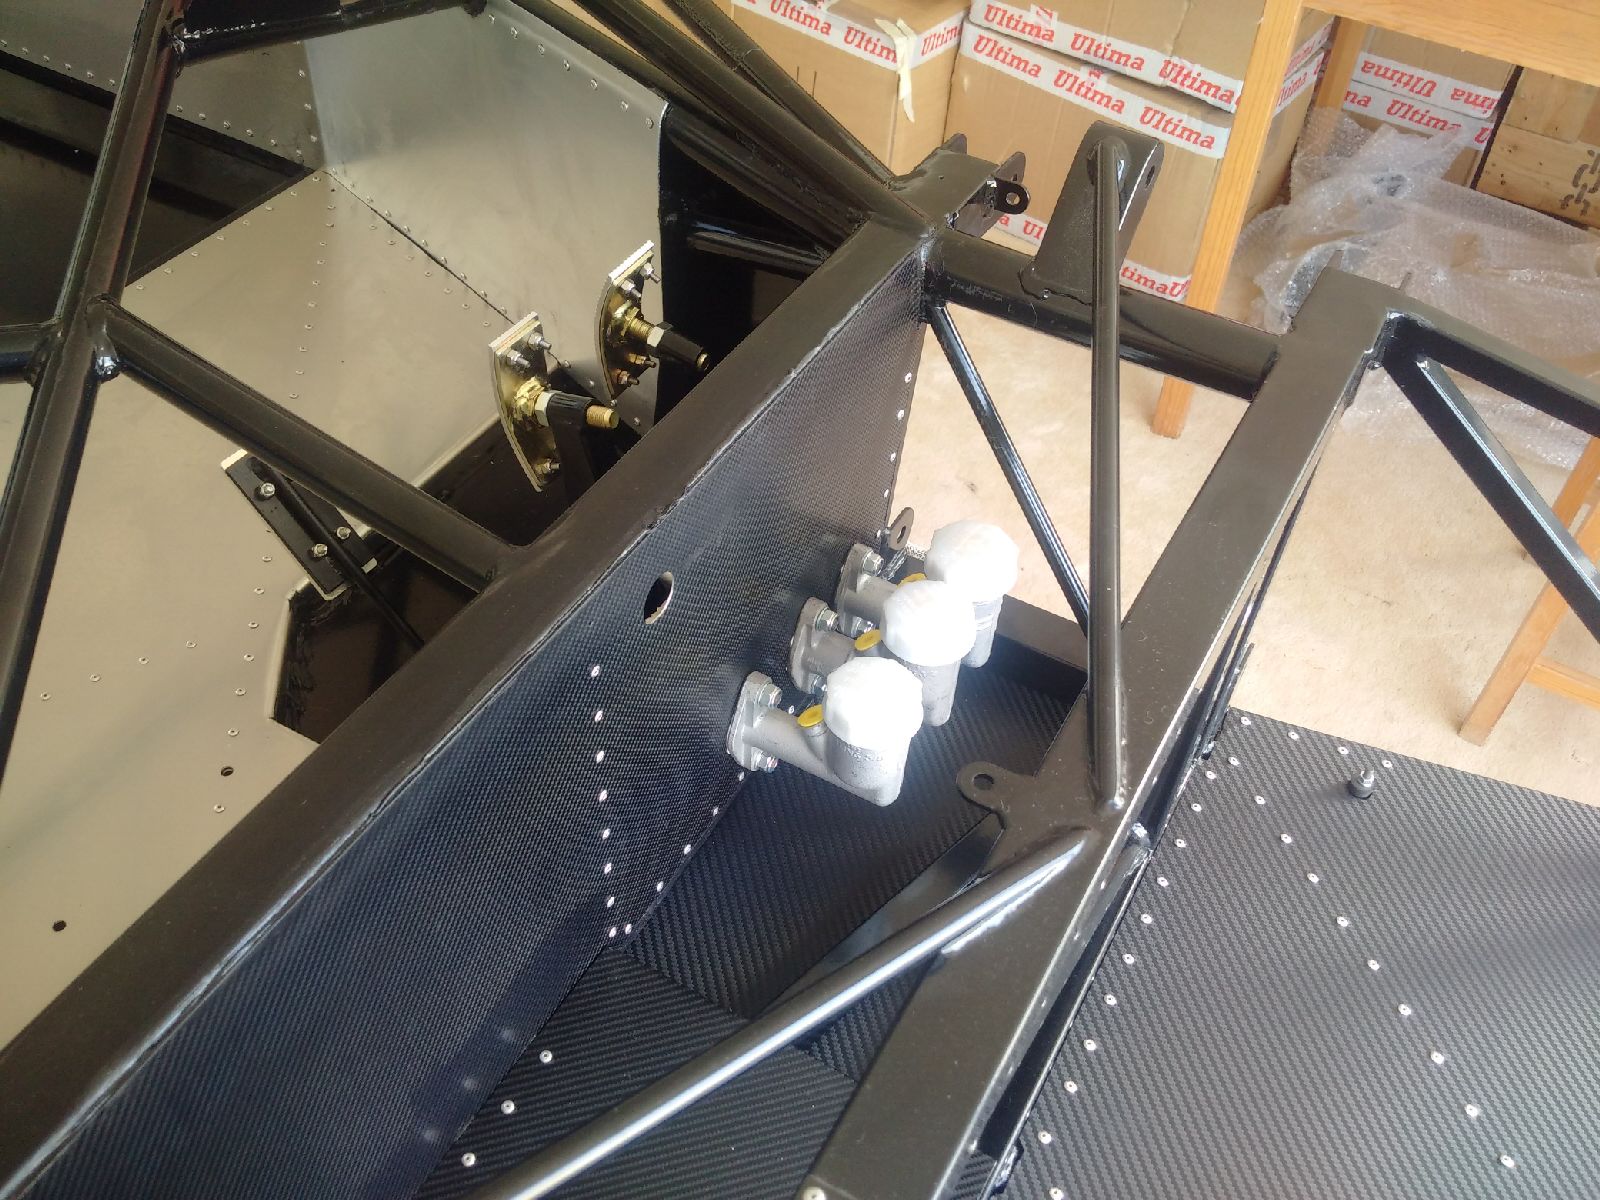
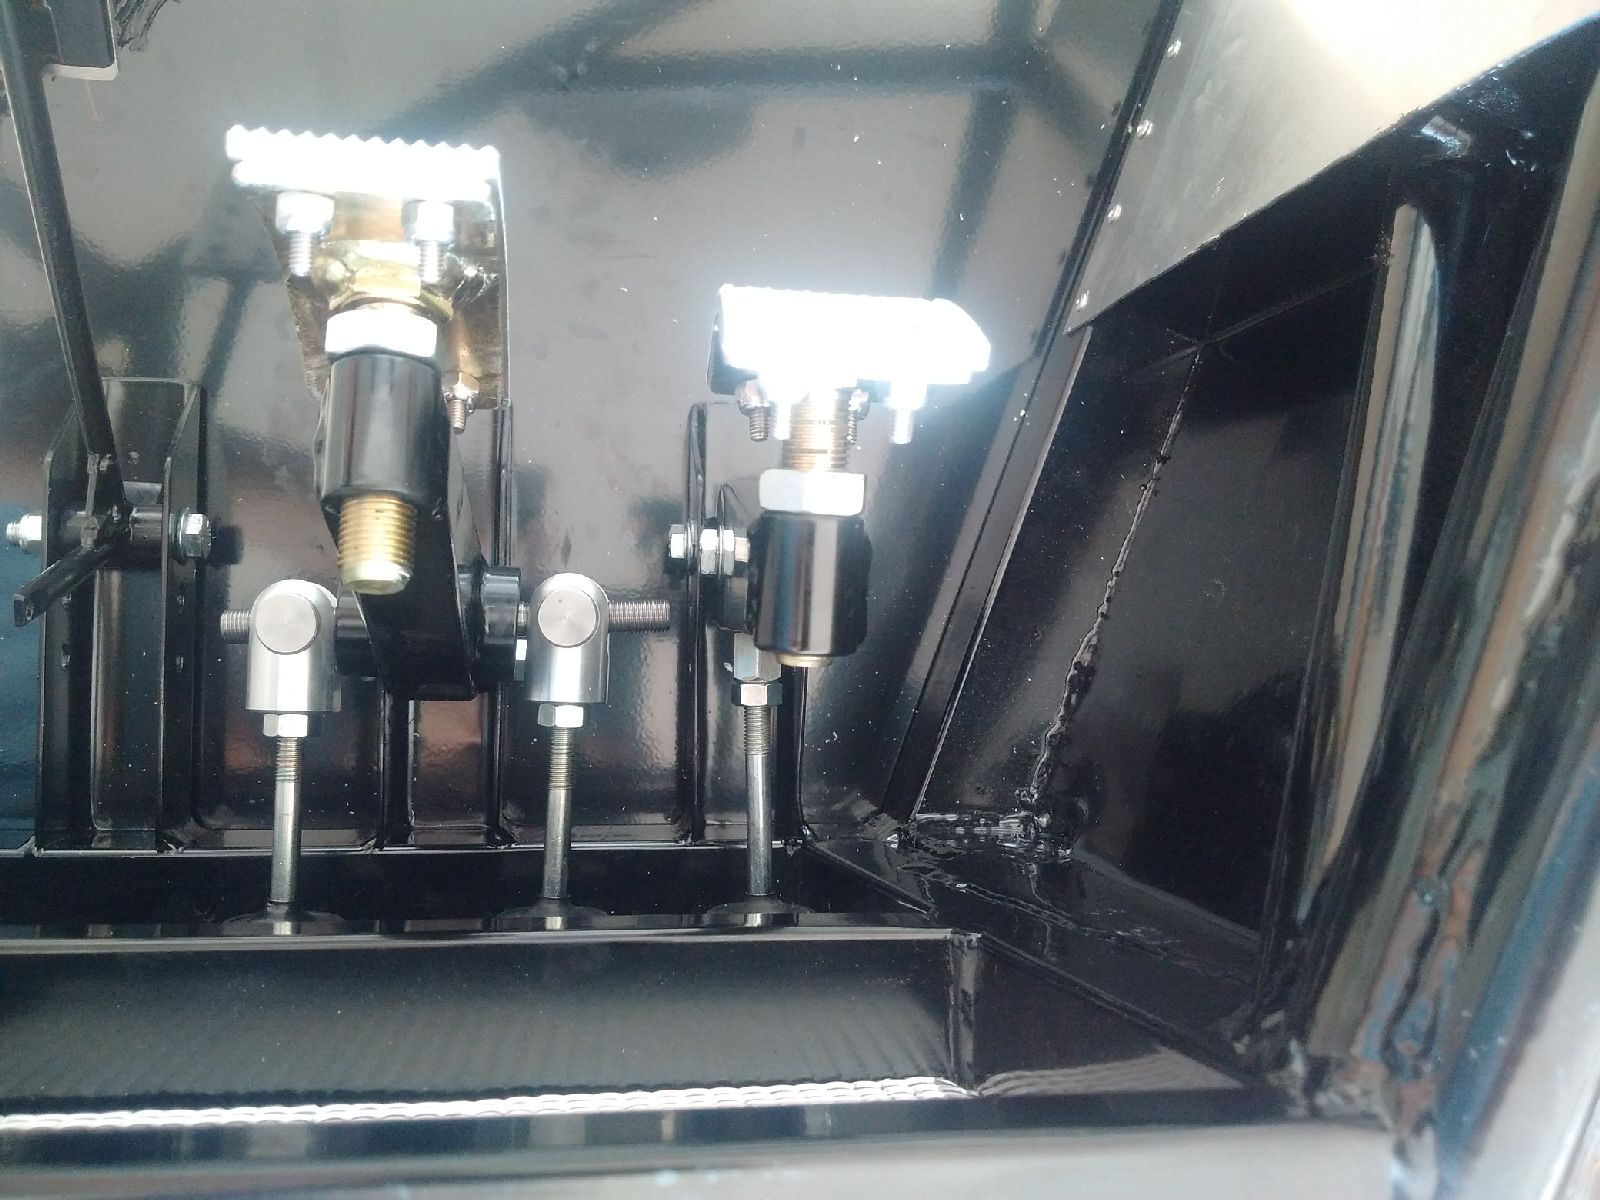
Rather than rivet the final panel on, I decided to do something different today. I thought about getting the pedals in - I got all the pedal parts and started to put them together. The sleeve on the bottom probably took the longest as the powder coating needs to be properly cleared out to get the sleeve to fit - I almost damaged a sleeve in the process, but was able to walk away without any permanent damage. Once the sleeve were fitted, I attached the engraved aluminum pedal front to the pedals, and bolted everything together. I adjusted the brake bias bar to the initial factory setting, and the pedals are now ready to be bolted to the car - however, I first need to apply grease to the sleeves to prevent squeaking.
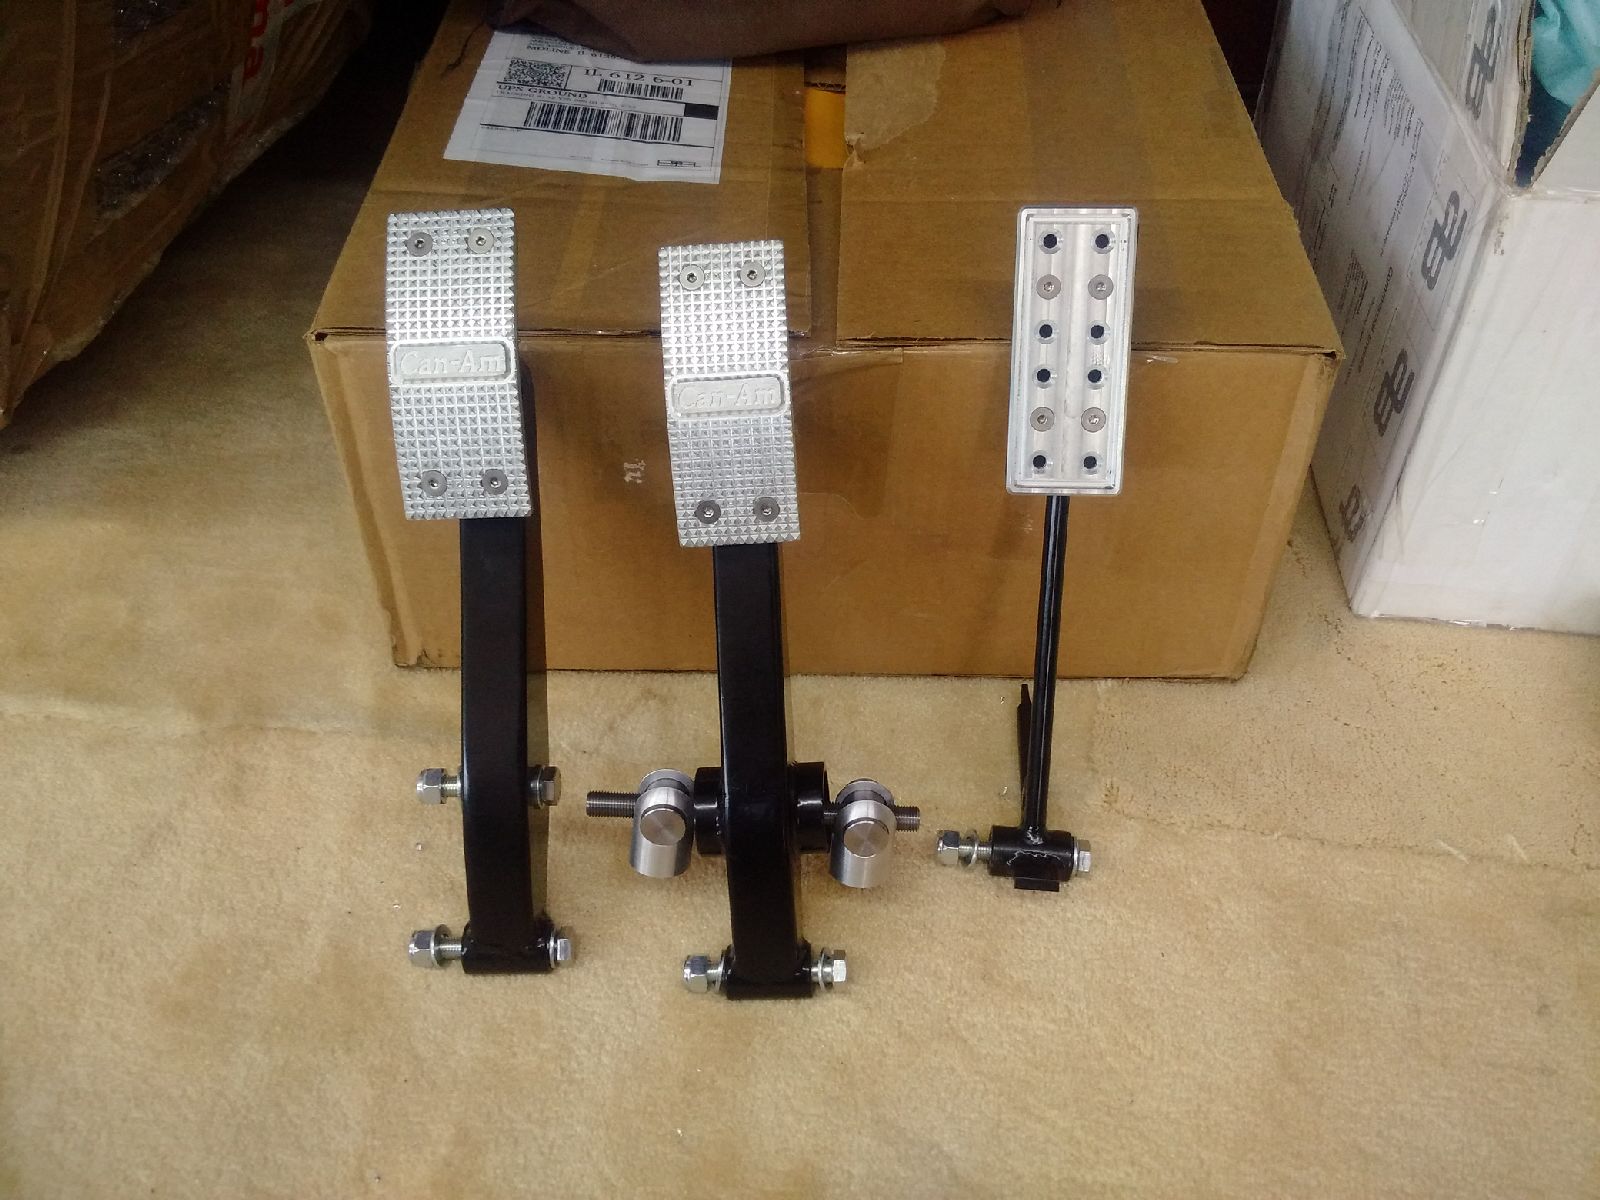
The sleeves were greased with silicon grease, pedals inserted into their slots and bolted on - pedals move without any noise, and no hindrance in either forward or backwards motions! I then decided to install the master cylinders, and connect to the clutch and brake pedals - relevant bags were opened, master-cylinders fitted in their correct locations (front and rear brakes have different sized masters), and the push rods connected to the pedals.
June 29, 2015
Build Time Today: 4 hours
Total Build Time: 63 hours
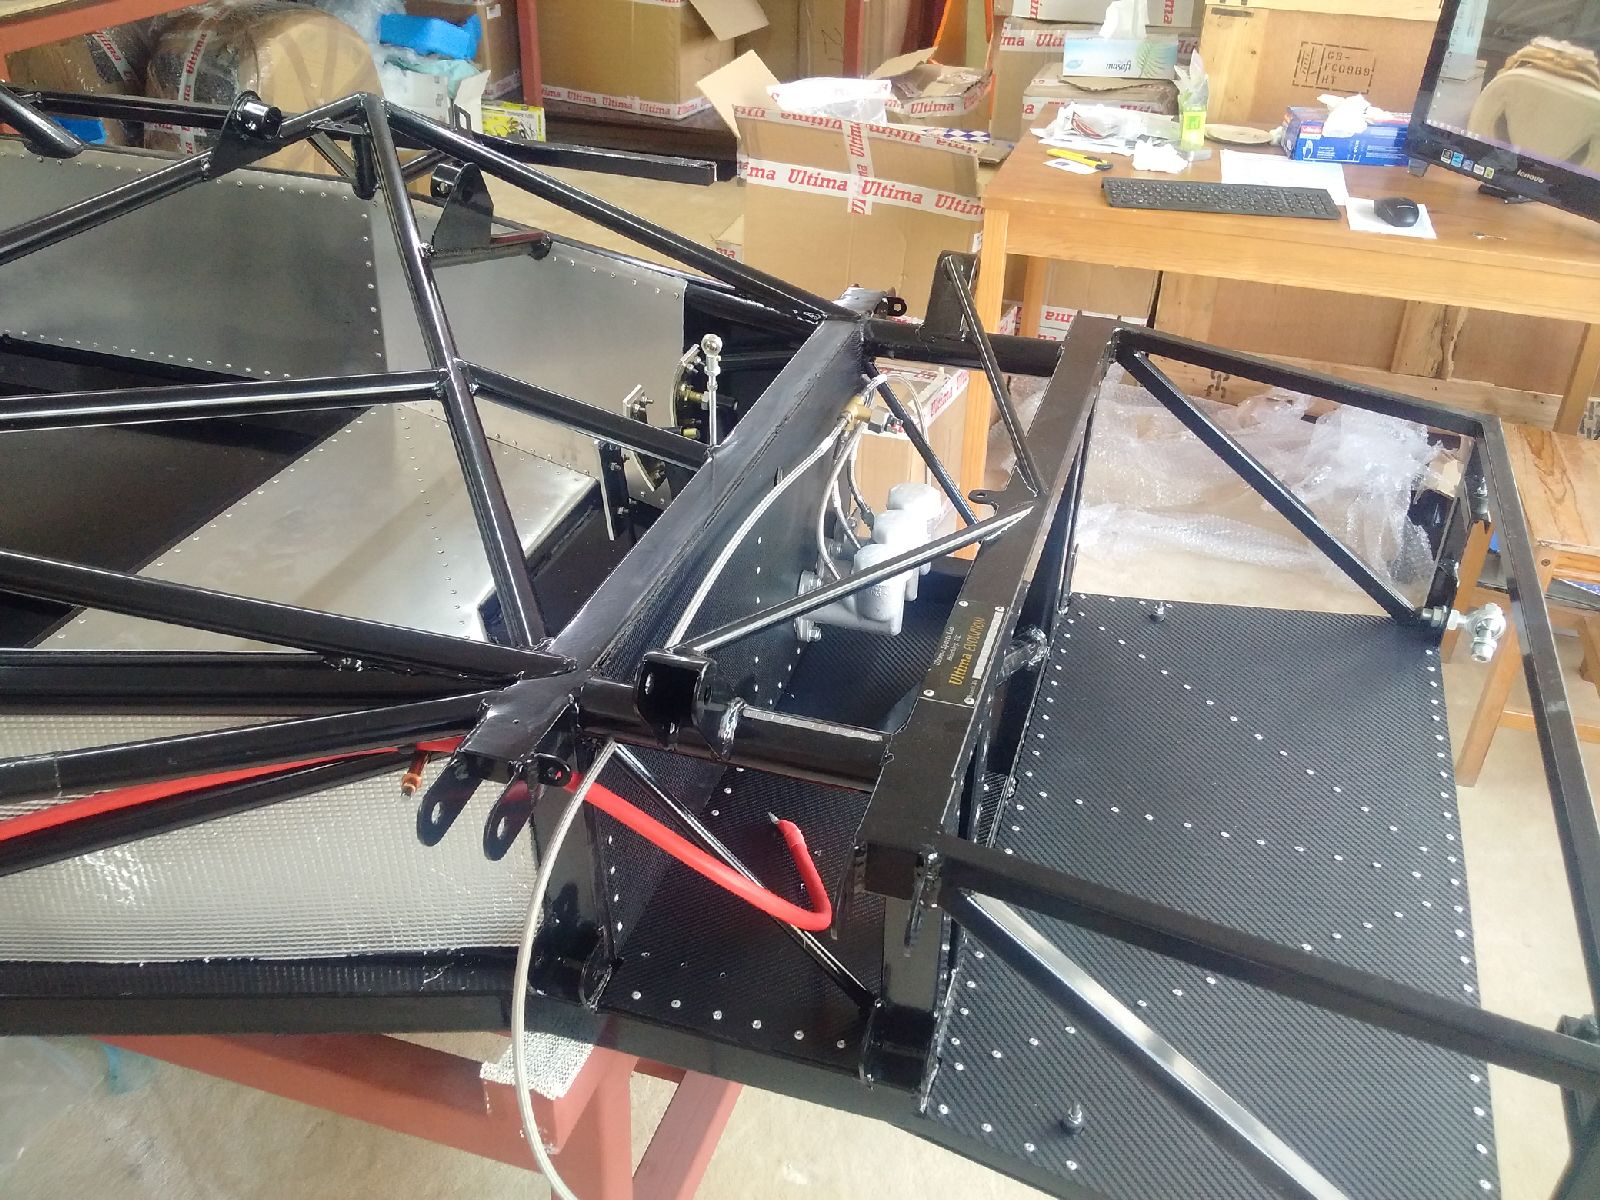
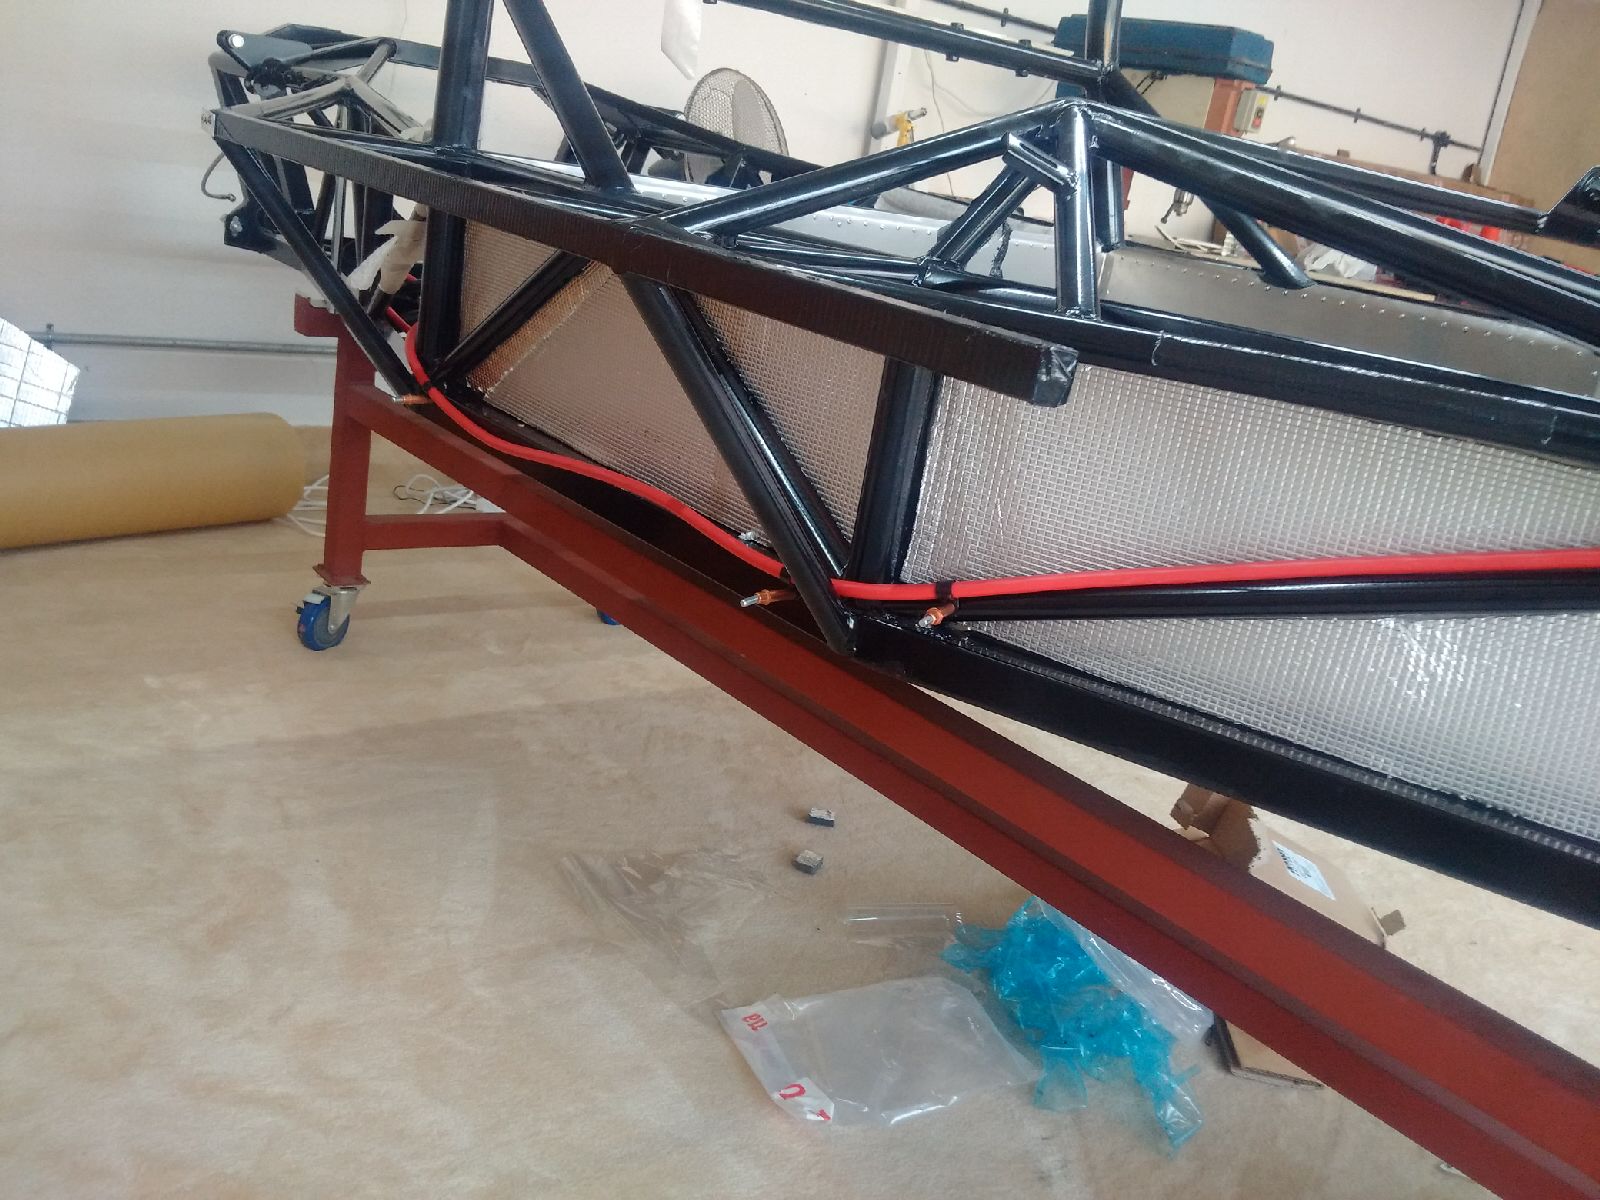
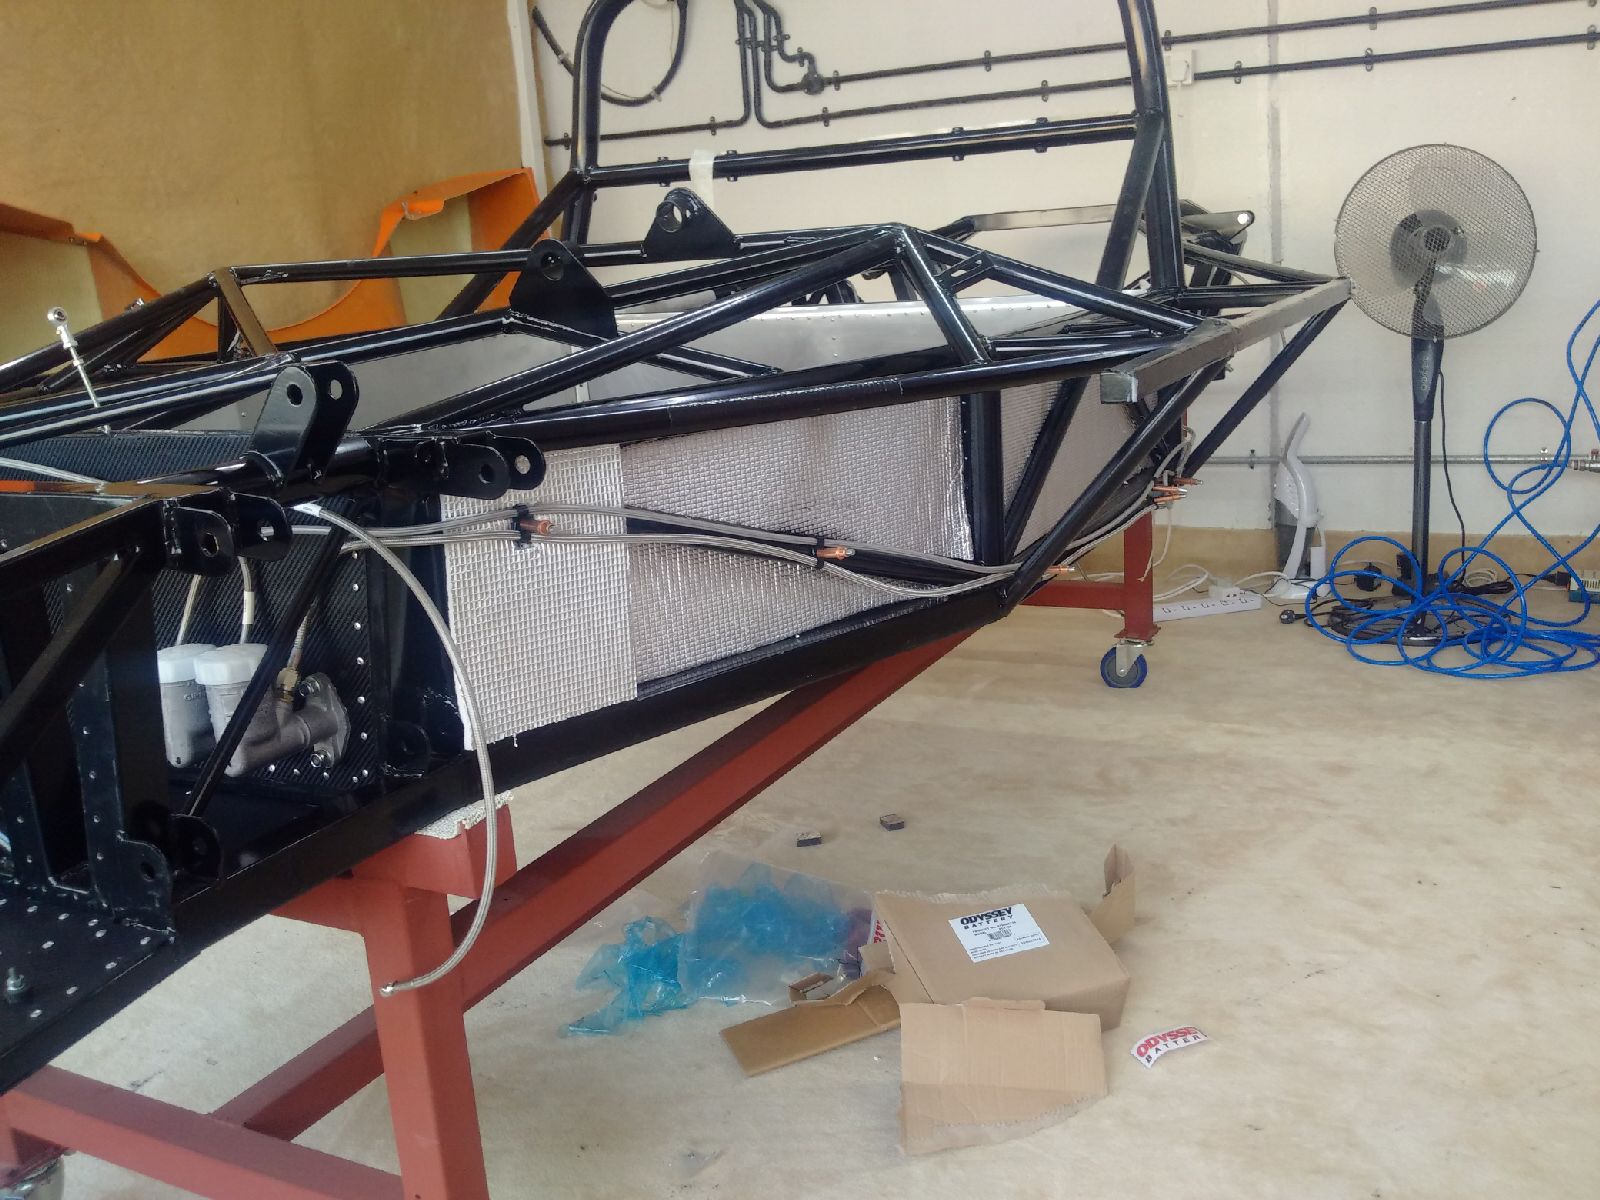
Today I spent time routing all the brake, clutch and battery lines. The front brake lines were routed from the master cylinder to the front upright area, but I modified the factory procedure by installing the brake light switch (4-way) on the front lines. The rear lines were taken to the back, and then split to both sides with the T-piece (normally used in front). The clutch pipe was run parallel to the rear brake line, and left for the time being in the engine area until I figure out where to route it to. Finally, I also routed the battery cable from the battery area to the rear engine compartment (although from the other side of the car), again leaving it open for final positioning. Last item for the day was opening up the battery, and setting it on the trickle charger to get it to full power!

June 30, 2015
Not feeling well, so no work today...