May 1-3 2018
Build Time : 12 hours
Total Build Time: 549 hours
My final batch of parts is finally here! The build now continues at full steam:
I decided to finish off the front half of the car before attaching the rear/drivetrain... A few items were pending on the dash which needed to be taken care off:
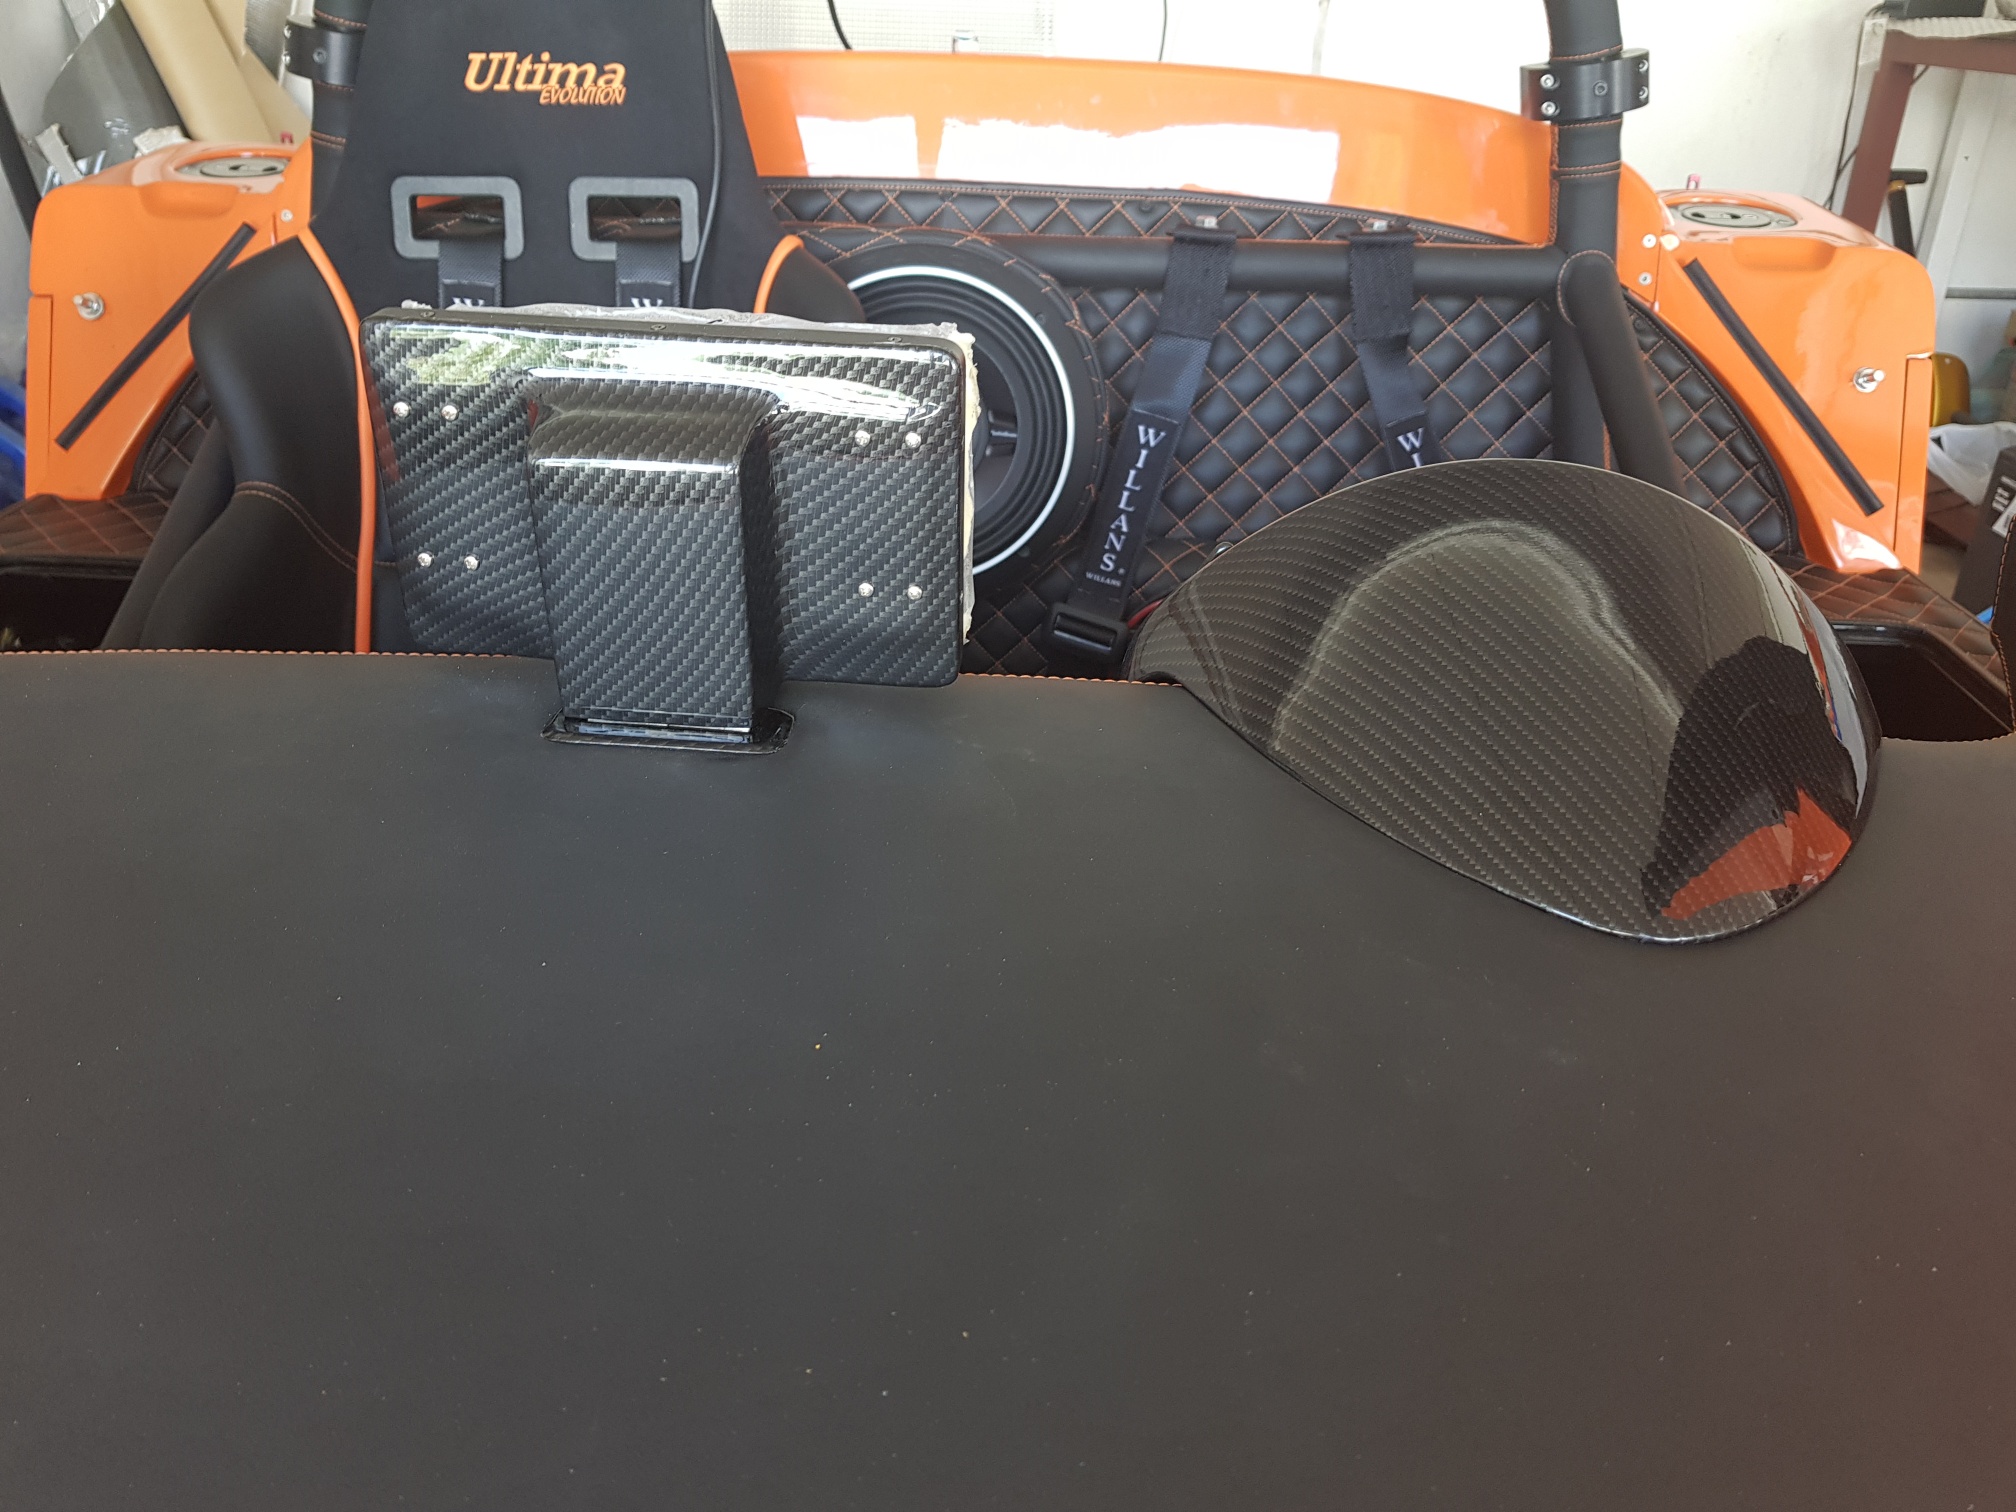
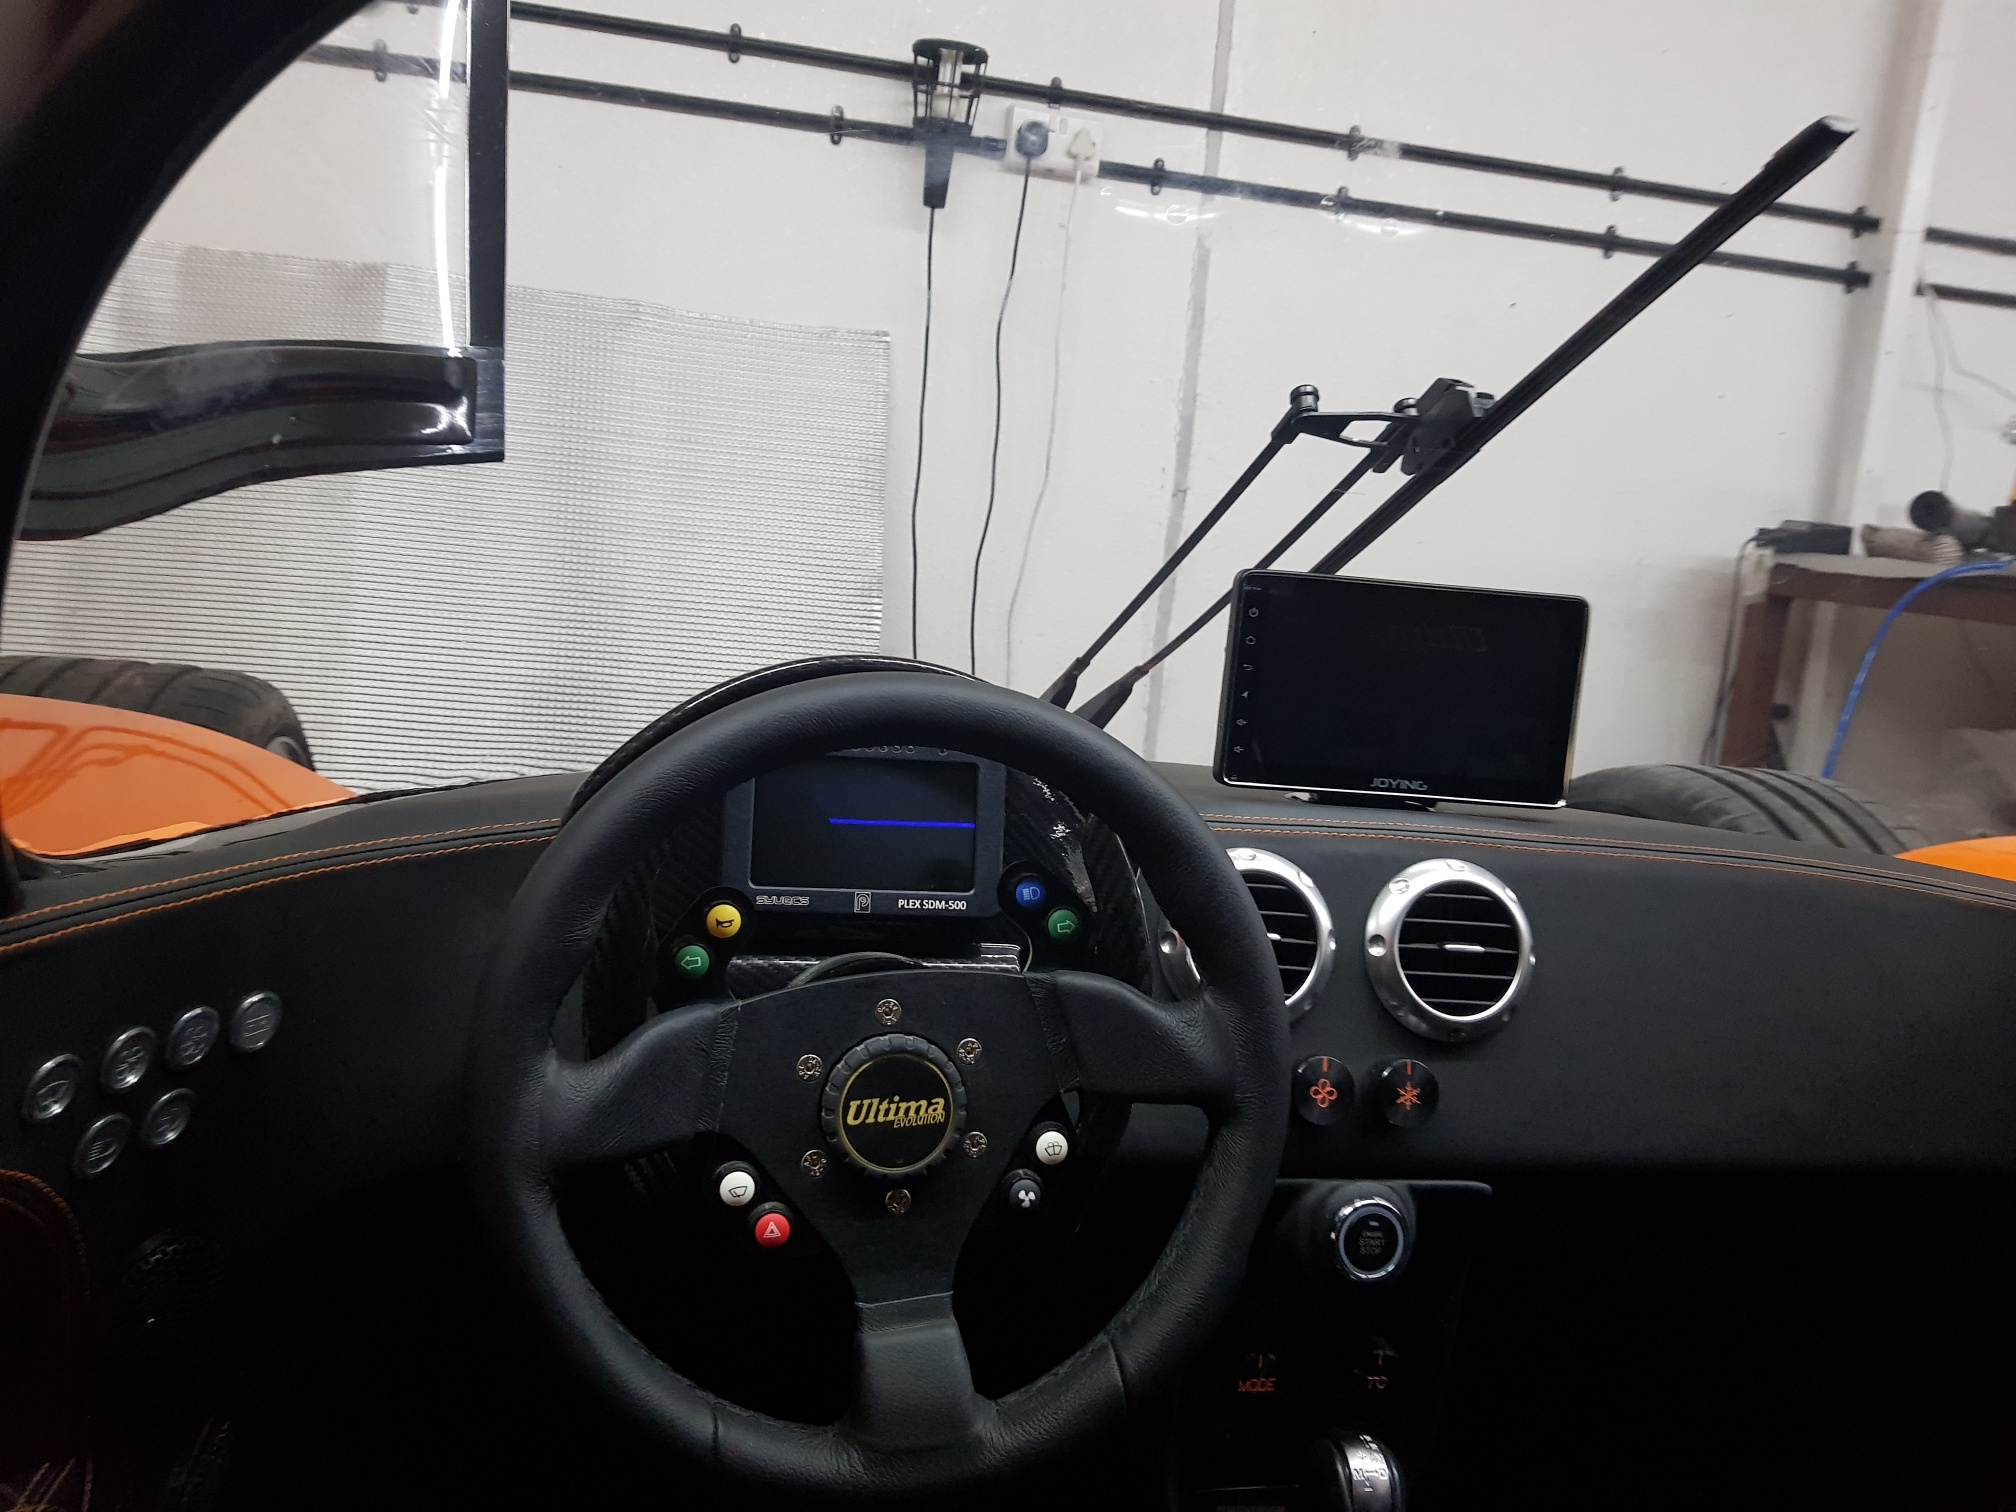
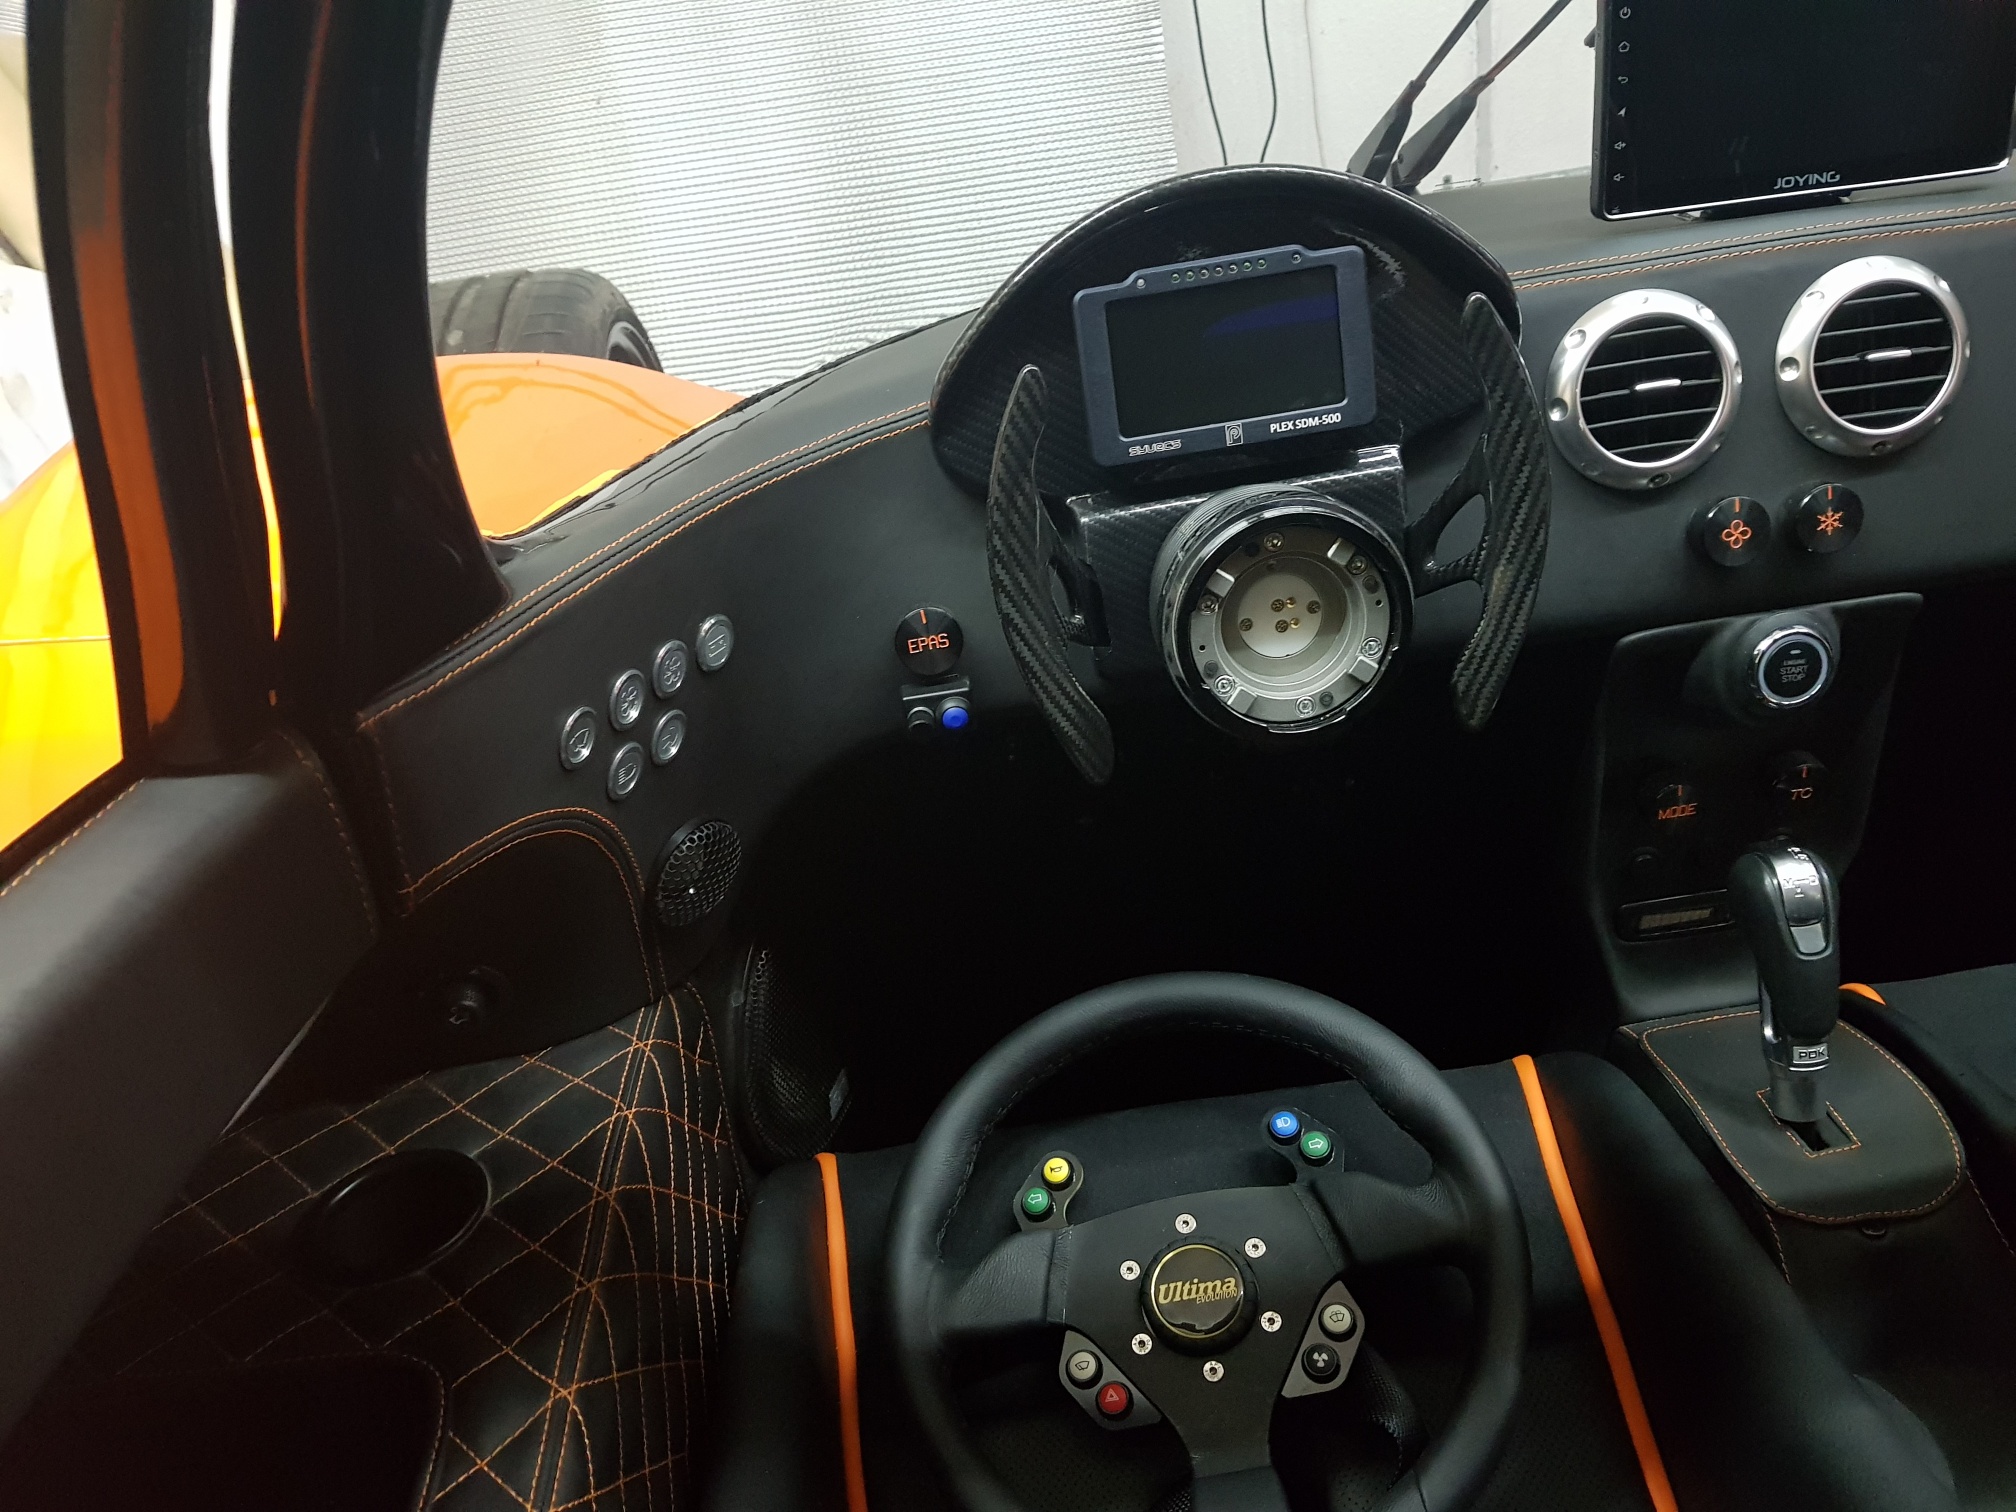
First, the dash binnacle for the paddle cover/dash display had to be installed... This is supplied as a CF part, but it needed to be modified a little - the side slots were enlarged to allow to fit over the paddles, and also allow the paddle movement... The steering wheel hole was also too high and had to be enlarged to allow the steering shaft to fit correctly... Also, a hole had to be made to allow the dash display wiring to pass through...

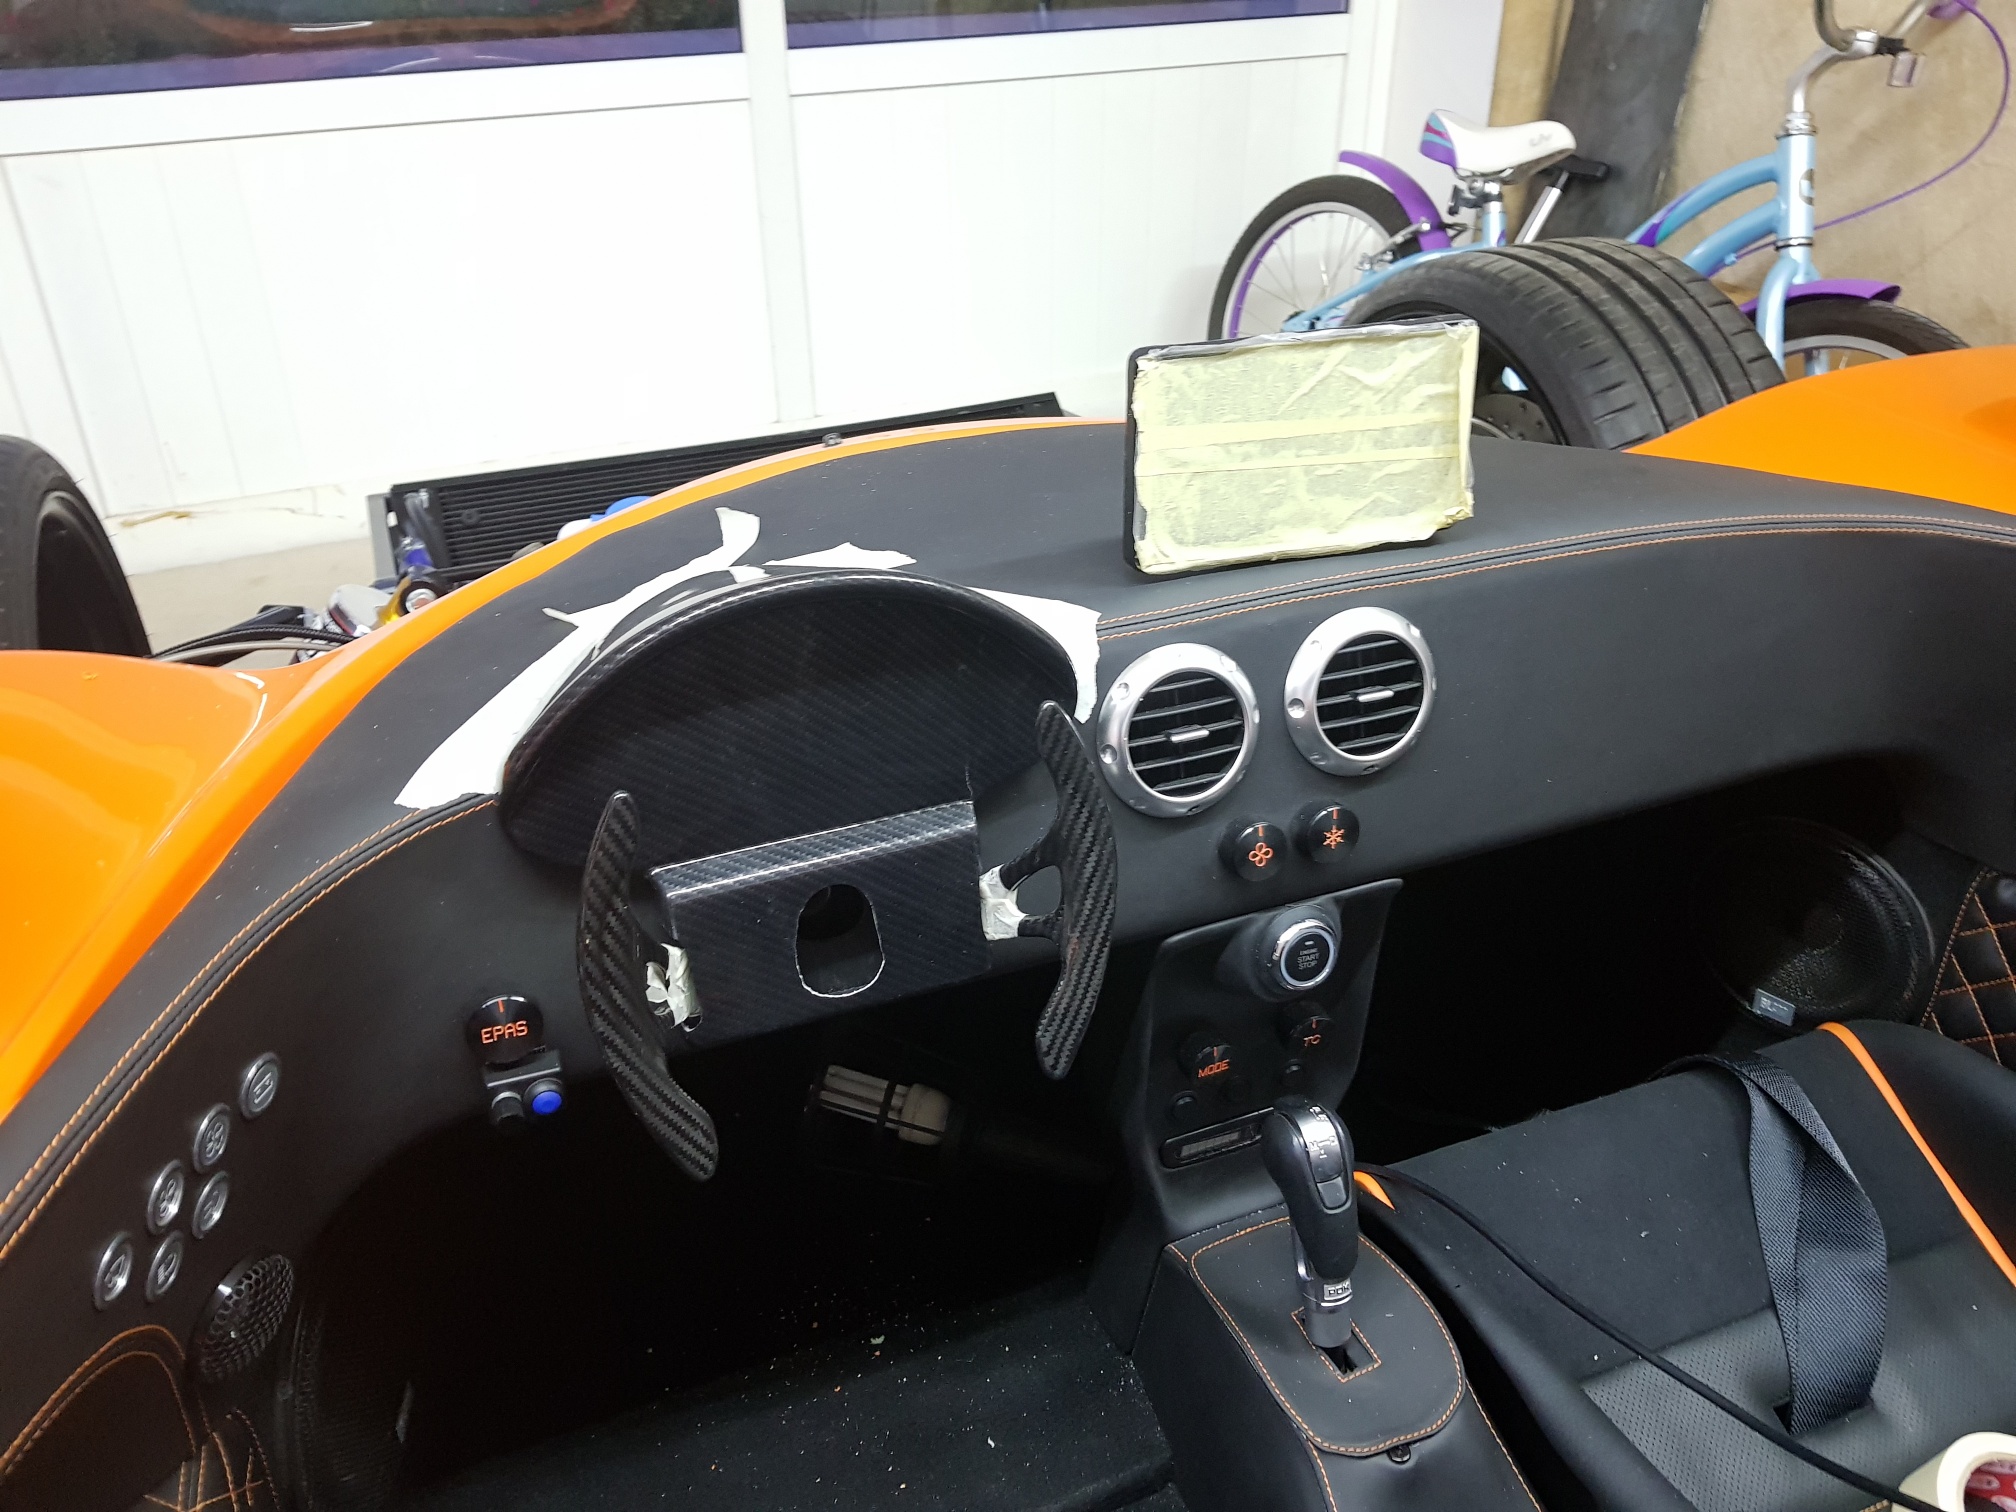
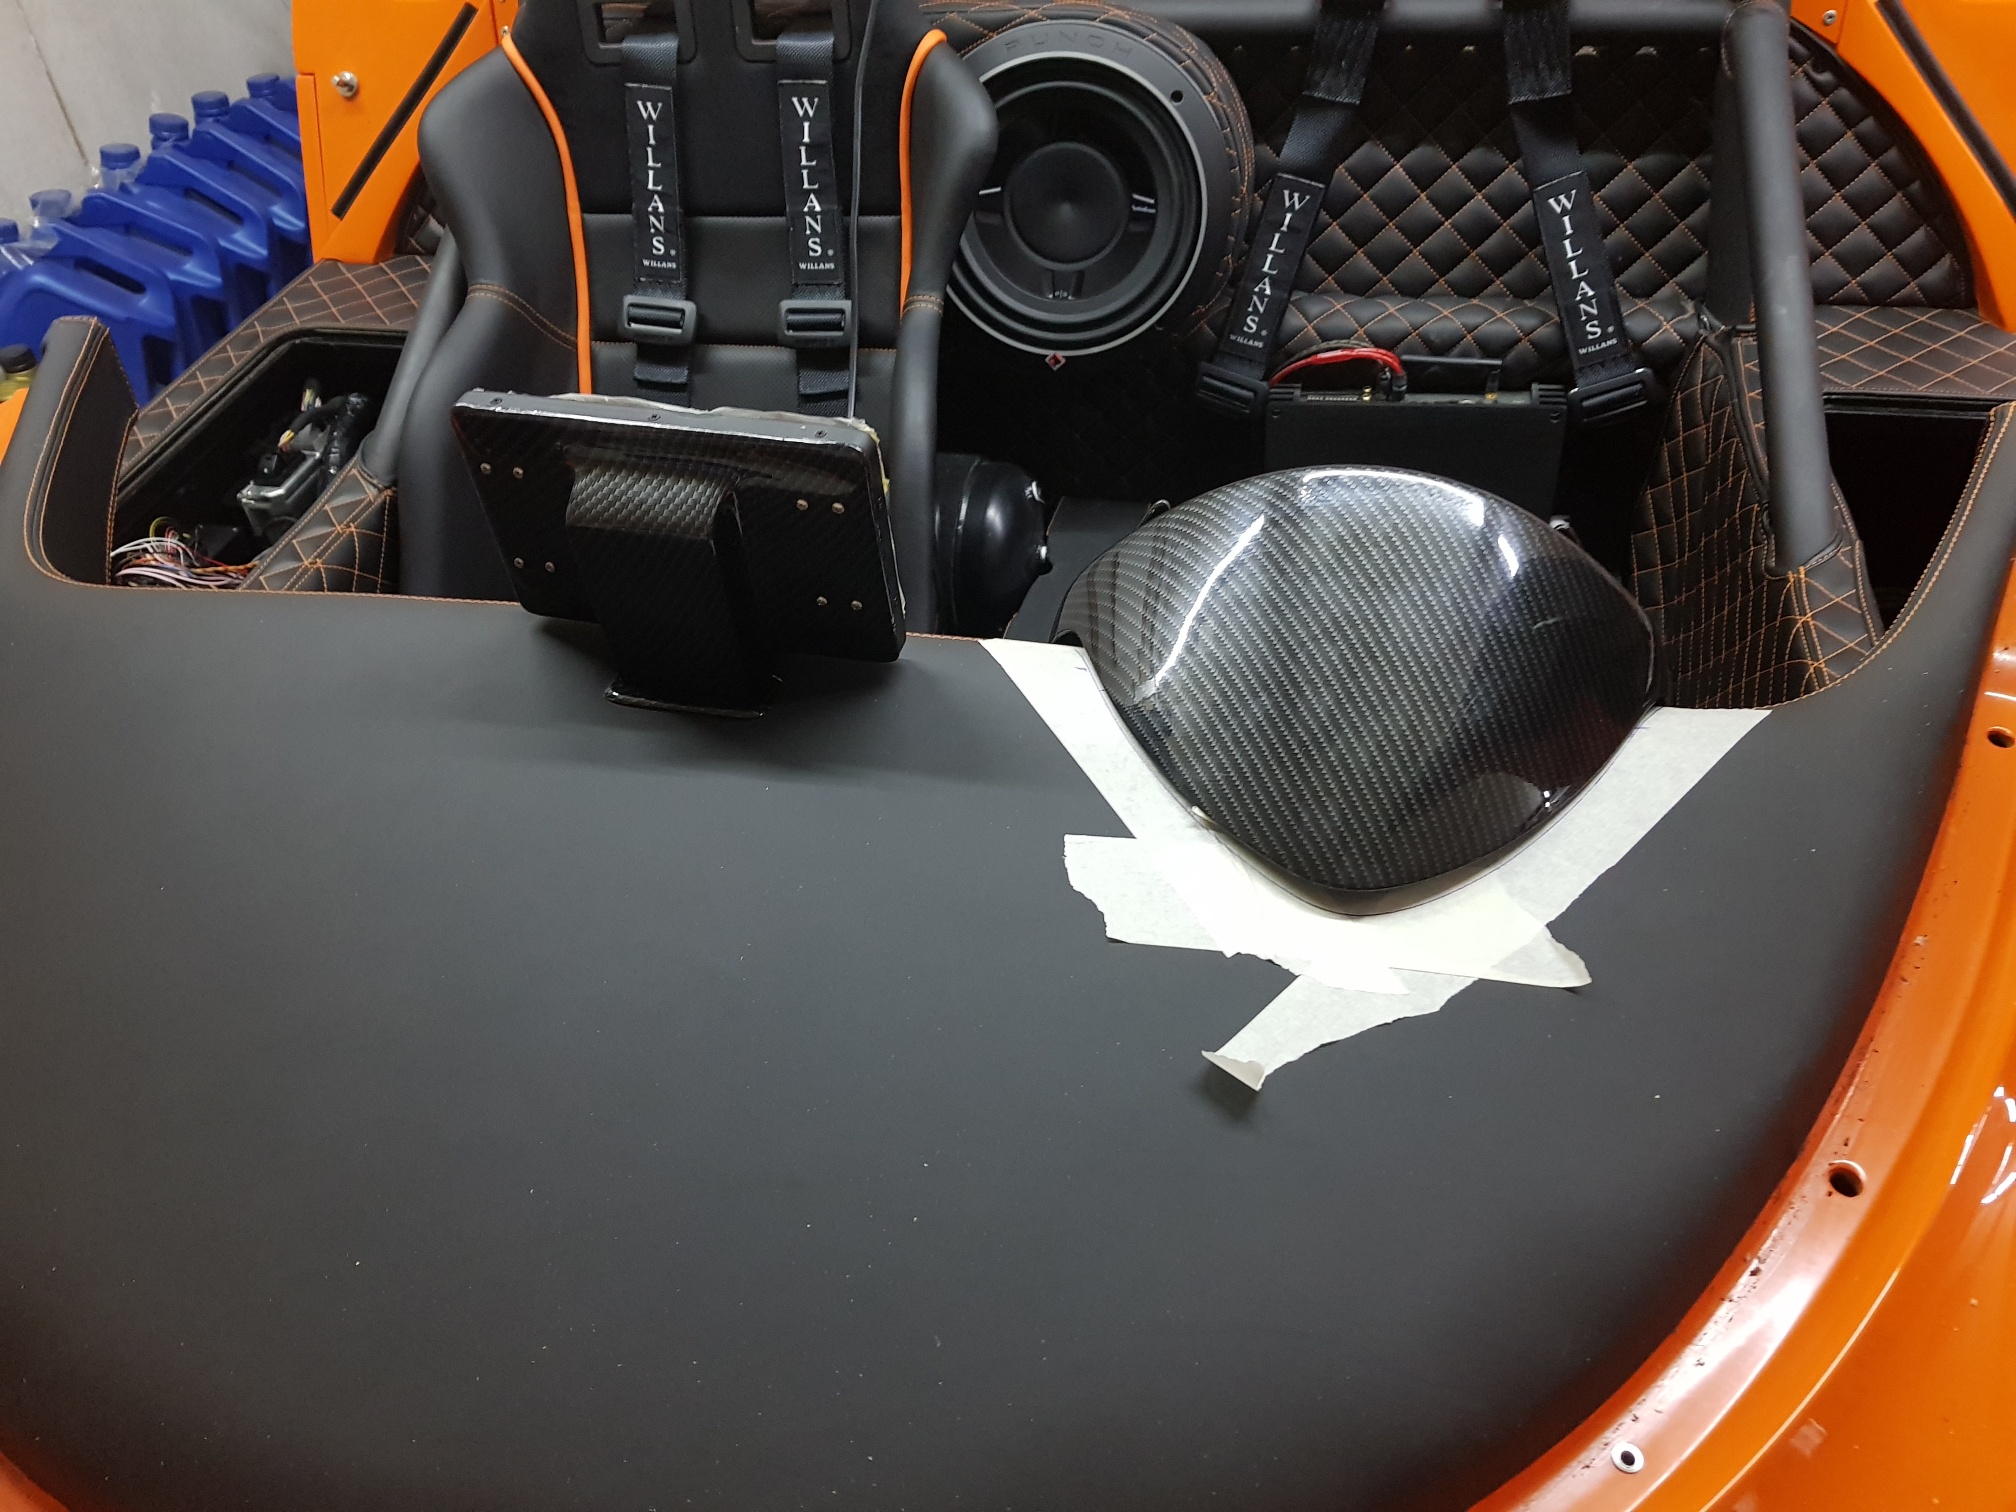
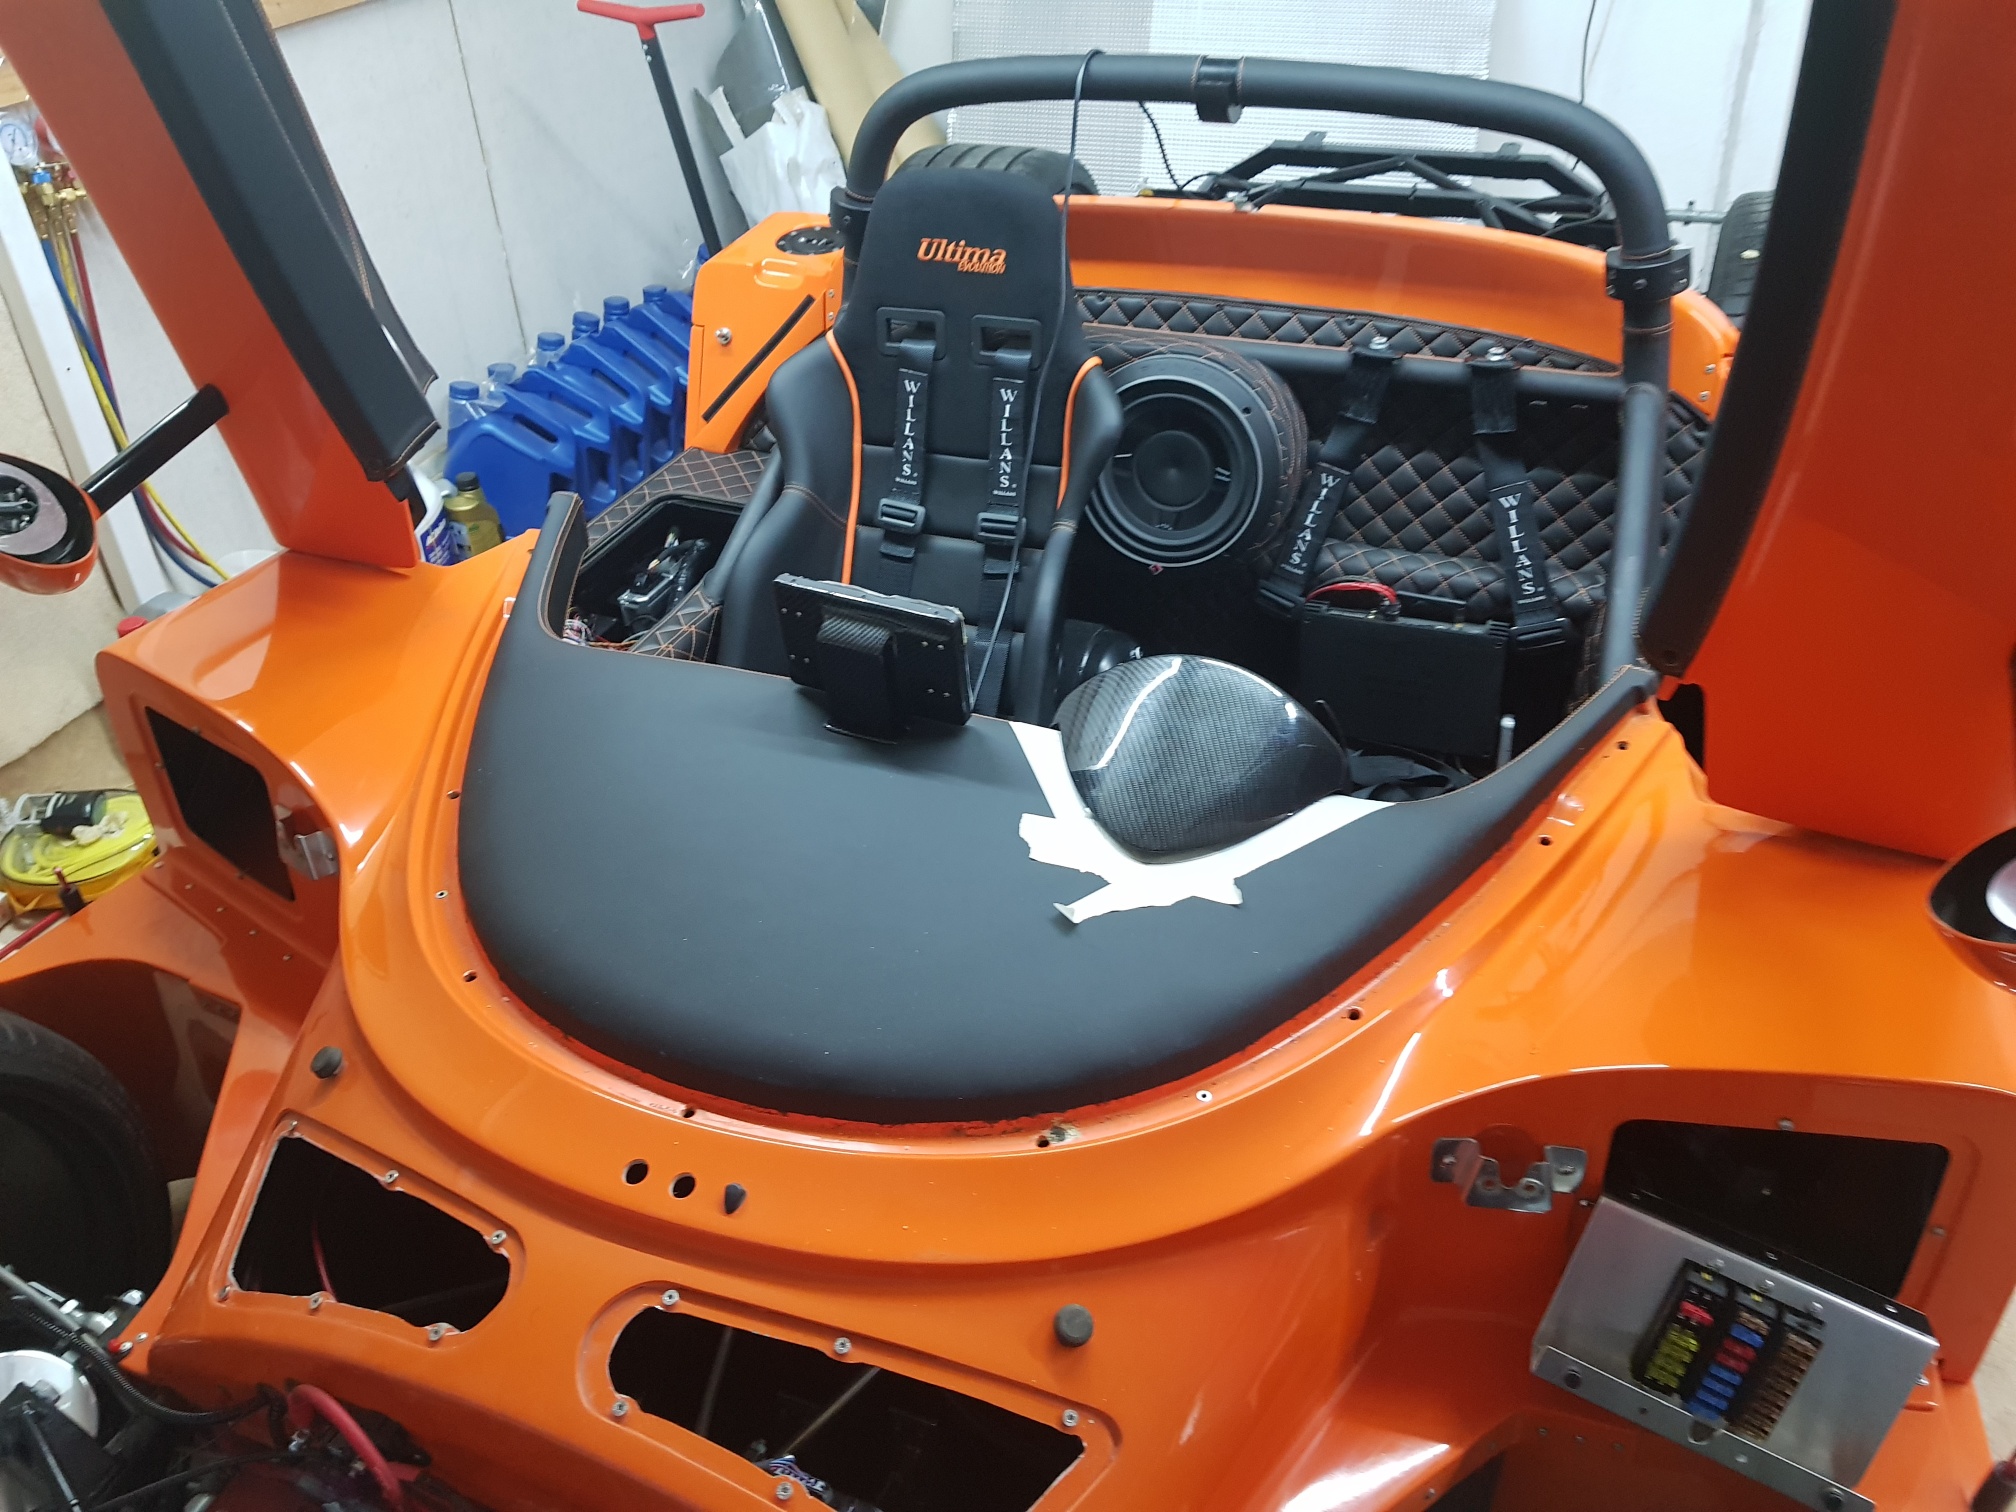
Next, the binnacle was installed by drilling two holes into the top of the dash and bolting from under the dash.. in addition, a small 'L' piece of ally was riveted to the front of the dash between the lower edge of the paddles, and the bottom of the binnacle was riveted to this L piece as well...
Next, the Nav screen surround was installed after connecting the screen to the cable, and the surround installed on its bracket...

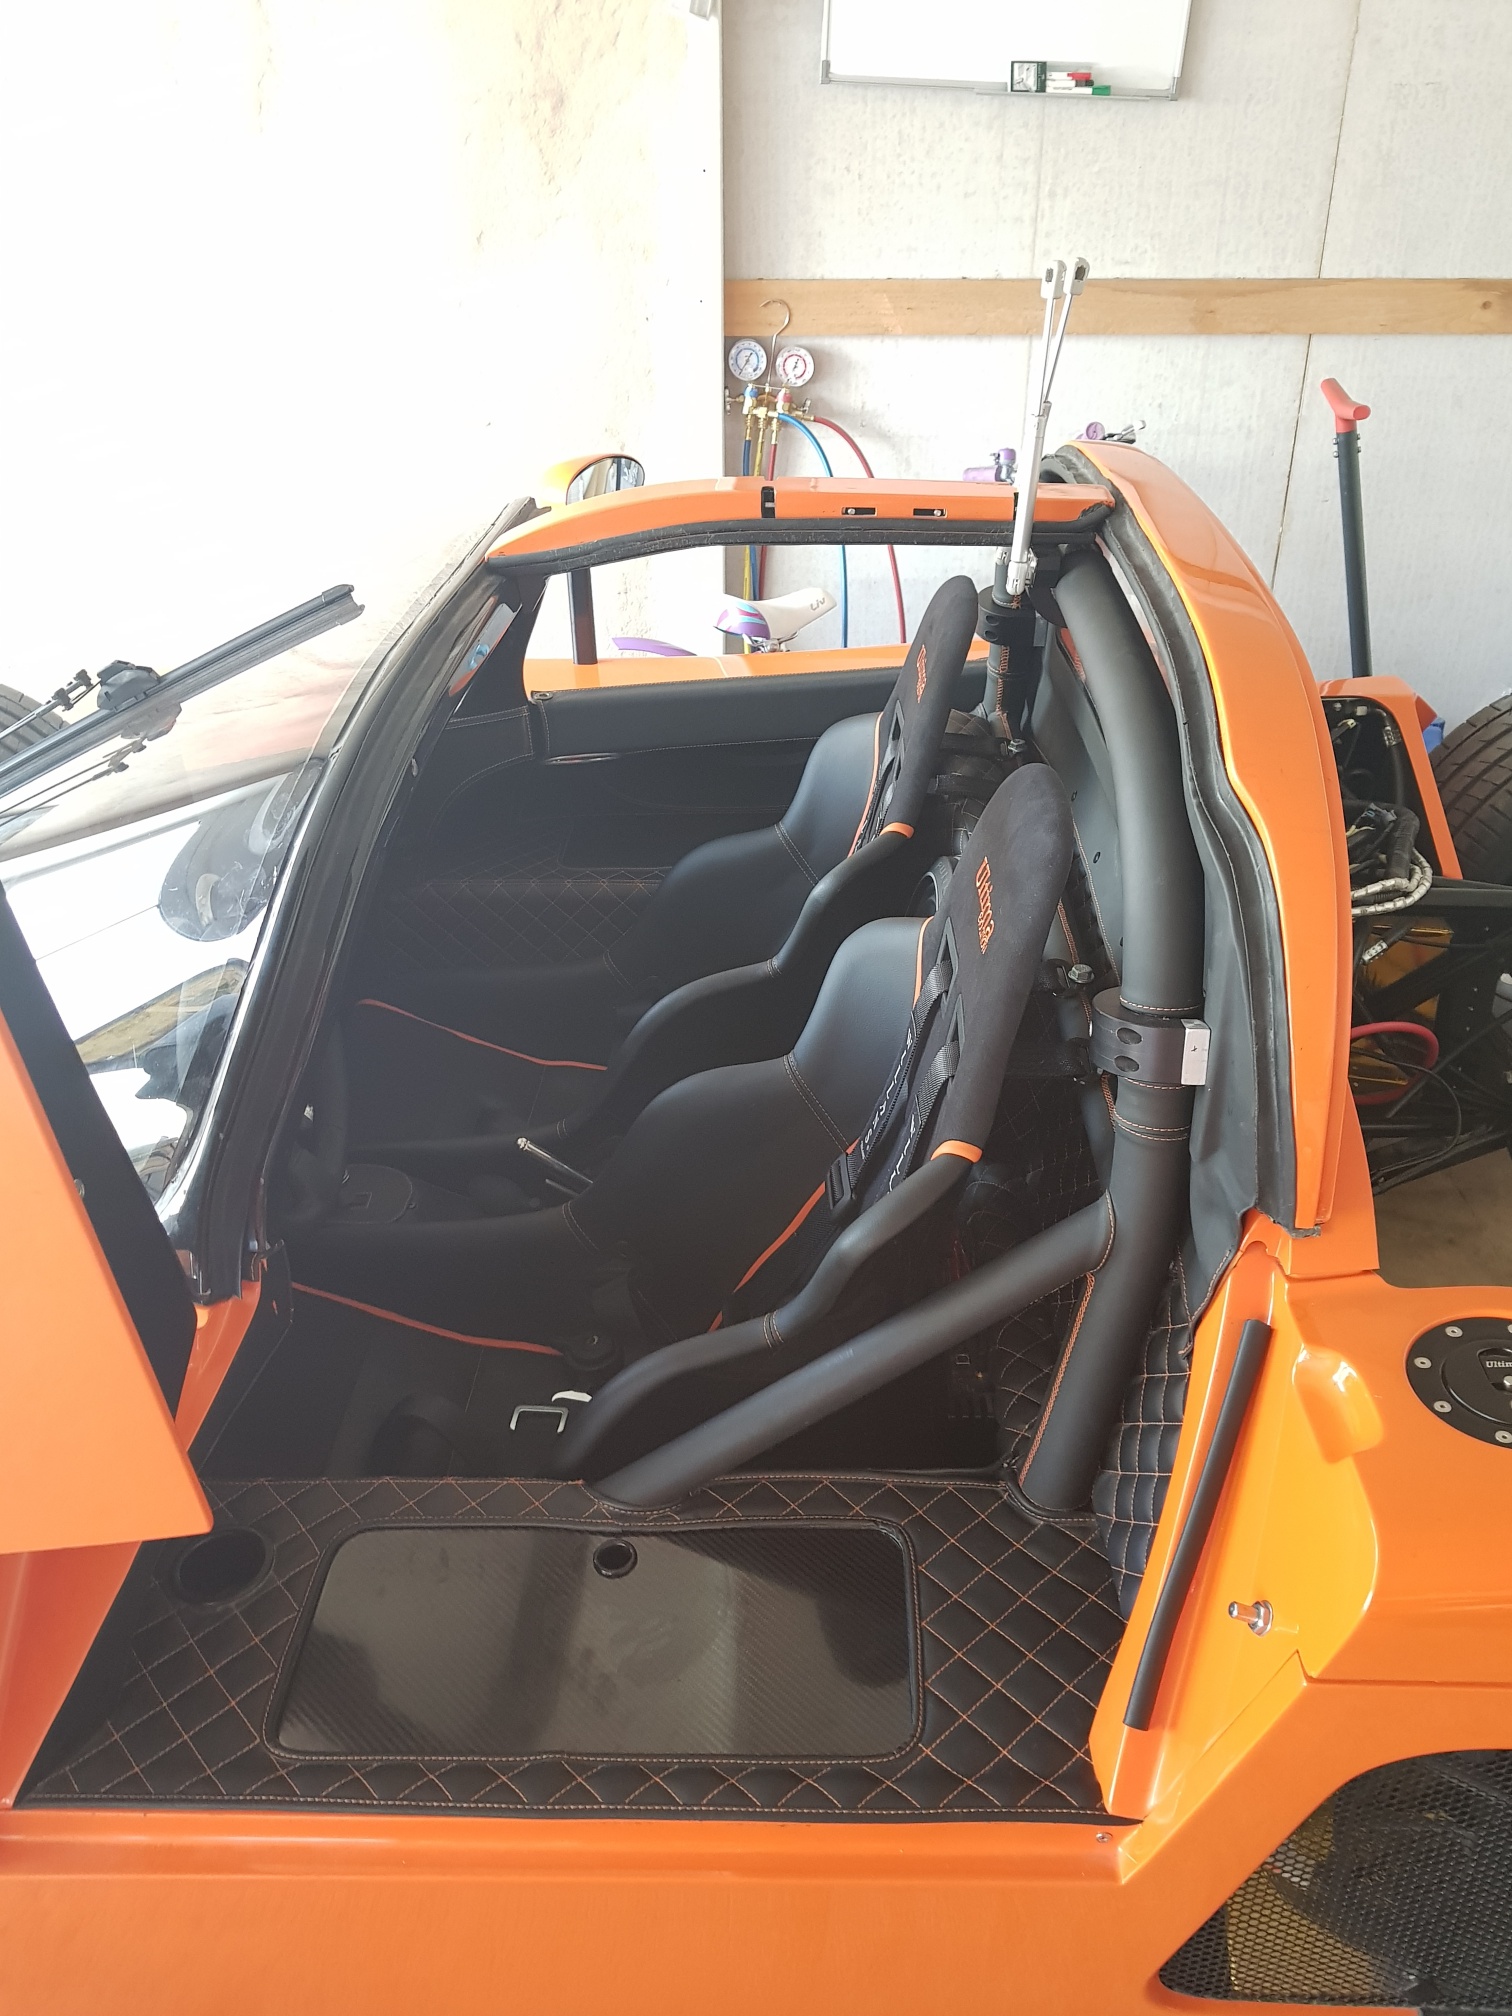
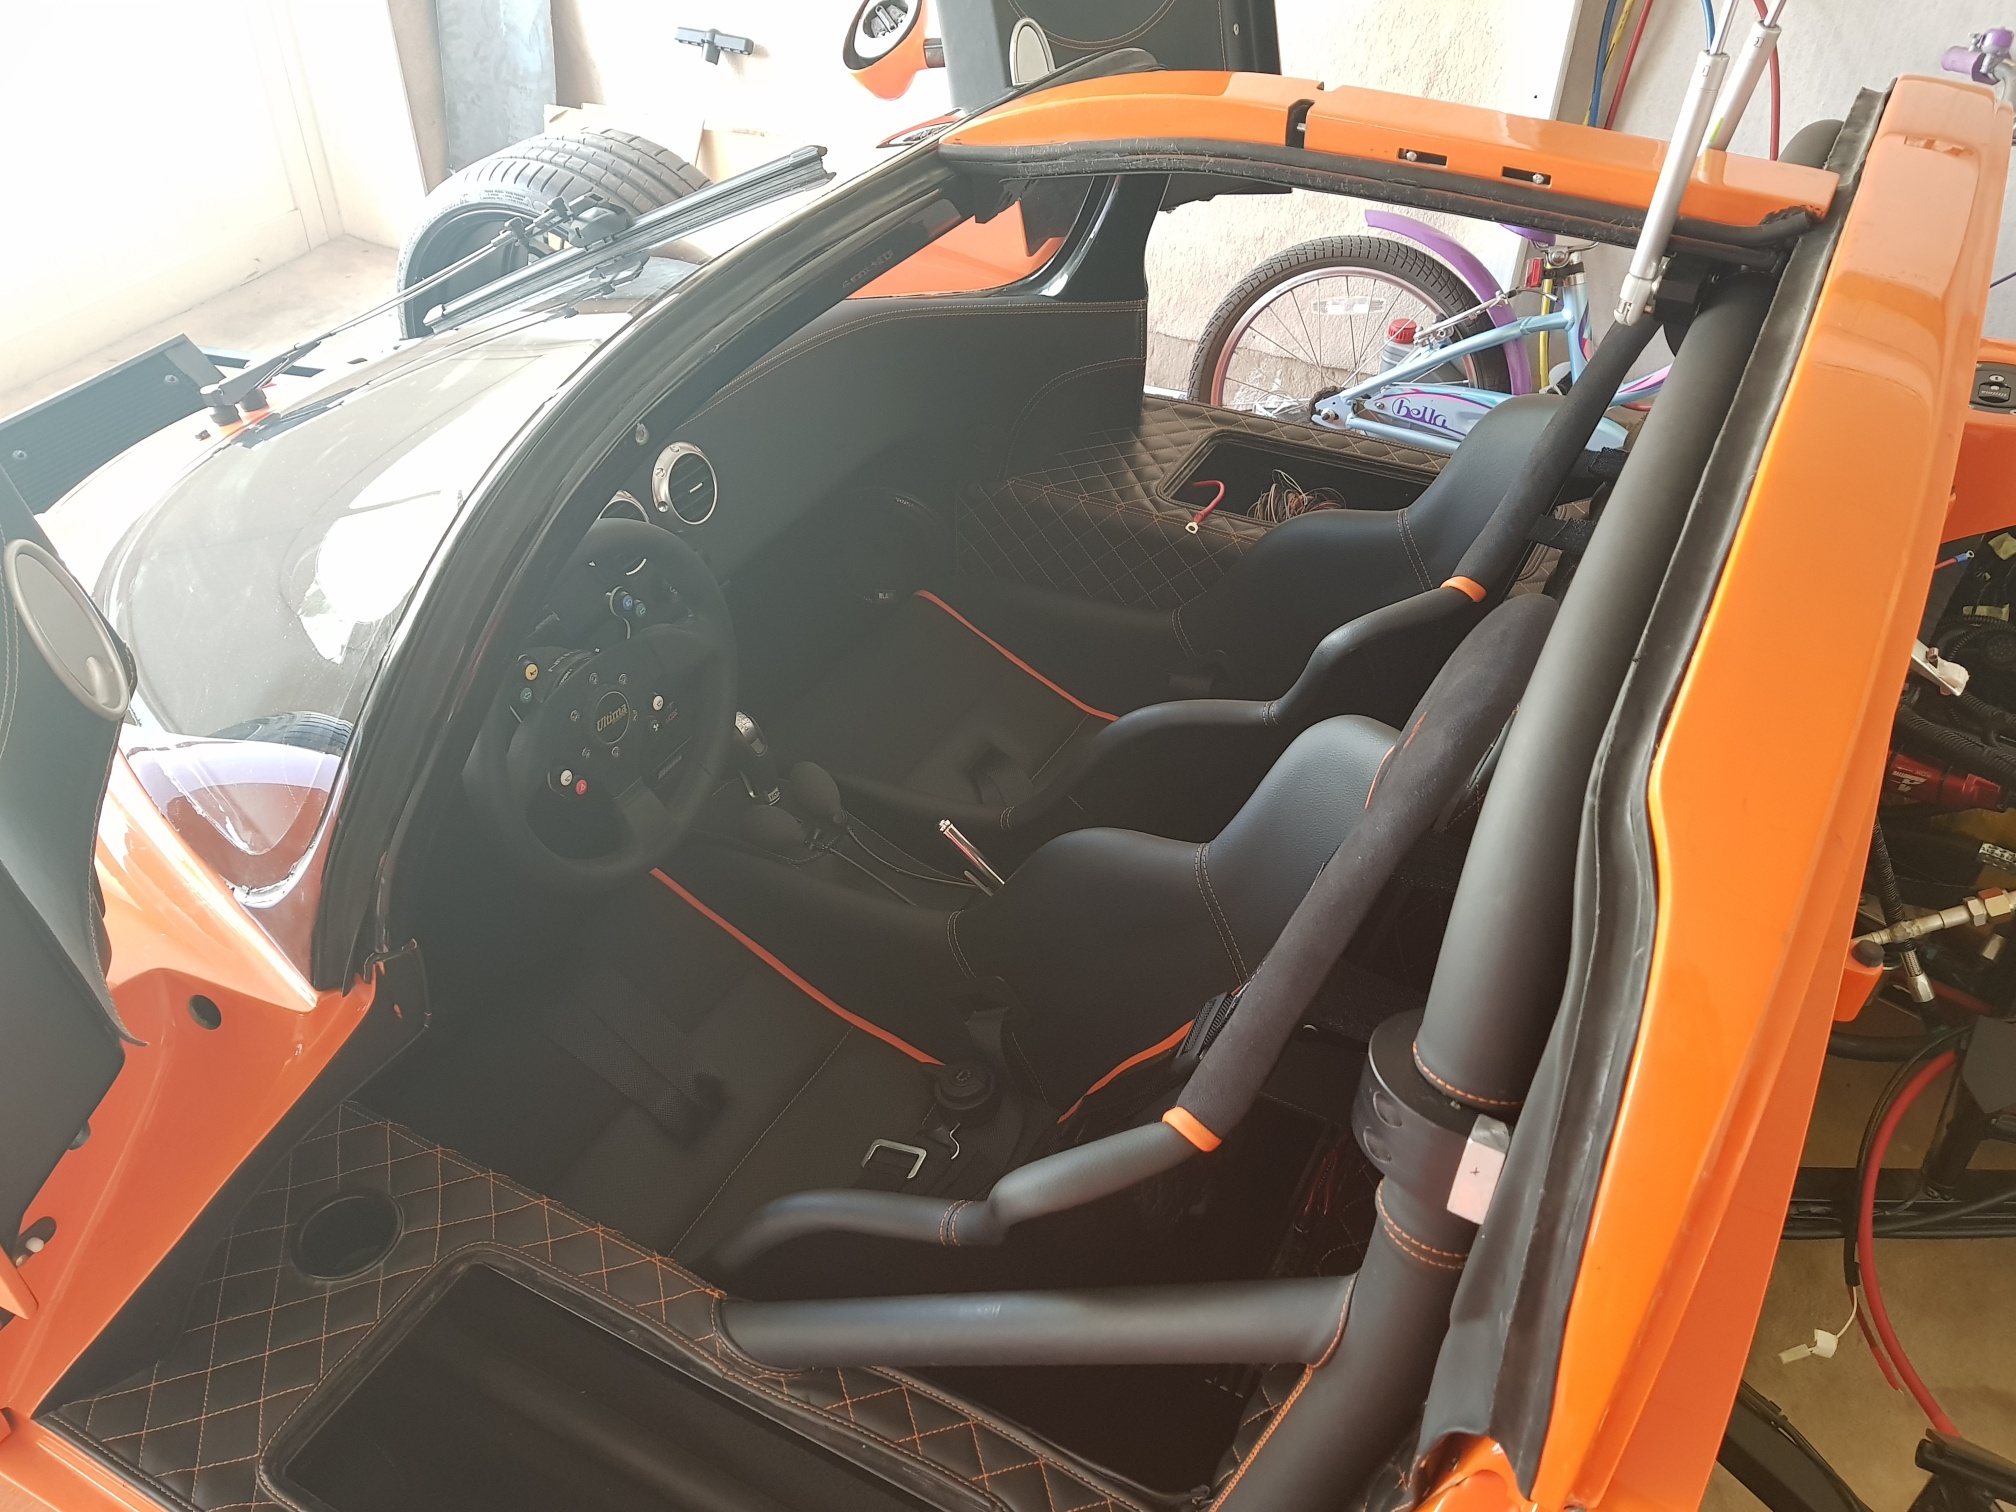
The steering wheel was installed, followed by the driver seat and finally the dash display - I had to make sure the display is visible from my seated position so this was left till the end...
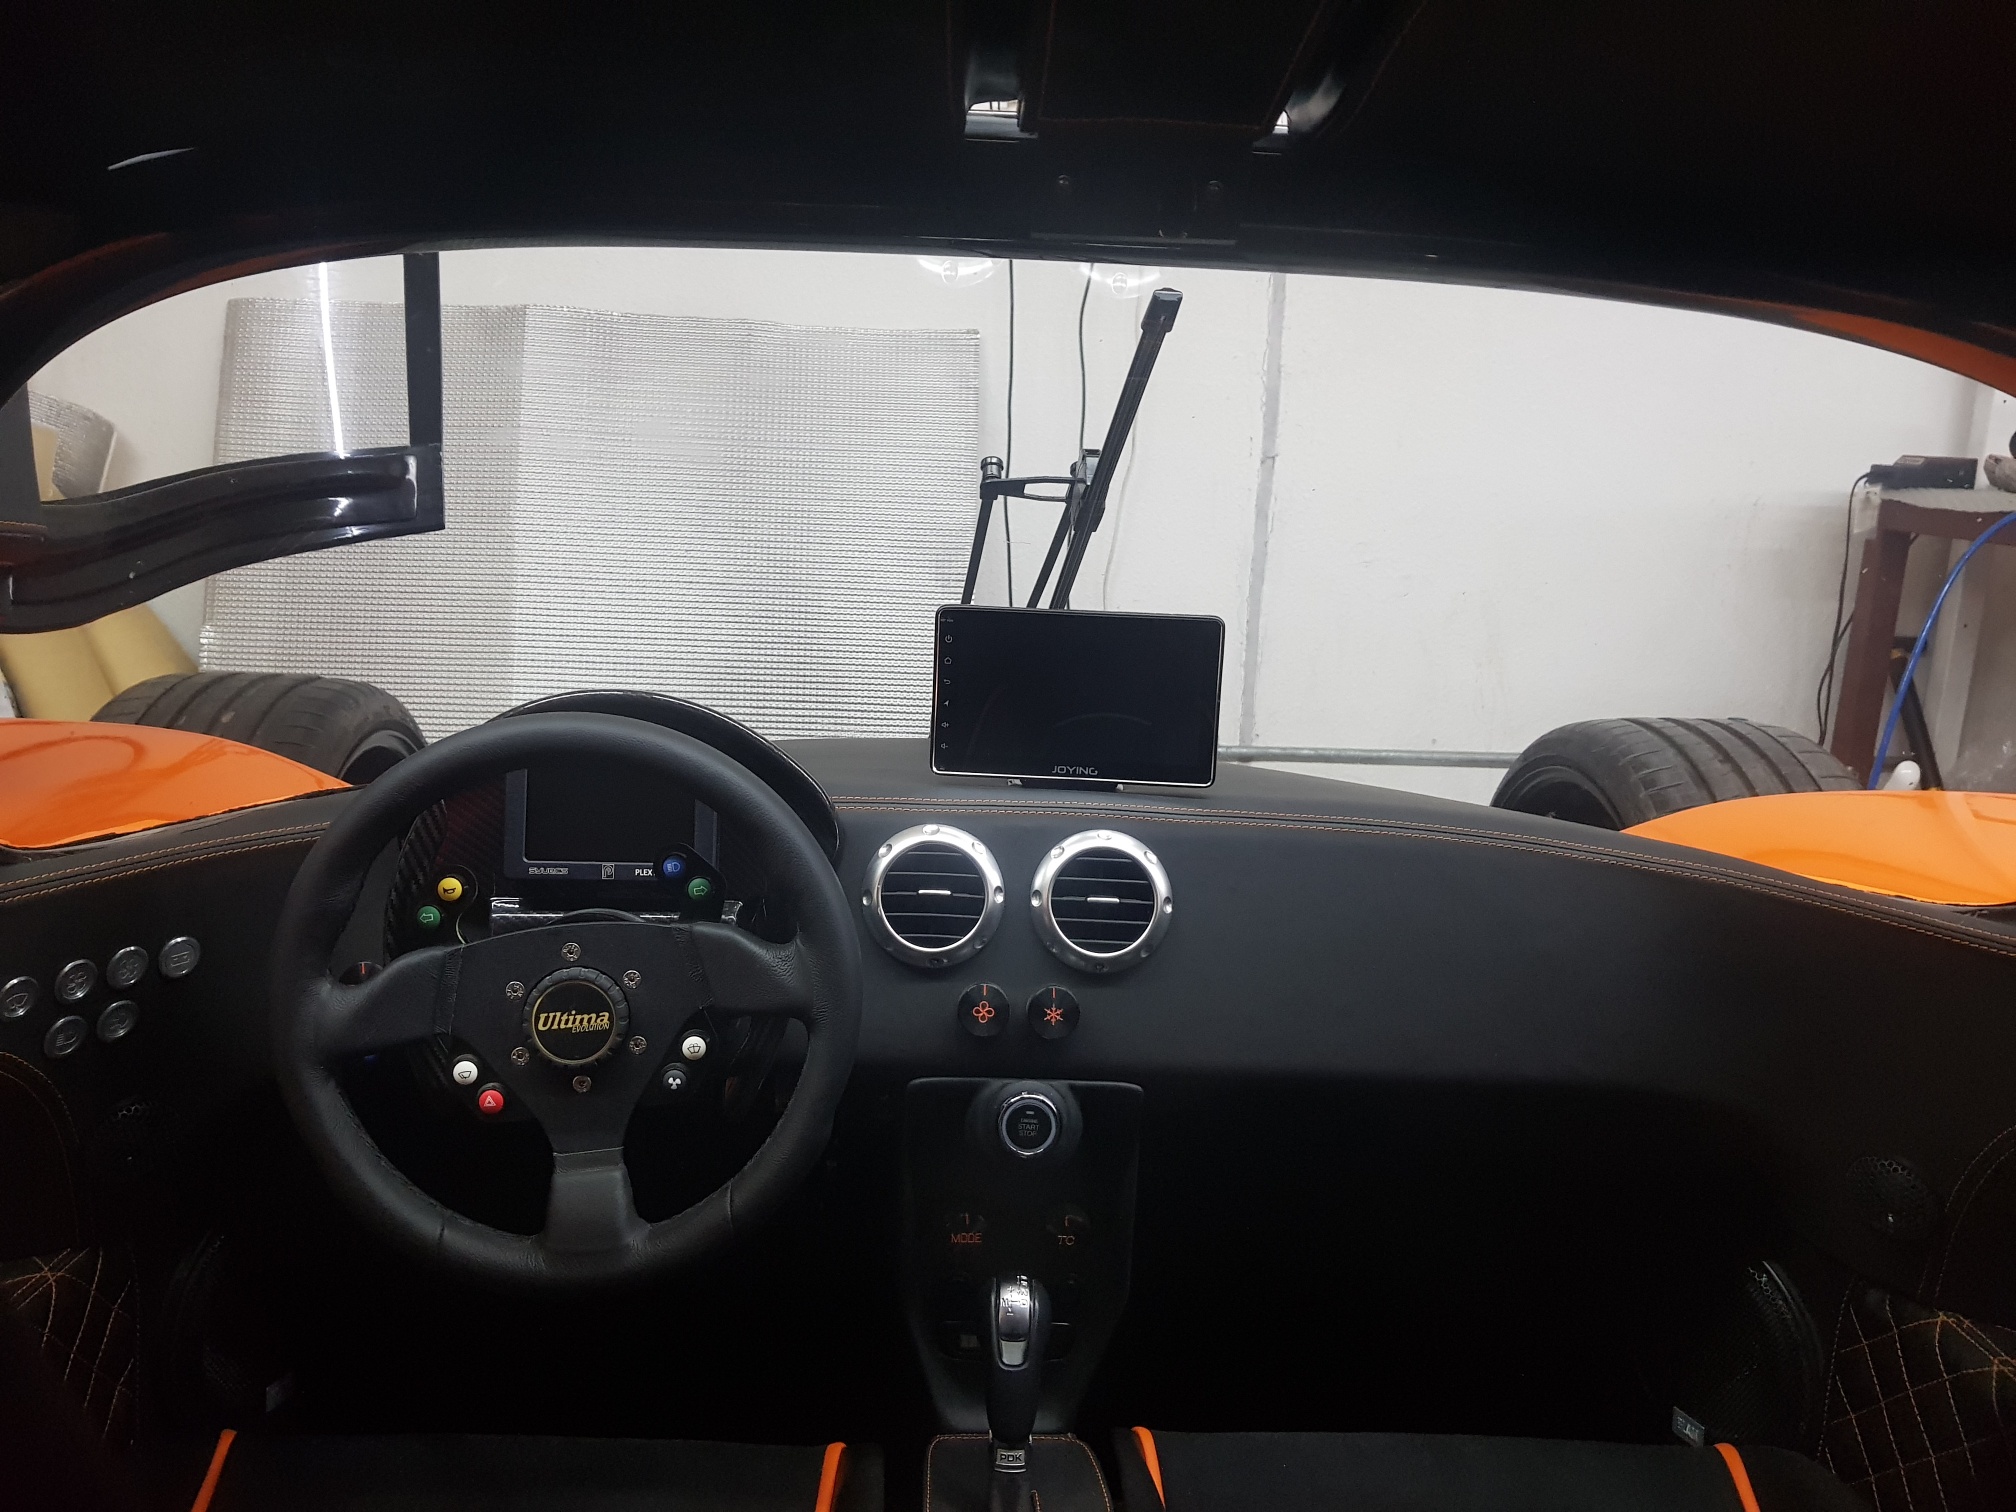
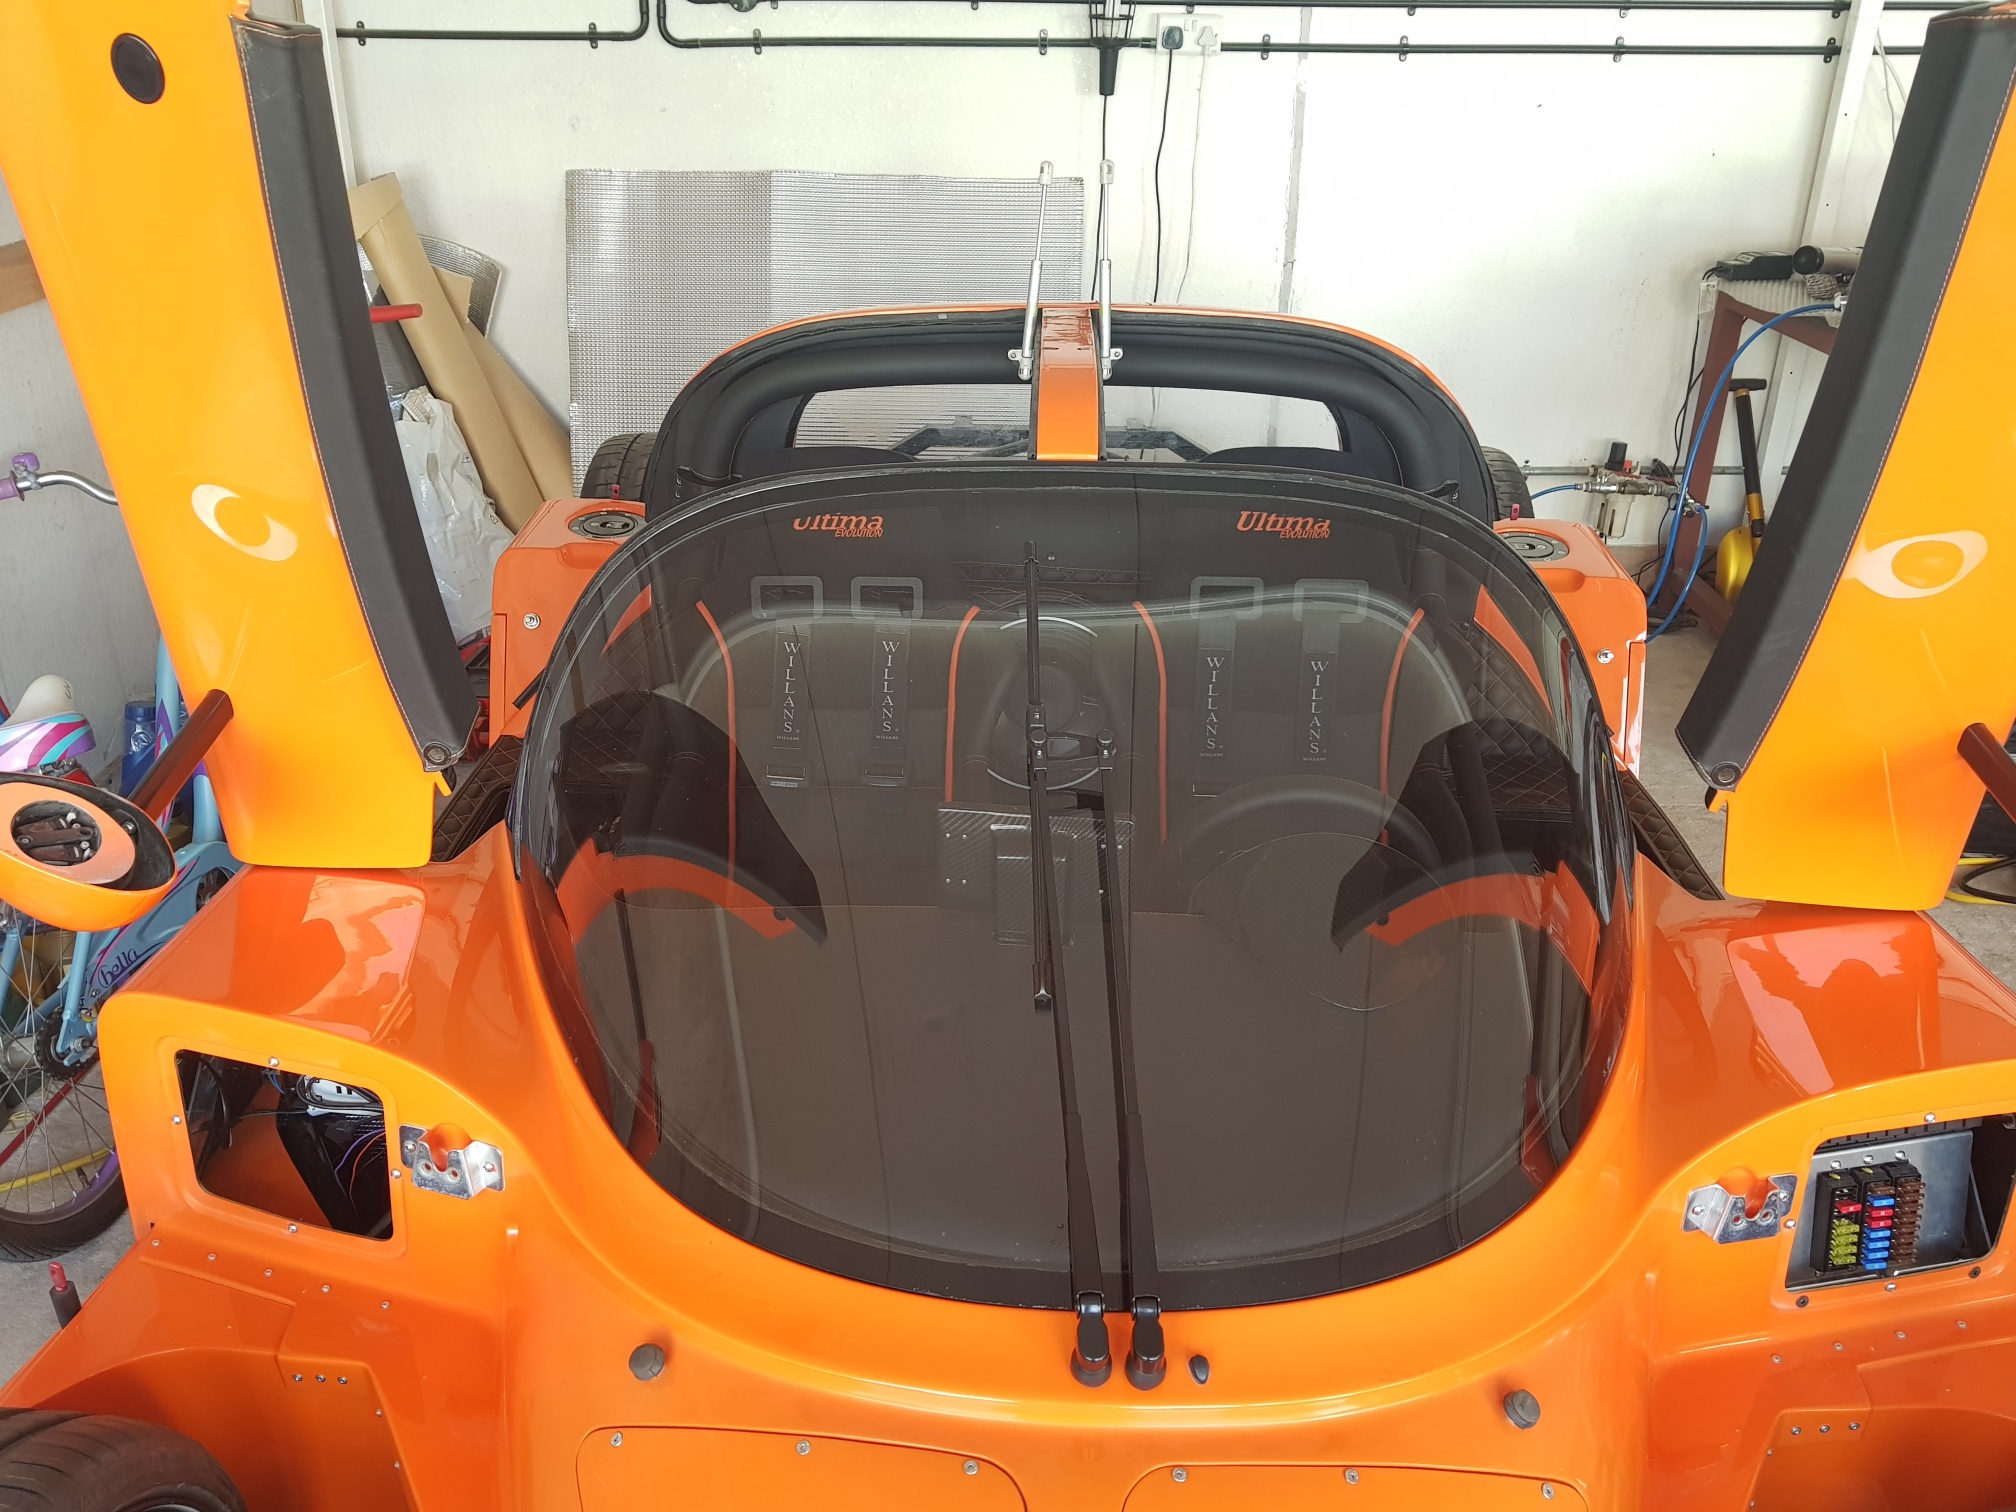
The windscreen was placed on the chassis and all 9 bolts were snugged up...
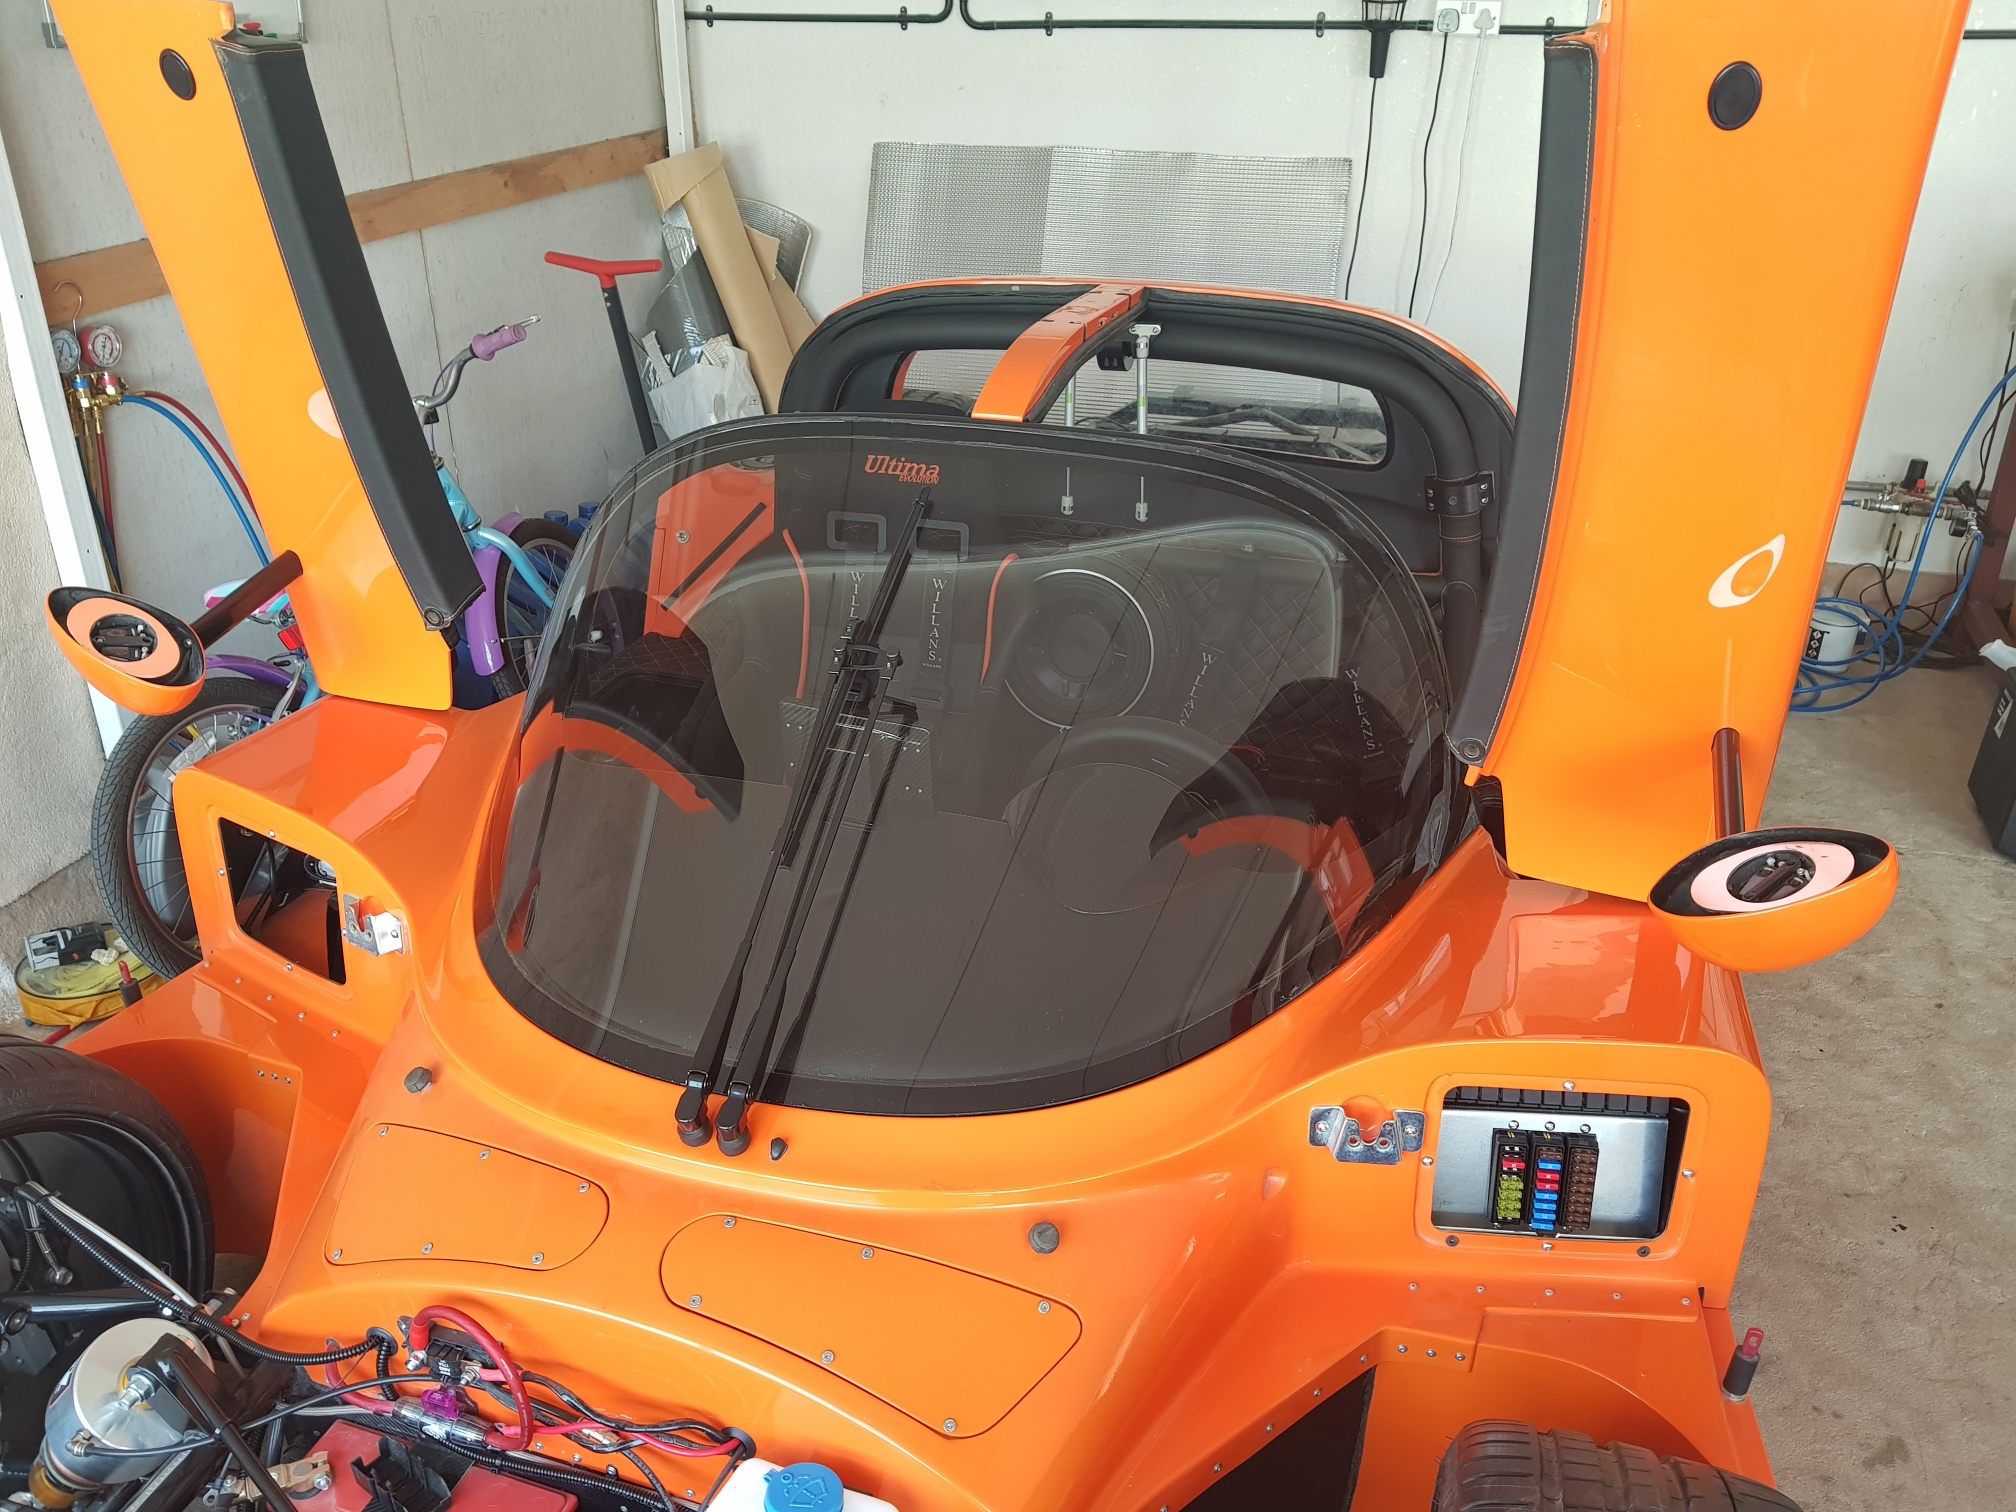
I spent a bit of time under the dash securing all the lose wires, bolting up the windsceen, and installing the wiper motor as well... The wiper arm was then installed from the outside...
The relay/fuse box was permanently installed, and all 4 access panels were secured (the two ally panels still need to be covered in CF, but that will be done at the end since it is purely for looks)..

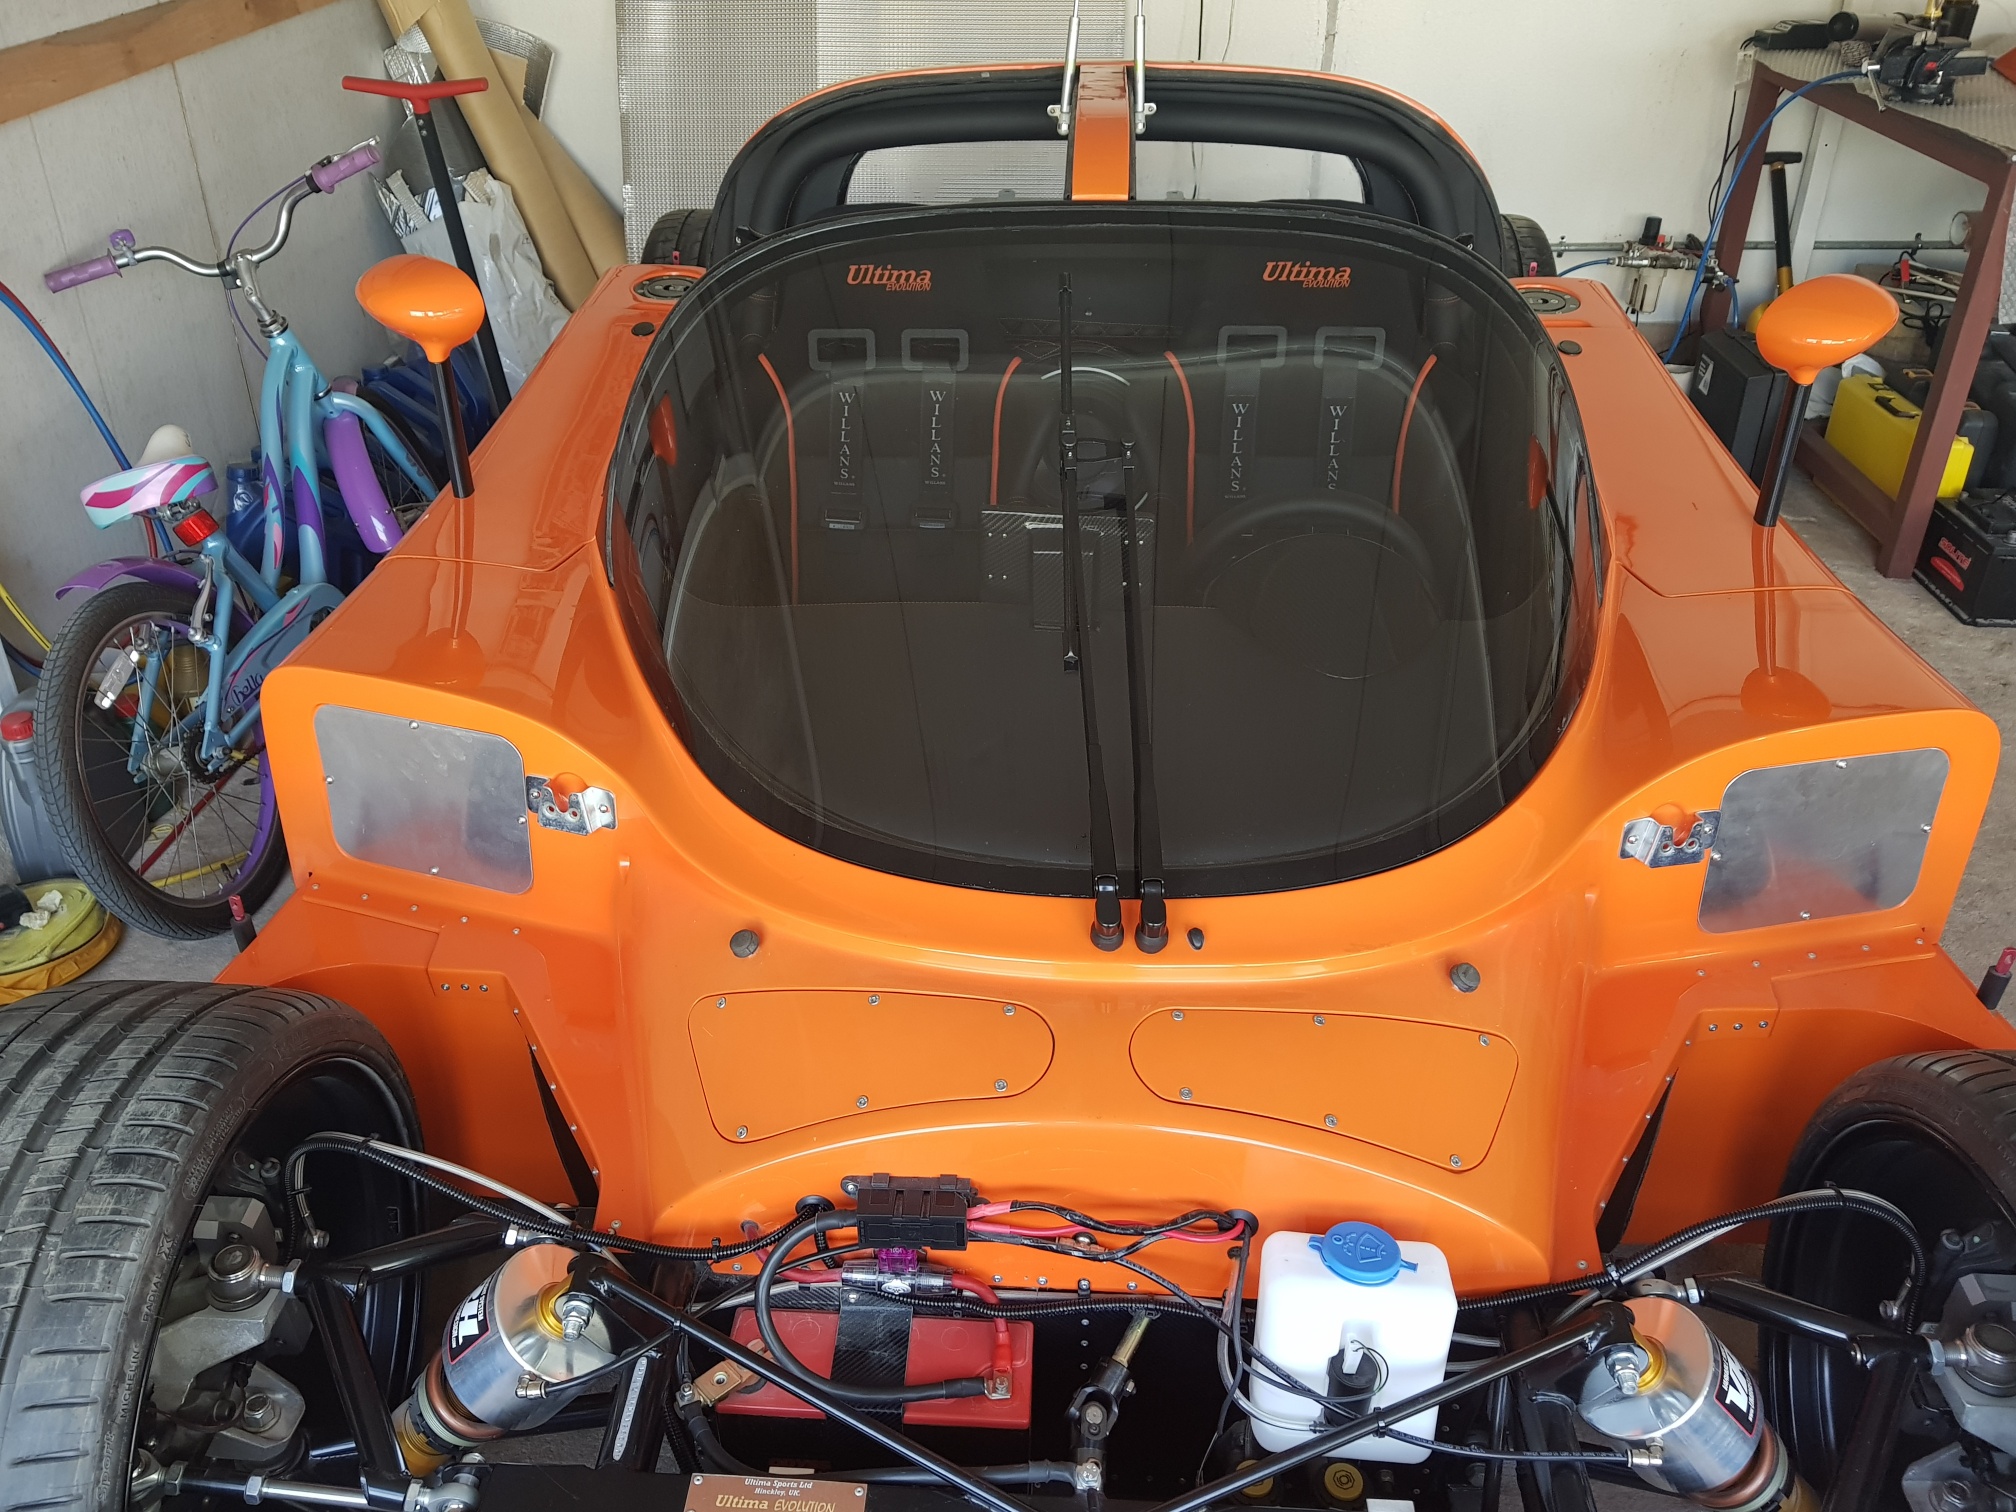
The side mirrors were also installed with velcro...
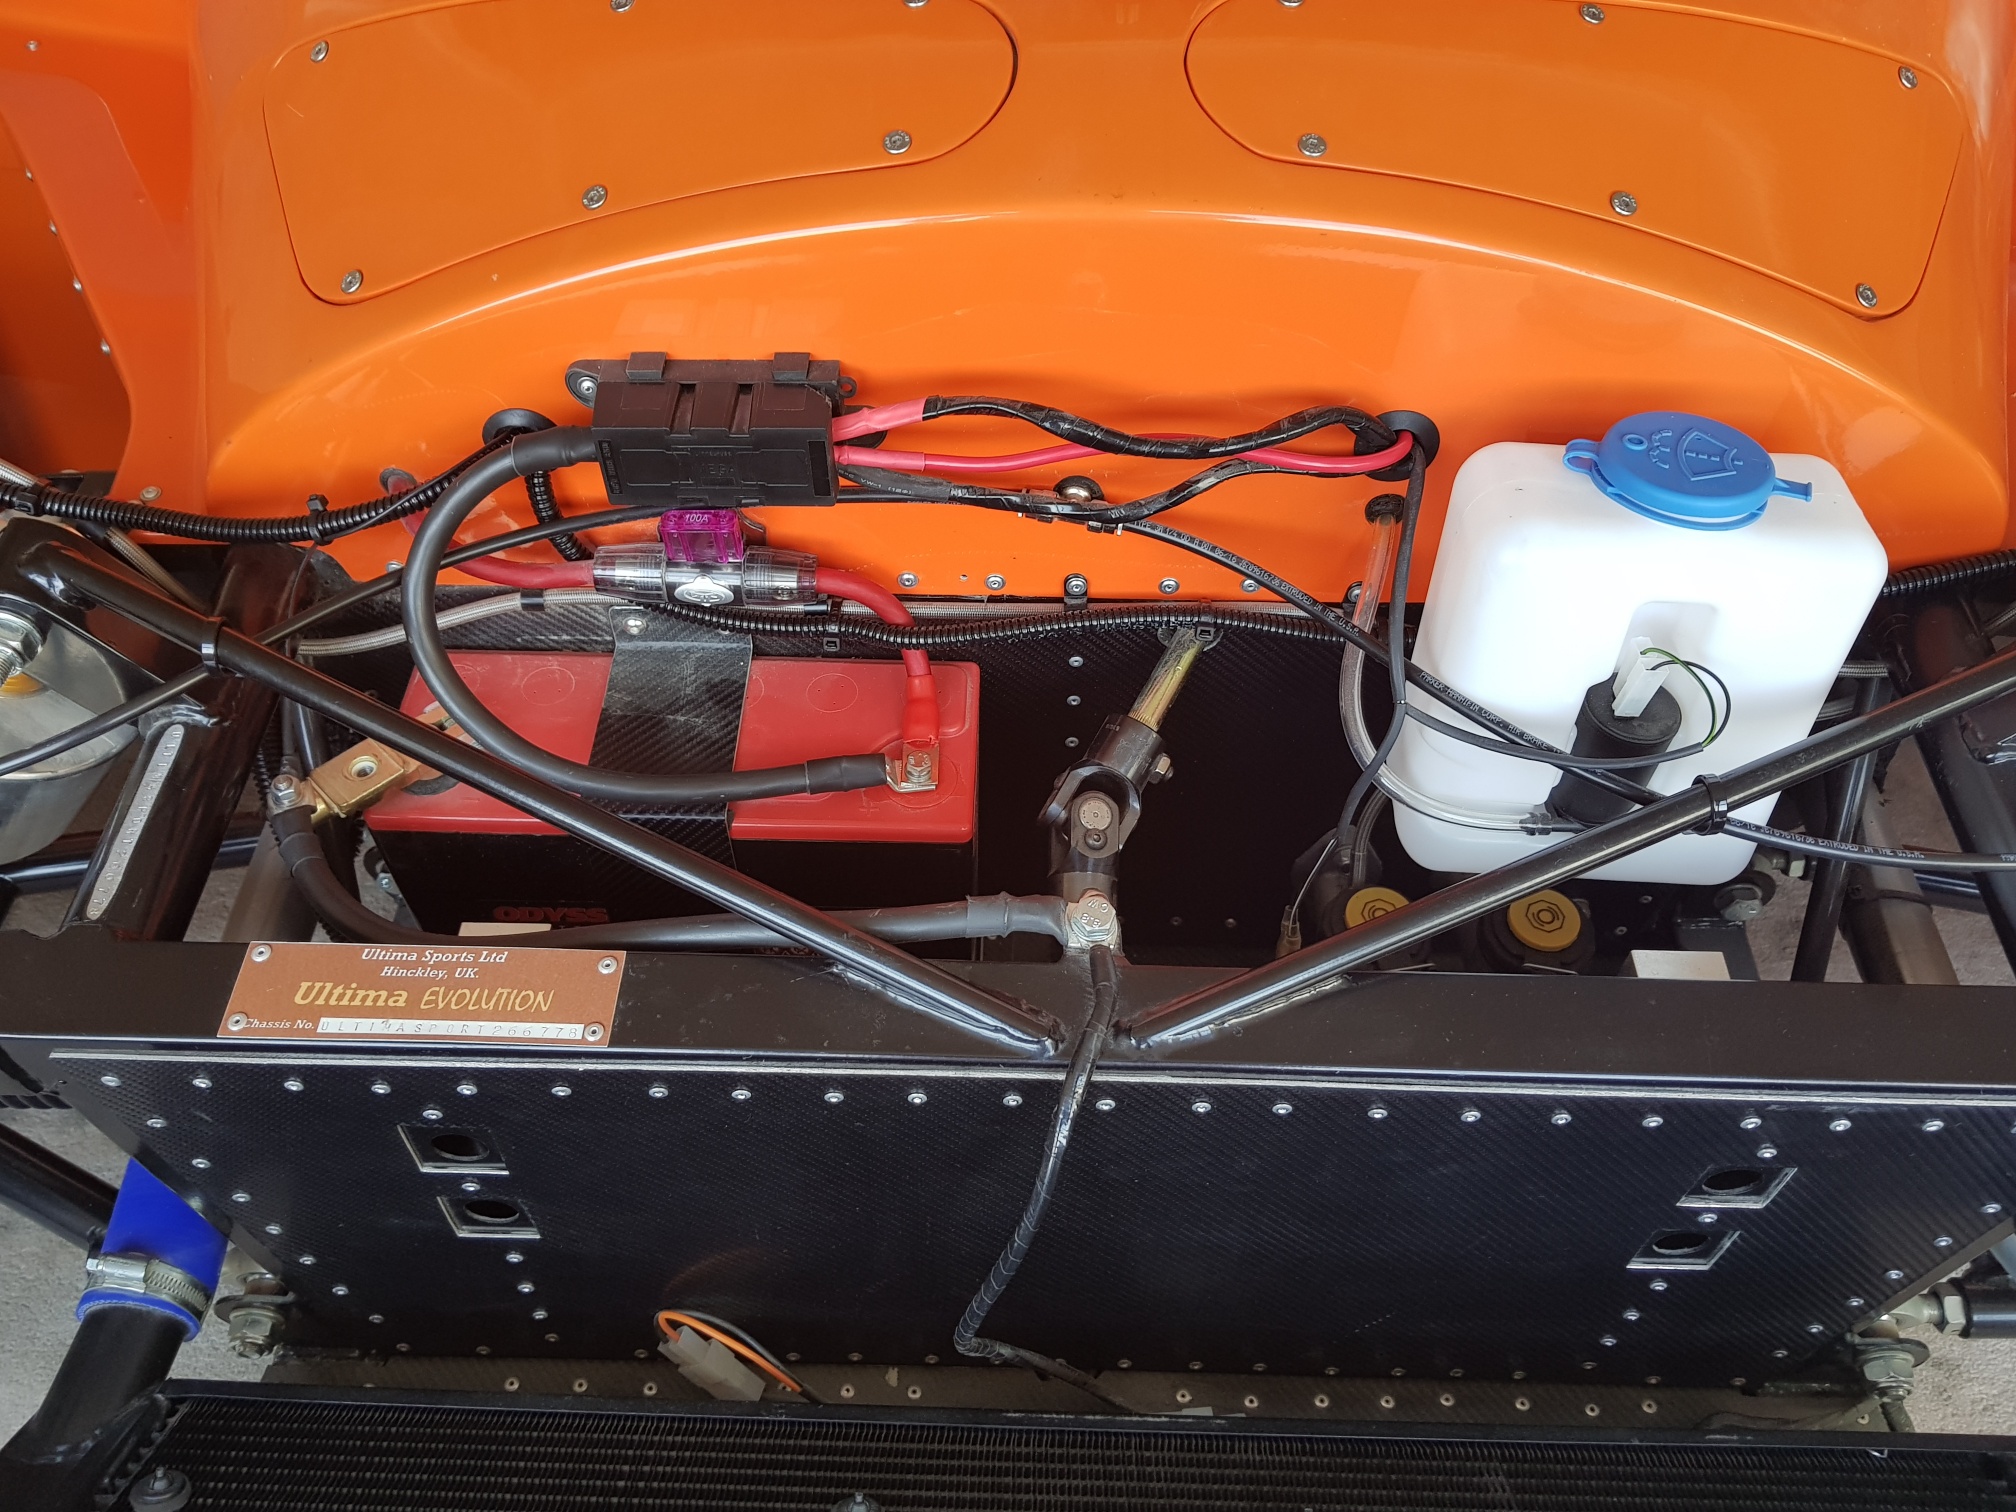
The front area was ziptied and all battery cables/amp power were installed...
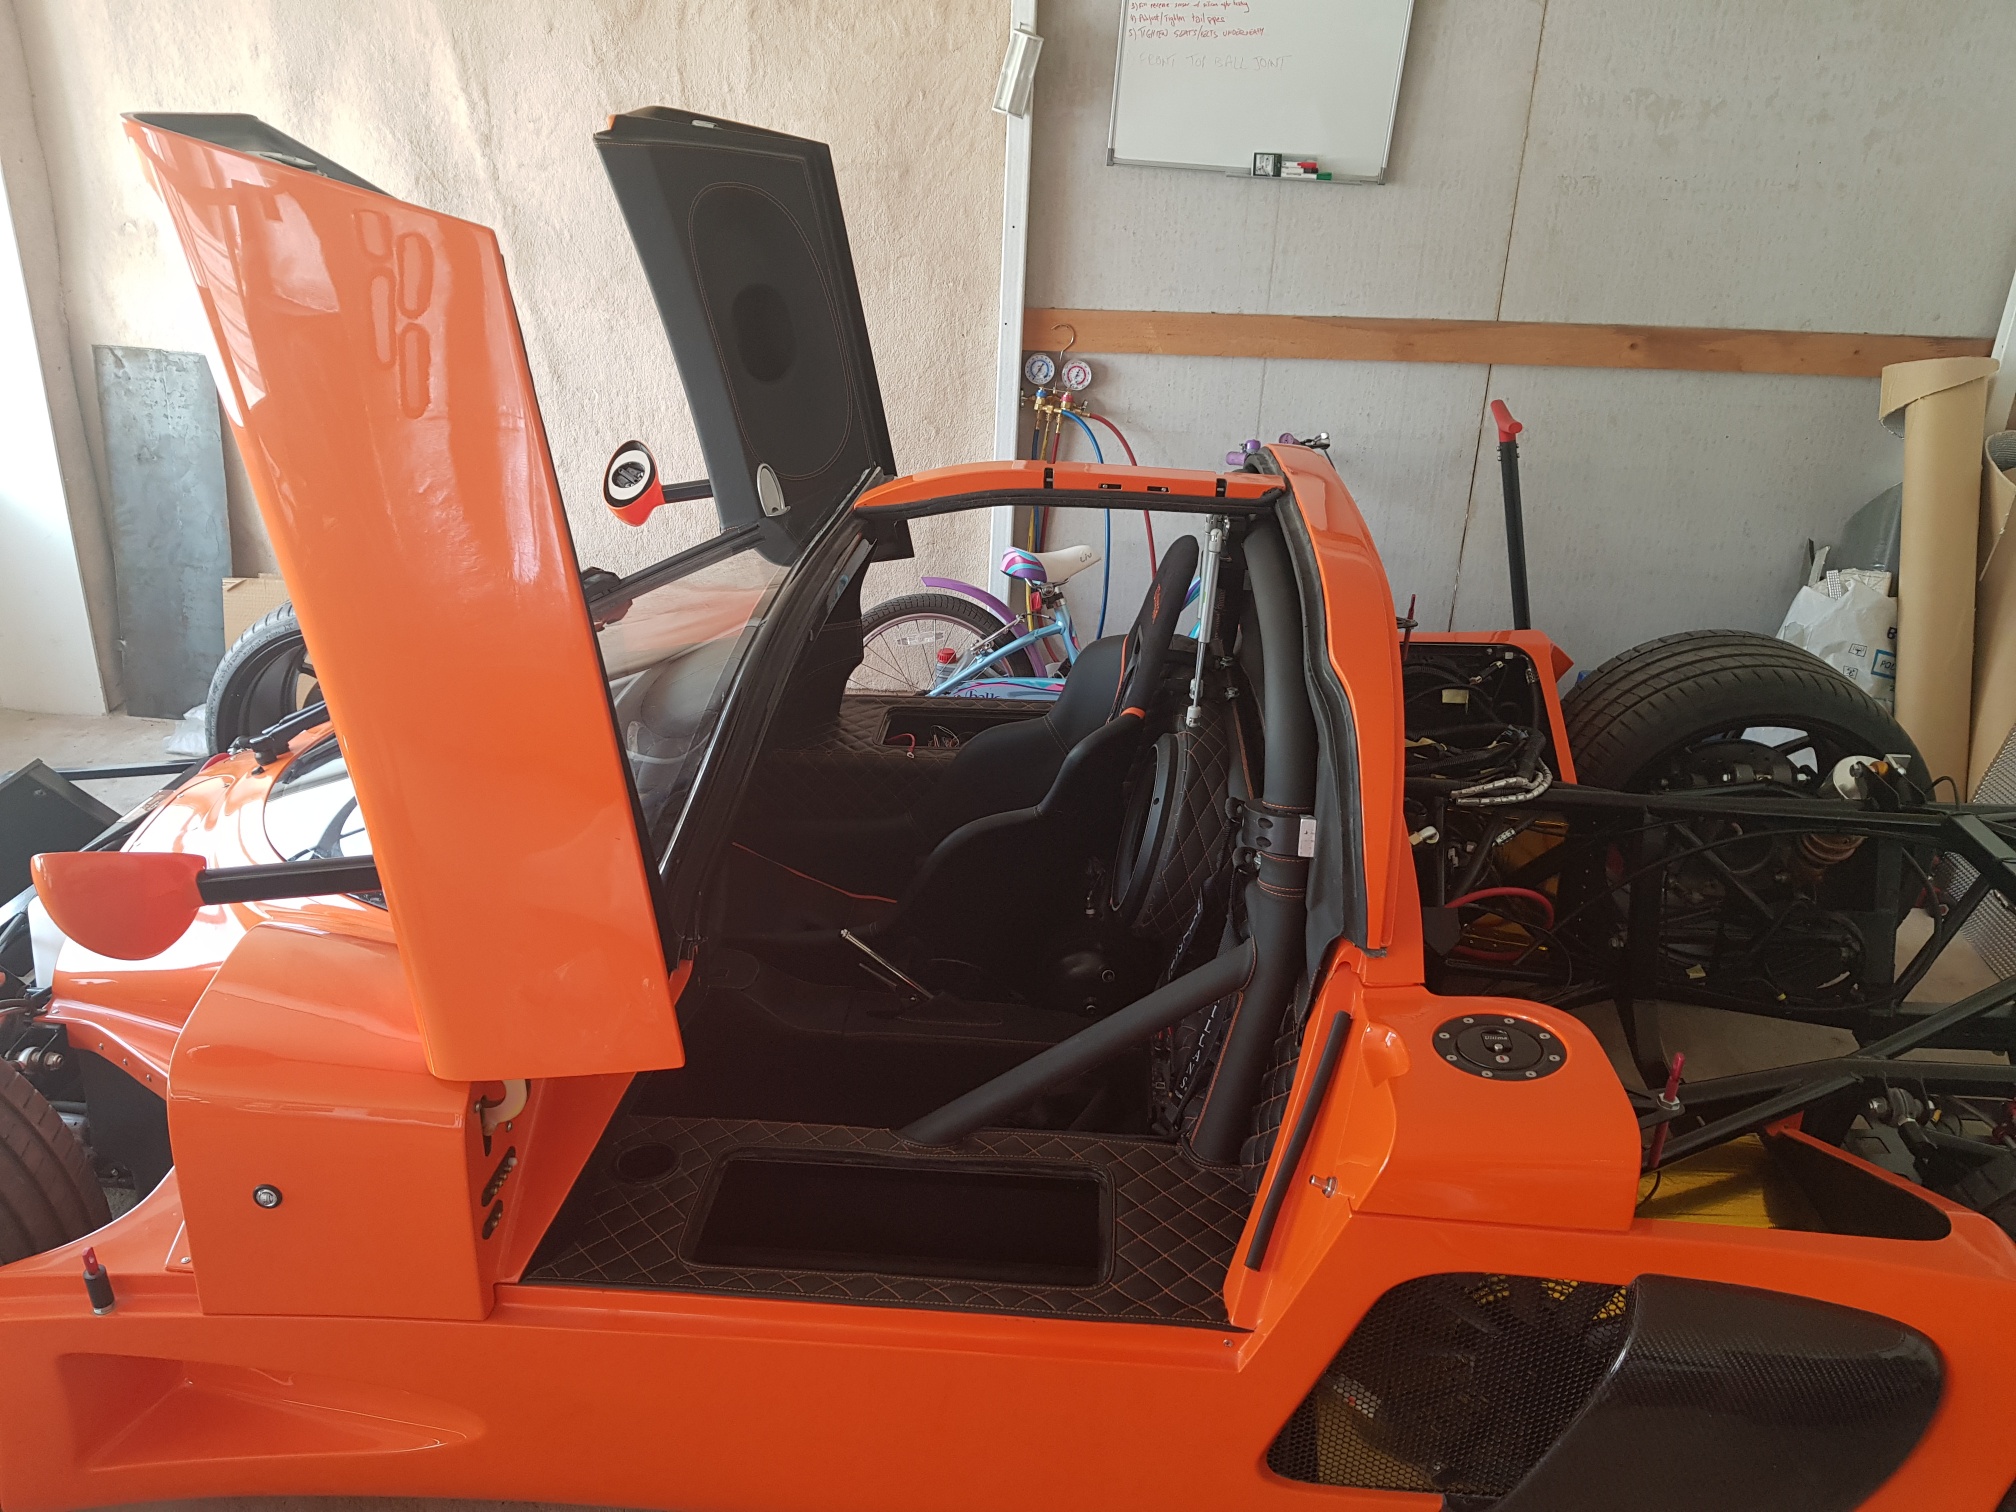
The front of the vehicle is NOW ready - only the front canopy needs to be dropped on and connected, but that will be done at the end..
The hard top roof was put back together, so now no dust can get inside
the cabin while I work on the drivetrain...
May 4-6 2018
Build Time : 8 hours
Total Build Time: 557 hours
I finally got started on the heart!
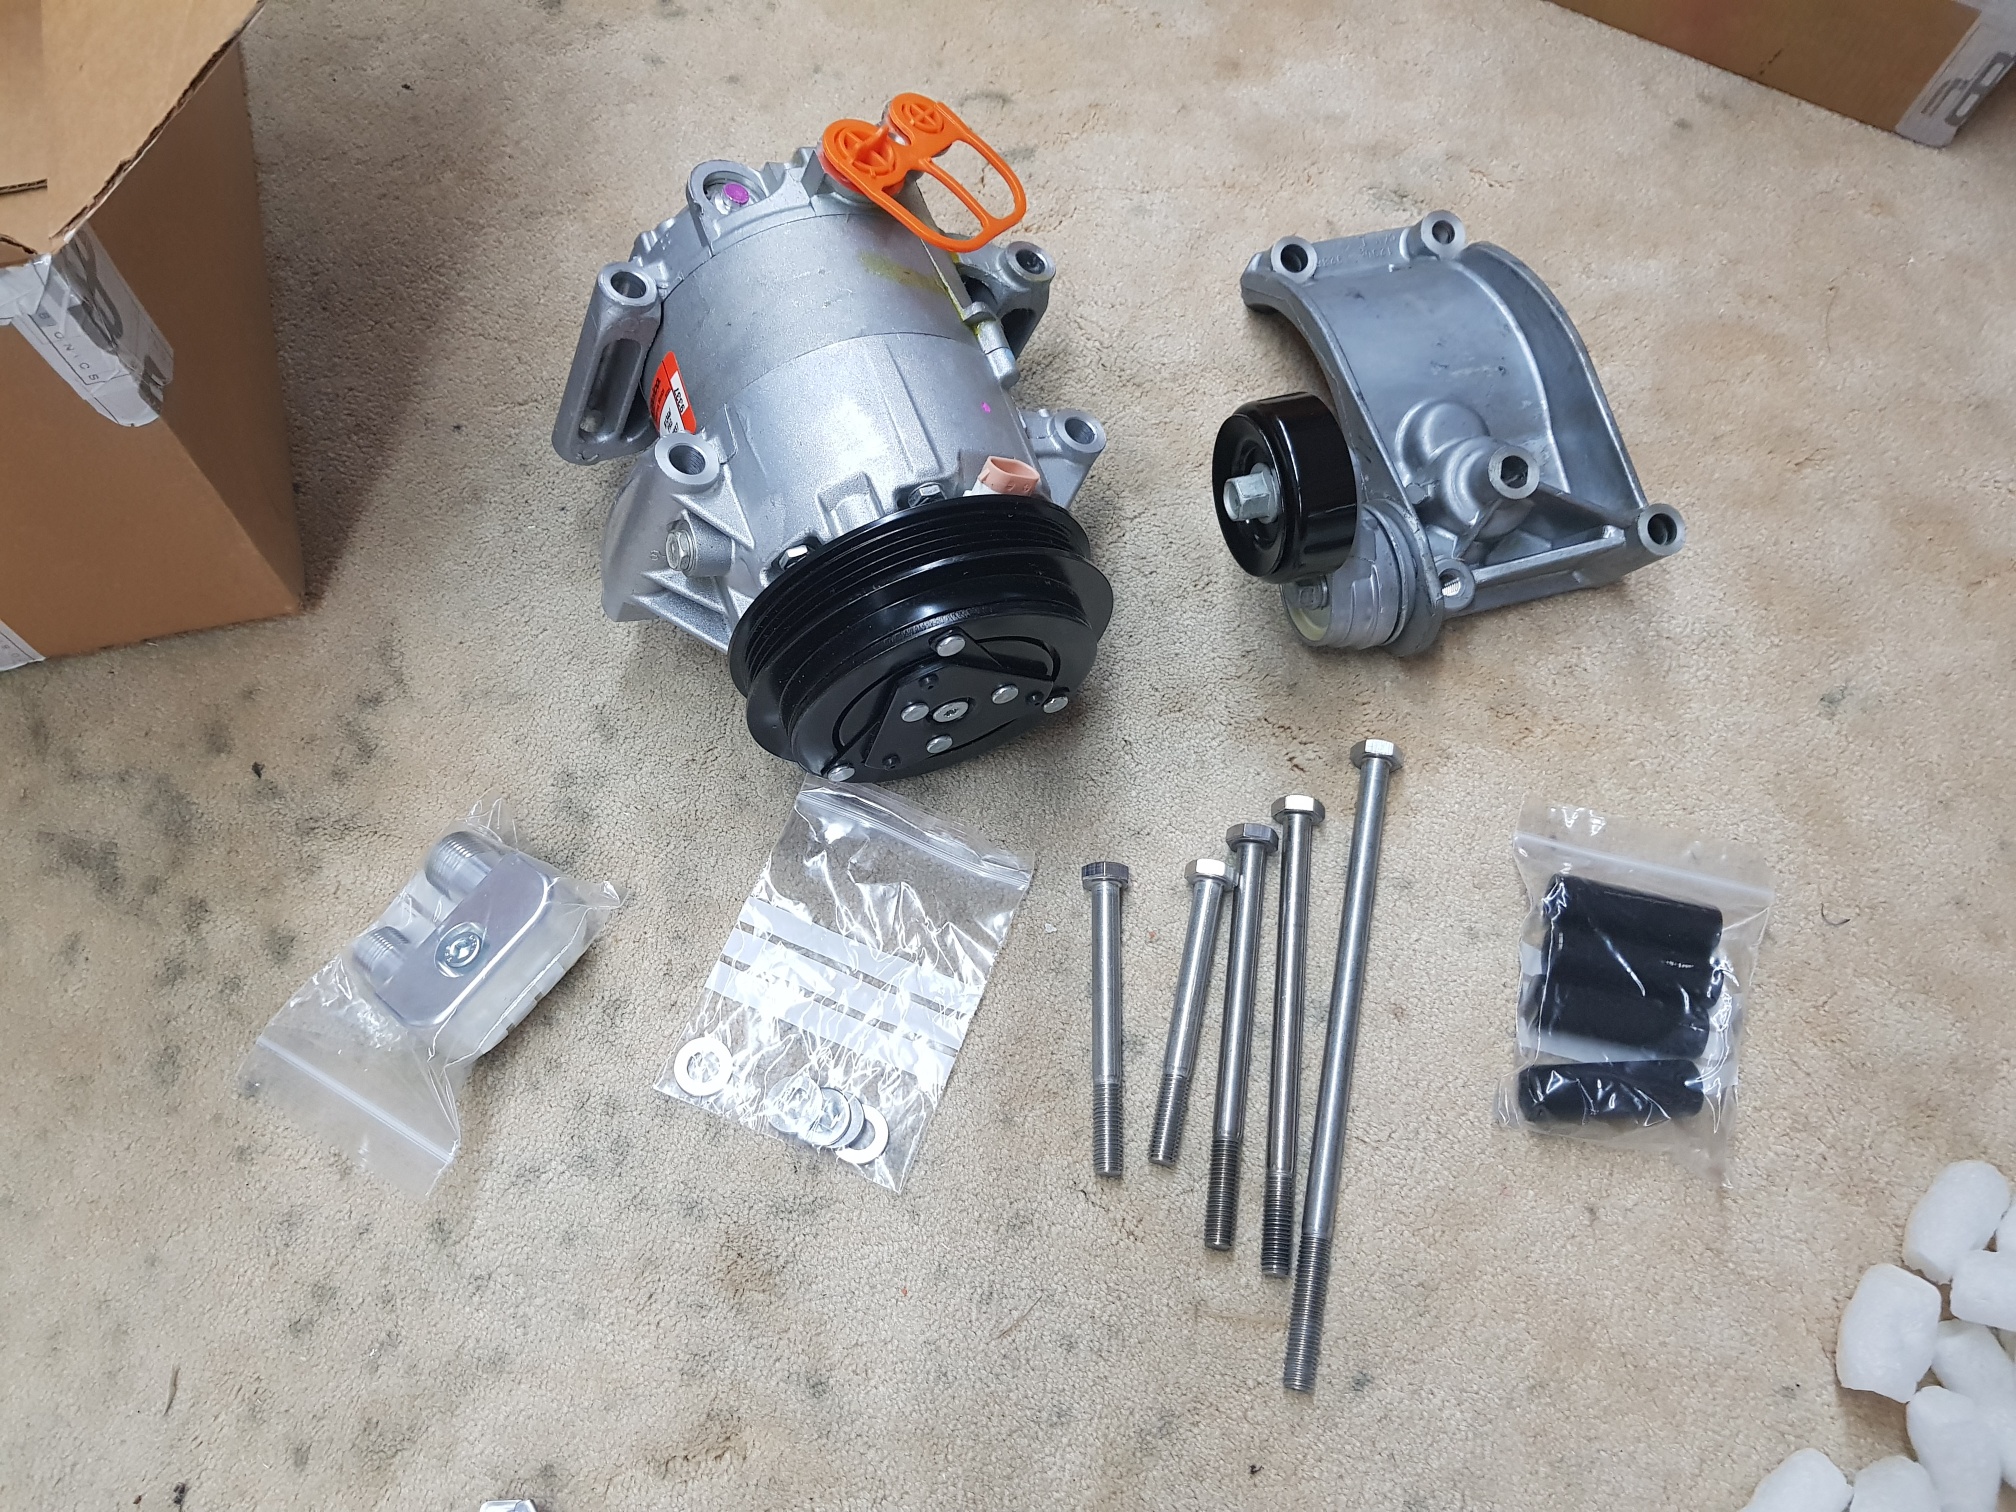
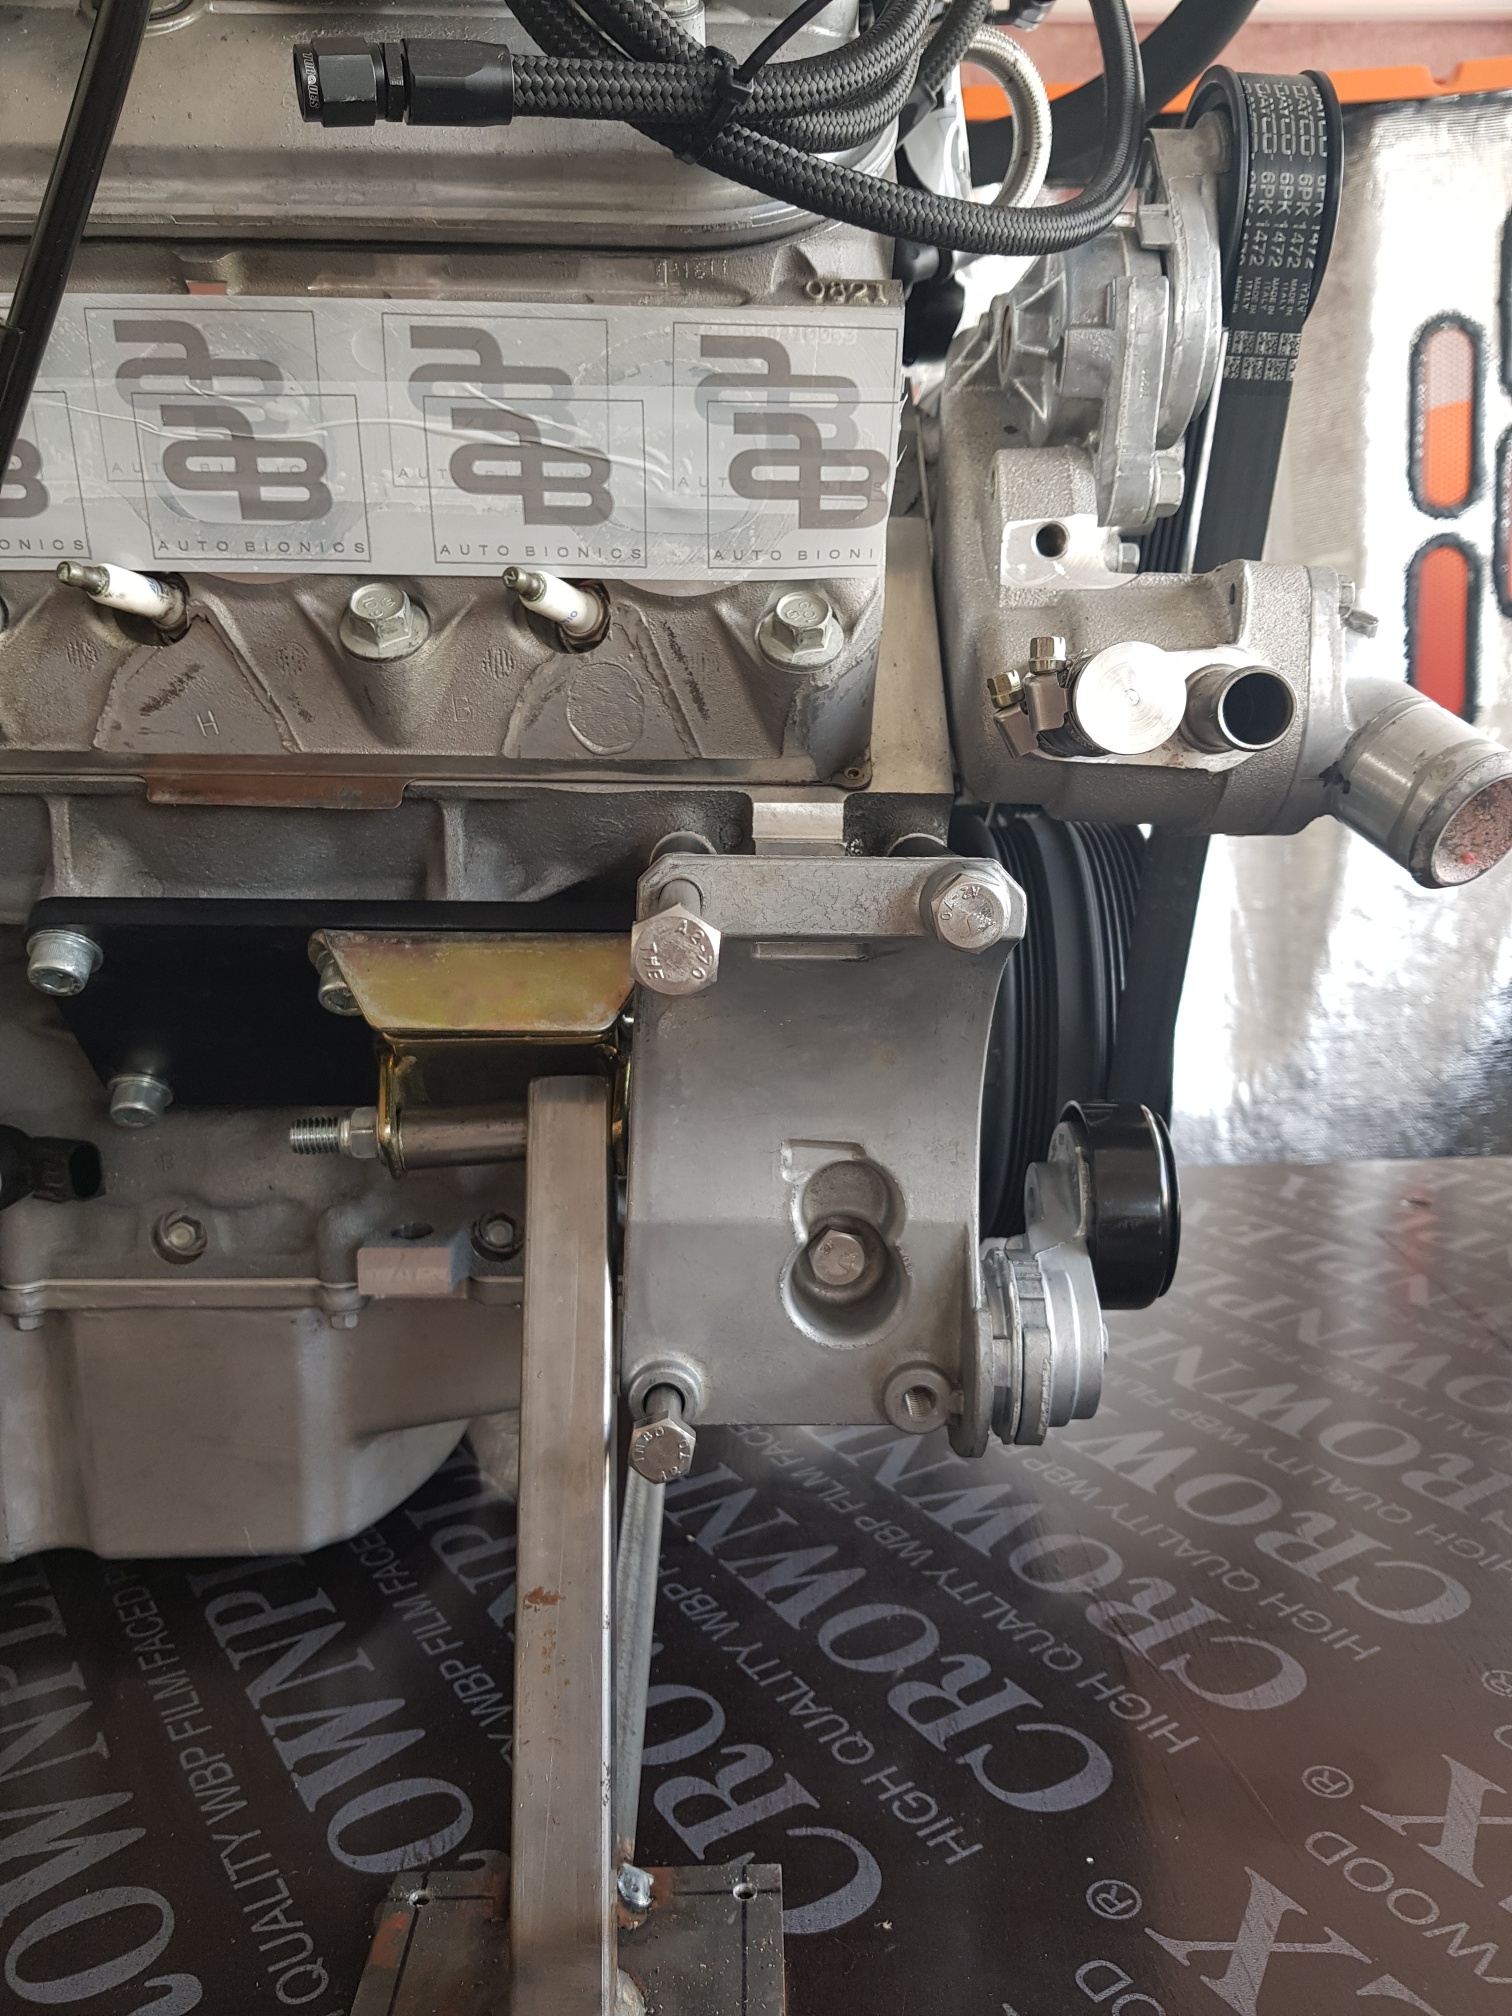
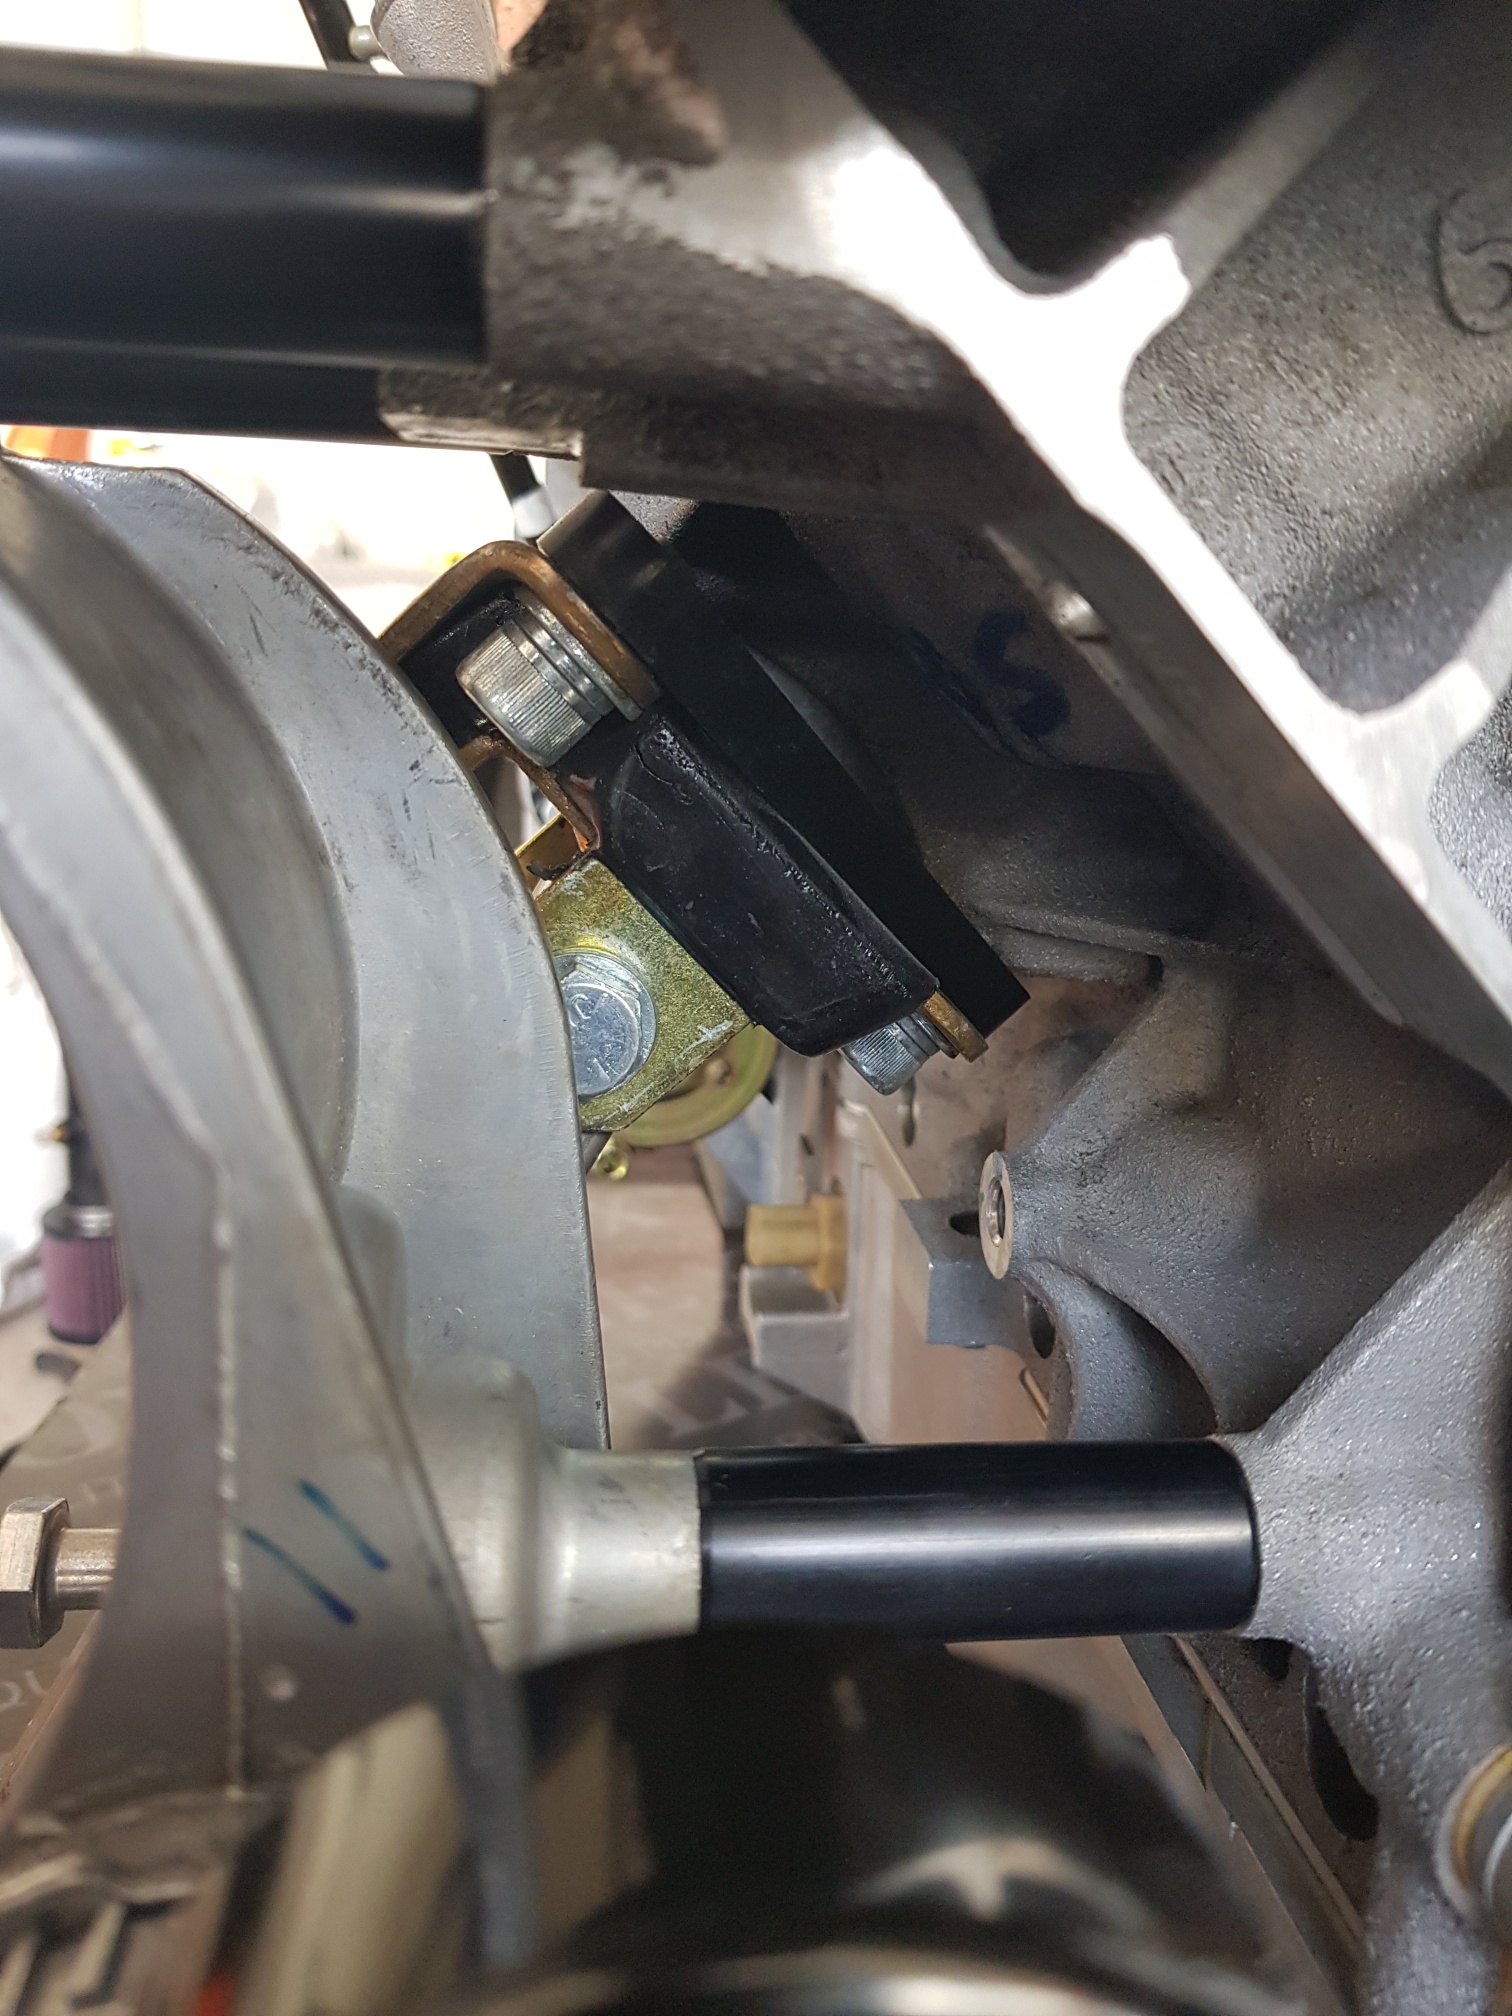
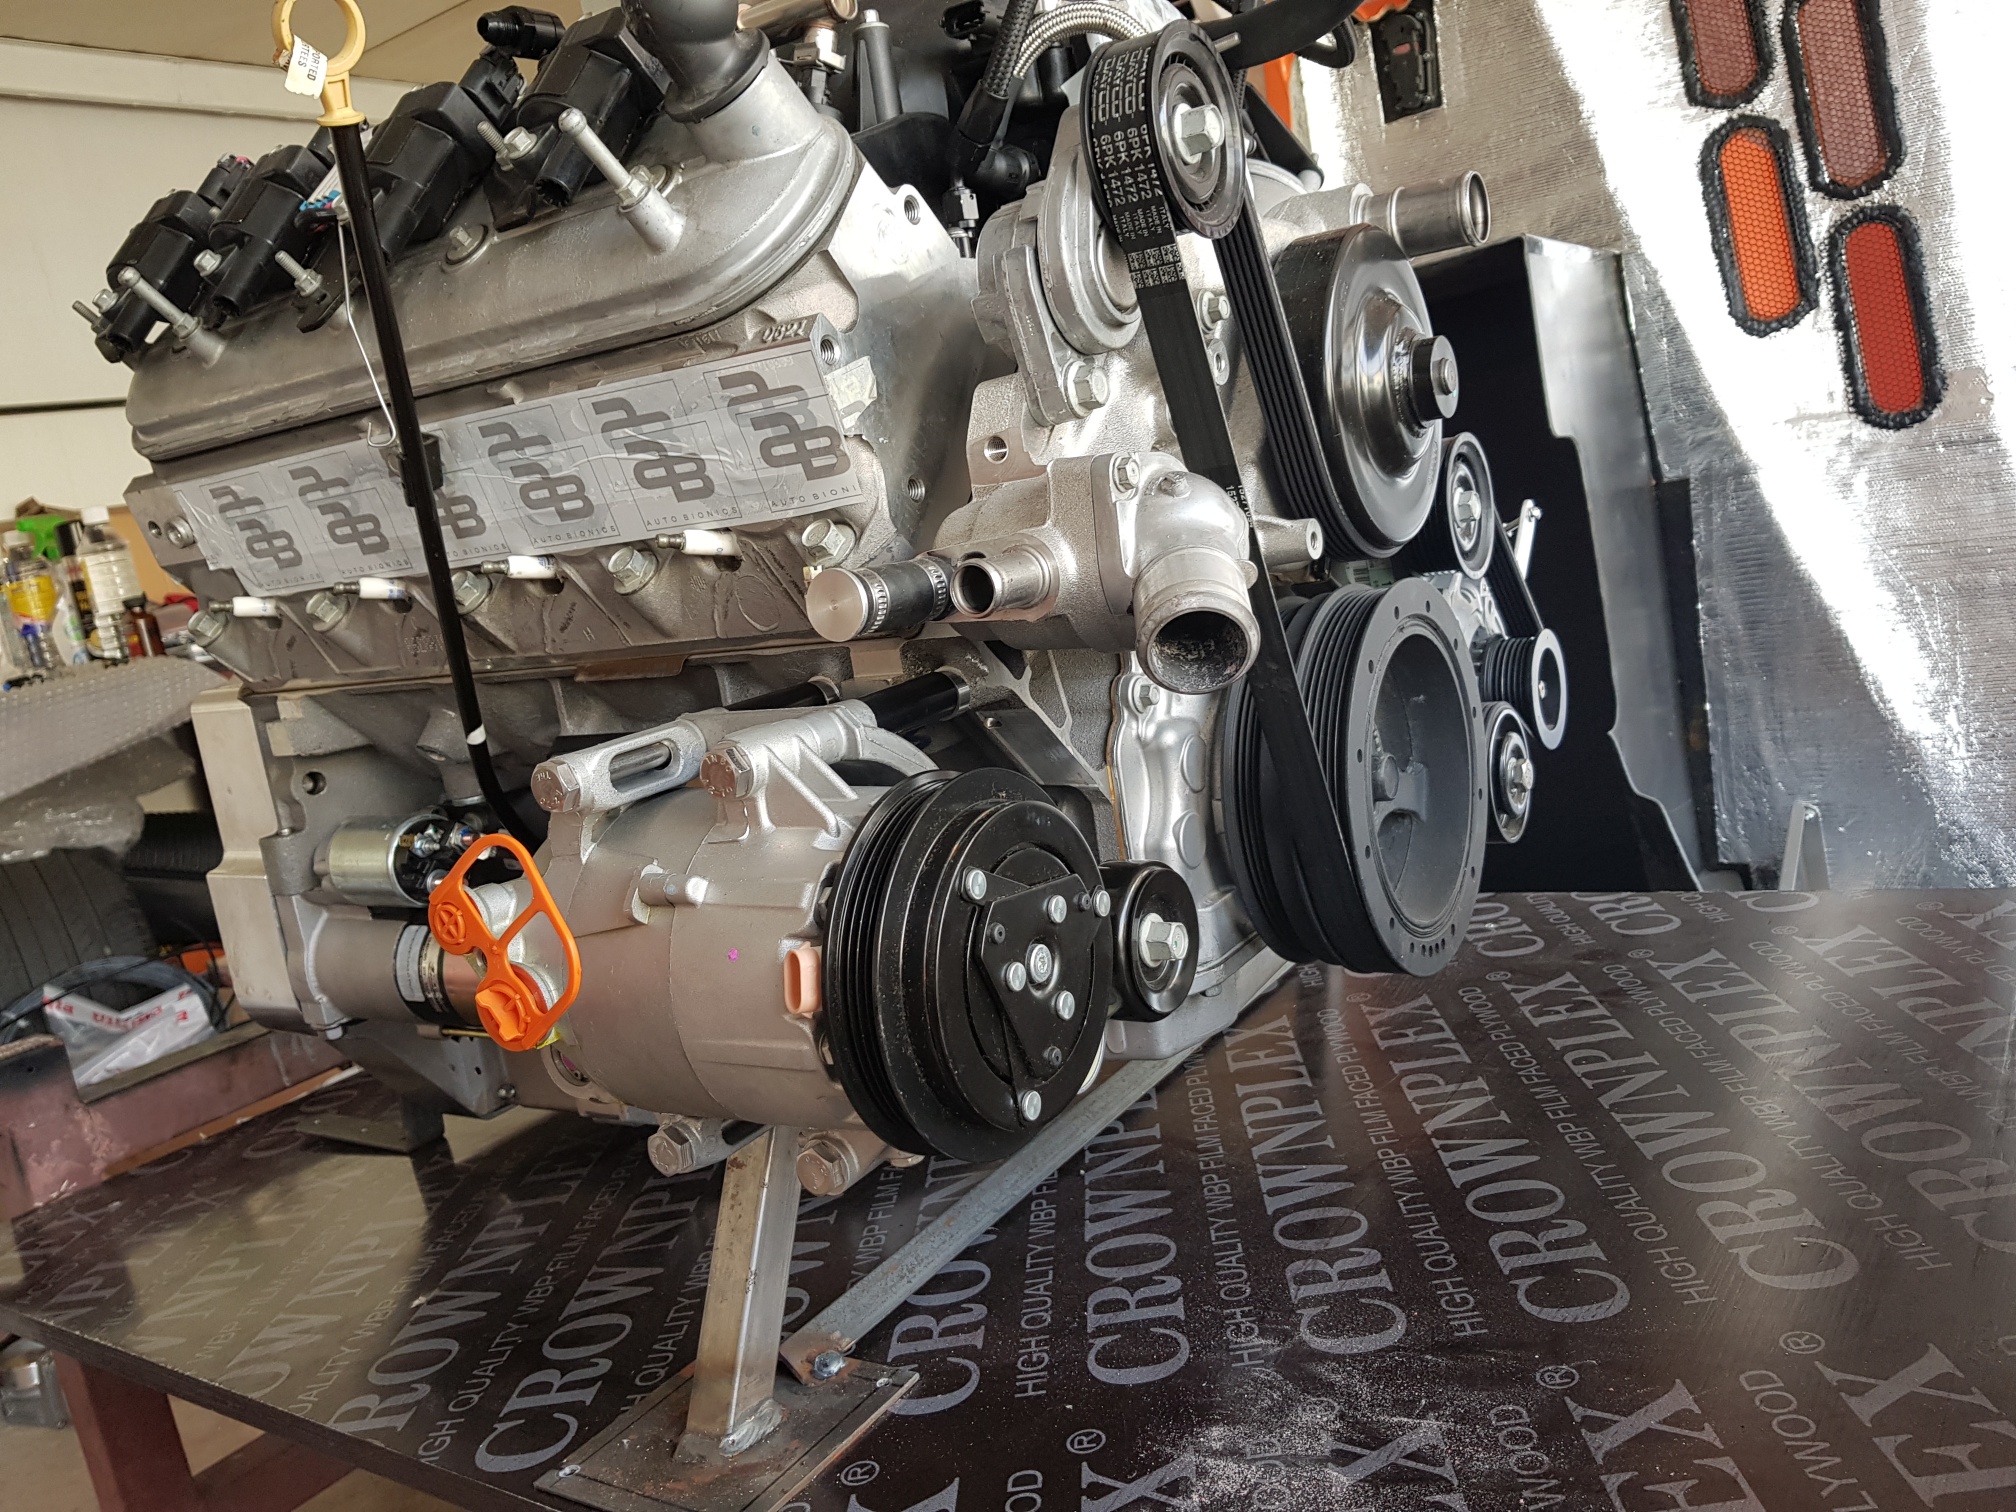
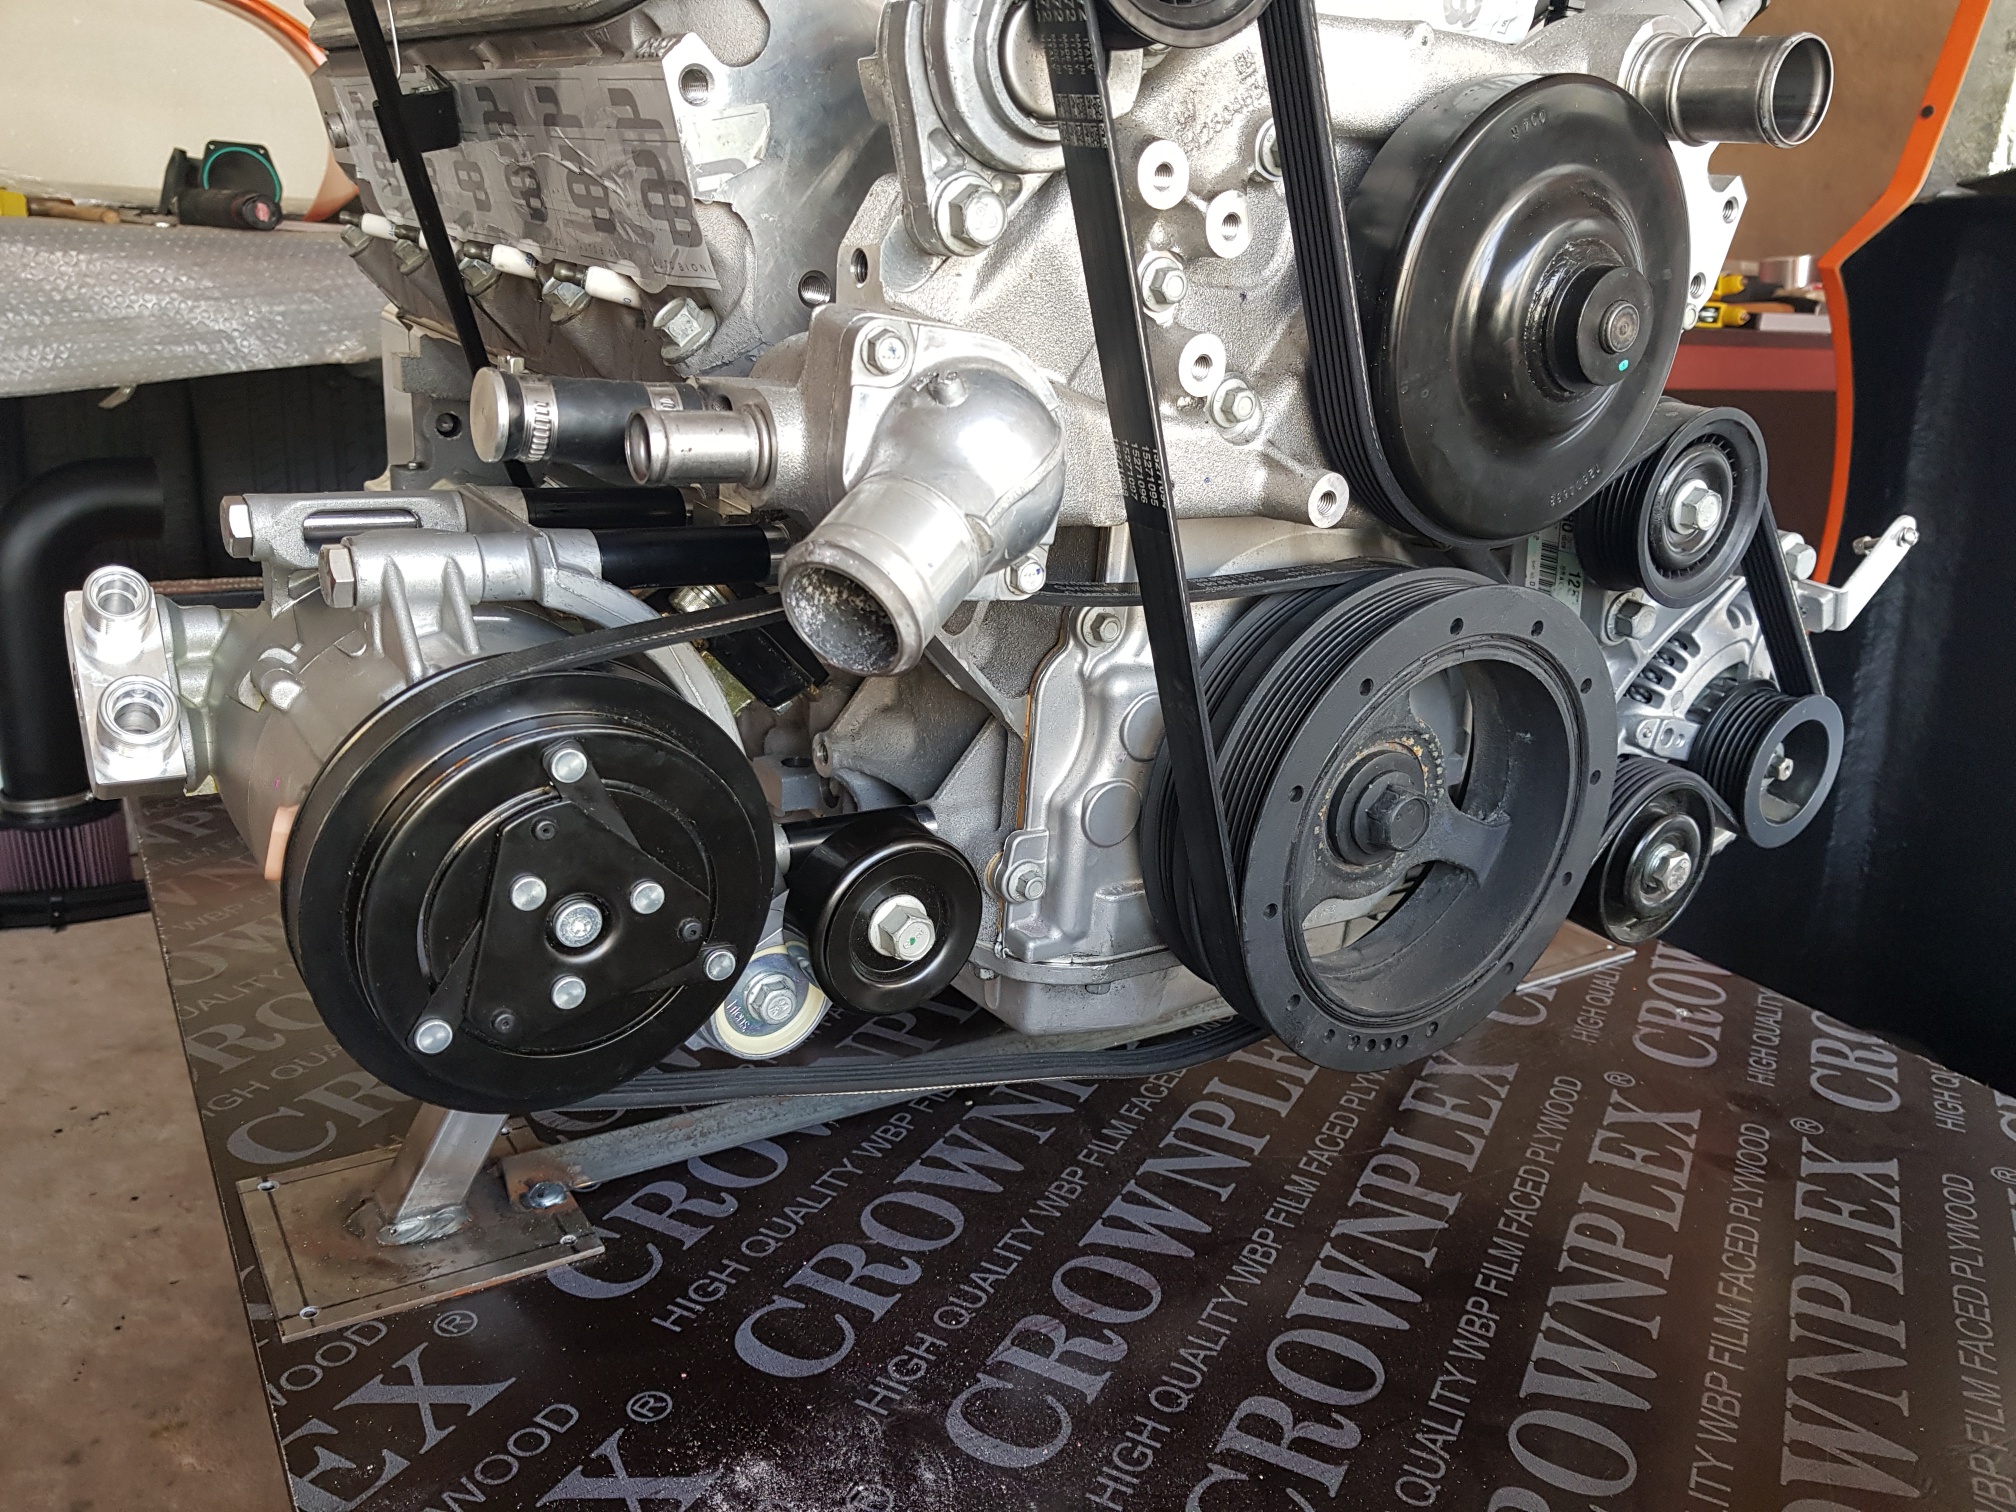
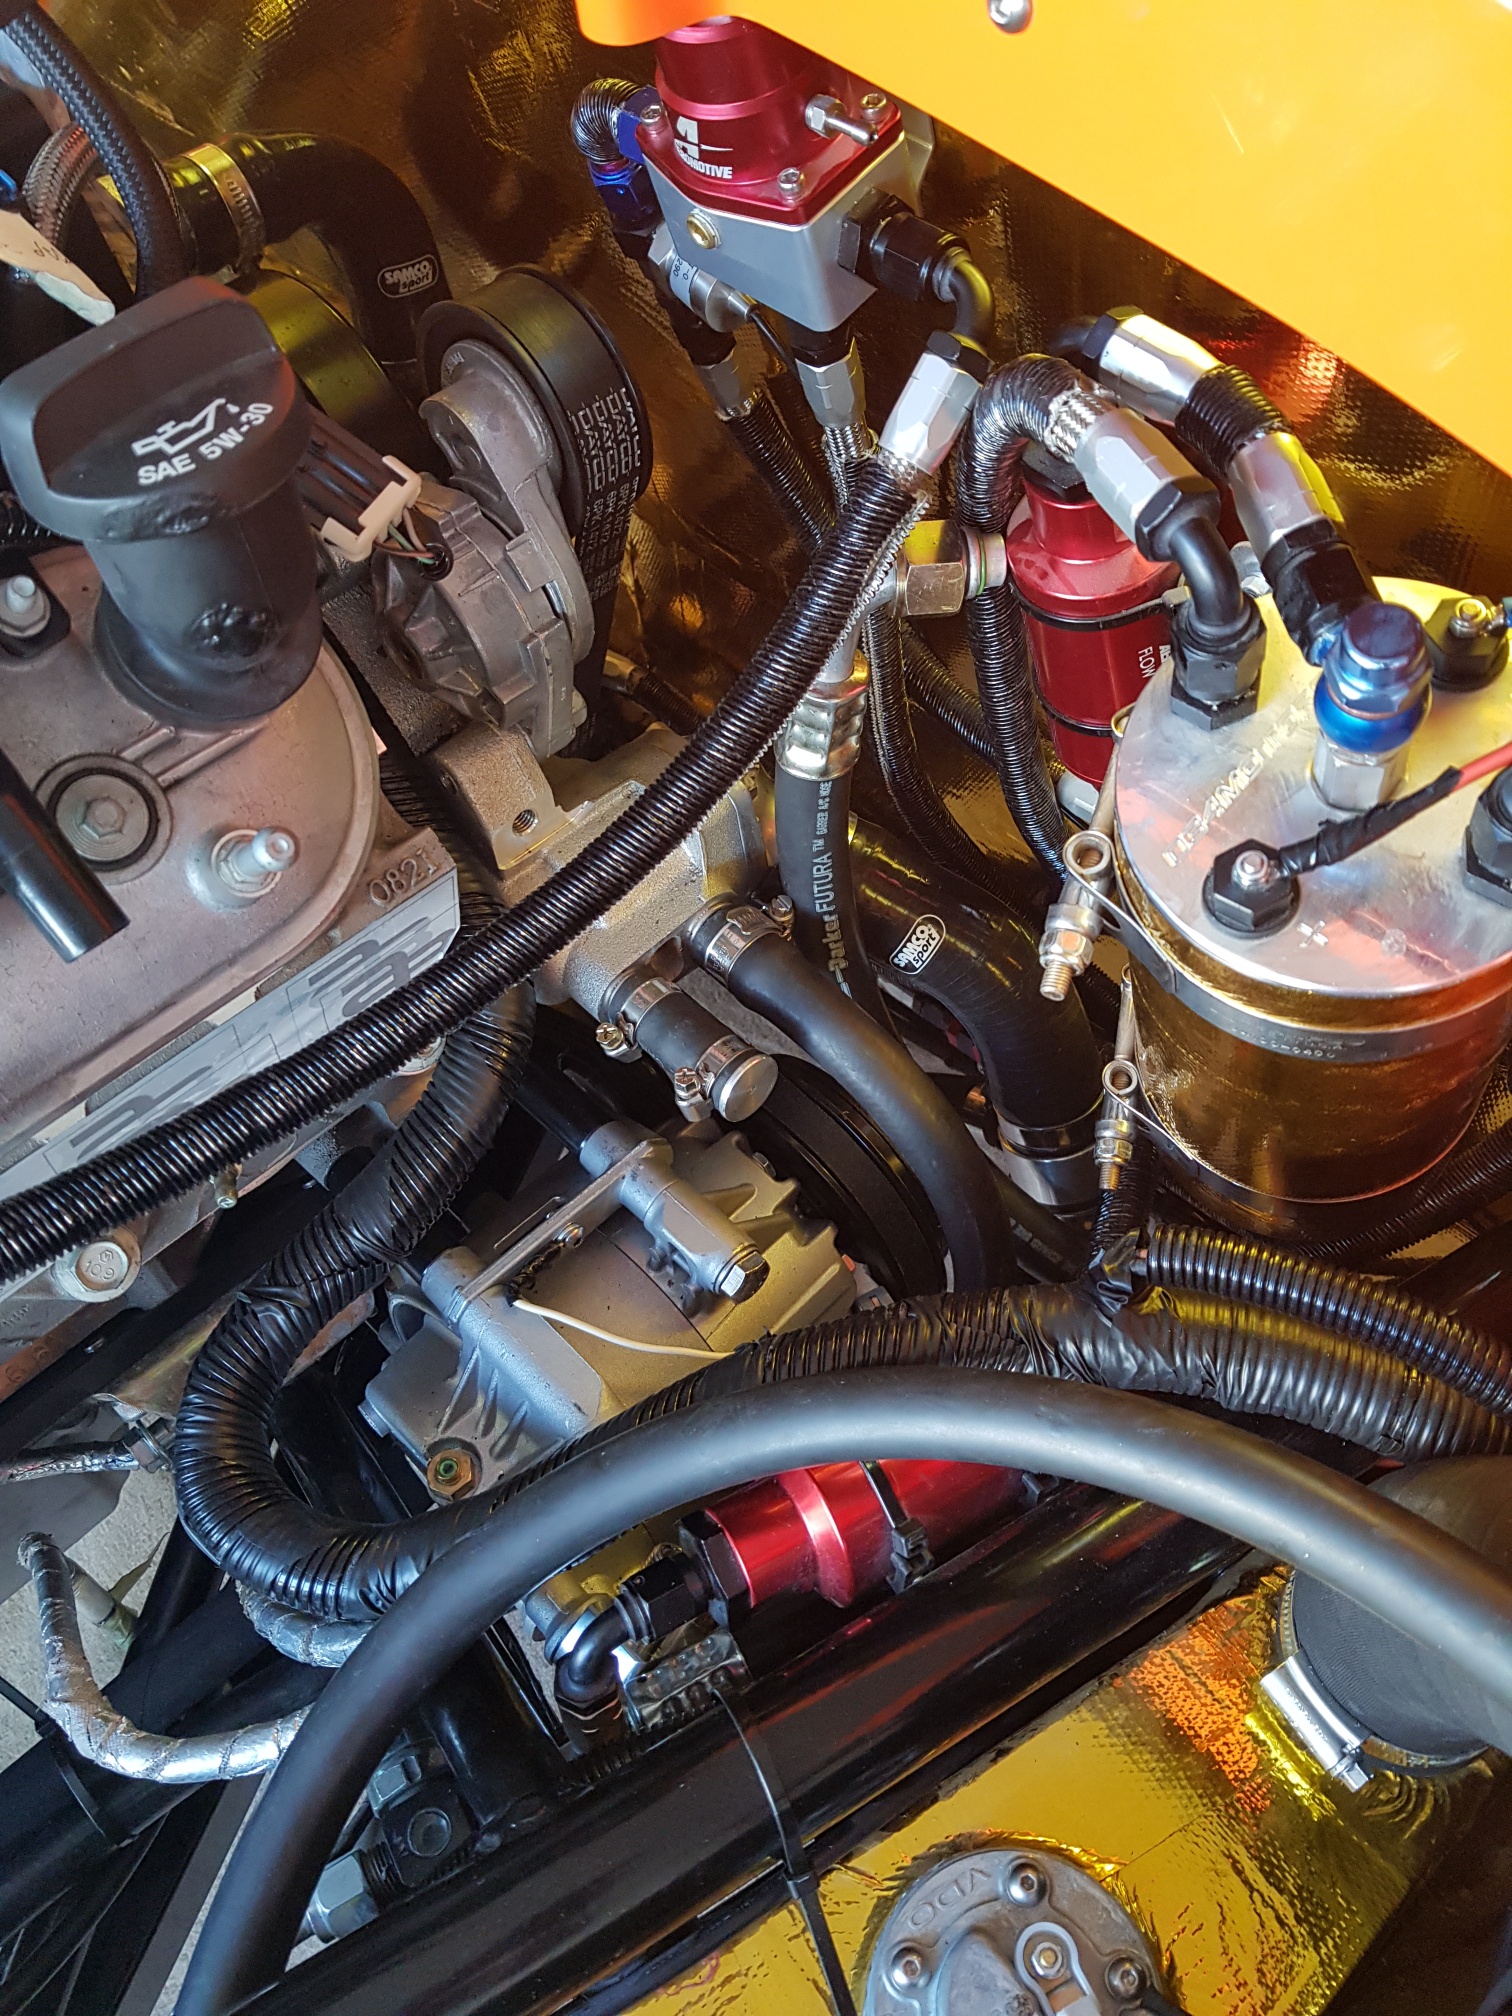
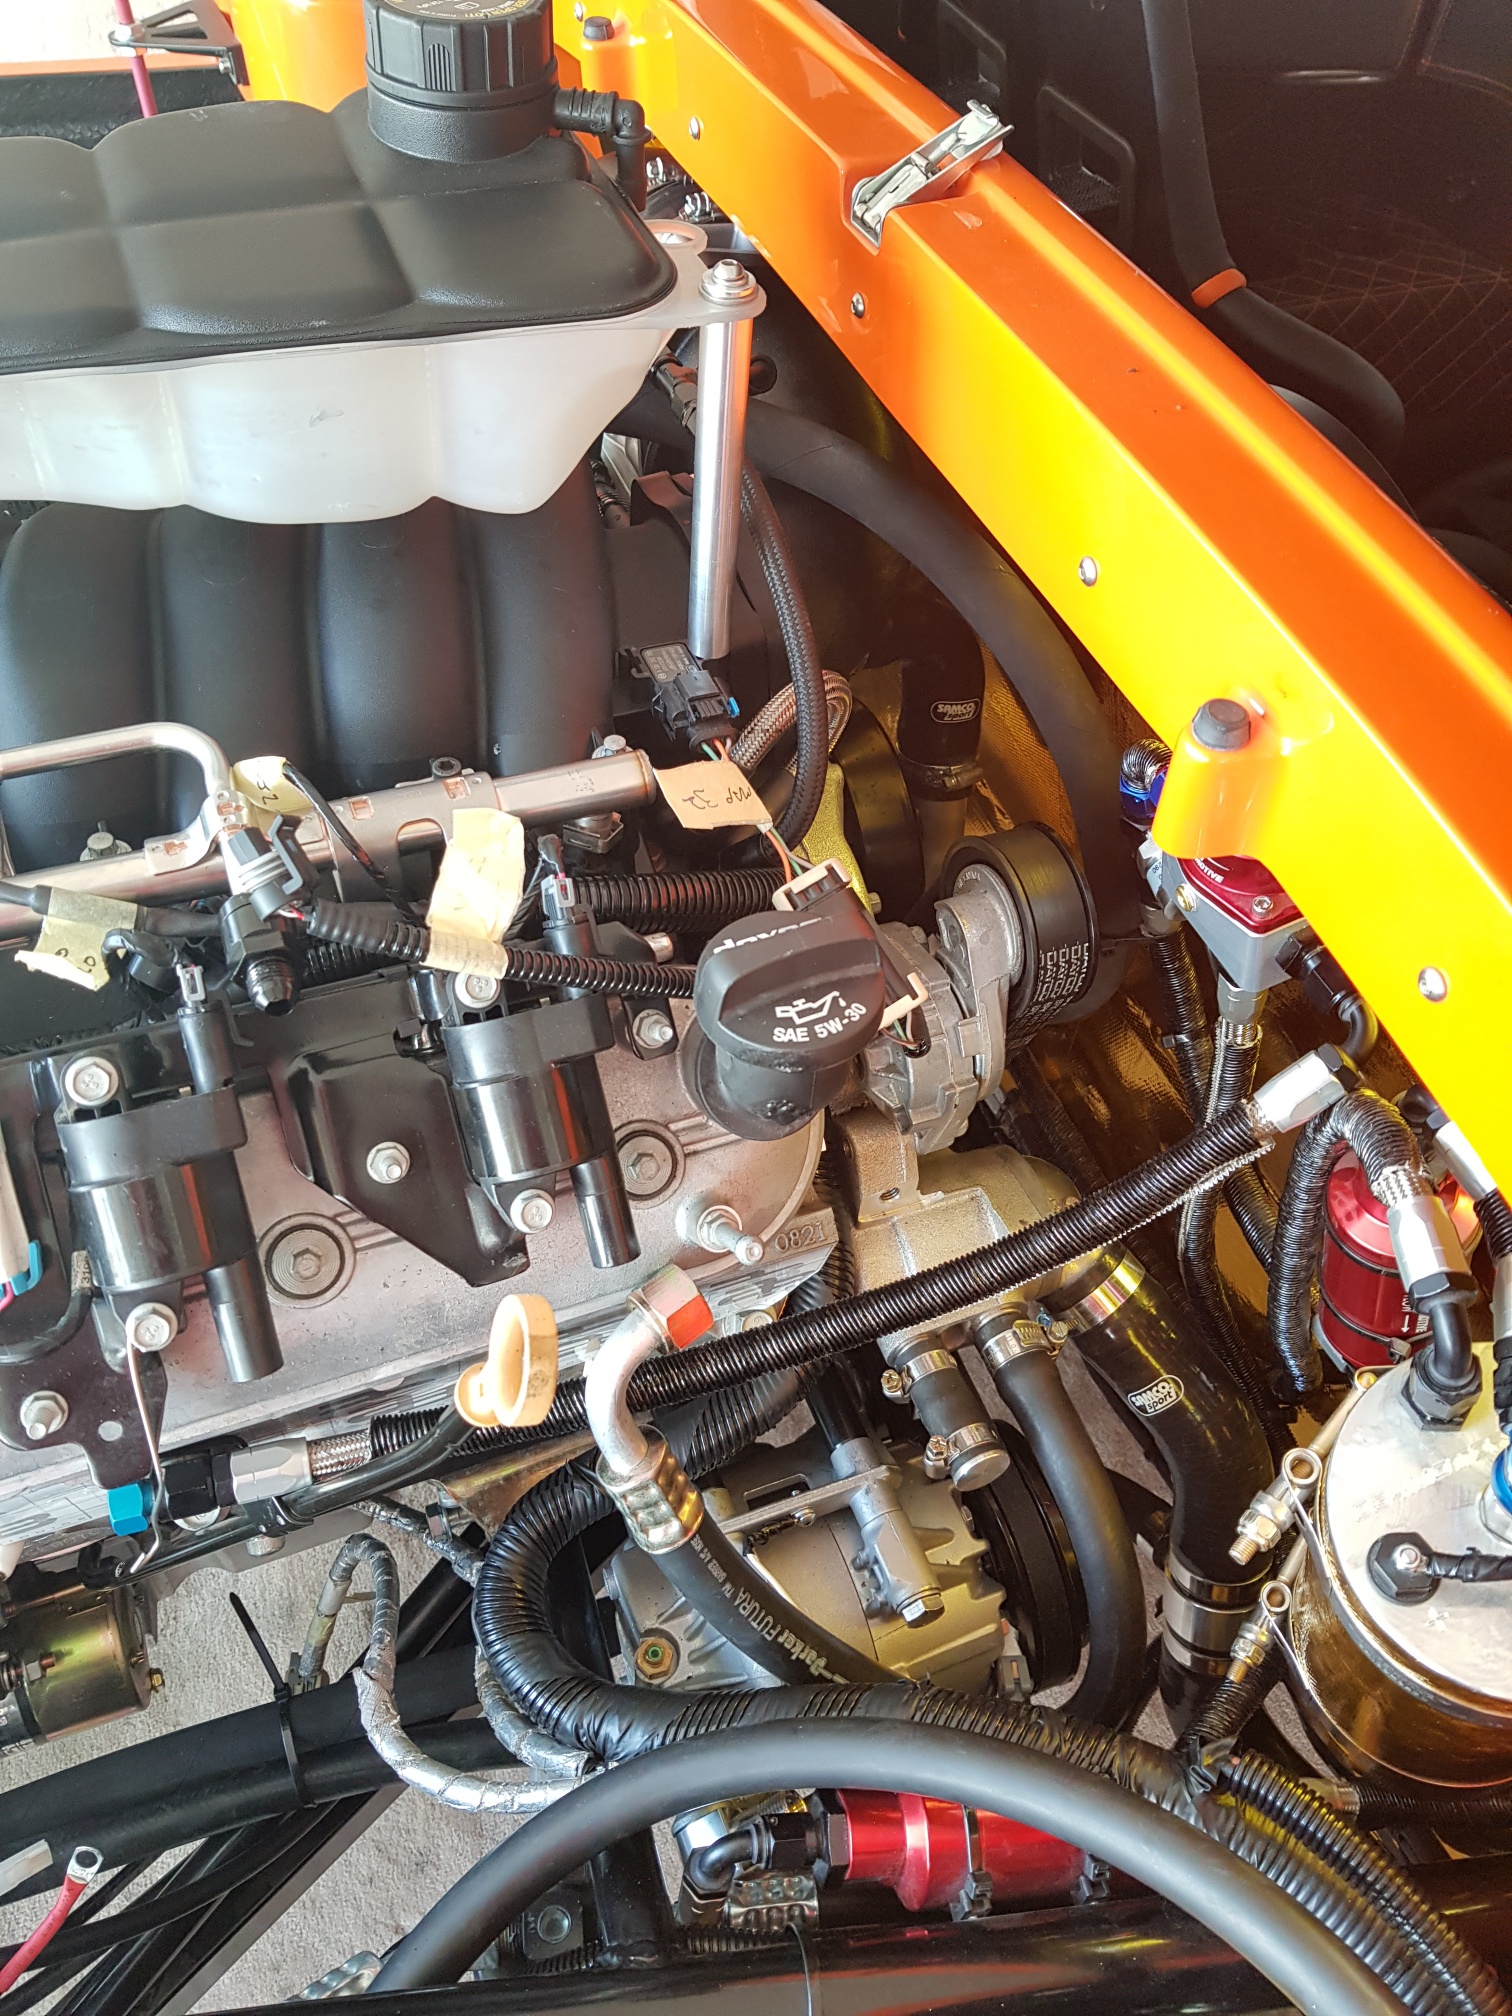
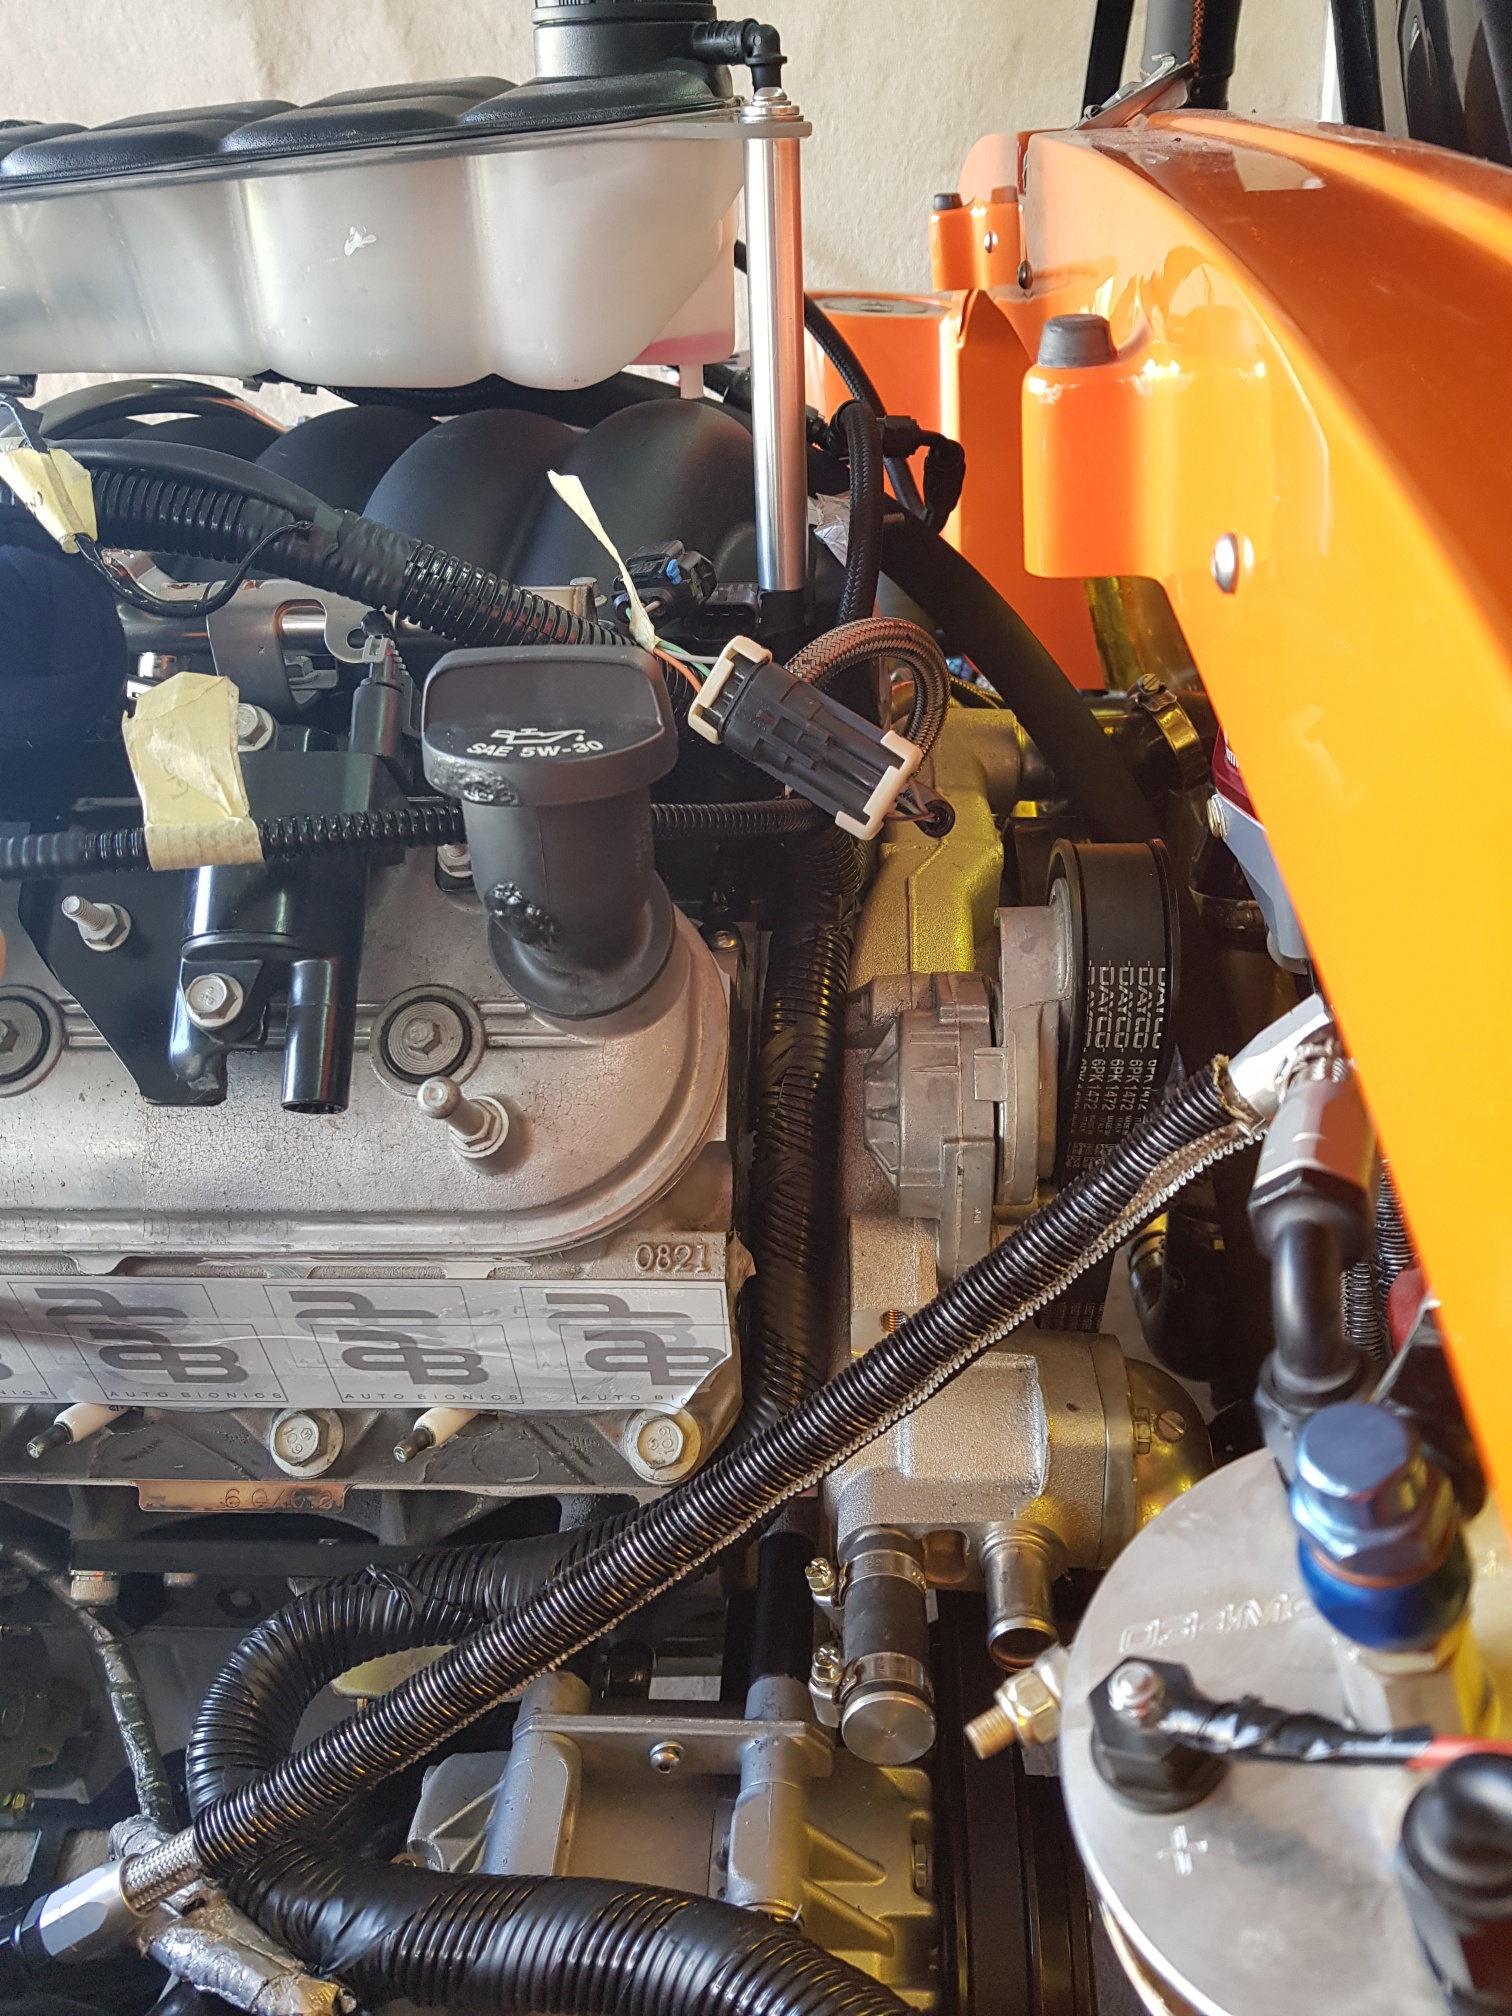
First job was installing the AC compressor on the engine. The compressor is supplied as an OEM kit. First I had to install the compressor bracket - and that is when the first problem became apparent. The bracket covers up part of the engine mount bolt, so installing the bracket as is will cause problems during the engine install. The solution was to trim a relieved area into the bracket to allow the engine bolt to be accessible. Once the bracket was modified, the bracket was installed, and then the compressor was bolted on. Next step was to install the belt. The AC belt goes behind the engine serpentine belt, so I had to first remove the old belt, install the AC belt and then reinstall the serpentine belt.

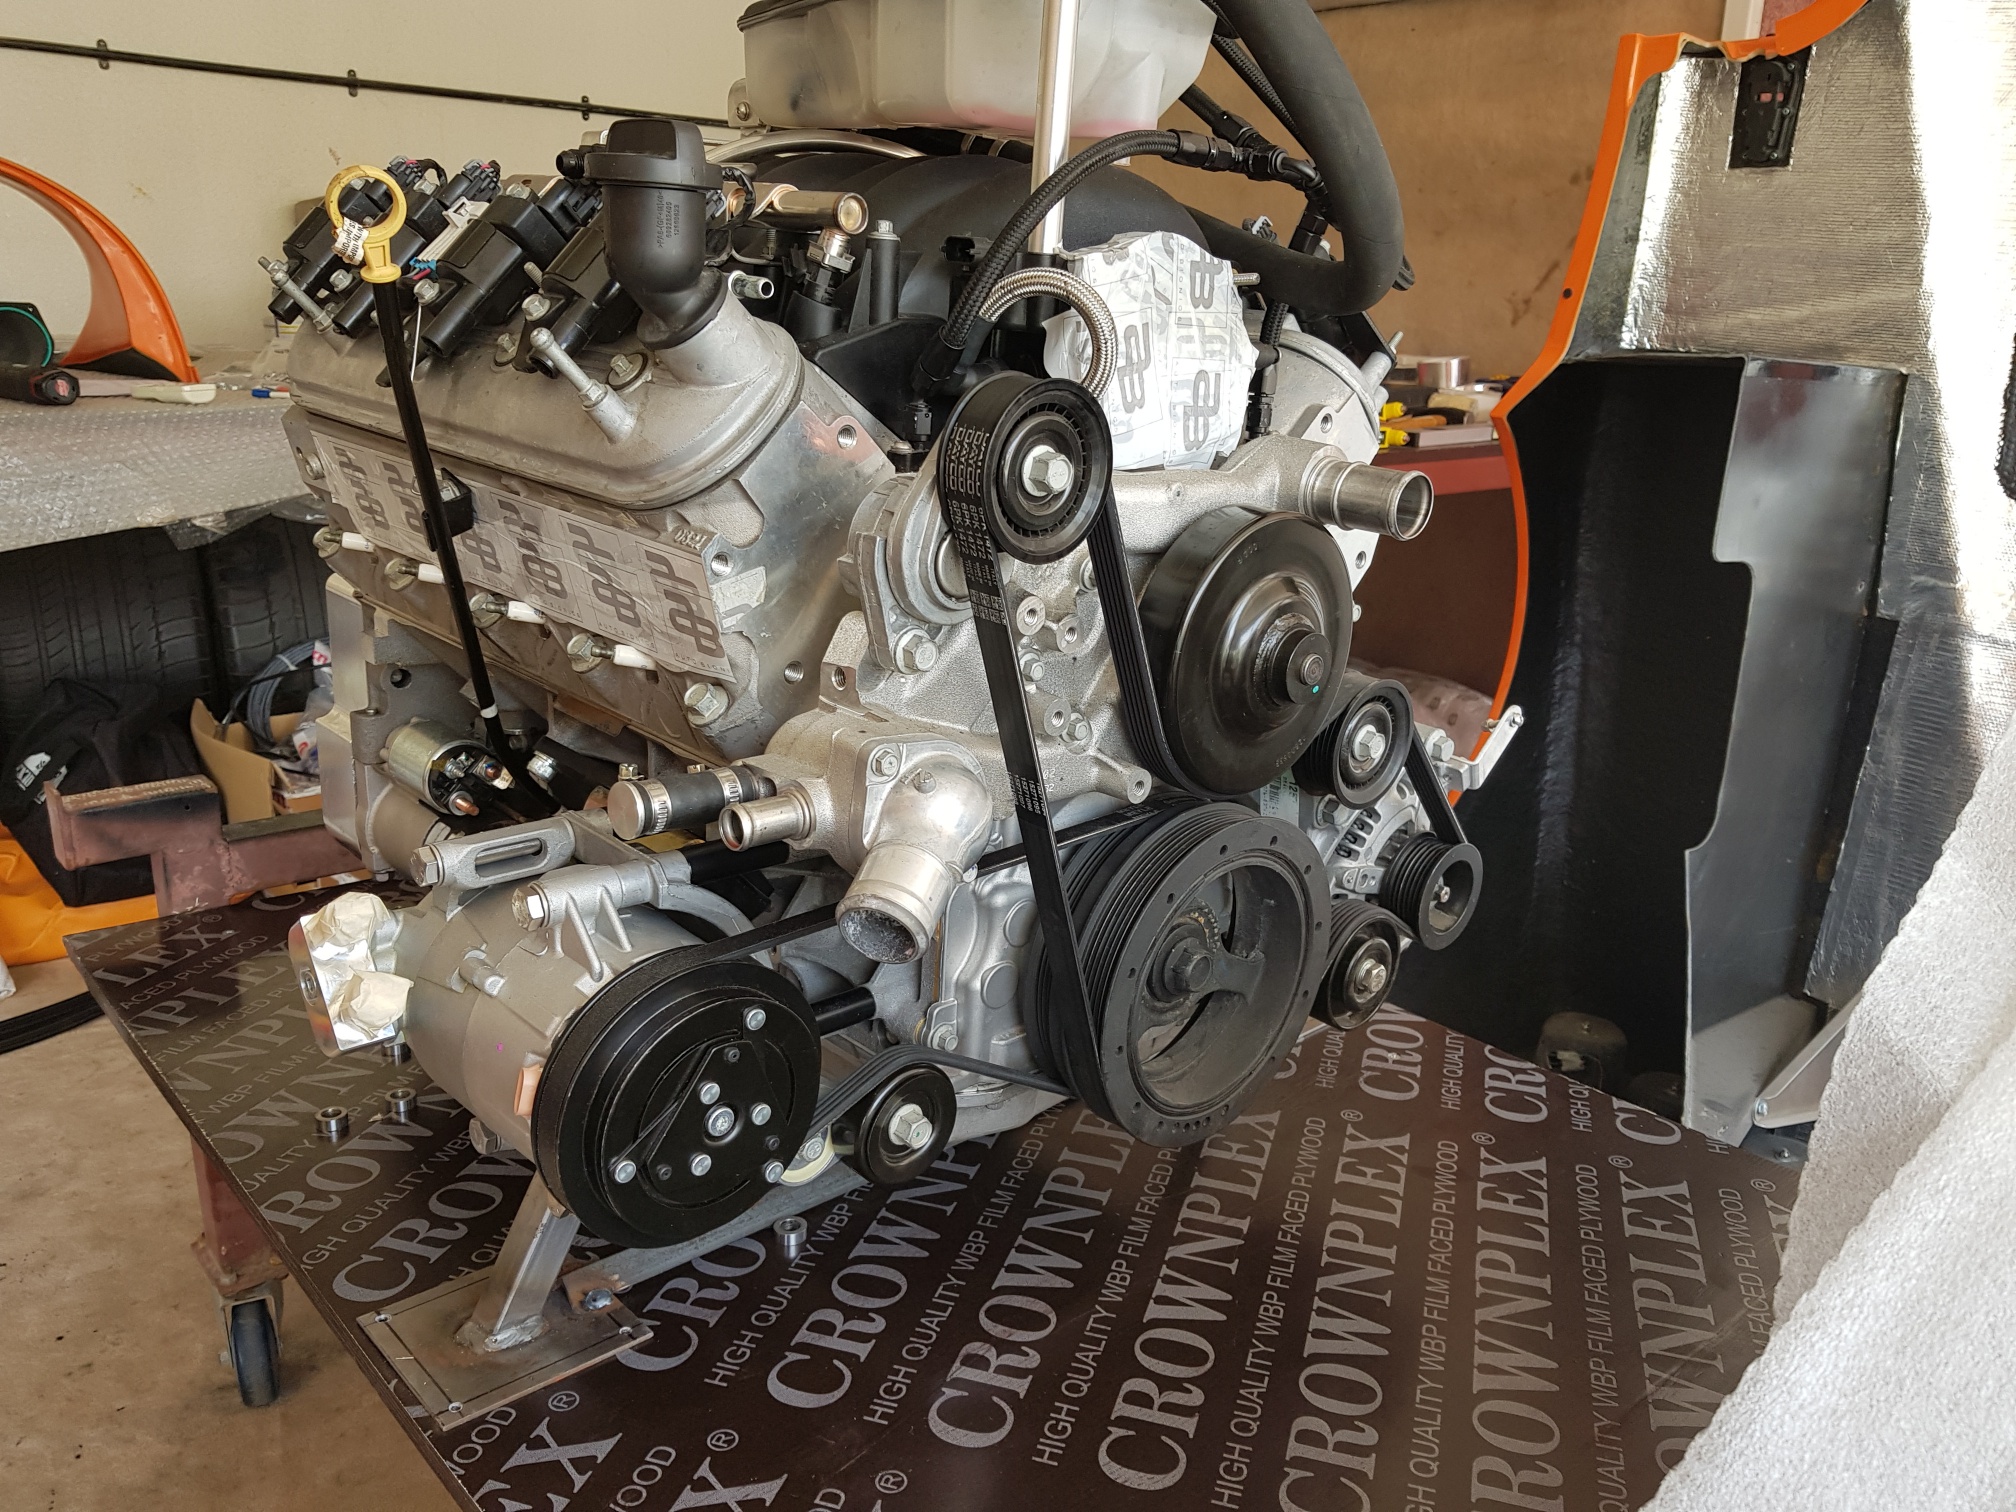
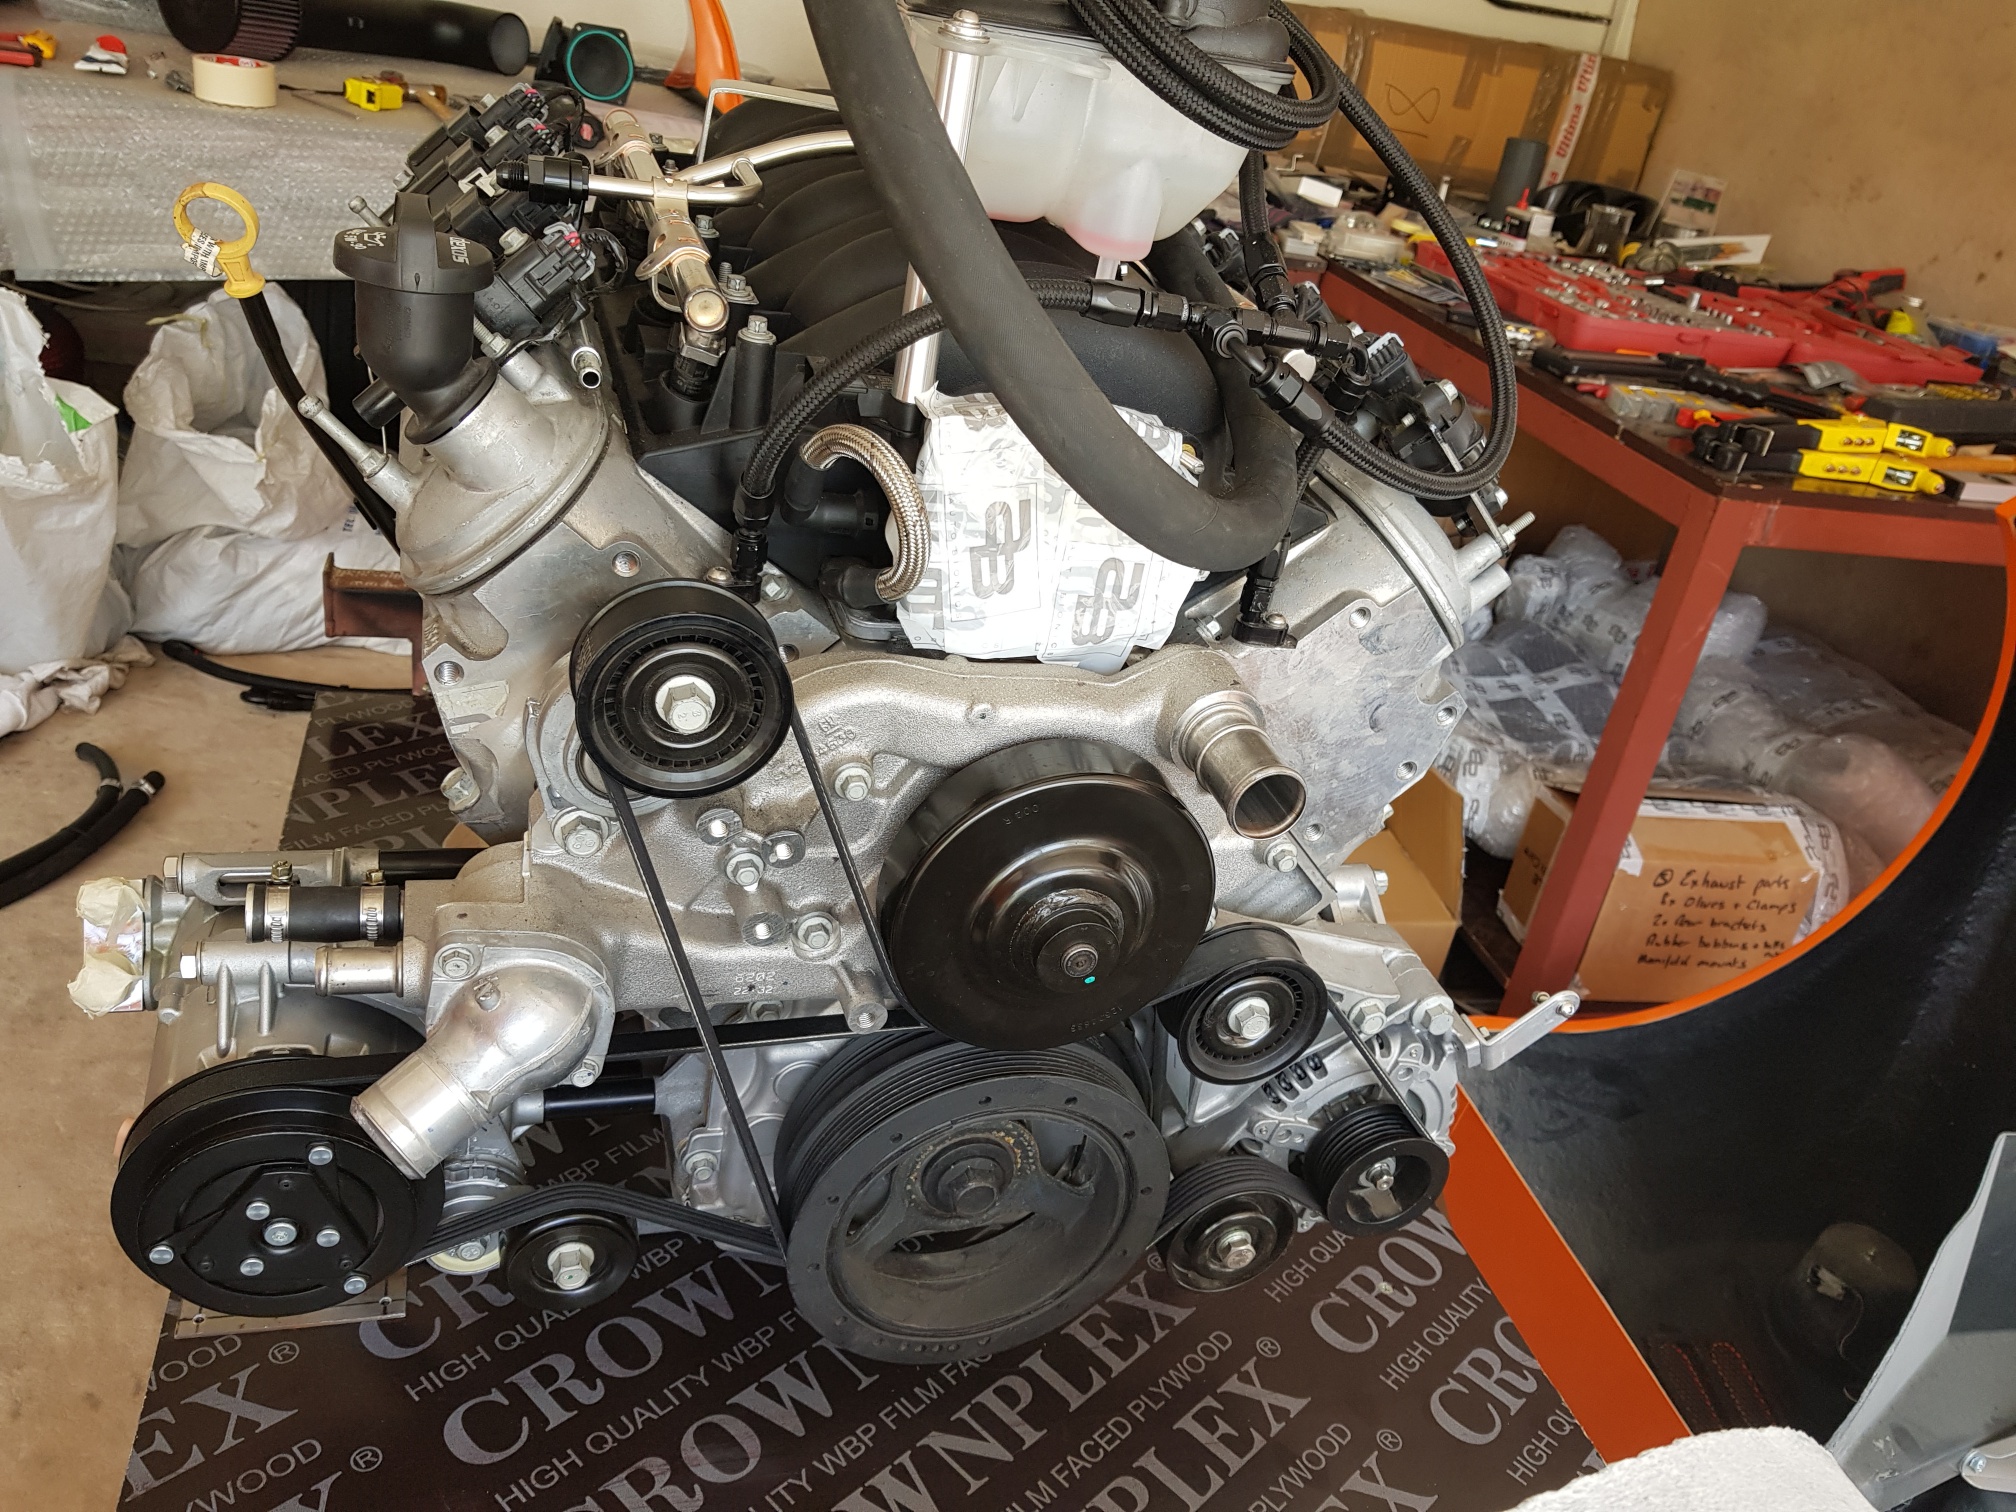
I also prepped the engine bay for the engine - the cooling kit was installed. A few ally pipes and a few silicon pieces, so the engine can now conenct easily.
The chassis was now ready for the engine!
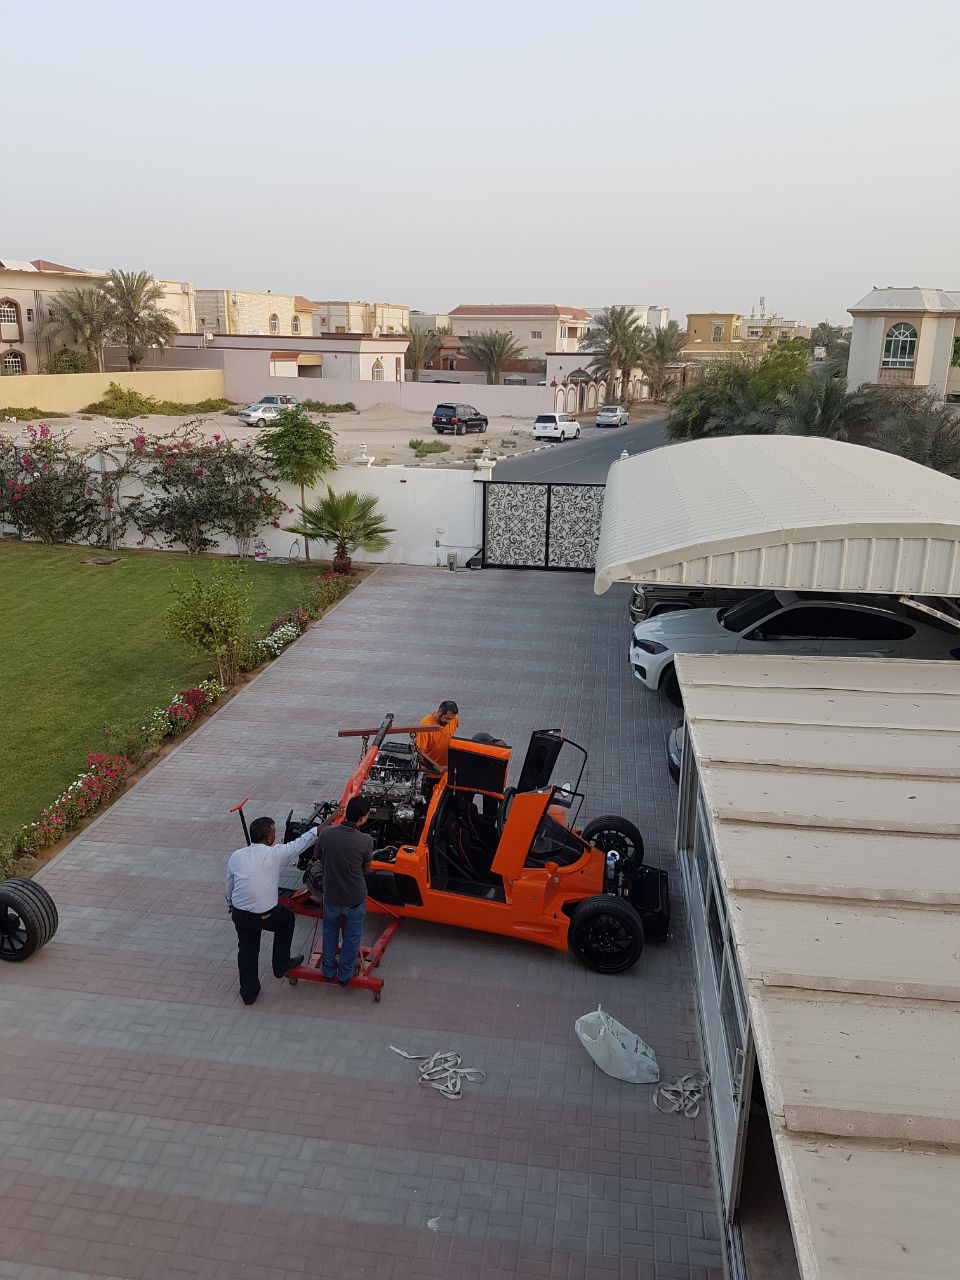
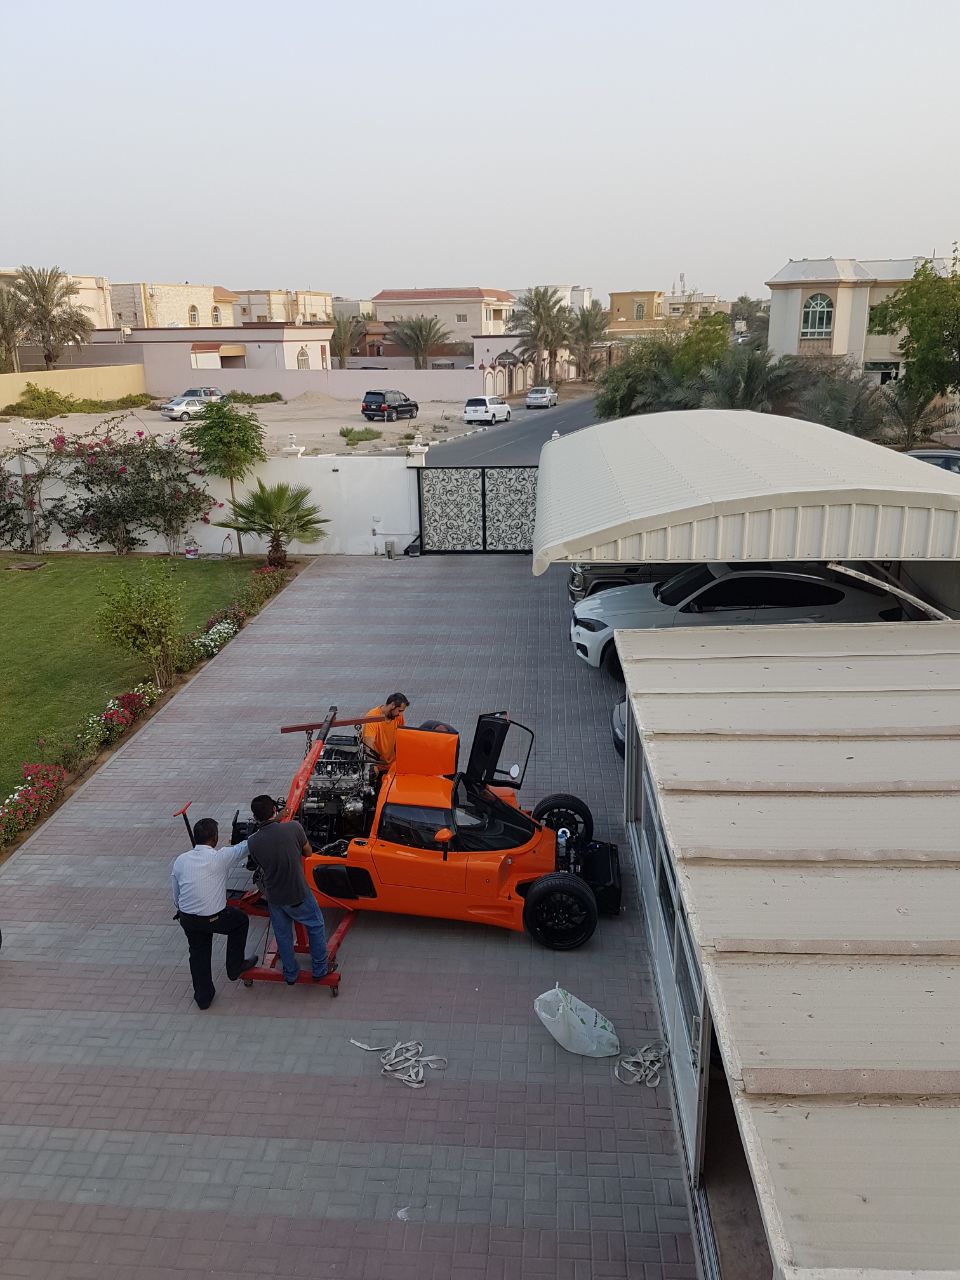
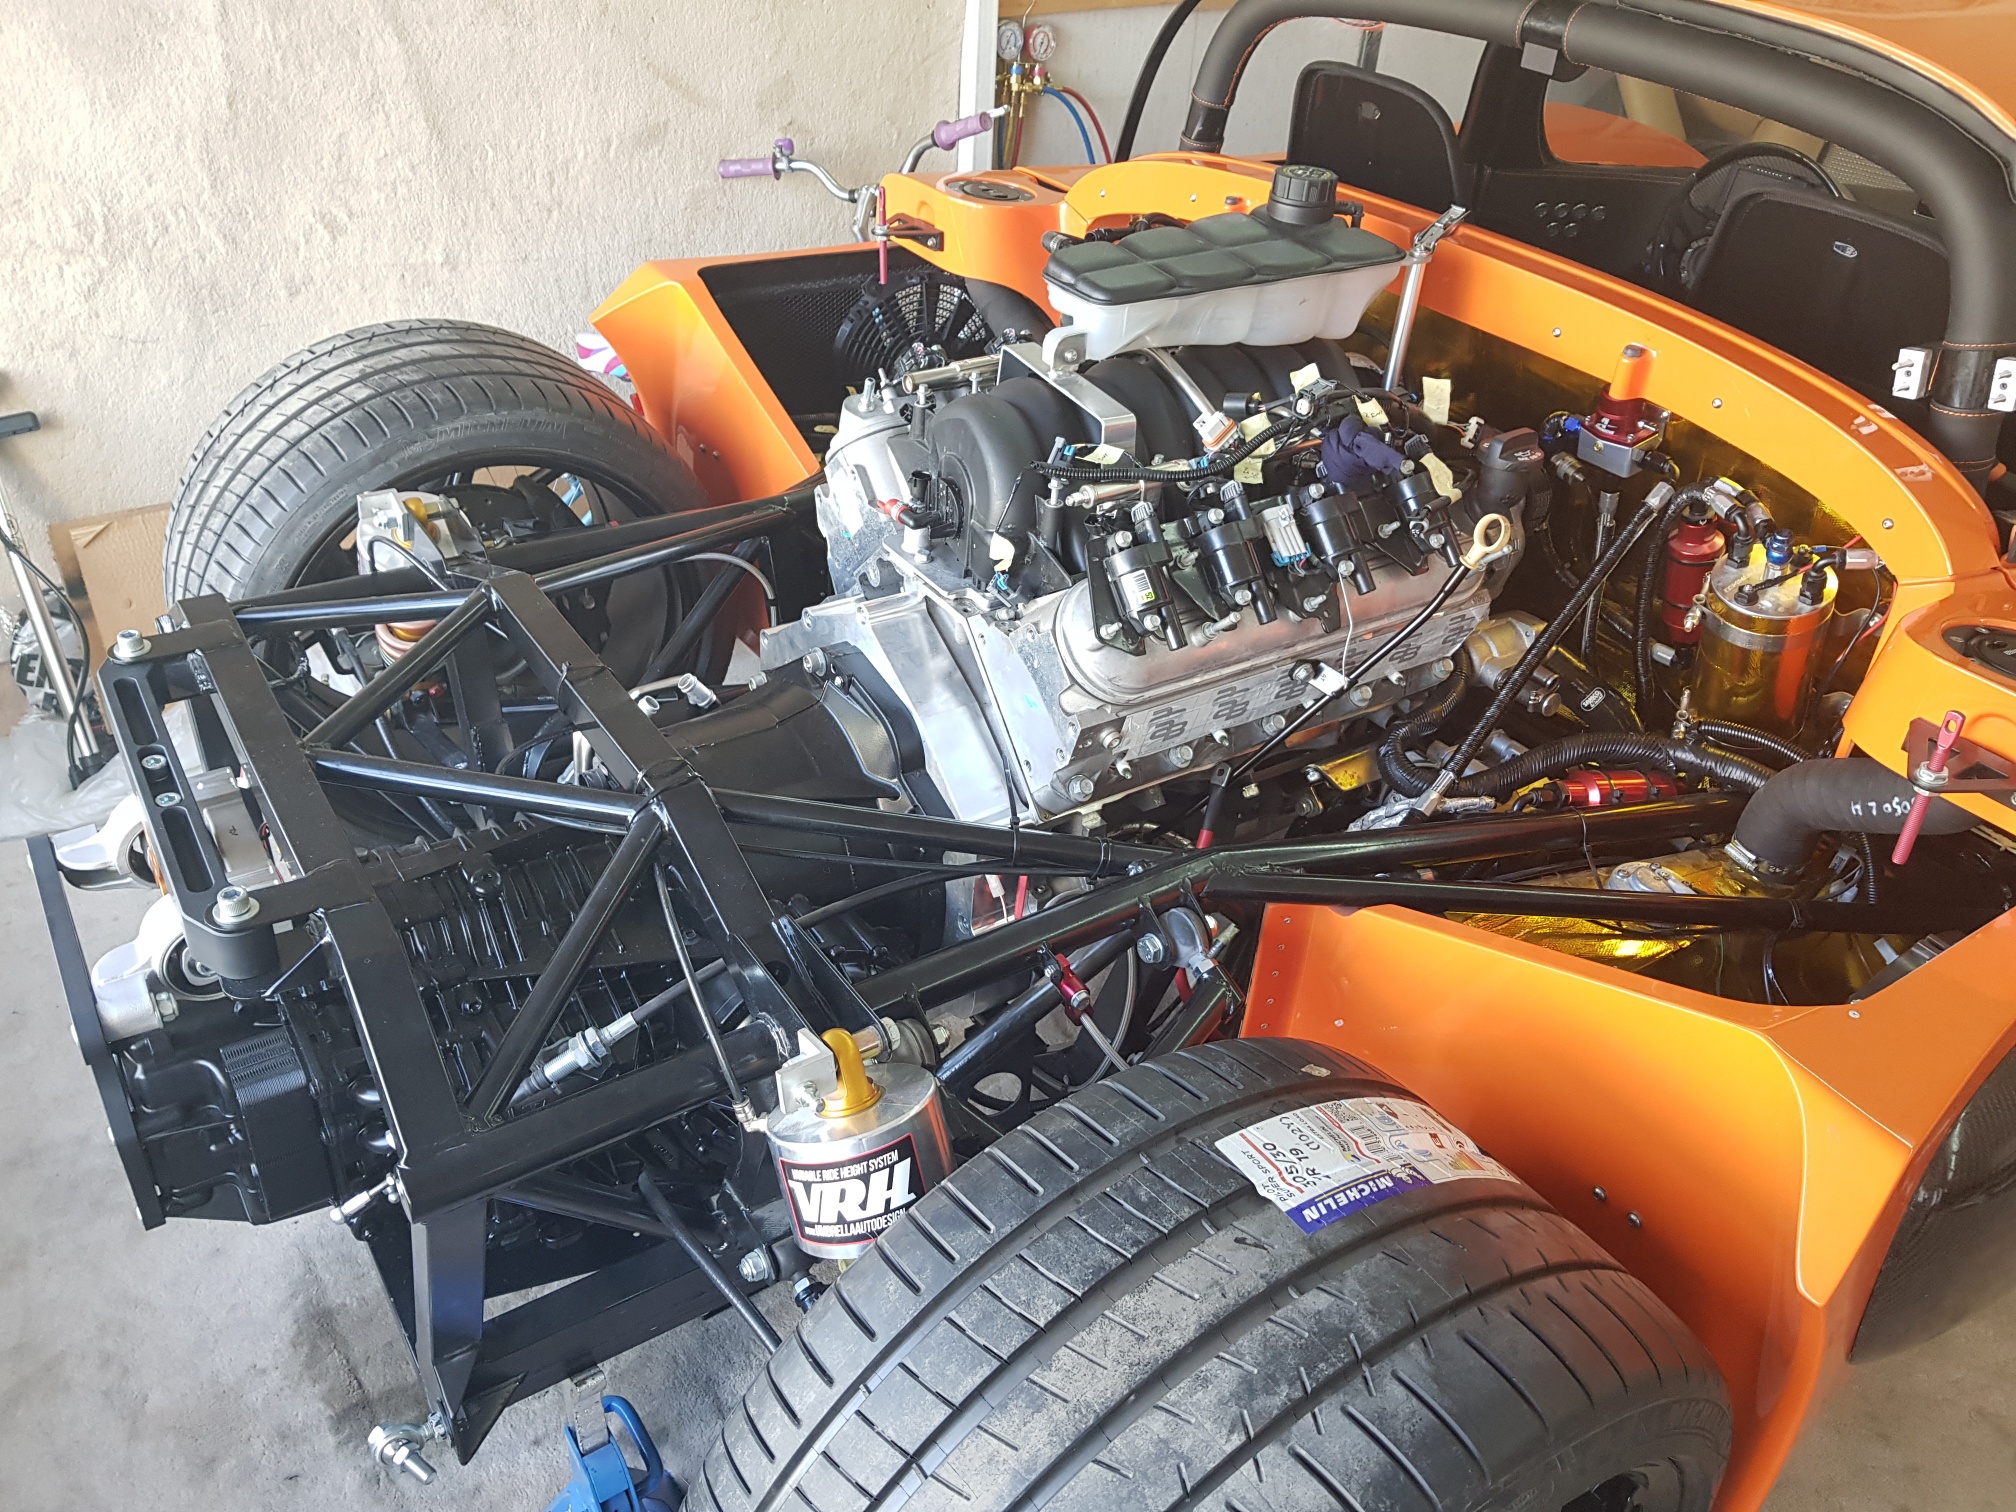
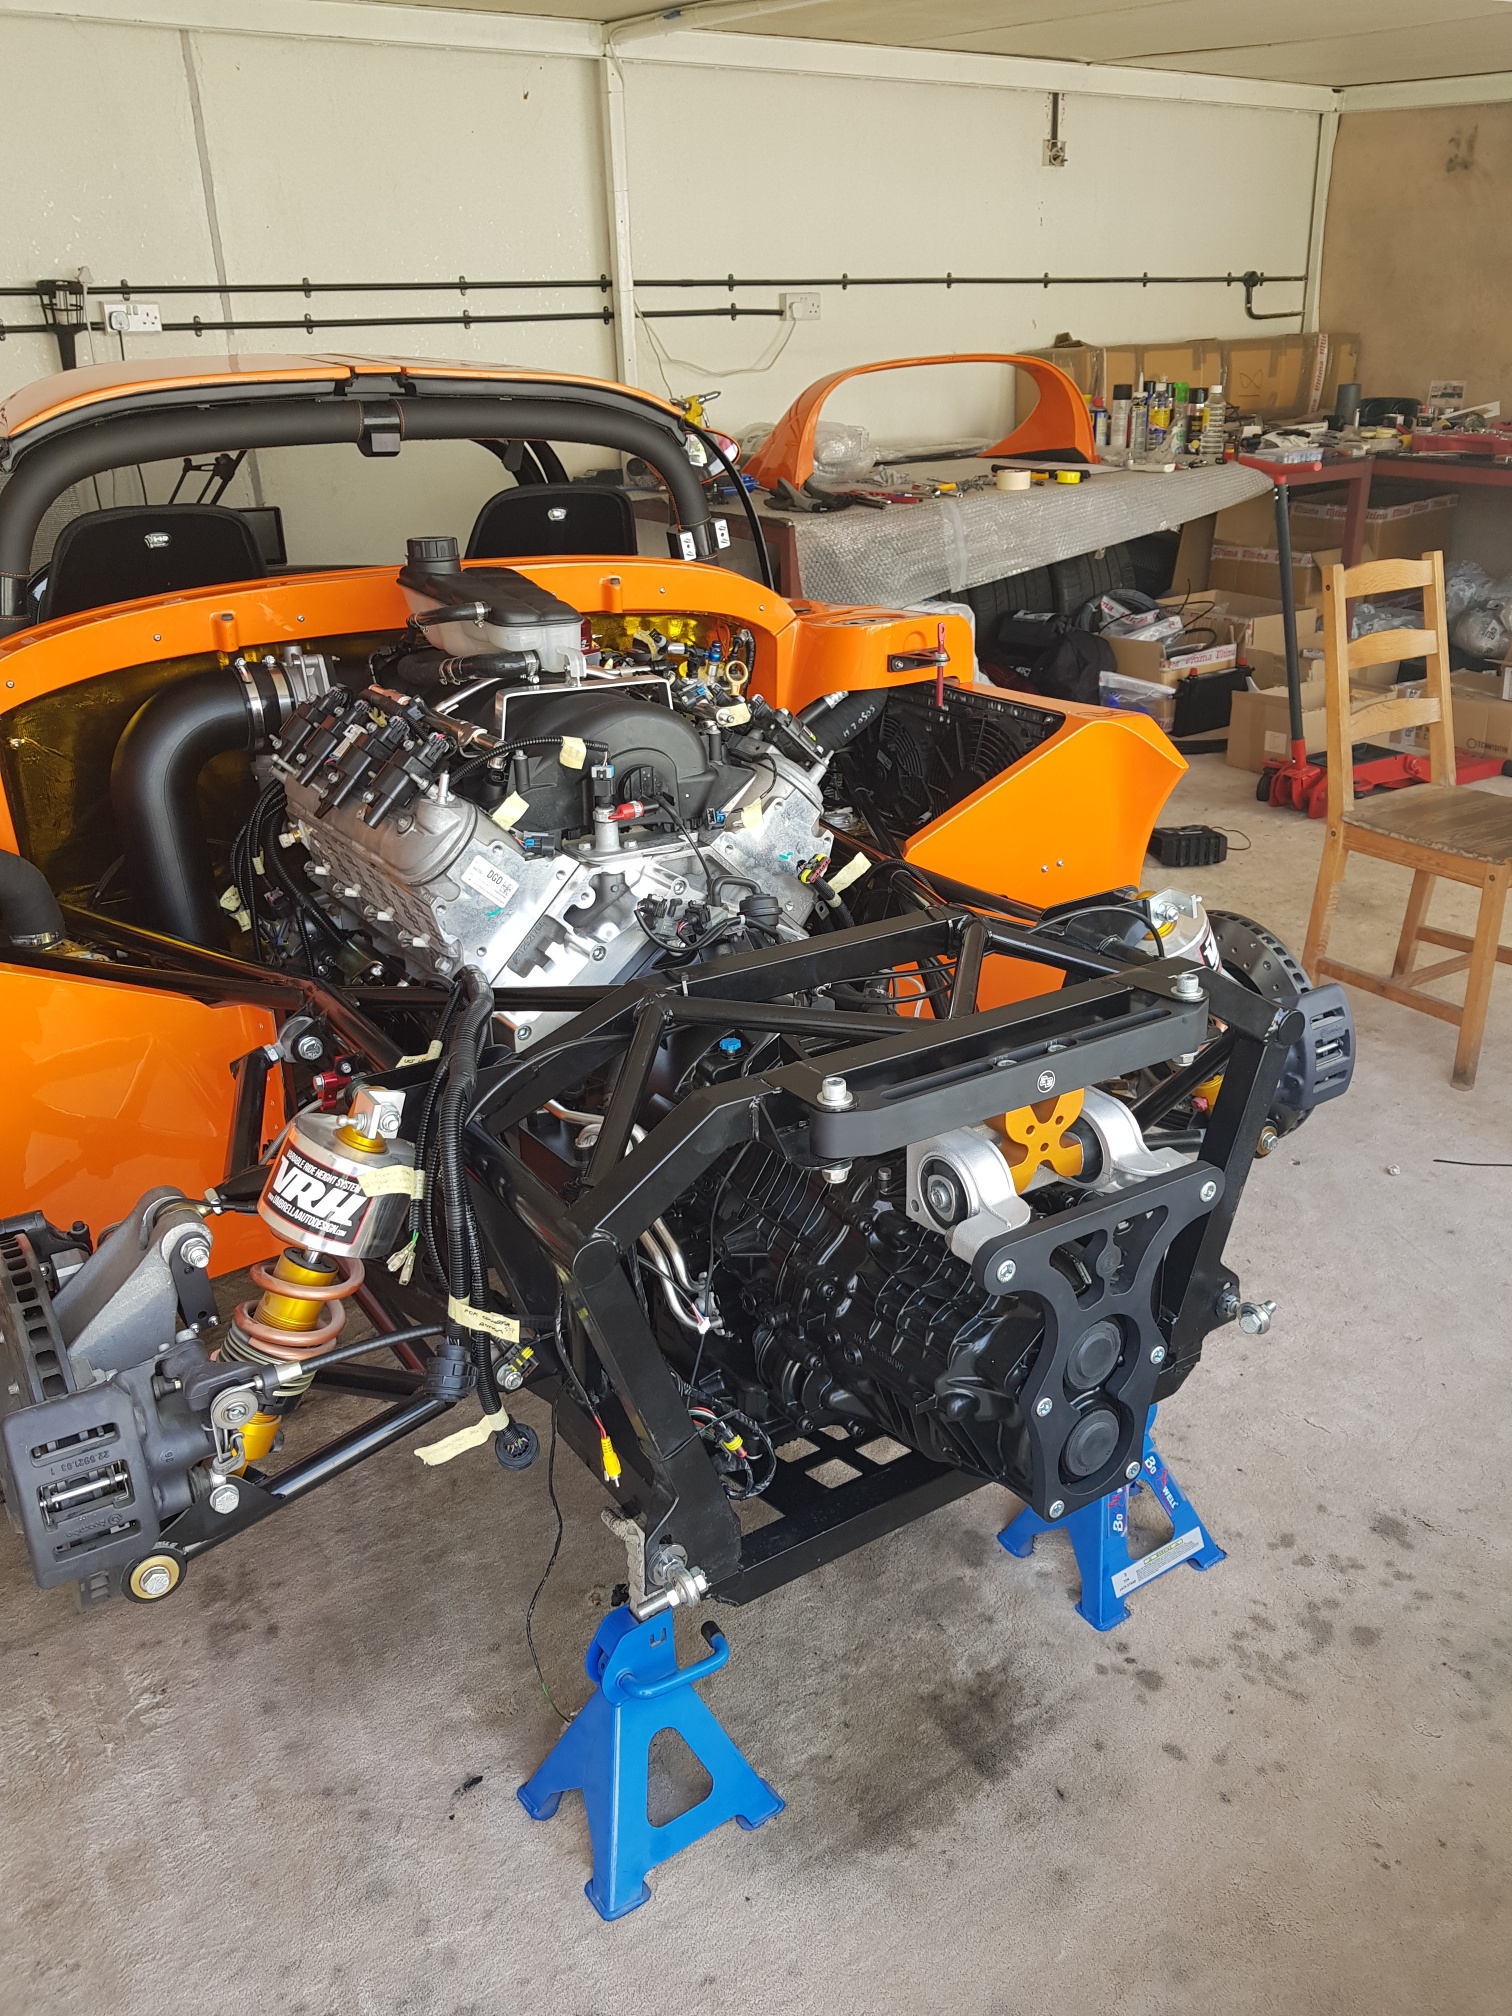
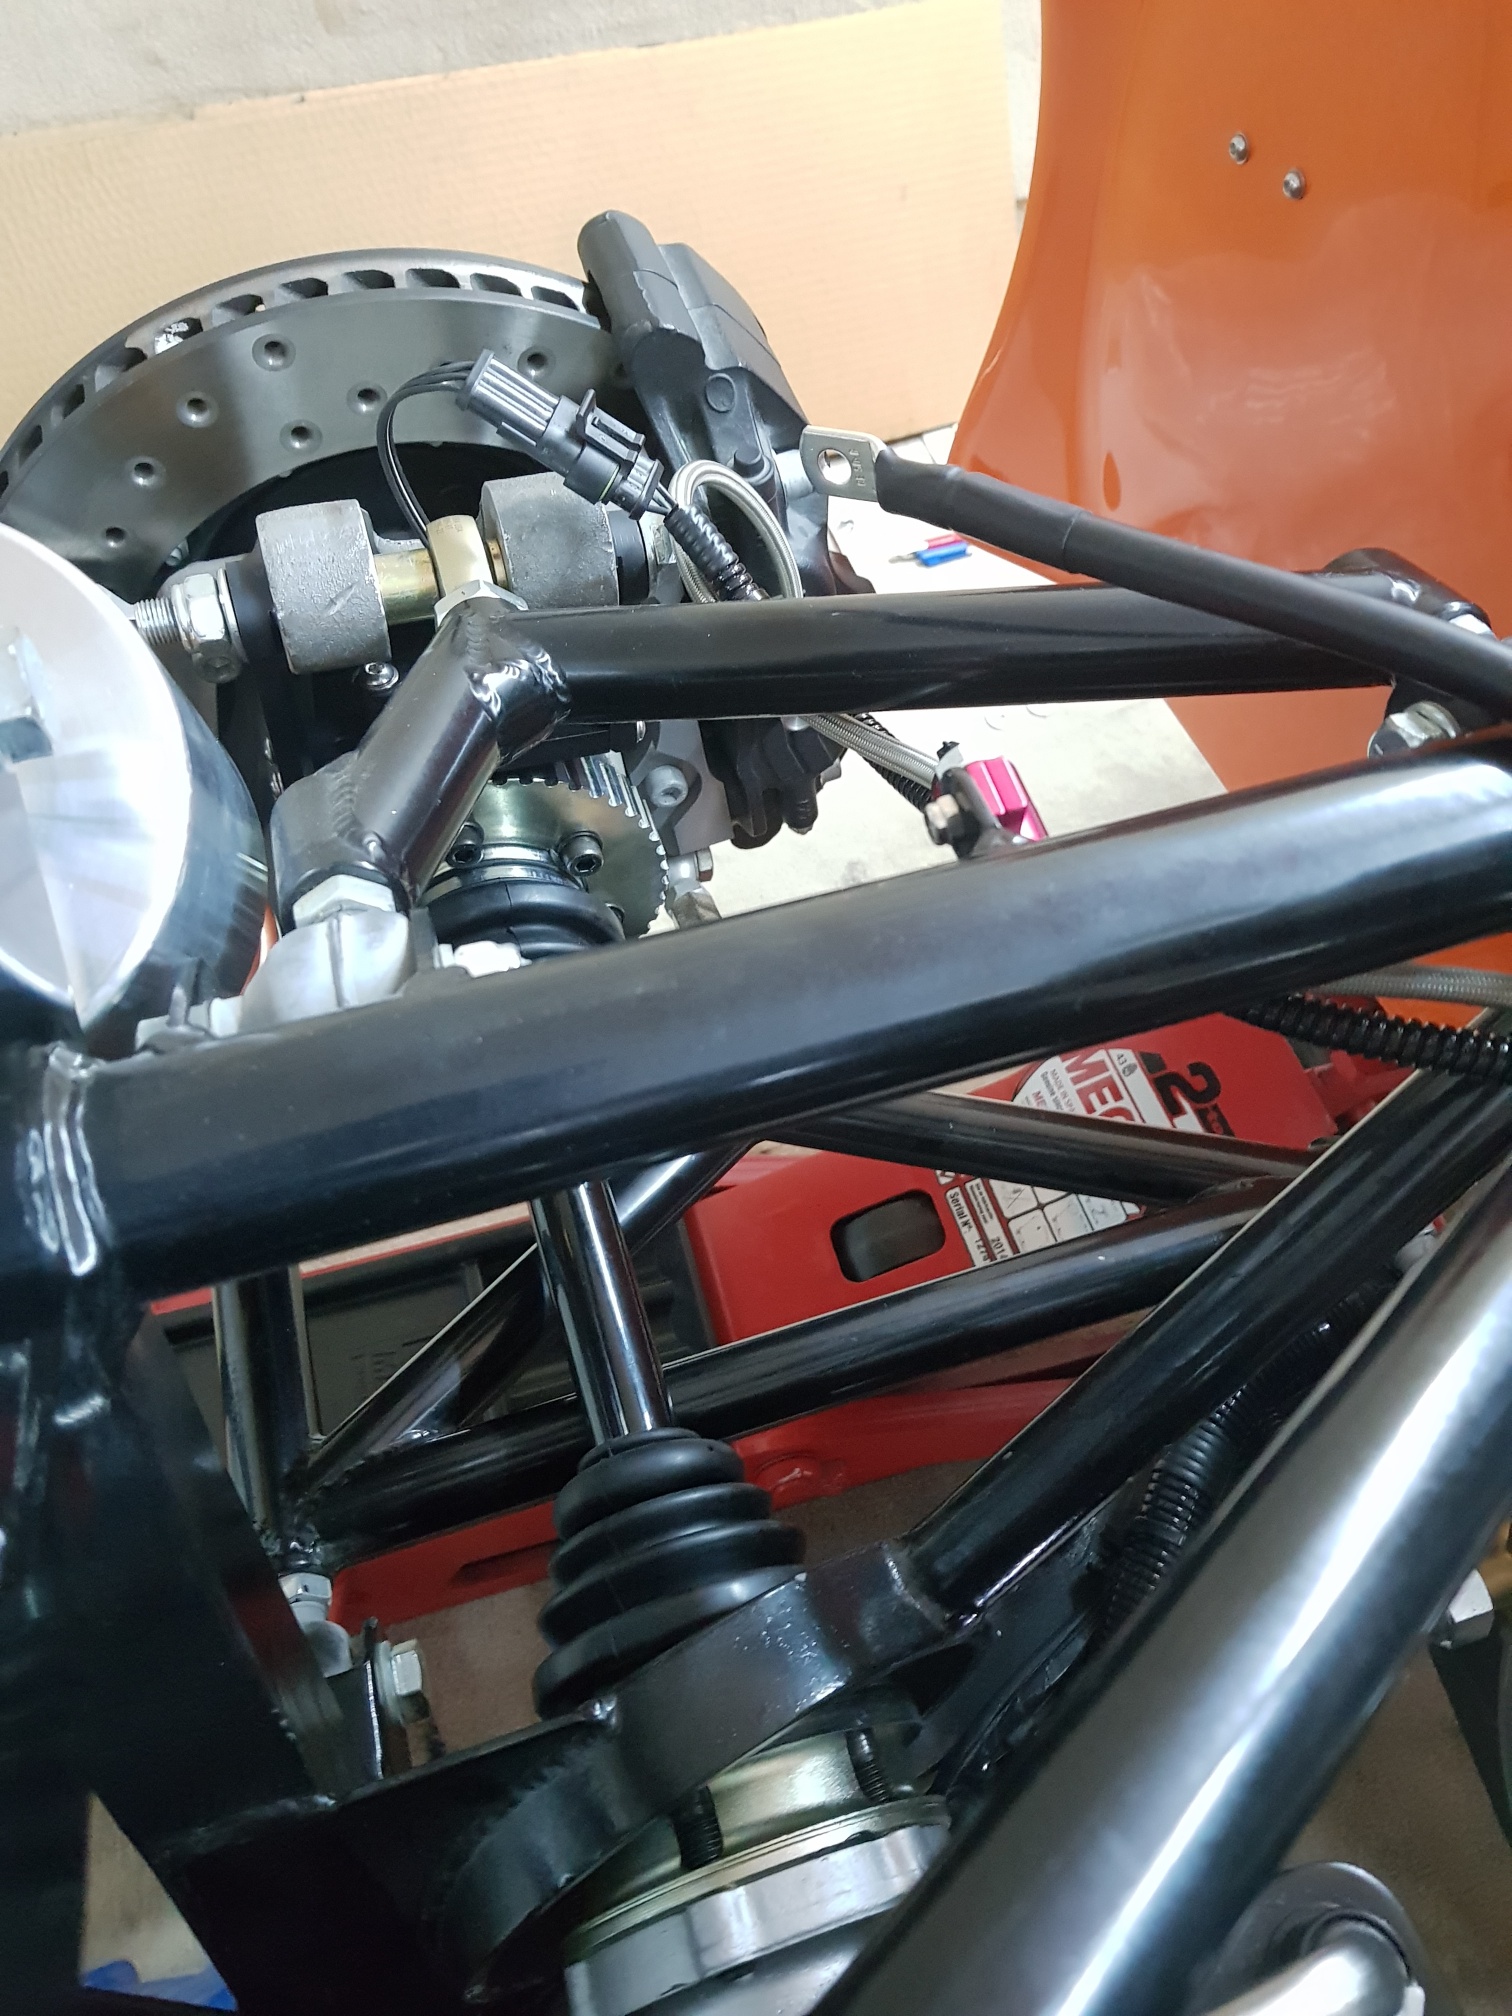
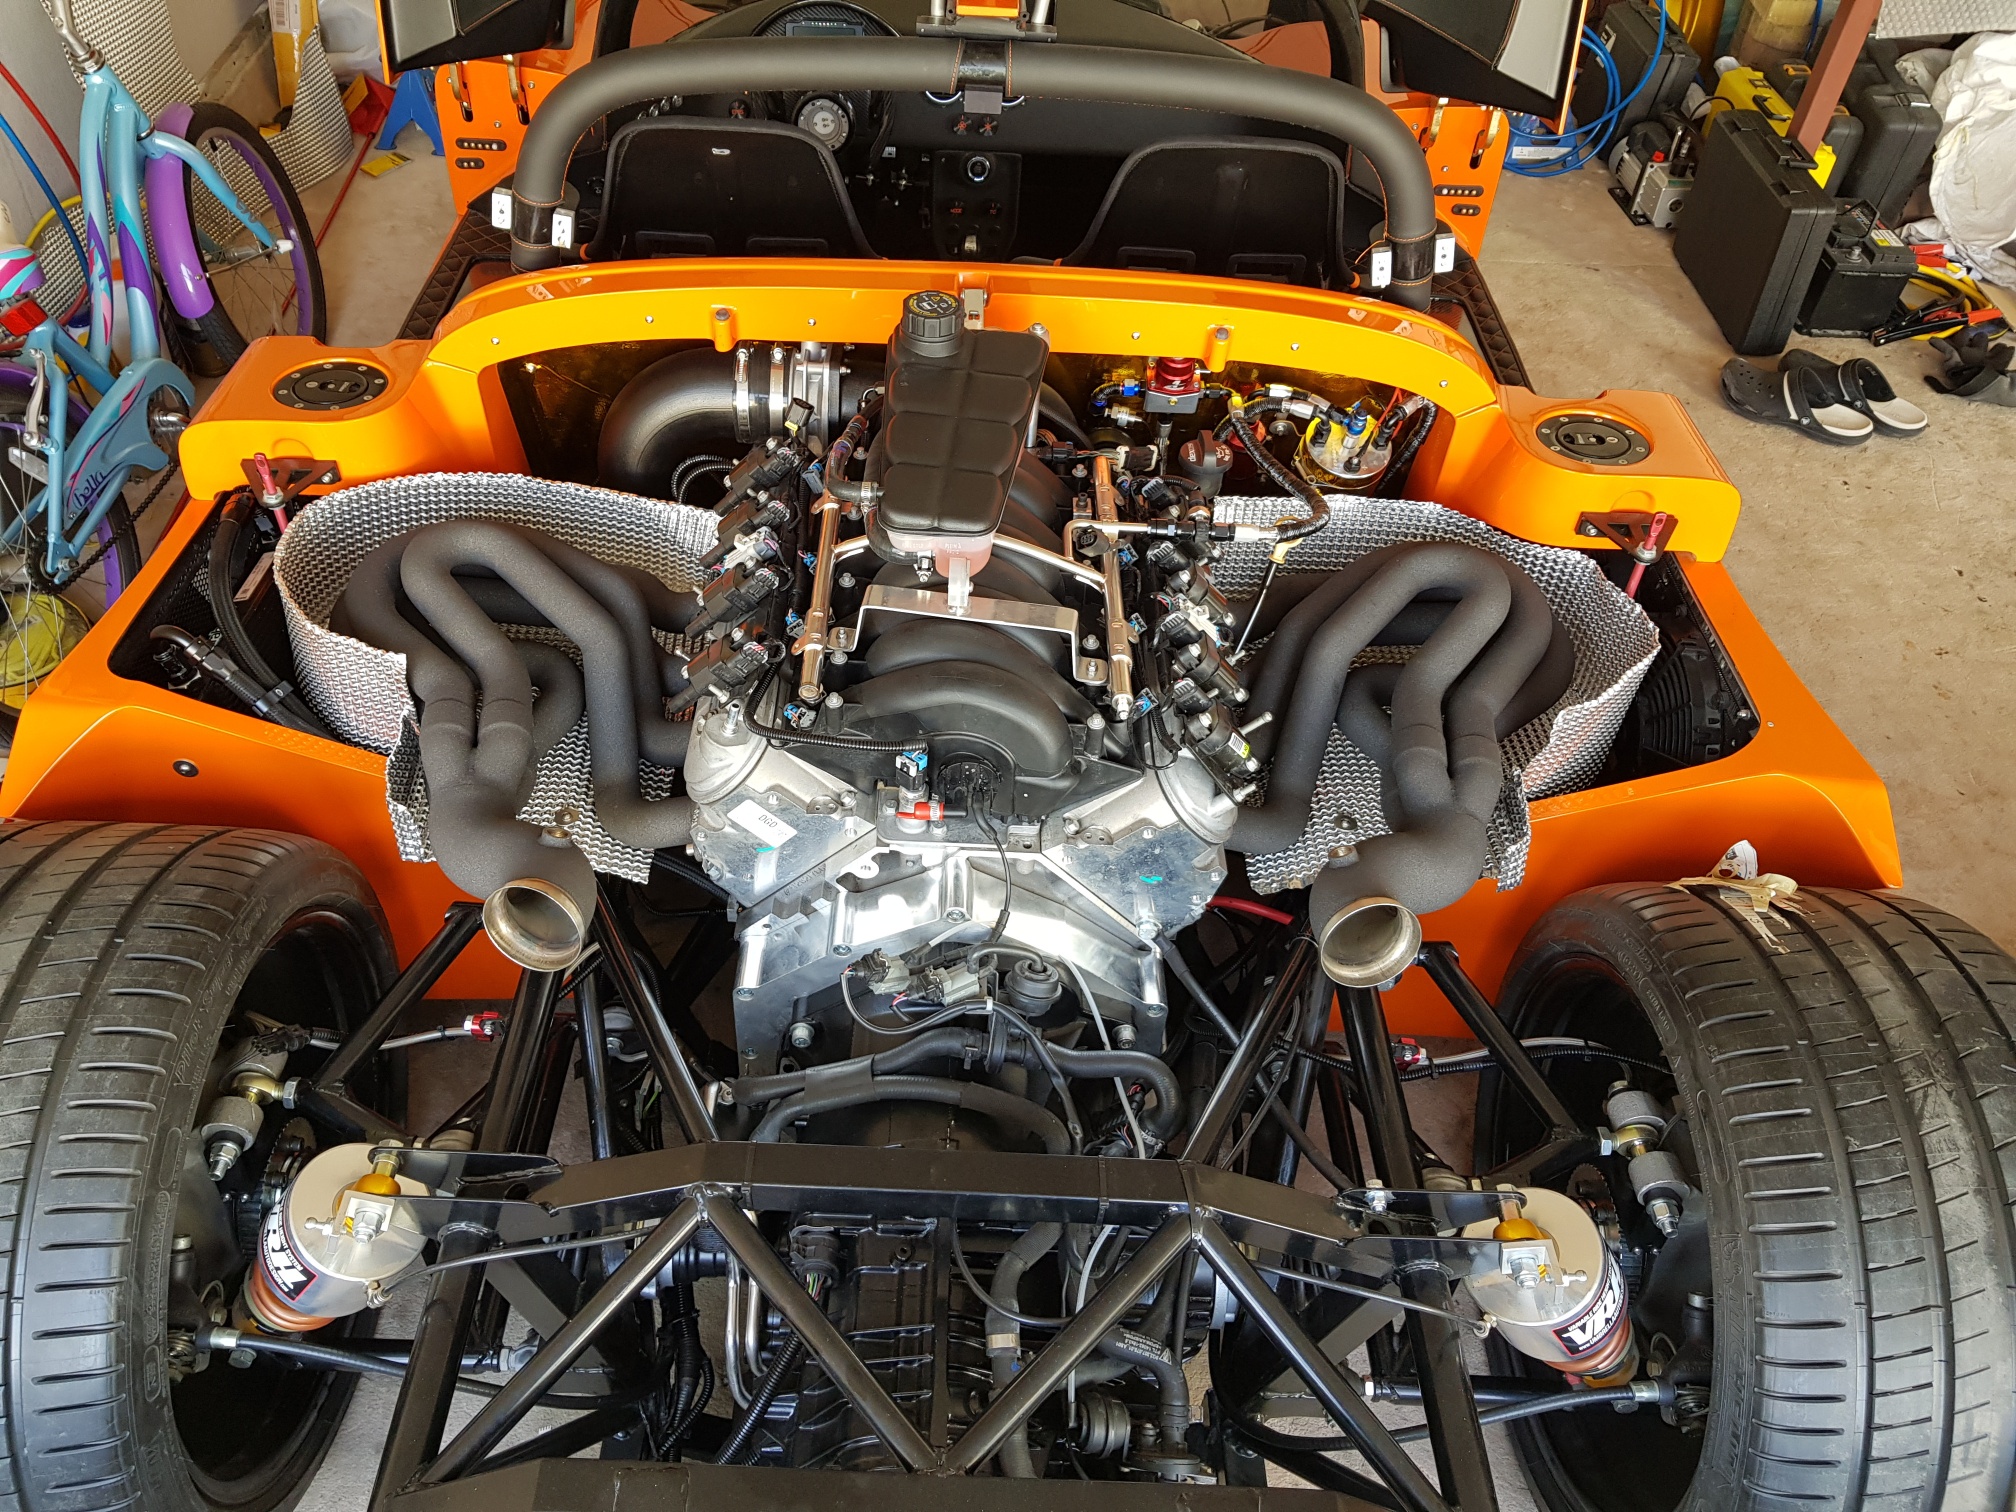
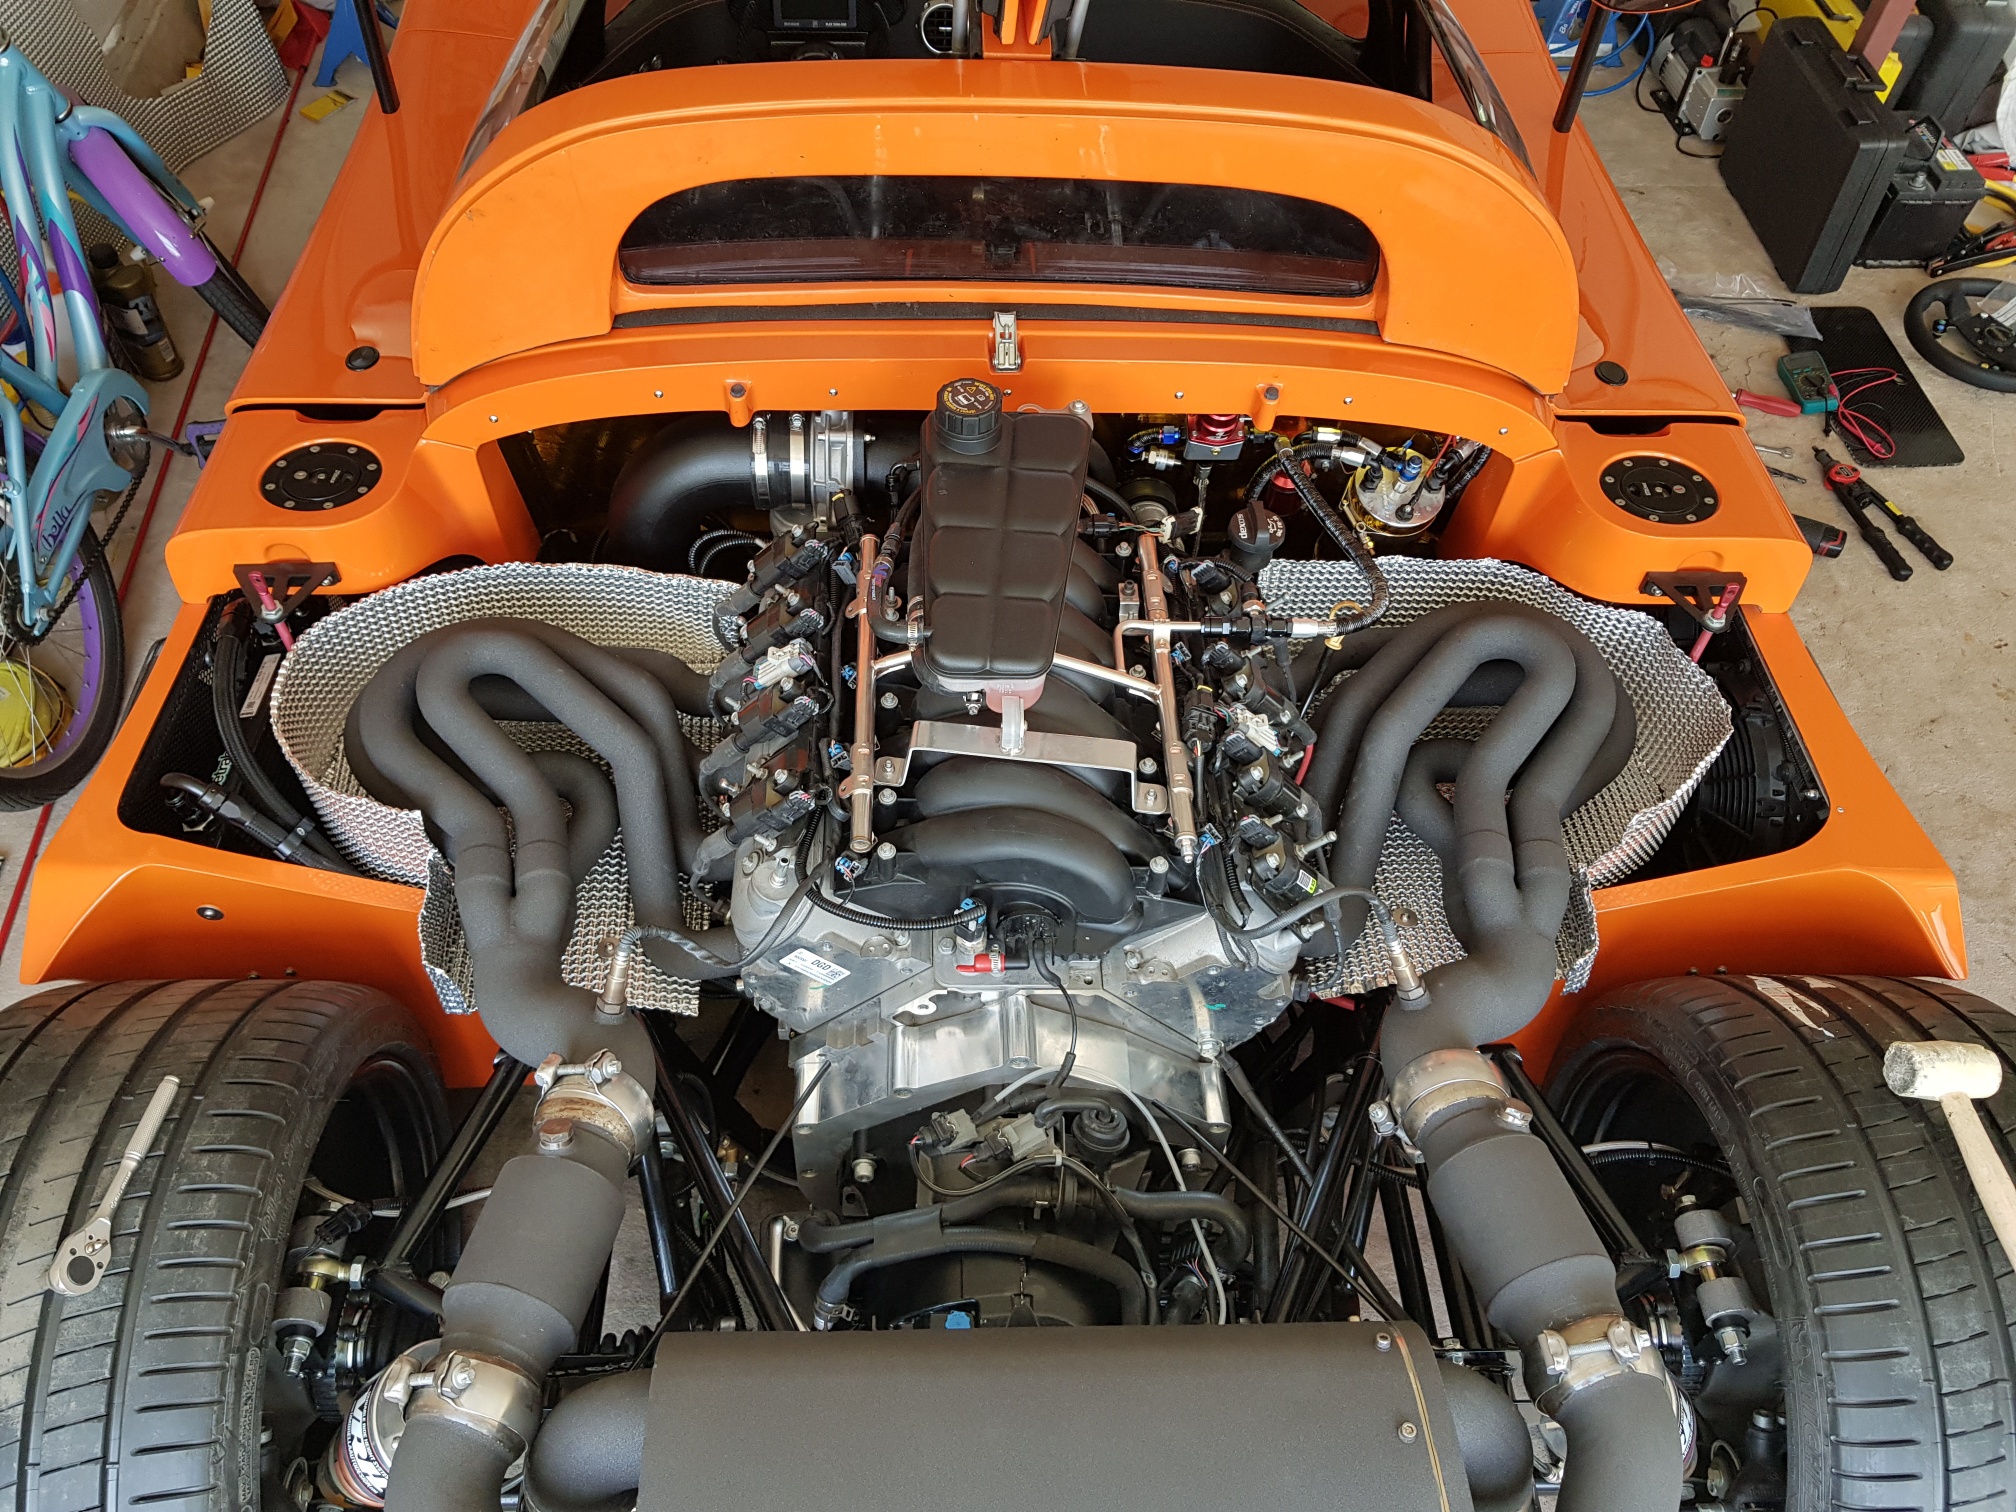
The PDK box is quite large - in fact so big that it will not fit the conventional way from behind the chassis (between the rear chassis bars). This meant that I had to either install the engine, and then install the box from below by removing the chassis bolt on frame, or the way I did it: I first slid the gearbox into the chassis from the large engine 'hole' in front, and slid the gearbox as far back as possible to get it out of the way. Then, the engine was hoisted into the chassis and rested on the two mounts (bolts put through but not tightened). The gearbox was then wreslted onto the engine - getting the box on was hard because of the weight of the damn thing! Once on, the gearbox was bolted to the engine adapter plate, and then the gearbox rear supports were installed to level the drivetrain in the chassis.
May 7-8 2018
Build Time : 7 hours
Total Build Time: 564 hours
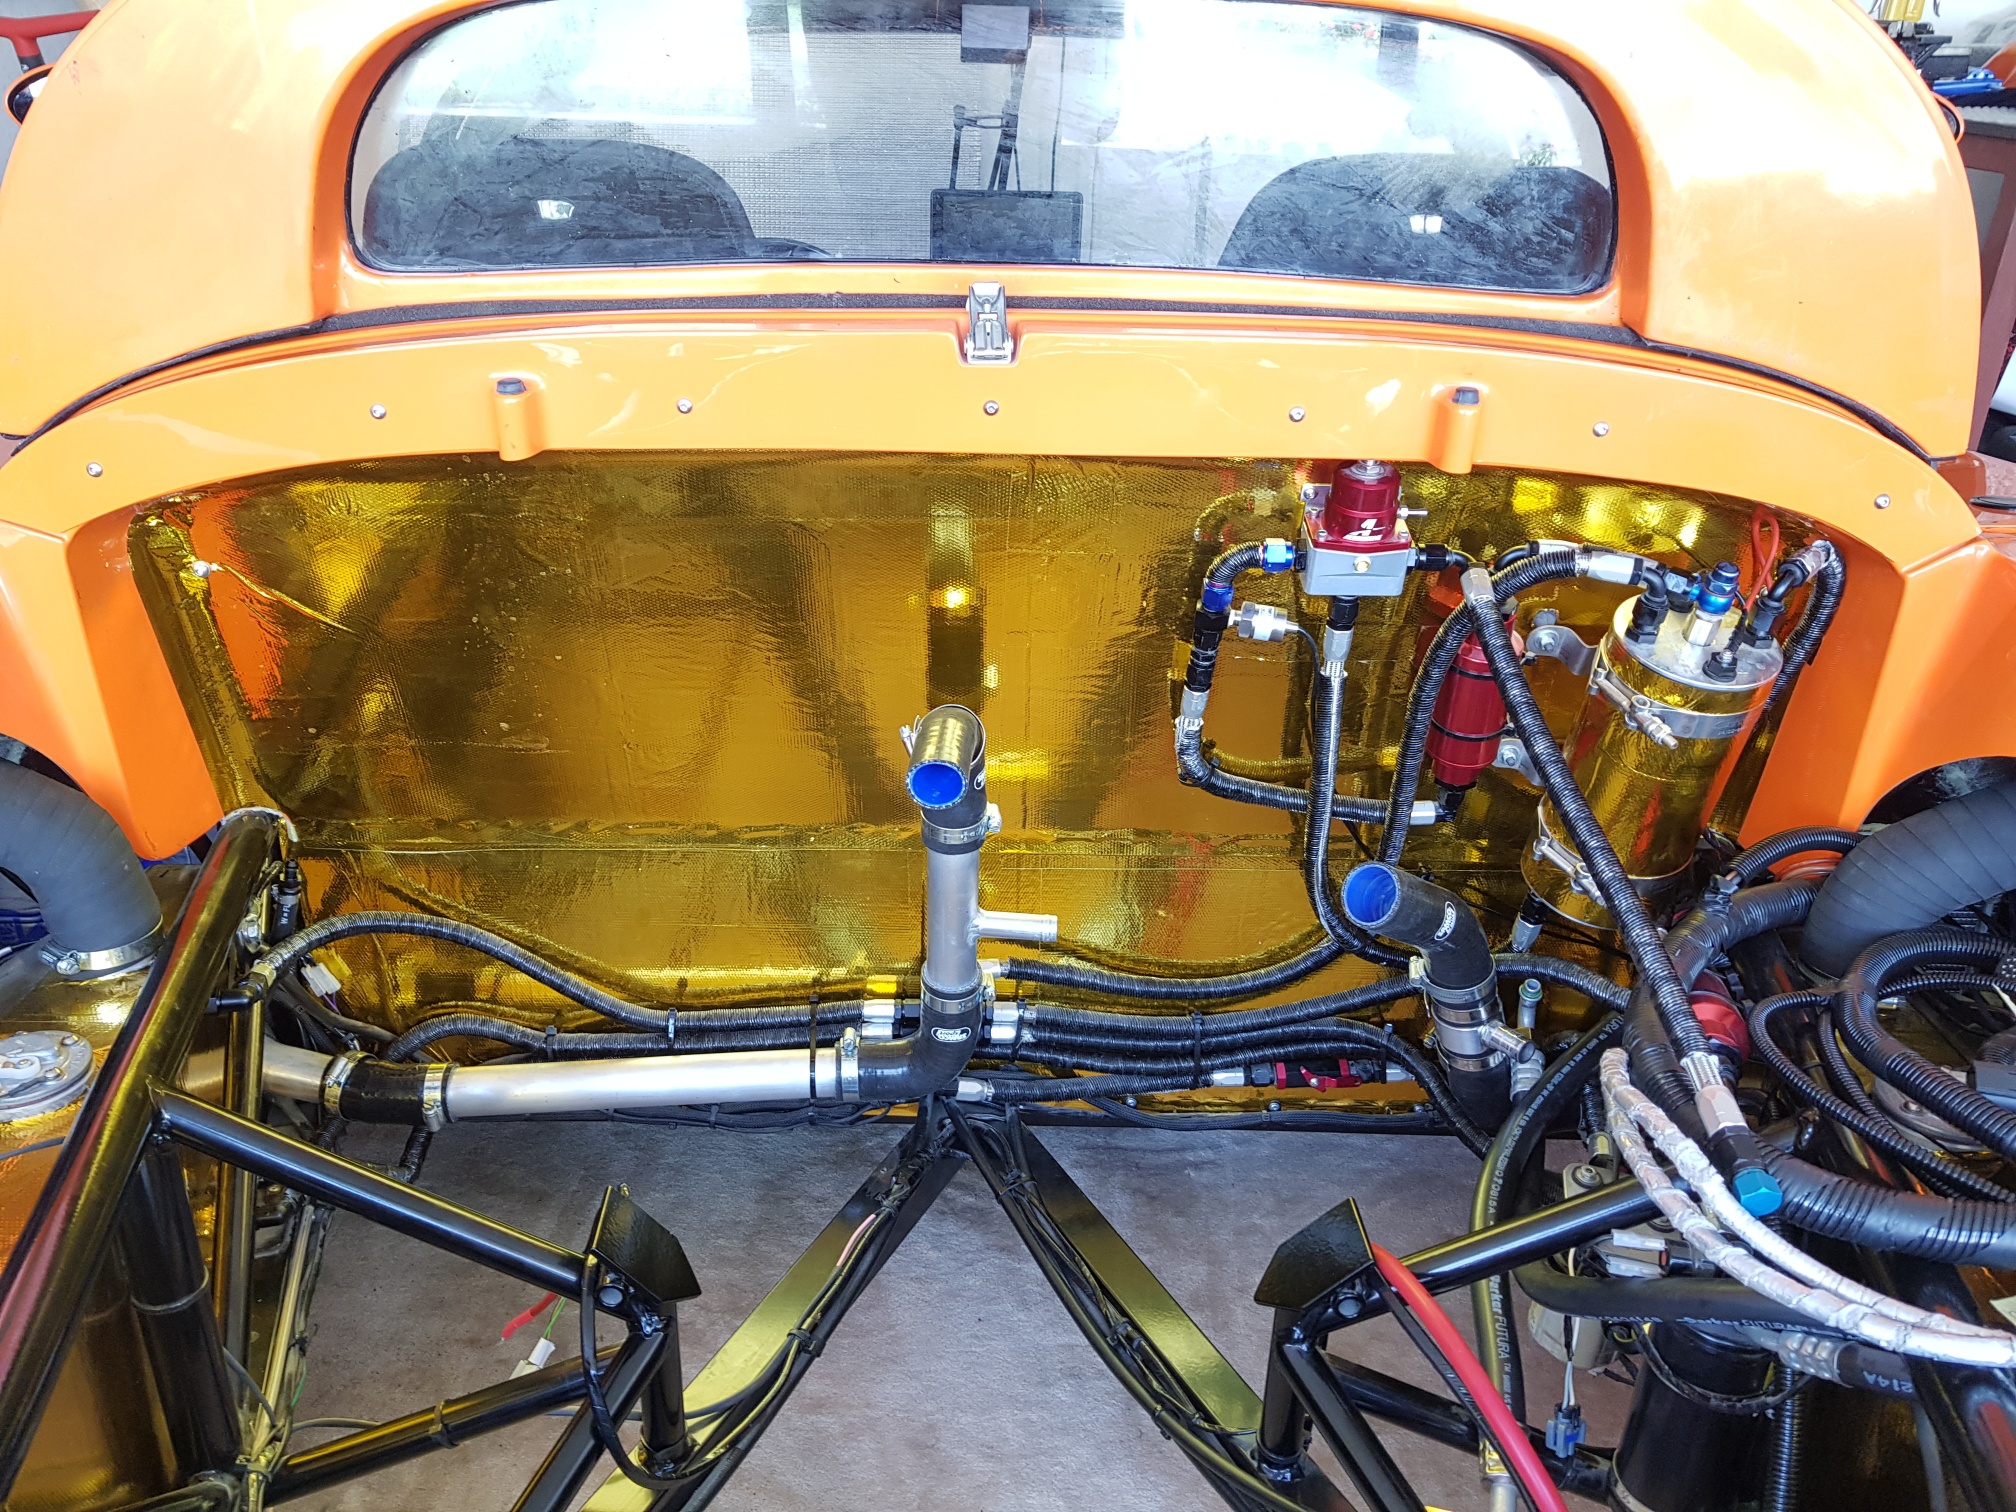
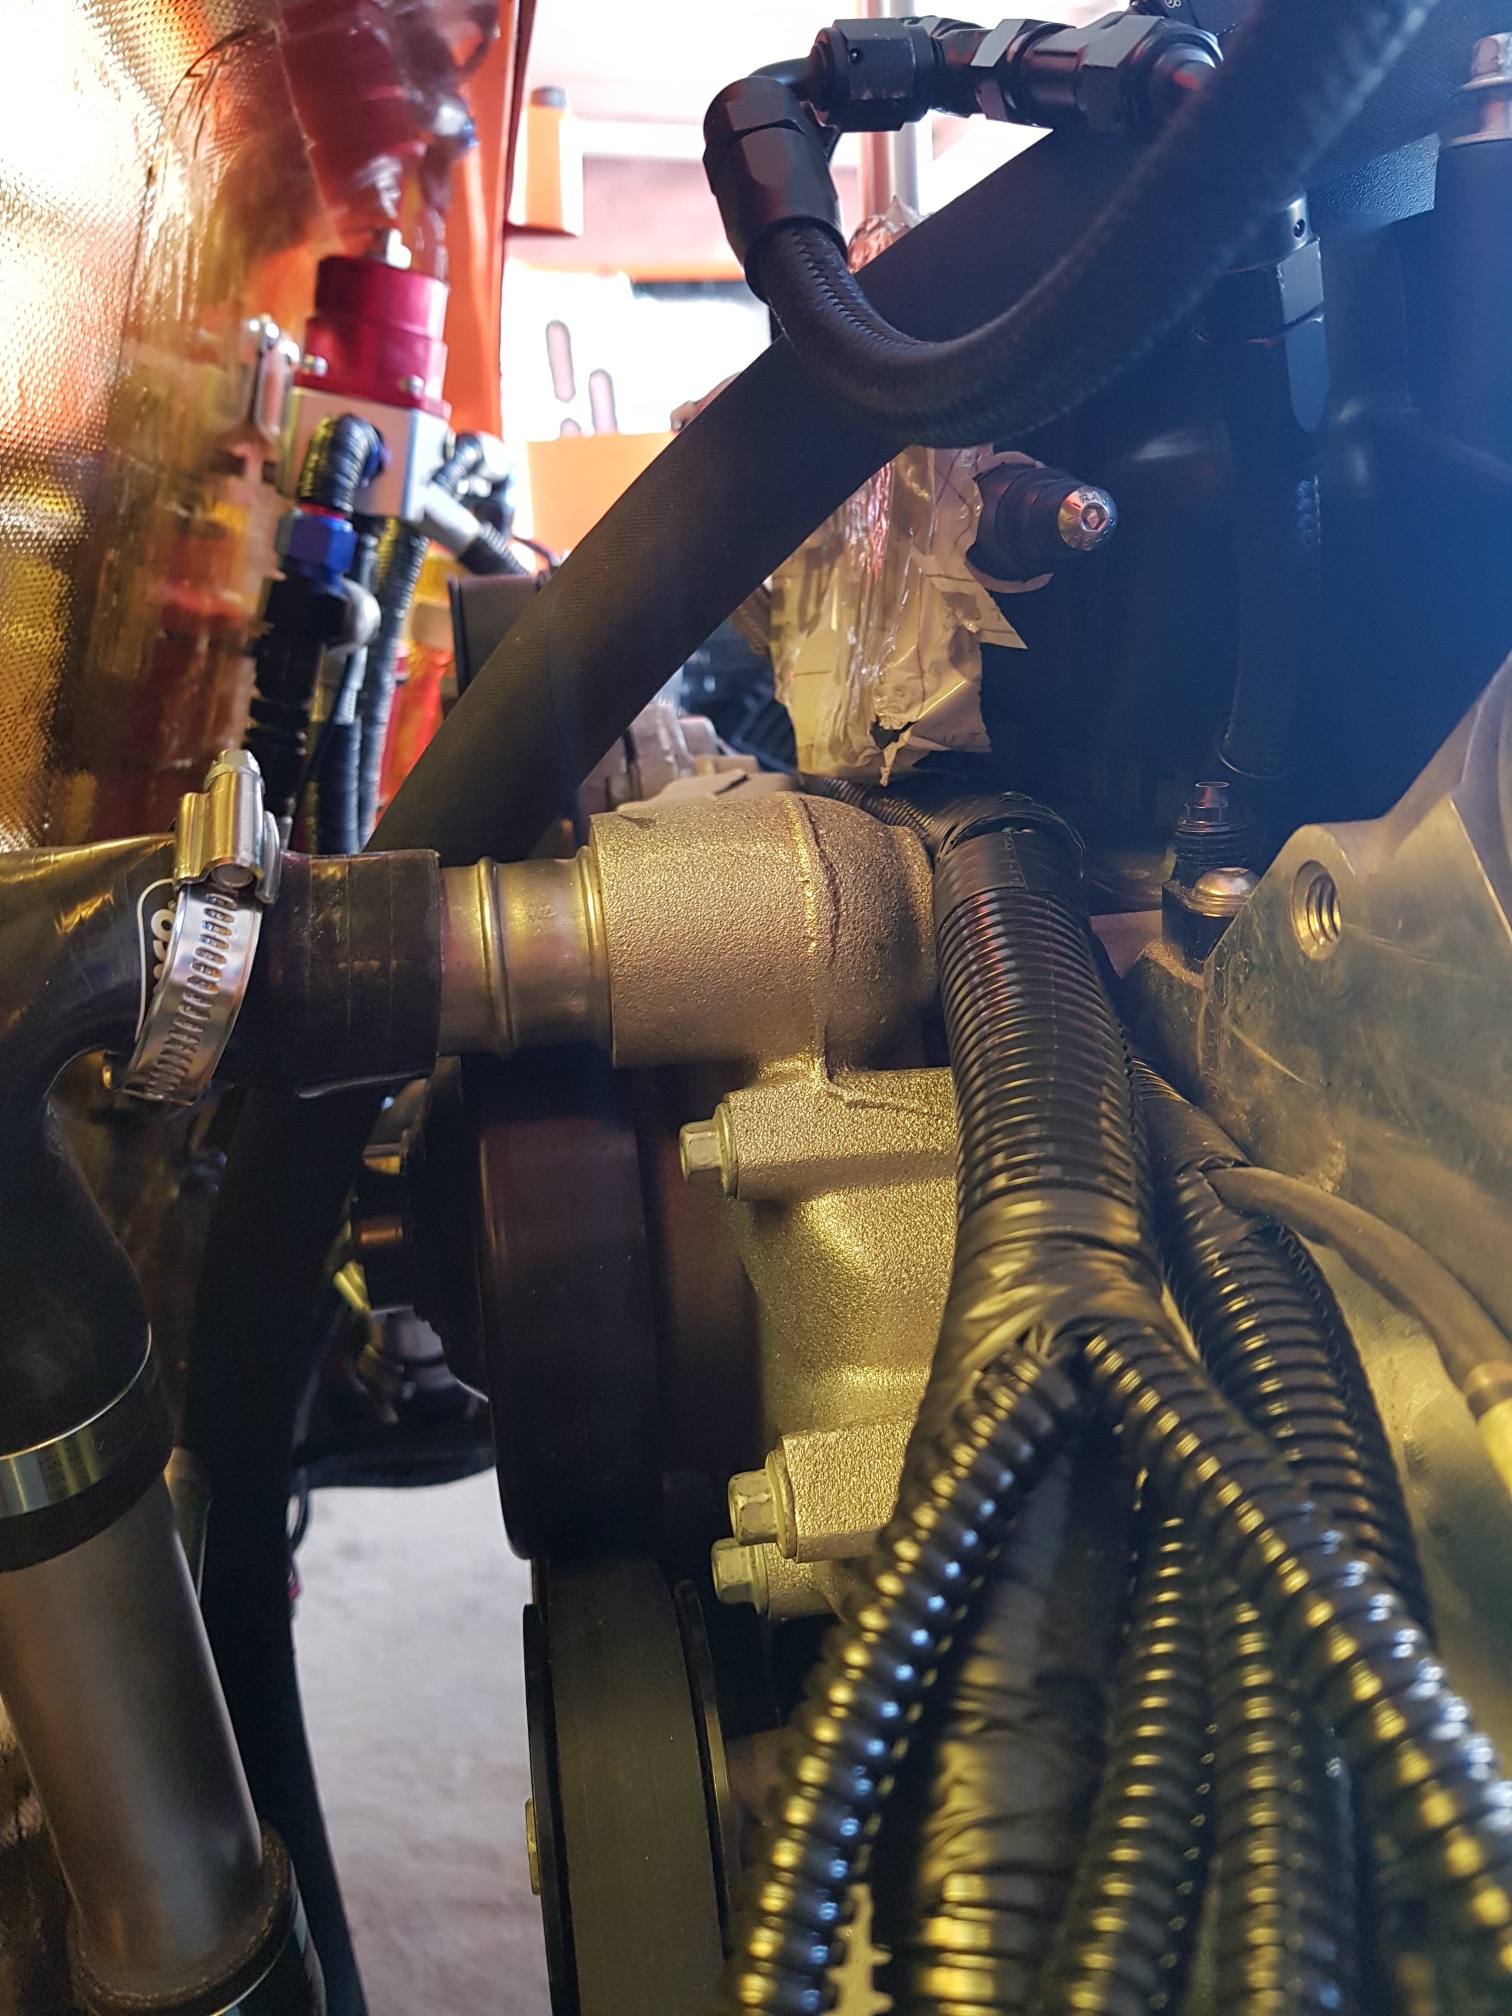
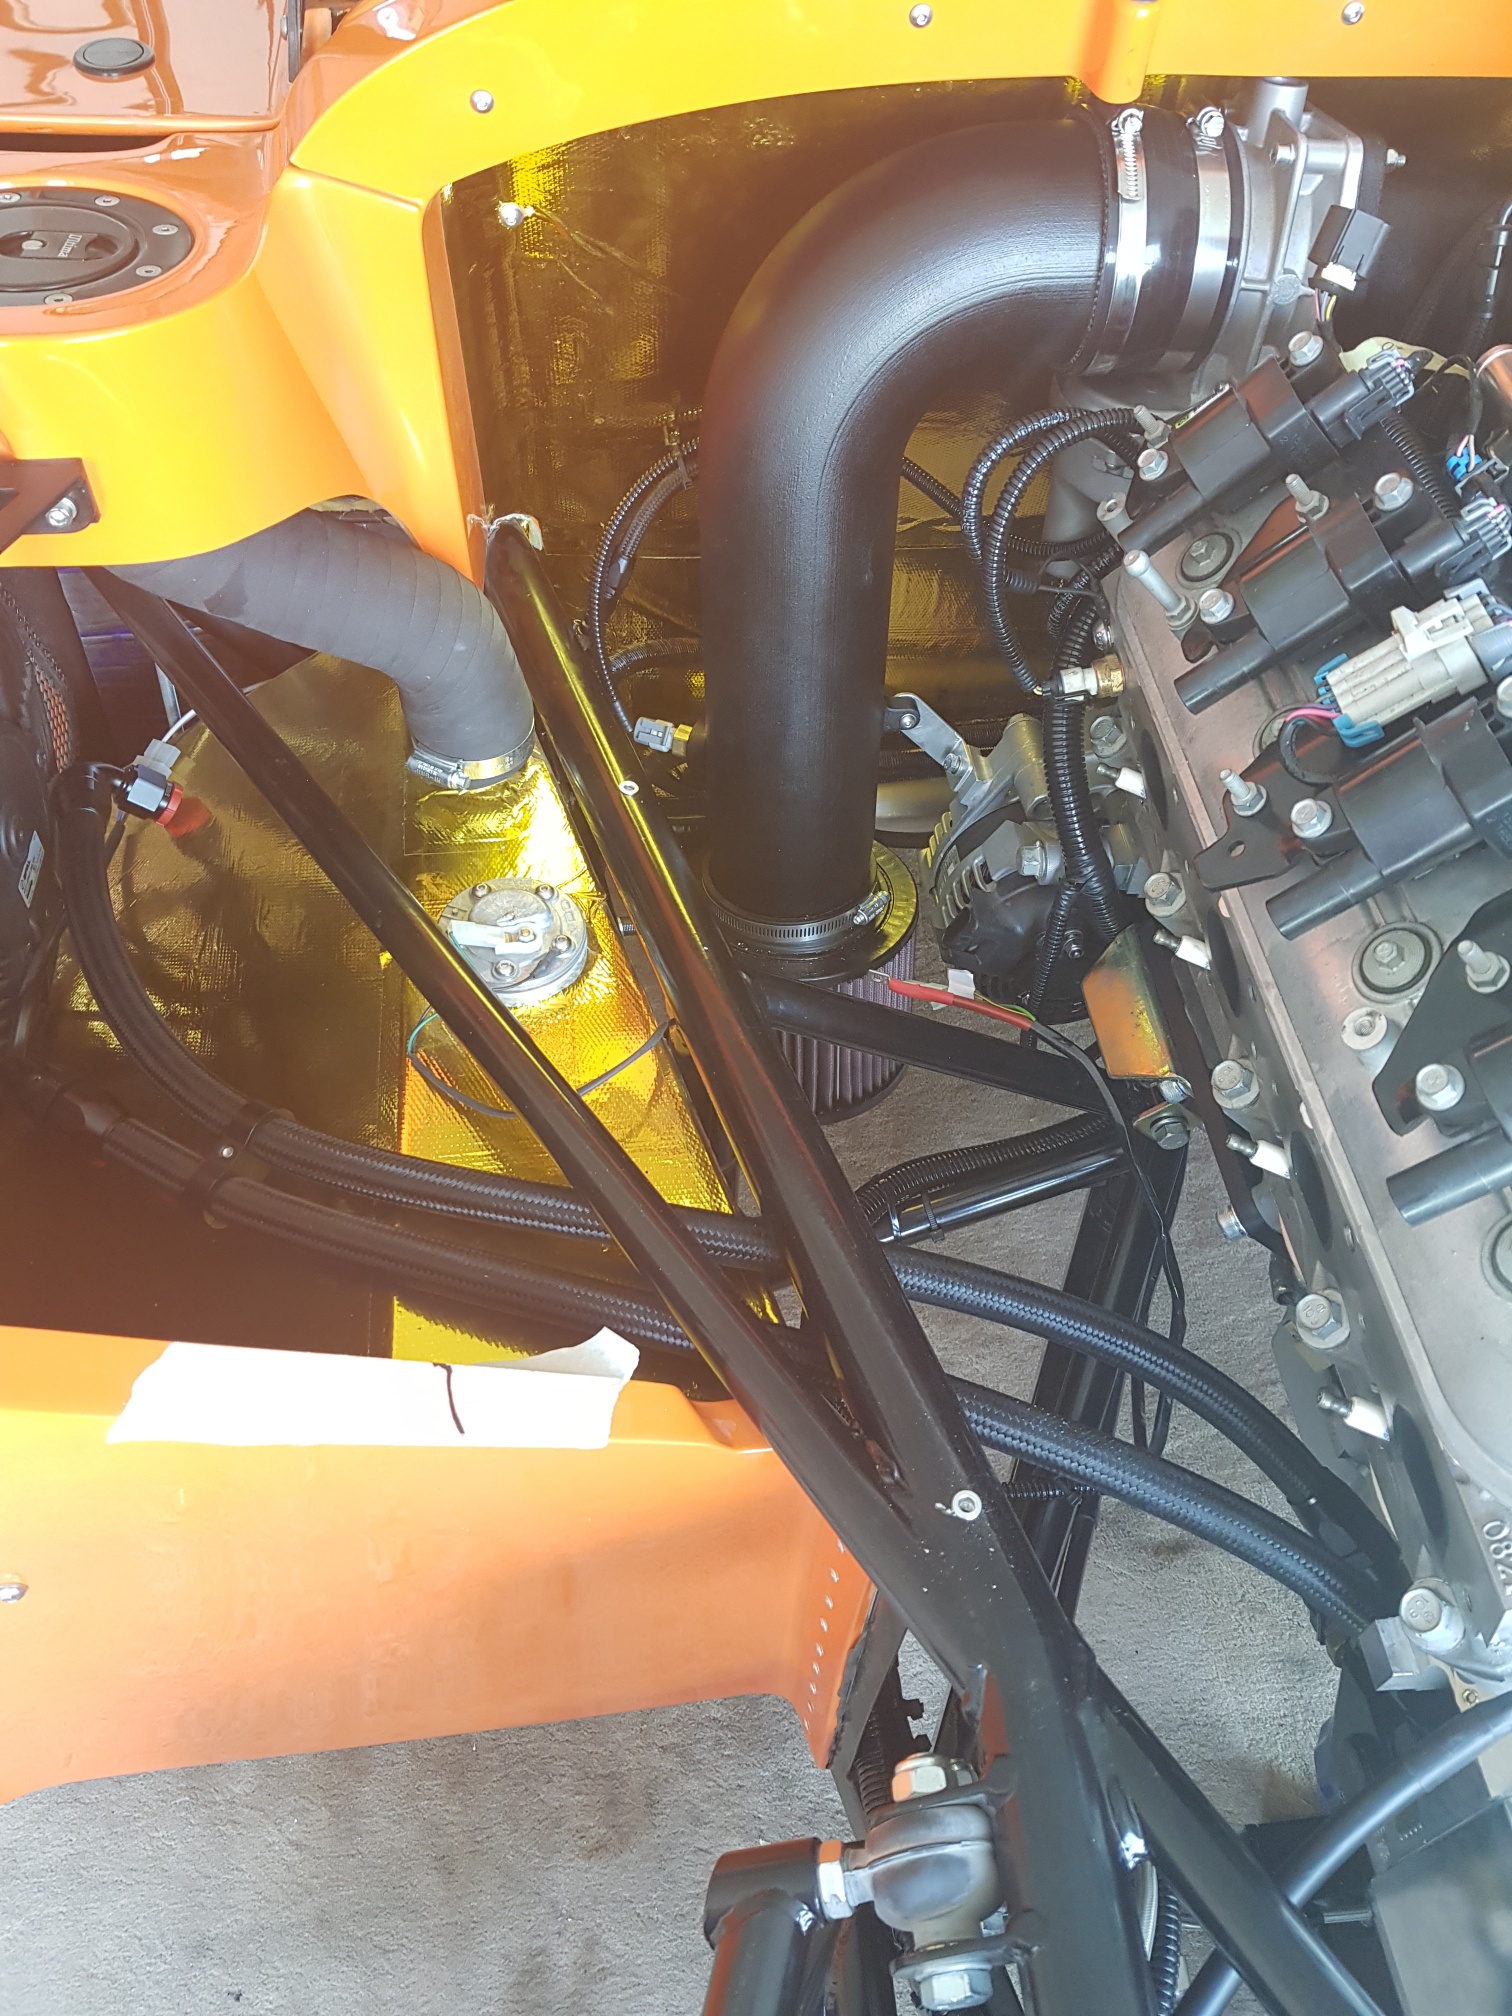
With the drive train installed, I decided to first complete the installation of the cooling system. The engine and gearbox both require cooling, so the system is slightly different than the first Ultima. The engine was connected to the silicon hoses installed previously, and the engine steam vent was connected to the radiator vent. Then PDK cooling pipes were then laid on the gearbox and the 4 pipes for the PDK cooler were connected. The pipes were run to the engine connectors, where AB has installed special connector to allow the PDK cooling kit to connect. Some of those special connectors had to be repositioned to allow the pipe runs as I need due to the presence of the LP pump, filter and AC drier on the wall of the fuel tank... The PDK cooling valves were then bolted onto brackets and installed on the gearbox to secure them. The pipes were secured with zip ties. Finally, the vacuum line for the cooling valve was connected to the engine vacuum tube on the back.

The engine loom was then positioned over the engine and the run checked for routing. The intake plenum needed to be removed to allow the loom to pass over the engine, so the 10 intake bolts were removed , intake plenum removed and the loom run over the valley of the engine. The plenum was immediately reinstalled back to prevent anything from entering the intake chambers...
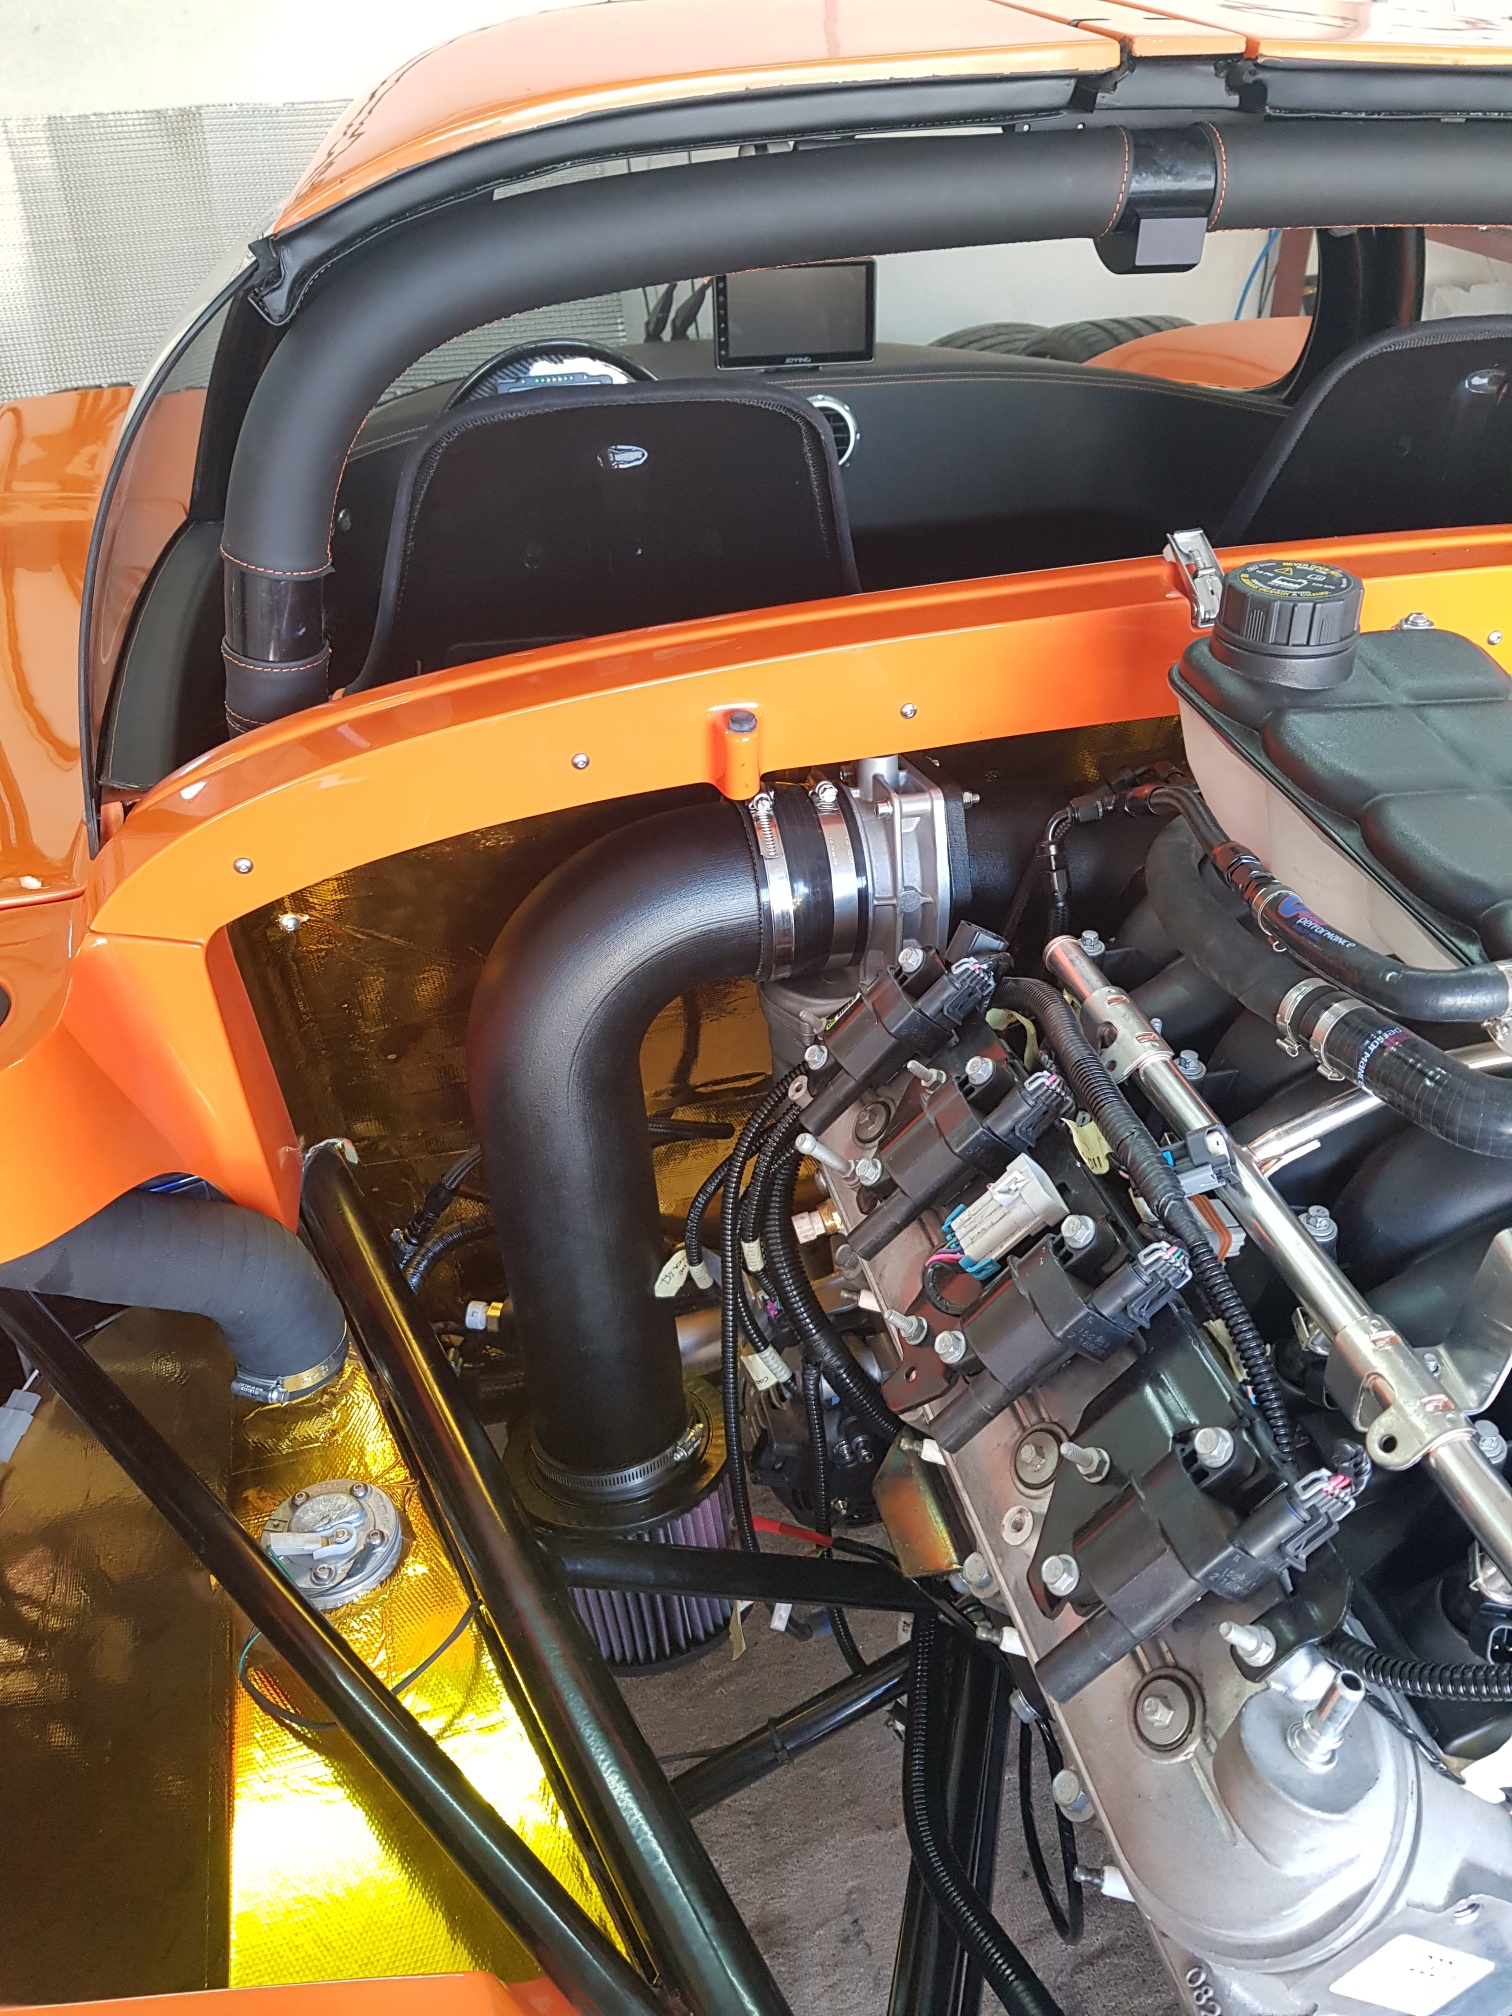
Next I worked on the cold air intake system - the throttle body was bolted to the 90 degree tube, and the tube was installed on the engine to the intake port - these simple 4 bolts took over 30minutes to tighten because of the almost complete lack of access to 2 of the bolts... However, slowly but surely, the throttle body/tube combo was installed...
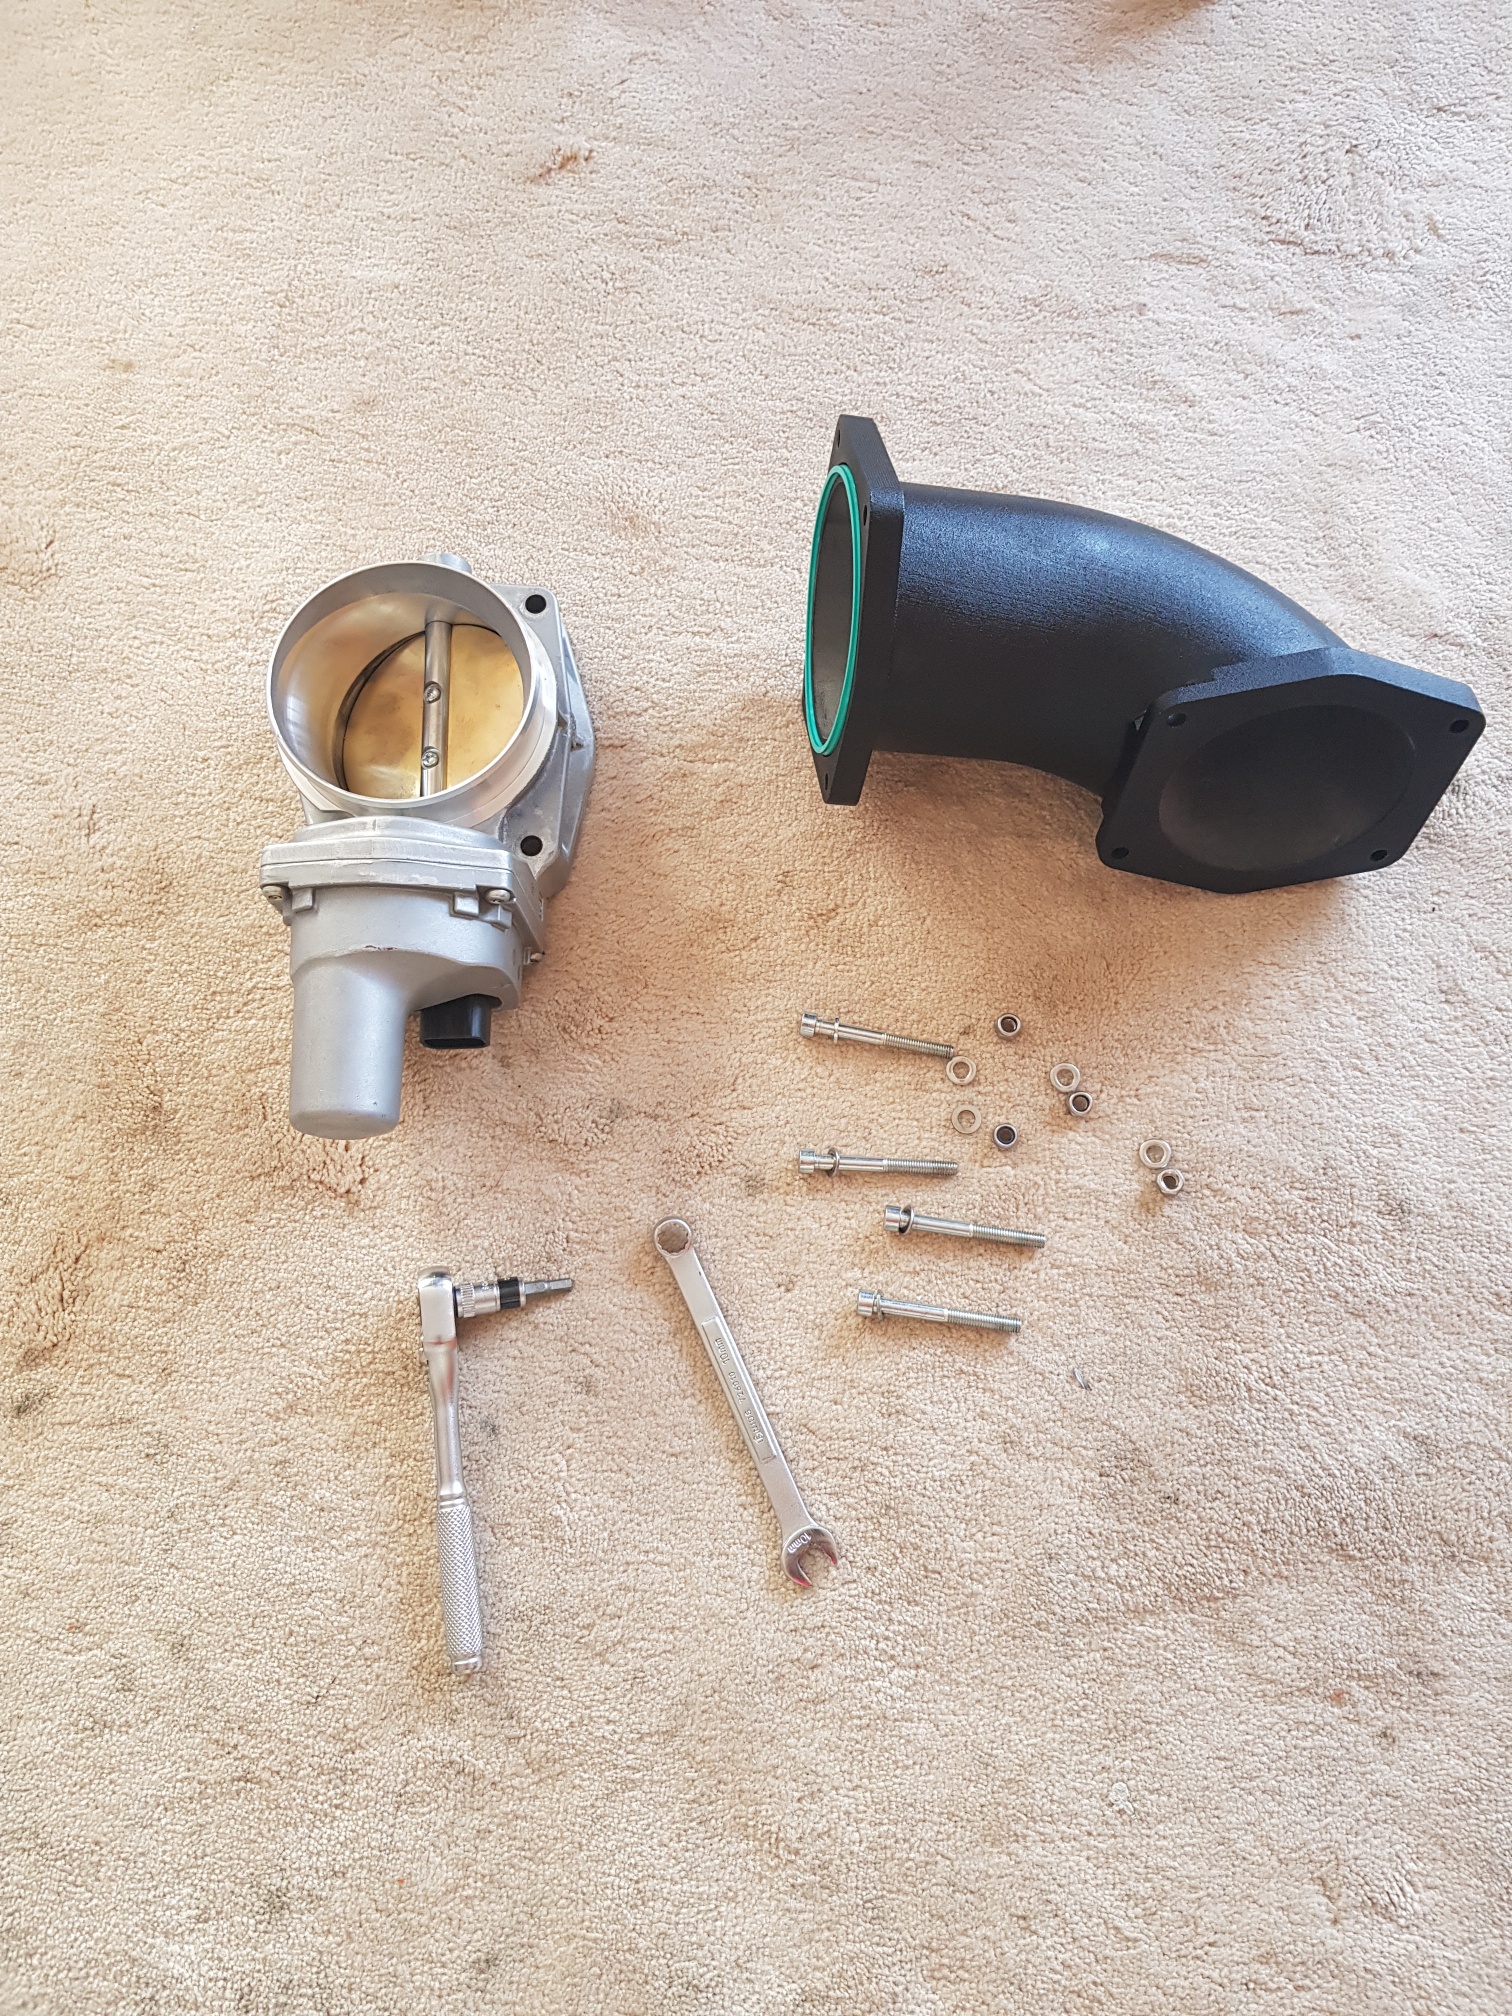
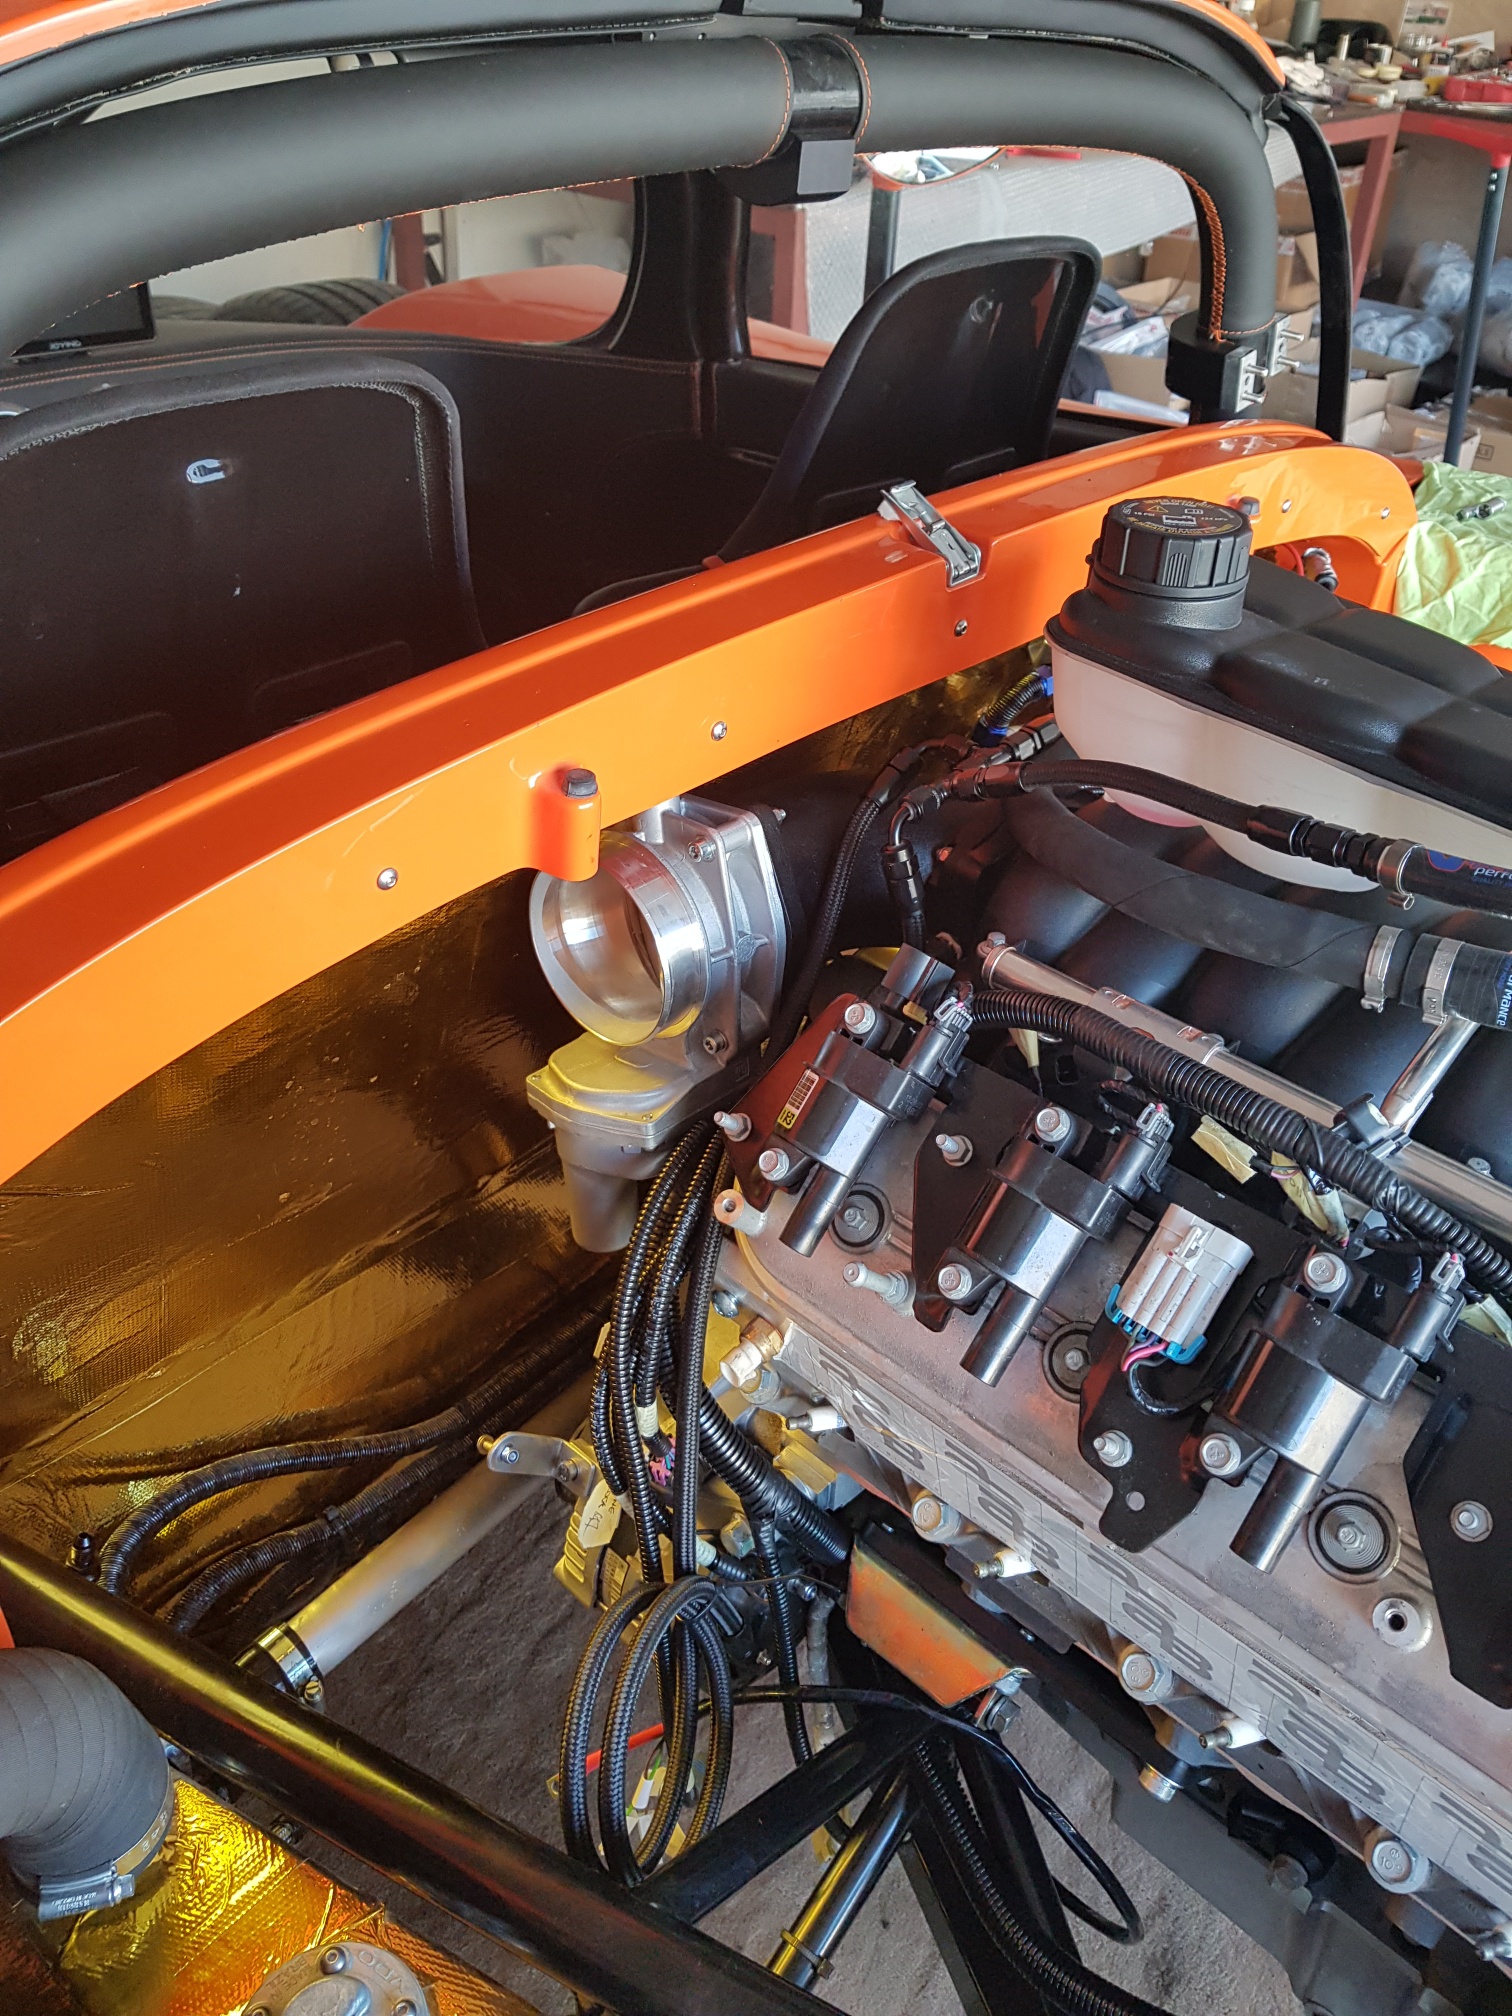
Next piece for the intake was the large 90 bend pipe and the large air filter.. the air filter was fitted on to the pipe, and the air temperature sensor installed... The silicon connector for the top was also installed, and the entire assembly offered to the throttle body and connected.. the large pipe also has a small bolt hole to connect it to a bracket attached to the alternator bracket to hold the weight of the assembly...
Next I started working on the electrical connections to the engine - all the connections on the passenger side were connected and the wiring loom secured... This included connections for the PDK temp sensor, rear right wheel speed sensor, starter, and top of engine (injectors and coils)... I also connected the fuel line from the regulator to the engine after installing a fuel pressure sensor (for ECU)... the only connection left on the right side is the AC pipes, but those are not fitting as they are too long - so I will probably need to modify them again before fitting that last bit...
I then worked on all the other connections - oil/water temp, MAP, MAF, Throttle, IAT, PDK, etc and got the entire drivetrain loom connected! All wires were secured and everything finalized except AC hose and alternator wiring.
May 9-10 2018
Build Time : 3 hours
Total Build Time: 567 hours
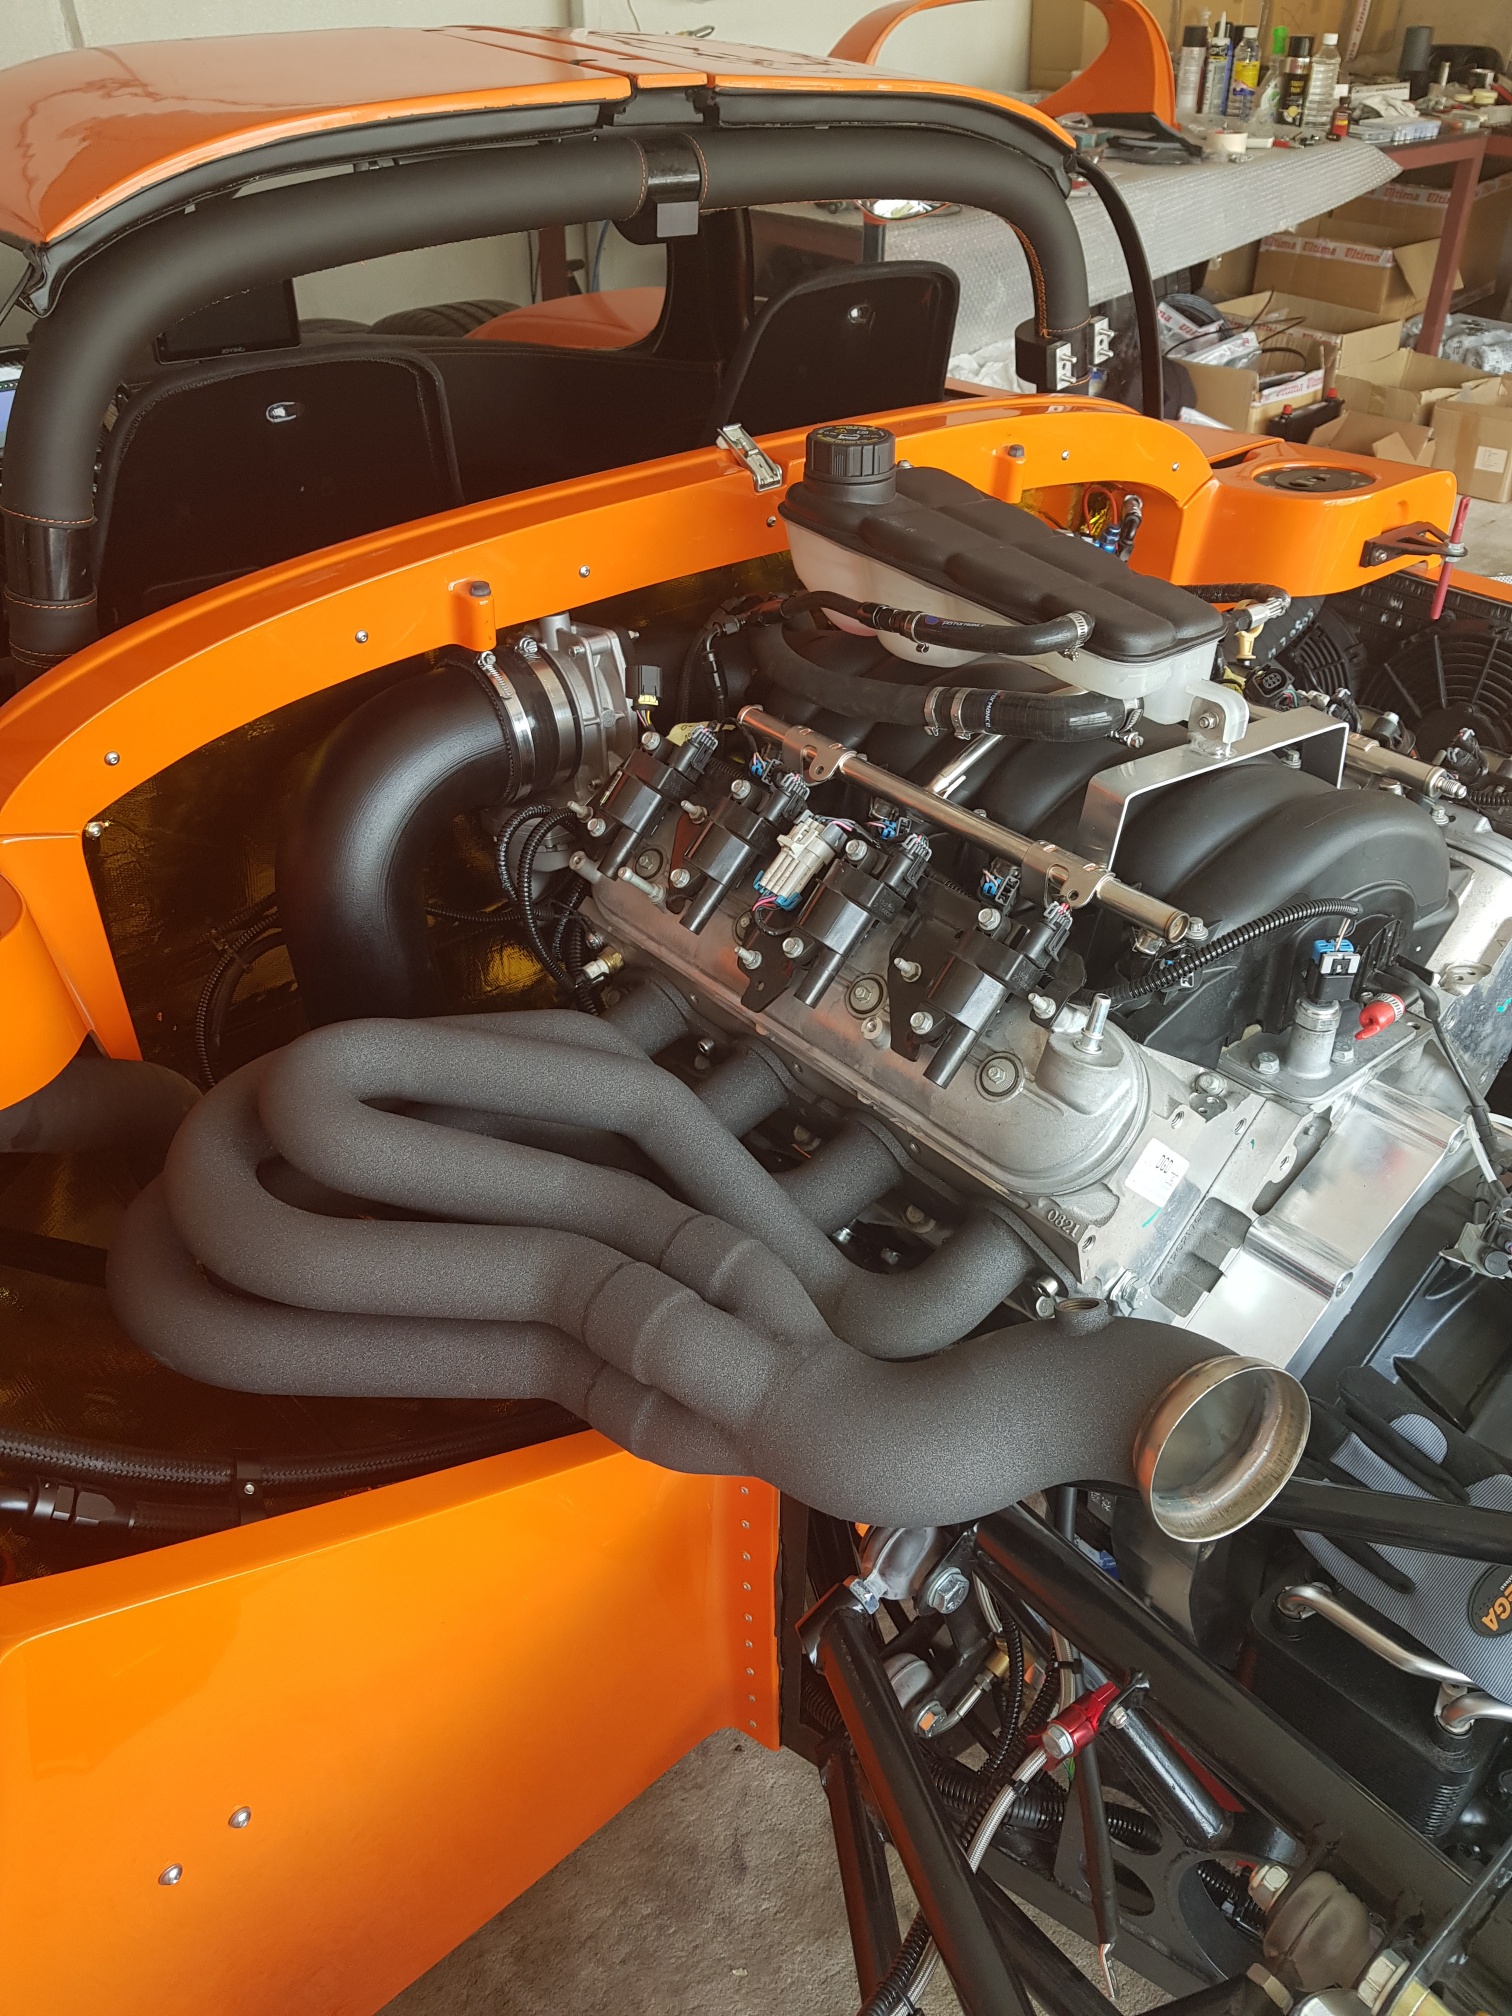
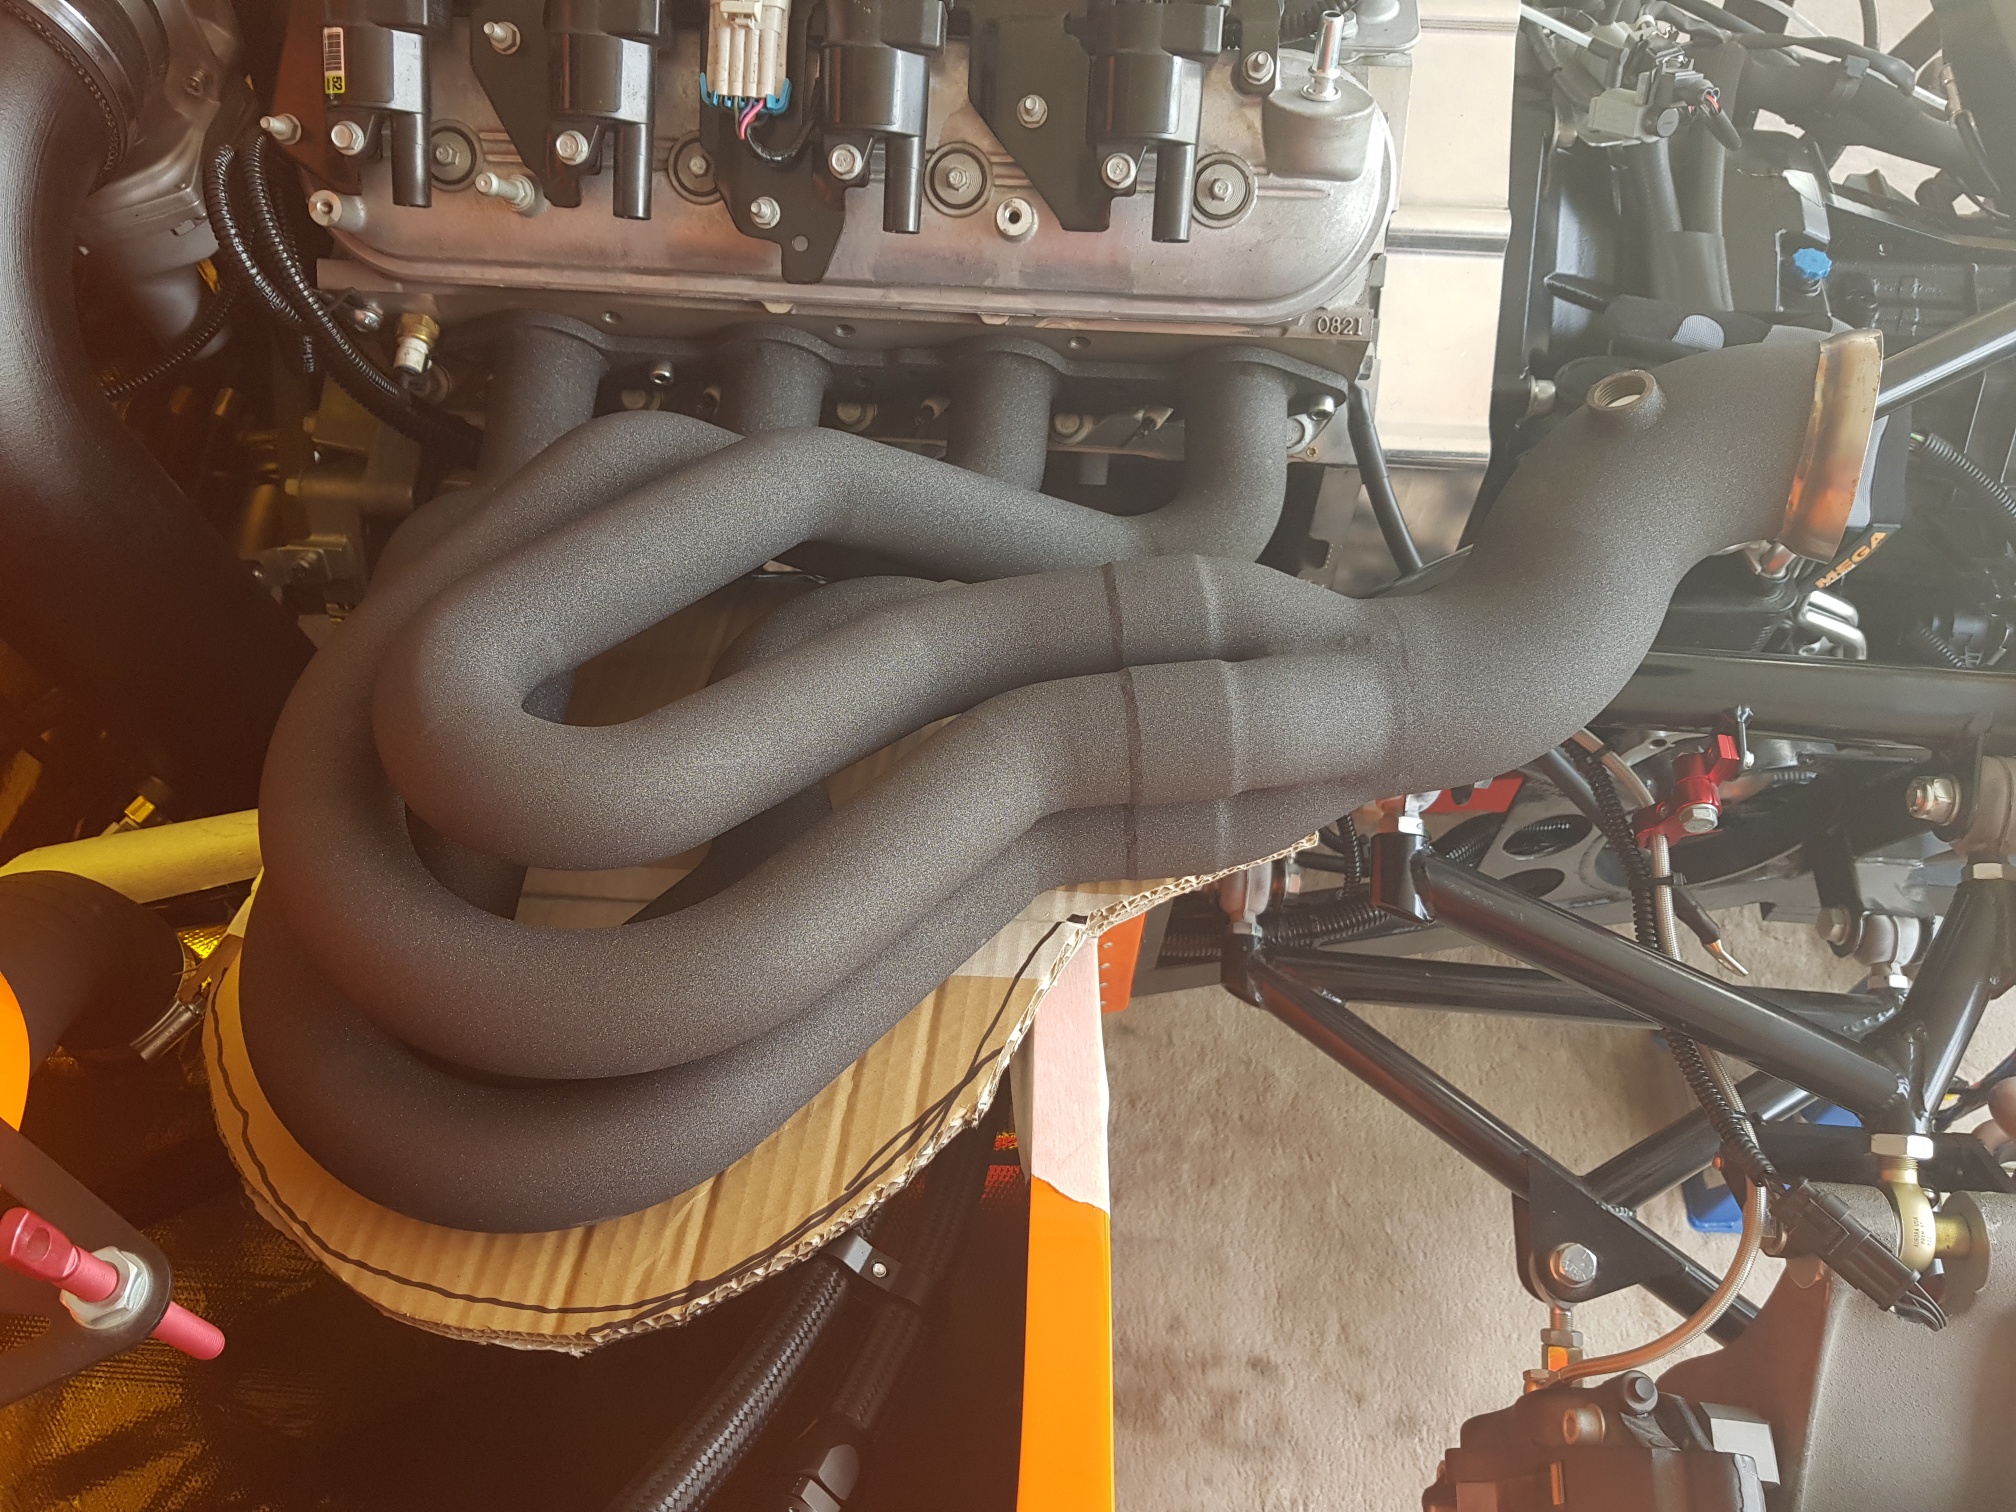
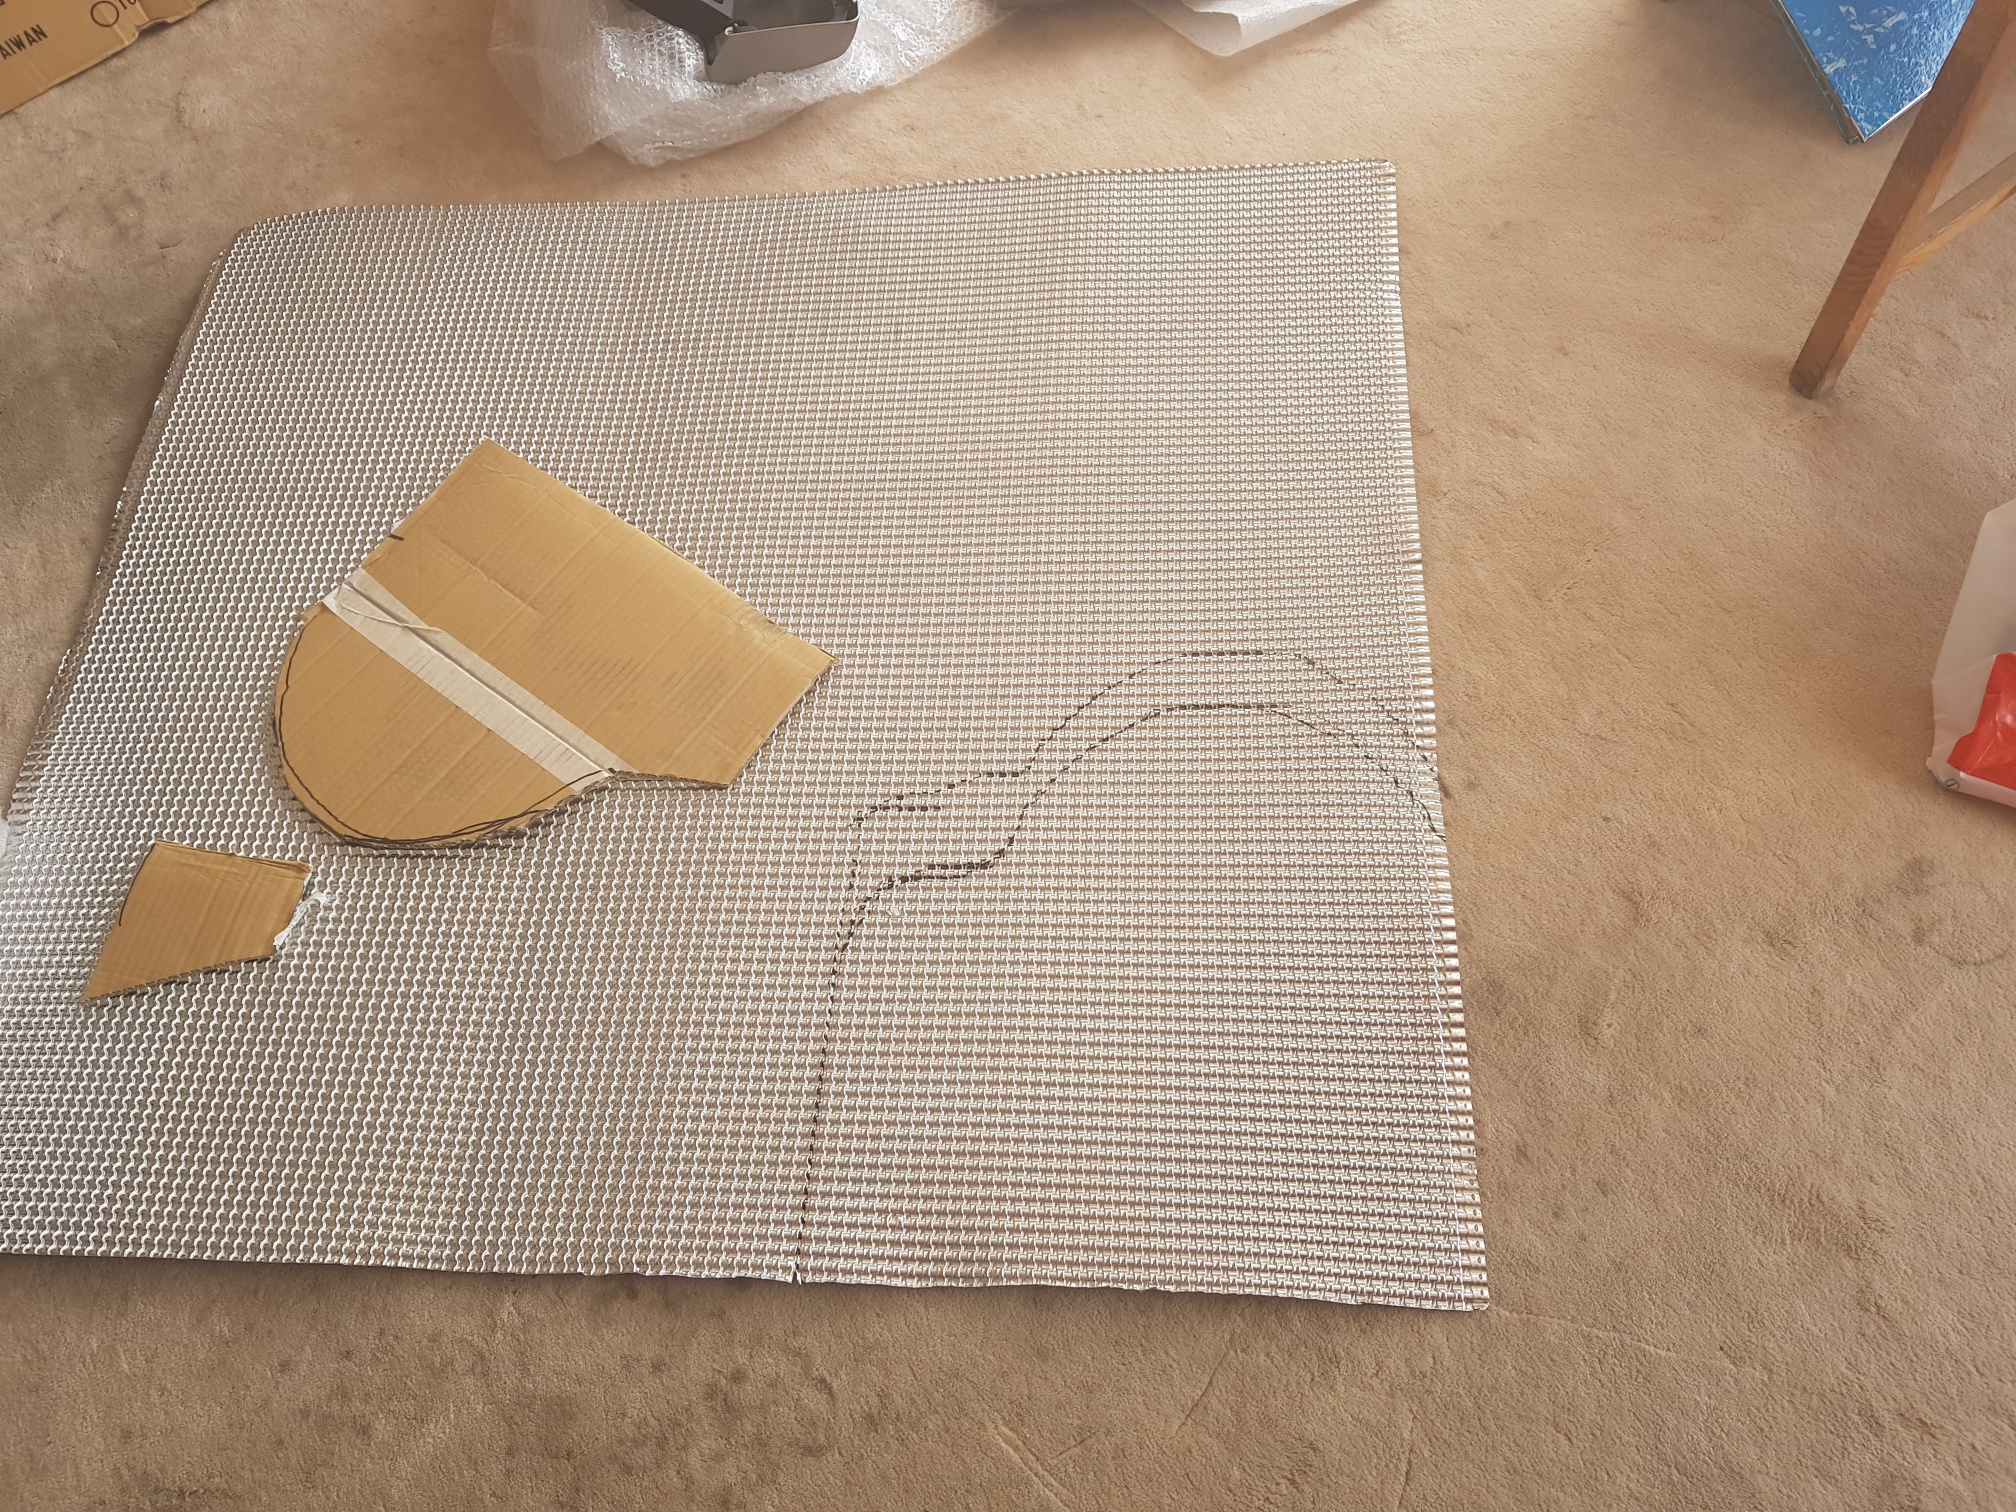
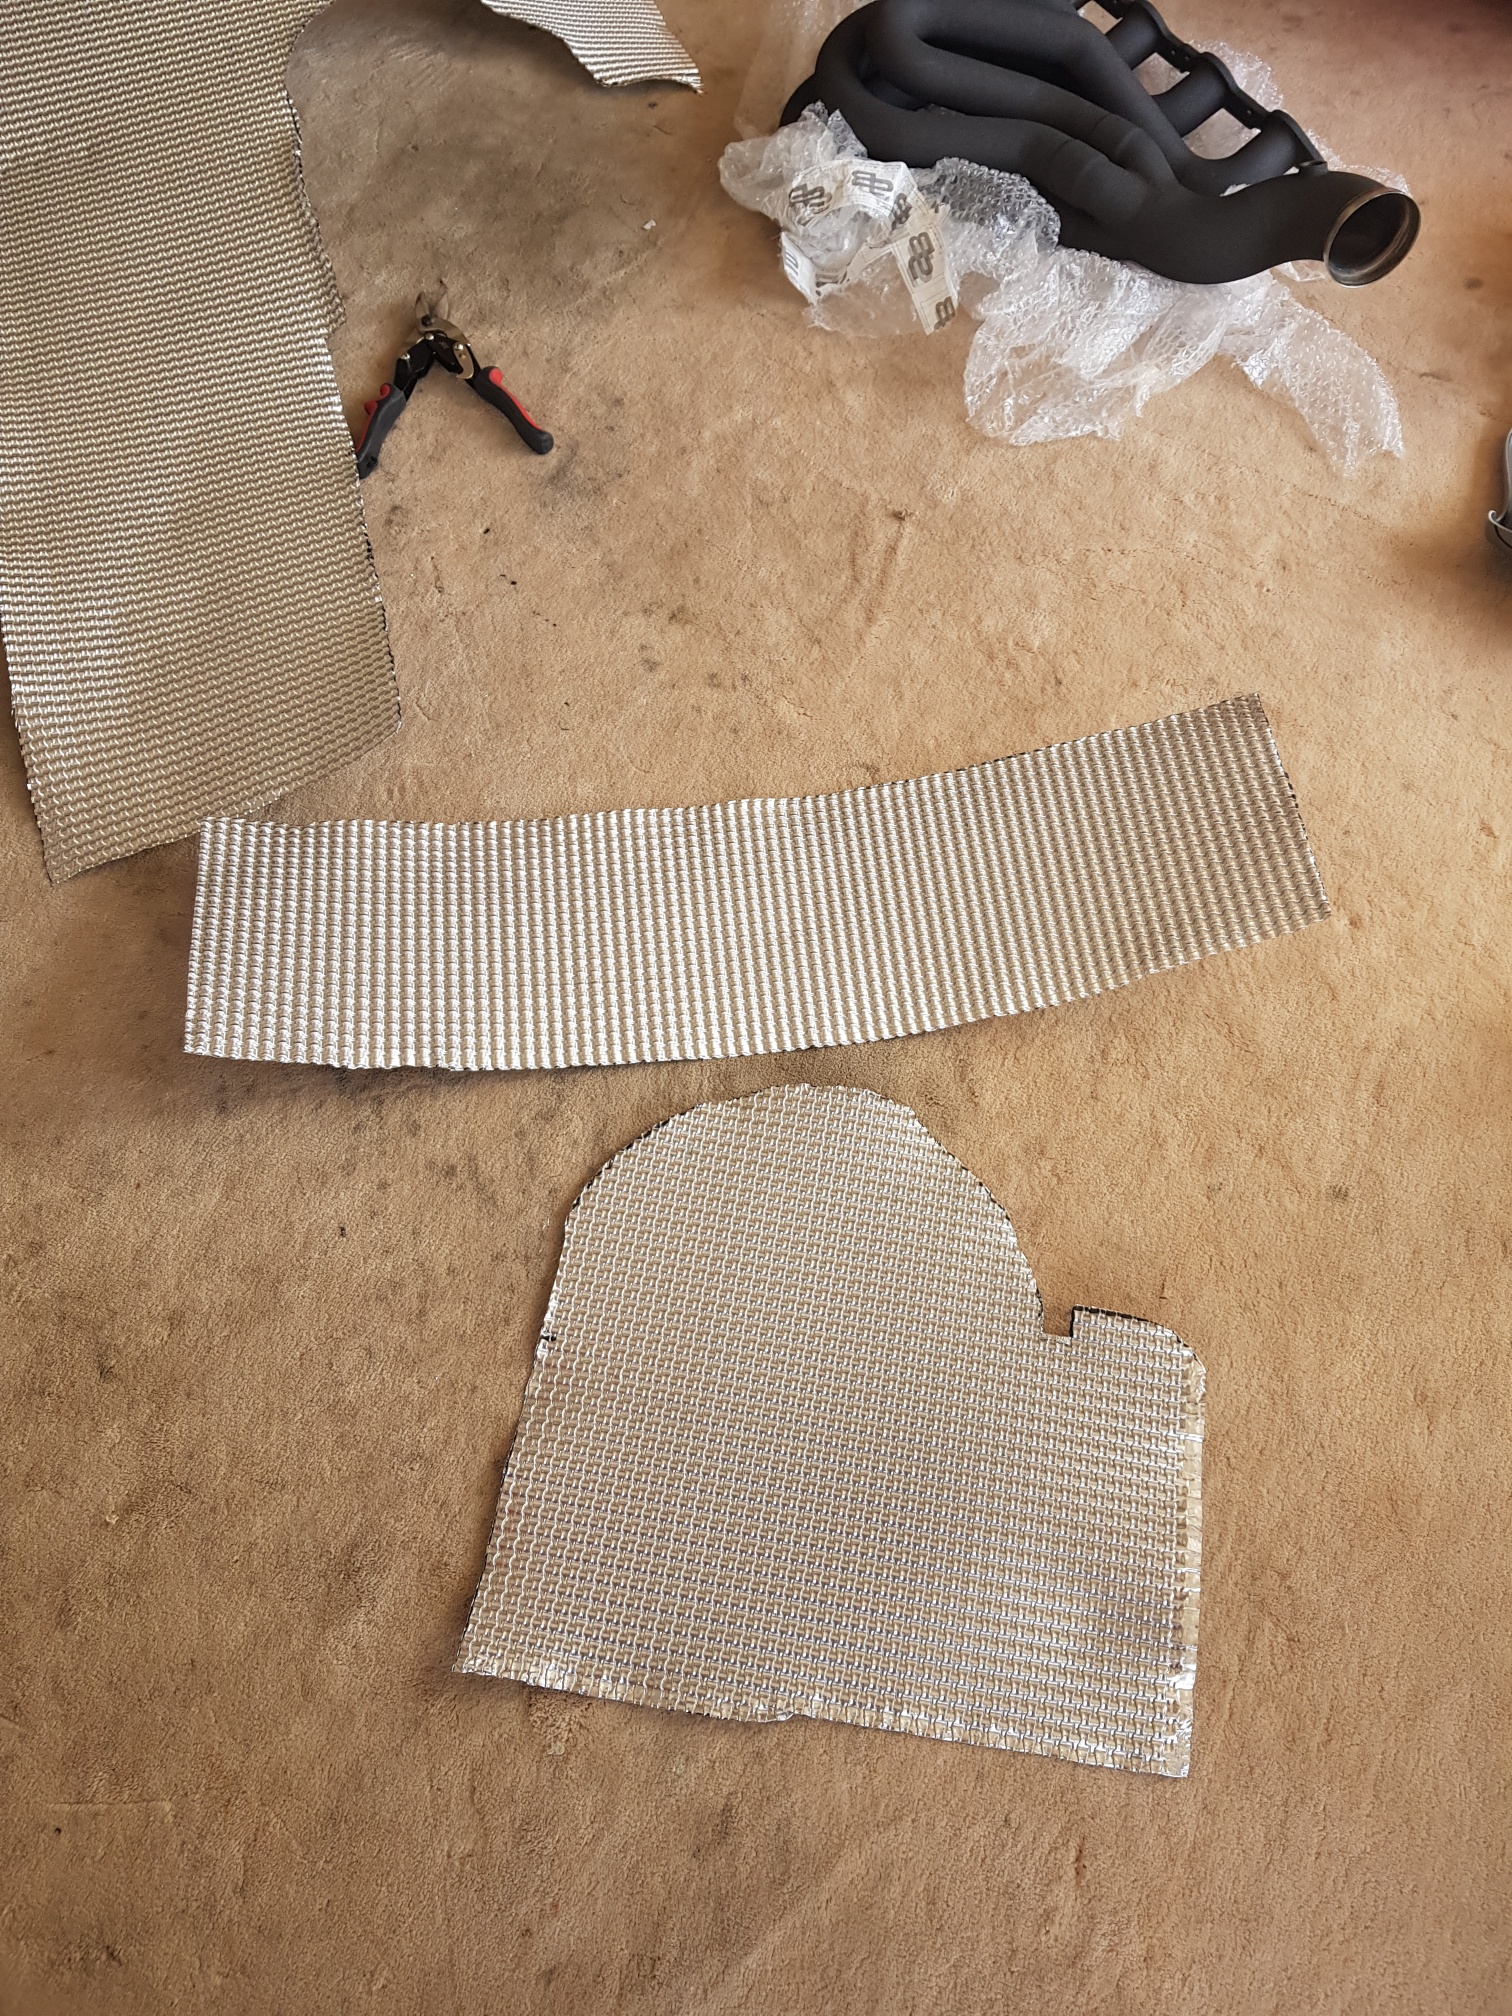
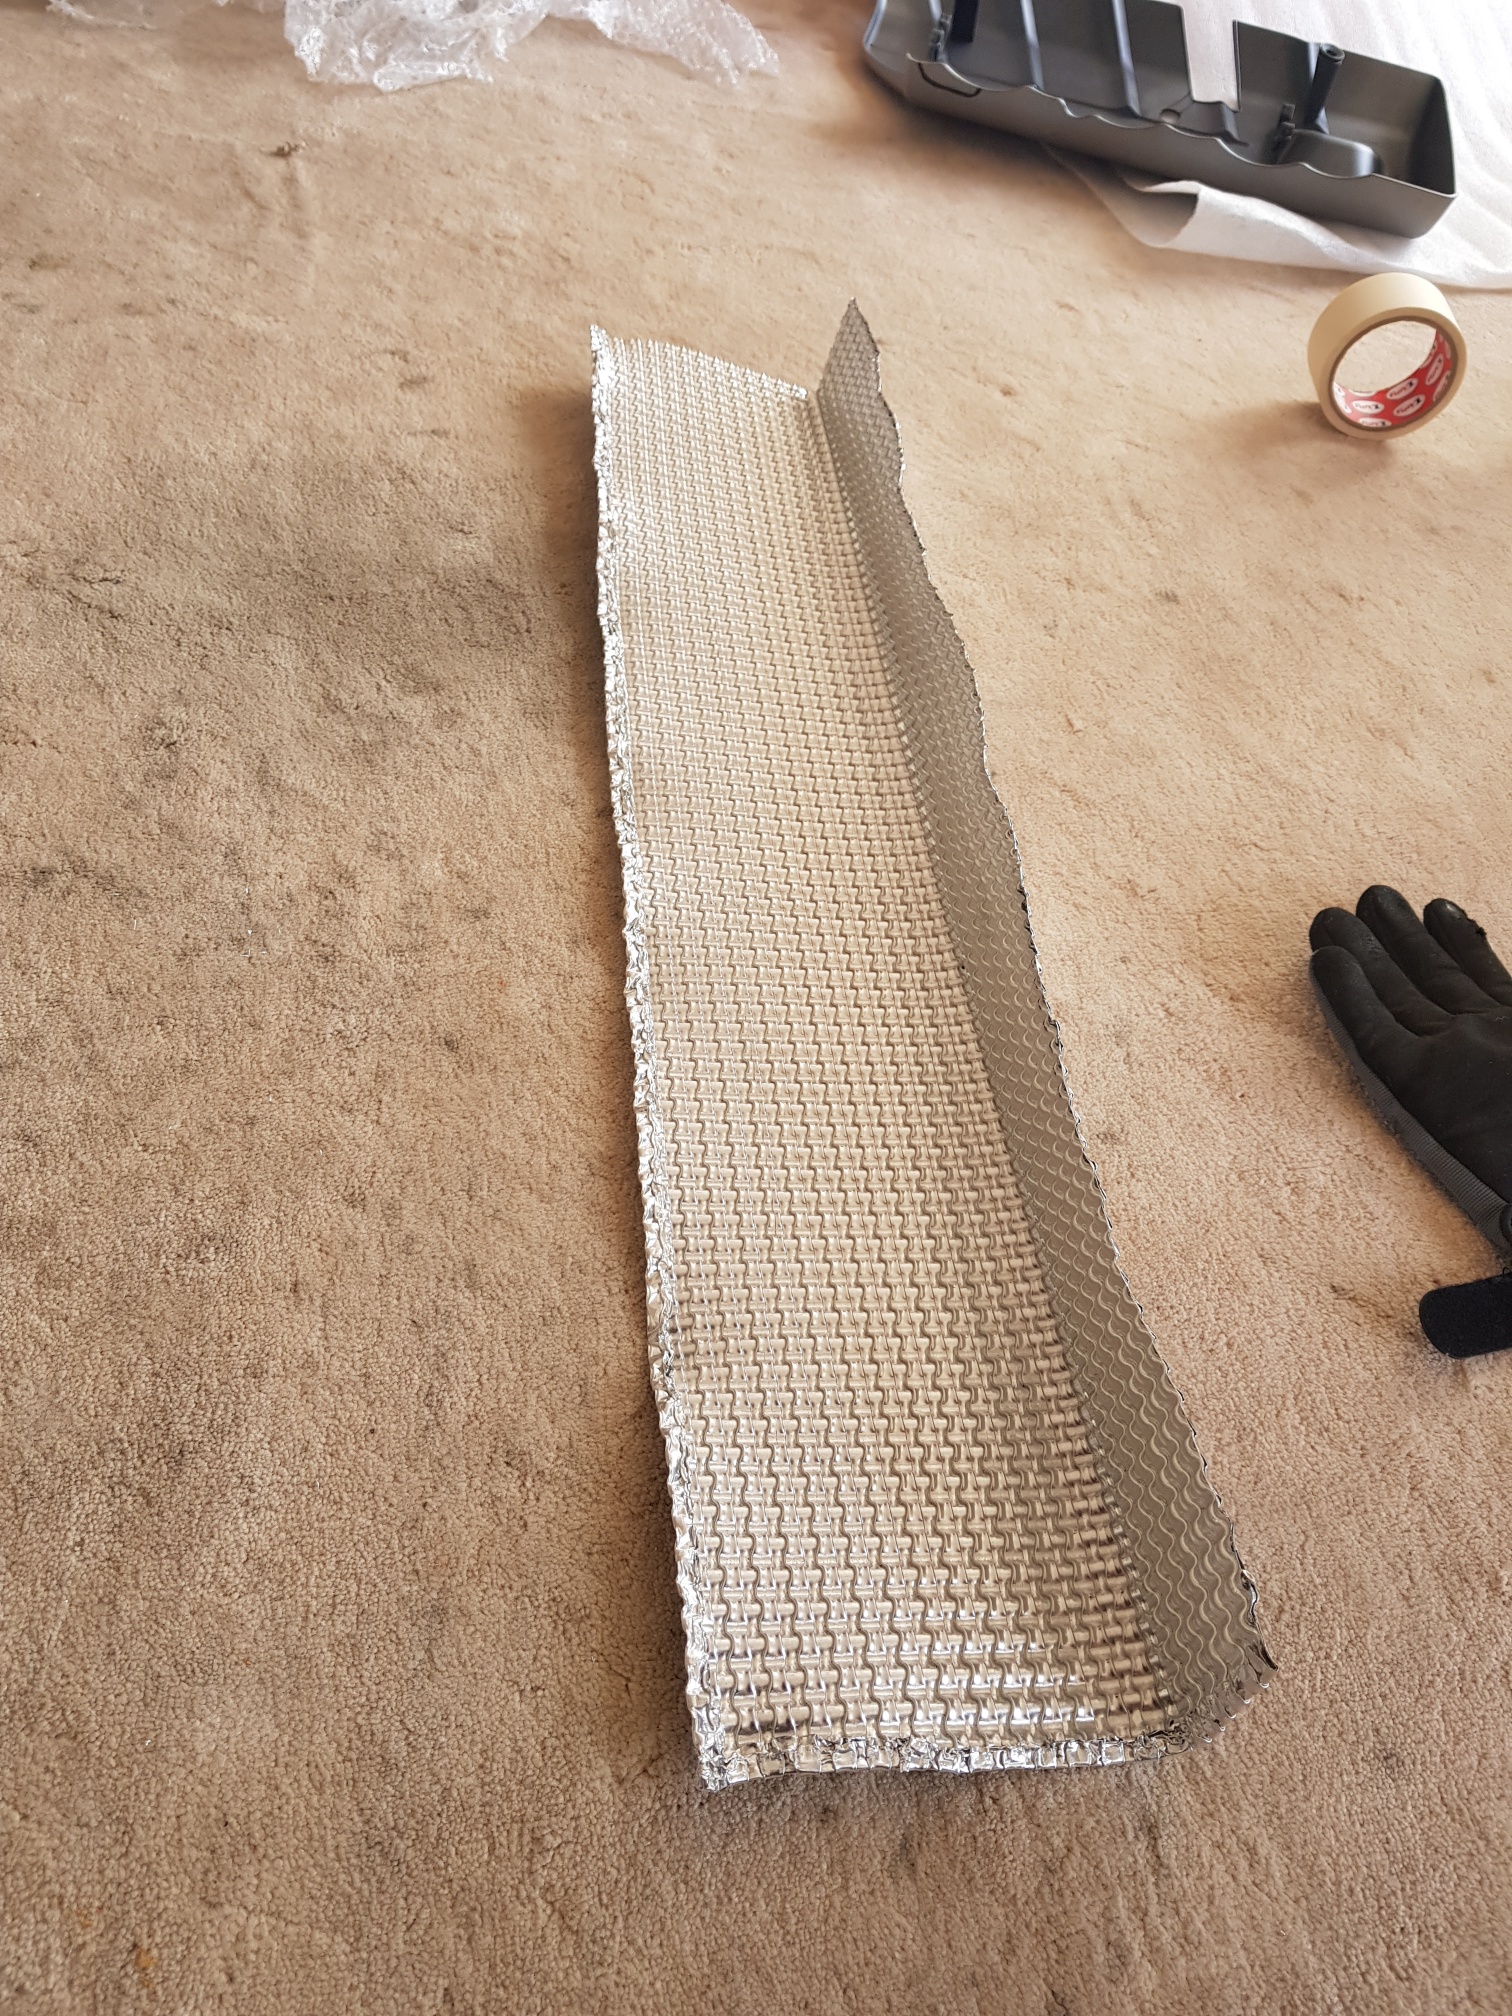
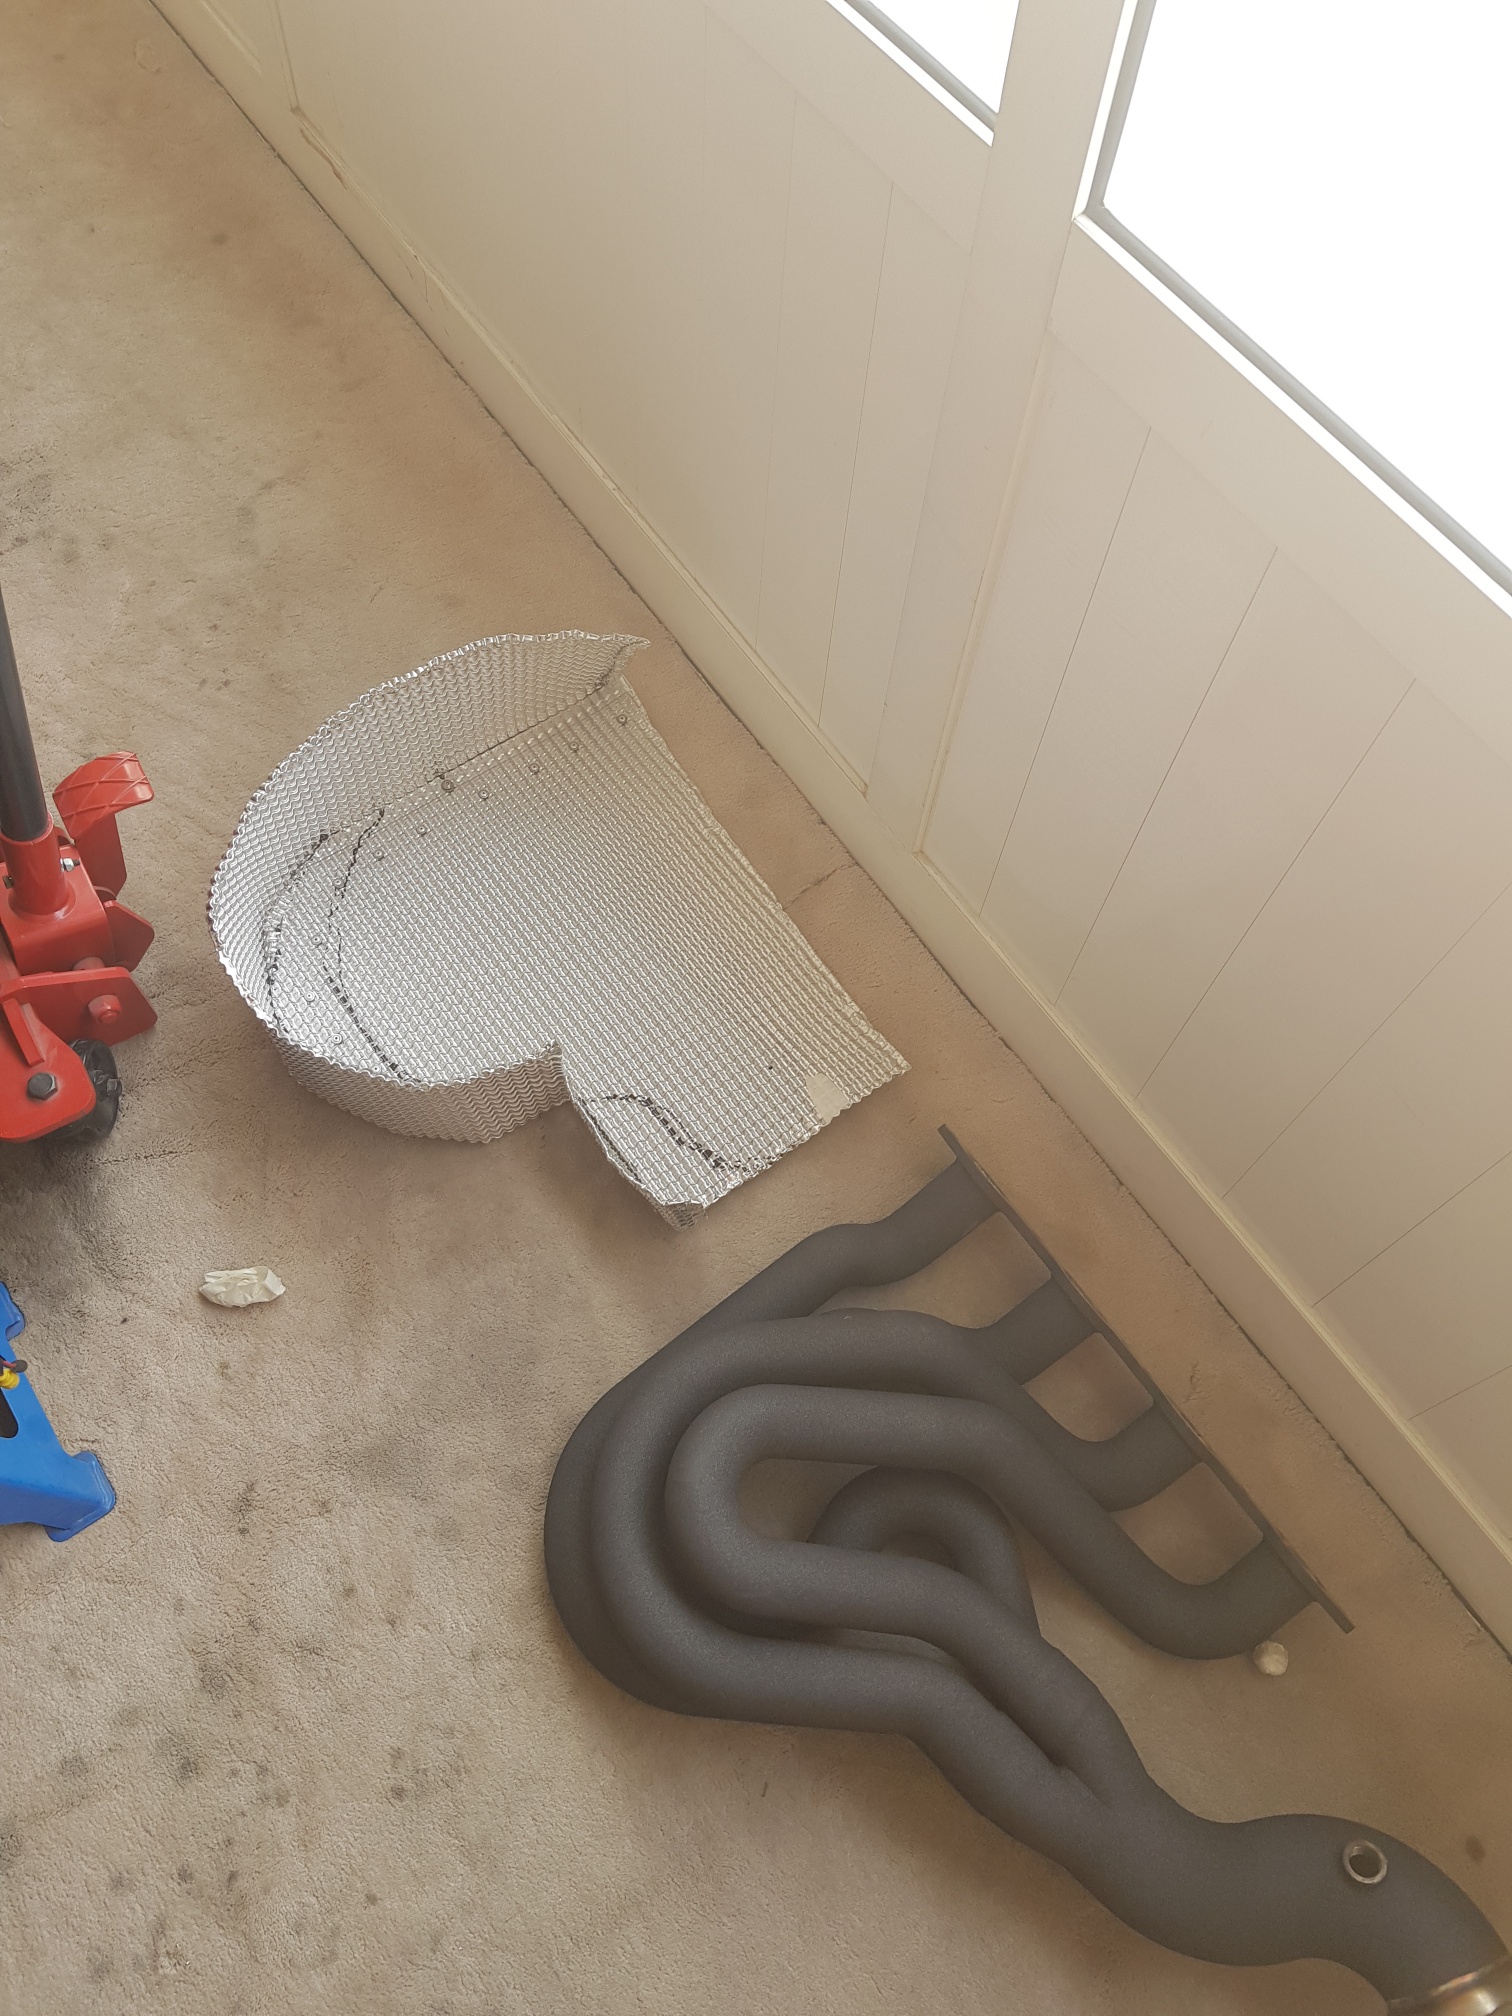
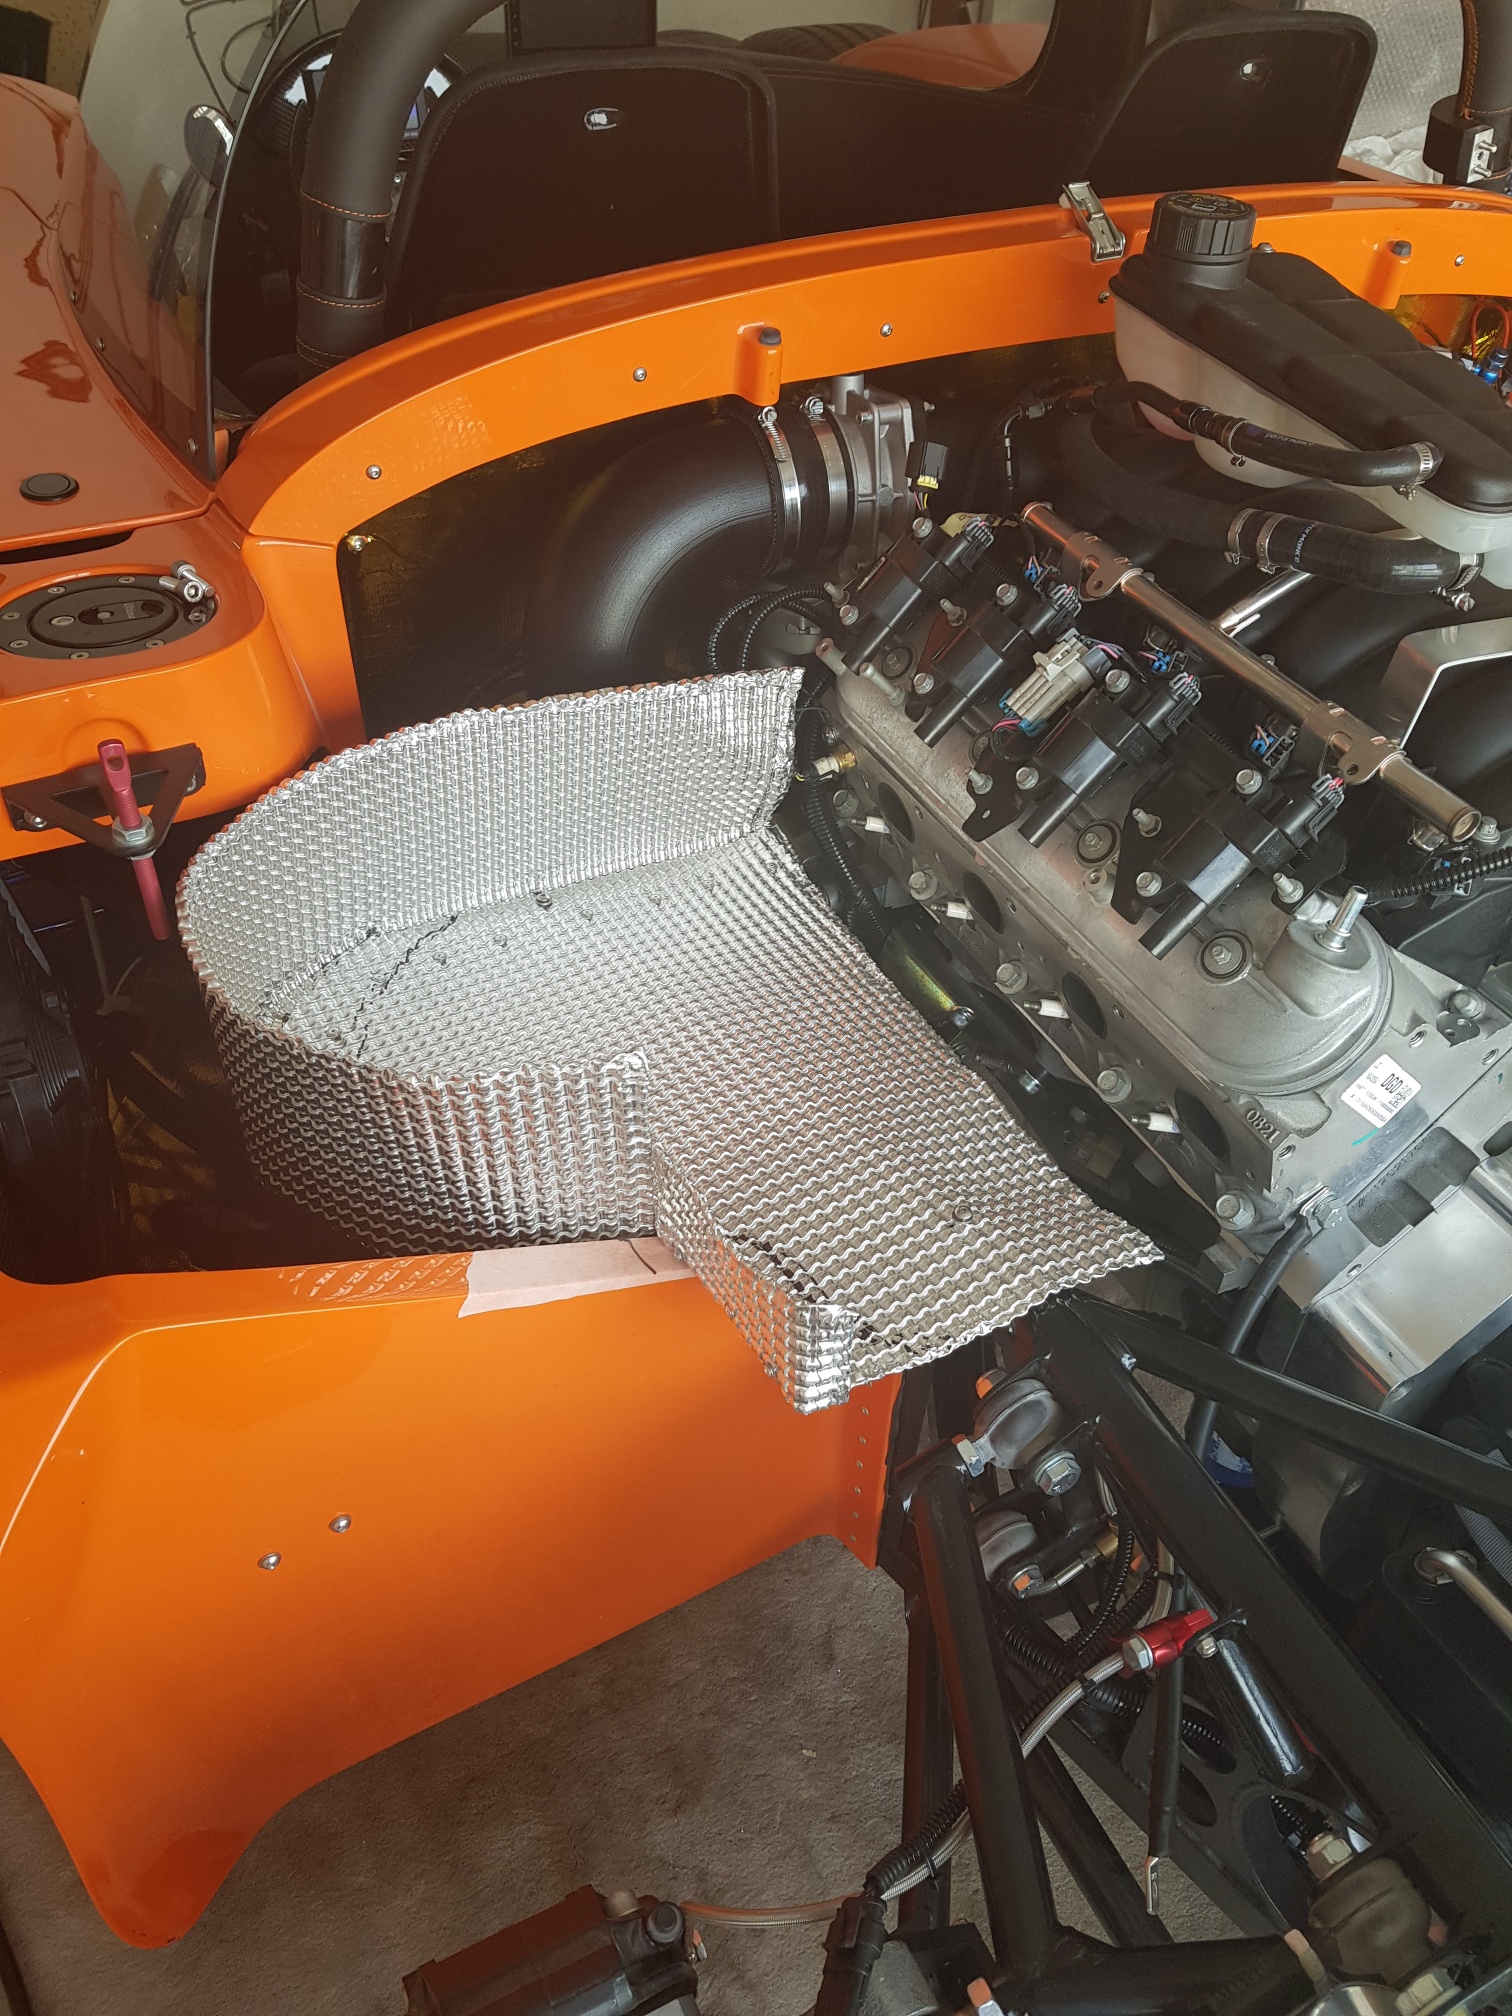
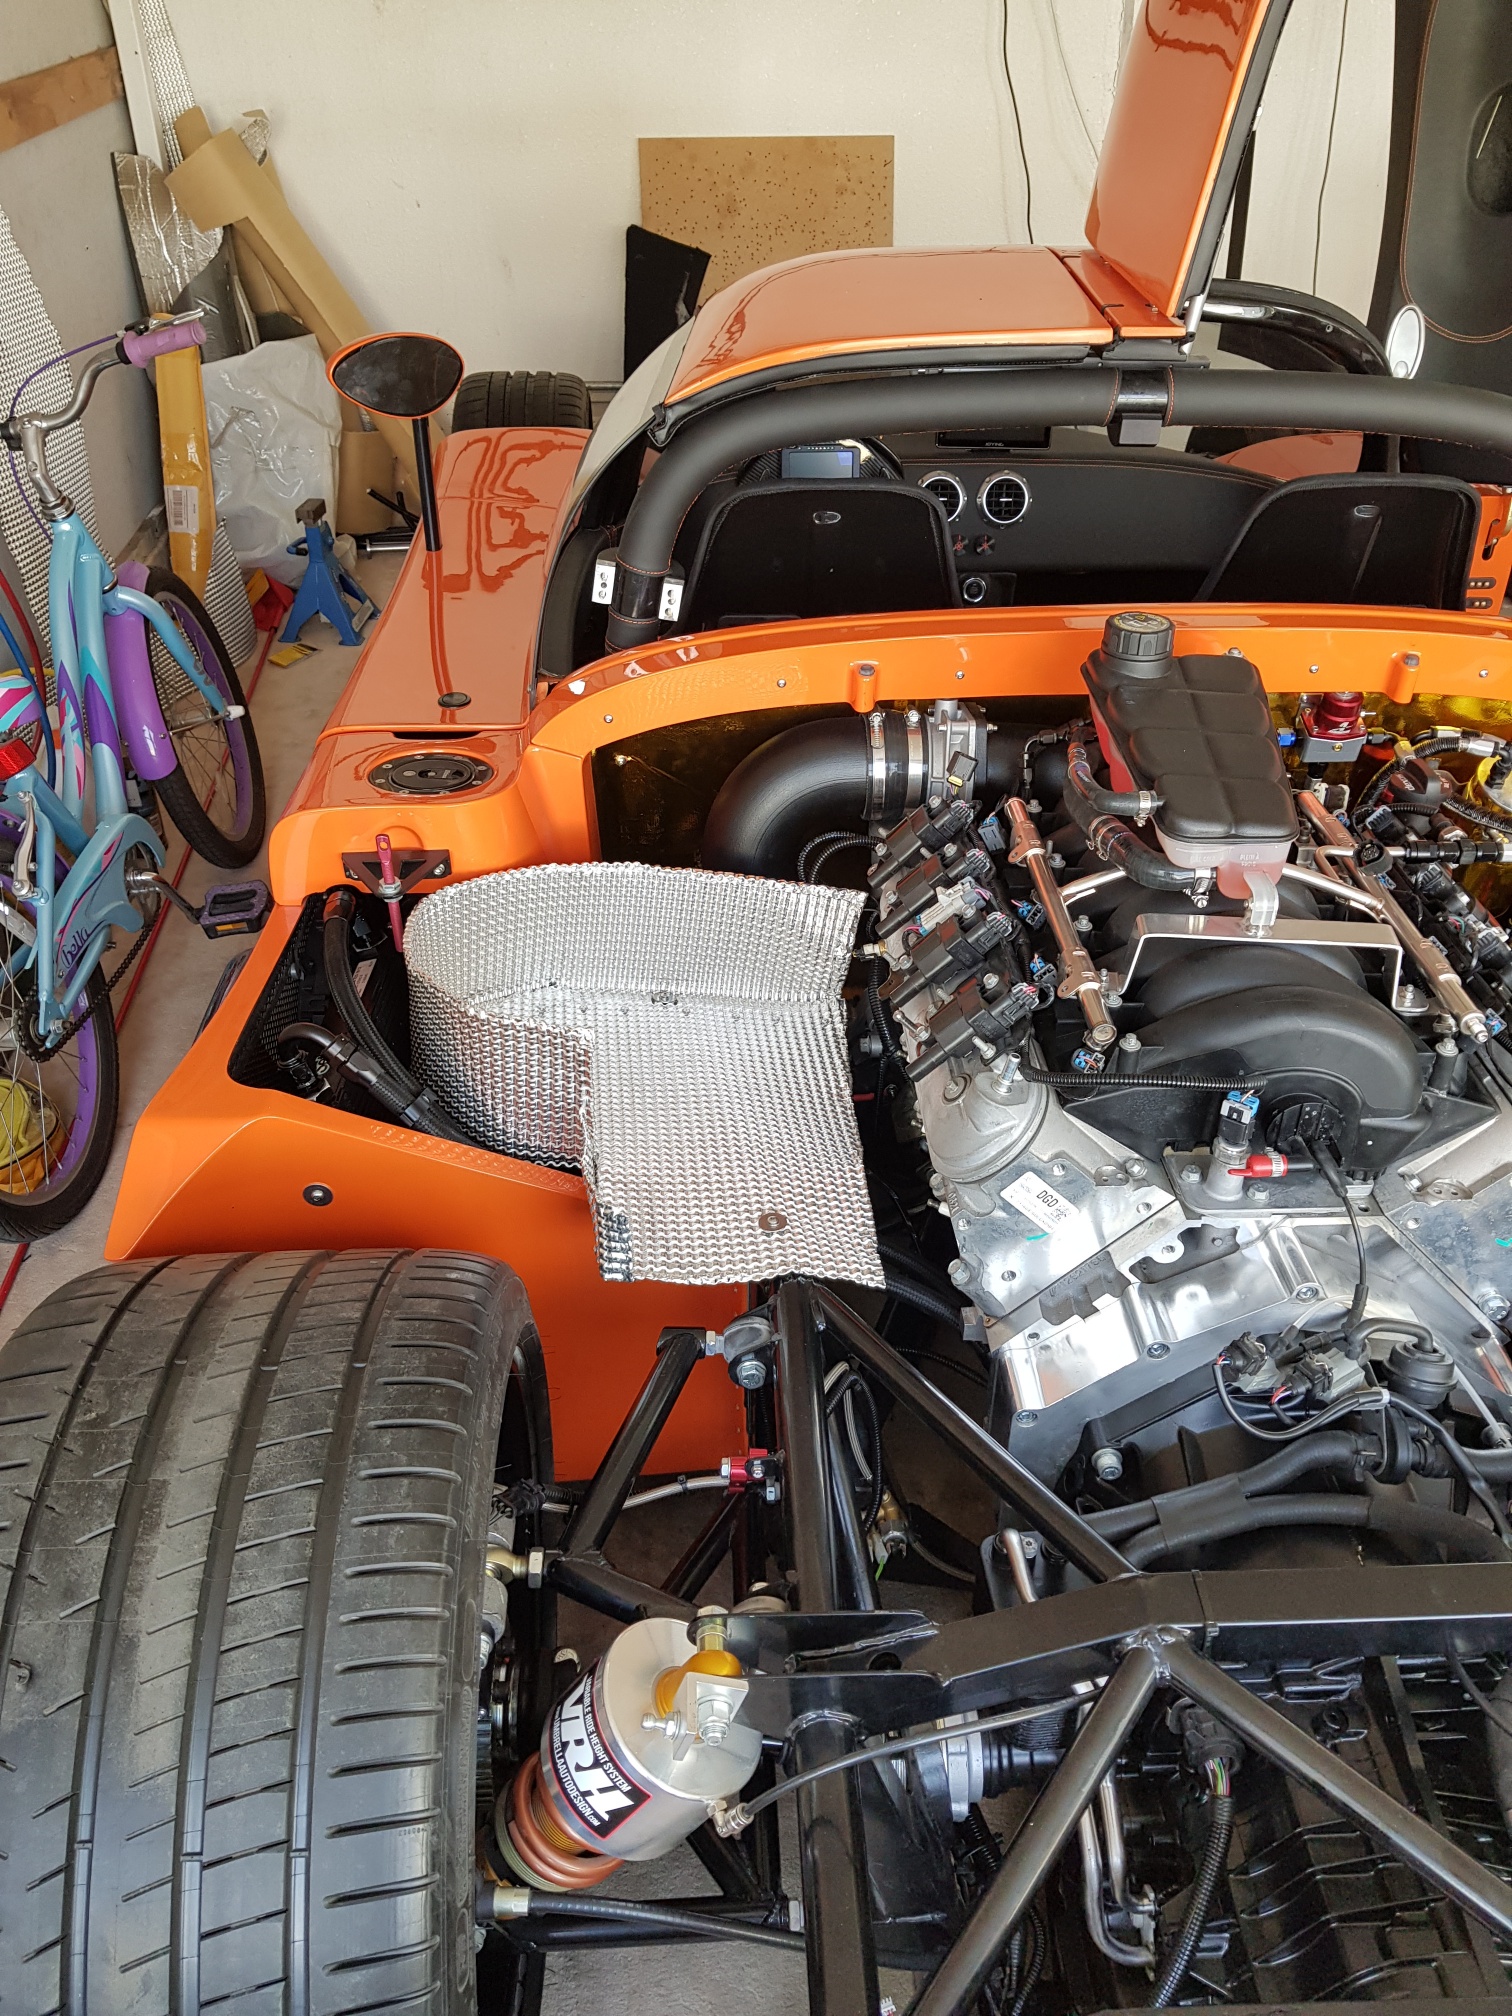
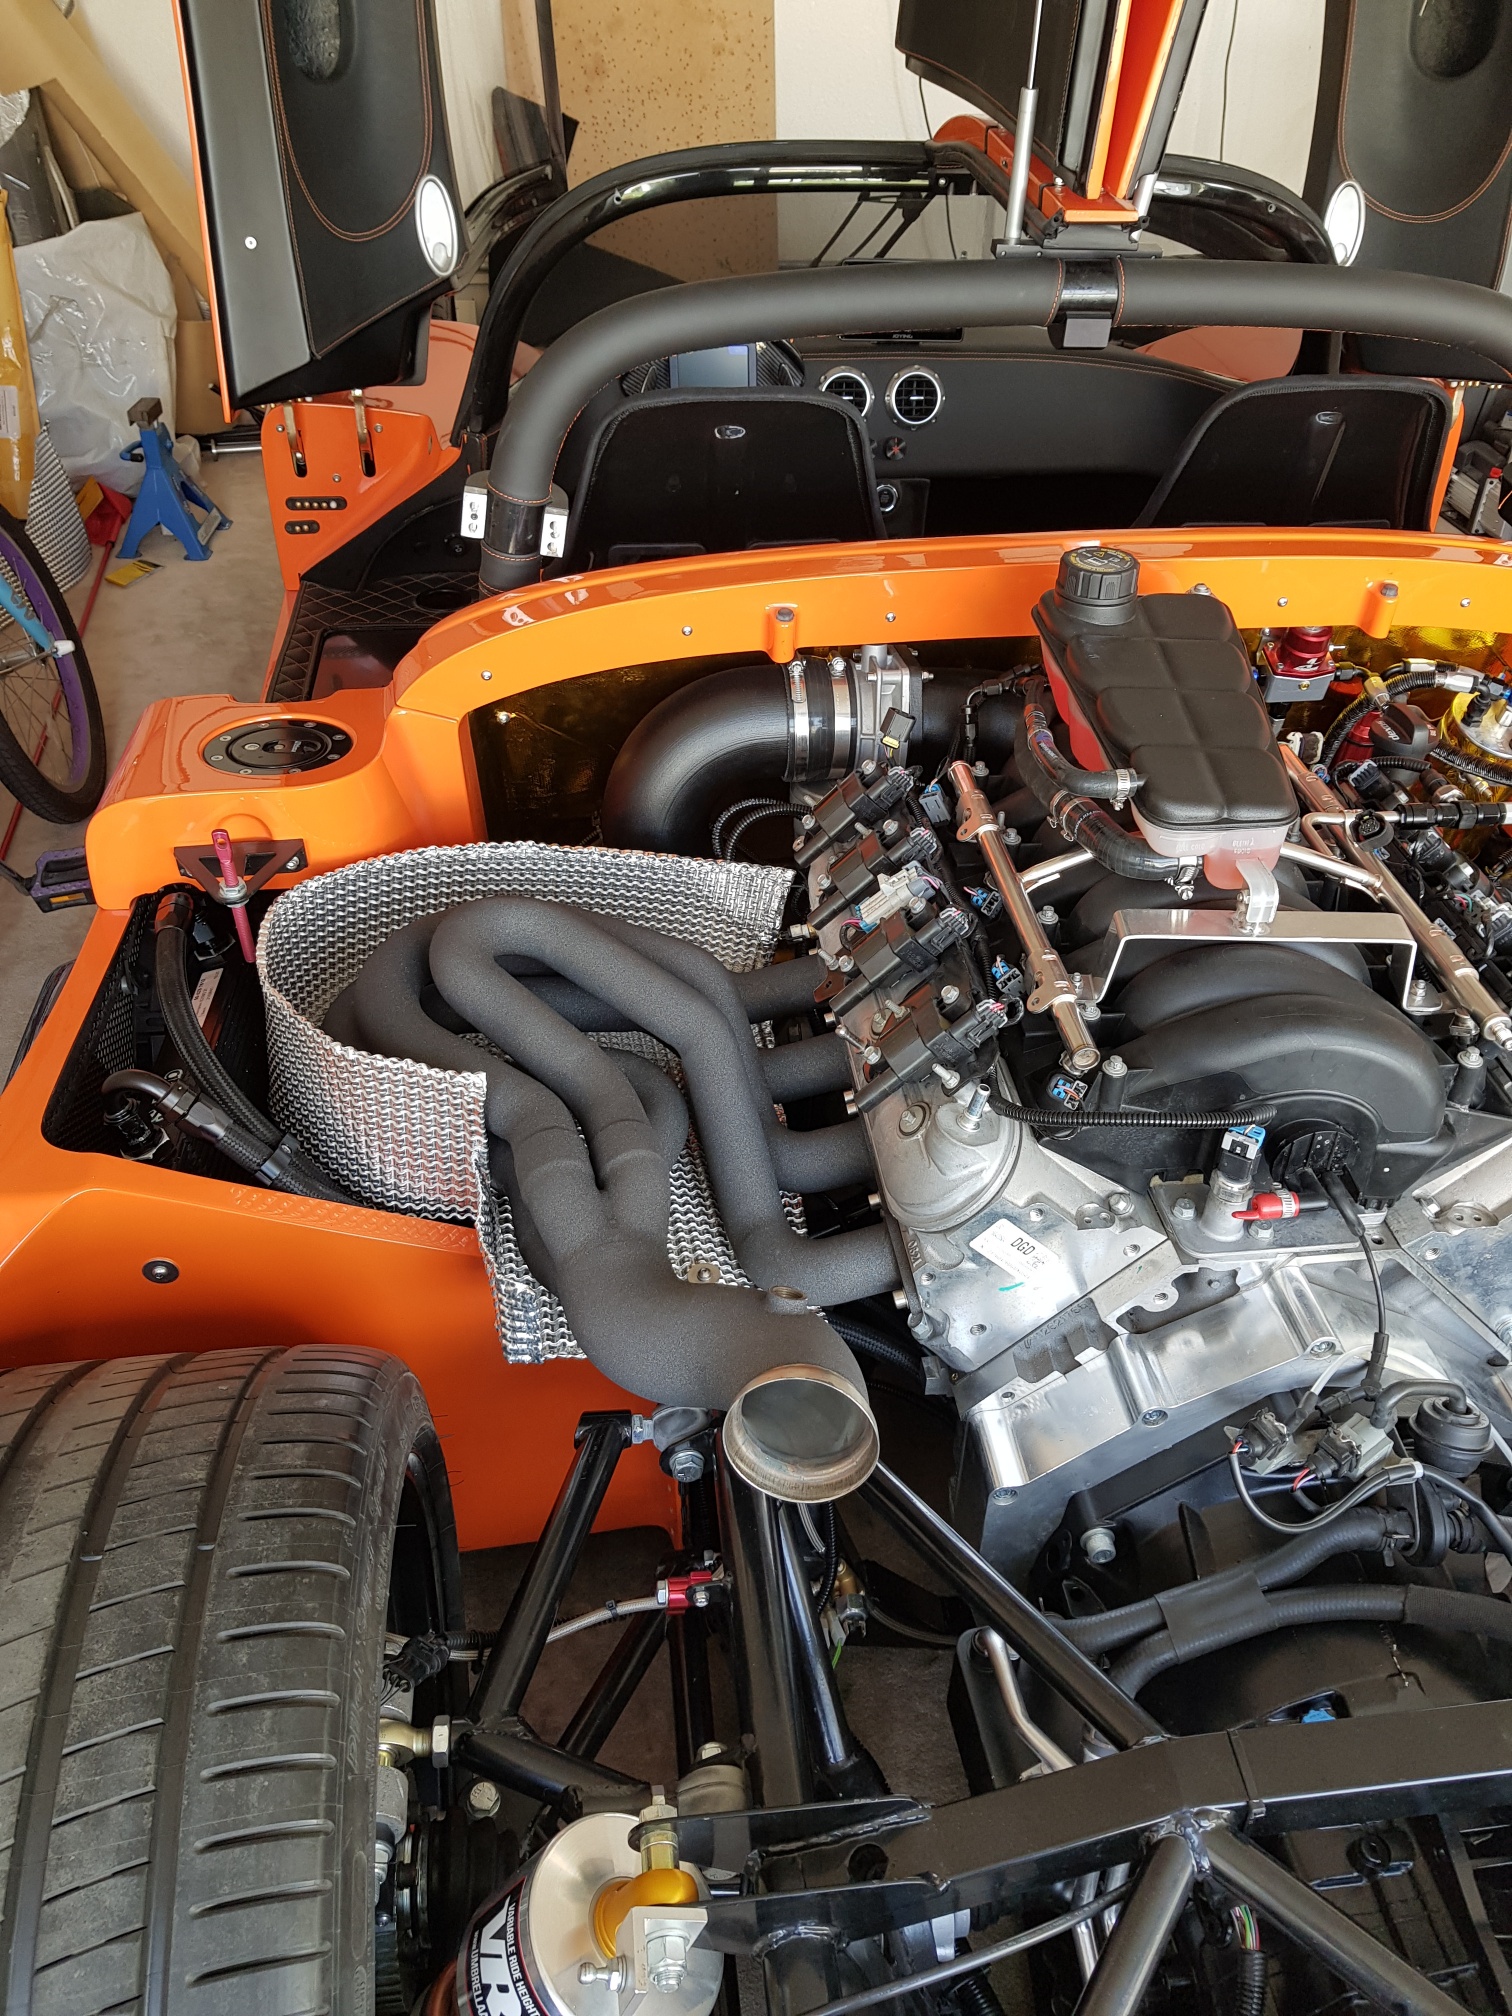
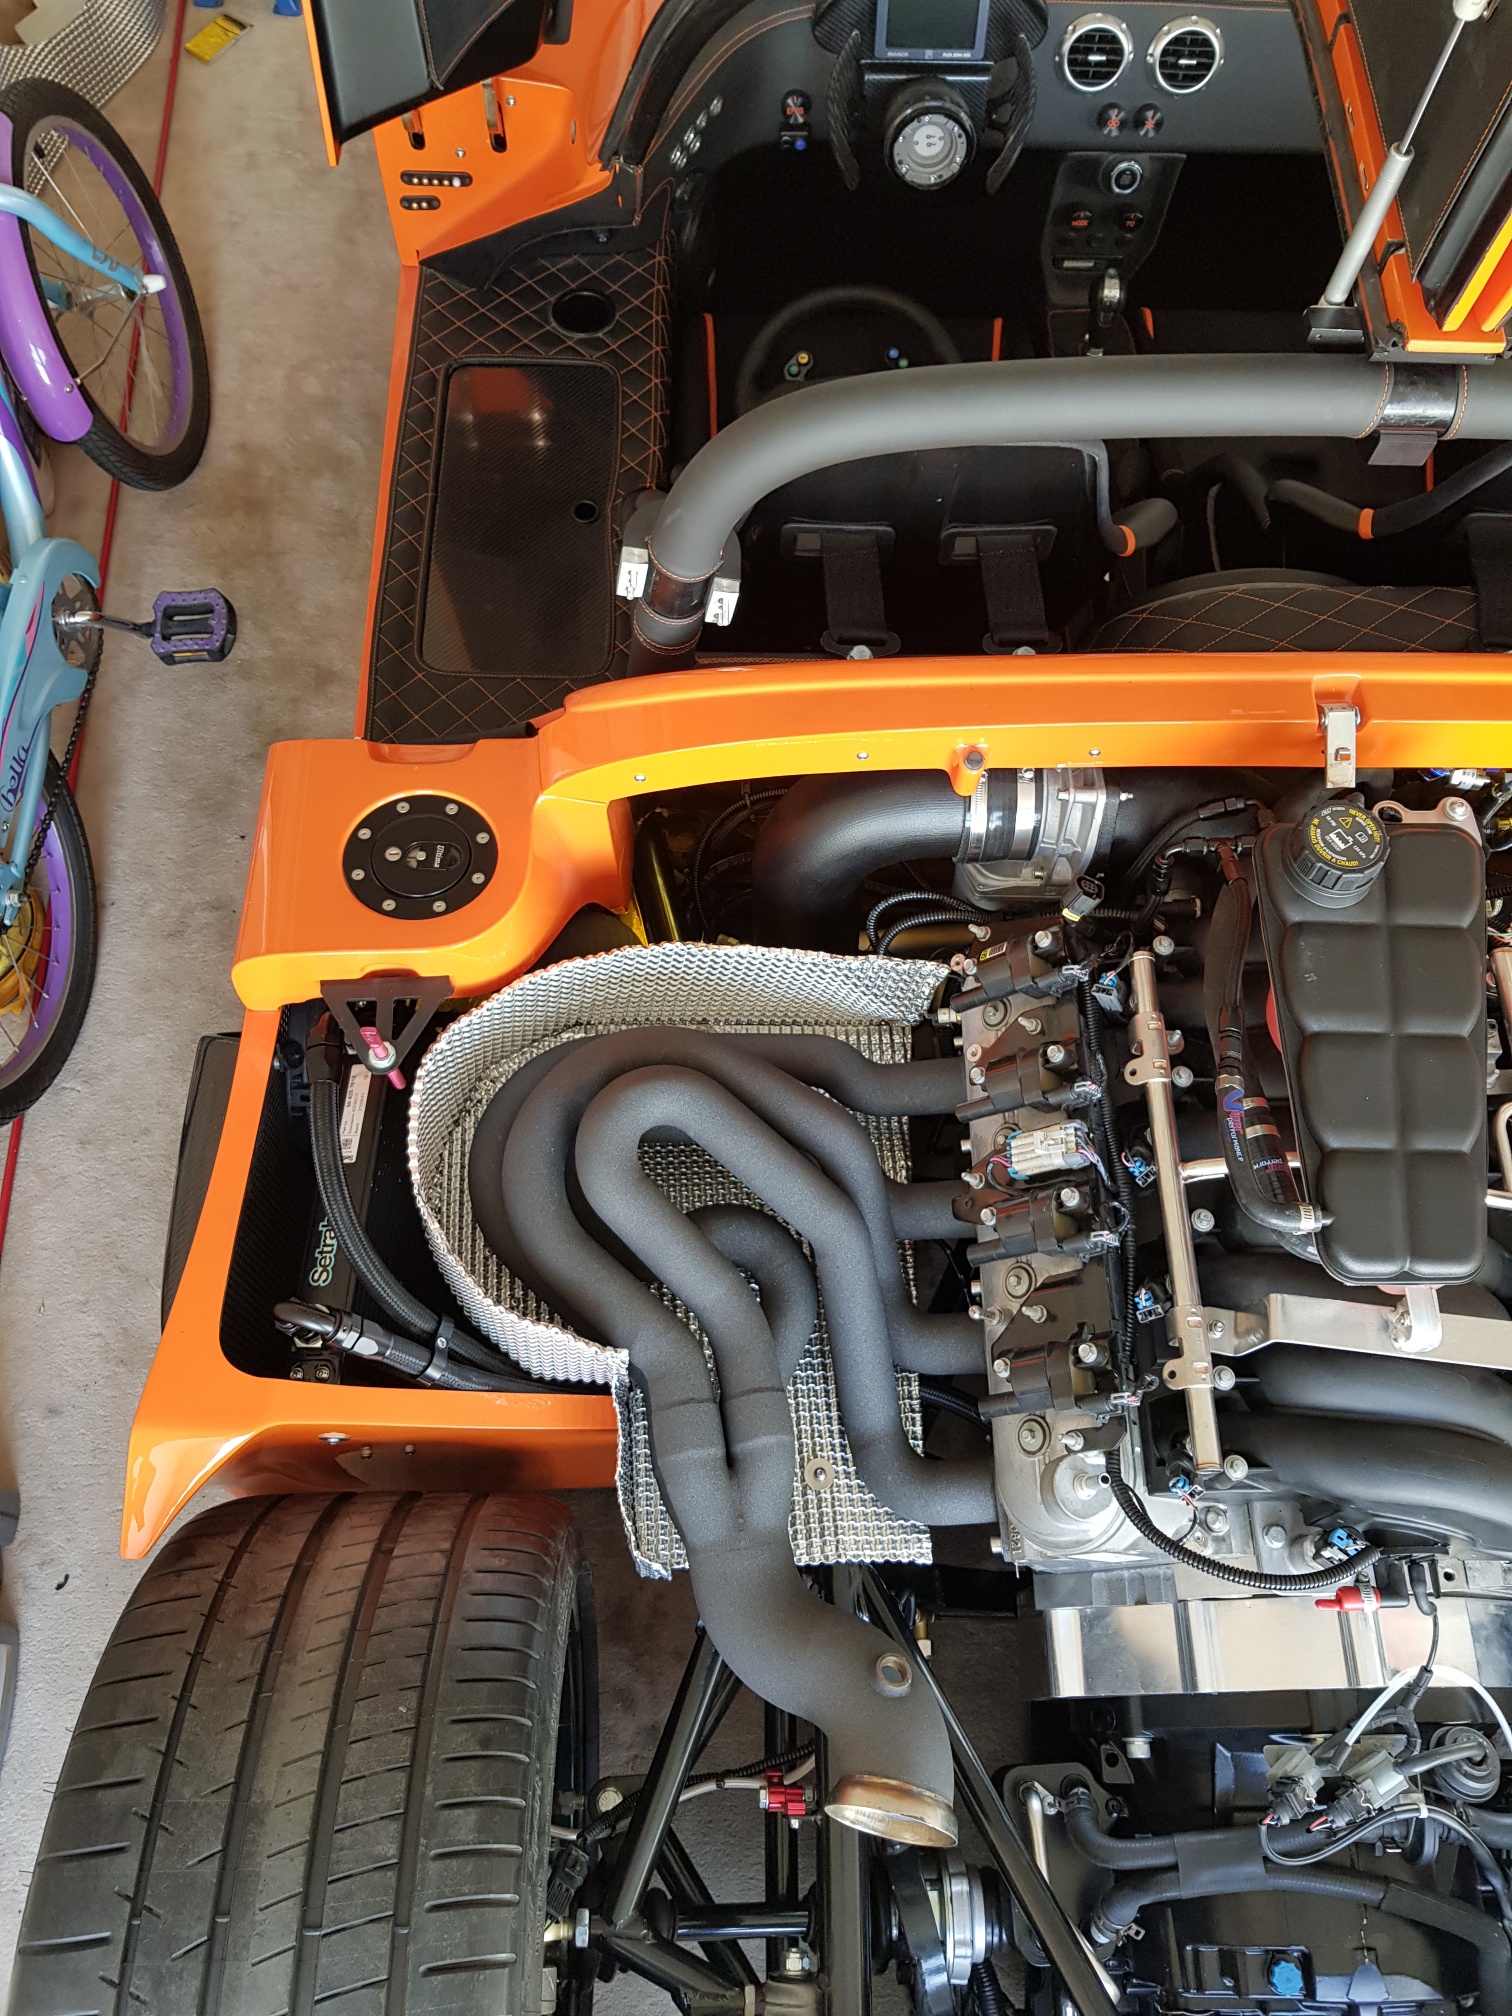
I started to work on the header shields - I have a sheet of Zircotec heat sheild which I intend to use to create header shields to protect all the engine parts from exhaust heat...
First step was to temp install the header and create a template out of cardboard for the shape of the shield... The shield was cut out of the sheet, and the edges were folded over using a plier to hide all sharp edges.. a side shield was also cut out and folded, and then riveted to the bottom piece to create the heat shield.. Rivnuts were installed in the chassis to allow the heat shield to be installed/removed easily..
May 16-23 2018
Build Time : 18 hours
Total Build Time: 585 hours
Back to the build after a short trip...
First item on the agenda was to fix the AC hose - I have got the required crimping tool during my trip to allow for onsite crimping... THe hose was cut and a new fitting crimped on in the correct orientation... The hoses were attached to the AC compressor and the AC system should be ready following a vacuum test... the vacuum test was done and the system holds a vacuum so we are good to go!
The Alternator wiring was also finished with the use of a GM specific wiring connector that I was missing...
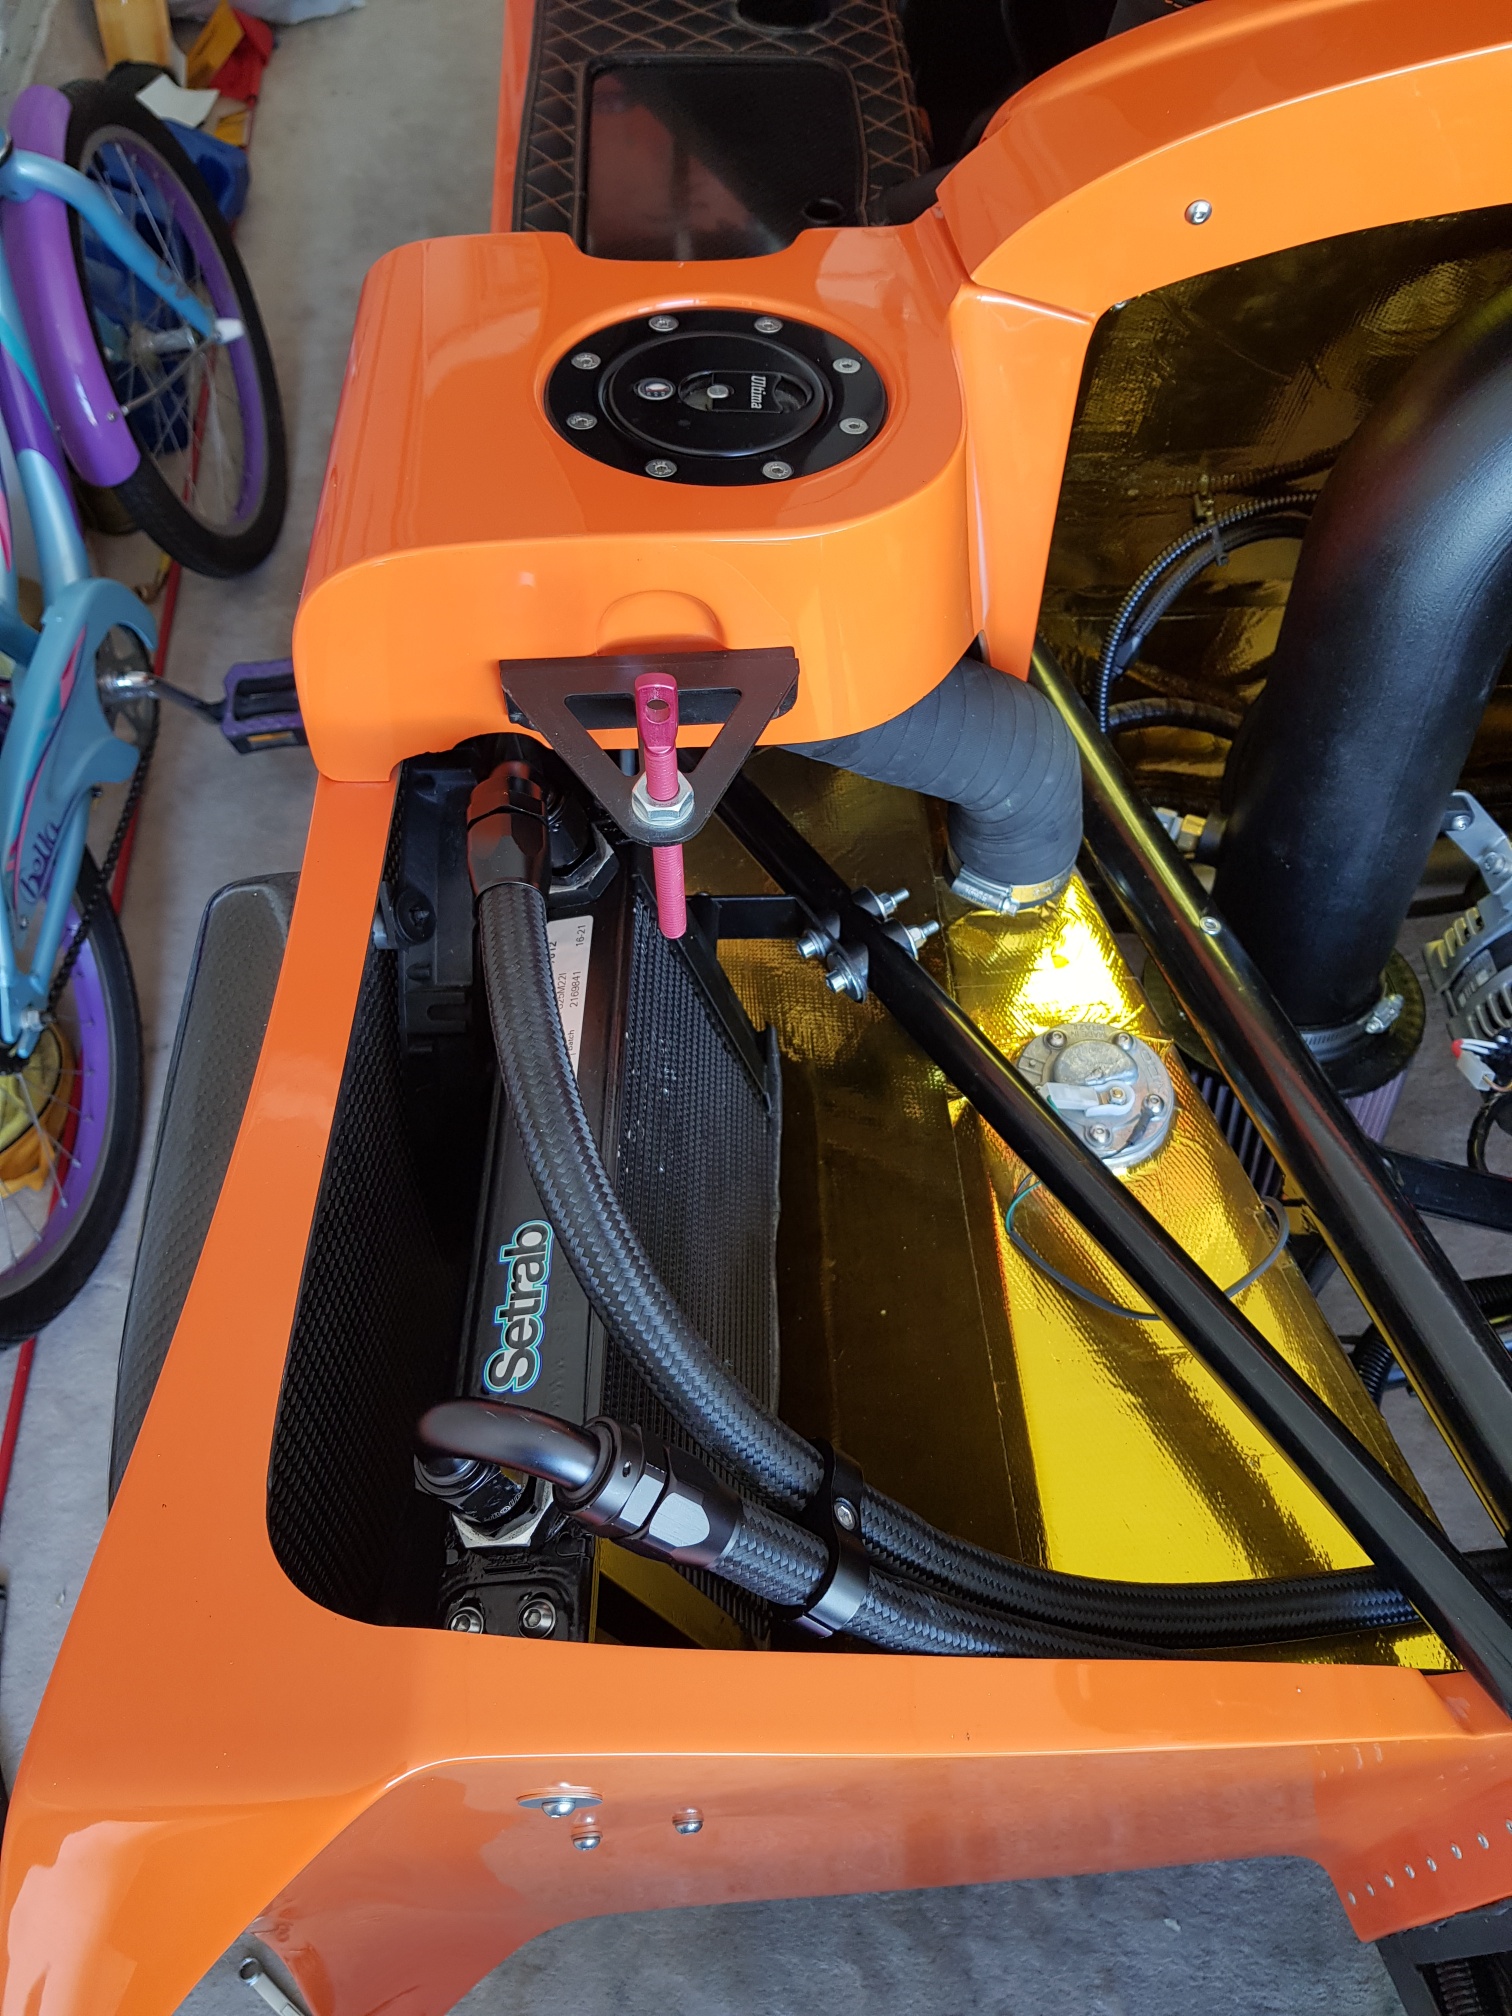
Next job was installation of the oil cooler - this took a while as I had to make my own bracket to hold the oil cooler in place... the bracket supplied cannot be installed as I already have my side pod mesh installed, so there is no access to drill the required holes in the chassis... I used thick ally sheet to create a bracket and then installed the oil cooler using this custom bracket.. This took quite some time as I had to position the oil cooler to avoid the side pod air fan, the exhaust heat shield, and also in a position where the oil cooler pipes would reach... Once installed, I filled the oil cooler with engine oil and connected the pipes...
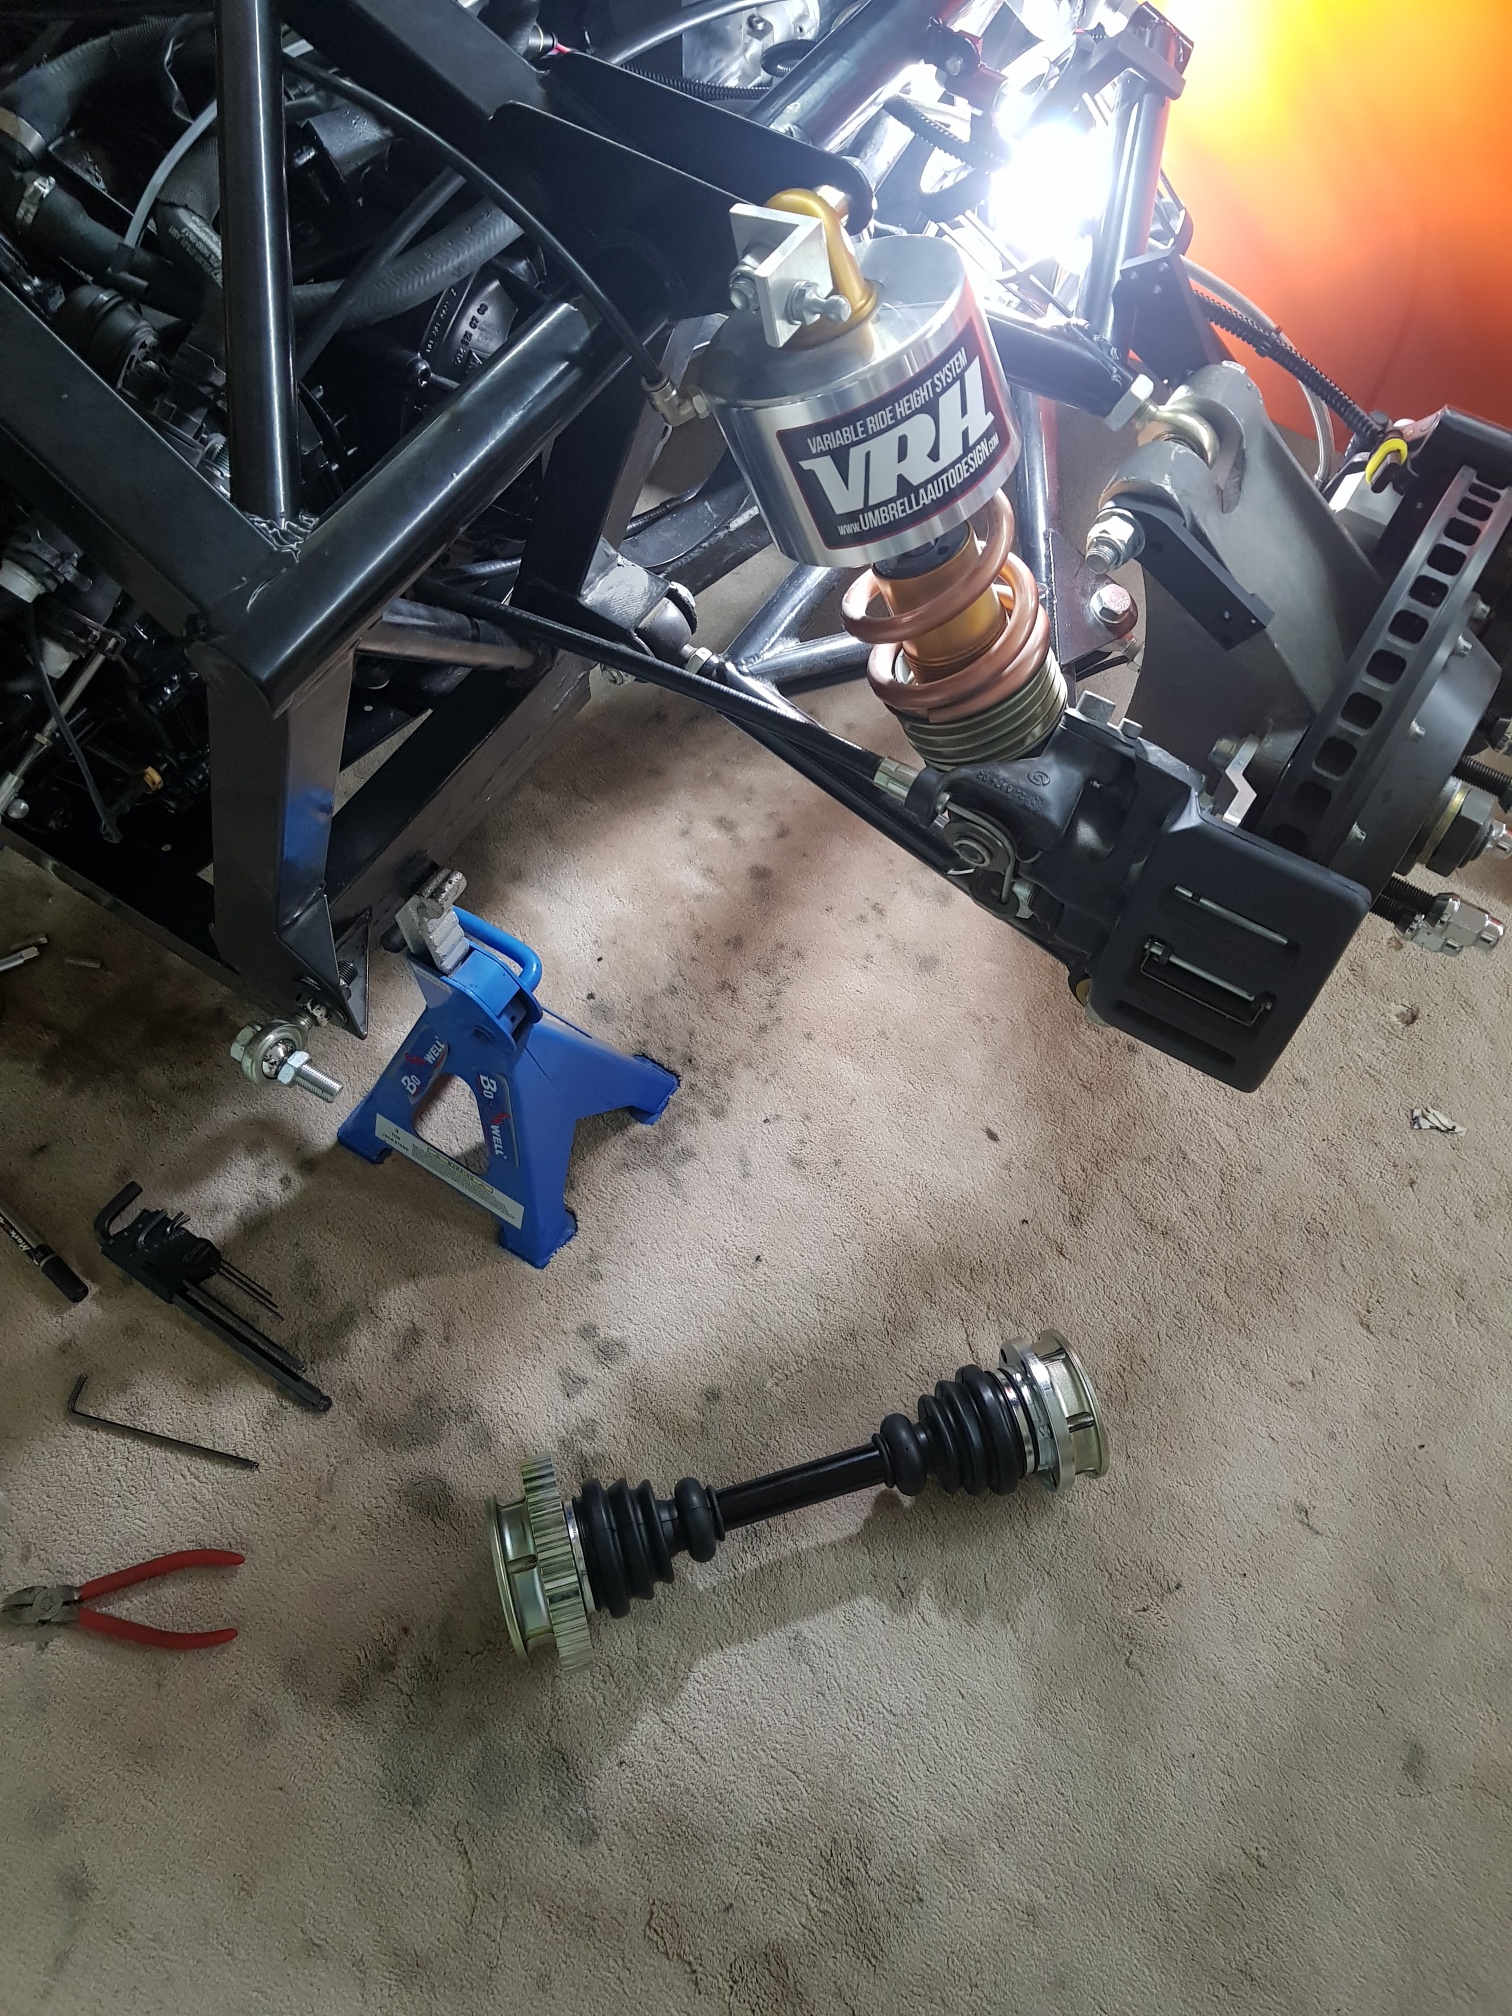
Next job was installation of the driveshafts... I had to be careful when installing these to make sure I do not damage the rear wheel speed sensors... I ended up removing the speed sensor, installing the driveshaft and then reinstalling the sensor to avoid any damage...
Next the gearbox was connected to the gear lever by attaching the cable (with a little trimming of the cable for lenght)
Next was to fill all the fluids - coolant was filled with the use of an Airlift Vacuum system... this helps in preventing air pockets, although I do not think it is 100% effective... Due to the complexity of the LS-PDK cooling system, with coolant being run between engine/radiator/gearbox, I still feel there is probably some air still left in the system, so it should be able to self bleed once the car is started... However, I will come back to this before the end of the build...
The engine was filled with Mobil1 0W40 (Dubai heat requires a higher grade than the 5W30 recommended)... The box was filled with Purple Line 75W90 as per OEM spec...
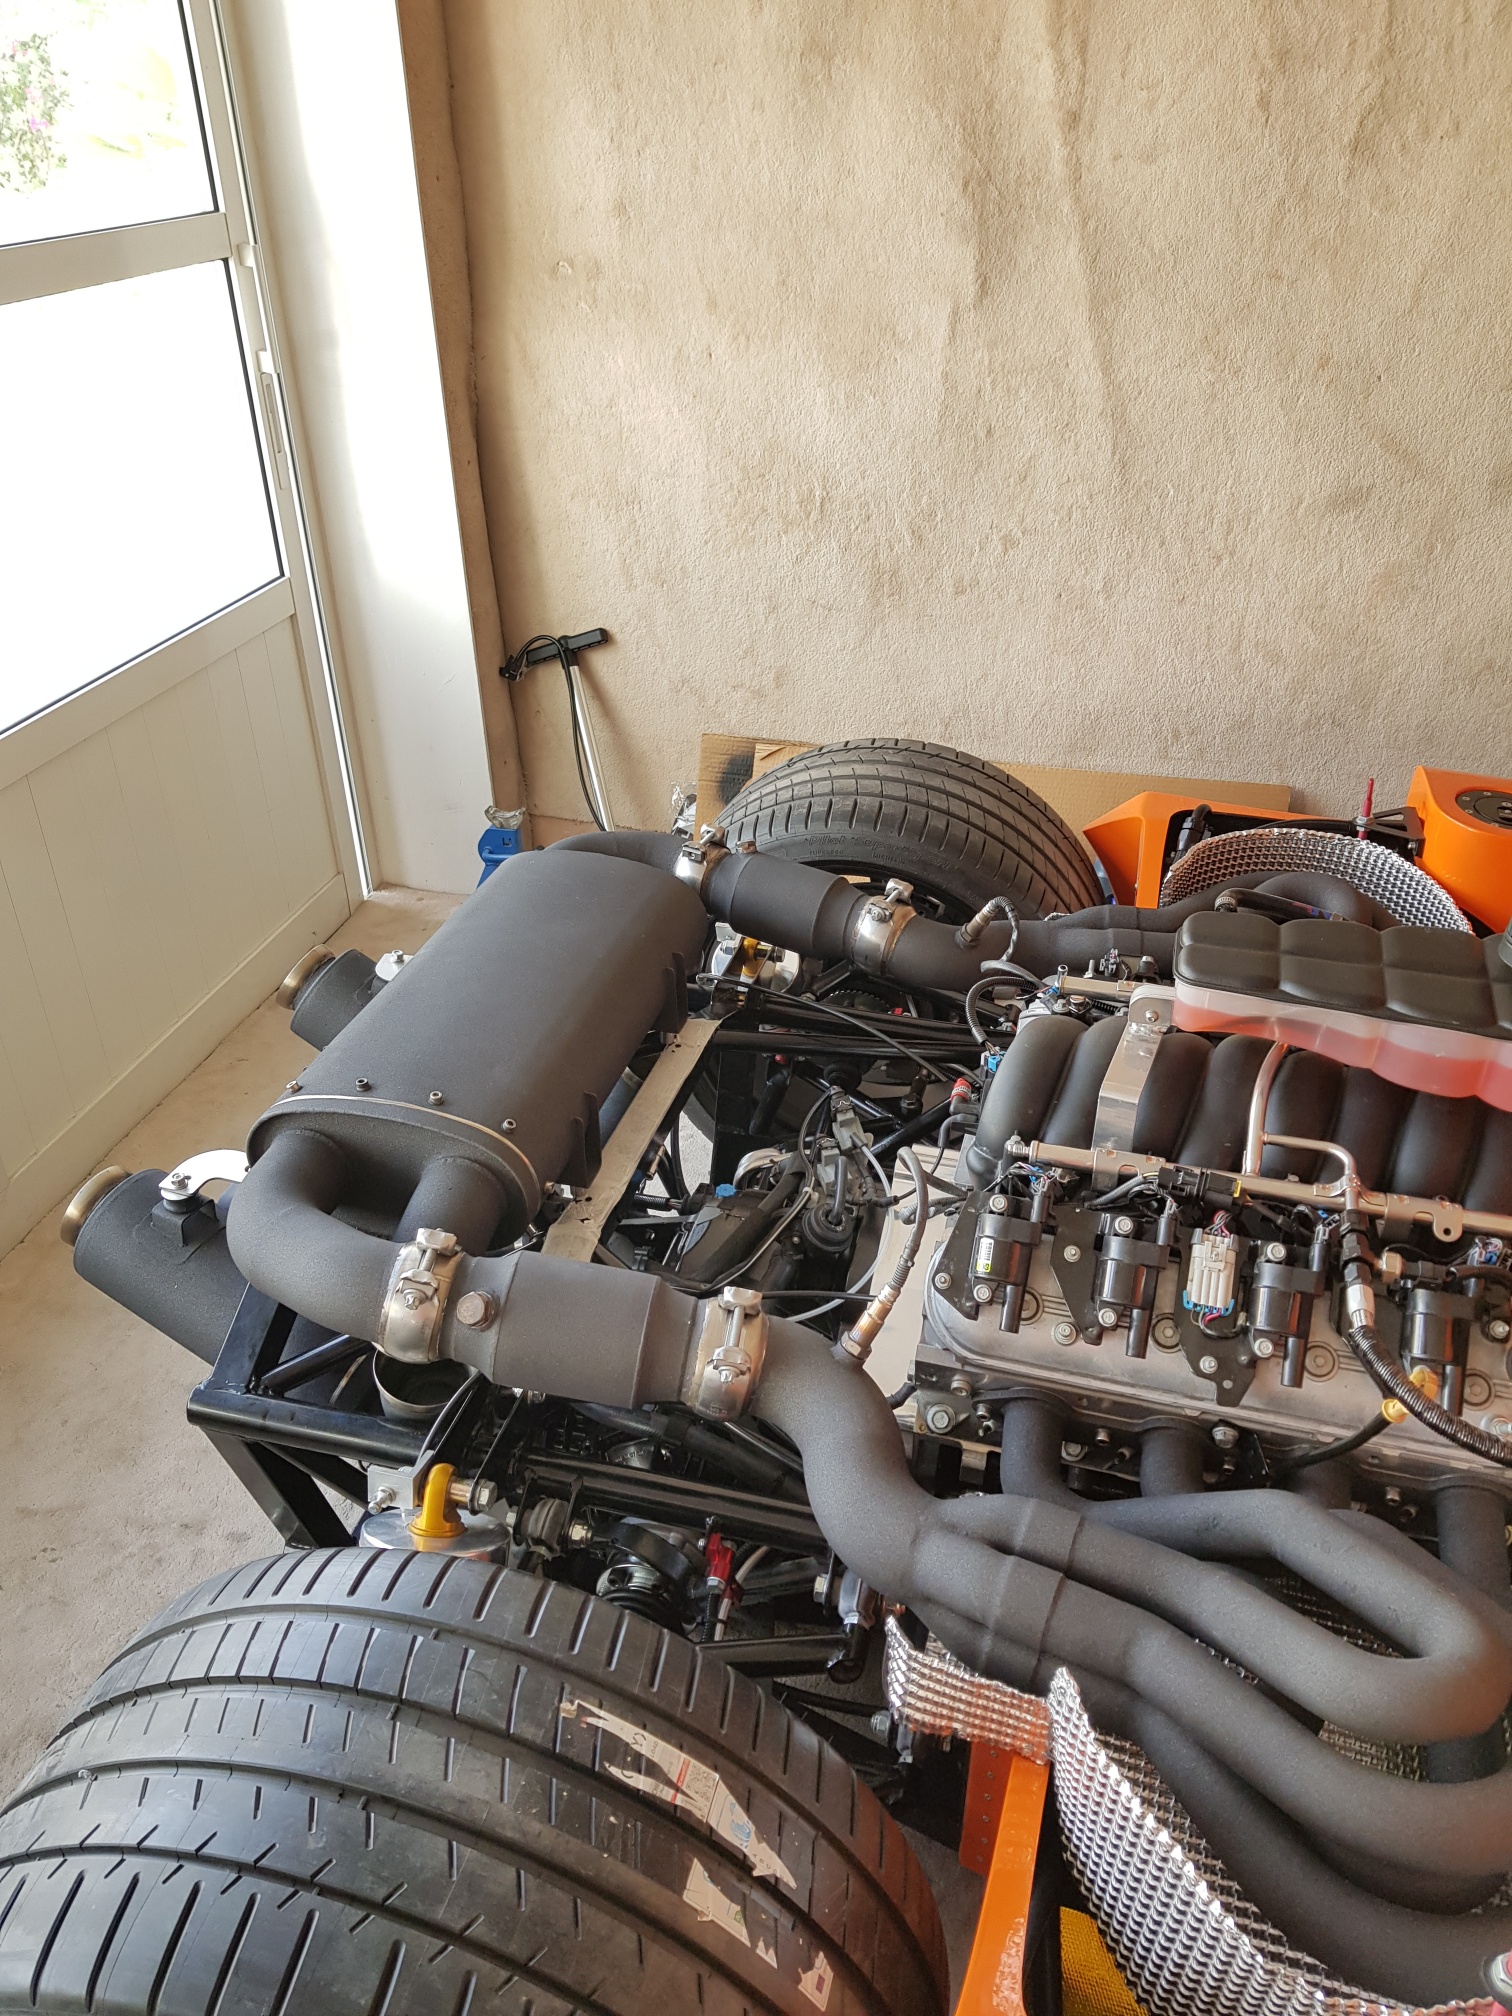
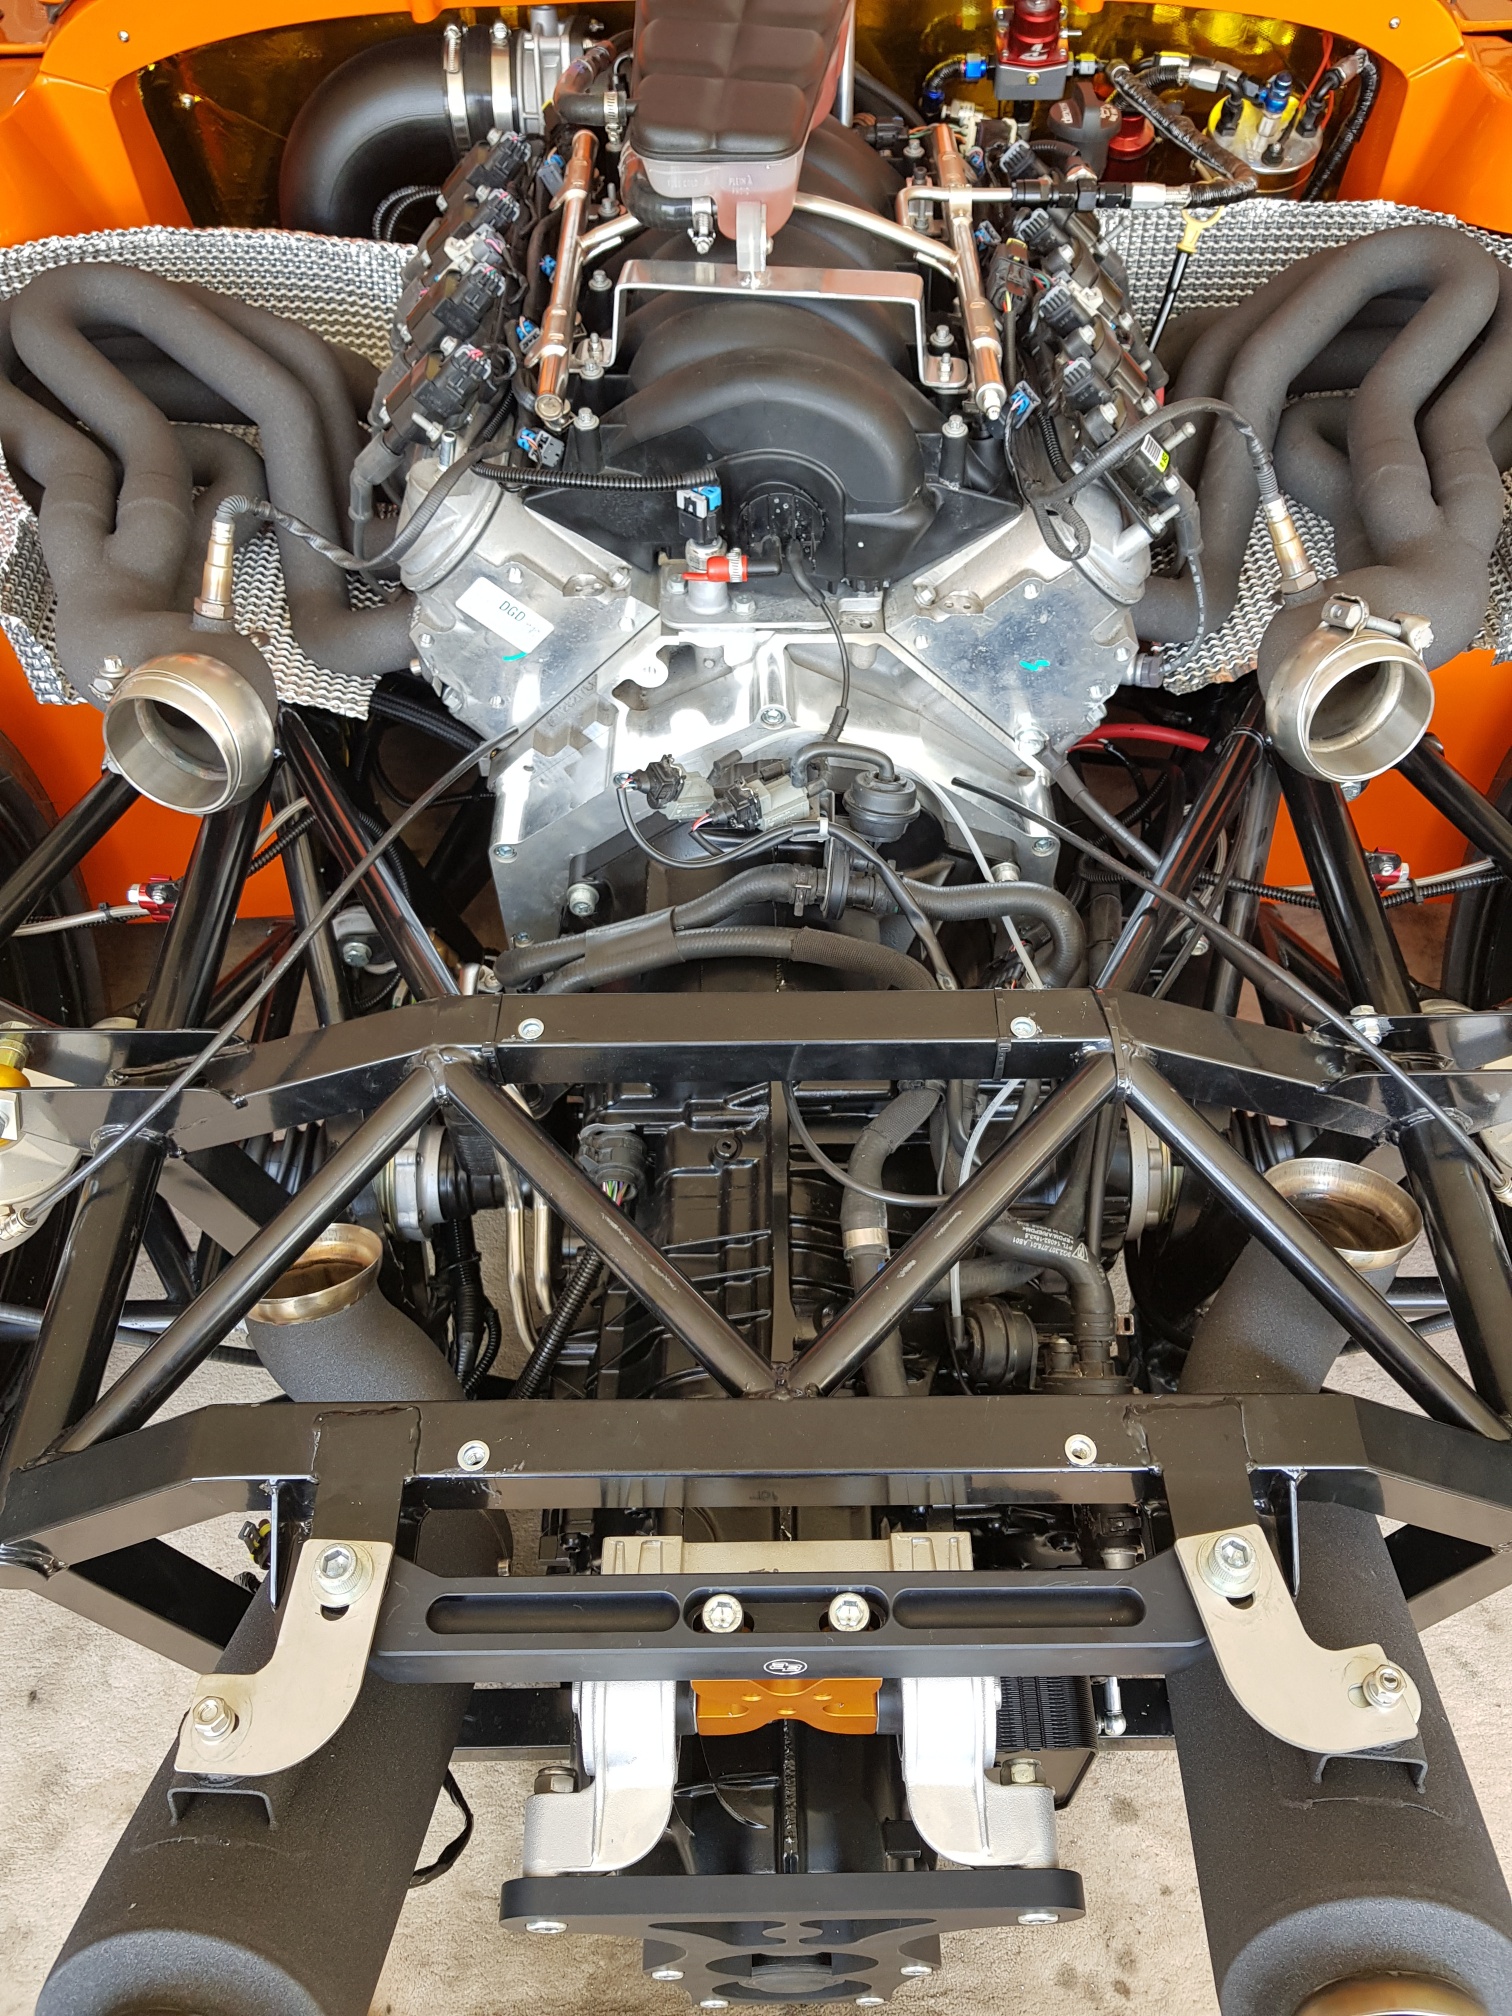
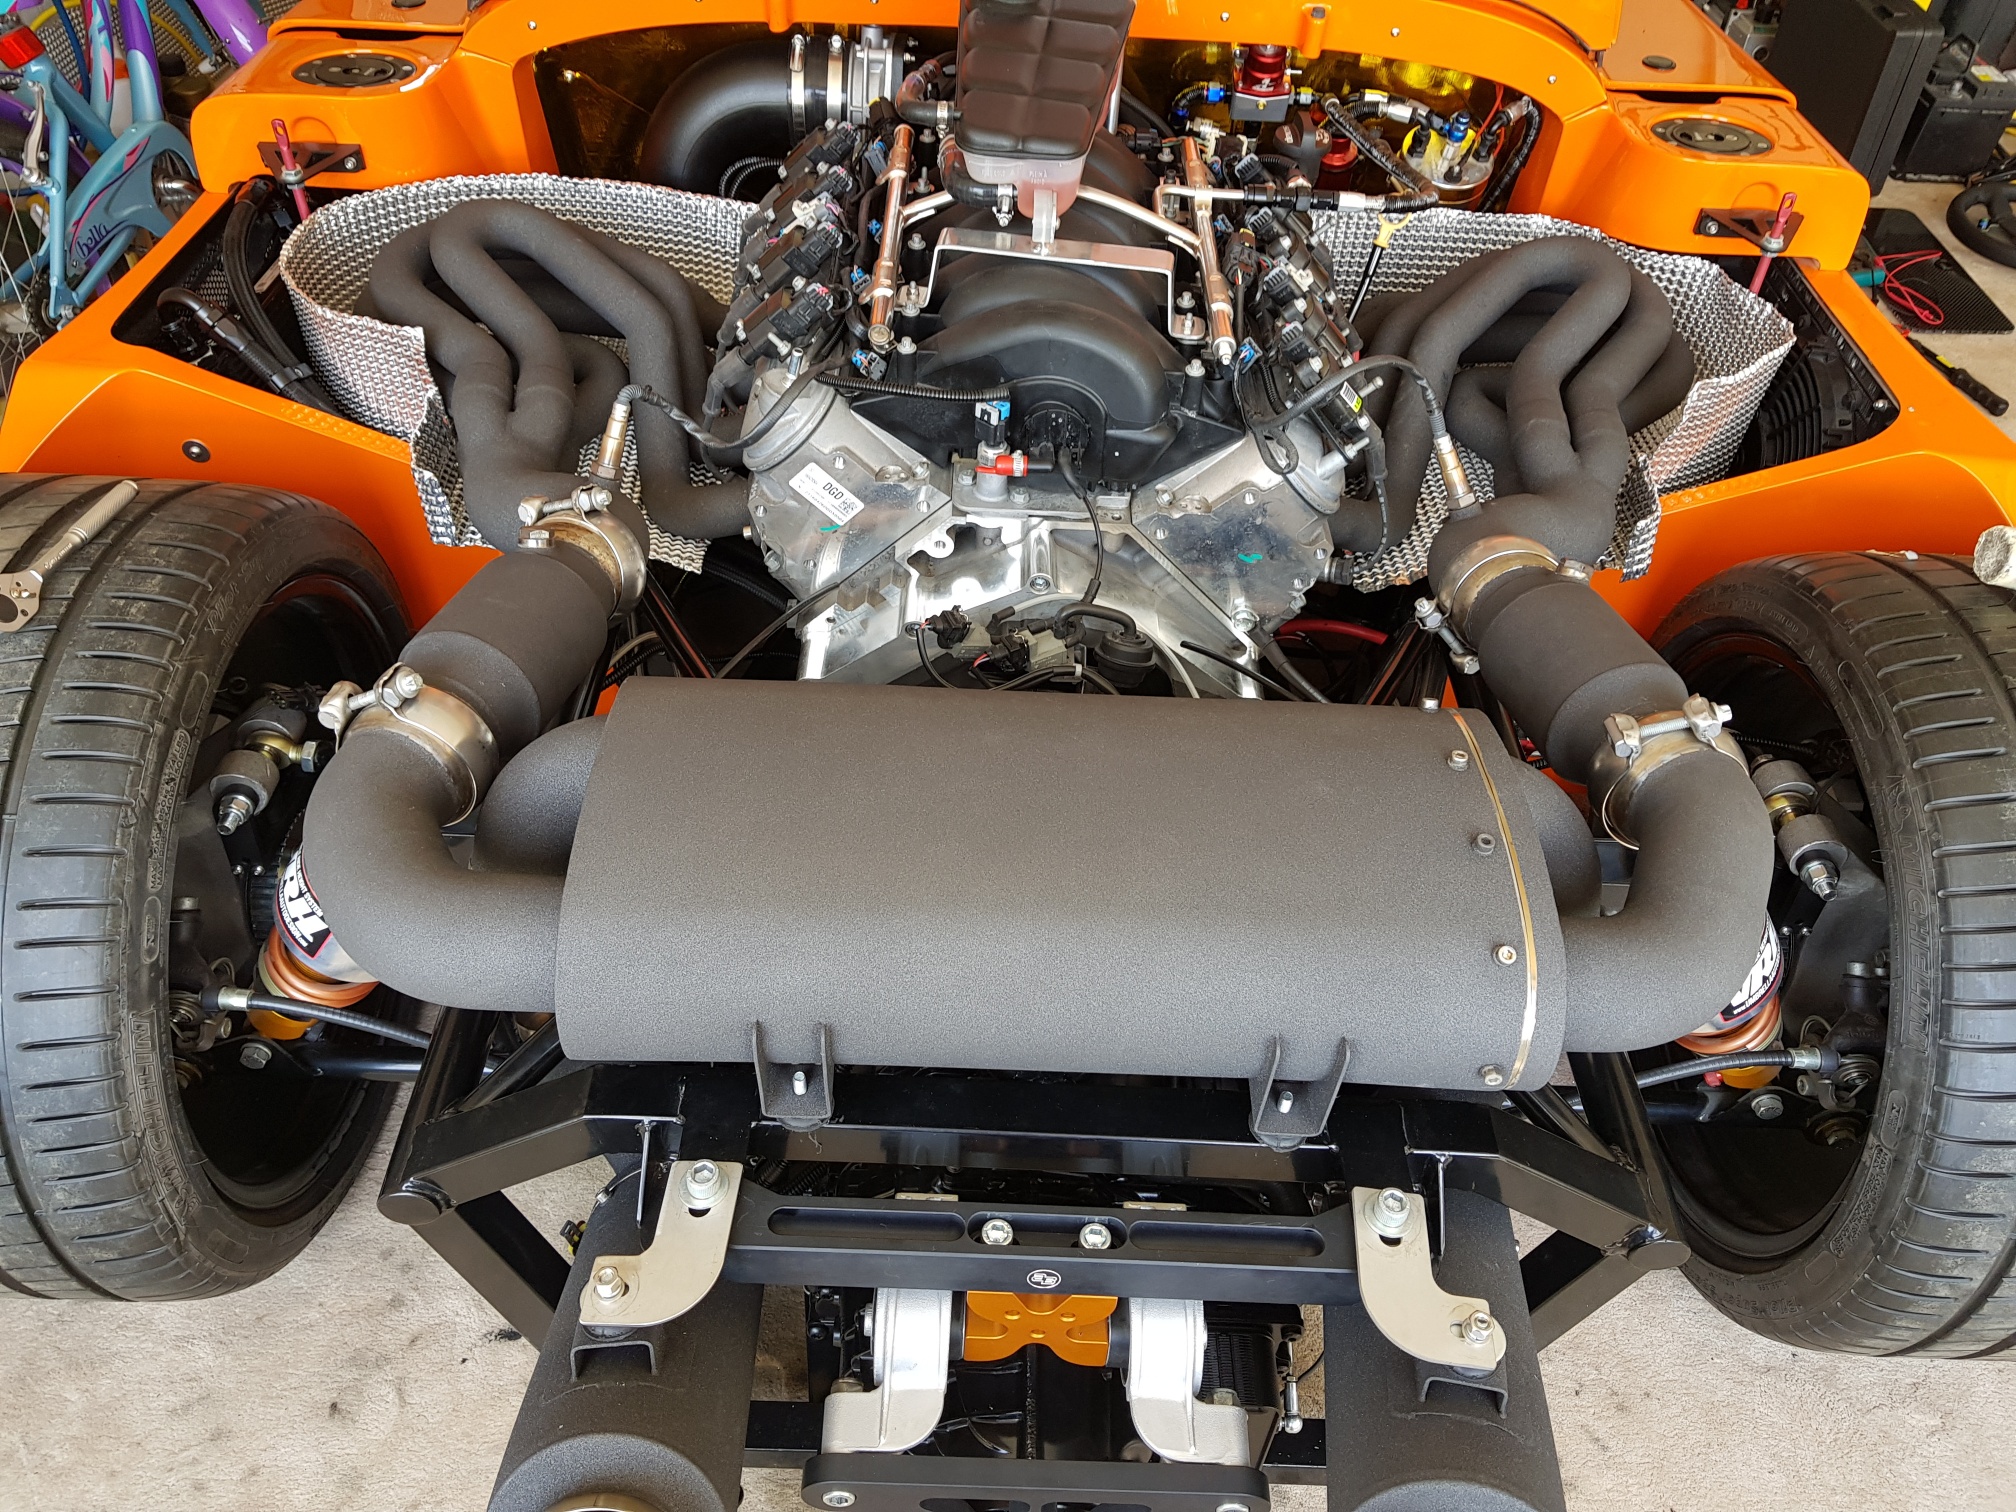
Once all the fluids were filled, I could now install the heat shields...Next step was installation of the exhaust system... The headers were installed with their gaskets, and then the large was muffler in the rear... the cats were placed in position, and the lower mufflers and tips also installed... It took a while as the system needs to be pressed together quite firmly to allow proper placement....

Now I am almost ready for my first start!!
I connected the ECU power supply, and decided to run power through the loom and just test whatever I can without the engine started... With the click of the start button, the dash came to life and showed me the basic ECU/TCU parameters... There were a couple issues that popped up, but I was able to resolve some of them myself... There are still a few display issues which I am not sure about, so I will wait till I hear back from the supplier (AB) before progressing with an engine start...
Instead I decided to trim and fit the engine covers - which need to be modified to allow the coolant tank and custom fuel inlet location to fit...