May 1-5 2017
No time to work on the project as I catch up with real work! Plus I still need to get the car back from the trimmers...
May 6-19 2017
Build Time Today: 40 hours
Total Build Time: 260 hours
I haven't had a chance to update the blog in a while, but this is what I have been working on the last few weeks:
The car came back from the trimmers with the leather, carpets and speakers having been installed...
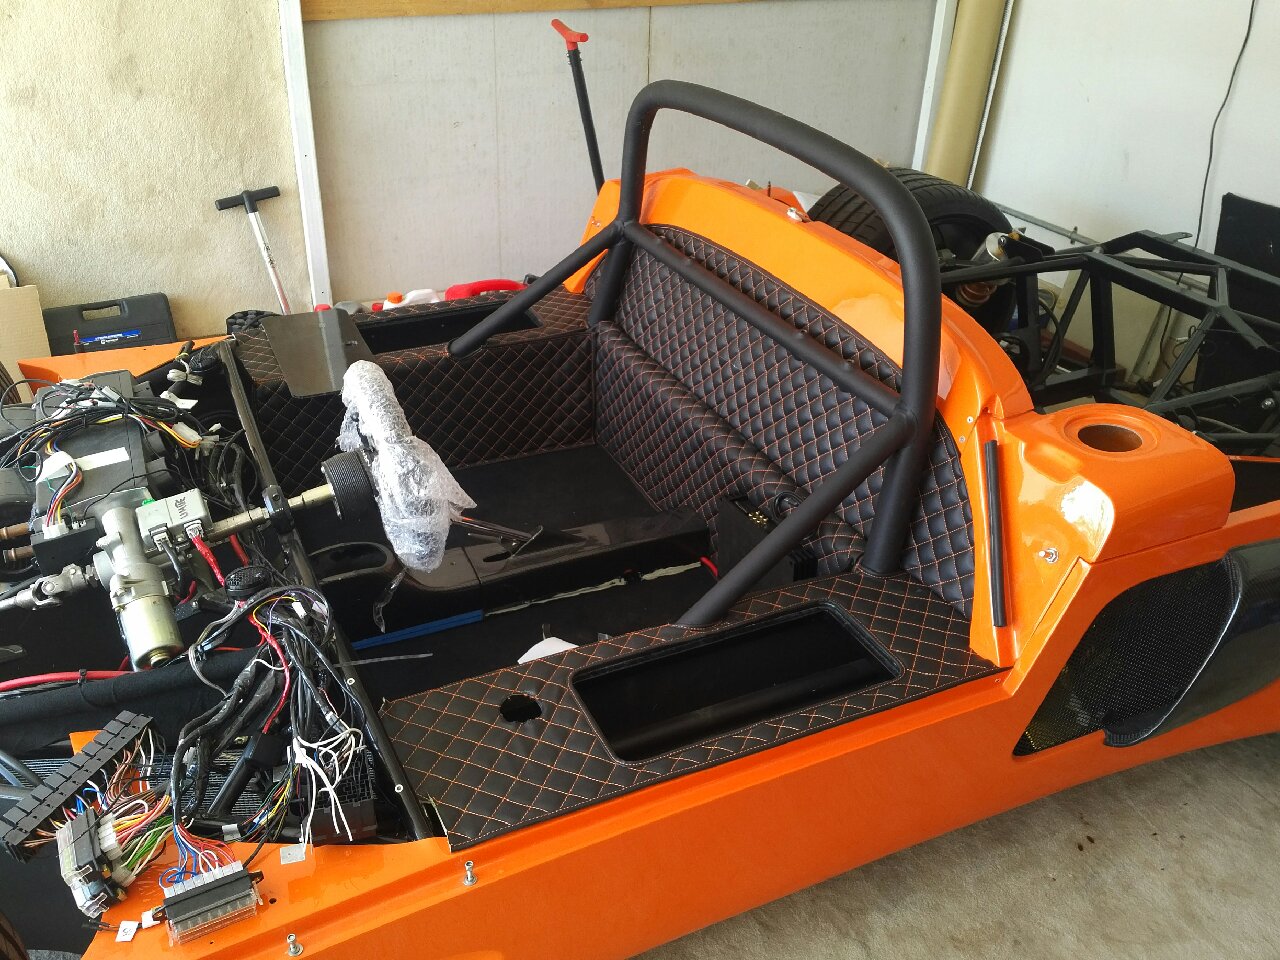

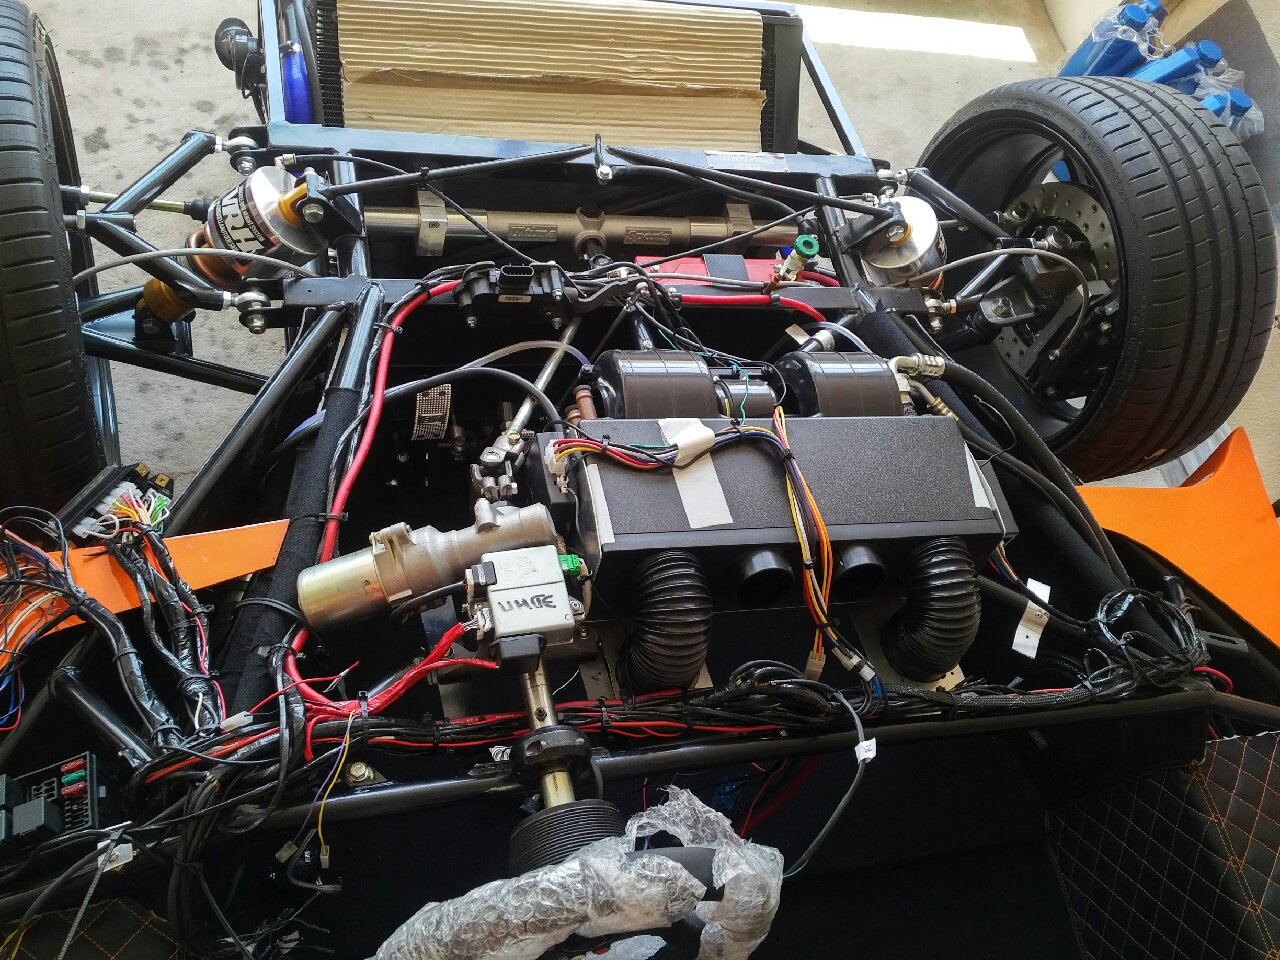
First job was to finish the Audio install - I installed the Amplifier behind the driver seat, and ran the wires for power, ground and speakers.. I am using a DSP amp that will work off bluetooth from my phone/tablet, so there will be no 'head unit' installed... The speakers were installed in the front passenger panels, and the tweeters have been left off till later (will go on the dash face)...
I then spent time finishing up the wiring - I was able to procure the required terminals during my trip to finalize the relay rail and fuse box... Wires were checked, terminals crimped on, and all the wiring was secured... While working on the wiring, I also got the wiring for the VRH installed - this involved making my own sub loom - and running it from/to the battery, relay rail, switch area, compressor and tank areas... Finally, all the wiring in engine bay was resolved - all non required wires in the Ultima loom were cut and tied away (the engine loom will have these connections), and I also wired in all the connections for the fans (AC, Extra both sides), LP pump, AC pressure switch, fuel gauge, and ran wires for the reverse camera and parking sensor power...
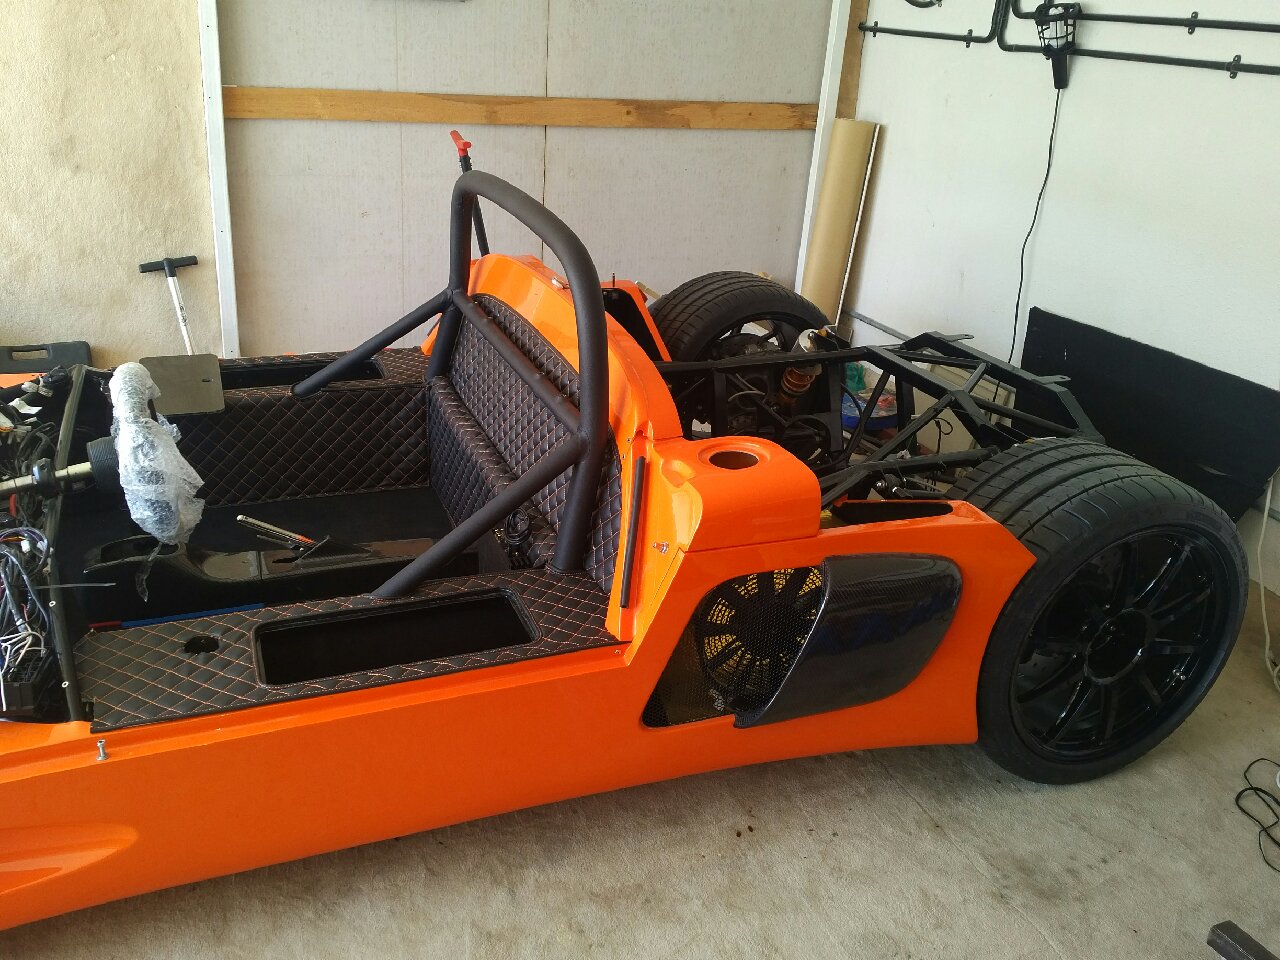
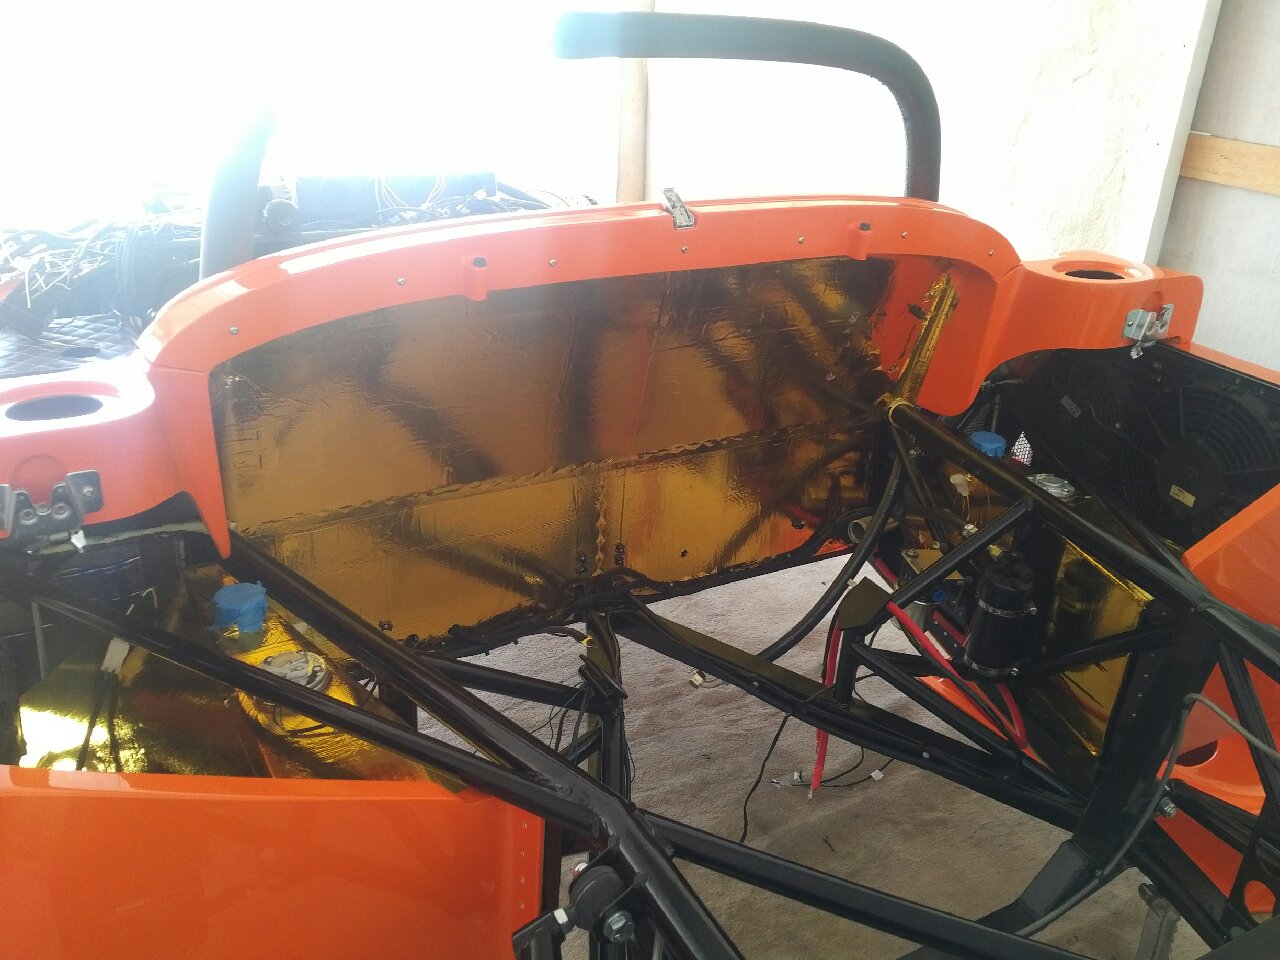
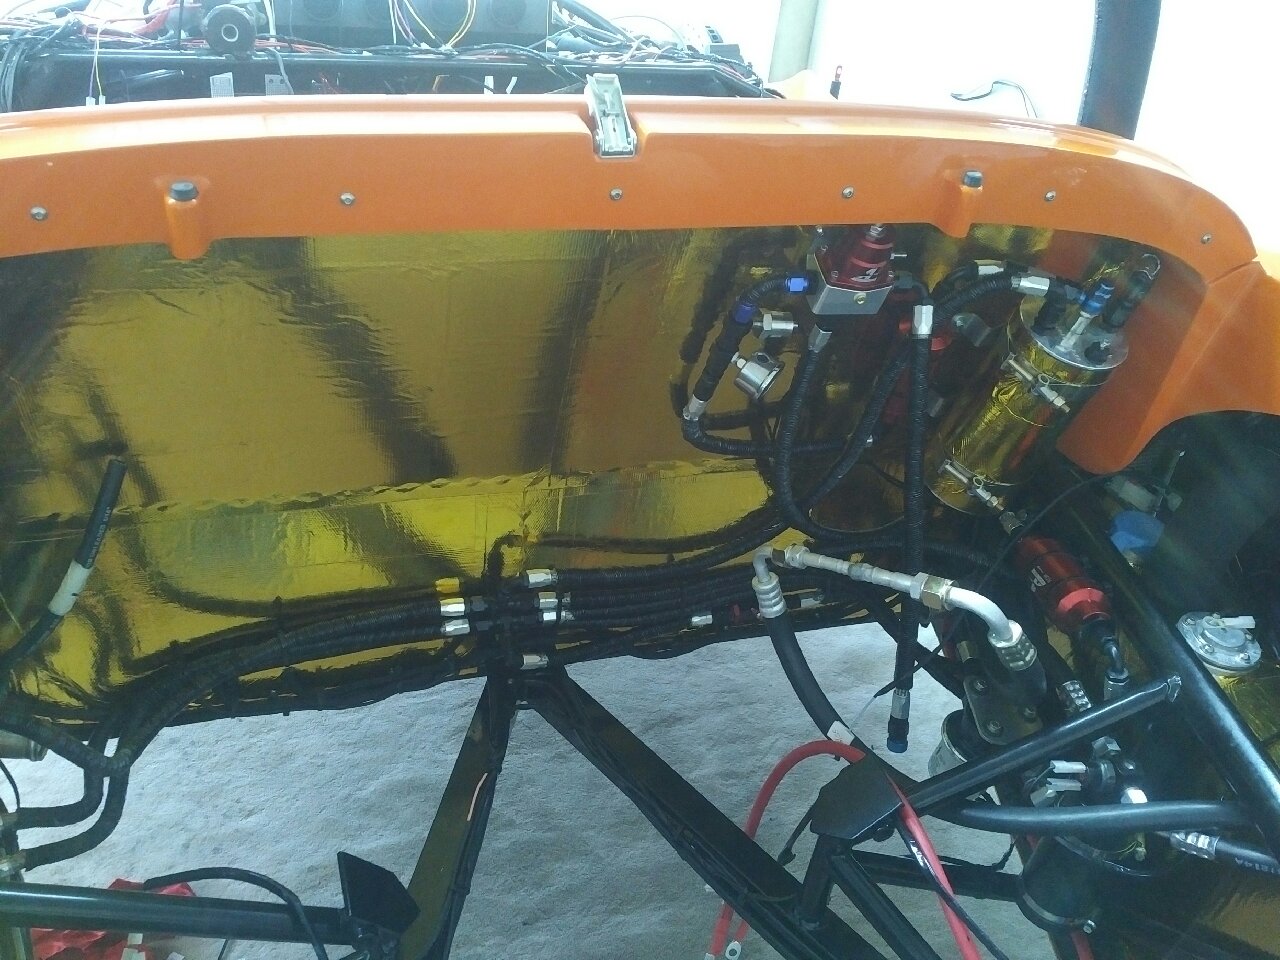
Next I installed the center GRP - again with help from the wife :) The center GRP was put on the chassis and the bolts tightened up.. I then drilled for the rivet holes that hold the GRP to the top of the engine panel chassis rail, and the panels were riveted together.... Finally, the back face of the GRP was covered with gold heat insulation to help keep the passenger cabin a little cool...
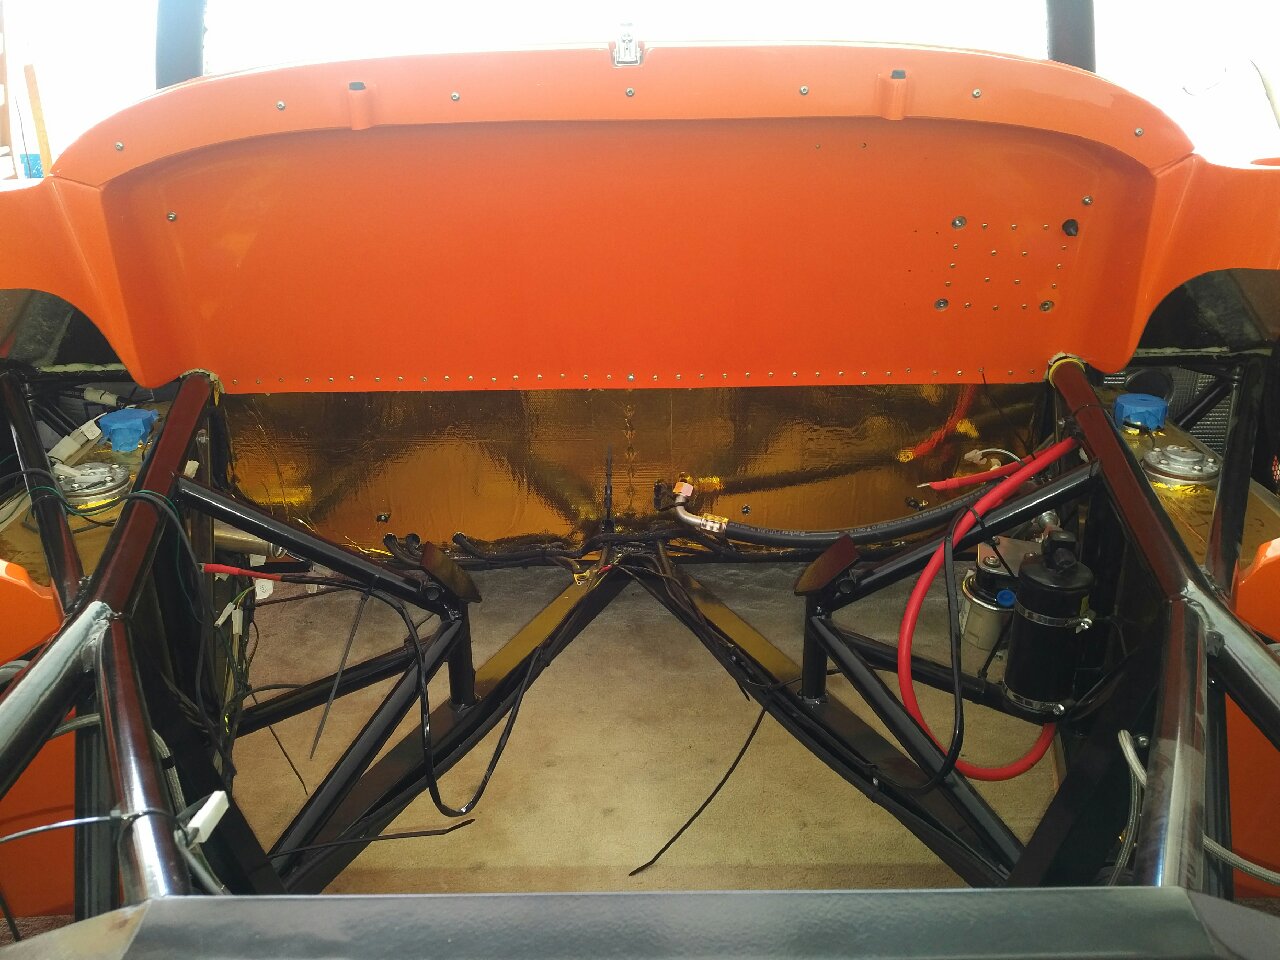
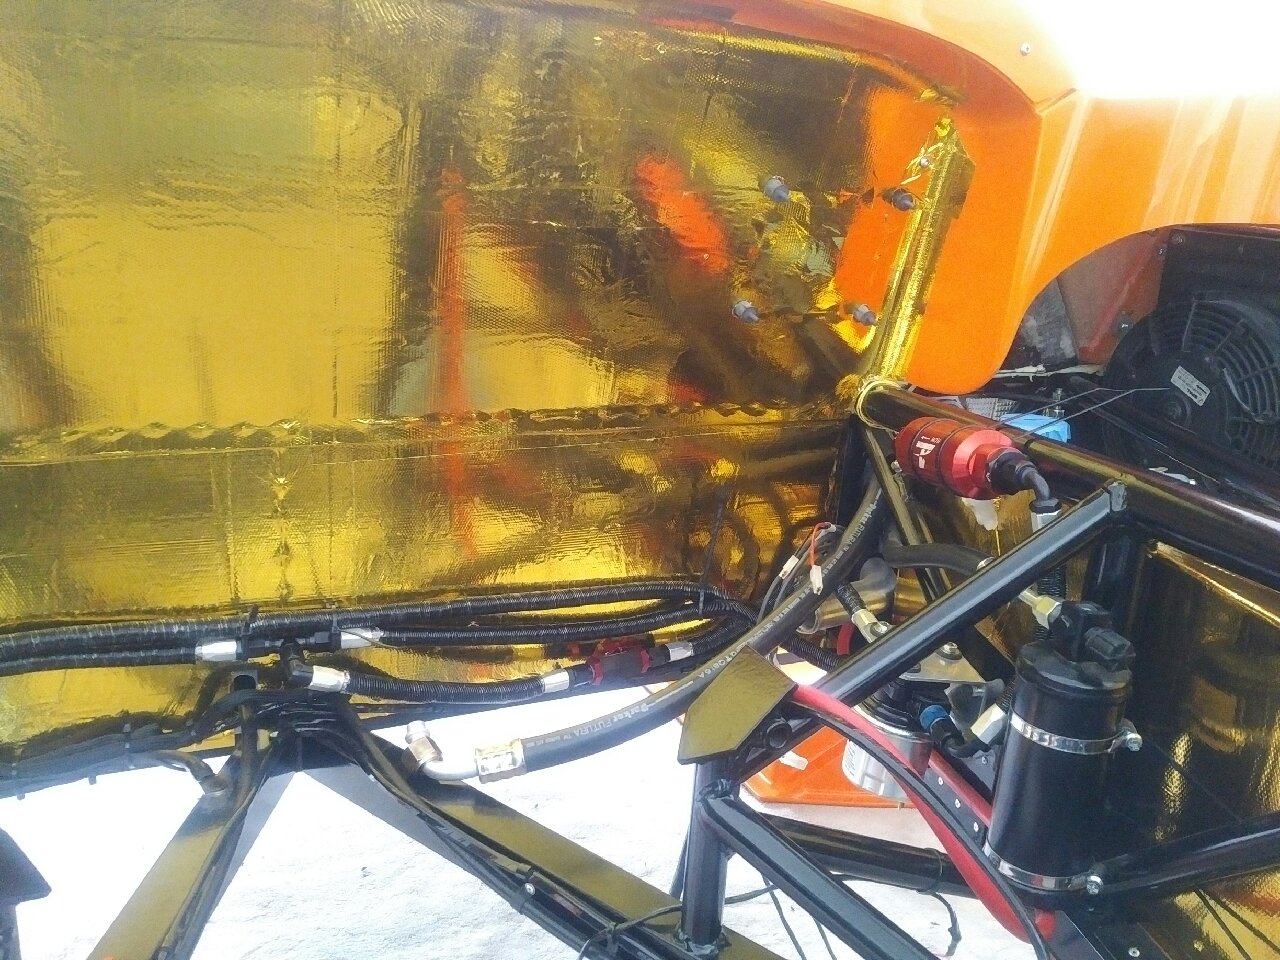
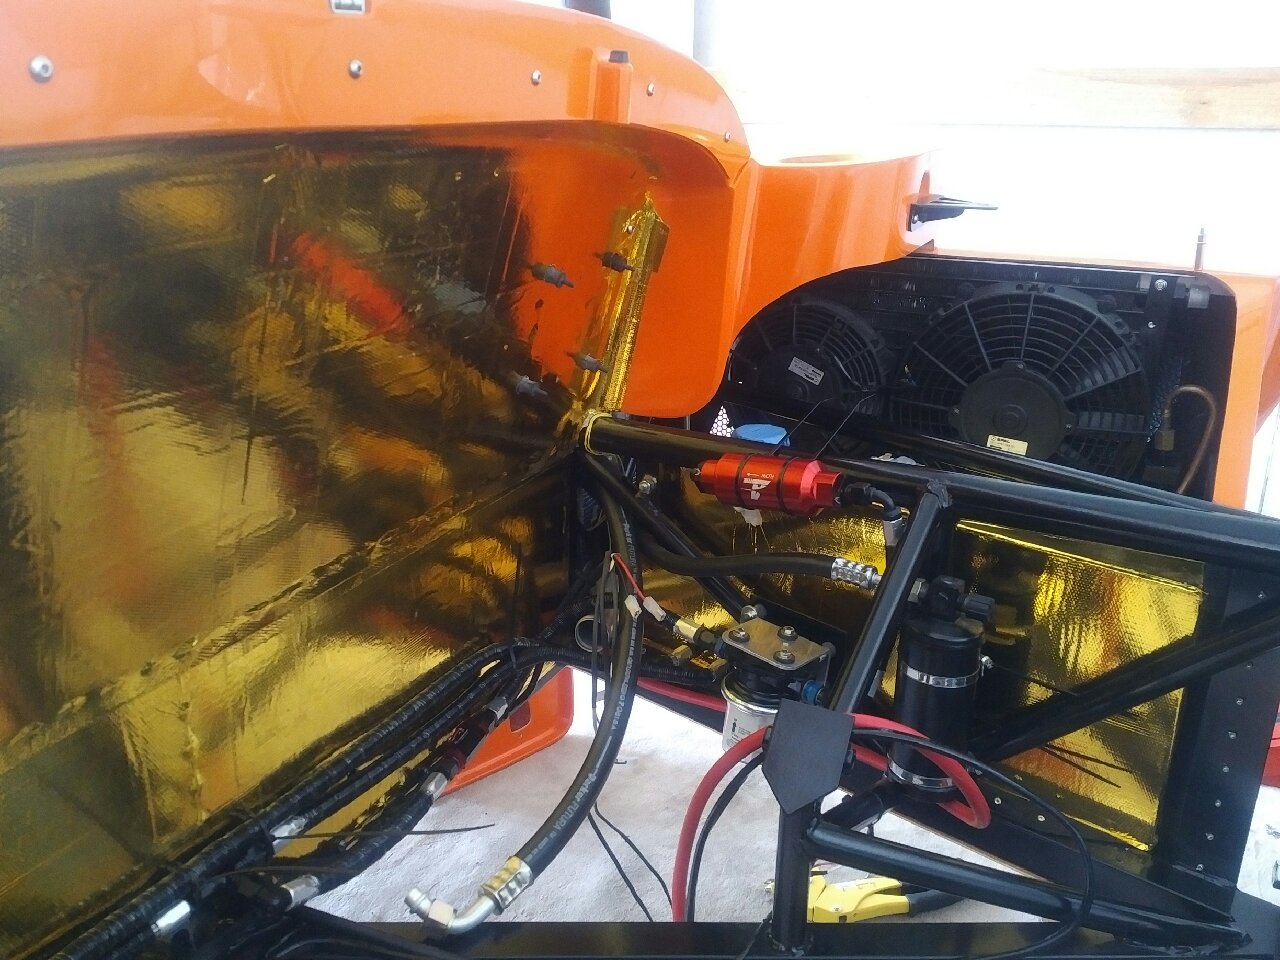
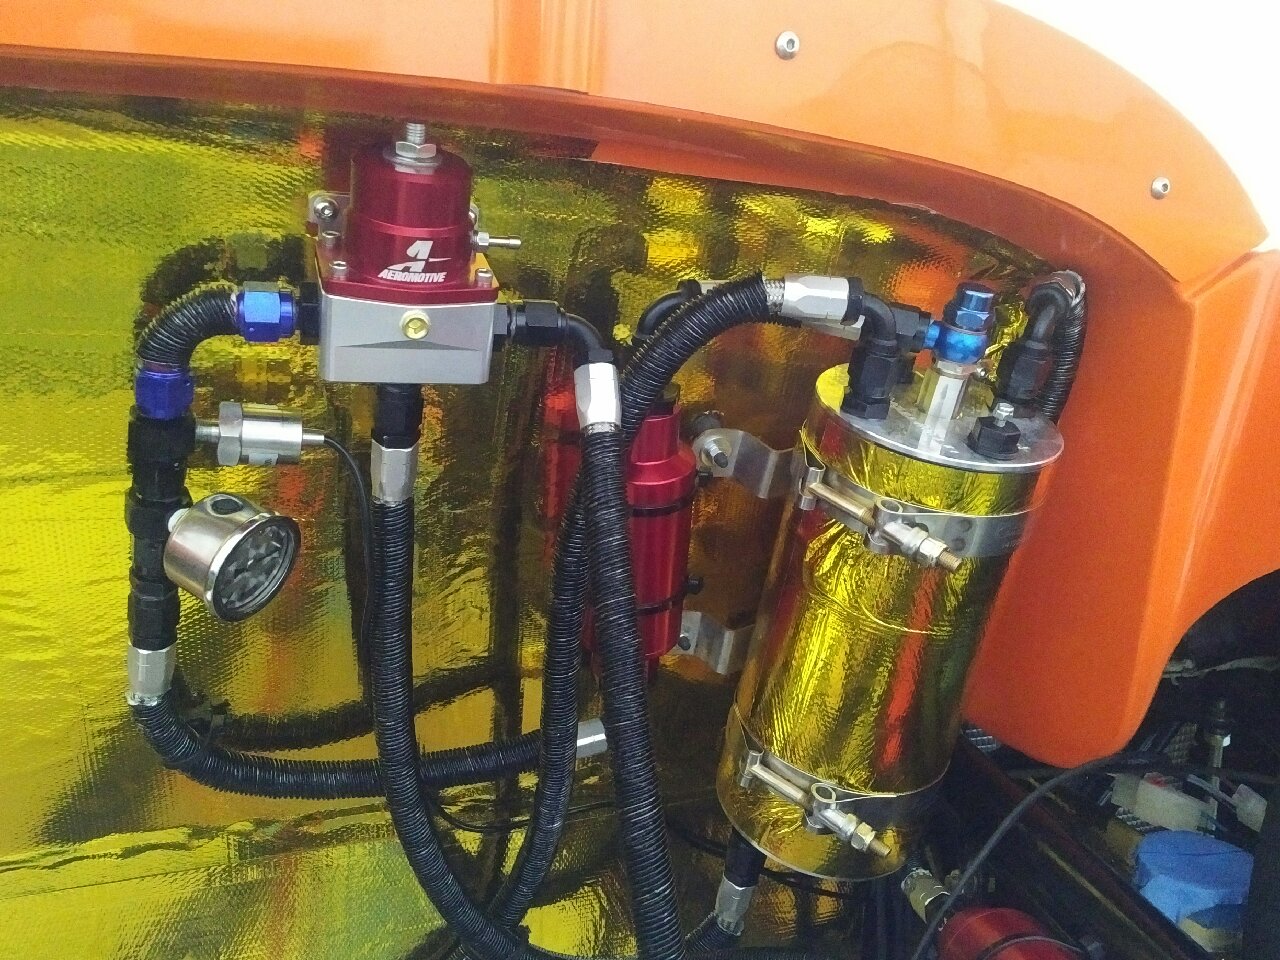
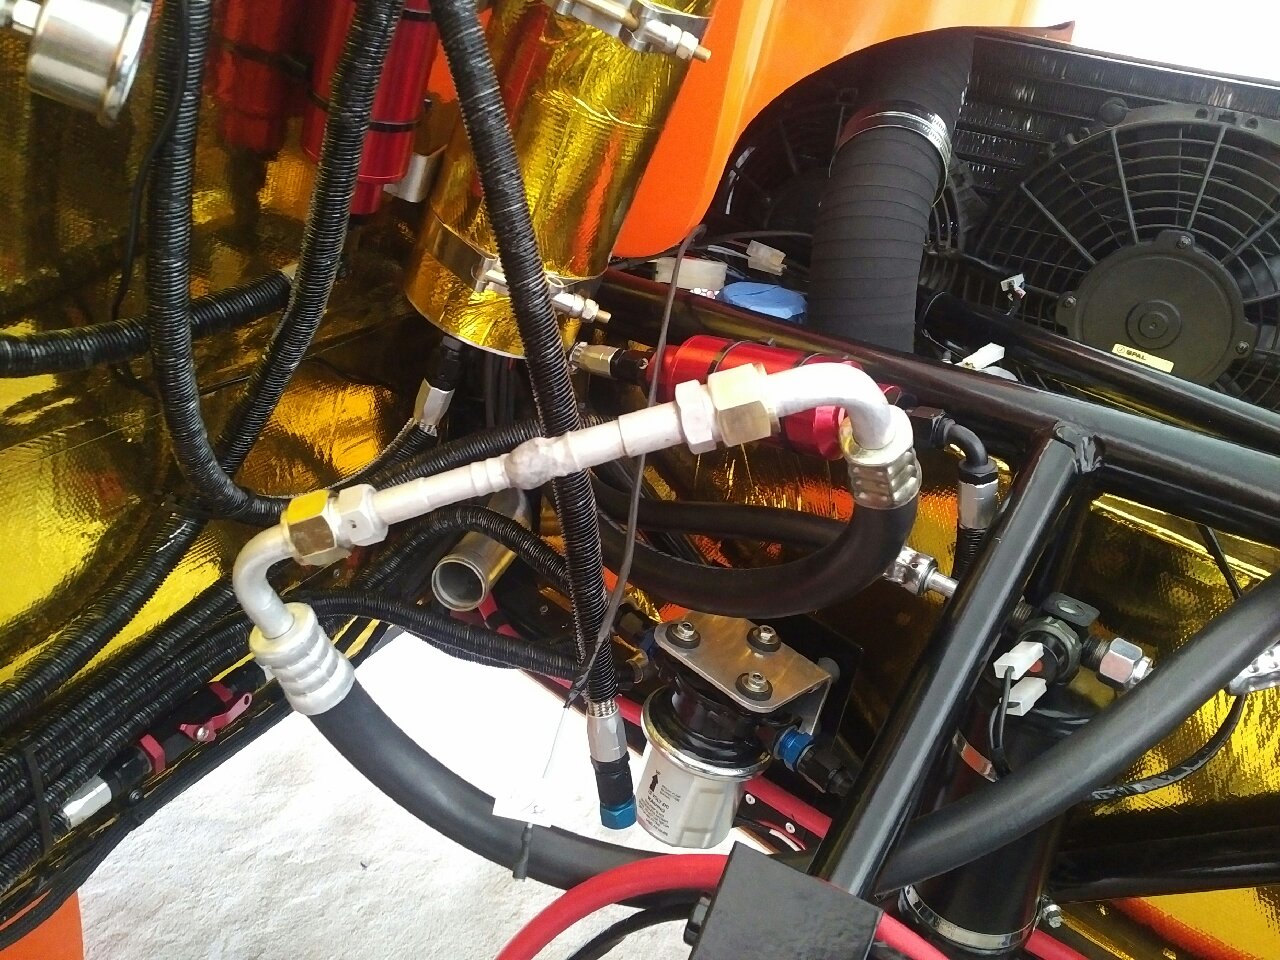
I then started work on installing the fuel system - all the fuel pipes made before were installed, along with the LP pump, filters, HP pump/surge tank unit, regulator, and fuel pressure sensors... All the fittings were first coated in a fuel-lube sealant to prevent leaks, and everything was snugged up... The surge tank was also covered in gold insulation, and the unit installed on the center GRP which has been pre-drilled for the bobbins... This took quite some time because two pipes had to be made, tested and insulated, and all the fittings had to be individually coated in the sealant before fixing... The fuel system is now ready for testing (for leaks and pressure setting)

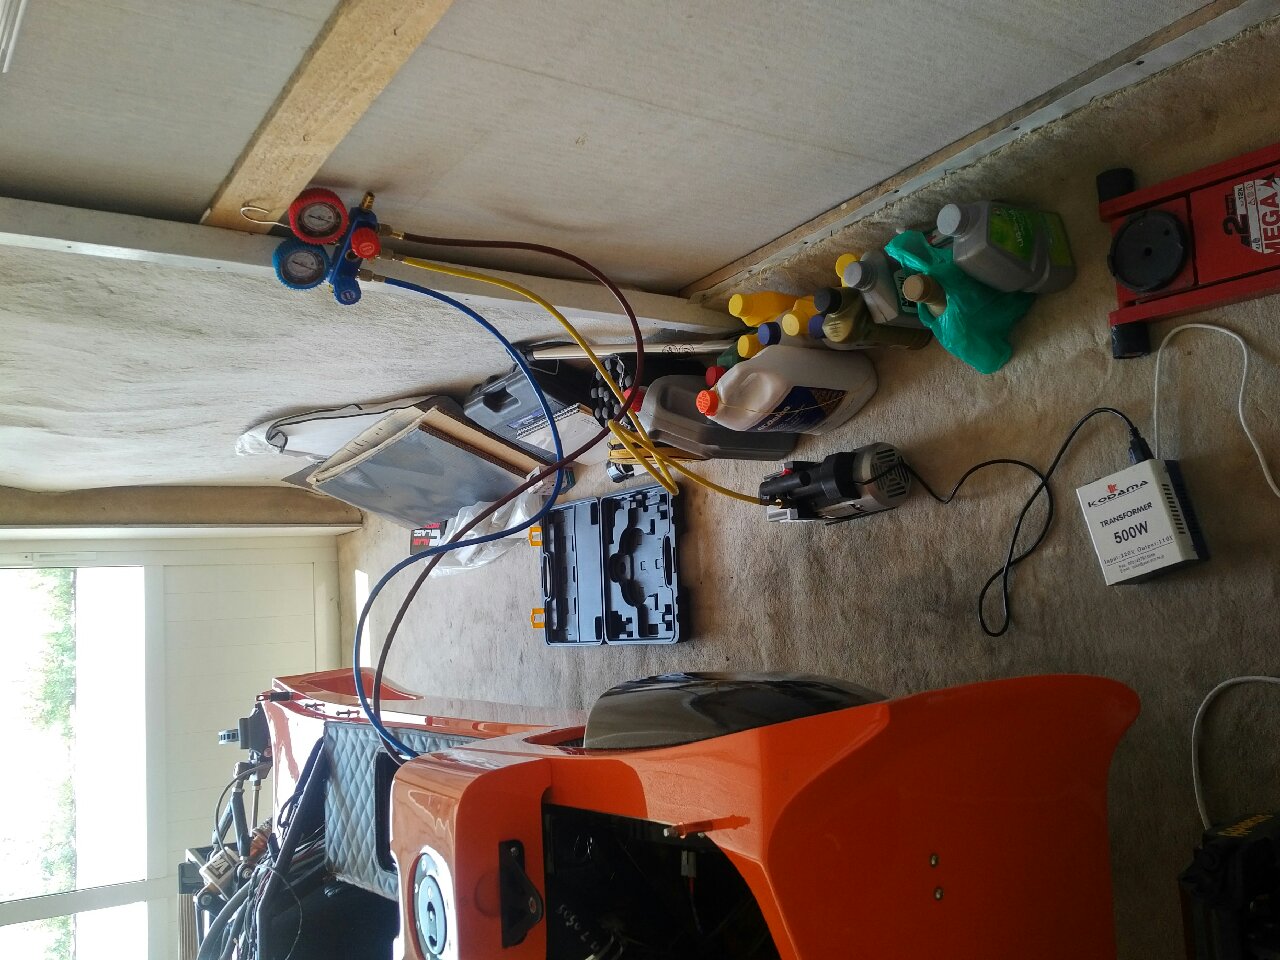
I installed the AC hoses, drier, drier pressure sensor, and now the AC system is ready for its first round of testing (for leaks)... I made a 'compressor pipe' to connect the two compressor fittings to one another to close the AC system, and pressure tested in using a vacuum pump... The pump shows a slight leak in the system - so that will need to be figured out and rectified in the future...

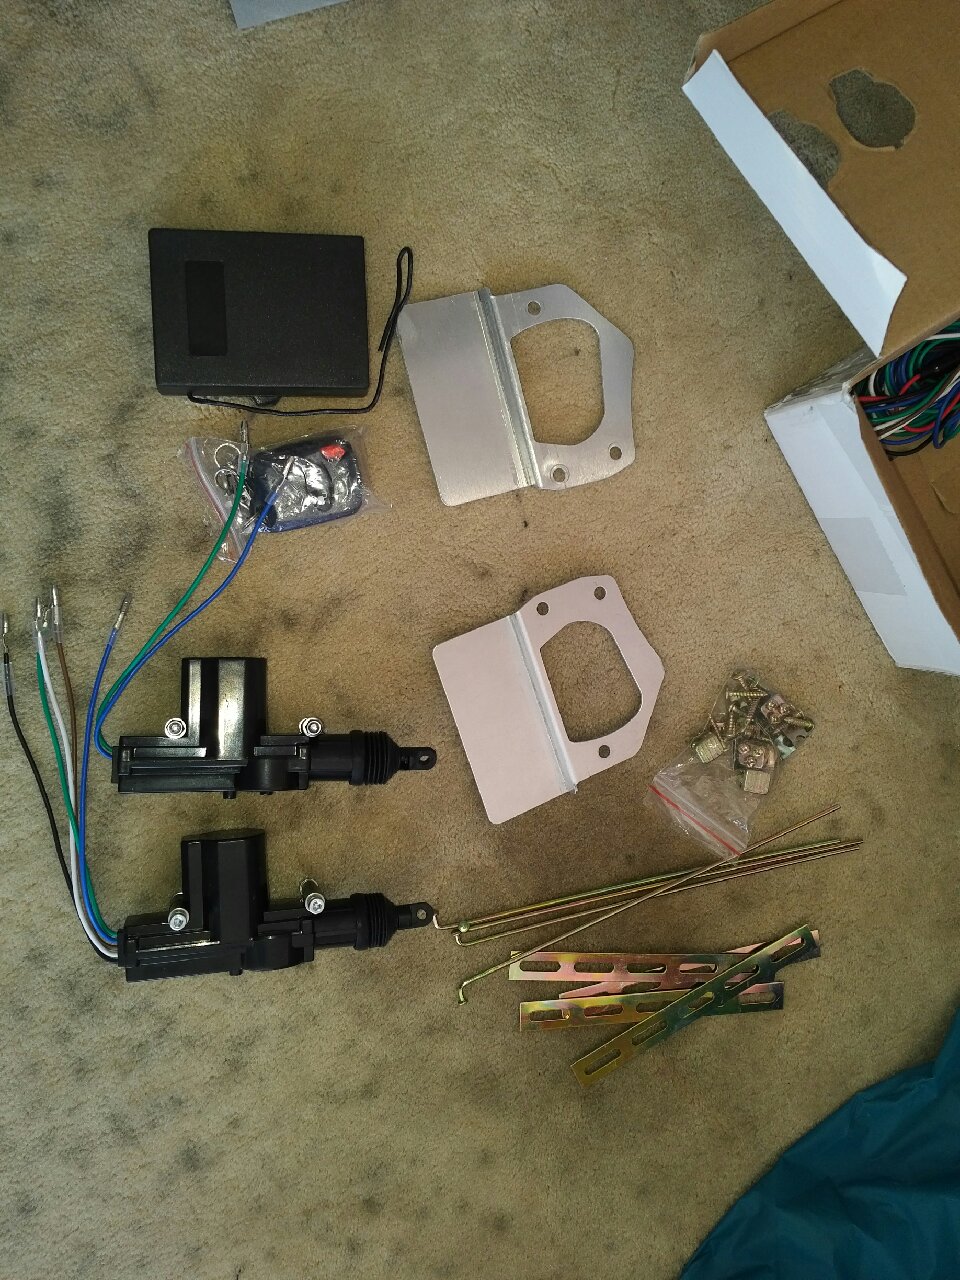
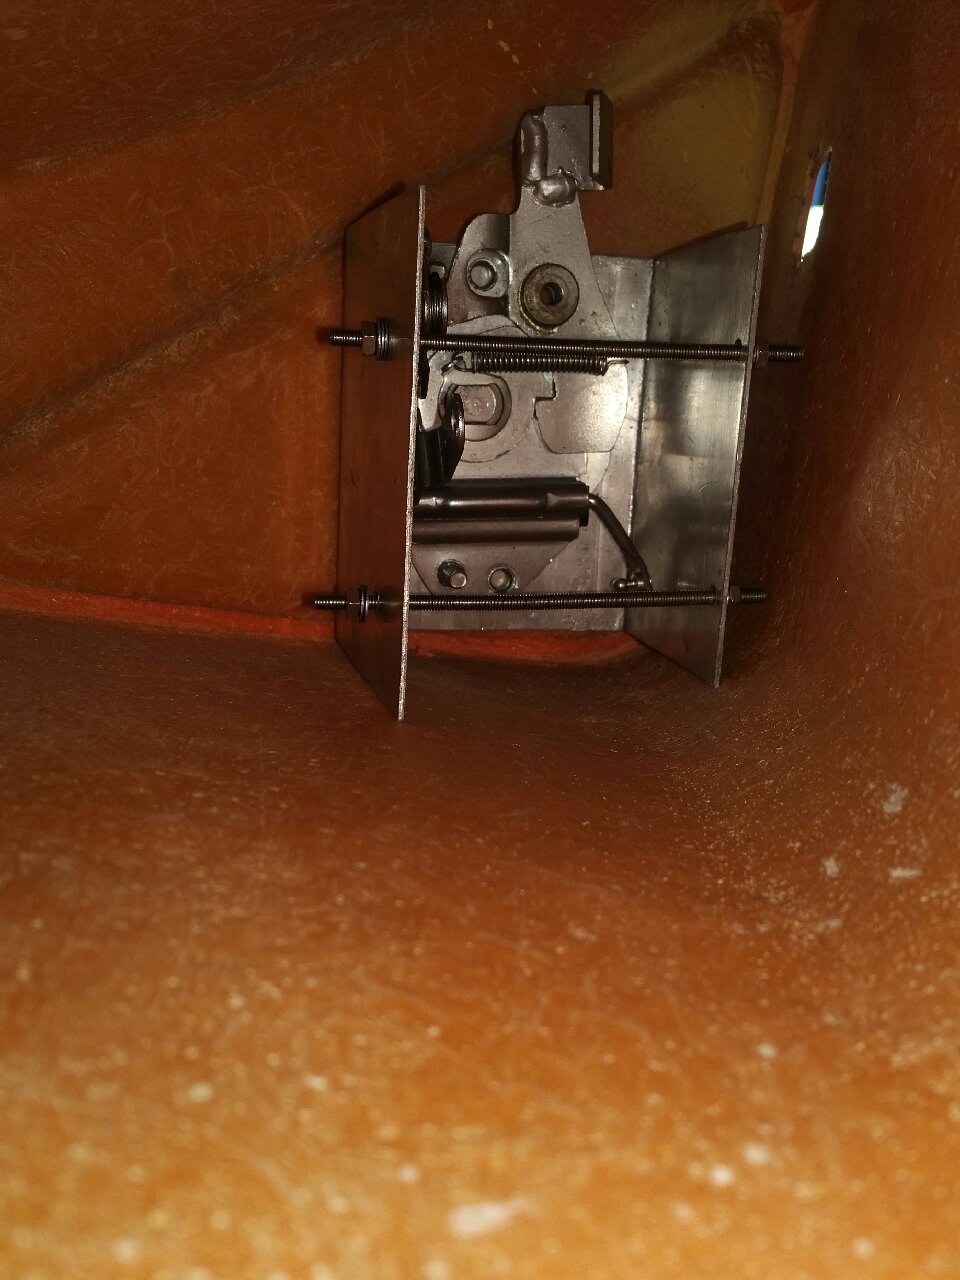
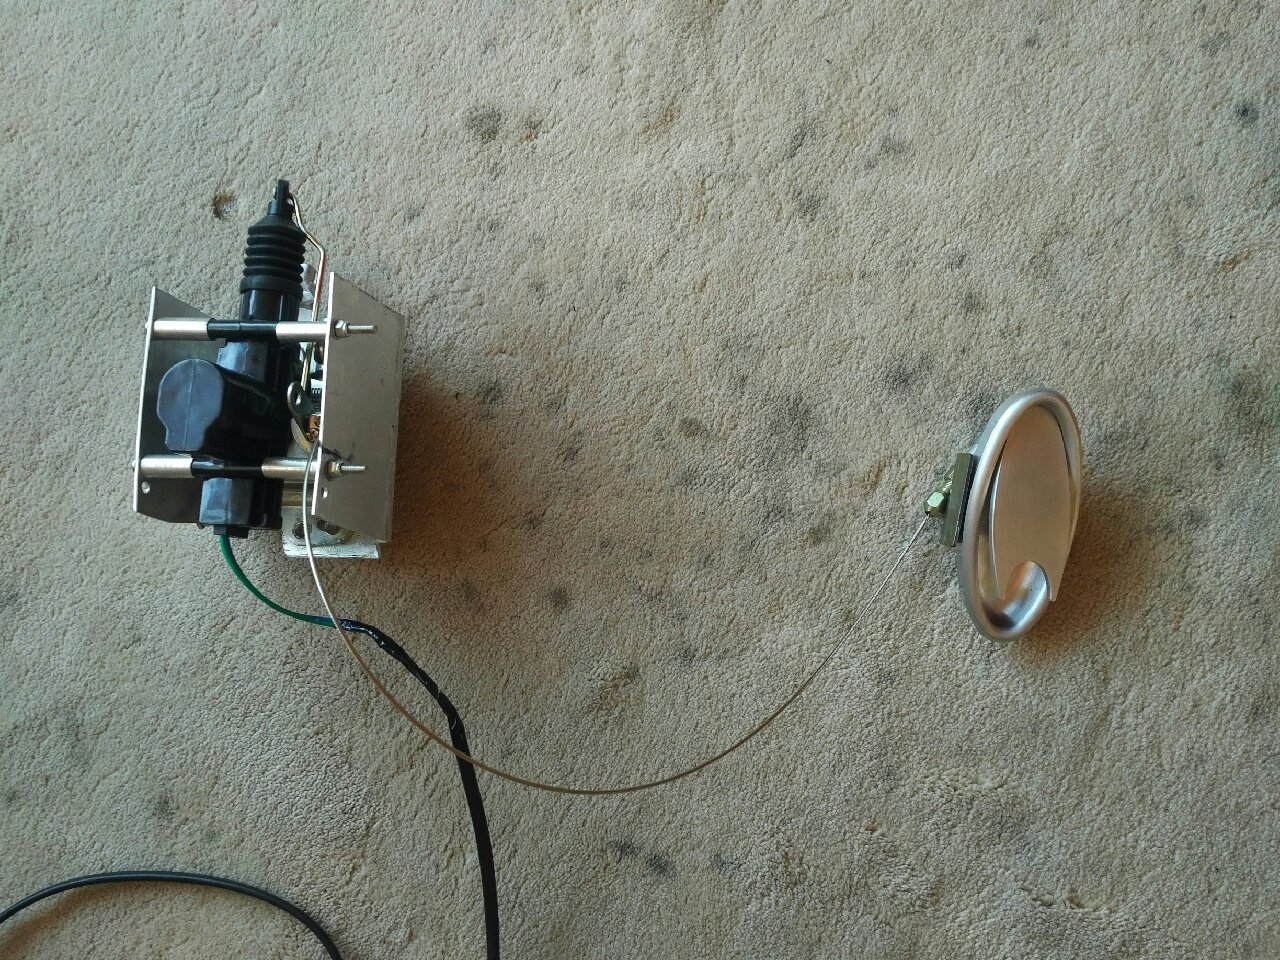
I then worked on the doors - the central locking kit needs to be installed... I have a similar kit as last time, but am unable to get the brackets to fit correctly with the actuators in the limited space inside the doors... Thus I need to make my own brackets... I did this by using the AB bracket as a template, and then made new sturdier brackets that hold the actuator OVER the door mechanism... It appears to be a lot of solid (and more weight) but should do the job nicely... I also slightly modified the AB supplied door buttons to make them slightly longer, so that the door mechanism can be engaged better... The interior of the doors was painted black using tough black paint, and the all the door hardware was installed - lock mechanism, interior door lever and exterior button...

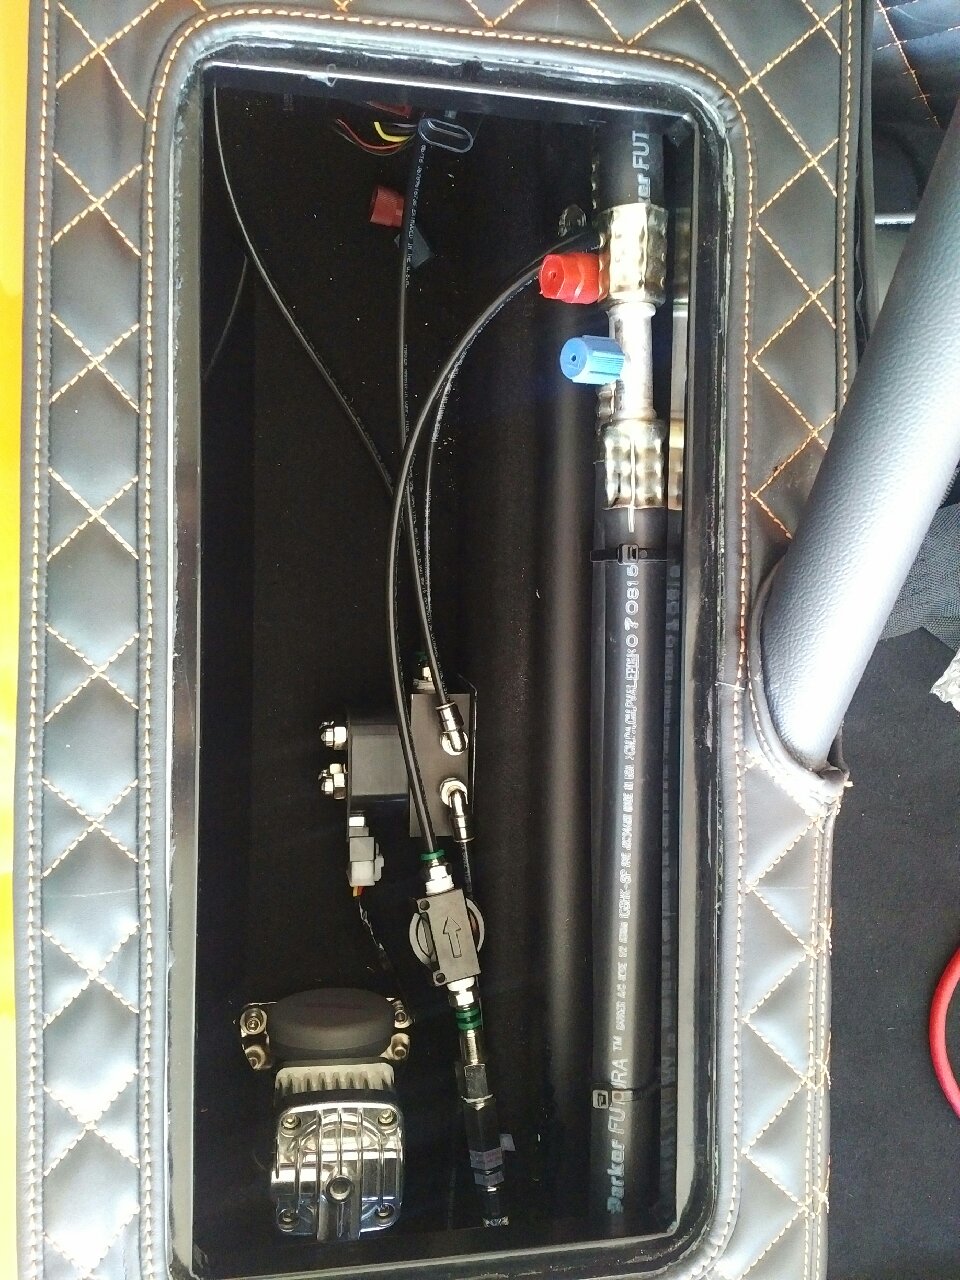
Finally, I worked on installing the various VRH parts - all the air fittings have to installed on the compressor, drier, tank and manifold valve, and then those pieces need to be secured in the car (luggage pod and behind pax seat)... I had to build a stand for the compressor to secure it first, and then installed all the fittings using plenty of Teflon tape for a tight fit... Finally, I ran the air tube between the parts to get the system ready on the air inlet side - now only need to run lines for the outlet to the dampers and connect that...

May 20-31 2017
Build Time Today: 20 hours
Total Build Time: 280 hours
Another cumulative update - it seems easier to do this than an everyday blog post since not much is being done...
First order of busines was finishing the VRH system - the outlet lines from the manifold to the dampers were run, with T-pieces to split the front and rear to both left and right sides... Once the piping was done, I had to finish the electrical connections and jerry rig a test - the unit was switched on, and the front and rear were tested to see if they work off the ground - and success!
Once the VRH was functional, I went back to the AC system - some head scratching and testing with foam/pressure pump did not show any leaks in the pipes/connections... I then tested the manifold and there appears to be a small leak in the gauge set! ARGH! Looks like I will need to buy another manifold gauge first and then come back to test the AC...
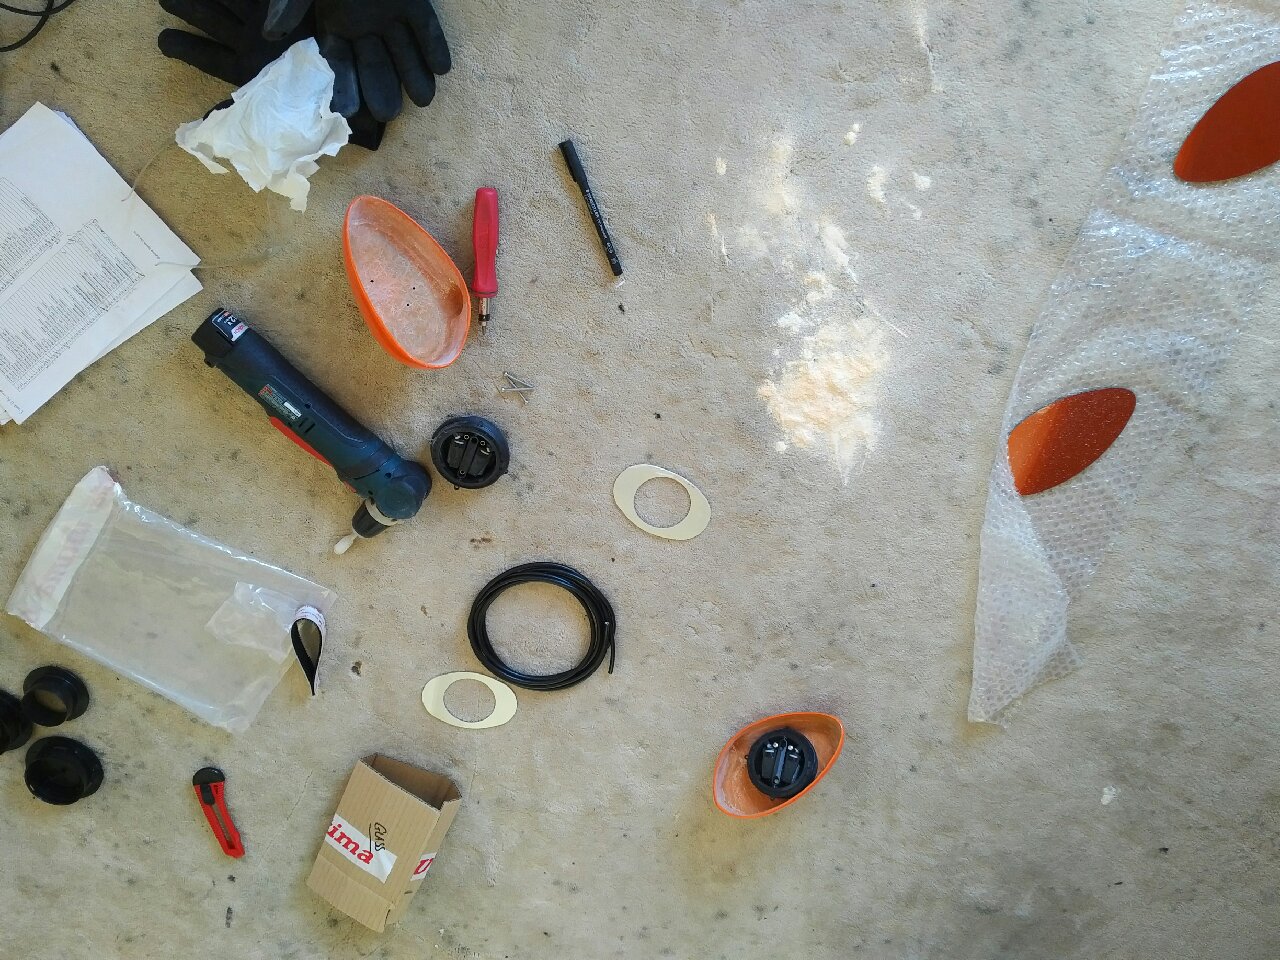
I then started work on the side view mirrors - similar to last time, the housing needed to be trimmed to allow the glass to move uninterrupted... Once trimmed, the housing was painted black, and the motor assembly wired and installed...
I then started to prep for the first electrical loom test - all the switches, lights, accessories, mirrors, washer/wiper, central locking units, alarm, etc were connected, and all connections were checked to make sure they were either connected, or covered up to prevent any shorts... The battery was connected, and everything looked over to make sure there was no accidental grounding... I tested the horn and hazard (which should work with ignition off) and they work! The ignition was switched to ON, and other items tested - side lights, drl, low beams, high beams, turn, washer/wiper, central locking motors, and immobilizer system were all tested - and all appear to work just fine! Once satisfied with everything, all the items were disconnected and repacked away.
I also spent time ziptieing all the wiring in the dash area to make space for the AC vents (under dash vents) - the vents were installed between the dash chassis rail and AC blower unit, and the AC hose installed...
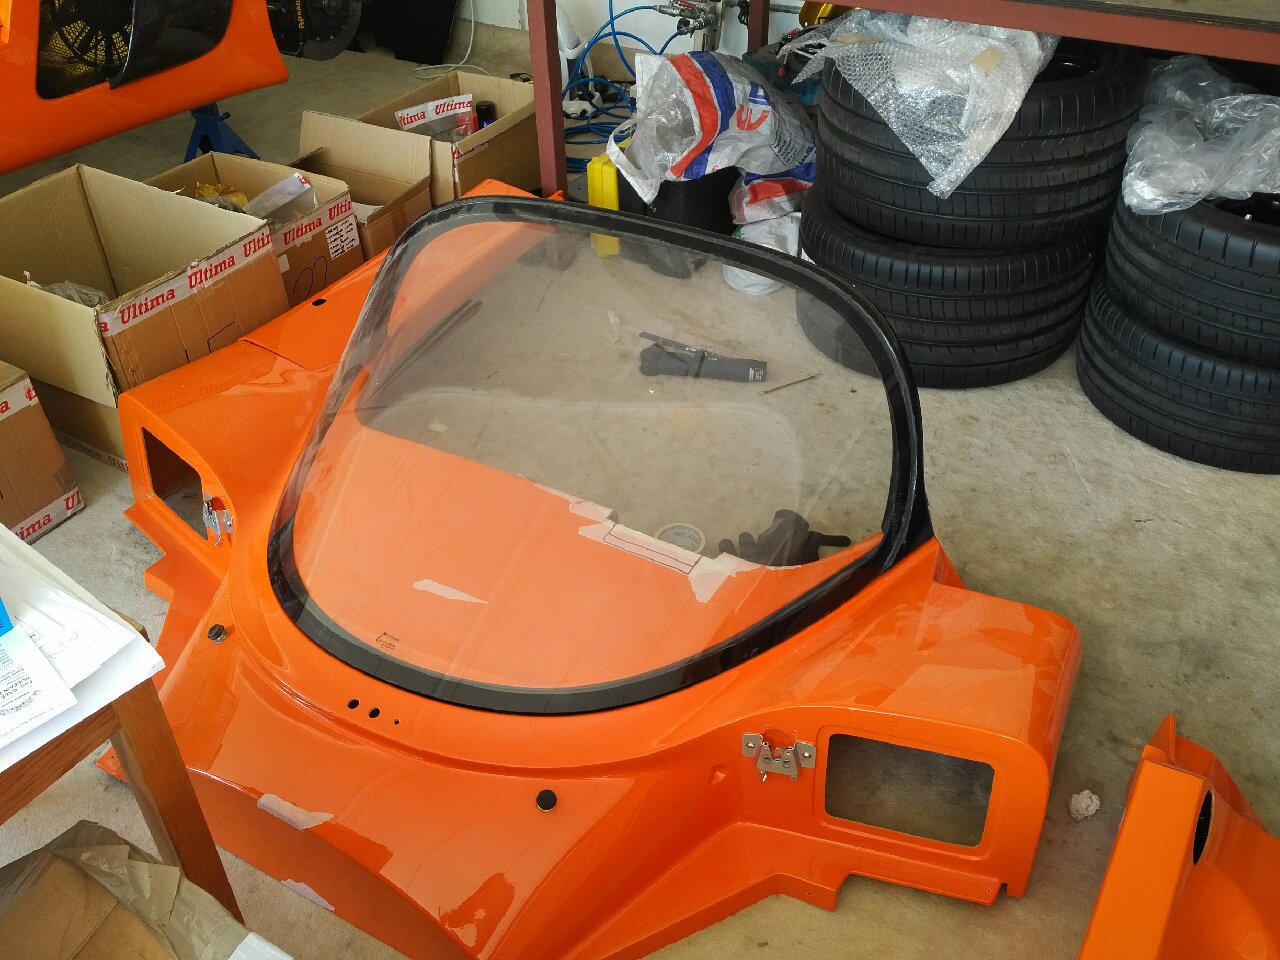
Next, I decided to prepare the doors for trimming... I will be using the full windows this time, so there is a window support that fits into the top door panel - I wanted to drill this hole before trimming the door so that the leather is not damaged in the future for this... The dash GRP and windscreen were temporarily put together, and the doors offered up next to them to see where the window support needed to be installed.. Once I had the location, the doors were drilled for the supports, and then sent to the trimmers for interior work... All the hardware (central locking kit, handle, window support) will be installed after trimming...