Dec 1-7, 2015
No work as I am away in Africa...
Dec 8-9, 2015
Build Time Today: 8 hours
Total Build Time: 389 hours
The last couple days were quite busy as I attempted to fix my engine issues - the rattling noise!! Discussion with fellow builders and the factory lead to the creation of my game plan - first, the gearbox to adapter plate bolts were removed (2 at a time) to check if they were causing any grinding between the bolts and the ring gear... the engine was also started on each set to confirm if the noise was still there, or changed... all 8 bolts proved to not be causing the noise... Next step was to check if the noise was coming from the engine side or the transmission side of the adapter plate... to do this, the transmission had to be removed - I spent quite a bit of time removing the exhausts (from the cat backwards), driveshafts, gearbox cable connections and finally pulling the transmission out... The engine was started again (with great difficulty, which would become apparent why later) and the noise was still there - thus the grinding is happening inside/within the adapter plate area... Possibilities now remaining were that either the ring gear, starter motor or bothw were grinding each other or the adapter plate somewhere... I started with removing the starter motor and testing it on the bench - to remove the starter motor, I had to remove the passenger side headers as well! Once the starter motor was out, a close inspection showed that its teeth had grind marks (just barely visible on the outer edge of the teeth) - a close inspection of the ring gear through the starter motor hole showed the same - a slight grinding of the outer edge of the ring gear teeth - this is what is causing the noise! Now how to fix it? Either the starter motor teeth need to be recessed further into the motor during standby (not possible unless starter motor is replaced), or the starter motor itself needs to be moved a little bit away from the adapter plate (about 1-2mm) - the problem is that the starter motor is very close to the chassis cross member and can barely move back 1mm at the most! A suitable washer was made out of 1mm of ally, and placed on the starter motor mounting boss... the starter was then attached back to the adapter plate, and connections made up - I tried starting the engine, but nothing!! NOW WHAT?? I checked and double checked all the connections, but could not get the starter motor to kick the engine back up.. some head scratching, checking battery volts, cable crimps, etc, and finally a call to the factory showed the problem - the heavy ground cable on the transmission is required to start the engine, but when the transmission was removed, that ground was also disconnected! A new ground cable was made and attached from the engine to the chassis, and the engine started again - and it works! Engine is running fine, and there is no noise!
Everything then had to be put back together again - transmission, headers, cats, exhaust, cable and electrical connections... and we are back where we were a few days ago, just without the noise!
Dec 10-11, 2015
Build Time Today: 4 hours
Total Build Time: 393 hours
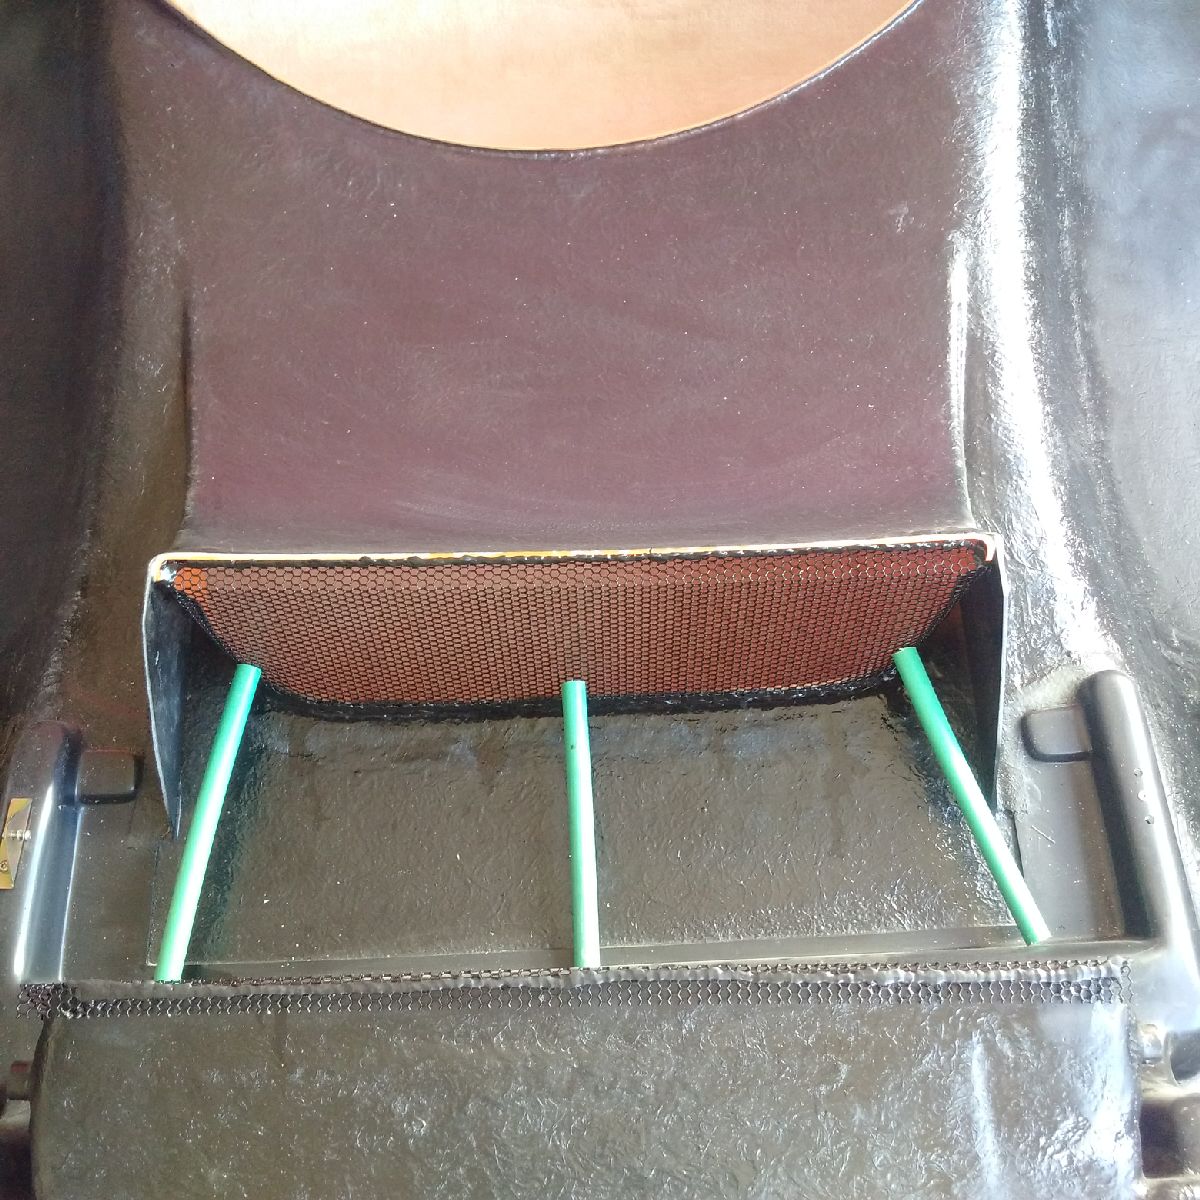
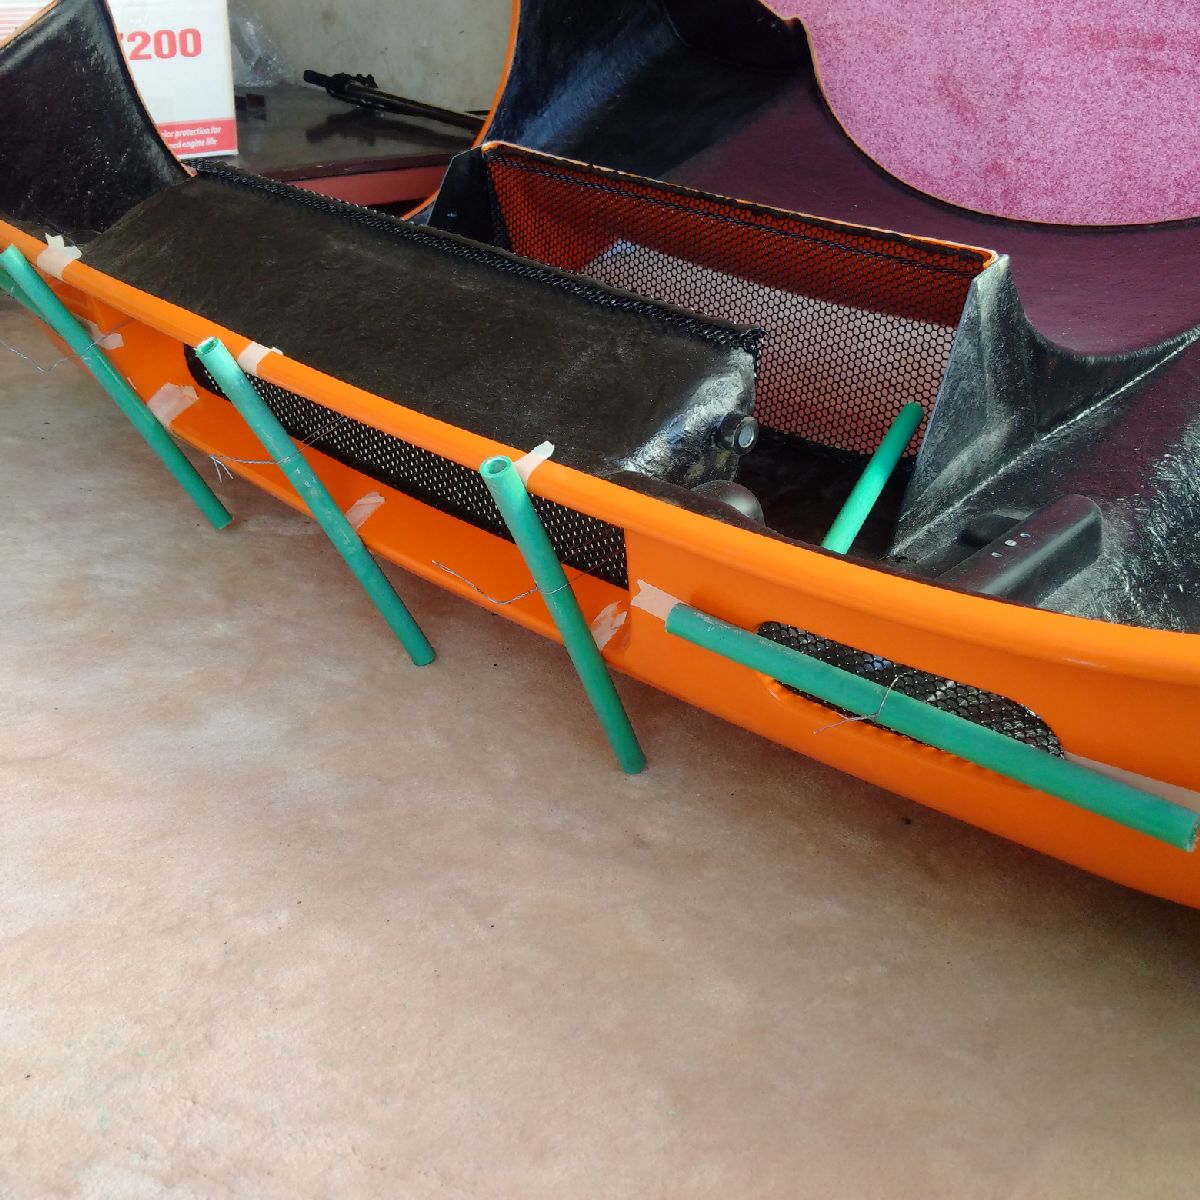
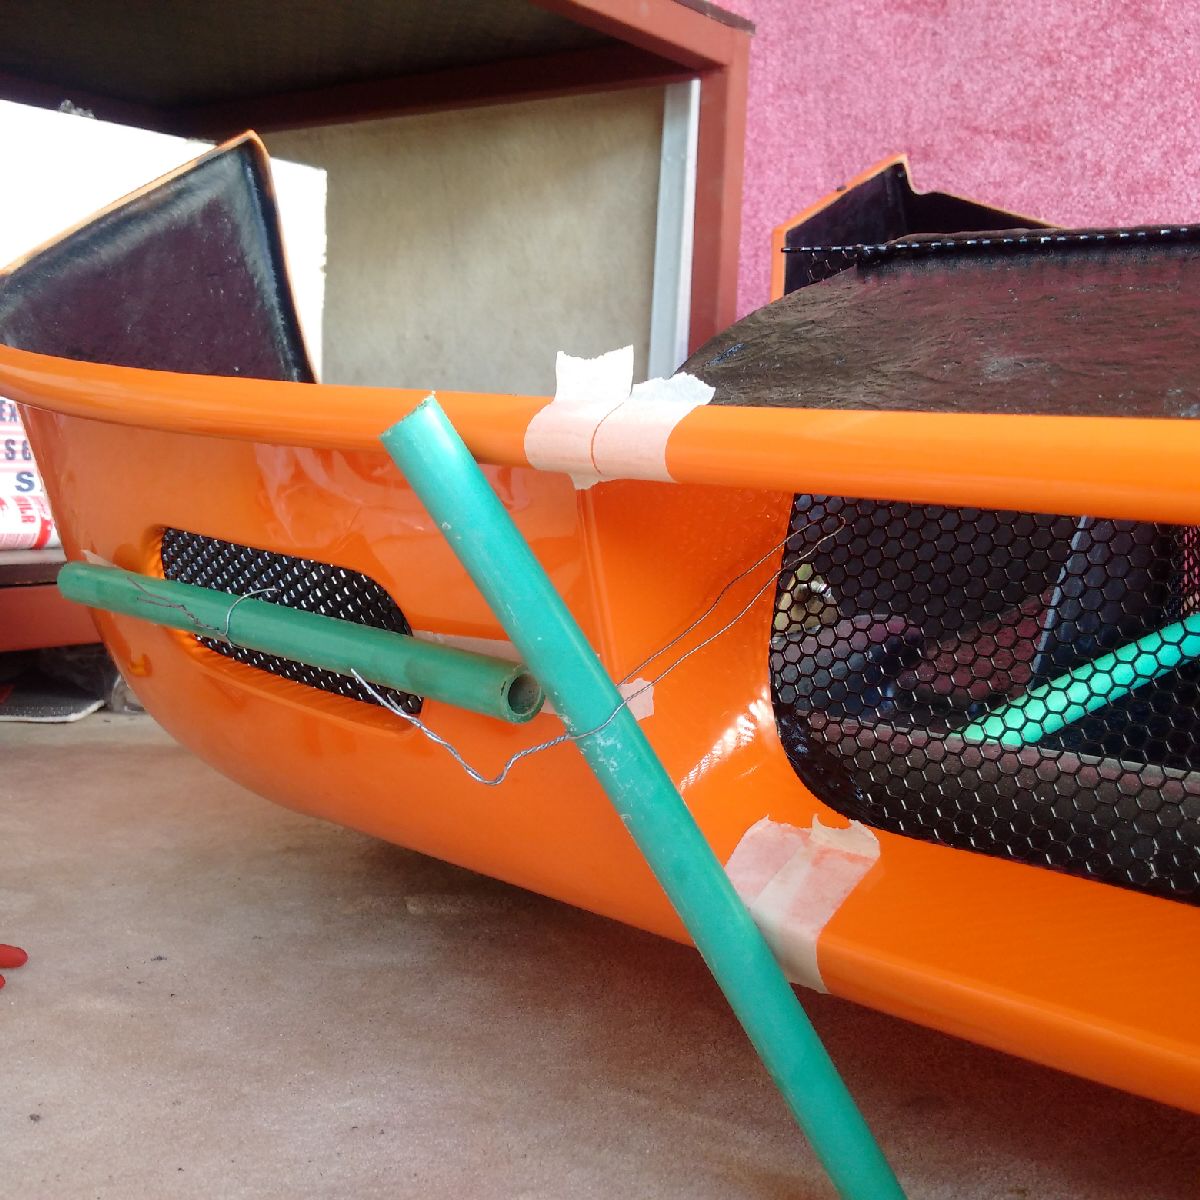
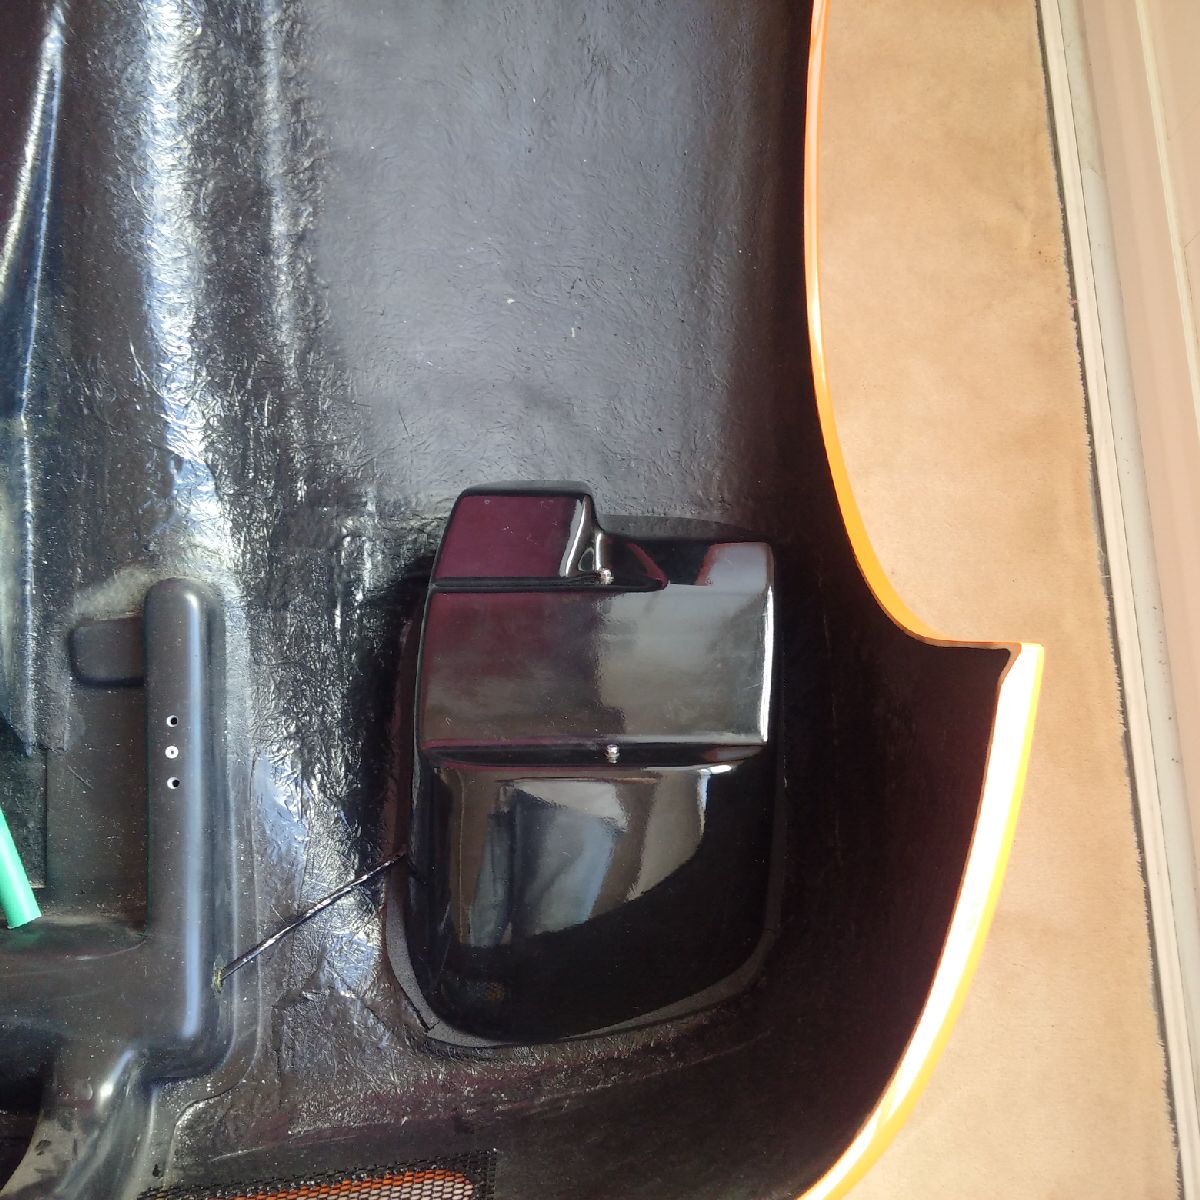
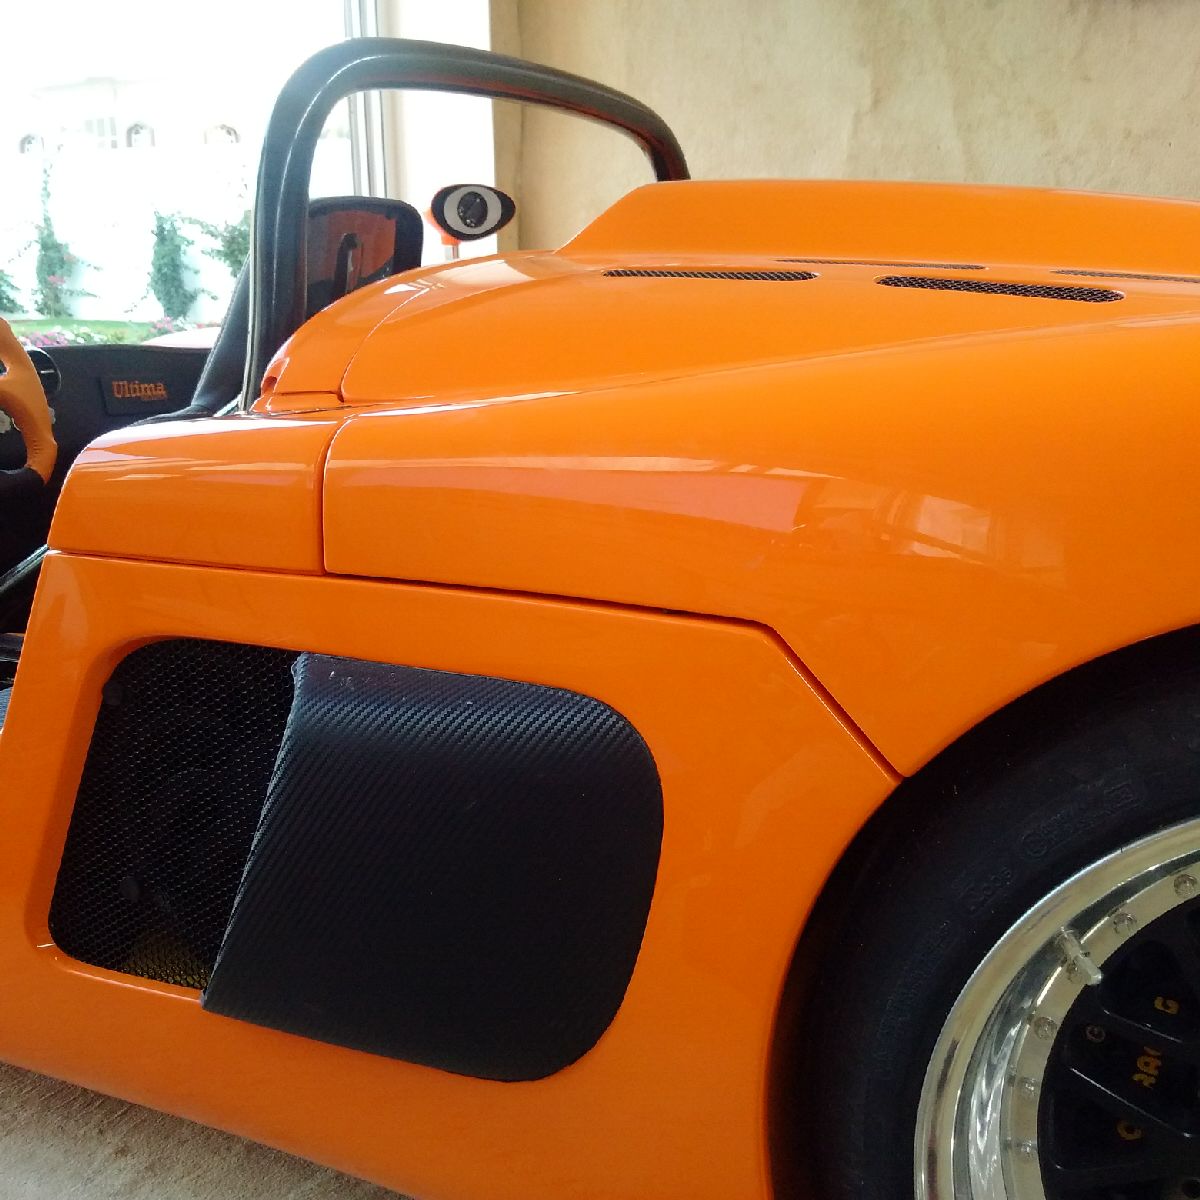
A couple short days in the workshop - I finished installing the rear GRP light enclosures on the front canopy, and then installed the four mesh grills - the mesh needed to be shaped and trimmed to fit the GRP holes, and all of them were installed using sikaflex... I used some pvc pipe and binding wire to hold the mesh in place while the sikaflex cures...
I also decided to test the engine, so the car was rolled out of the garage and started - and left to idle for about 15 minutes... the radiators kicked on about 8 minutes into the start, and there are no apparent fuel or coolant leaks.. there is still a small oil leak, but I hope its nothing major and will be looked at more closely when I put the car on the lift at the end of the build...
Dec 12-13, 2015
Build Time Today: 2 hours
Total Build Time: 395 hours
Not much time available to focus on the build as I am busy with work.. however, I was able to get two pieces started:
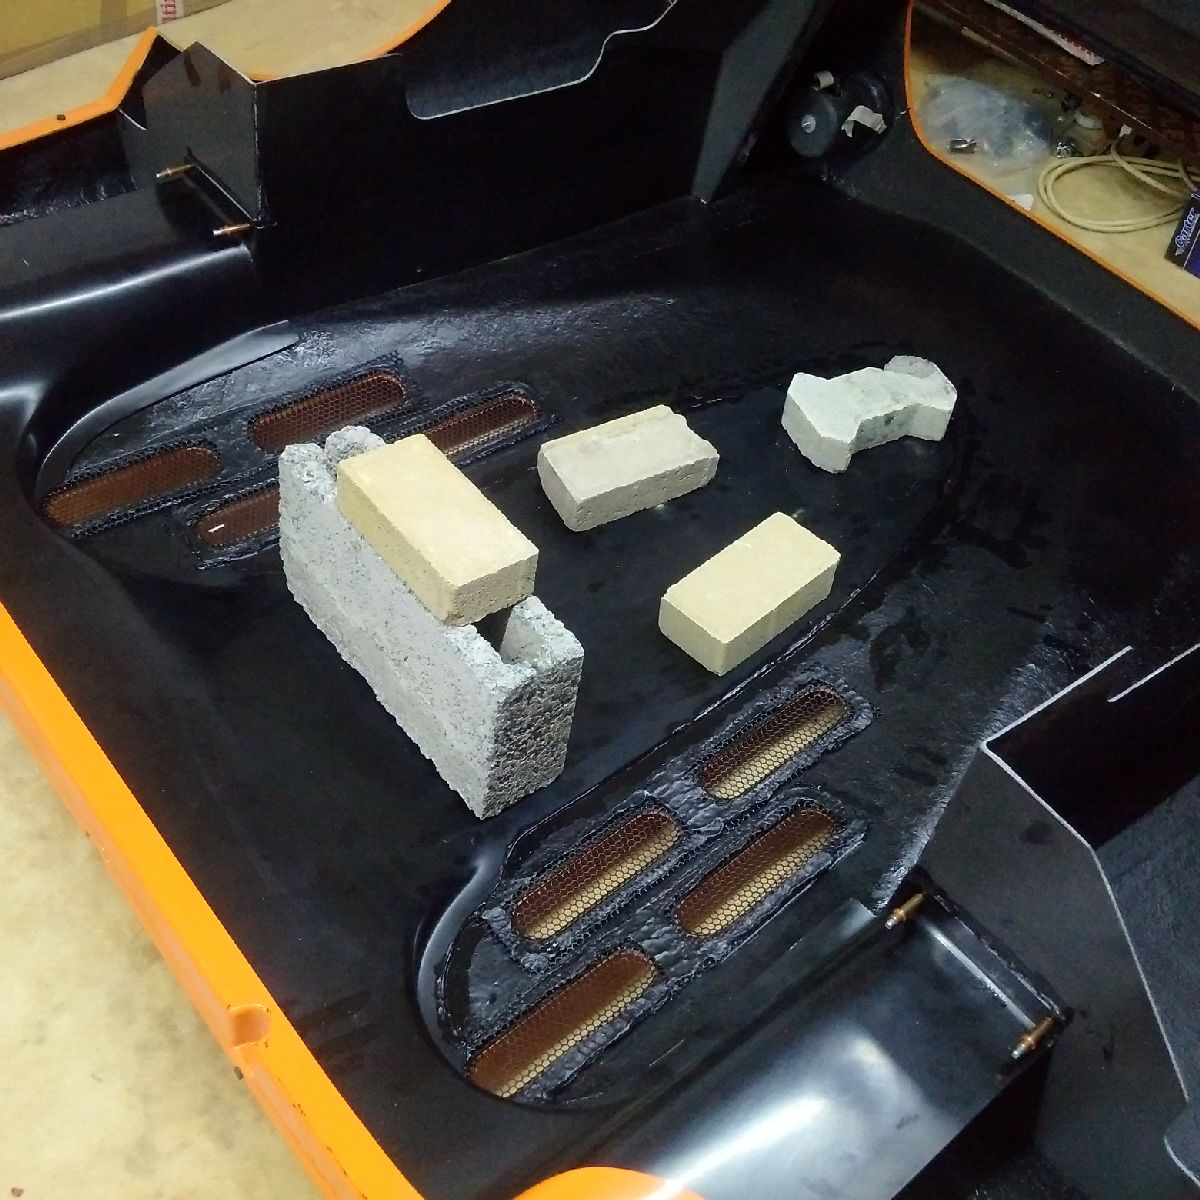
The rear canopy work has started - the cold air intake GRP was bonded to the underside of the rear canopy.. once the sikaflex has set, then I can work on the heat shield... the GRP intake piece is quite flimsy and will not stay flat with the canopy, so I had to use building bricks to weight the intake down as the sikaflex set...
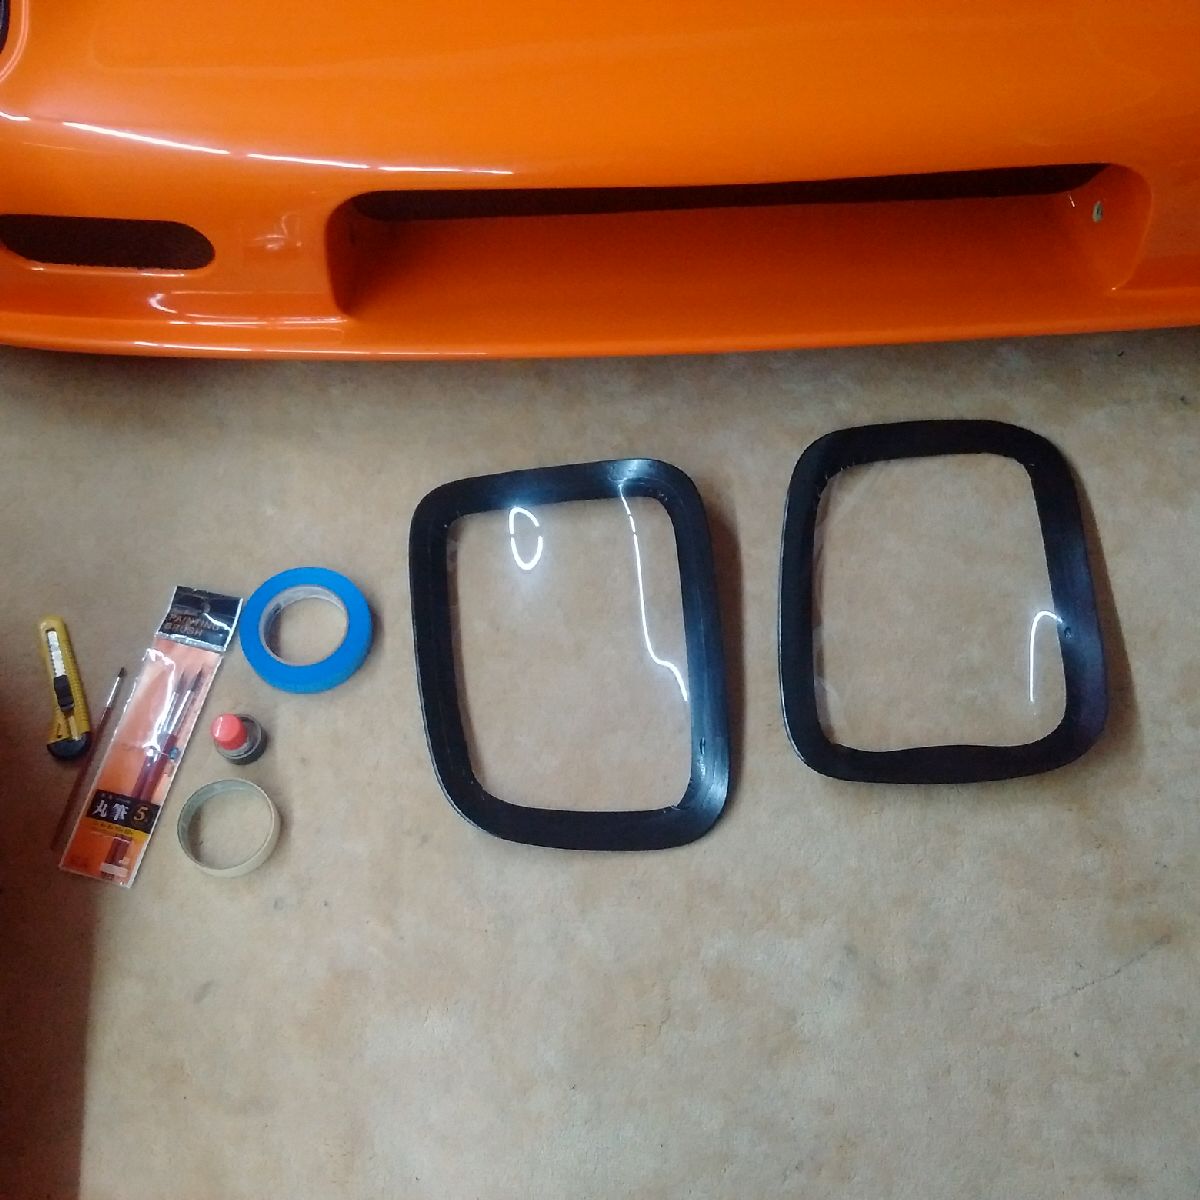
I also started work on the front light covers... the outside edge was taped up, and then the inside was taped using the outside tape as a guide - this way, the gap on all sides will be the same... the black primer was then applied to the light covers and left to dry.. a second coat will applied tomorrow, and then the covers will be ready to fix...
Dec 14-20, 2015
Build Time Today: 11 hours
Total Build Time: 406 hours
Website update has been lacking this past week, hopefully I will be better in these last few weeks of the build...
I have been unable to install the front light covers because the black primer dried out in the bottle literally overnight. I have just received some more primer, but will save to use it until the side windows are ready to be primed, so then the side windows, side screens and front light covers can all be primed from the same bottle...
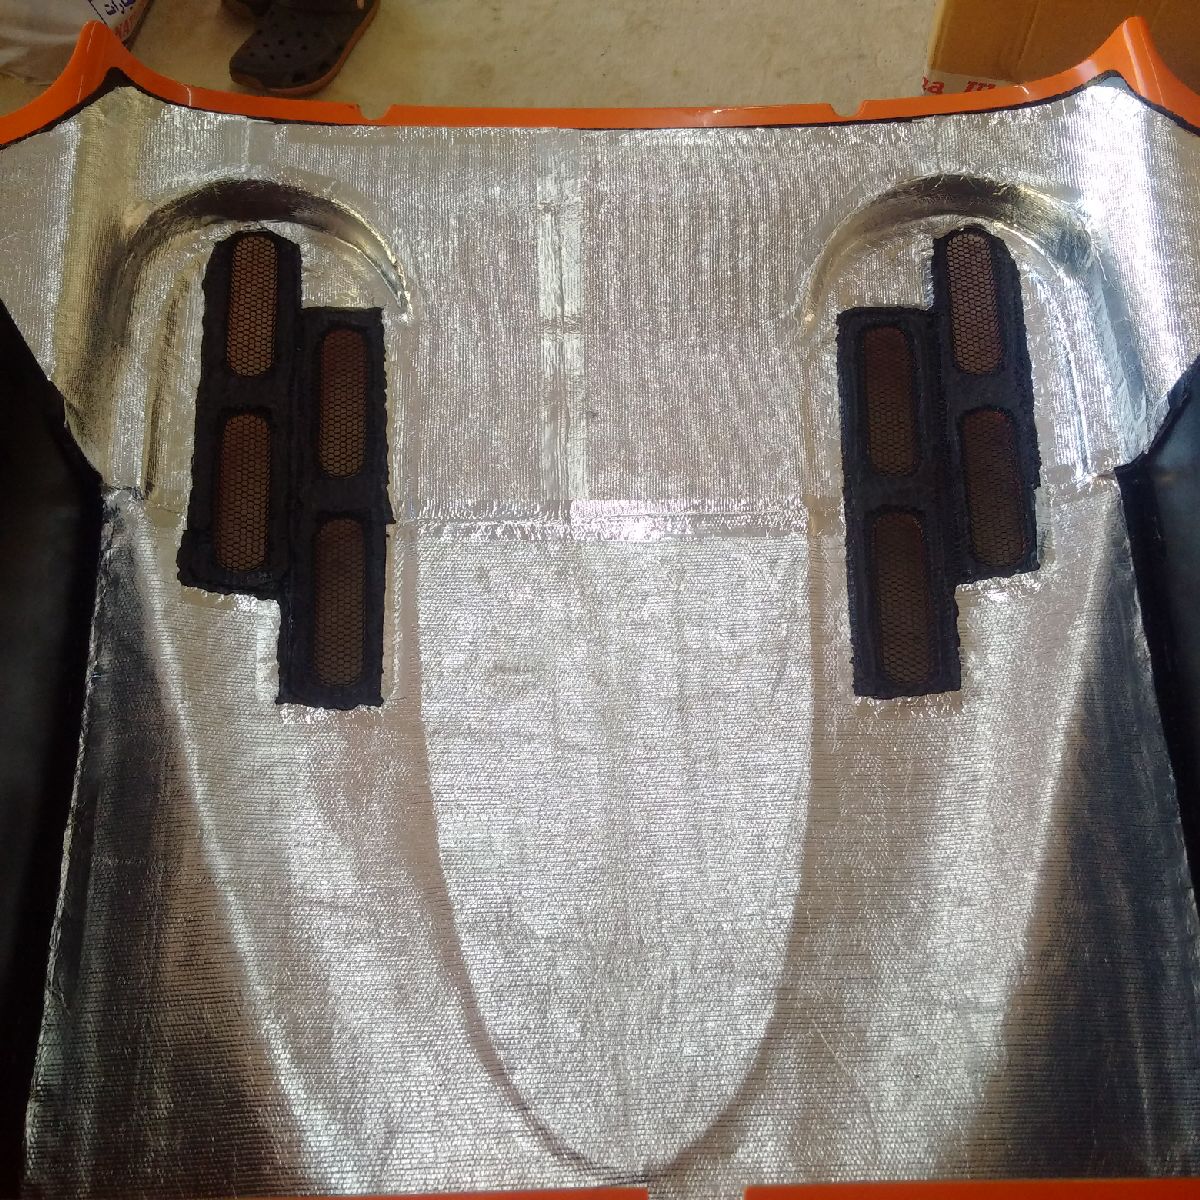
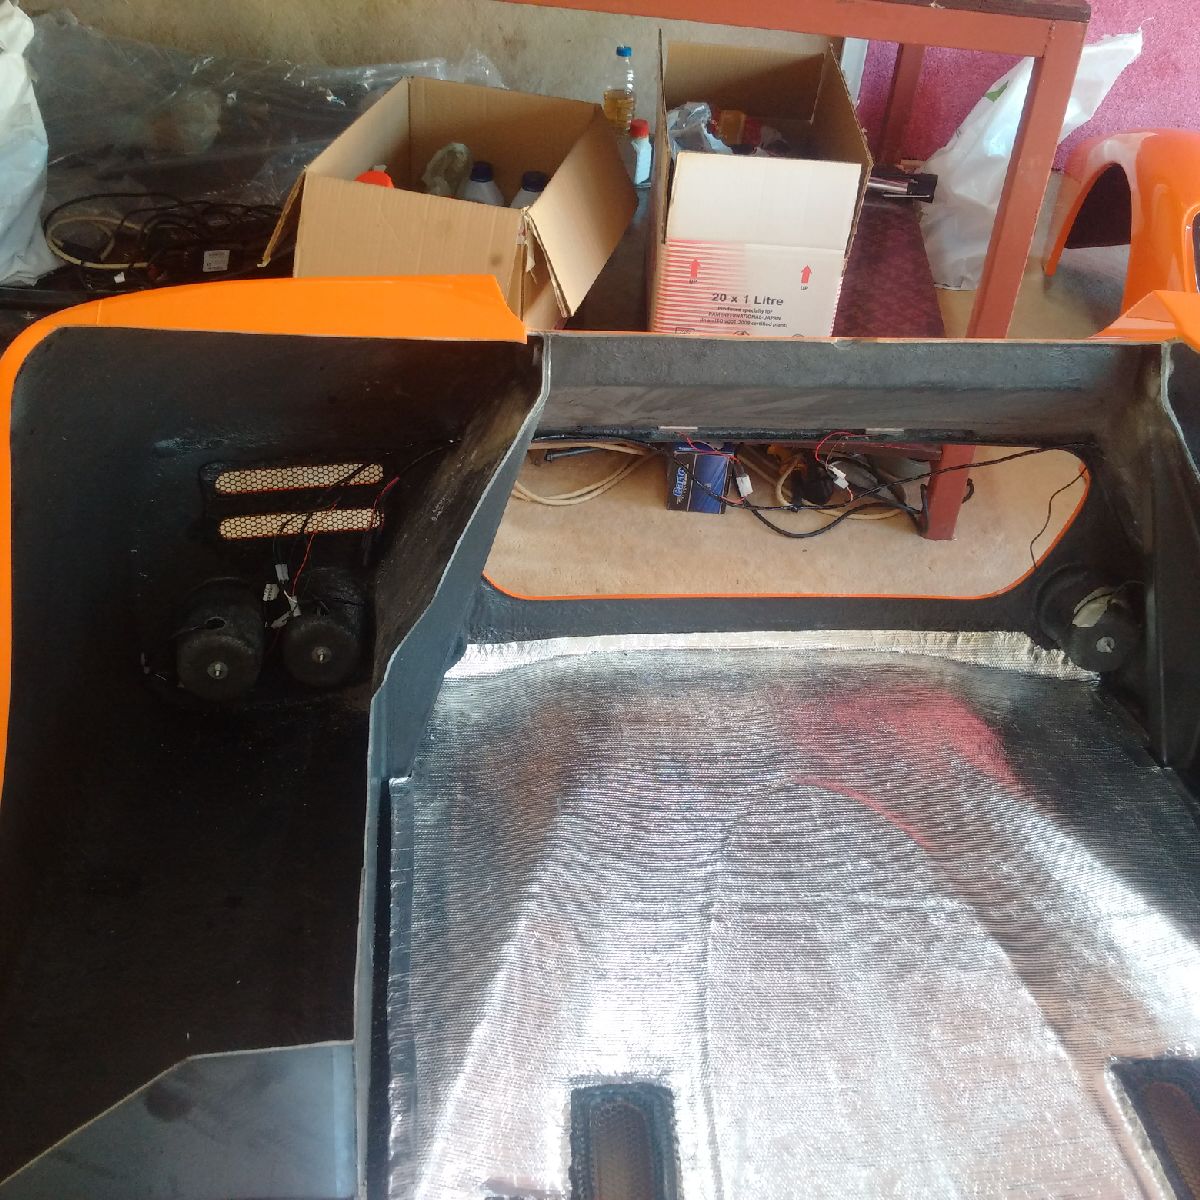
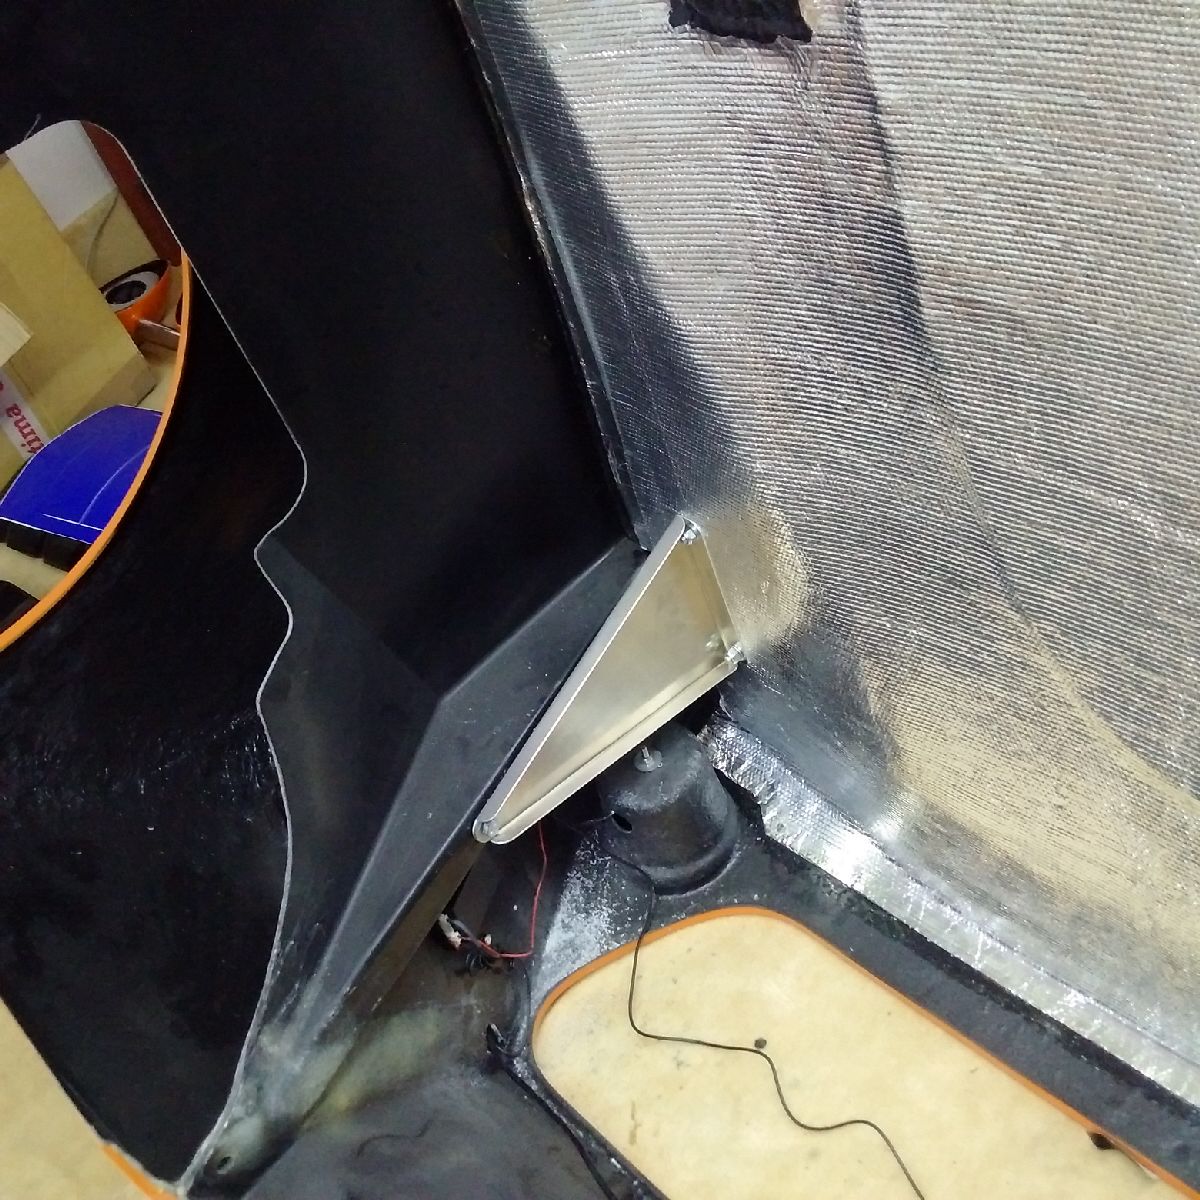
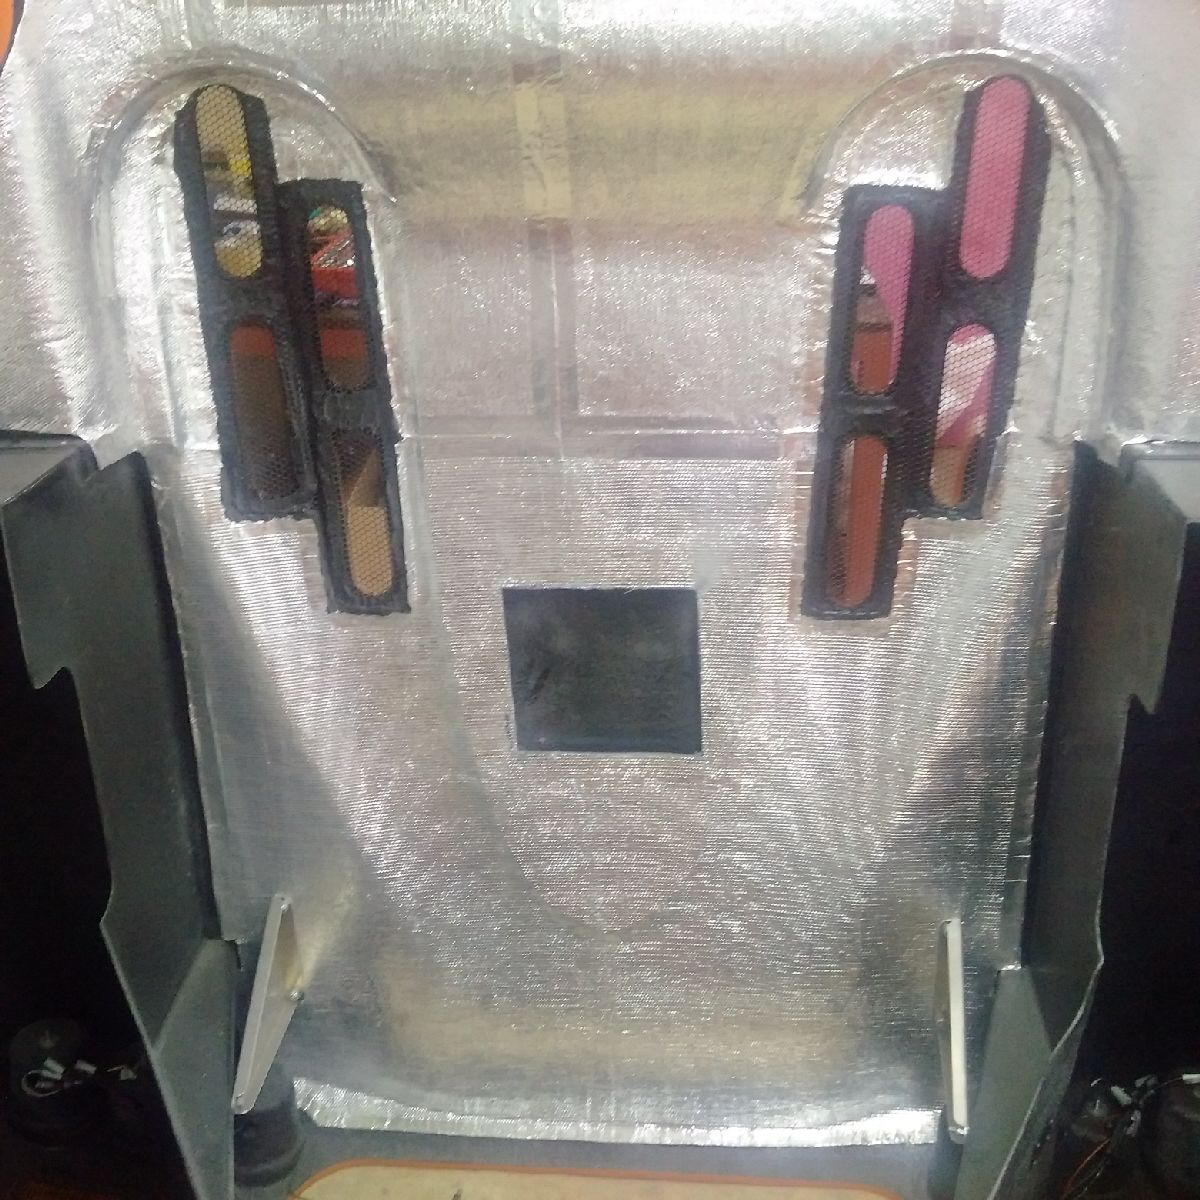
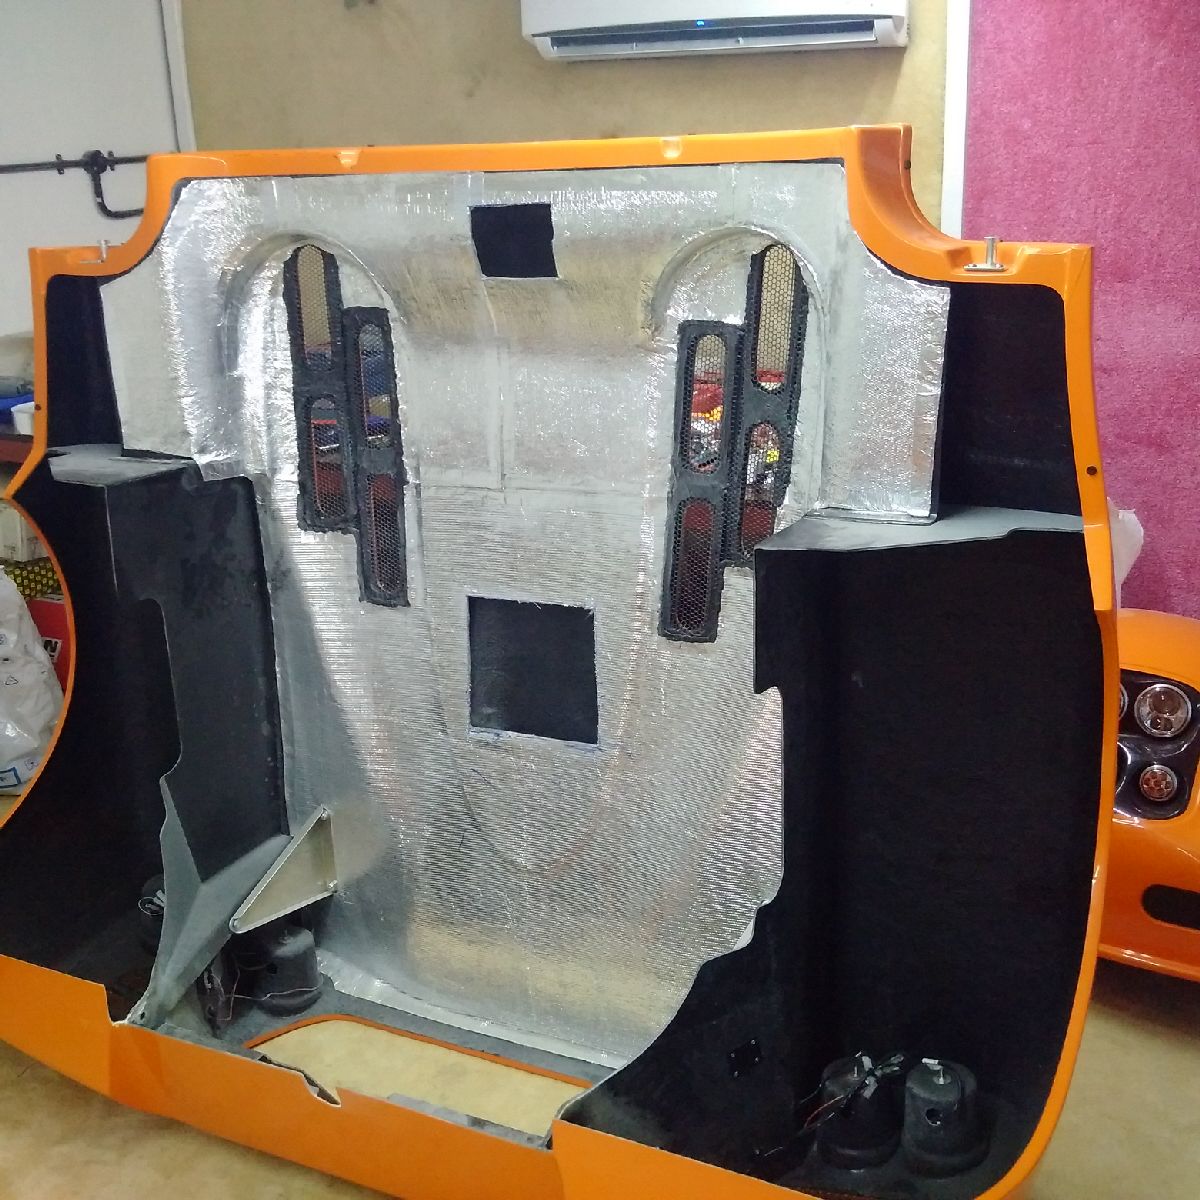
I spent about 8 hours this week working on the heat insulation of the rear canopy - the ally heat sheets were first cut to fit the size of the rear canopy with the GRP intake installed previously. A total of 10 separate pieces were prepared to cover the entire structure, given the curves and recesses that need to be covered. Each piece was then taped around the edges with the use of foil tape (took more than 4 hours to do just this part). The pieces were then glued onto the canopy using high temperature contact adhesive, and left to cure for 24 hours. Once cured, all the edges on the outer side were stuck to the canopy using sikaflex, and all the inner overlapping edges were re-finished with foil tape... the end result is a very well fitting heat insulation covering the entire middle section of the rear canopy as well as the entire GRP intake structure...
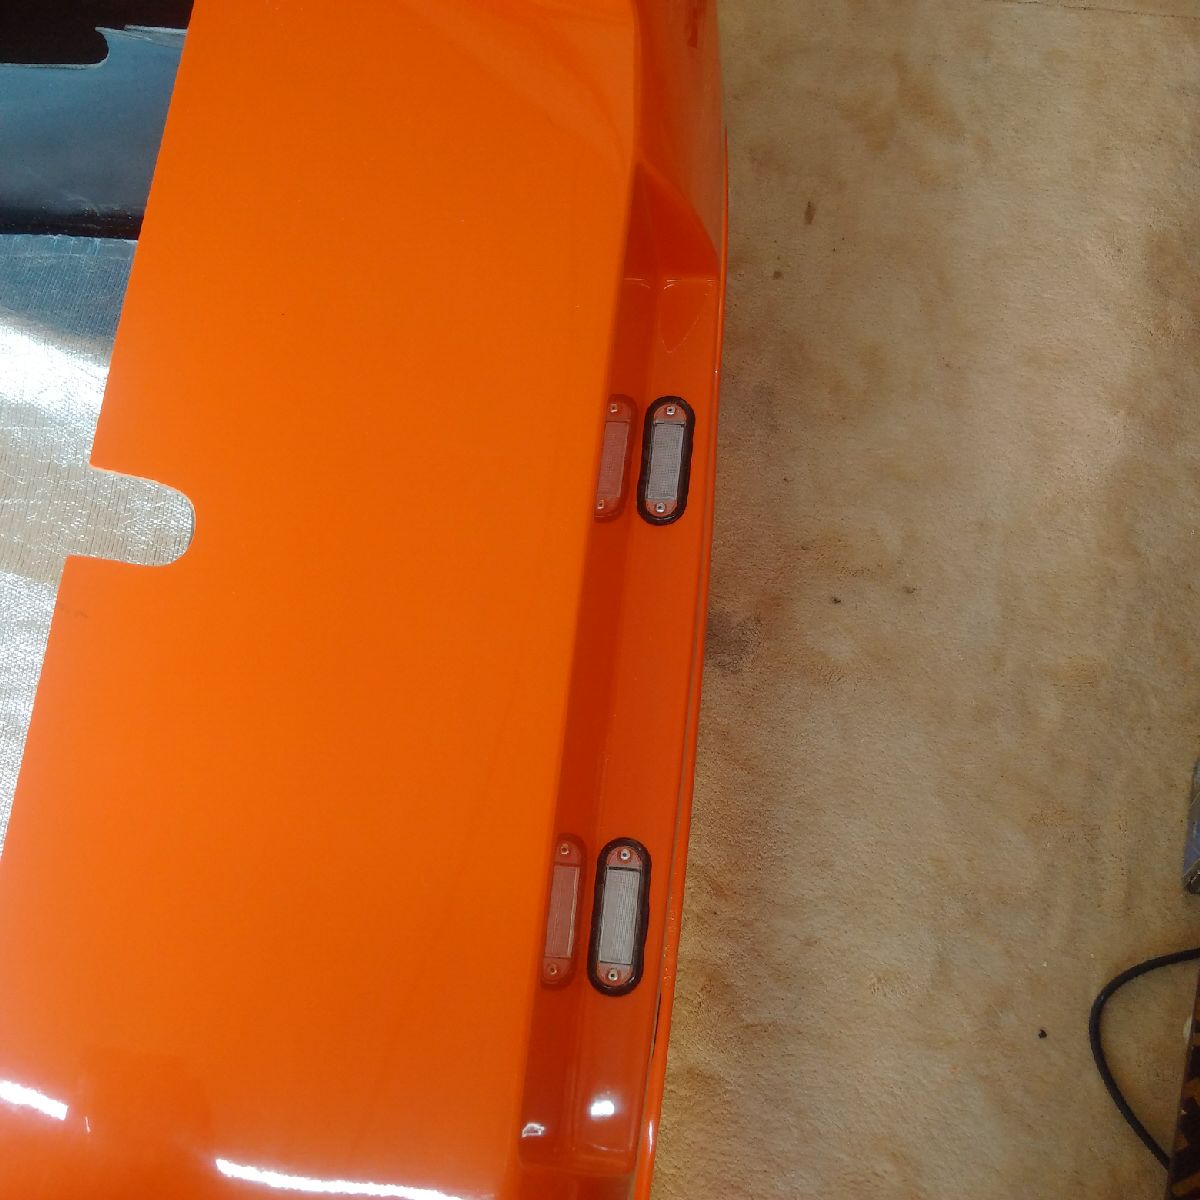
The number plate lights were installed next - the hole in the GRP needed trimming to fit the lights, which were finally riveted in. The rear lights wiring harness was then installed.. the lights were connected, and holes drilled to allow the wiring harness to pass between the GRP structures...

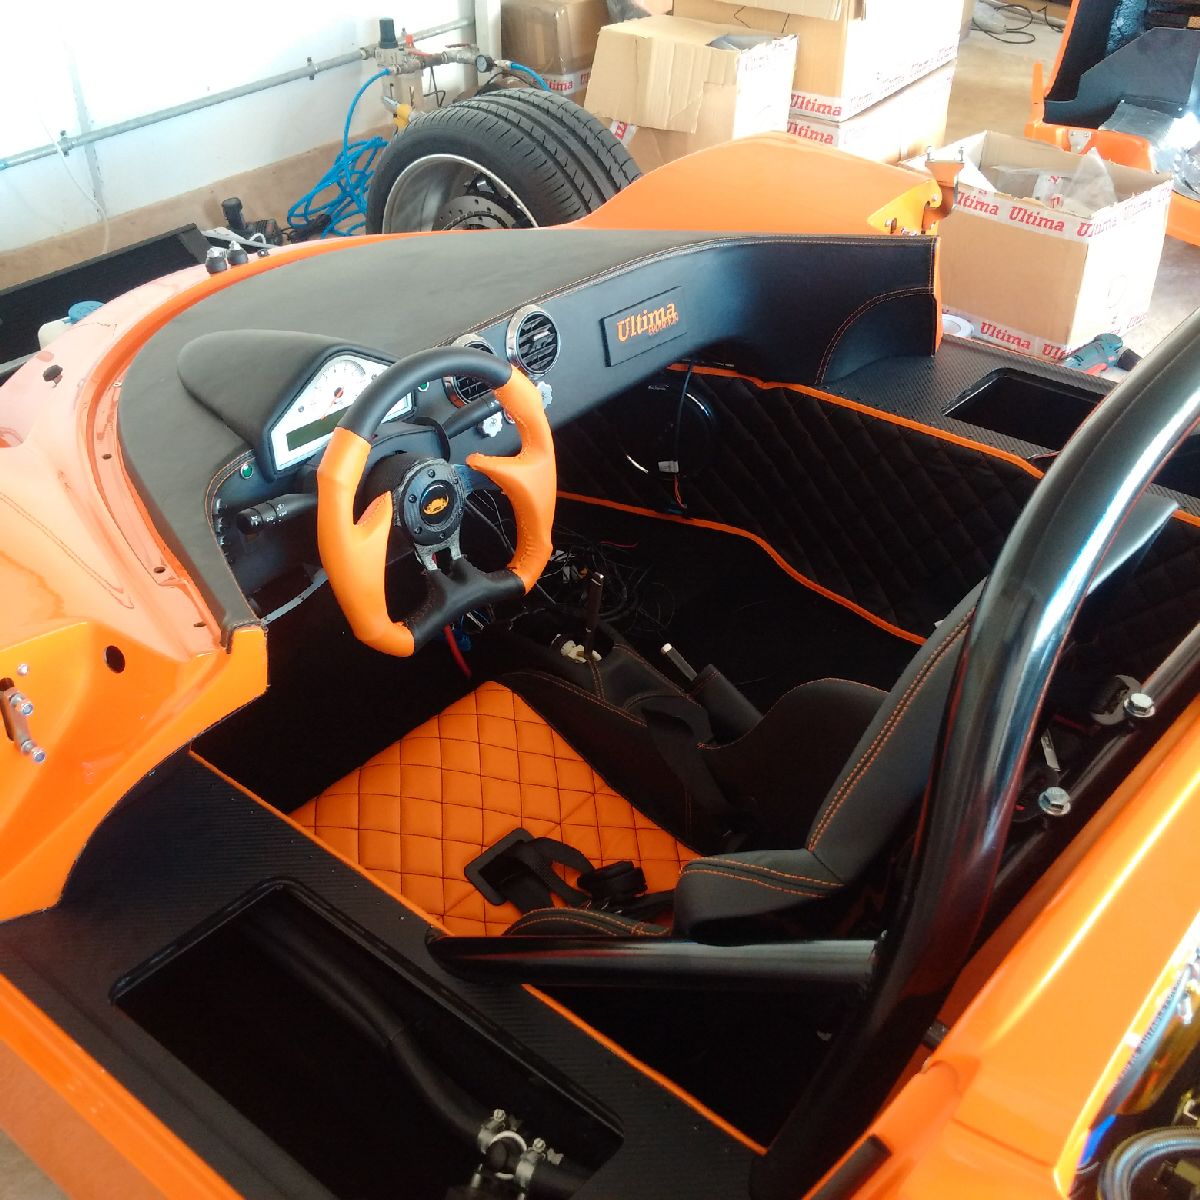
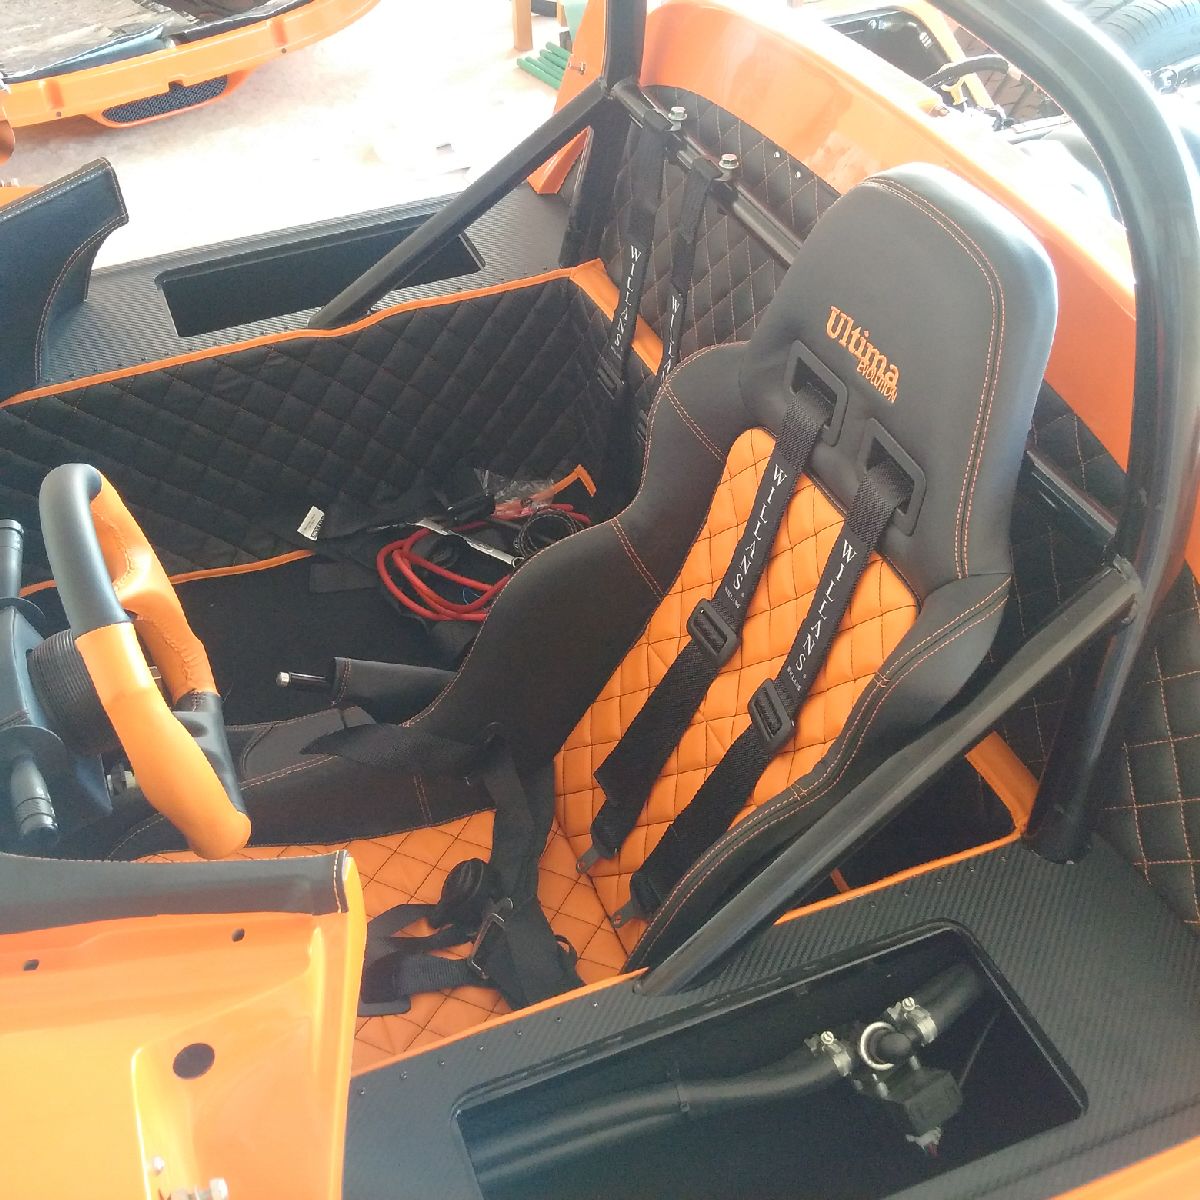
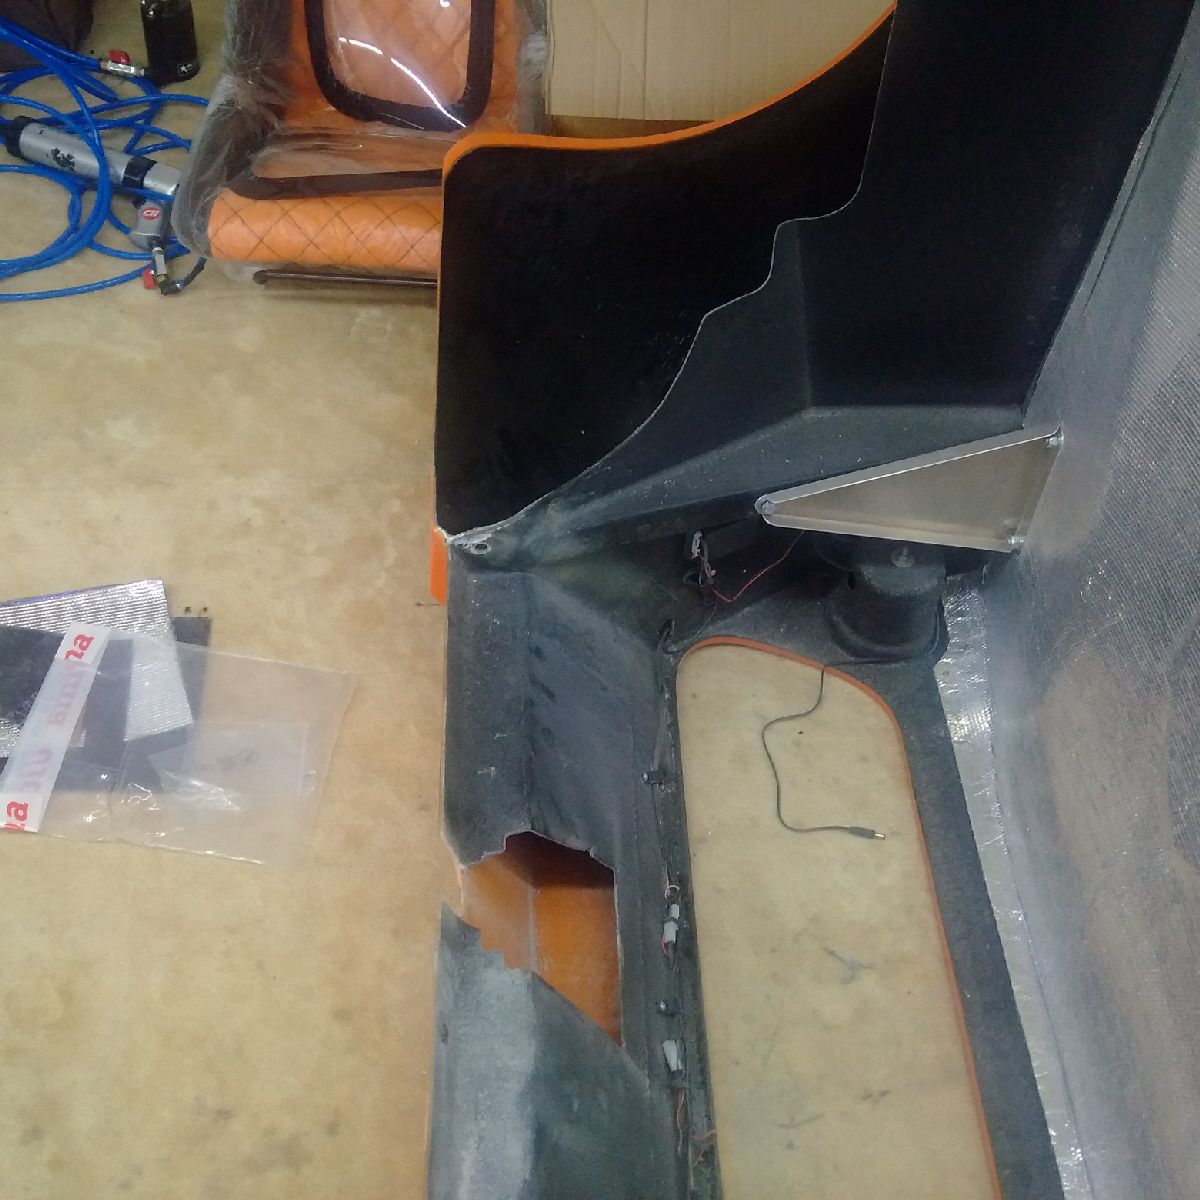
The centre console section was installed - simply a matter of putting the two pieces together and tightening the one screw... The seatbelts were installed and tightened.. The driver side seat was installed - this was a challenge! The four bolts on the runner took a LONG time to find their holes in the seat pans, and after a lot of swearing, the driver seat was finally in - after having threaded the seats belts as needed... the pax seat will not be installed until the ICE system is complete, so it will probably be the last thing to go in the car...
The transmission was filled with 75W90 GL5 oil, and then the breather tank was connected and installed... The car is now ready for its first drive!
Dec 21-22, 2015
Build Time Today: 4 hours
Total Build Time: 410 hours
I spent time preparing the rear clip - since the insulation had been installed, I now worked on other rear canopy items: rear lights had been installed earlier, so they were final tightened. The wiring harness was P-clipped to the body. The wires for the parking sensors and the rear view camera were also run and connected to the reverse tail light...
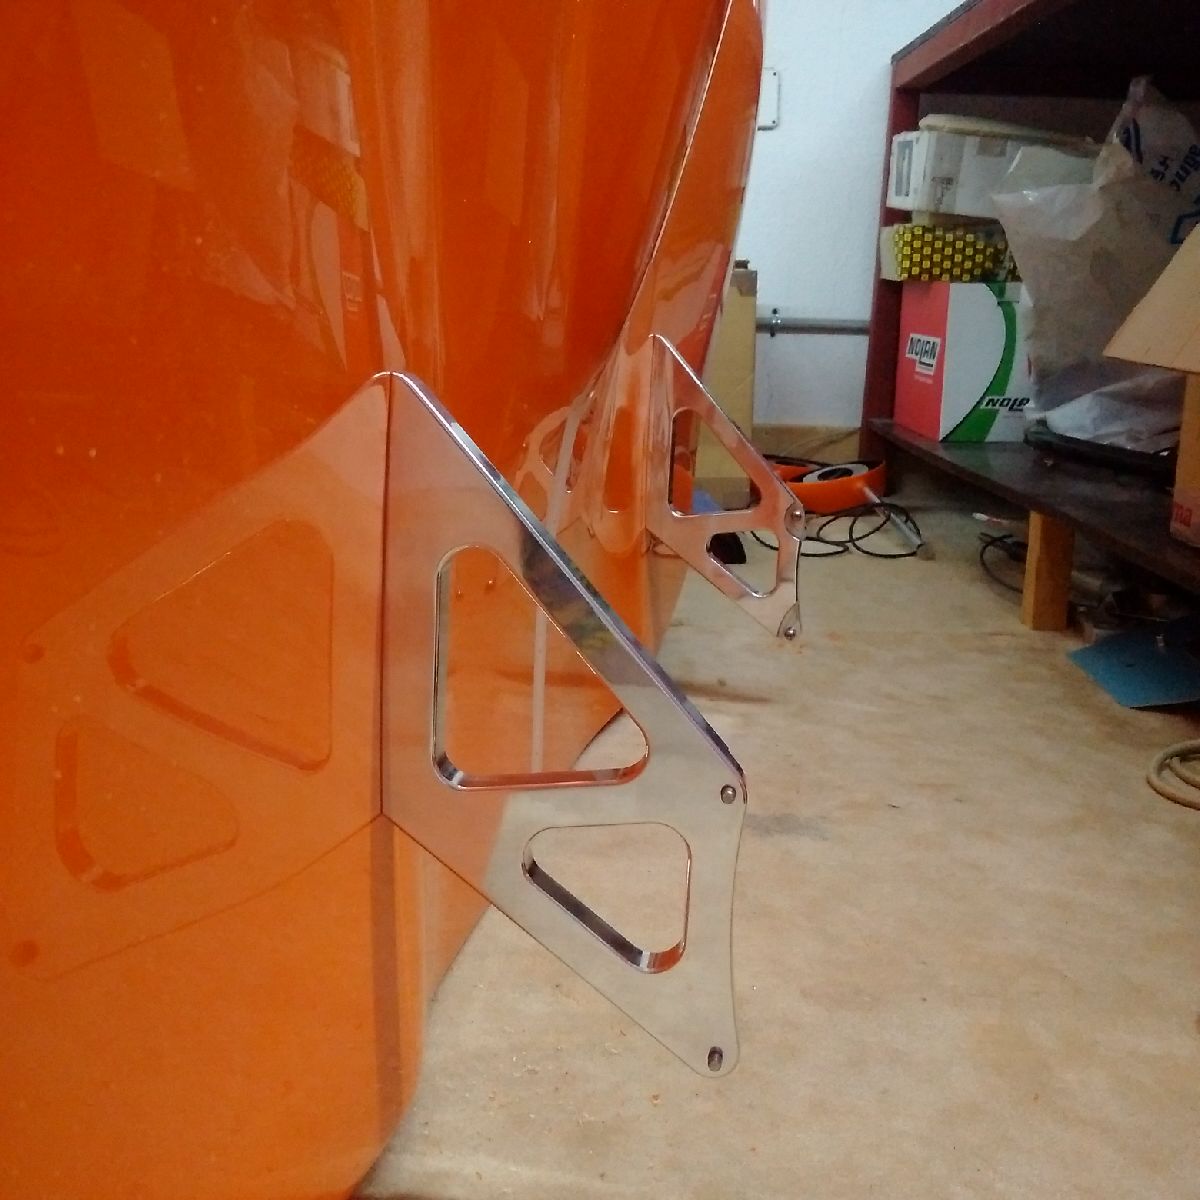
Finally I started working on the rear wing - the wing supports on top of the canopy attach to wing pylon supports that are inside the canopy. It took a while to position the external supports correctly - I had to make sure they were perfectly aligned with each other and the body, and that everything was 'dead center' so that nothing appears to any one side as this will be the finished look for the wing... A lot of measurements and re-measurements later, the 4 holes for the supports were drilled... The external pylons were temporary fitted and the internal pylon supports placed to find the location for drilling the GRP support bolt holes... Those holes were drilled, and then the pylons and supports were fitted... Now the rear wing can just be bolted on once the rear canopy is installed on the car!
I also tried to take the car on its first drive, but was unable to as the clutch is not engaging completely - the slave is probably not bled completely, so that is one pending item for later...
Dec 23, 2015
Build Time Today: 2 hours
Total Build Time: 412 hours
A short day in the garage...
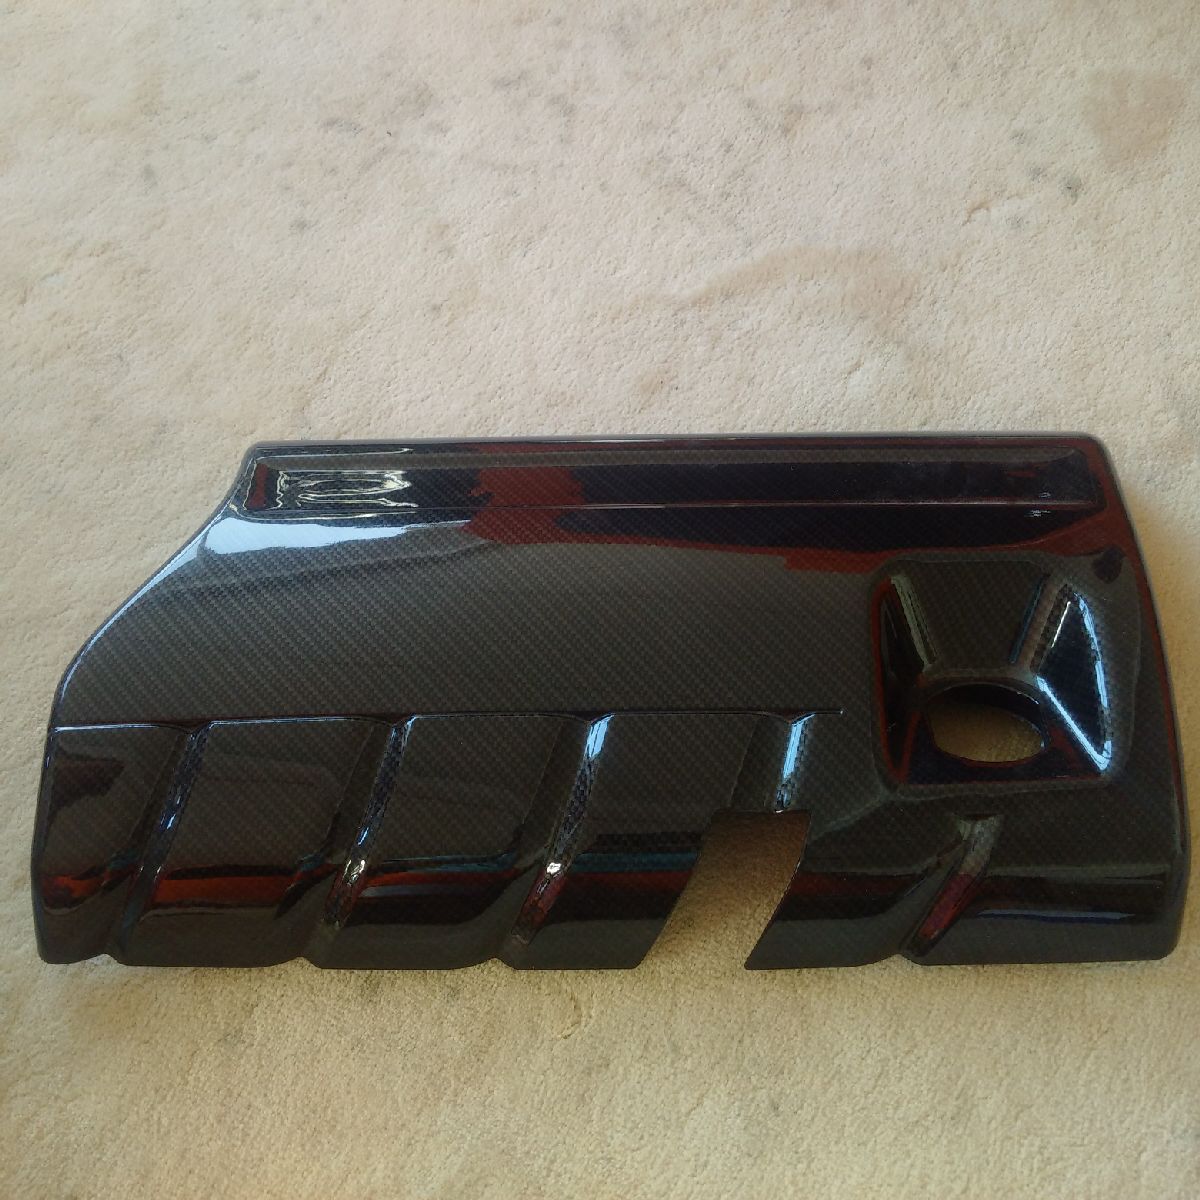
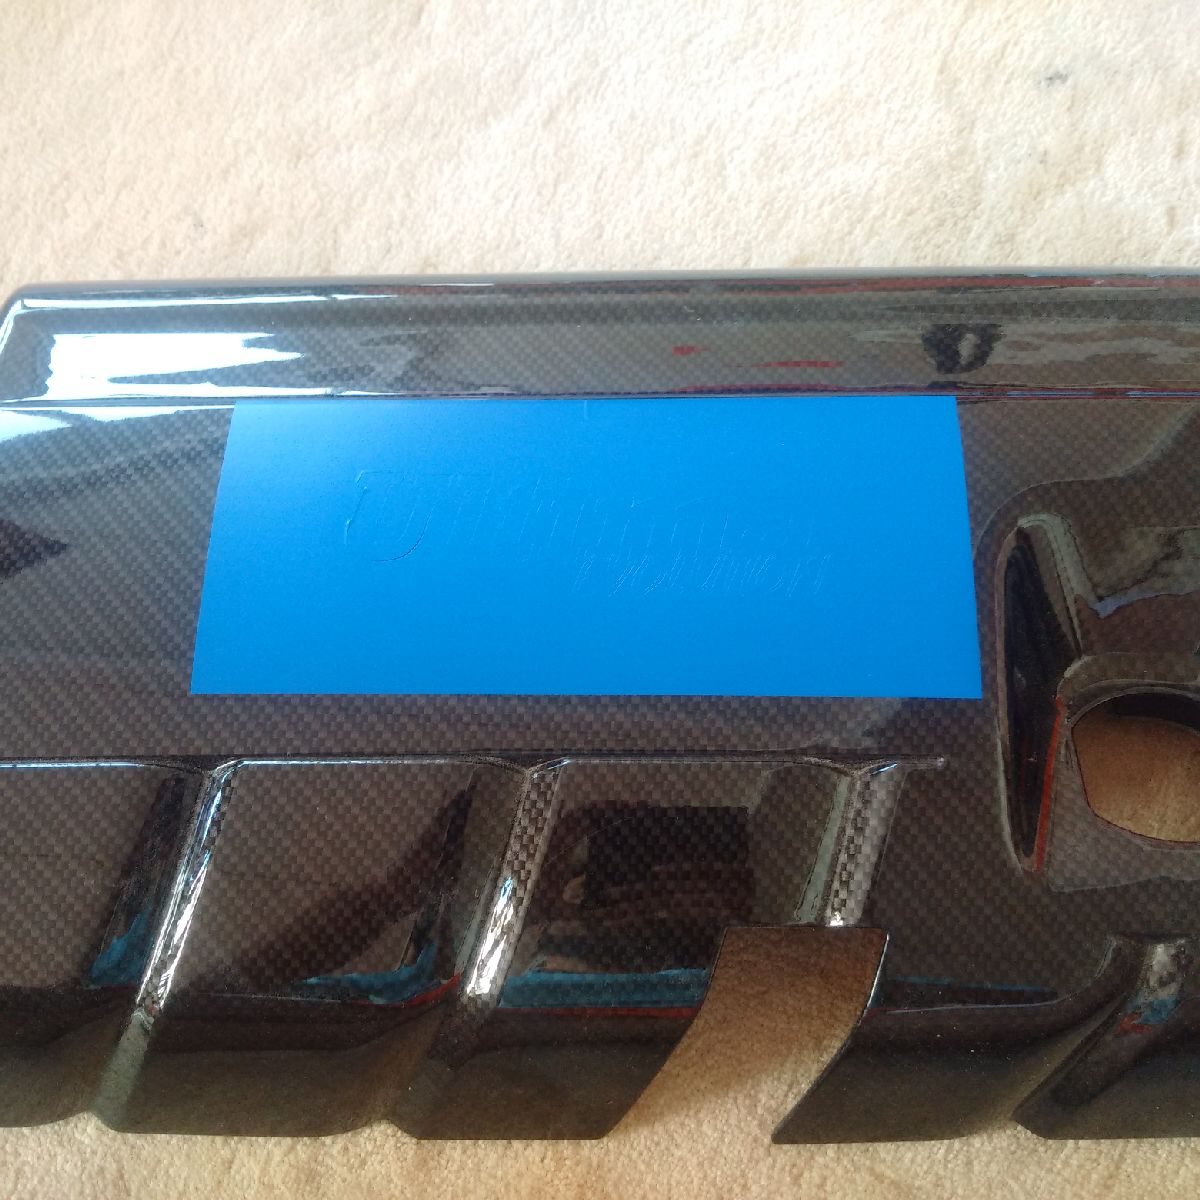
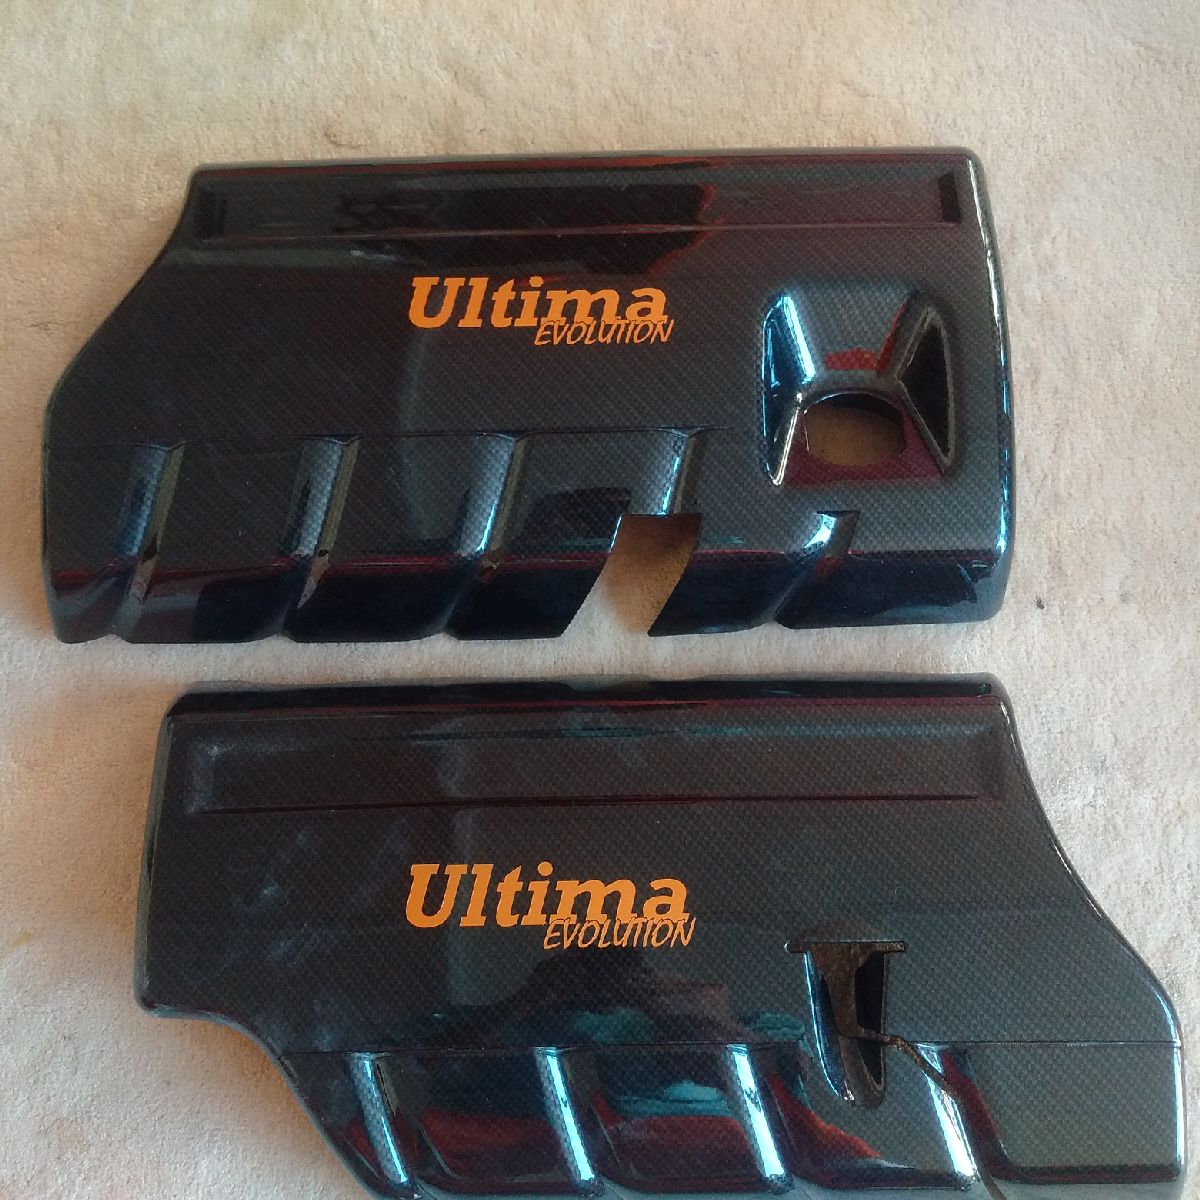
I started off with painting the CF LS engine covers... A sticker template was applied, cutouts removed, and the cover wrapped in bubble to protect the non-paintable areas... Three layers of gold paint was applied and left to dry... Once dry to touch, the wrap and template was removed, and the covers can now be fitted once fully cured in about 3-4 days...

While the paint was drying, I spent a little time re-bleeding the clutch... Hopefully the car will be driveable tomorrow!
Dec 24, 2015
Build Time Today: 3 hours
Total Build Time: 415 hours
Another short day in the garage, but another milestone achieved!
The clutch was bled again, this time with the help of the Mrs! The engine was started, and the car slowly put into reverse, and eased out of the garage!! IT WORKS! I took it out into the neighborhood with the intention of driving its first mile, but had to return back to the garage within a few minutes having only put 0.2 miles on the car! However, I was able to change gears from 1-2-3 and the clutch and gearbox are working fine... I had to turn back because I was driving with no front canopy, and no windshield... the front tires started throwing alot of small stones/chips/dirt onto the top and into the passenger compartment, even going ~10kmph.... So I turned around, and will do a more complete test once the front canopy is put on... However, I have now had my first drive!! And NO LEAKS!
I spent the rest of the day prepping the doors for installation - they are finally back from the trimmers, but I was not too happy with the finish on the lower edge - so I spent some time trimming off the excess and making a straight line a few mm from the bottom edge... I then drilled holes for the mirror and central locking wiring to be able to pass between the doors and the dash GRP... the holes in the door and the dash were then fitted with a rubber grommet...
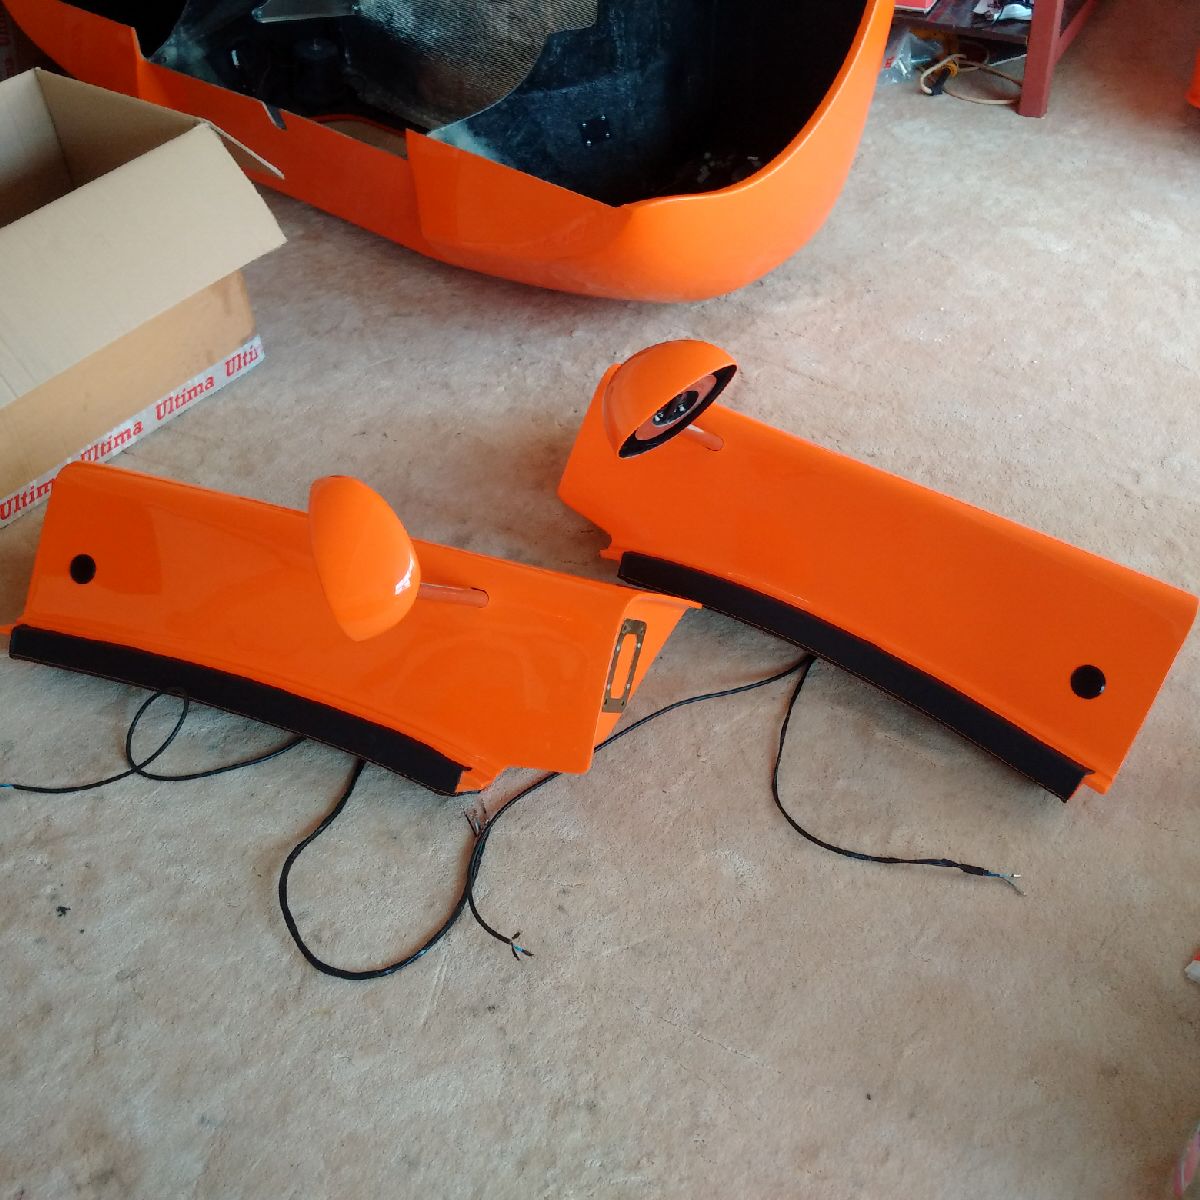
The mirrors were the final items to put on, but there was a problem - since I have already wired the motor, and attached everything earlier in the build, I was hoping to only pop it into the door and be done with it - however, the mirror housing will not fit in the door with the wires attached as the hole in the door is a tight fit for just the housing - with the wire sticking out, the mirror will just not go in! I had to unscrew the motor and the top GRP housing, and then pull the wire backward back into the metal housing... the housing was then installed in the door, and then the wire taken out while working inside the door (alot of cussing and GRP splinters in the process)... once the wiring was out and accessible (within the door), then the wire was pulled all the way back, top GRP housing reattached to the metal housing, and then the motors re-screwed back... The doors are now ready for install!!
Dec 25, 2015
Build Time Today: 7 hours
Total Build Time: 422 hours
Merry Christmas! Being a holiday, I decided to spend the entire day working on the car...
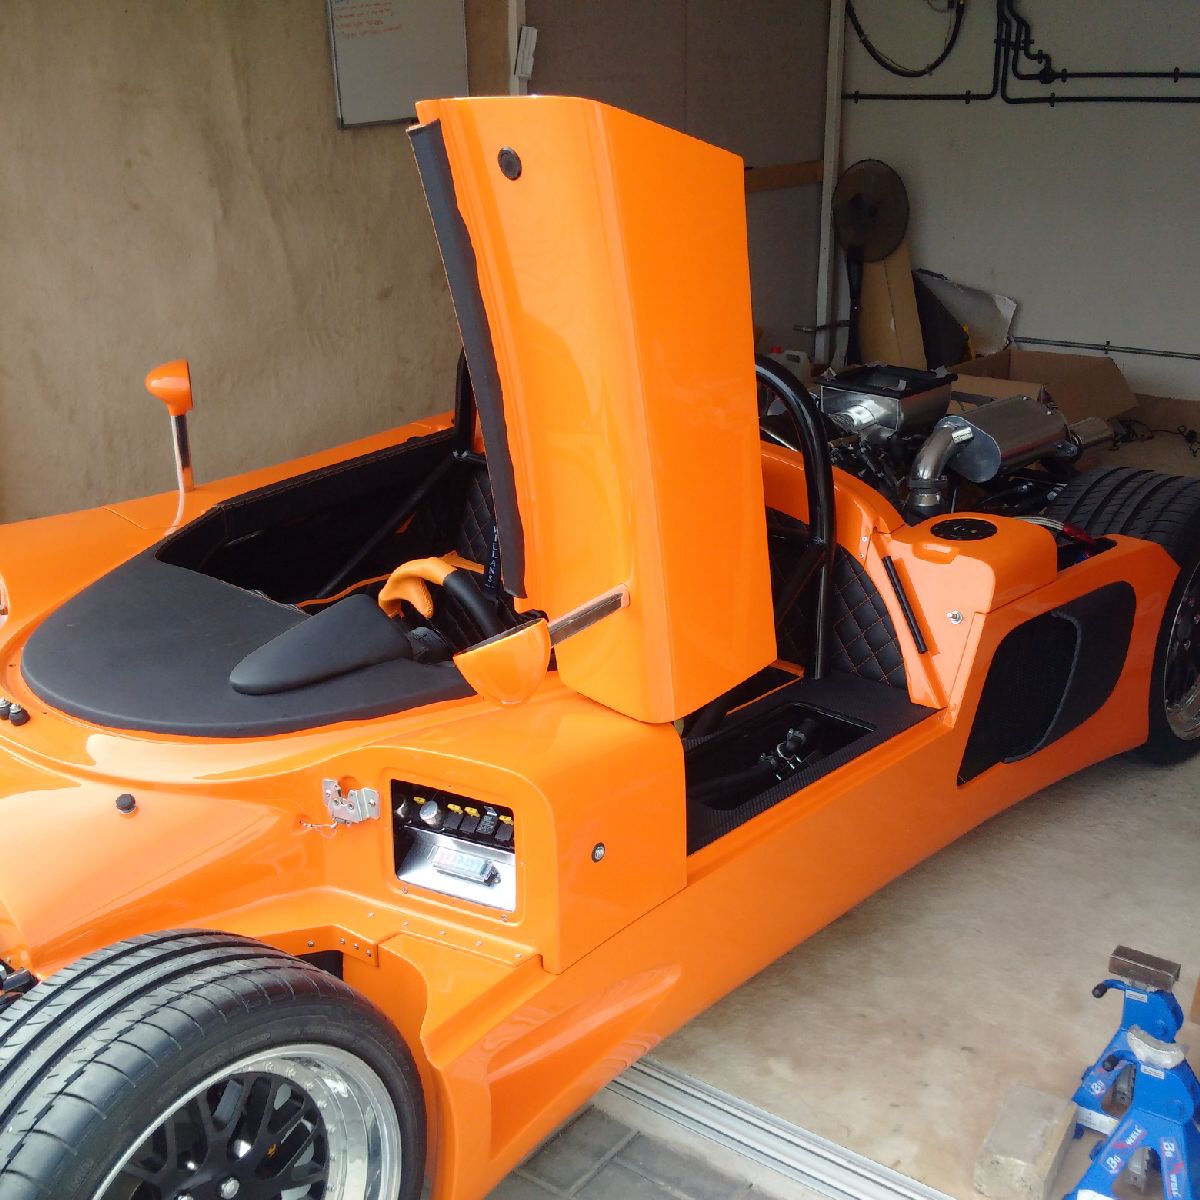
First item on the agenda was getting the doors installed - each door was carefully lined up with the 4 bolts on the hinges, and then the bolts were tightened from inside the door - I do not know how anyone with *larger* arms than mine can do this! It was a nightmare accessing those bolts.. After getting the doors on, I checked the operation of the hinges and pistons to make sure the doors cleared the GRP, and everything seems to be working perfectly..
Once the doors were installed, I wired up the mirror and central locking systems, and tested both - and everything works as it should.
The Ultima fuse box and relay rail were installed to their bracket, and the bracket installed in the sidepod access panel. The front cover was then installed, after being wrapped in CF!
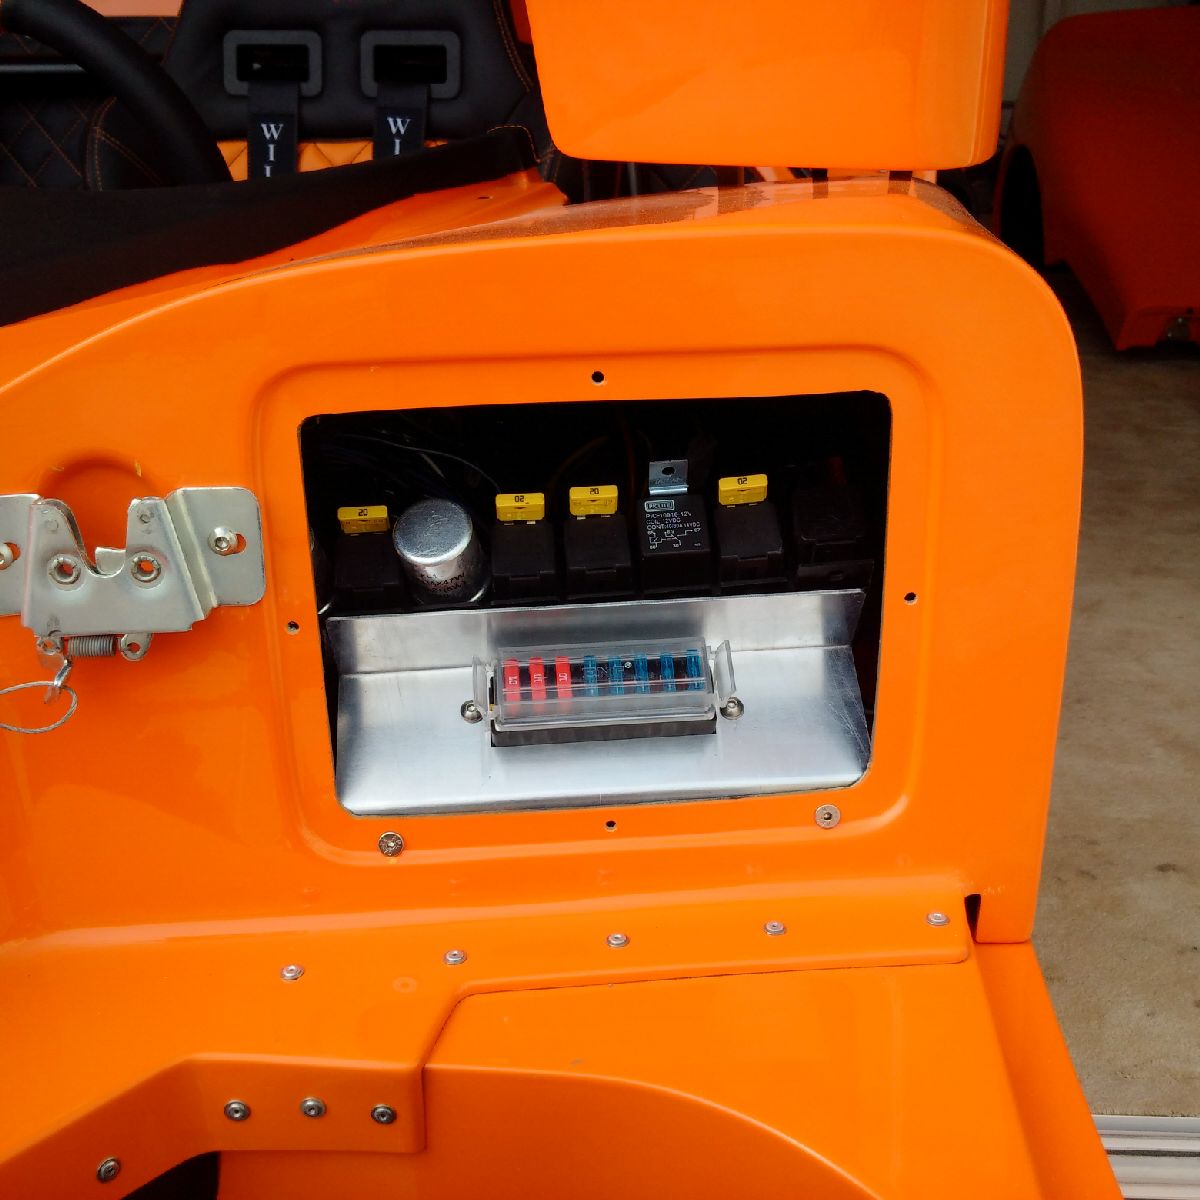

The passenger side fusebox/relay/ECU wires could not be finalized as the bracket required a lot of trimming to fit the AB power loom kit, and I was only able to get part of it trimmed...

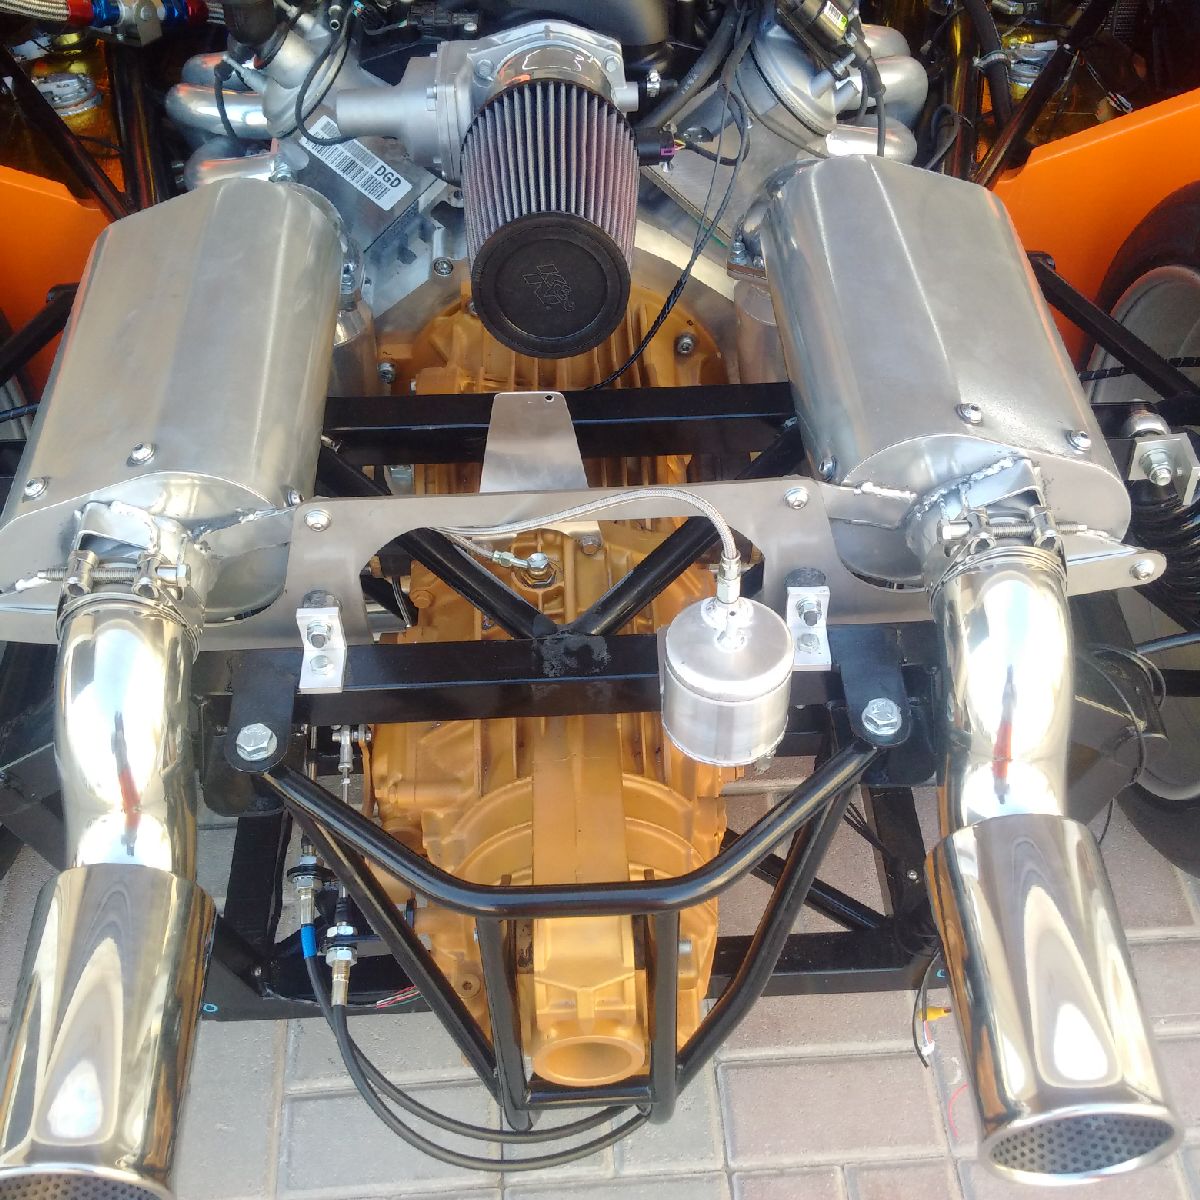
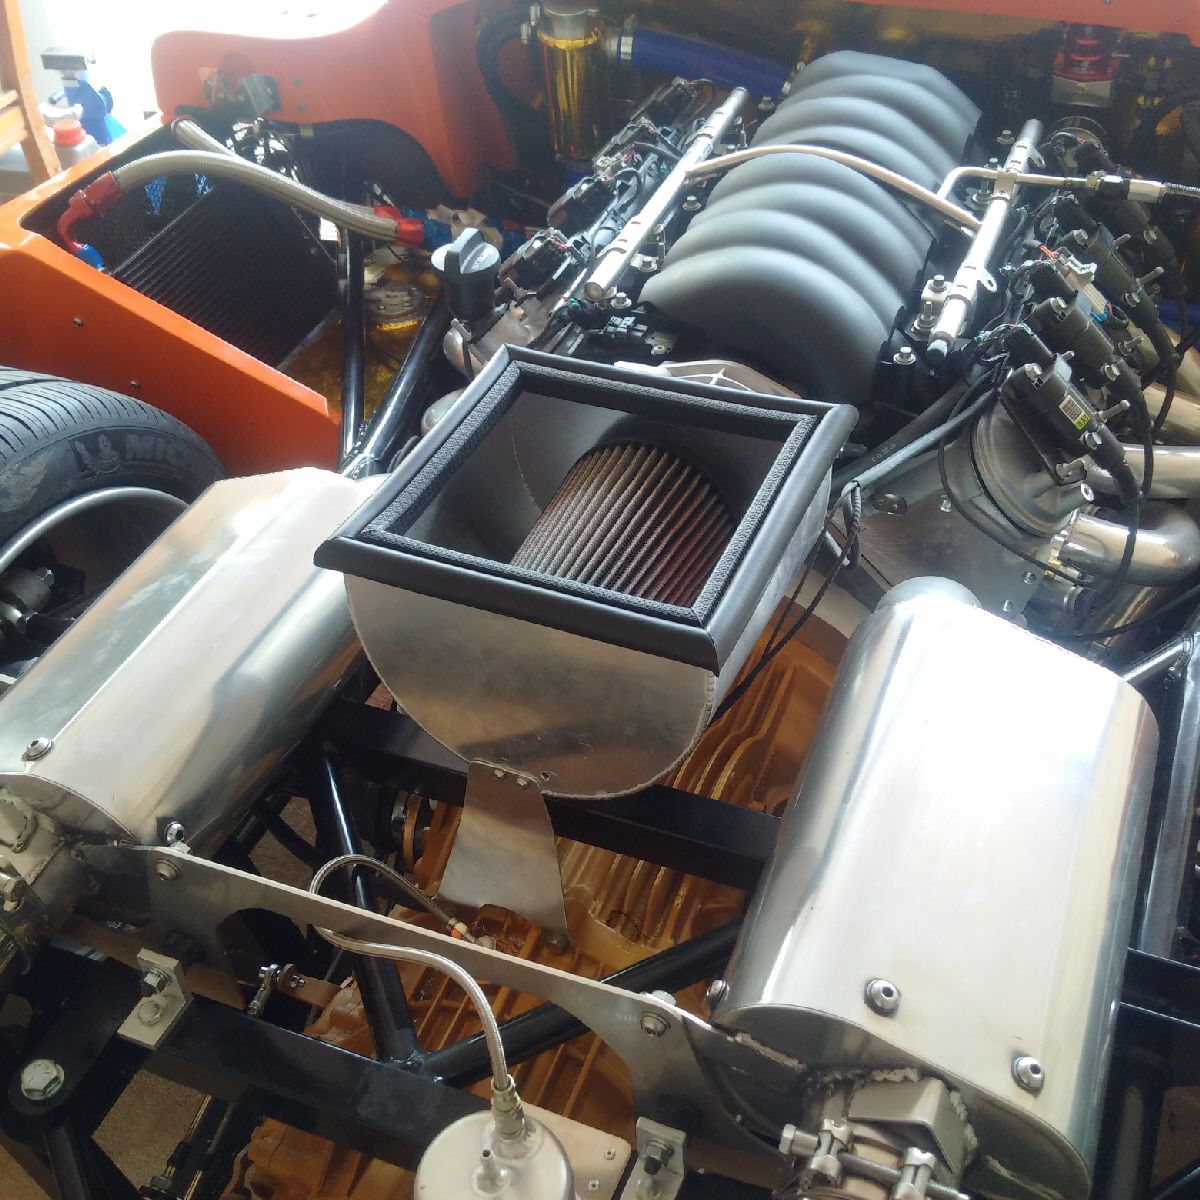
I then installed the air filter housing, making sure to get it level with the car...
Finally, I started work on installing the rear clam - the clam was offered up to the car, but it would not go on! Turns out the gearbox support is interfering with the GRP box section at the rear end of the clam... The gearbox support was removed, and the clam was tried again - however, now the gearbox is also interfering with the box section... In addition, it appears that the rear canopy is far too the left, and will need some washers to adjust the position... I have put up the question to the factory and to the forums... Work will proceed once a plan of action is figured out...
Dec 26, 2015
Build Time Today: 3 hours
Total Build Time: 425 hours
I got the passenger side ECU relay/fuses/AB power loom bracket installed.. and then the cover was installed to finish work on the under front clam area

I then spent some time trimming the rear canopy as required from
yesterday's troubles:
1) The hole for the gearbox support was cut into the box section of the
GRP to allow the canopy place to pivot
2) The GRP was trimmed along the lower right edge (by the rose joint)
and in the centre section (where the hole for the gearbox support bolts)
3) The hole for the airbox in the center of the heat mat insulated GRP
intake
Dec 27-28, 2015
Build Time Today: 5 hours
Total Build Time: 430 hours
The rear canopy was finally fitted (temporarily) - it took some more trimming of the gearbox support area to make way for the cables, and there was another box section of material that had to be removed from the intake GRP that kept interfering with the intake manifold of the engine... In addition, two notches had to be made in the canopy to make space for the canopy warning lights wiring... Finally, the oil cooler lines had to be rerouted as they interfered with the closing of the canopy - all in all, in took a while to get the canopy to finally fit in place... It was finally removed, so that the final work could be carried out before permanently mounting it - namely, all the hole in the GRP canopy were now taped with ally tape, with the hole above the intake manifold being closed with heat insulation and tape... The last mesh panel was also installed, and will be later cut for the tail pipes...
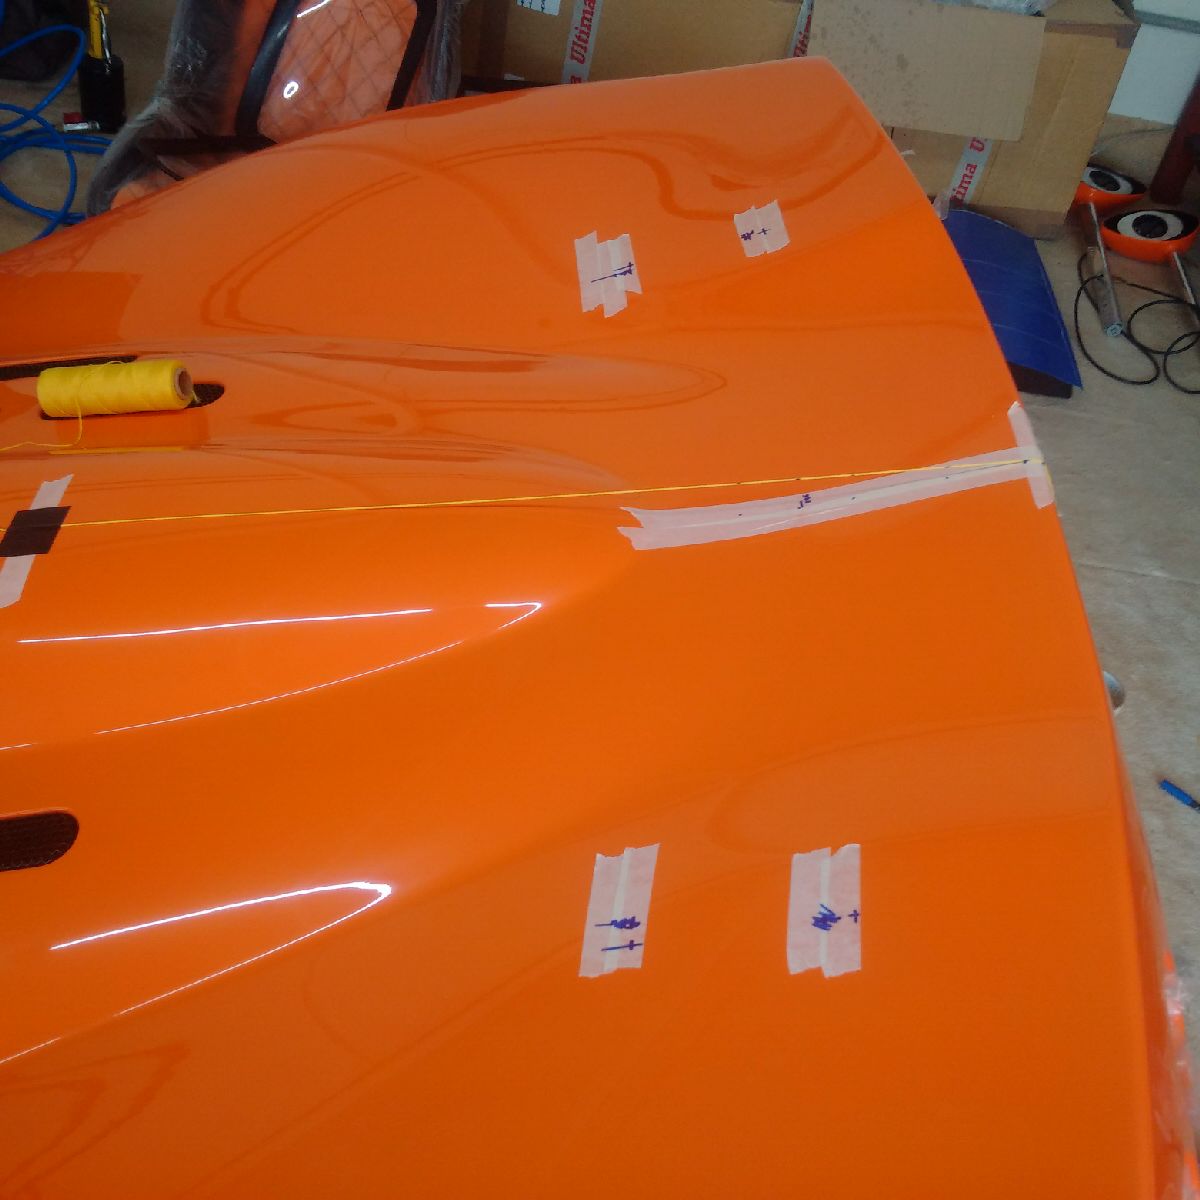
I then started to work on the windscreens/side screens... all the relevant parts were removed from the boxes and examined, and a plan of action was made - the plexiglass will need trimming for the front wind deflector and for the side screens. Since I currently do not have the equipment to trim acrylic, they were only marked for the time being.
Dec 29, 2015
No work today as I am busy with year end stuff at work...
Dec 30, 2015
Build Time Today: 2 hours
Total Build Time: 432 hours
I started work on the 'glass works' with the installation of the front windscreen... The frame was placed in the chassis, and the windscreen was laid on top and checked for clearances and size.. Everything looks ok, so a centre datum was marked so I know where to place the glass for the best fit after applying the adhesive...
The glass and frame were removed, and a layer of butter paper was used below the frame to keep any adhesive from contacting the bodywork (drips from frame/glass)... The frame was put back, and then the contact patch was scratched using a blade to allow the adhesive to stick to it... A primer was applied on the glass, and then adhesive applied on the frame... The glass was slowly lowered onto the frame and set into the correct position, and taped to the frame using regular tape... The gaps between the frame and the glass were filled with black adhesive, and the whole thing was left to dry for about 72 hours...

Dec 31, 2015
No work today as I am busy with year end stuff at work... Happy New Year folks!!