Dec 12, 2016
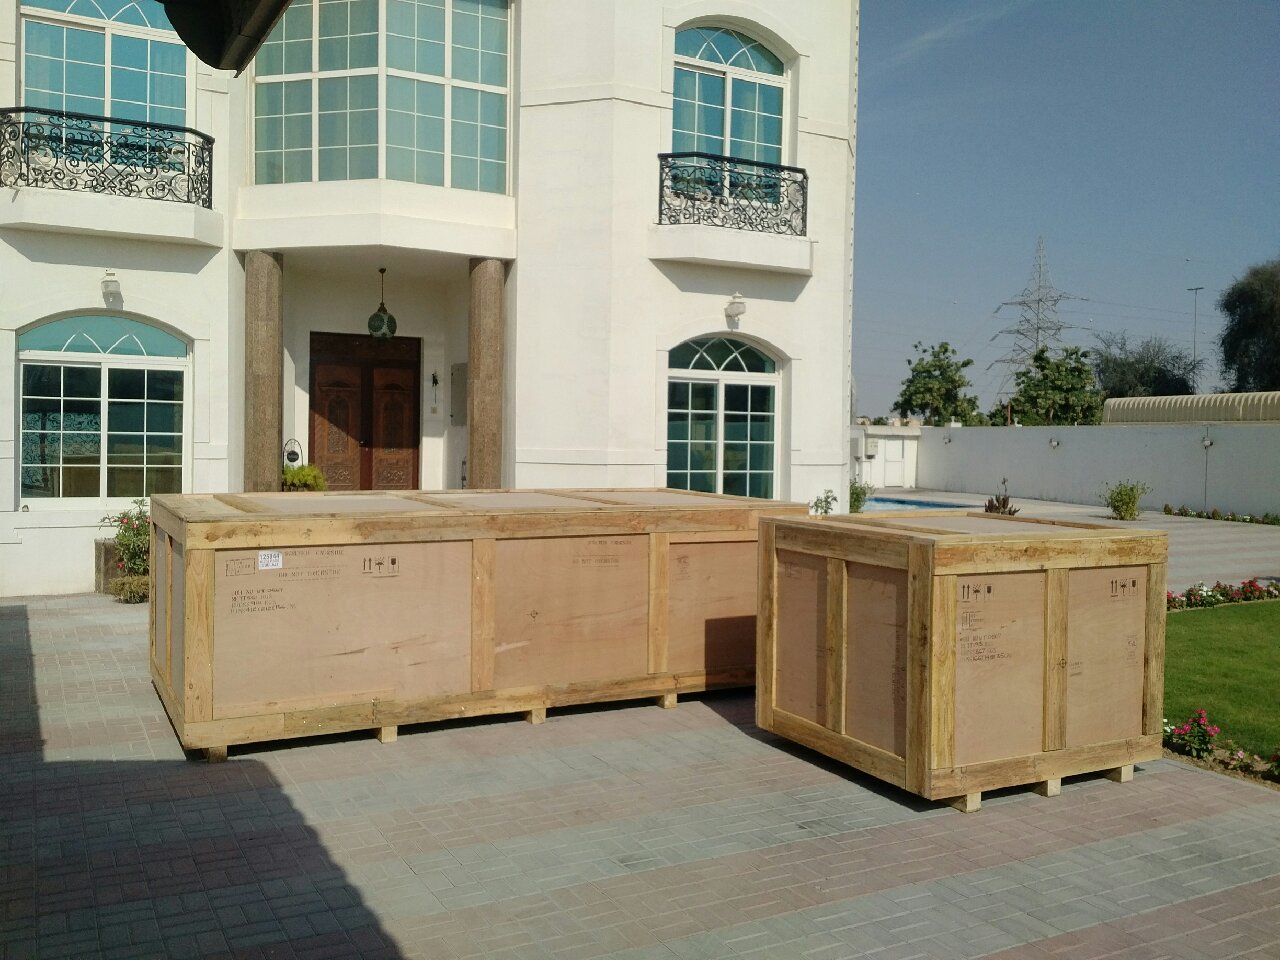
The ship has finally arrived! Clearance and delivery will be later this week, so the build should start this weekend!!!
Dec 15, 2016
Build Time Today: 4 hours
Total Build Time: 4 hours
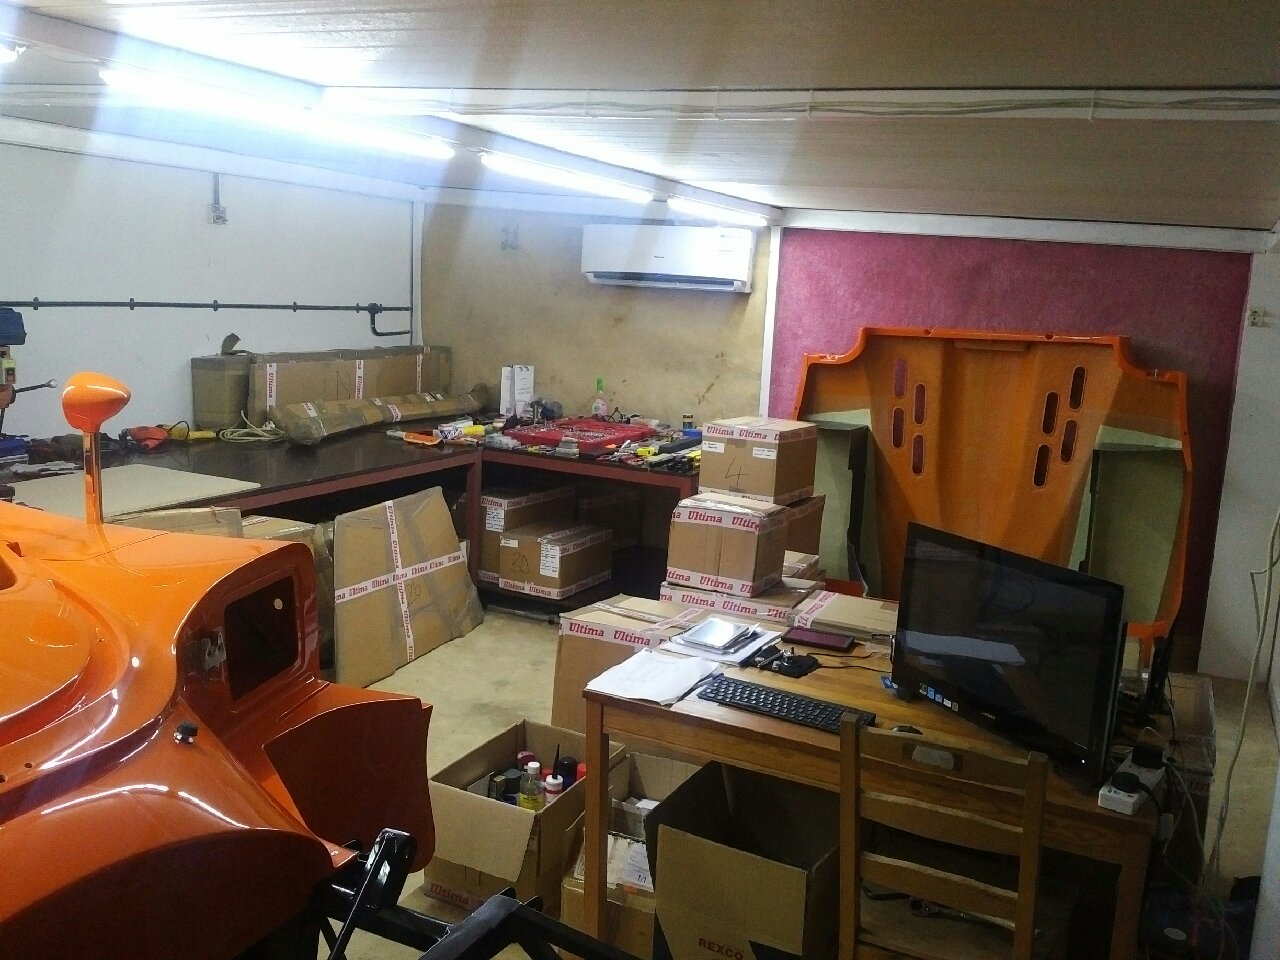
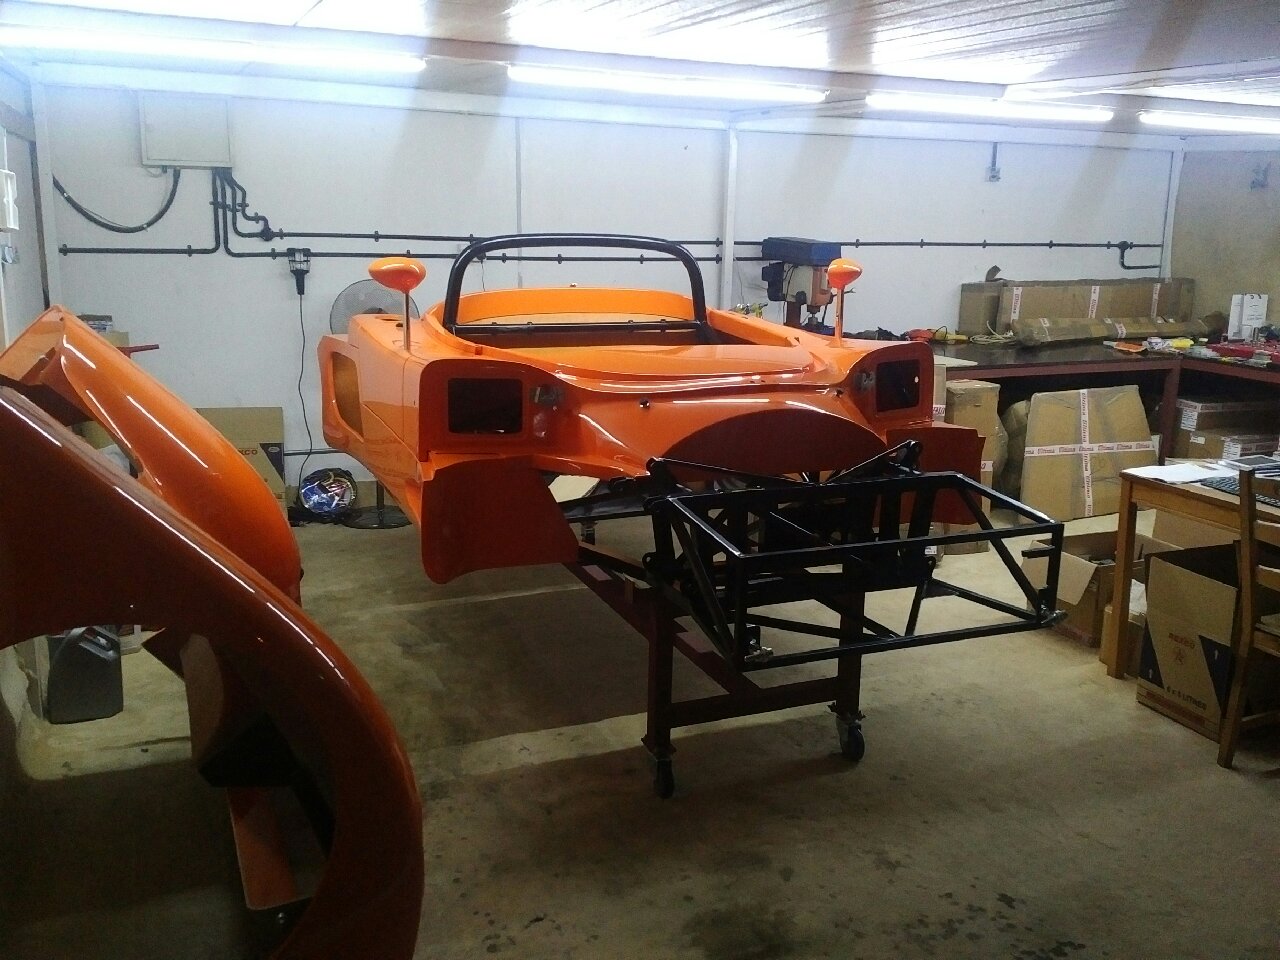
Crates were delivered today! It took a while to unpack the crate, store boxes, remove body panels (which have been prefited), and prepare everything for the build. A couple changes to what I have done previously:
1) I marked the steering wheel hole before removing the dash - this way,
I don't need to worry about it later
2) I checked the under dash area for the electric power steering unit
placement - I wanted to make sure there was enough space and clearance
between the GRP /chassis for the unit to fit
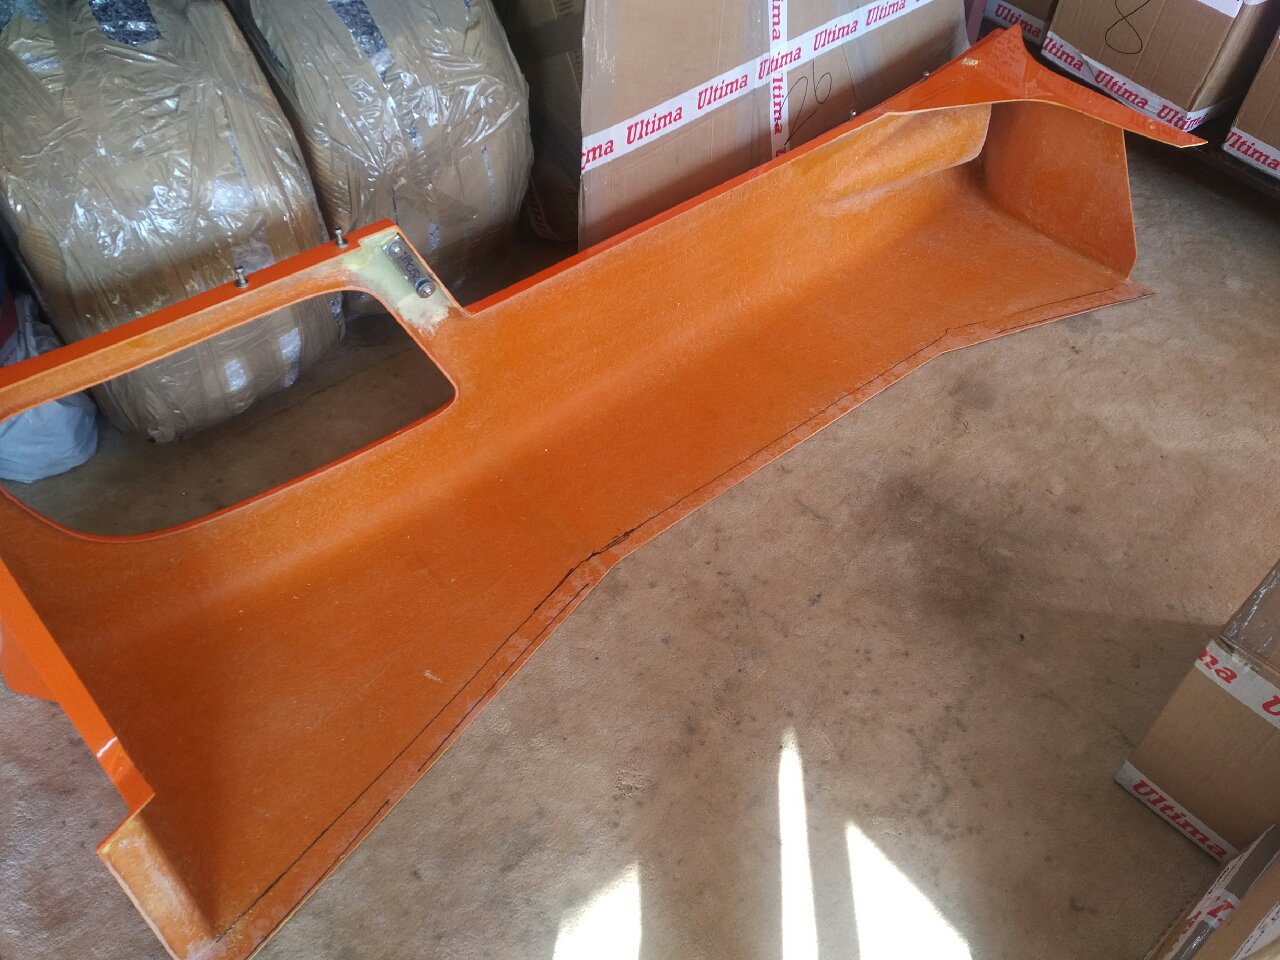
3) I marked the chassis lines on the side pods - a way to make sure that
when I replace, the side pods are exactly back where I removed them from
Dec 16, 2016
Build Time Today: 7 hours
Total Build Time: 11 hours
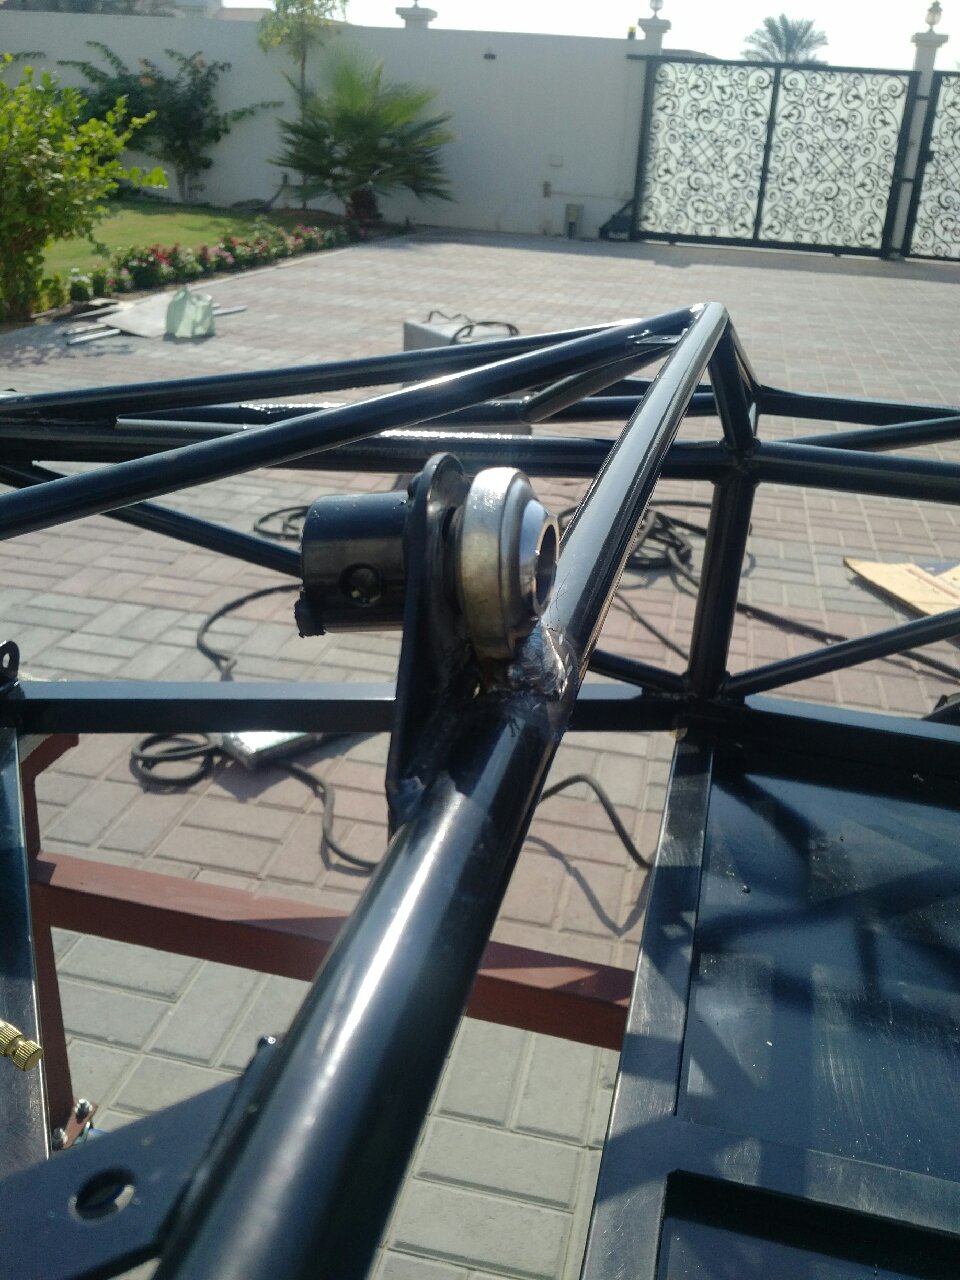
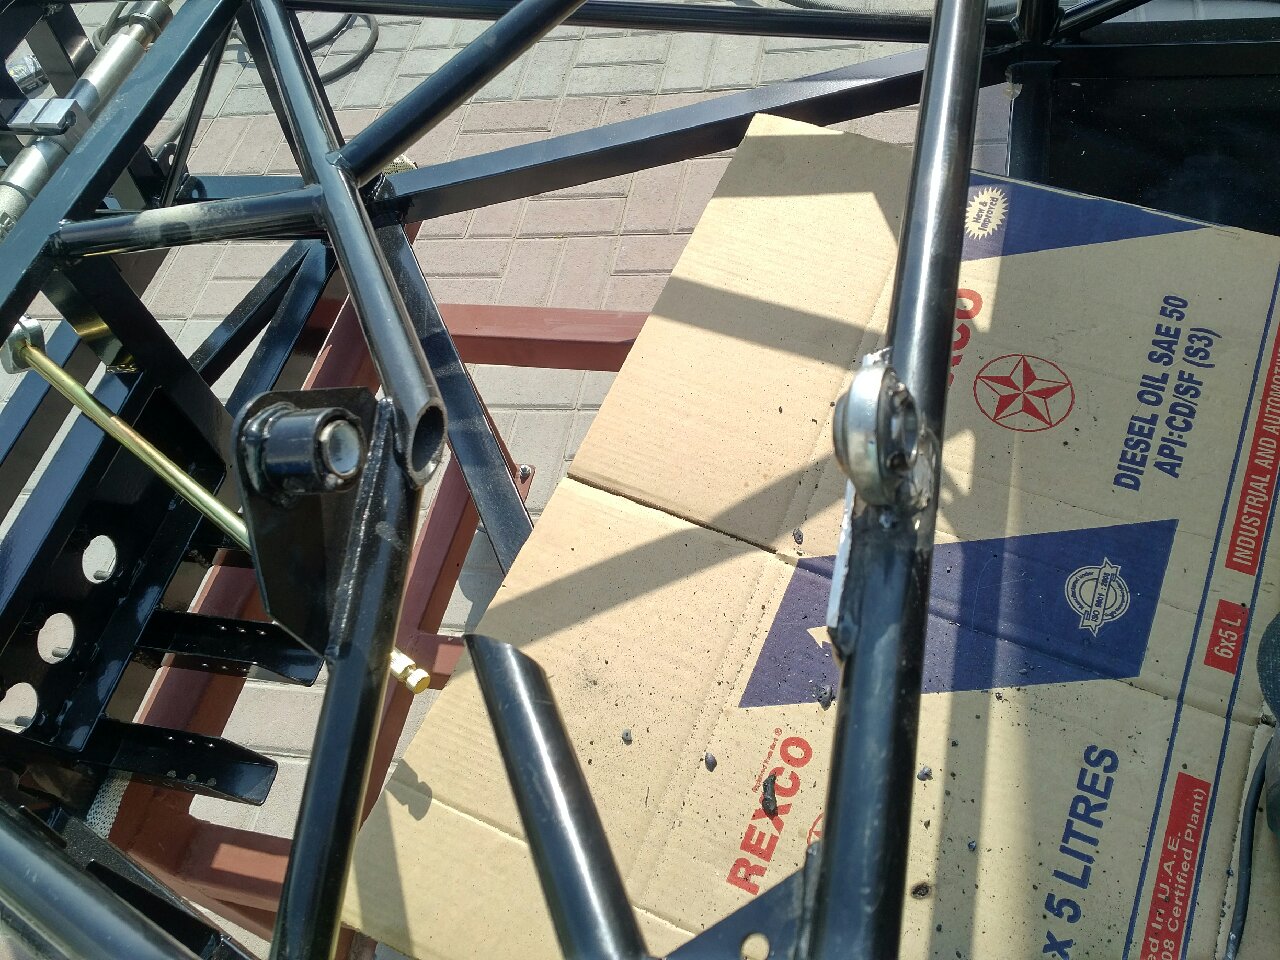
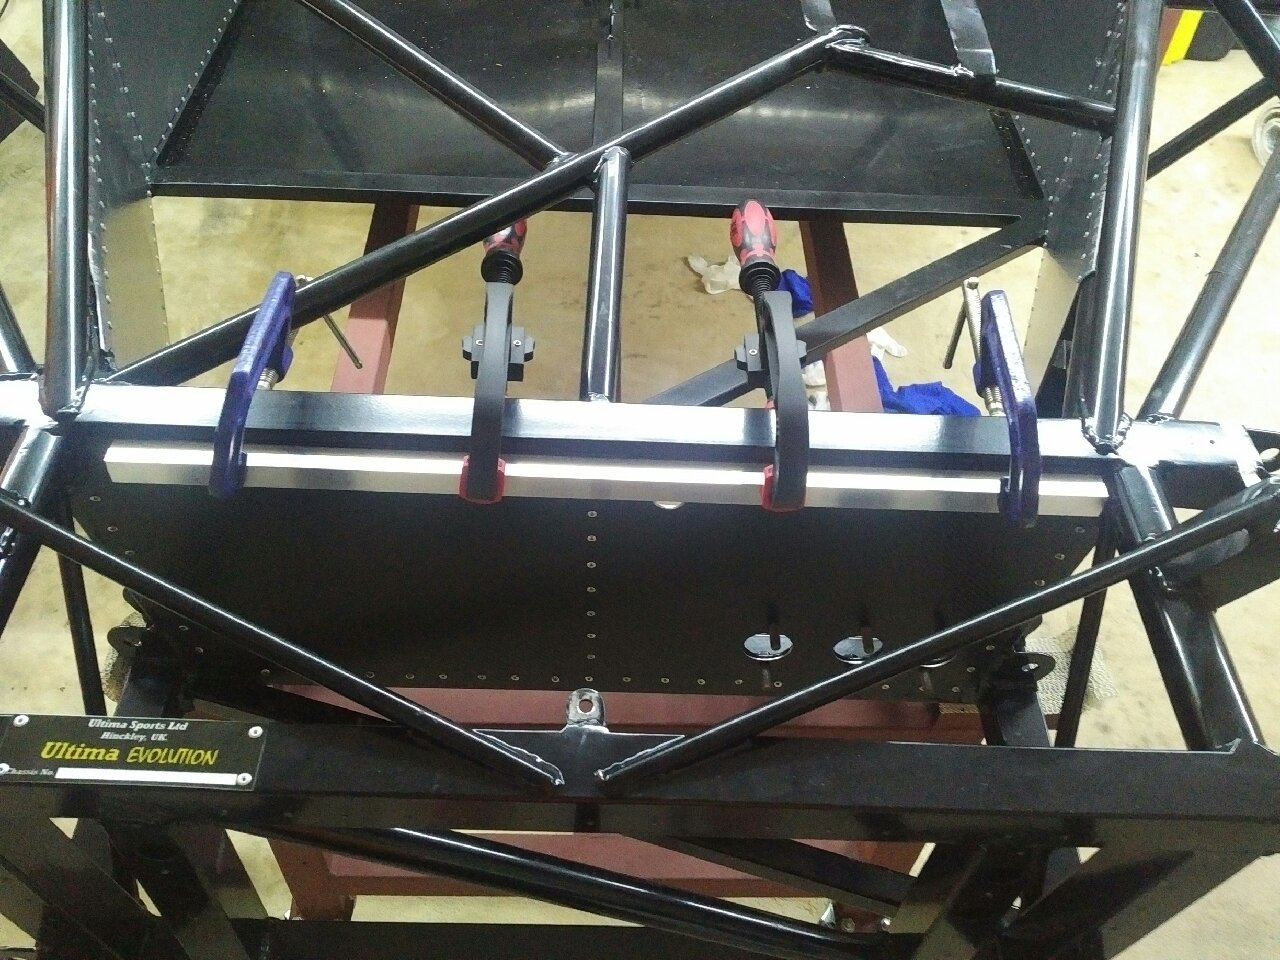
I started the build today by tackling my first new modification - electric power steering assist! Basically, the unit I am using will provide power steering assist (can be set with a knob for low-high assist) using a torque sensor, that is fitted on the steering column.
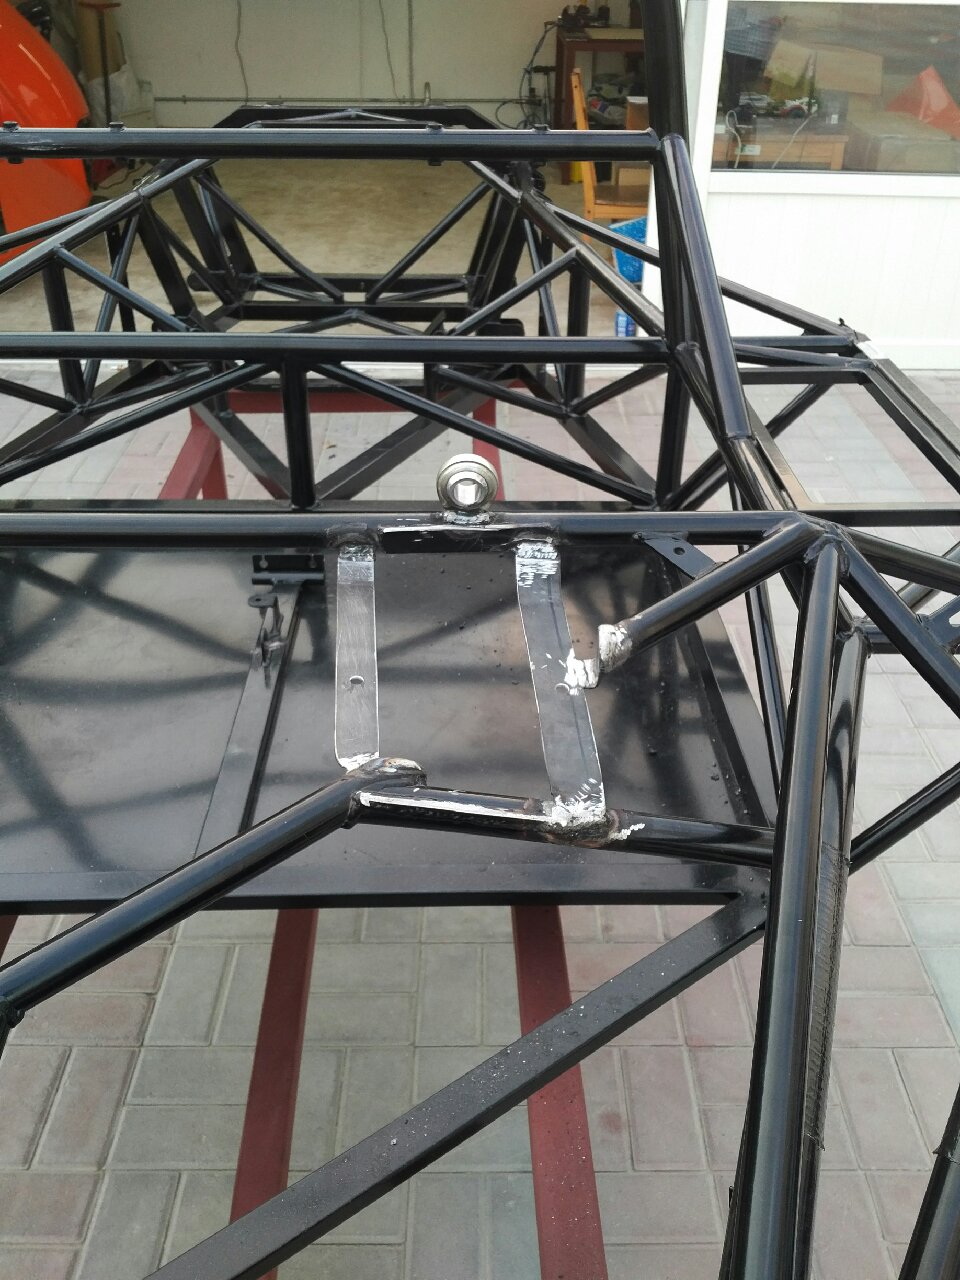
The unit is small enough to fit underneath the dash without fouling the GRP, but it will not fit between the two steering column support bearings! This means, I will need to do chassis modifications to make it work! I started off with installing the entire steering system - the rack was installed (using zip ties rather than bolts), and then the steering bearings were inserted into the bearing holders. The upper and lower steering columns were installed, and everything was checked for proper operation/movement. I then started with the modifications: First, a rose joint was cut and installed in front of the bearing holder closer to the dash face - this will help keep the alignment of the steering column once I remove the chassis steering mounts... The rose joint was also tack welded to prevent movement of the 'eye' - so now my geometry is fixed and accurate. The two steering column bearings were cut off, and a part of the under-dash chassis crossmember had to removed to make place for the steering unit... Using 3mm steel plate, new chassis support beams were measured, cut, bended and welded on to provide chassis support, and fixing locations for the steering unit.... While this sounds easy, it took a long time (this is all I did today) to get everything accurate. The weld splatter was grinded off and a good finishing look was achieved. The chassis tubes are now rock solid, and the steering unit bracket is also secured...
This took me almost the entire day - close to 7 hours to achieve! Things left on the steering install - cleaning and painting the chassis modification, and cutting and welding the steering columns to the required size - things to do tomorrow!


Dec 17, 2016
Build Time Today: 6 hours
Total Build Time: 17 hours
Spent quite a bit of time in the workshop today. First order of business was to clean and paint the chassis mods from the steering install - I used 60 grit sand paper to sand down all the metal parts / welds / joints, and then 3 coats of black spray paint was applied - this is a rust sealer and gloss paint - the end result is quite striking! I also send the column pieces to a lathe shop to get the size and ends turned to my requirements - they should be ready in a couple days - at which point I will final test the steering setup...
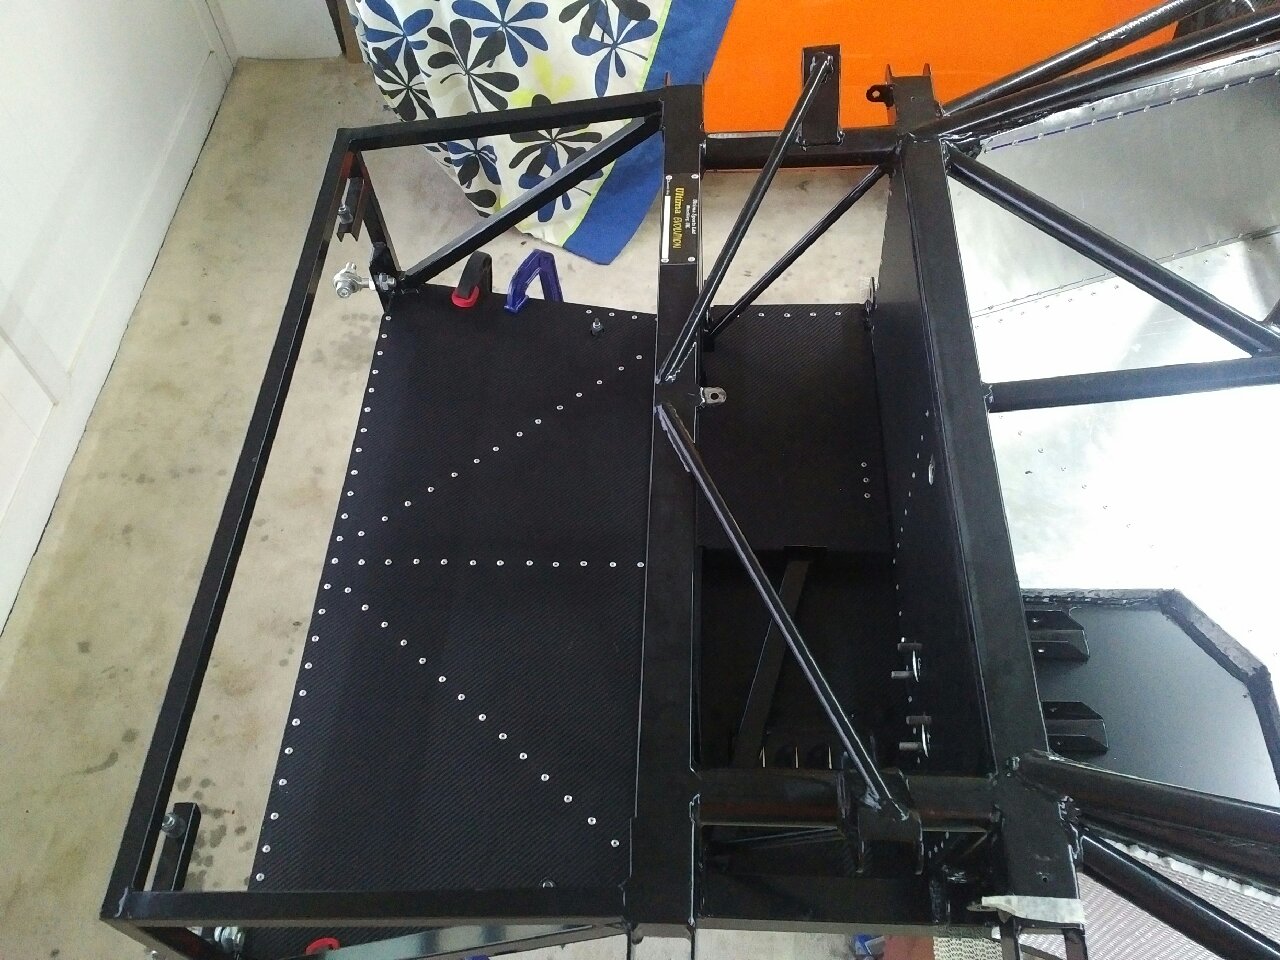
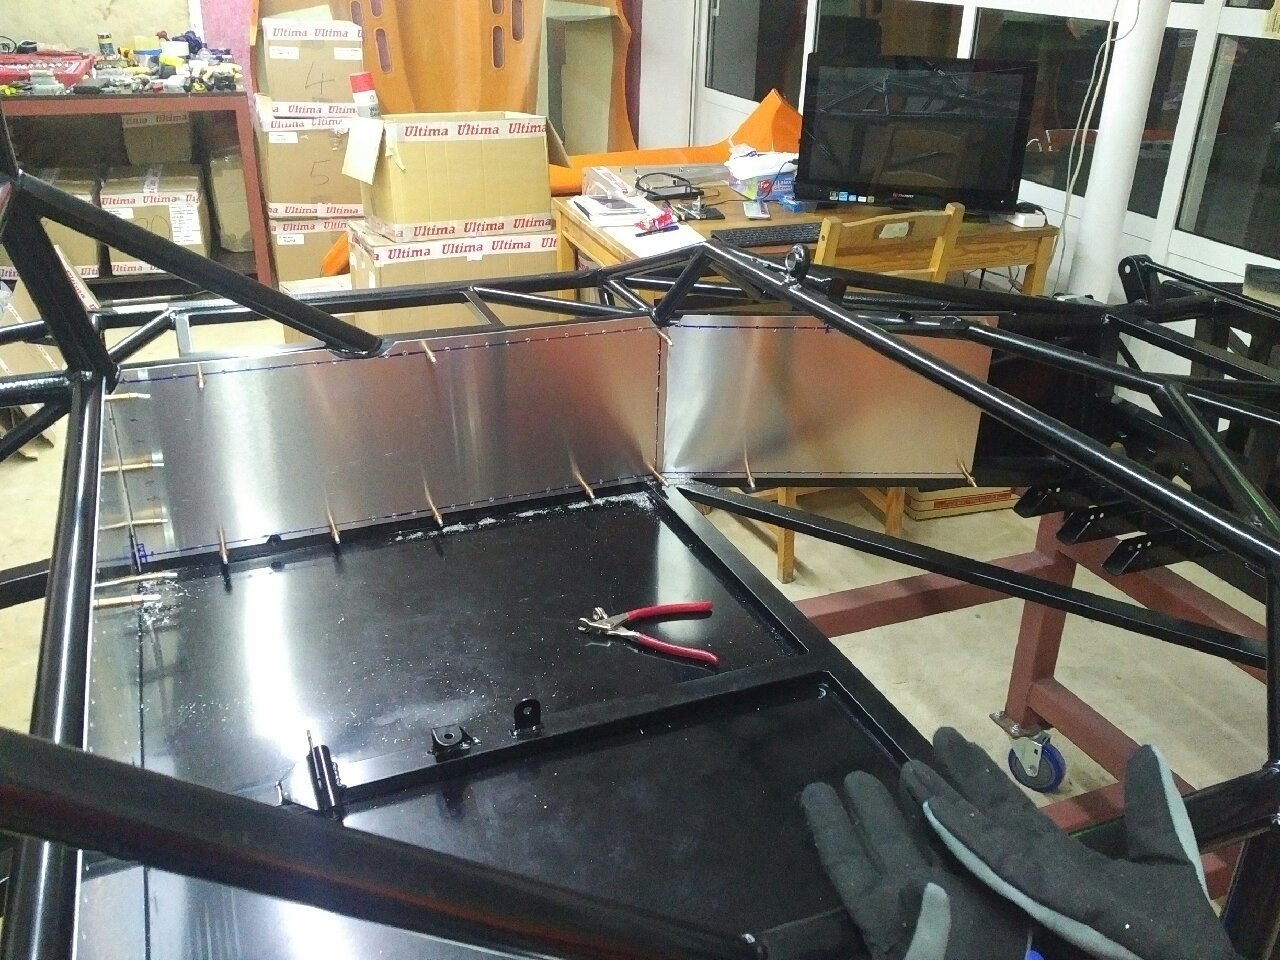
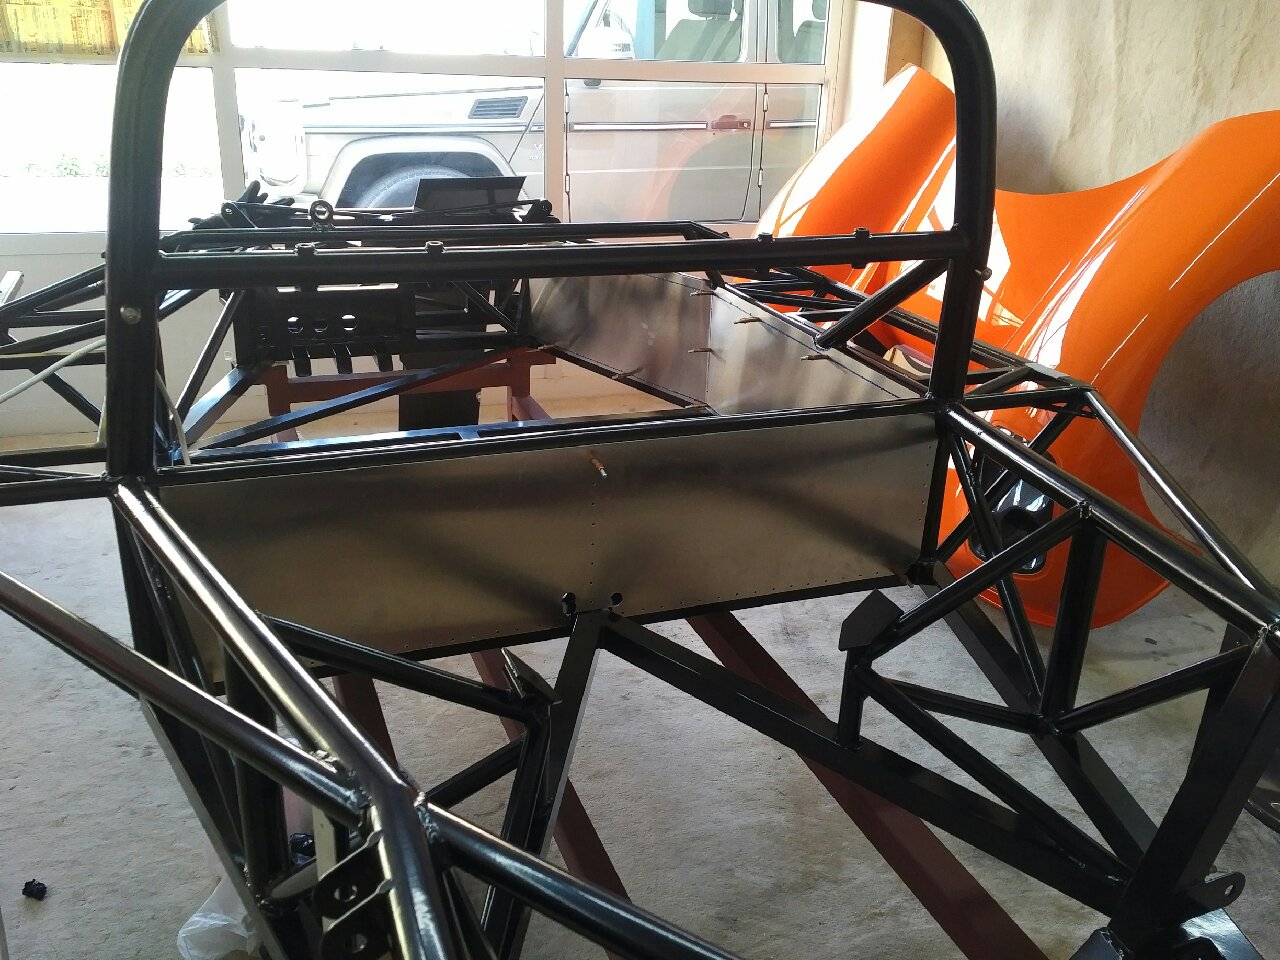
I then spent the rest of the day starting the ally panels - like last time, the first panel I attacked was the rear bulkhead - the panel was filed and nibled to make it fit flush, rivet lines were drawn and holes drilled at 30mm intervals... The holes were deburred, panel placed on chassis and chassis drilled using the panel as a template... Chassis was then waxoyled... I then put two holes in the panel for the handbrake cable and for the gearbox cable - Last time, I had 2 handbrake and 2 gearbox cables - this time, I only have 2 handbrake and 1 gearbox cable - I am using a different 'box so one cable will suffice!
Second panel attached was the engine bulkhead - the double skin to the rear bulkhead - similar to last time, I think it is best to do the panels together so I can plan out and match the holes - the panel was nibled and filed to get a good fit, rivet lines drawn (NOT on top, save that for the GRP install), holes drilled and deburred, and then holes drilled in the chassis and waxoyl applied! TWO panels done in one day! WHEW!
Thats it for today - I forgot to take pictures, but they are quite
similar to last time - I will post cumulative pics tom :)
Dec 18, 2016
Build Time Today: 6 hours
Total Build Time: 23 hours
I started the day with finishing up the rear bulkhead and engine bulkhead panels - the center ally bracket that goes between the two panels on the chassis side was cut to size, drilled and riveted to the chassis. The holes were then drilled in the engine bulkhead / rear panel.
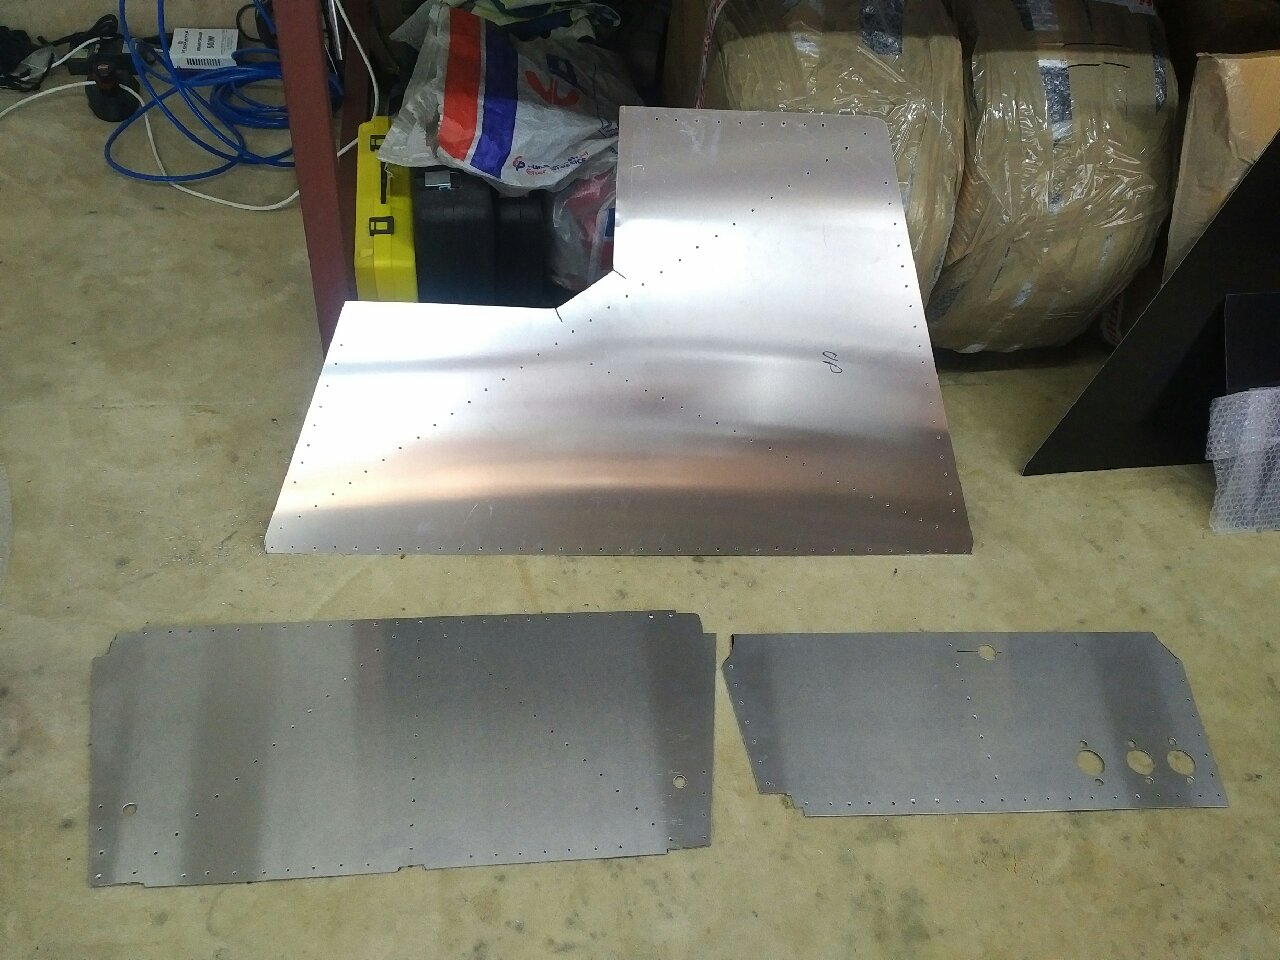
I then started to work on the side panels - first the passenger and then the driver... A template was made, and notches transferred to ally panel... Panel was trial fit a few times before the notches were satisfactory, and then the panel was drilled, deburred, skin-pinned to chassis and chassis drilled and then waxoyled! Finishing up these two long panels took the entire day and I done for today!


Dec 19, 2016
Build Time Today: 4 hours
Total Build Time: 27 hours
A short day in the workshop today - once again, the focus was on getting panels ready for riveting.. I started with the front bulkhead - a pig of a panel to fit... It required a lot nibbling, and bending to get it into place.. the mastercylinder studs don't make anything easy - last time, I was able to accurately pinpoint their location using a template, but this time, even with a template, I ended up being out on 3 studs by about 1mm.. those 3 holes are a little oblong now :) However, none of them will be visible once the MC are bolted on!
I also worked on the extra radiator bulkhead panel - an extra panel I also made last time. It helps in preventing hot air wash from the radiator coming to the battery/MC area...
Dec 20, 2016
Build Time Today: 5 hours
Total Build Time: 32 hours
Final few panels before riveting were taken care off today - first, the radiator floor panel: The panel was filed to clear all the welds on the front and back, and then rivet lines were drawn from below... Rivet holes marked and drilled, deburred, and then the chassis drilled and waxoyled...
I also had a little more time, so rather than start riveting prep, I decided to attack the passenger floor panel - this is normally done after the chassis is inverted, but I was able to place it in position and mark the chassis from below.. the panel was cut for the pedal area, and all the holes for the chassis and the extra tubes were drilled and deburred... the chassis was not drilled as I will wait till after the double skin panel is installed to make sure of placement...
Finally, I got the front bulkhead and the radiator floor panel covered in CF in preparation for riveting...
Dec 21, 2016
Build Time Today: 5 hours
Total Build Time: 37 hours
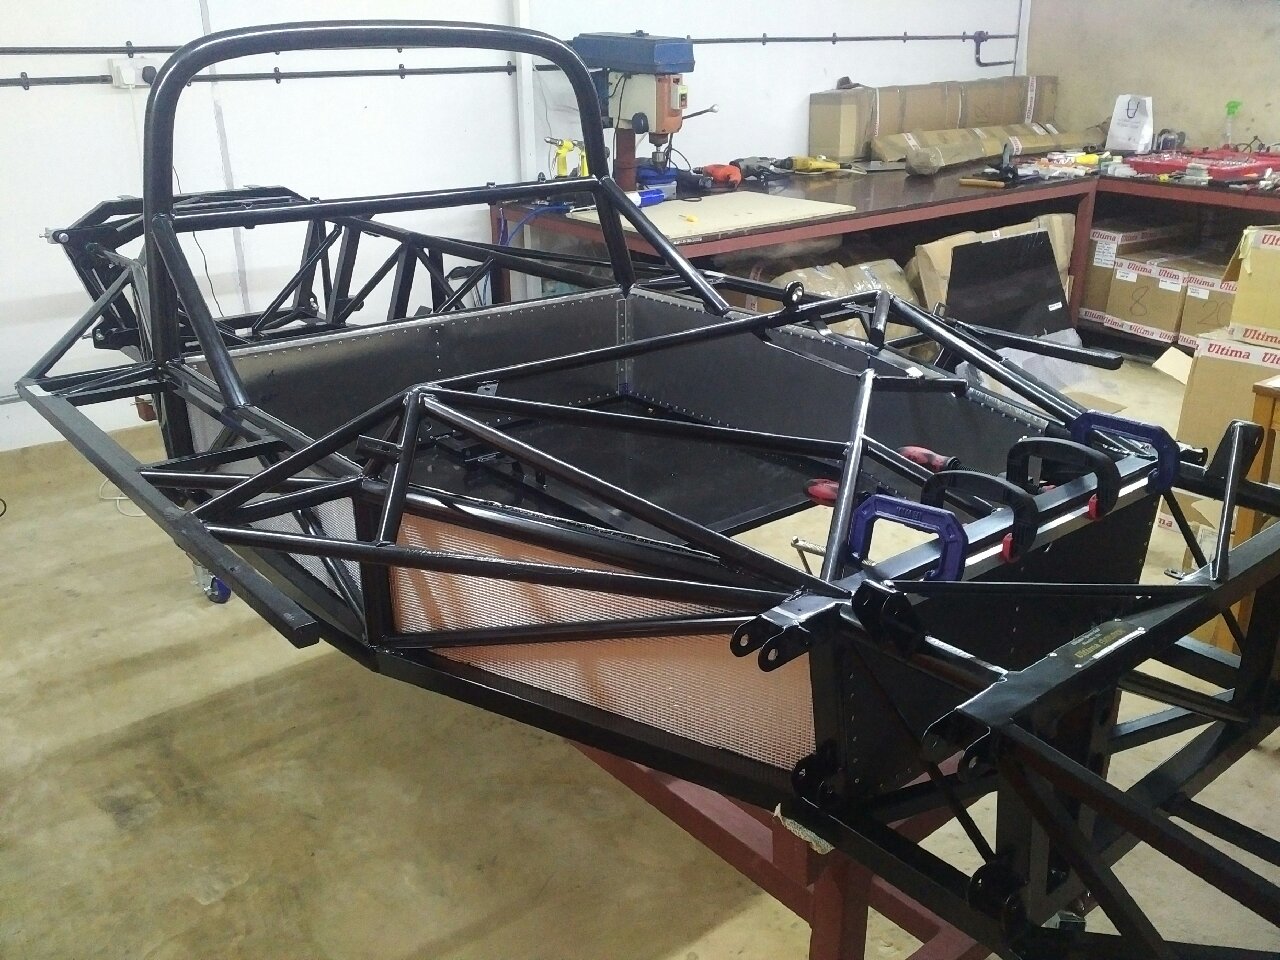
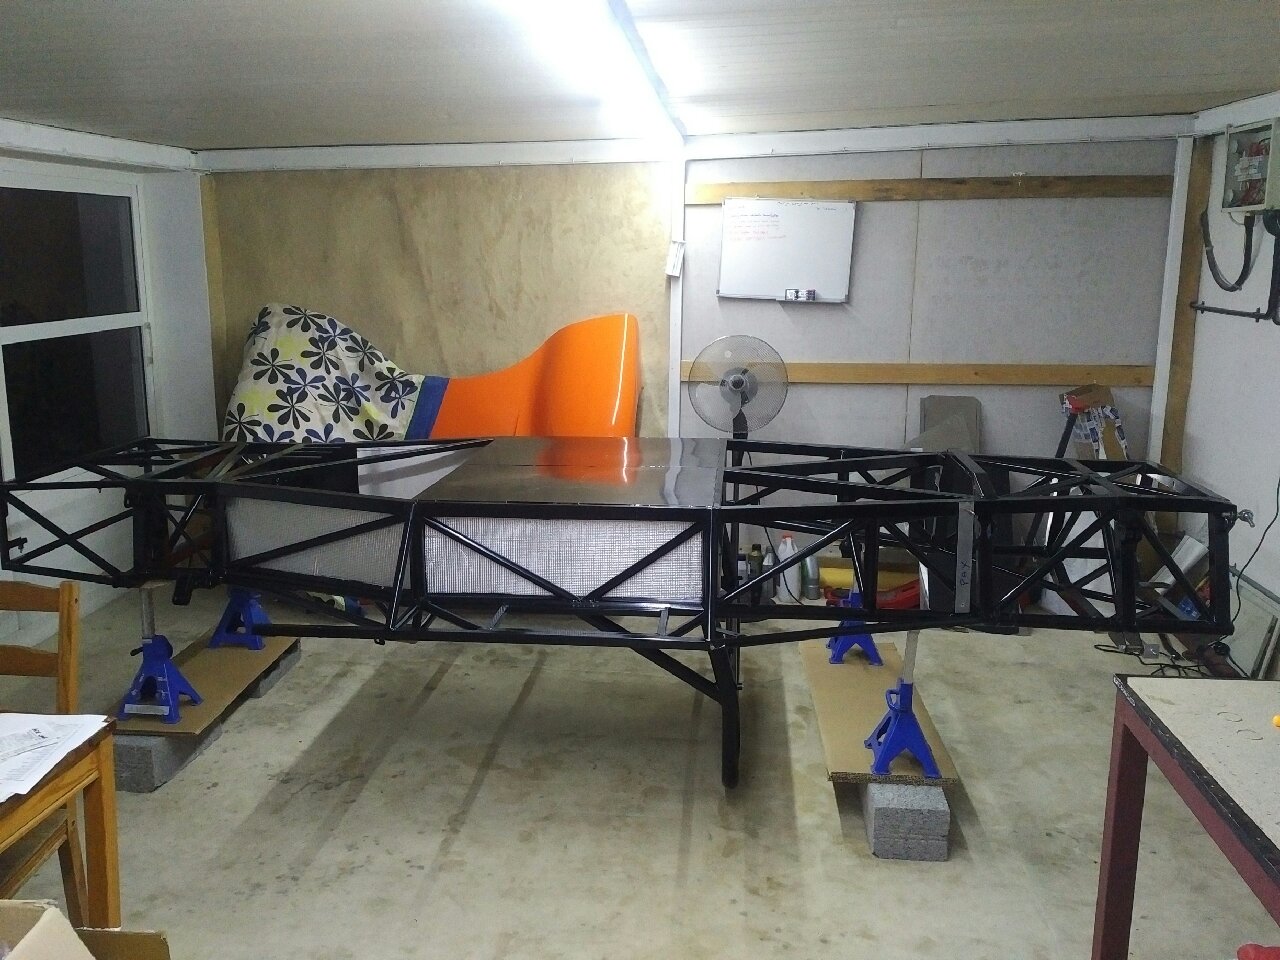
Tiring day in the workshop - I started by riveting the panels today... The chassis was cleaned, black sealant applied, panel fitted to chassis and skin pinned, rivets inserted and riveted away... the top of the panels was then bent over the chassis rail... This procedure was done for the rear bulkhead, both side panels and the front bulkhead panel - and it took me over 4 hours to just get these four panels in! Did I mention how much I hate the black stuff.. and how much I hate bending the panel over the chassis... and also how much I hate the front bulkhead panel which is a nightmare to fix (especially when you have black stuff flying around and ruining the CF finish of the panel!! ARGH!!! But - I was able to get all panels in!!
I also spent a few minutes folding over the edge of the pedal area of the passenger floor panel - that is now ready for chassis drilling also!
Dec 22, 2016
Build Time Today: 3 hours
Total Build Time: 40 hours
First item on the agenda was to prepare the chassis for inversion - the pedal bolt holes were cleared off powder coat, and the radiator bobbins were cut down (by 5mm) and installed. Then, the battery panel template was made and cut areas noted down, and transferred to the battery panel. The chassis is now ready to turned around!
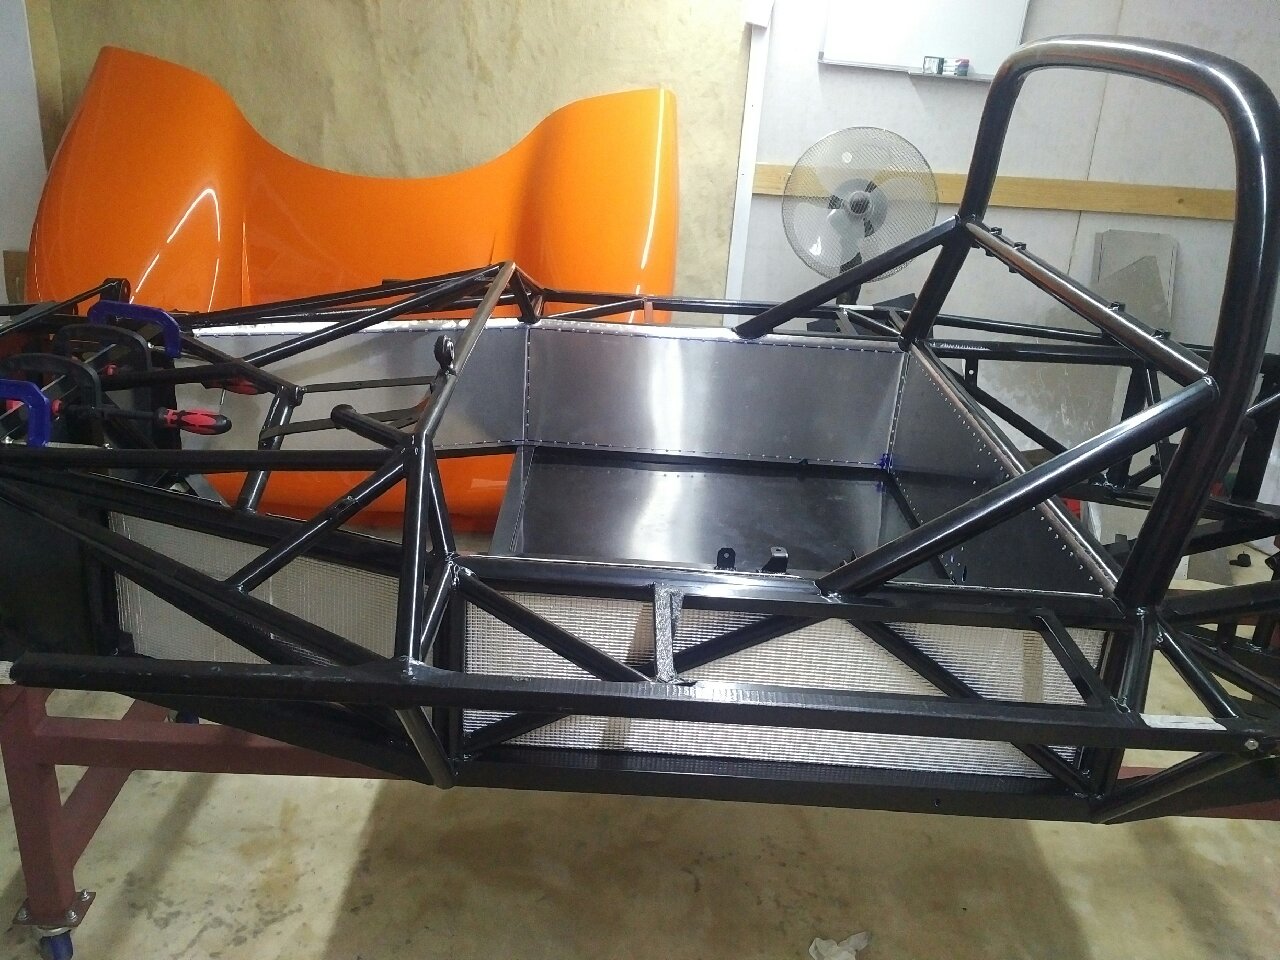
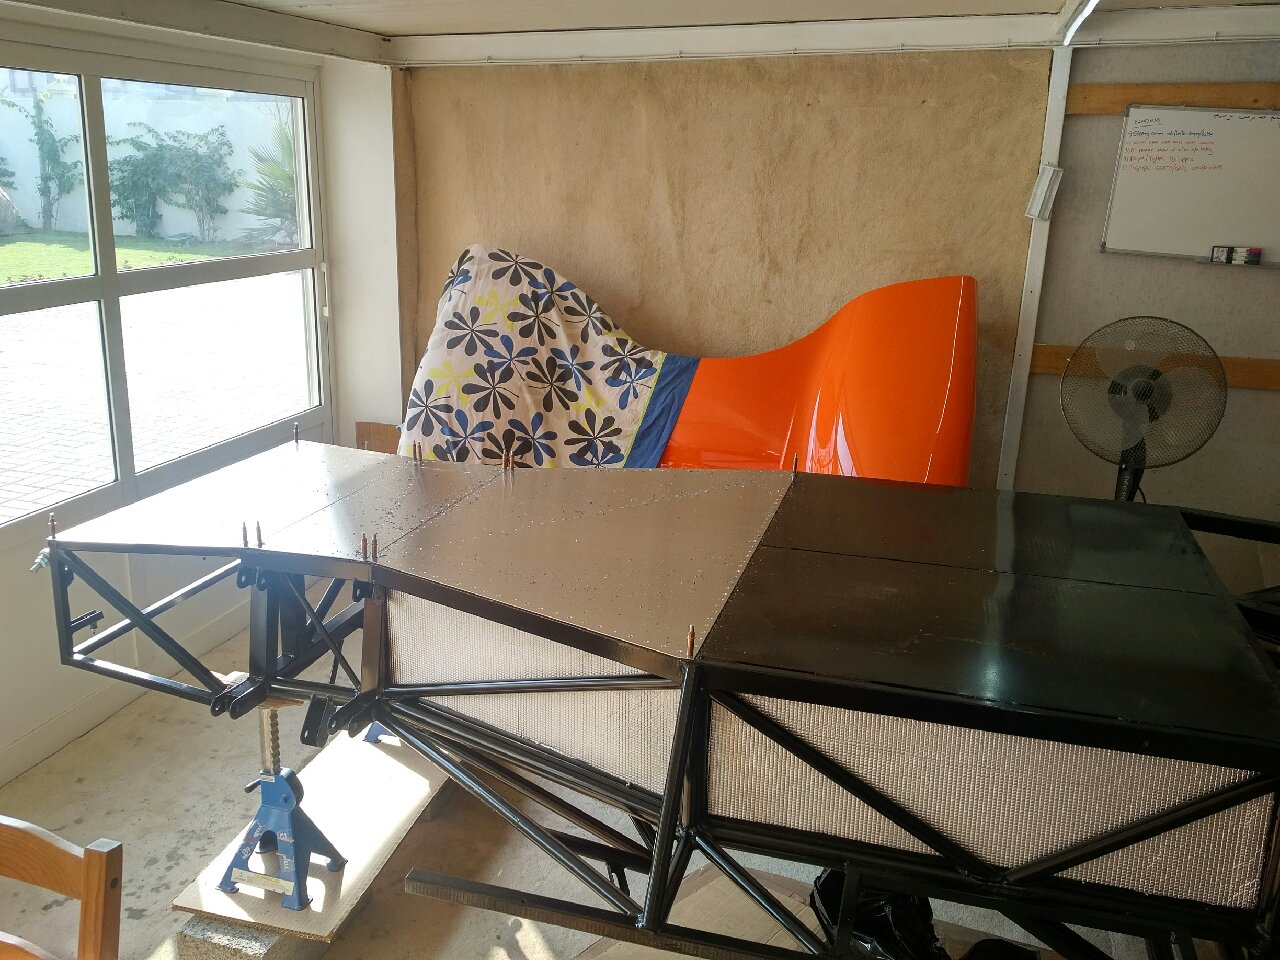
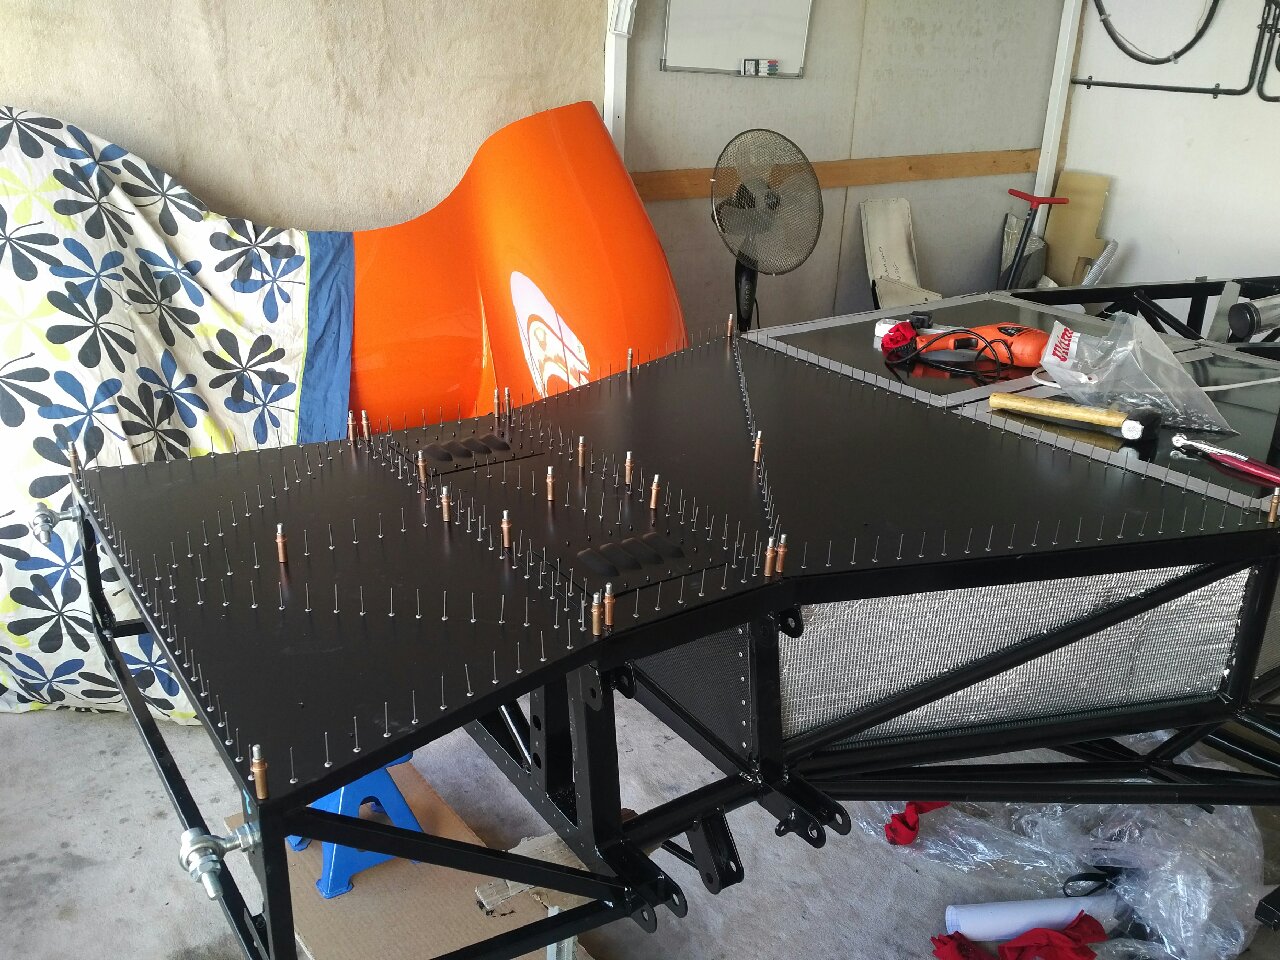
A little help was required to turn the chassis around.. Once flipped, I aligned all three floor panels on the chassis and there was no need to trim any panel as they all fit perfectly - however, one of my mods is adding louvers below the battery area floor panel to allow water and much to leave that area (since it tends to collect there from the tire splash)
Chassis lines (rivet lines) were marked on all three panels, rivet holes marked and then drilled... Drilling about 400 holes had me tired, so I was done for today... I still need to debur the panels, and then drill the chassis - maybe tomorrow! The louvres also need to be cut and installed in the battery area floor panel...
Dec 23, 2016
Build Time Today: 3 hours
Total Build Time: 43 hours
I got an early start on the build today - being the weekend, and with the family out of town, I had nothing else to do this morning ;)
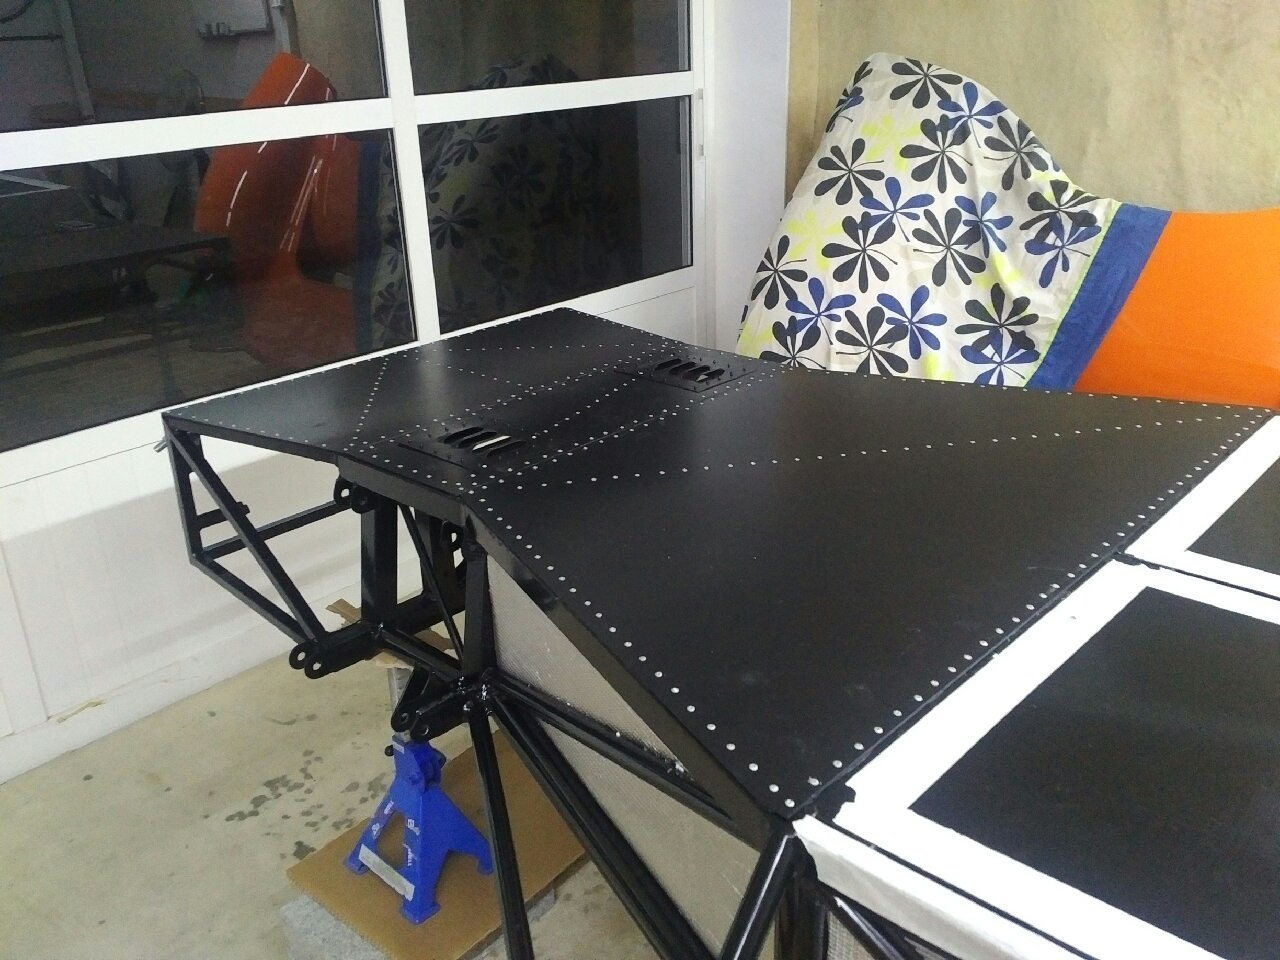
All floor panels were deburred, and then skin pinned to chassis and chassis drilled, deburred and waxoyled...
There is only hole I missed drilling from the panel template - can you see it in the pic? I will drill it when riveting the panel...
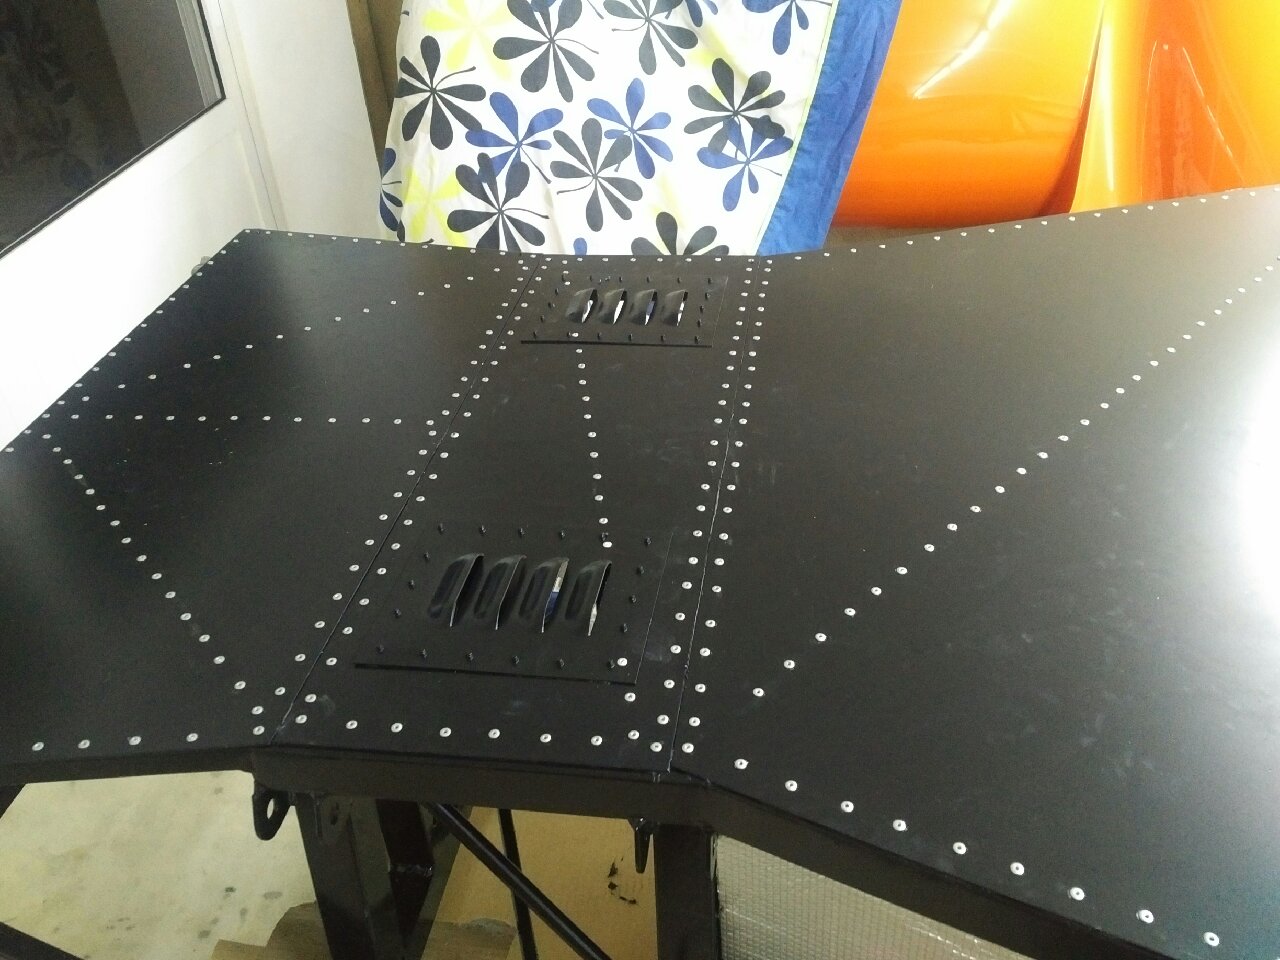
Then I got the louvre panels attached to the battery floor panel - two cut outs in the panel sheet, the louvre panels were drilled and riveted to the floor panel...
Now all three floor panels are ready - they will first be sent for powder coating tomorrow, so hopefully the build will continue in 2-3 days time...
Dec 24, 2016
Family is back from holidays today, so spent time with them... back to build tomorrow...
Dec 25, 2016
Build Time Today: 2 hours
Total Build Time: 45 hours
The floor panels are still at the powder coating place, so work cannot continue on the build... So instead I spent some time working on small items: the rear, side and front panels were all insulated using foam insulation, and the insulation for the floor panel was cut to the required shapes... The floor panel was completed - with the four ally support tubed being drilled and riveted to the panel - now only the panel needs to be installed once the chassis is turned over... Finally, I finished trimming and drilling the battery panel from the template, and that is also ready for installation - only CF remains, but that will be done later...
Dec 26, 2016
Build Time Today: 3 hours
Total Build Time: 48 hours
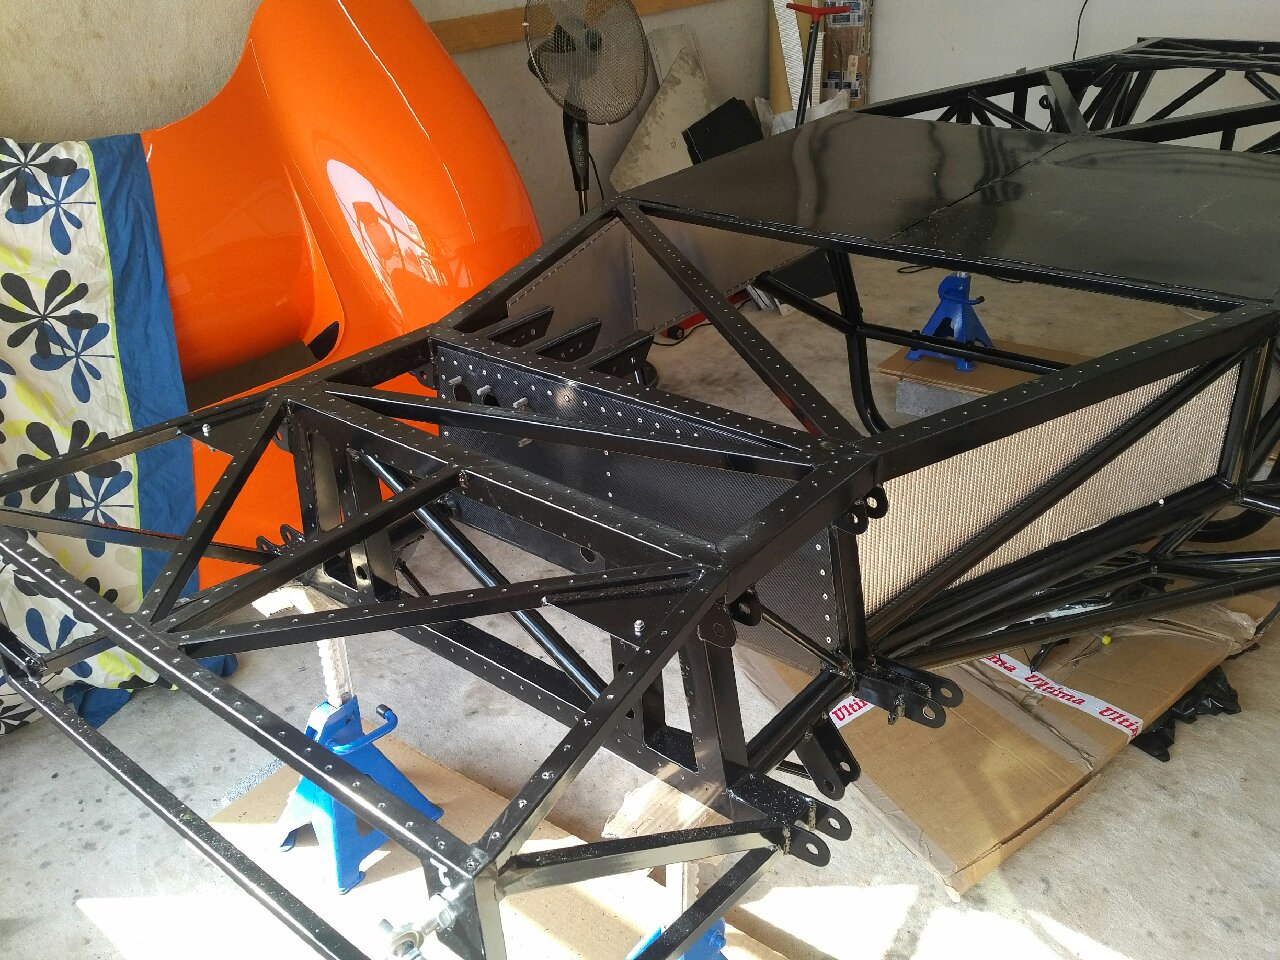
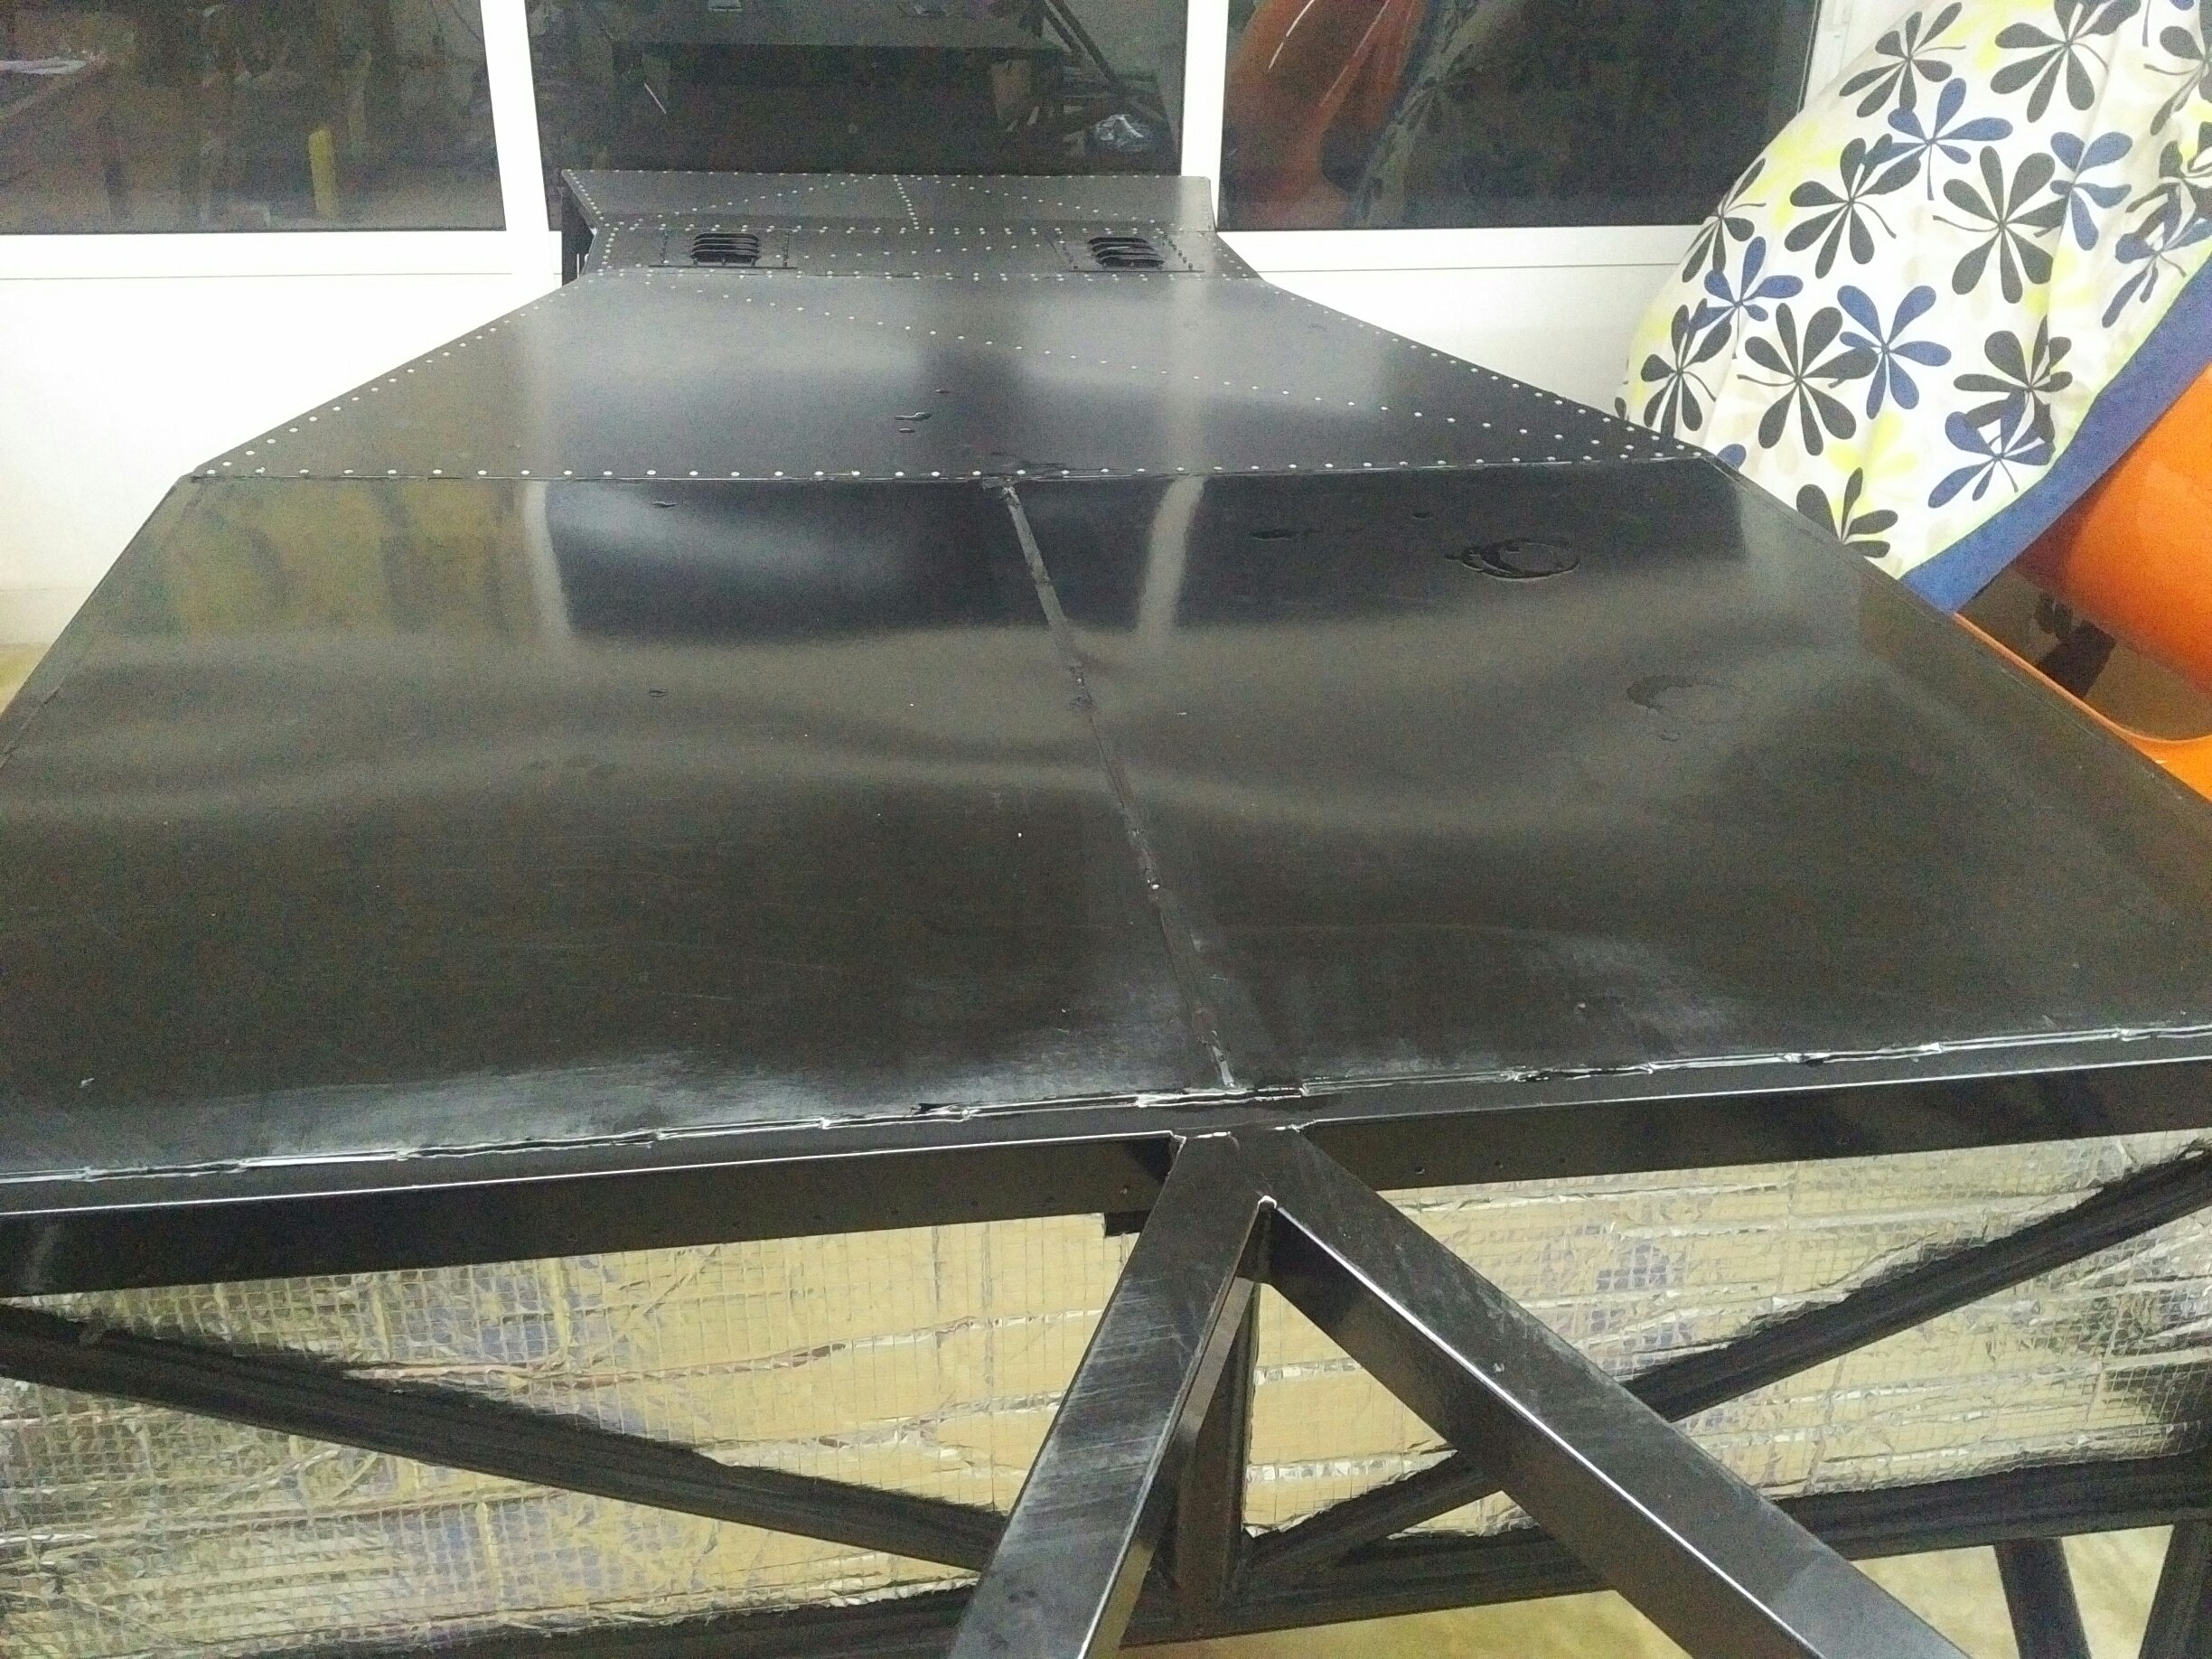
Back to build work today - the three floor panels are back from powder coating - and they look great... the battery floor panel was first covered in CF on the inner side (facing MC/battery), and then all three floor panels were riveted to the chassis using the usual black goop and rivets... Both the girls came out to help me today in riveting.. Once riveted, the floor pan was taped and sealed with the black sealant to prevent any water ingress from below... The chassis is now ready to be turned over again, but first I will spend some time on another chassis mod before going back to the build - details soon once I figure out what all will need to be mod-ed to fit my custom gearbox...
Dec 27-28, 2016
No time for the build
Dec 29, 2016
Build Time Today: 2 hours
Total Build Time: 50 hours
Looks like I spoke too soon... Chassis mods will come later, as I still need to get the materials for the mods... So in the meanwhile, back to the regular build - the chassis was turned back over, and drilled for the passenger floor panel and the battery panel. The chassis was waxoyled and left to dry.
The battery panel and the custom radiator bulkhead panel were covered CF. The passenger floor panel insulation was installed. Finally, the passenger floor panel was riveted onto the chassis!
I also started a little work on the pedals by cleaning out the powder
coating from inside the bolt pivots and the brake bias bar hole
Dec 30, 2016
No Build again... year end and work commitments...
Dec 31, 2016
Build Time Today: 1.5 hours
Total Build Time: 51.5 hours
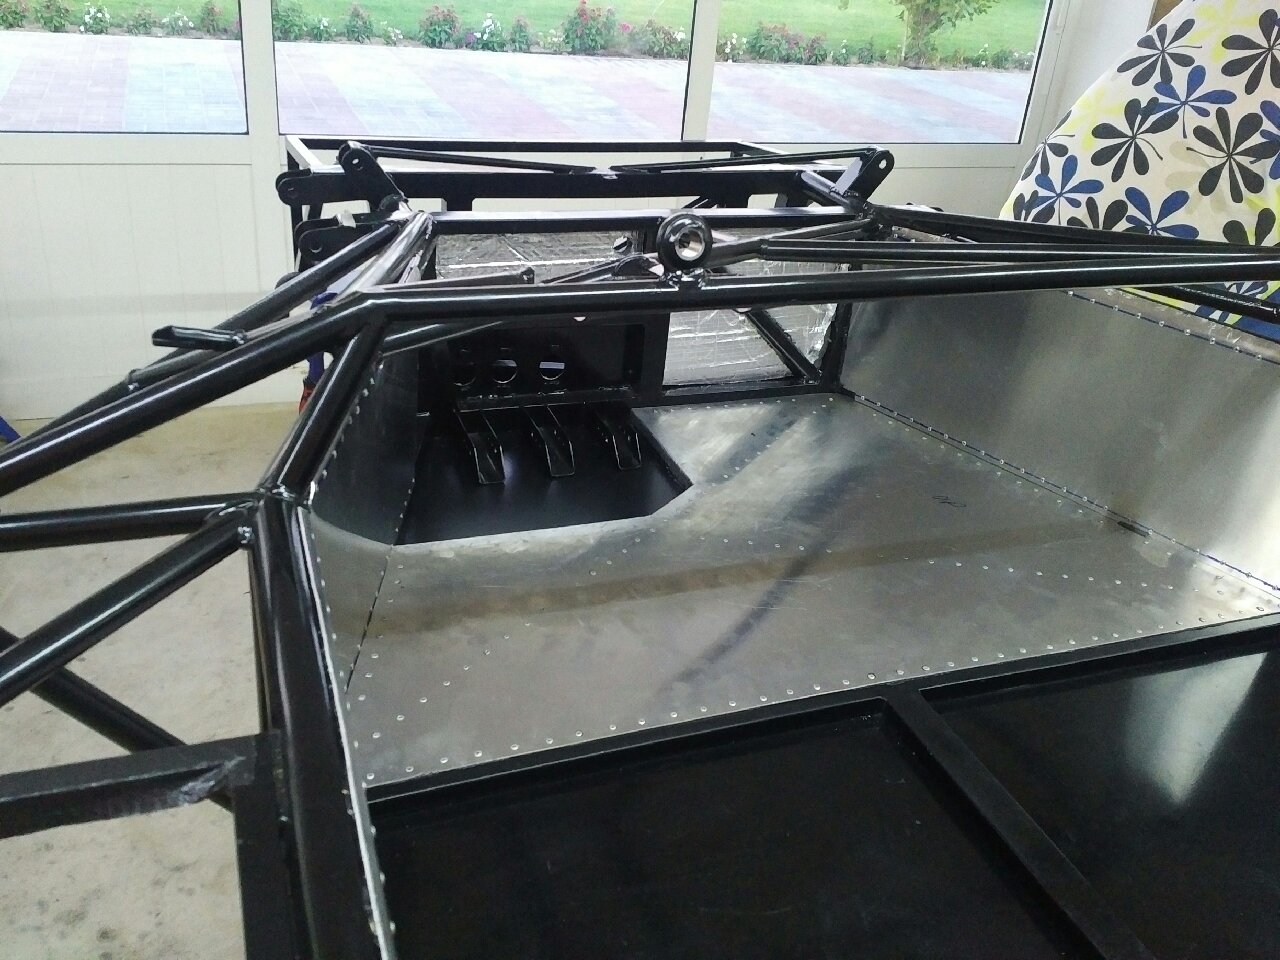
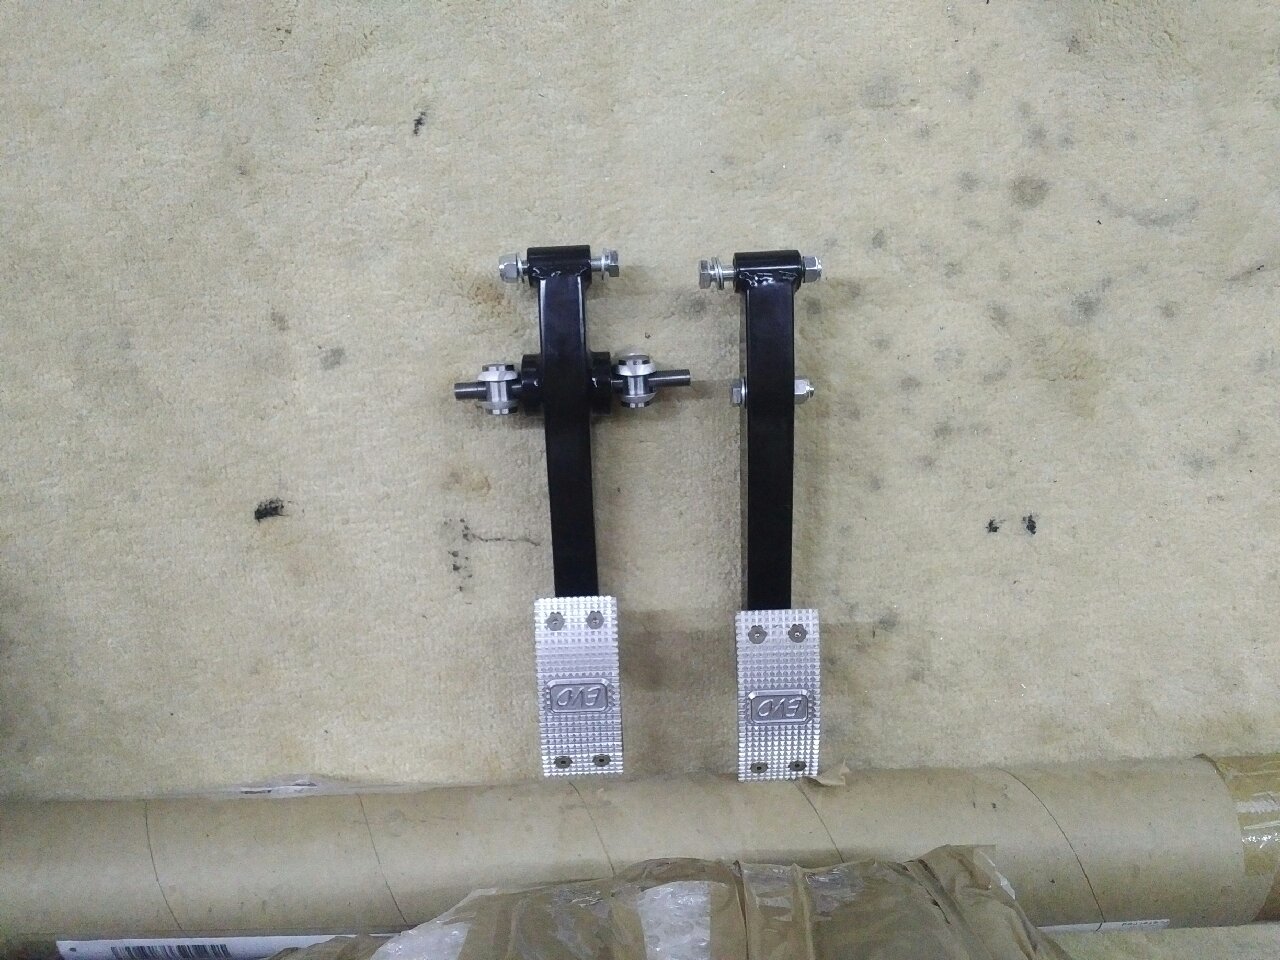
Back to the build for a little while today - year end work is piling up but I took a couple hours out to knock out a few small things: The battery panel and the radiator panel were both riveted to the chassis, and then I finished working on the brake and clutch pedals - brake bias set, clutch bolt cut to size, and Ally engraved pedals bolted on...