June 1-3 2017
Build Time Today: 8 hours
Total Build Time: 288 hours
I started testing the fuel system - first, the sub-loom for the FOD system had to be built and installed... Once the wiring was connected, I could start testing the fuel system - I started with pouring fuel into the left tank - 5L at a time... Last time's experience of leaking fuel tanks had be going slow, but once I got to about 30L I was happy that neither tank was leaking - I only filled on one side, but since the tanks are now linked, the right tank started filling up slowly due to the balance pipe...
Once I had fuel in the tanks, I jerry rigged a test for the LP pump - the LP pump was switched on, and it took about 30 sec for the return pipe to show fuel coming back to the tank from the custom surge tank! I checked all the hoses are there are no leaks on the LP system...
I then started to test the HP system - and ran into some trouble! The HP system is built around the Fuel on Demand (FOD) controller, which basically regulated the HP pump using PWM to keep it cool, and thereby keep the fuel cool... First, there were about 3 leaks in the fittings, one of which was BIG (and my fault) - I had only hand screwed the engine fuel pipe onto the regulator and forgot to tighten it - this mistake meant as soon as the HP pump was on, ALOT of fuel came flying out the regulator onto everything - the chassis, tank, pipes, MY LAPTOP... cussing a little, I had to stop and clean everything up and tighten up the 3 leaking connections...
Once satisfied that the connectors were tight, I restarted the test of the HP system - using the FOD setup screen on my laptop, I set the regulator to 58psi, and the FOD to 58psi as well - however, it still shows the pump at 100% duty cycle and drawing far more power than it should be... Also, I have a pressure gauge on another inline fitting, and that was reading 42psi... so I need to figure out if the FOD system is not working correctly, or if there is something else going on in the HP system... however, since there are no leaks, this can be done later once I get another gauge to double check what the actual pressure is...
June 4-6 2017
Build Time Today: 8 hours
Total Build Time: 296 hours
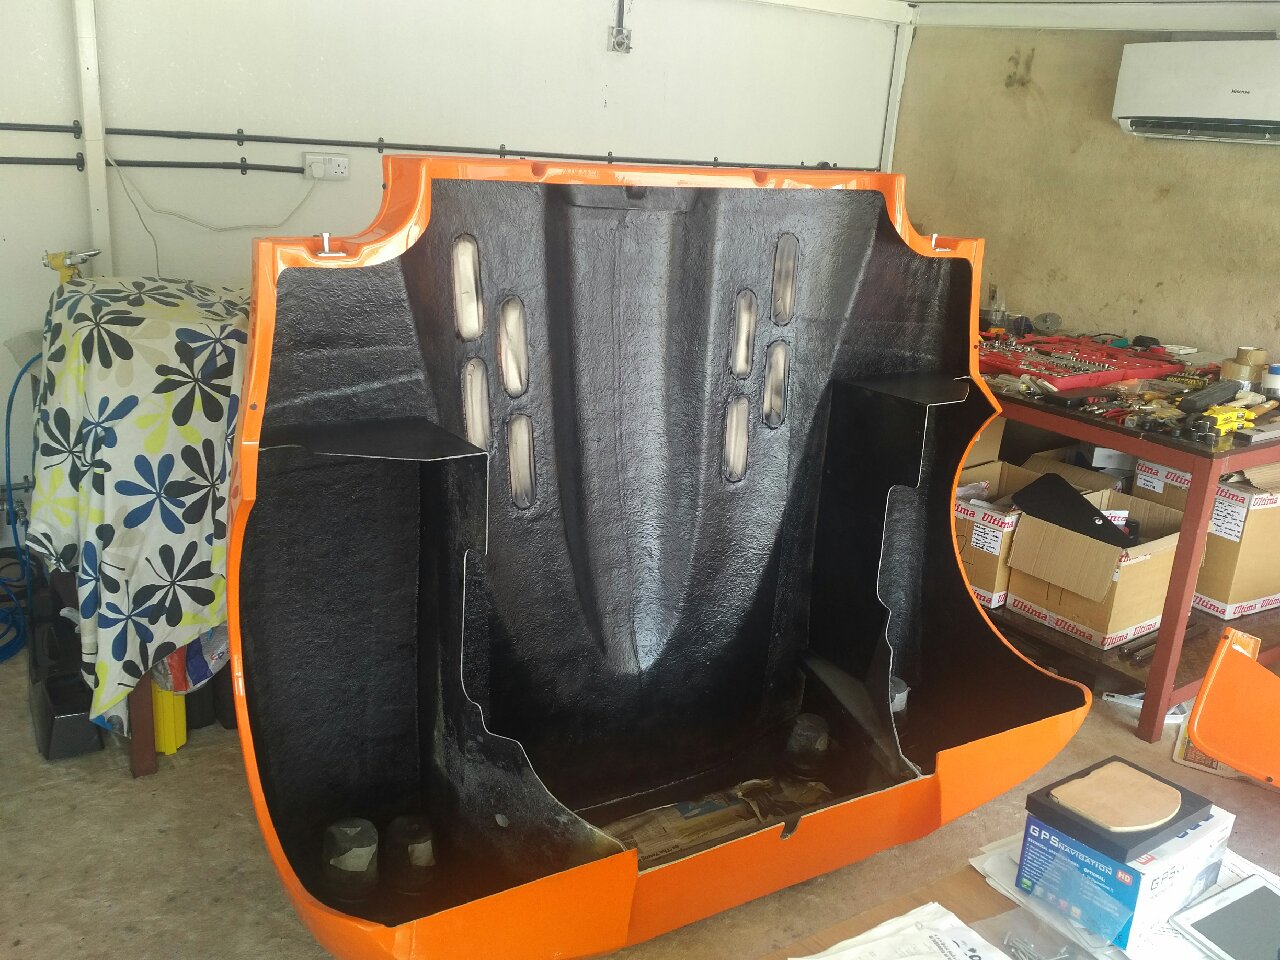
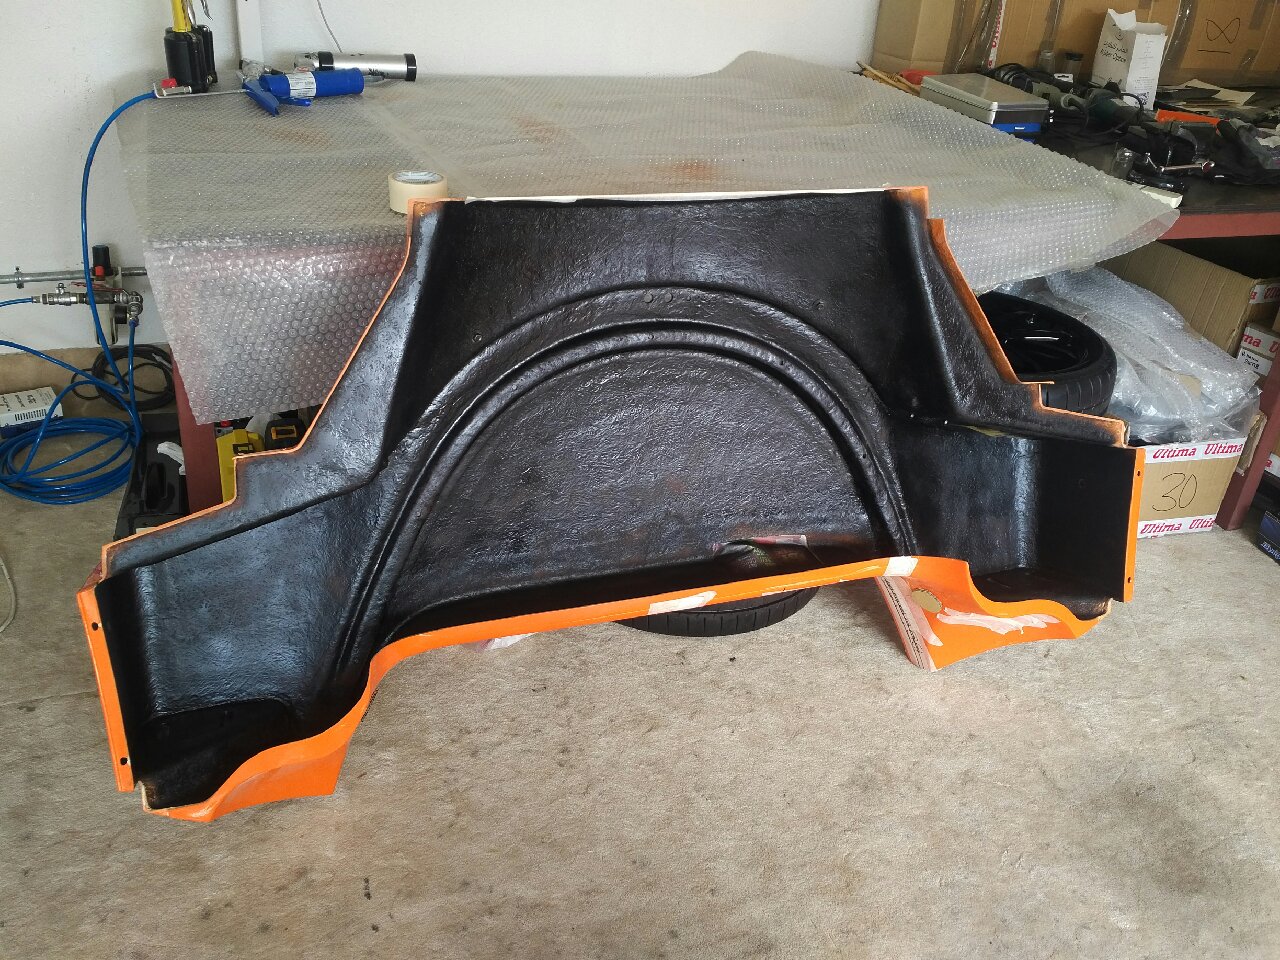
I decided to start work on the GRP sections - first task was painting the front and rear clams, and center GRP in tough black paint - this is done to seal the gealcoat color in and give it a deeper shine... All the GRP edges were masked, holes covered, and then the GRP bodies were painted... A second coat was required in some areas, and then all the masking had to be removed... Finally, all the over spray was cleaned off! Simple job, but took quite a bit of time to look perfect...

June 7-8 2017
Build Time Today: 5 hours
Total Build Time: 301hours
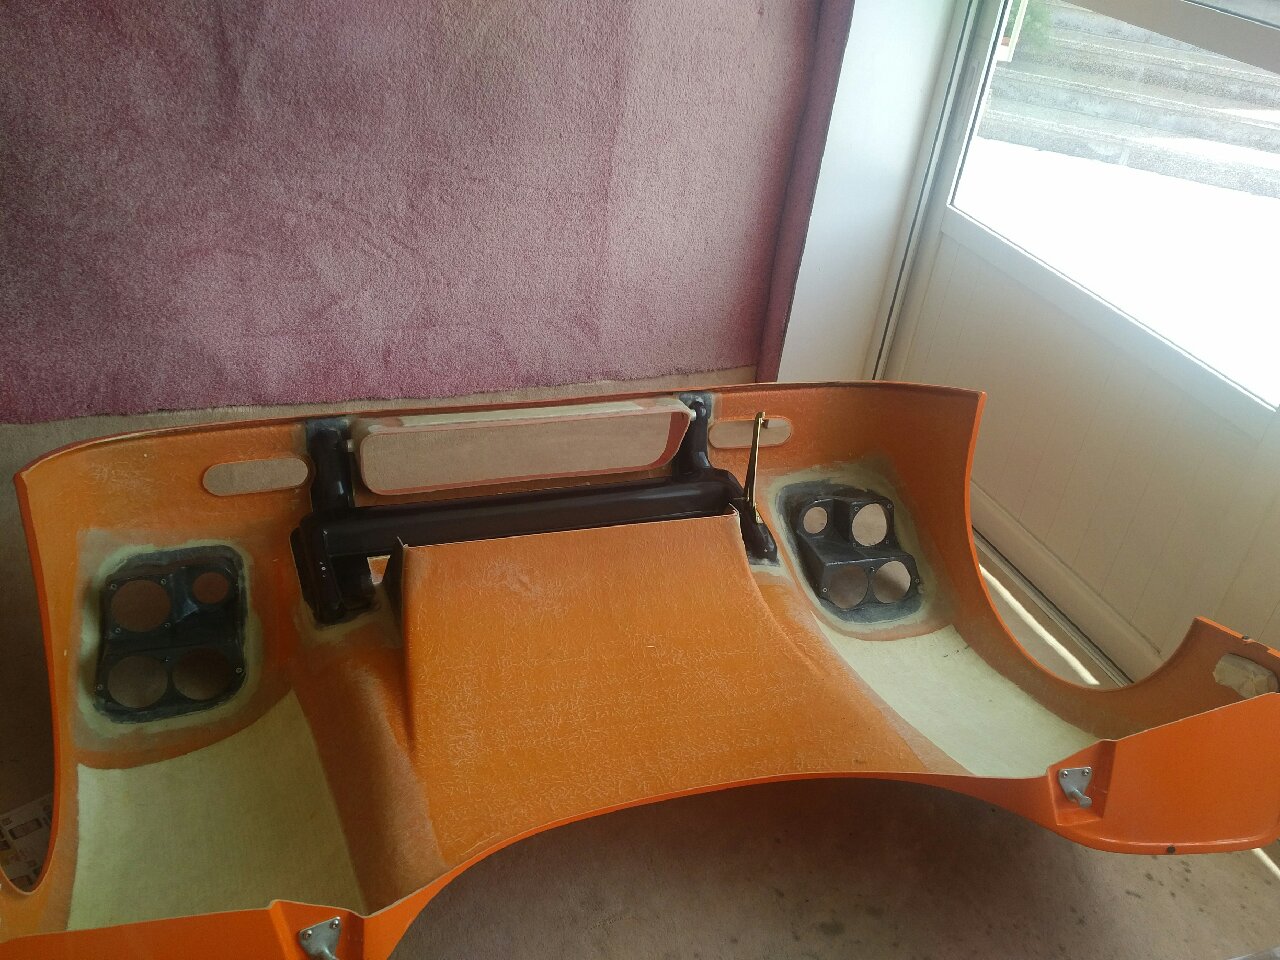
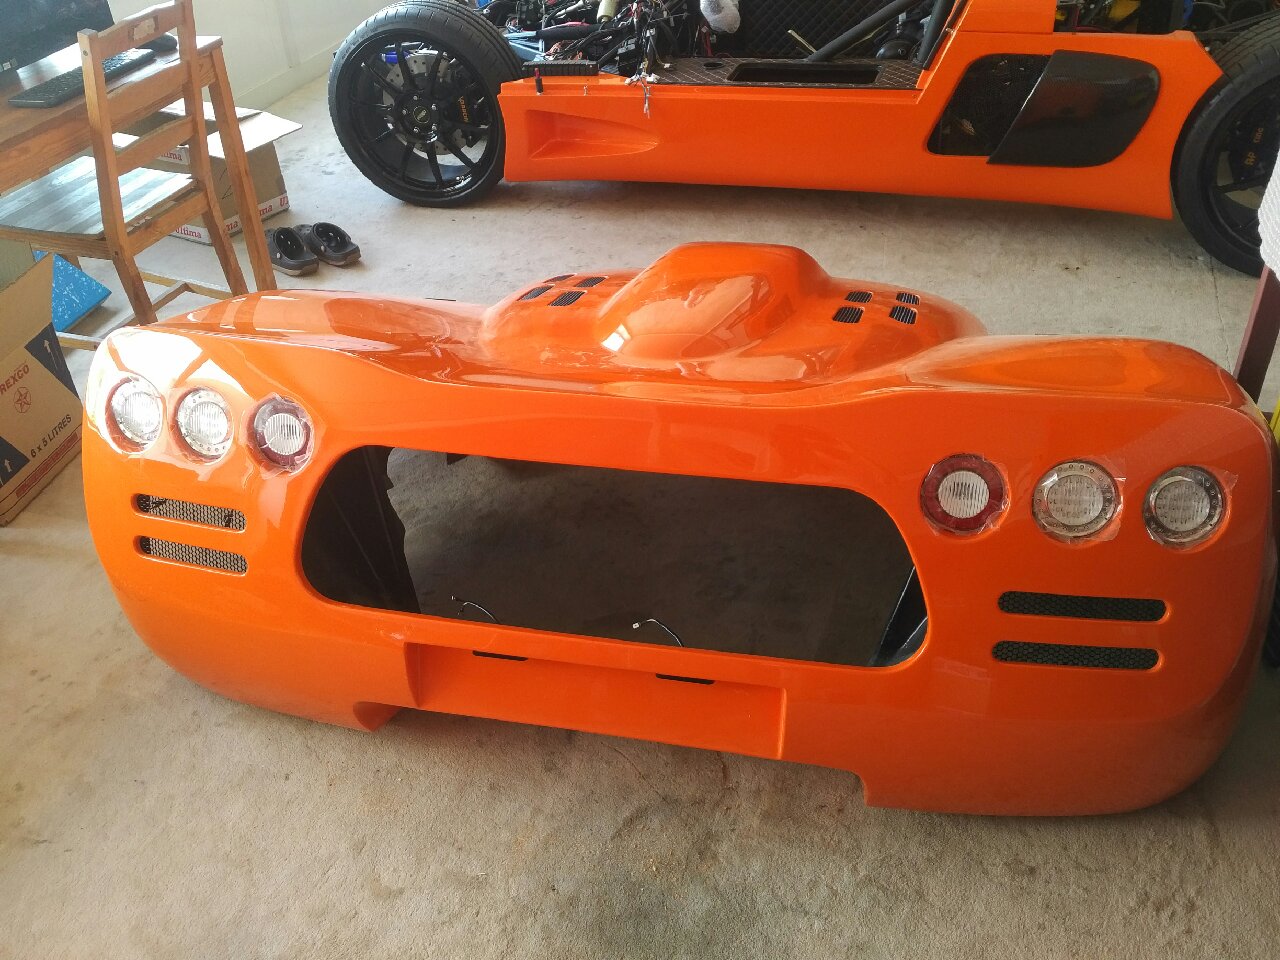
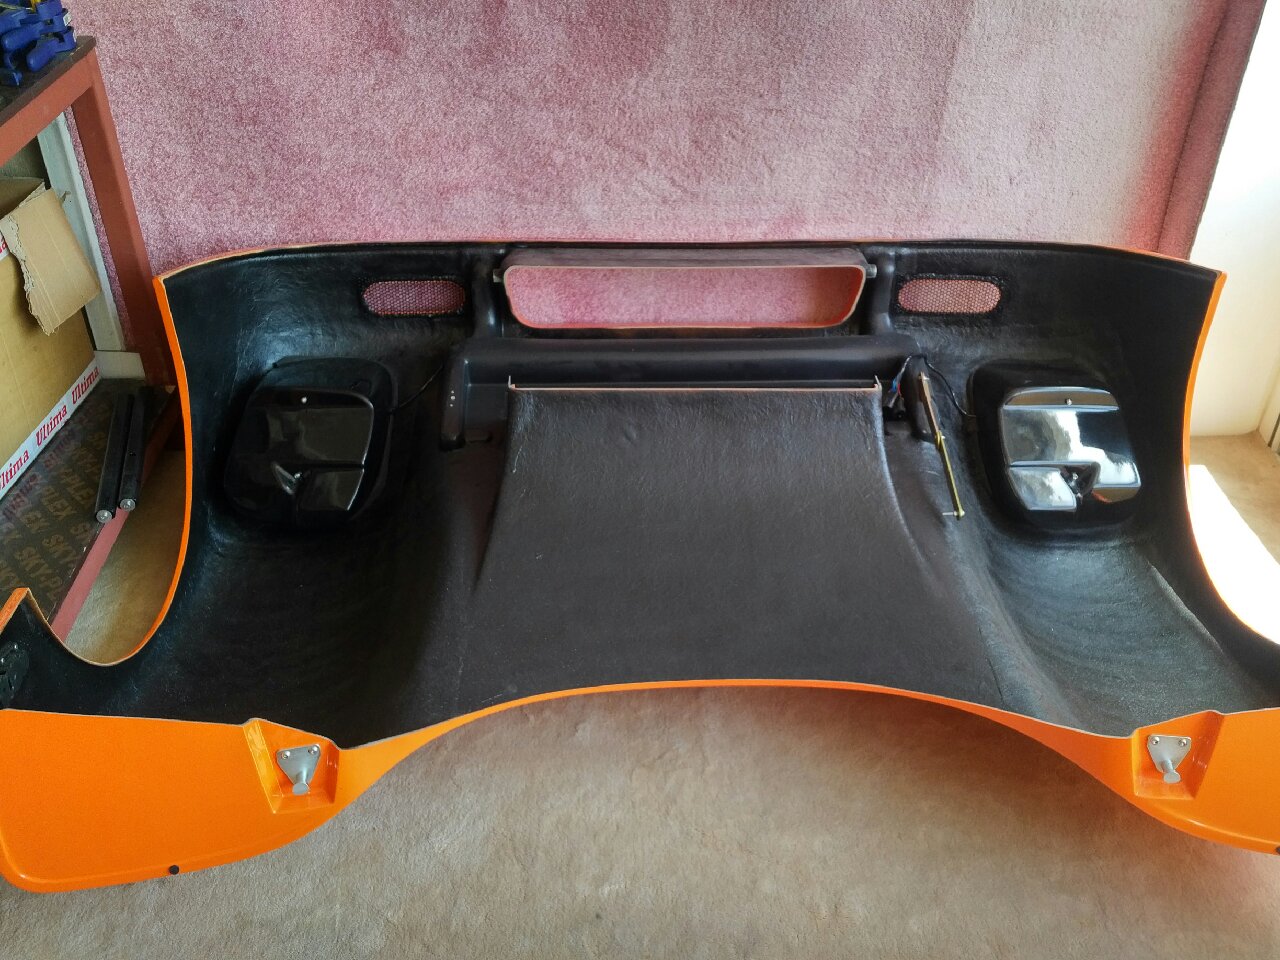
I started to work on the front canopy - front lights! The light cluster was installed after filing the GRP holes for clearance... The turn signals had to be riveted, and the other light fixtures were bolted on... The front wiring loom was passed through the GRP tunnel, and the wires were connected to the lights... The light back covers were prepped, but not installed as I need to get some replacement threaded rods (the factory supplied ones are a little too short)...
June 9 2017
Build Time Today: 4 hours
Total Build Time: 305hours
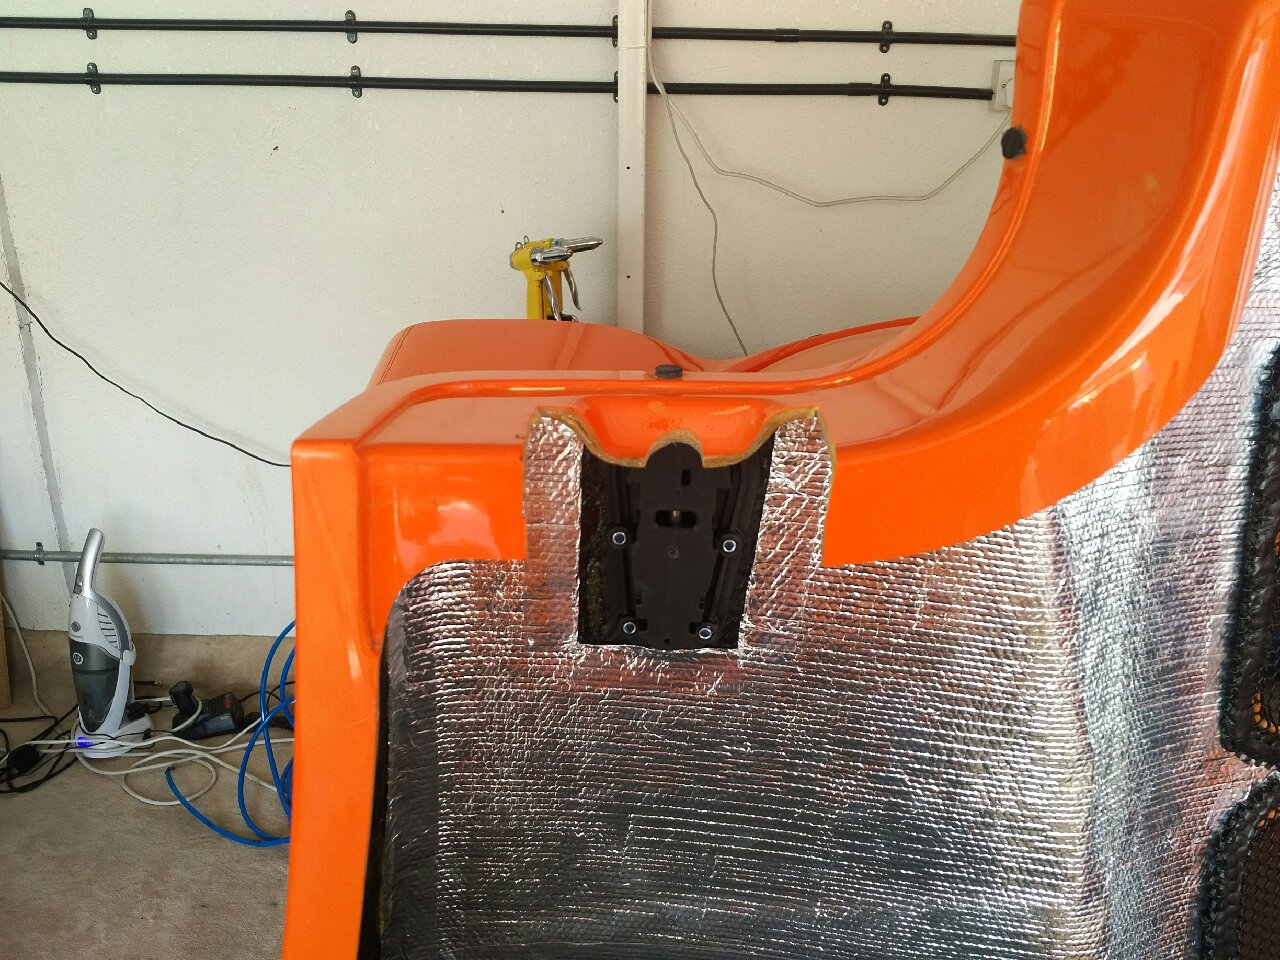
I decided to work a little on the rear canopy - first item on the agenda is the installation of the aerocatch latches... The rear canopy was bolted to the chassis, and the canopy marked for the striker pins from below... the canopy had to be drilled/trimmed to fit the aerocatch fitting (similar to the front canopy), and then the fittings installed with bolts...
June 10-11 2017
Build Time Today: 4 hours
Total Build Time: 309 hours
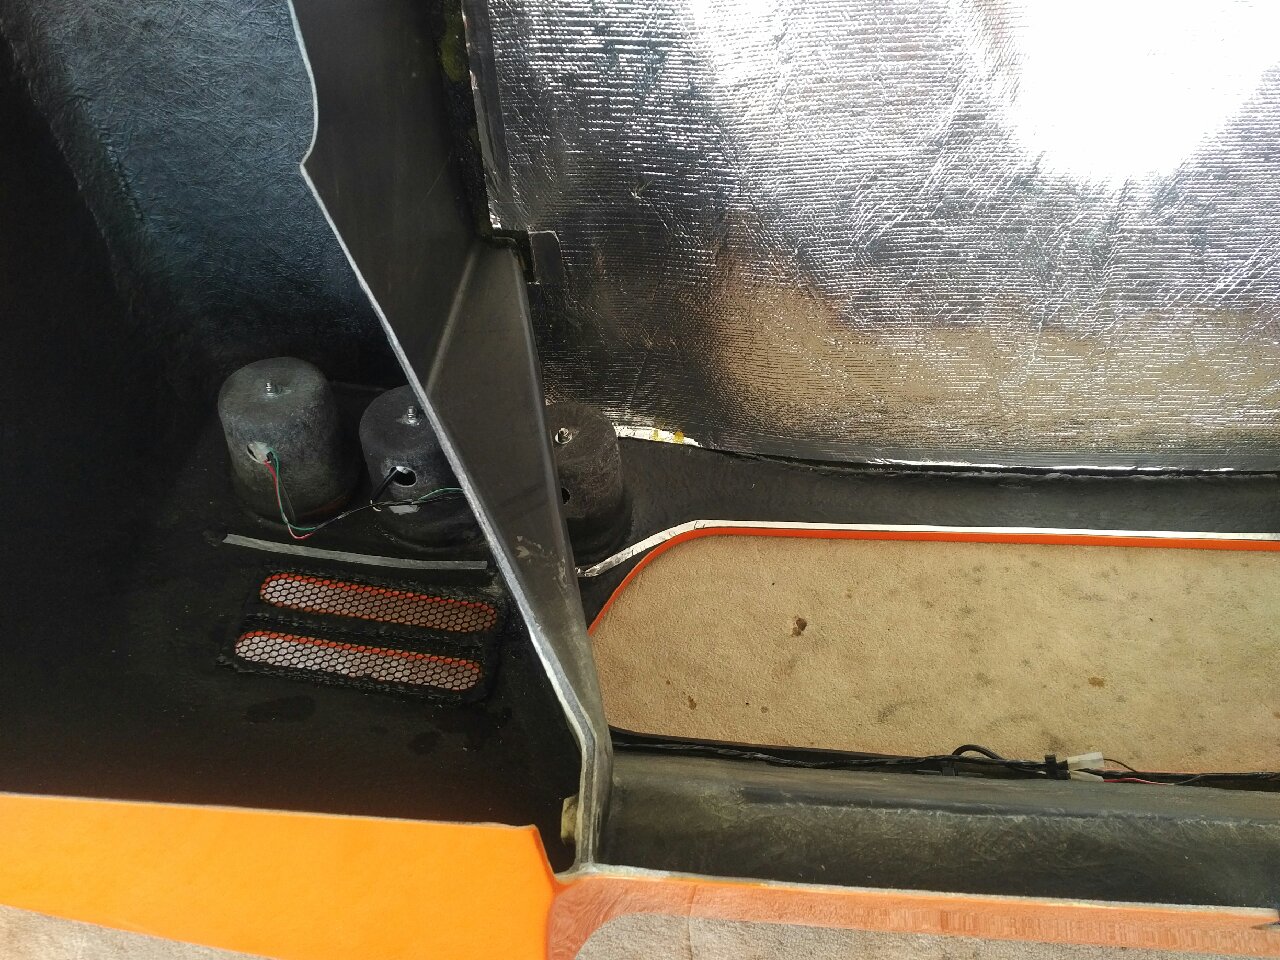
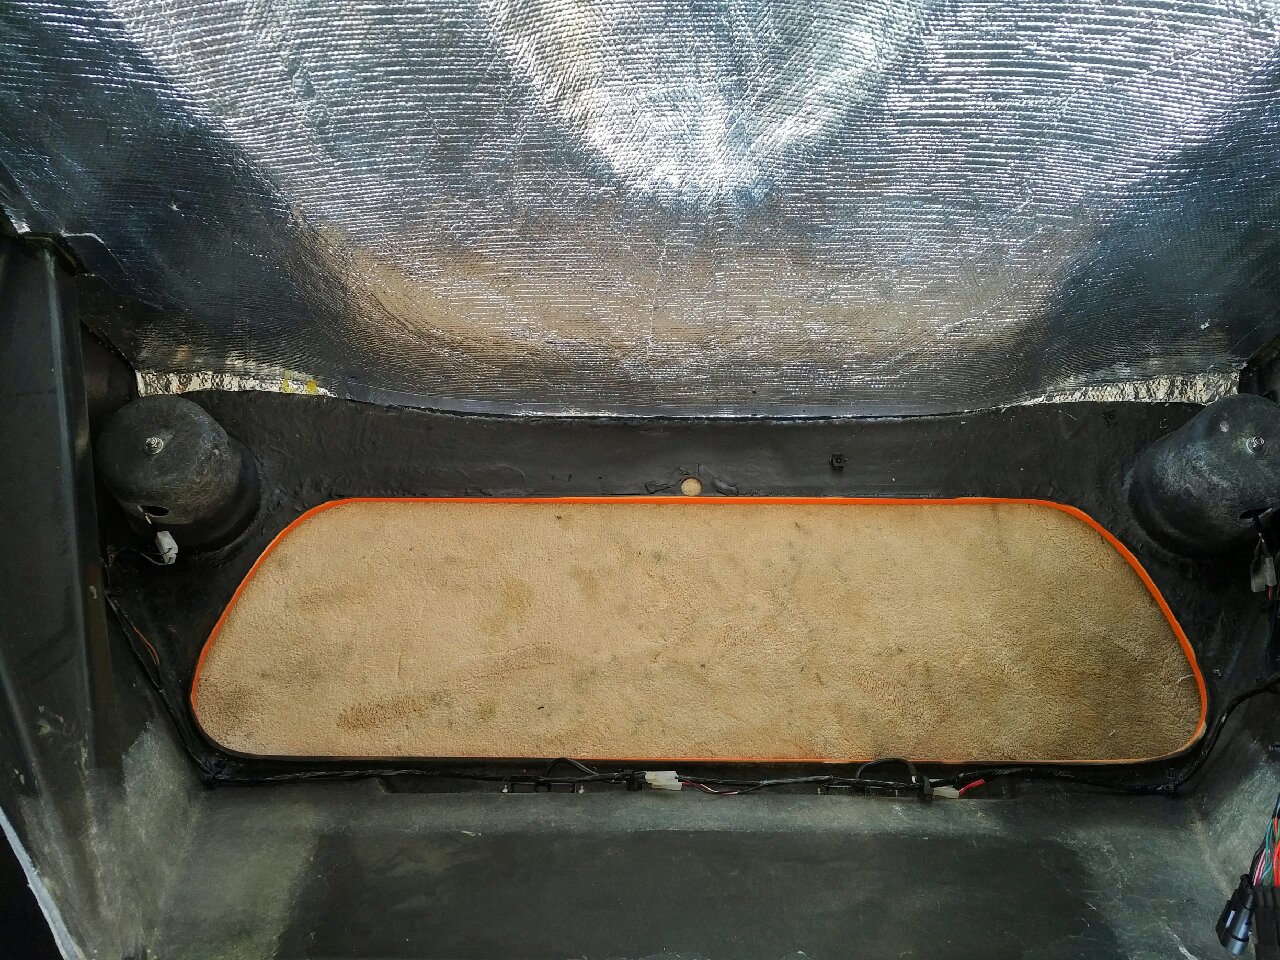
Now I can start actual work on the rear canopy - first item is the heat shield... The heat insulation cloth was cut to size and cutouts made for the grill holes... The cloth then had to be edged with aluminium tape... Once the cloth was ready, it was put aside as the front grills were trimmed and prepared...

June 12-19 2017
Build Time Today: 14 hours
Total Build Time: 323 hours
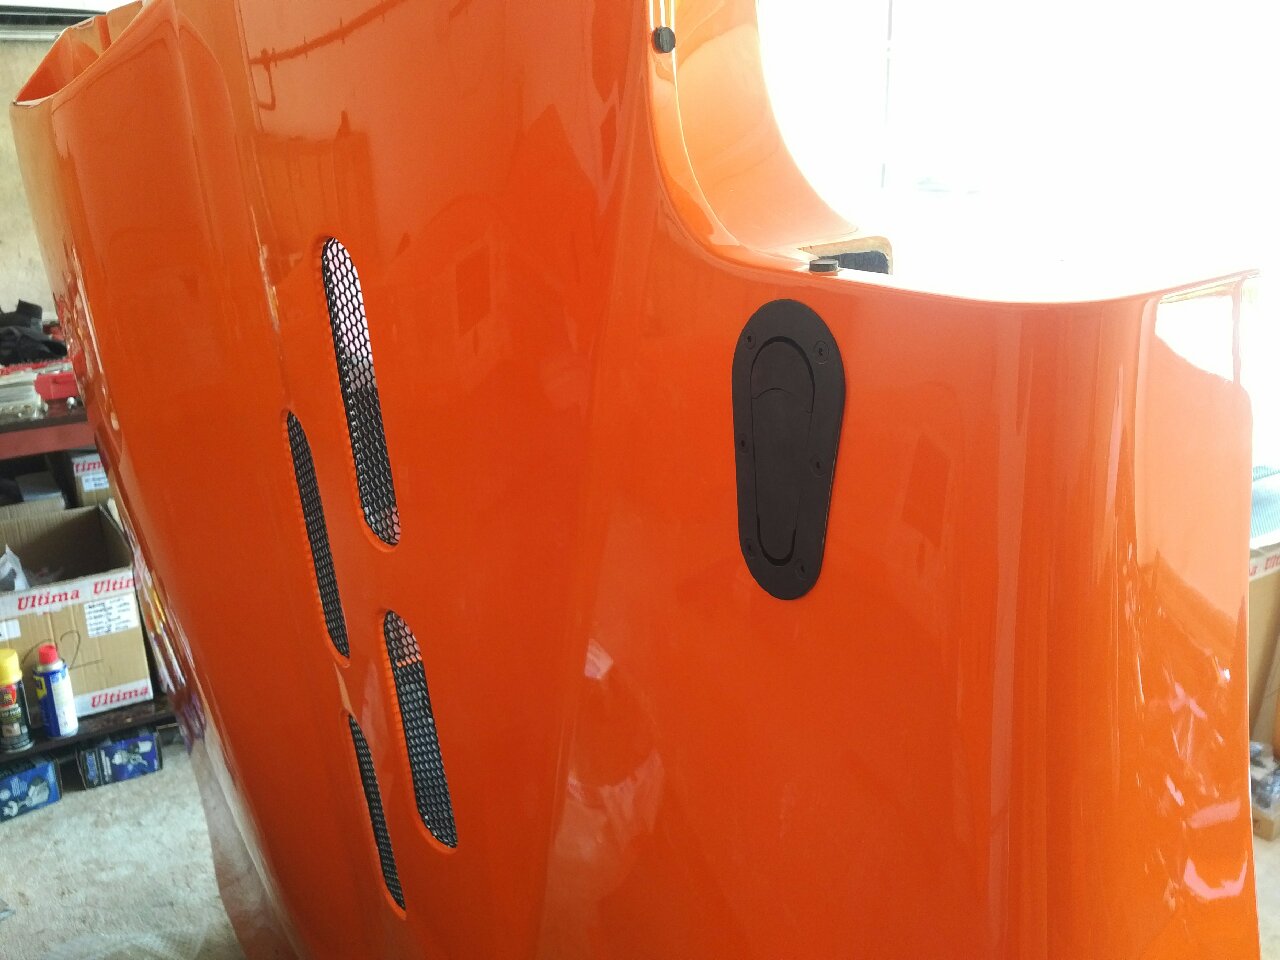
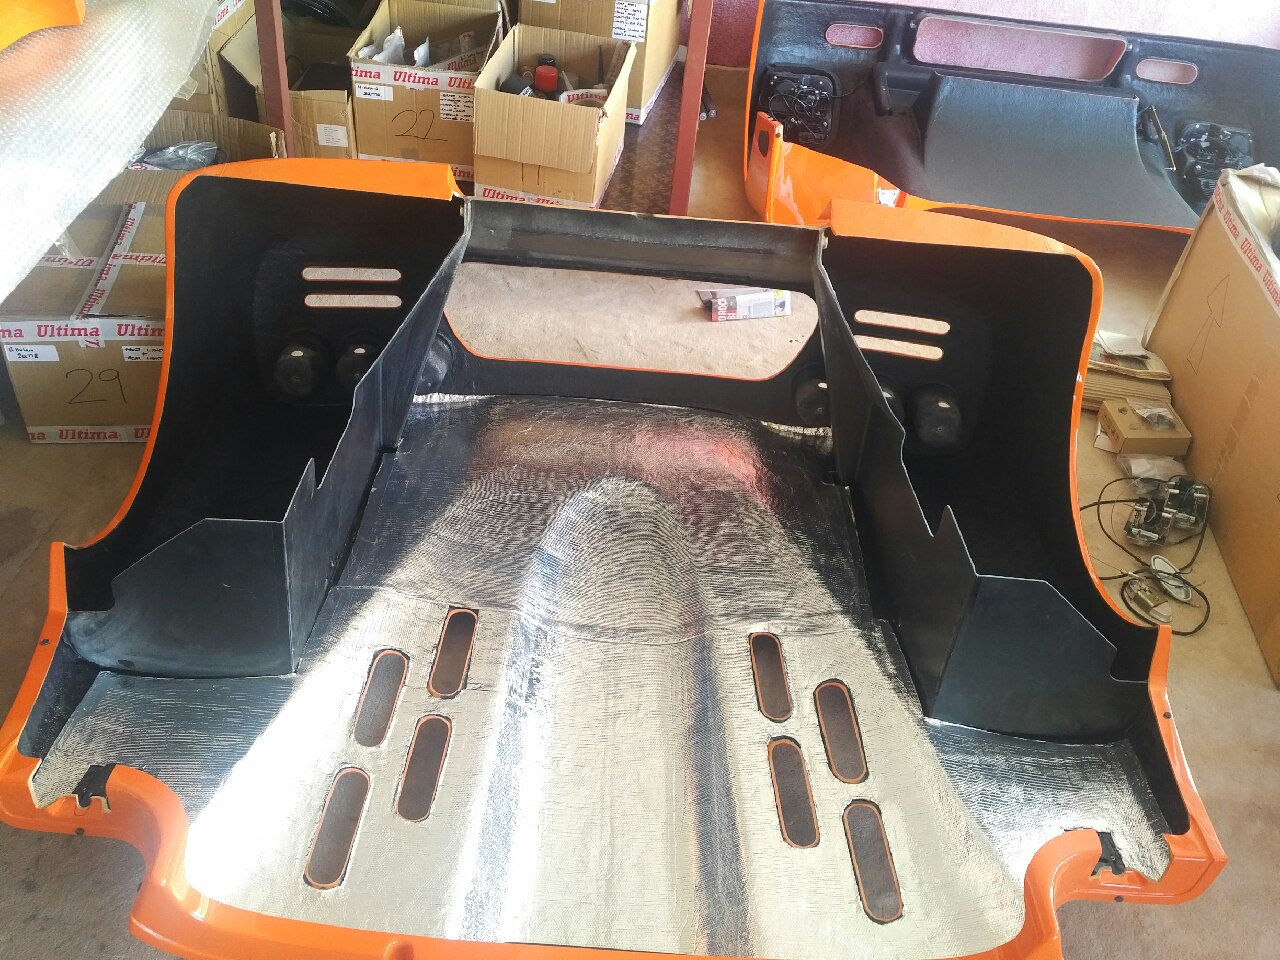
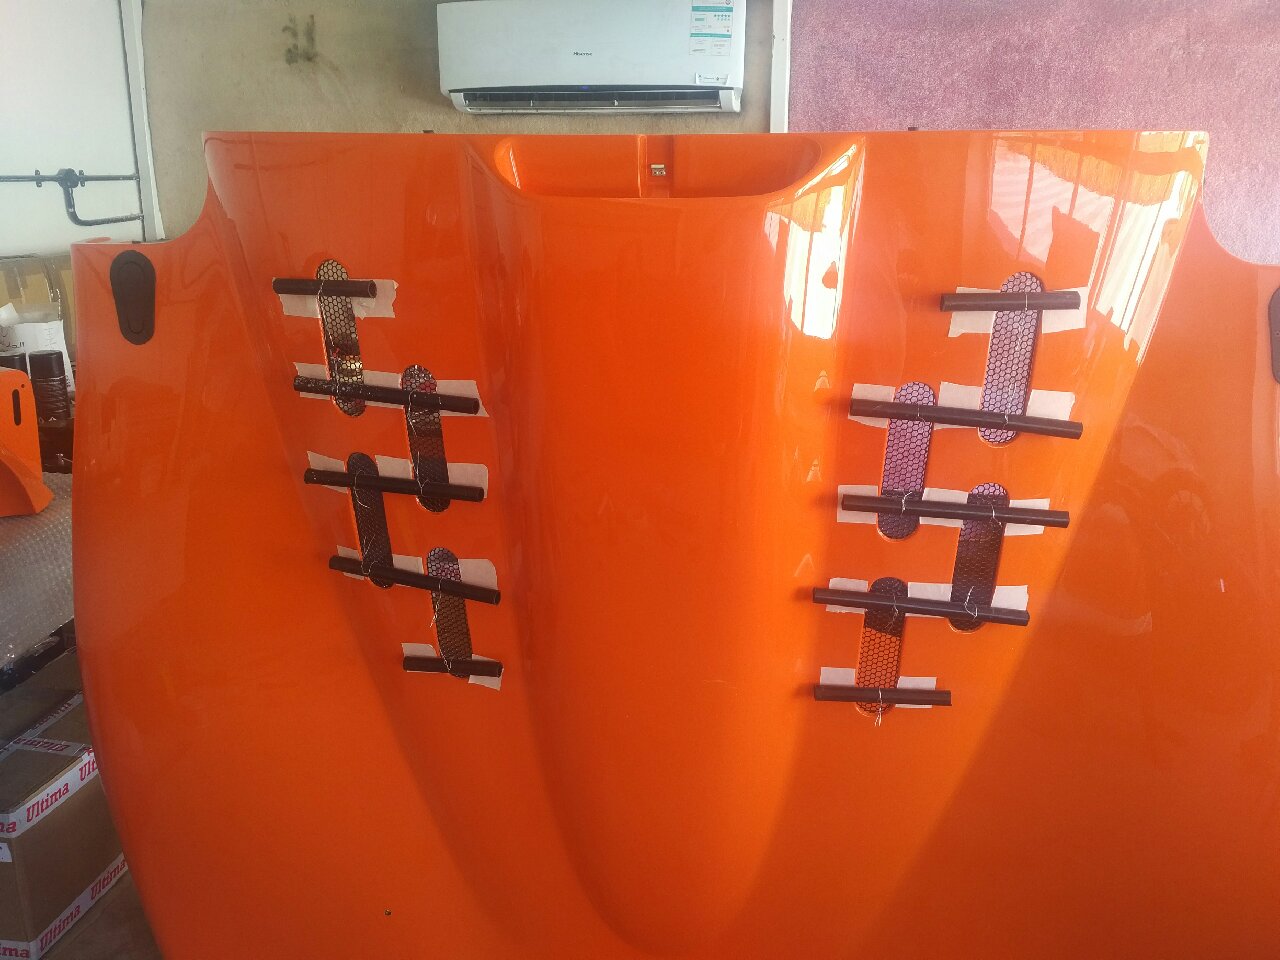
The heat insulation was first glued onto the rear canopy roof using high temp adhesive. Next, the grills were installed onto the rear canopy - the roof grills, air intake grill and rear body grills... Only the large exhaust opening in the rear was not installed as I will wait for the exhaust to be installed to correctly place the holes required for the exhaust tips...
I then installed the rear lights taking care of the orientation when tightening up the bolts... The rear canopy wiring loom was installed and connections made for the lights... I had to enlarge the hole in the GRP to fit the number plate lights, and all the wiring was ziptied to the canopy and secured...
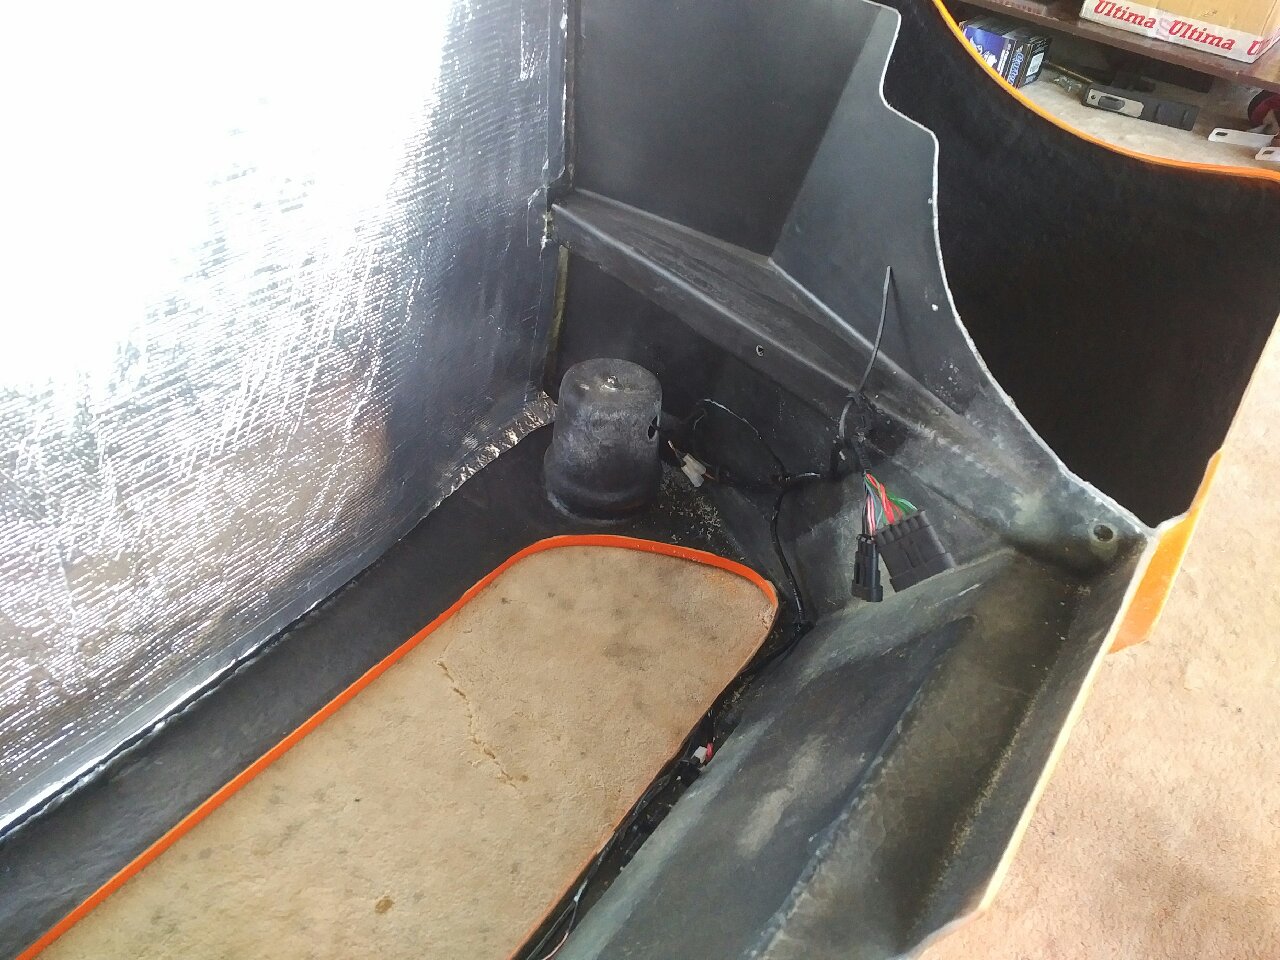
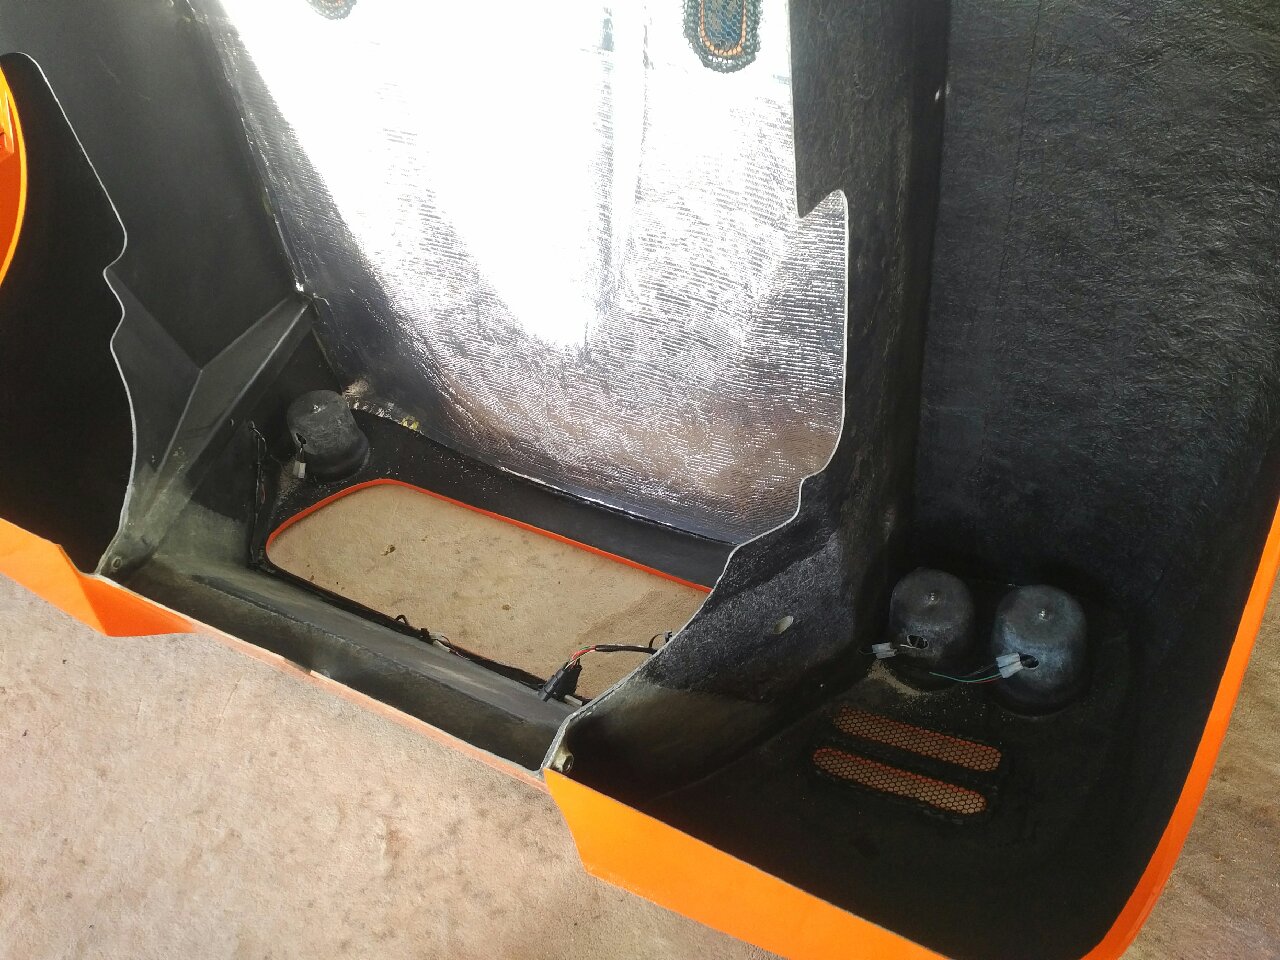
I then installed the rear parking sensor - the aluminum tape was installed on the inner surface of the GRP and then painted black with a rubberized coating... The parking sensor ECU was installed on the rear GRP after being covered in Gold heat insulation to prevent heat soak in the ECU... The power cable was connected to the reverse lights, and all the wiring again secured away by zipties...
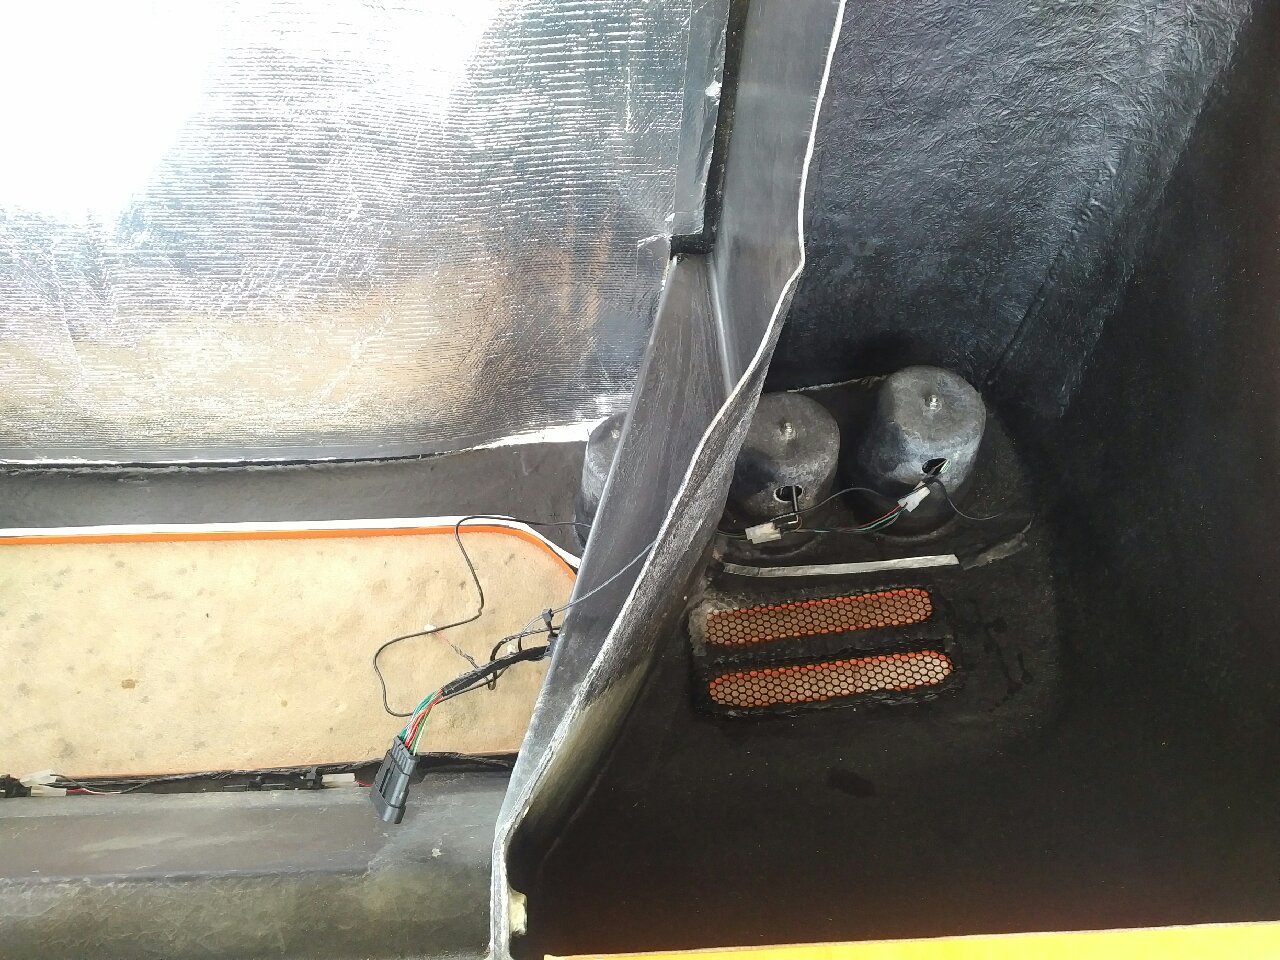

The rearview camera was installed - a hole was drilled in the GRP, and ziptie holders installed to secure the wiring... The camera was removed till later to prevent scratches on the lens, but the installation is ready... The wiring for the camera was also installed on the chassis so now only connectors have to be joint when camera is installed at the end...
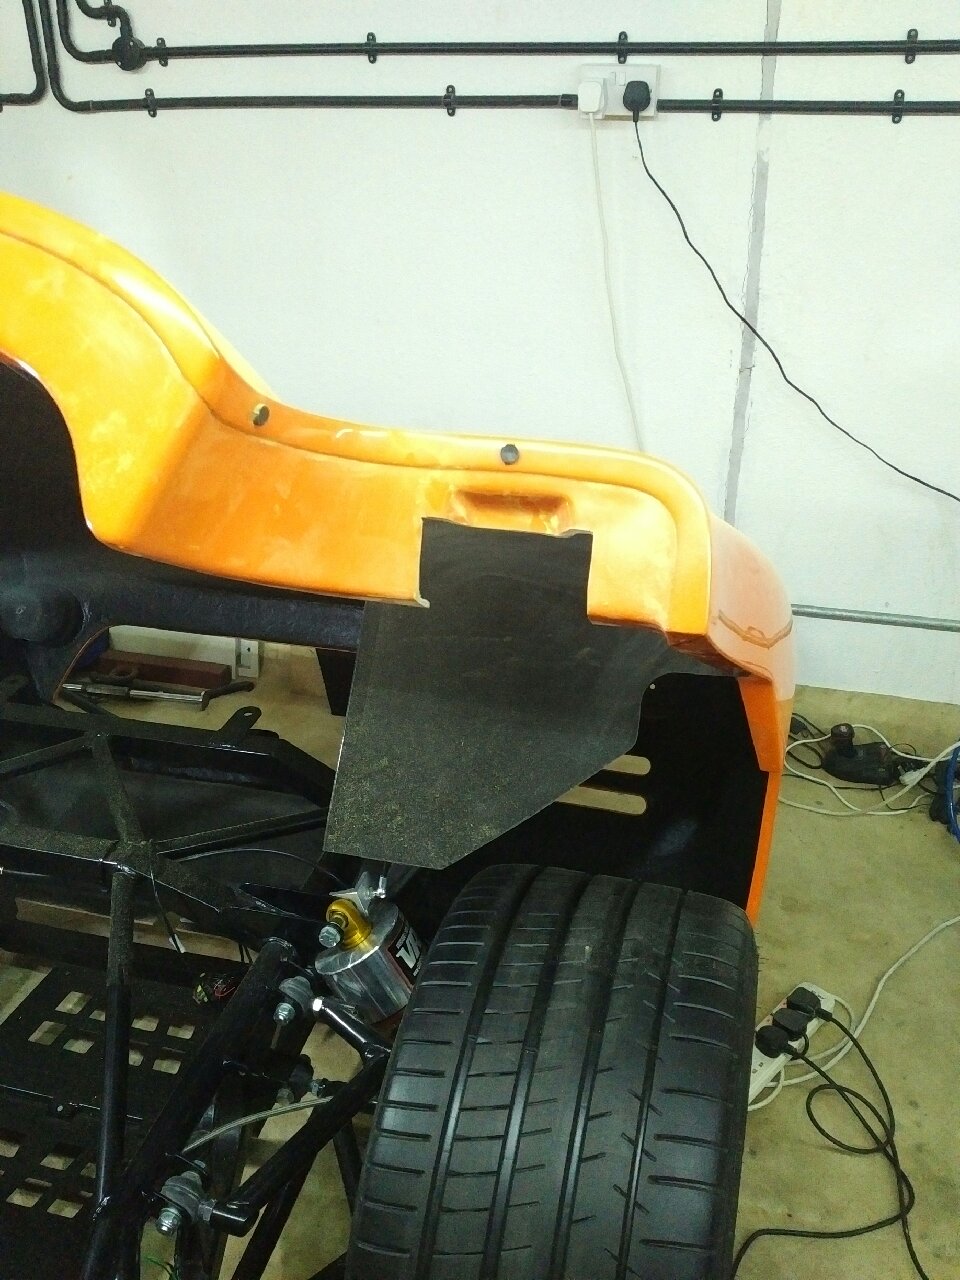
I then went back to the front canopy - the front light covers were installed, and the brake cooling ducts grills were installed...
I now head off for a summer break, so will get back to the build in mid July on my return...