April 1-15 2018
Build Time : 24 hours
Total Build Time: 537 hours
Finally I received some more parts! The first part of the engine kit has arrived after the new engine/box combination has been proved by AB... The delay over the past 8 months was basically the dash display - while the engine and box have been proven to work together last summer, there was a problem in getting the information to display on the dash because the engine and box (GM and Porsche) use different frequency/bandwidths and no single display is designed to use two different bandwidths at the same time! The solution was either to have 2 displays (one for engine one for box) or to design and new custom display that would work with both - we picked the latter and it took a LONG time to get all the issues resolved to make the display work as we wanted... Now that it has been proved, I am finally able to move forward with the build...
I received a few parts by air so that I can prep the build for the engine/box - namely the wiring loom!
First step was to lay out the loom and label all the connections... I also had to go back between the Ultima loom and the AB engine/box loom to see where they would mate, and then make sure the connectors were the same kind - there were a few places where I had to cut and attach new connectors to allow the two looms to interconnect...
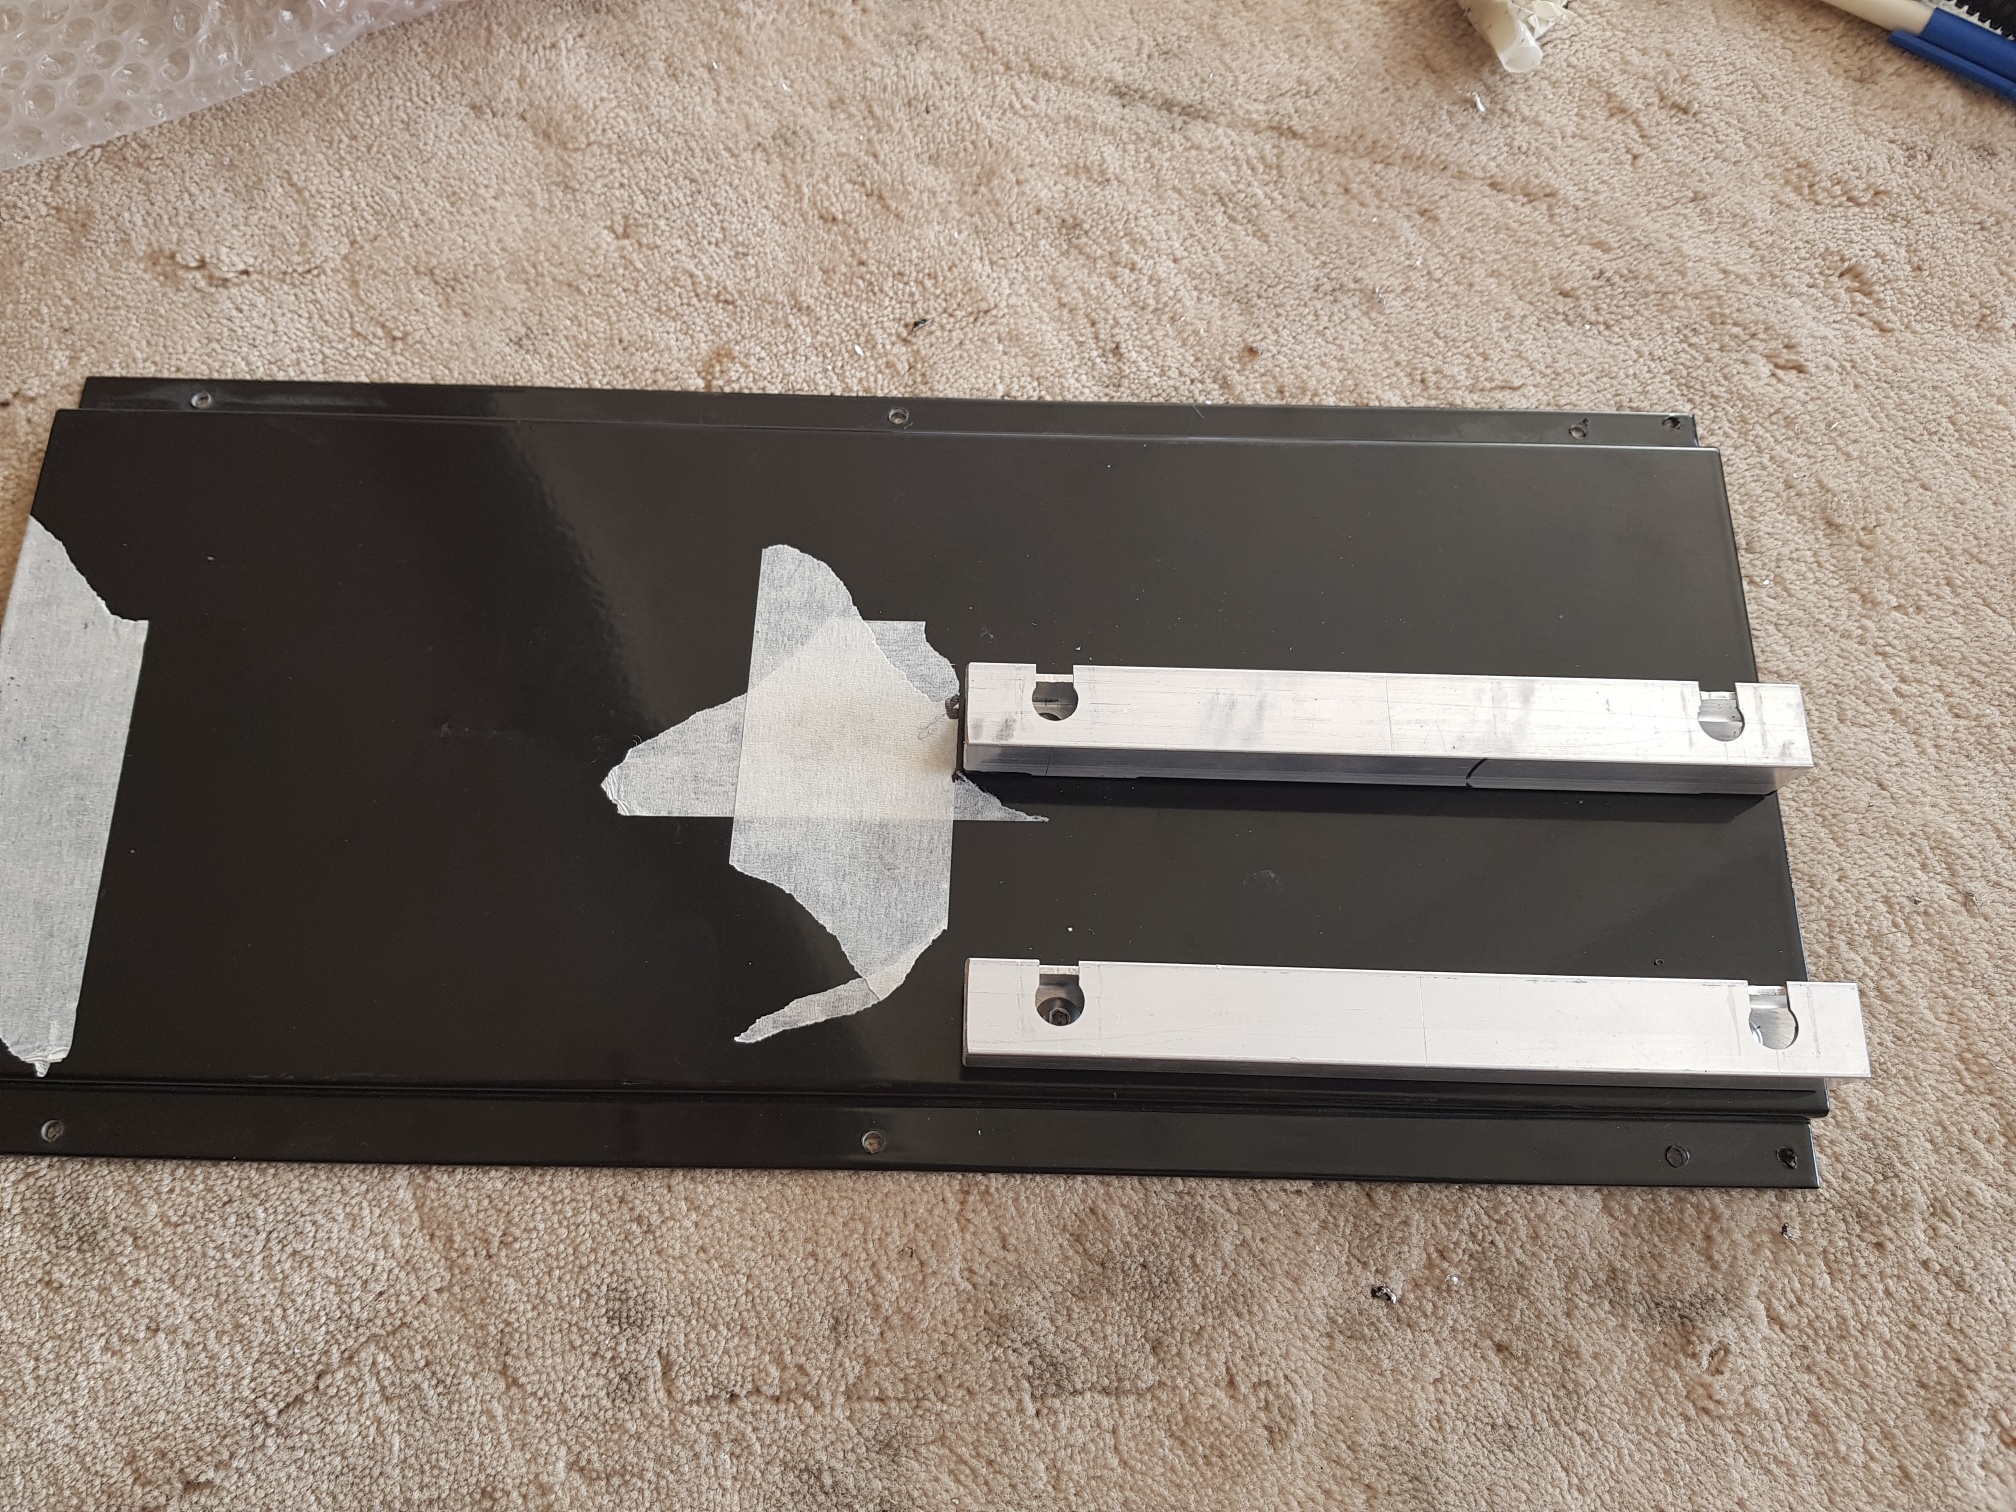
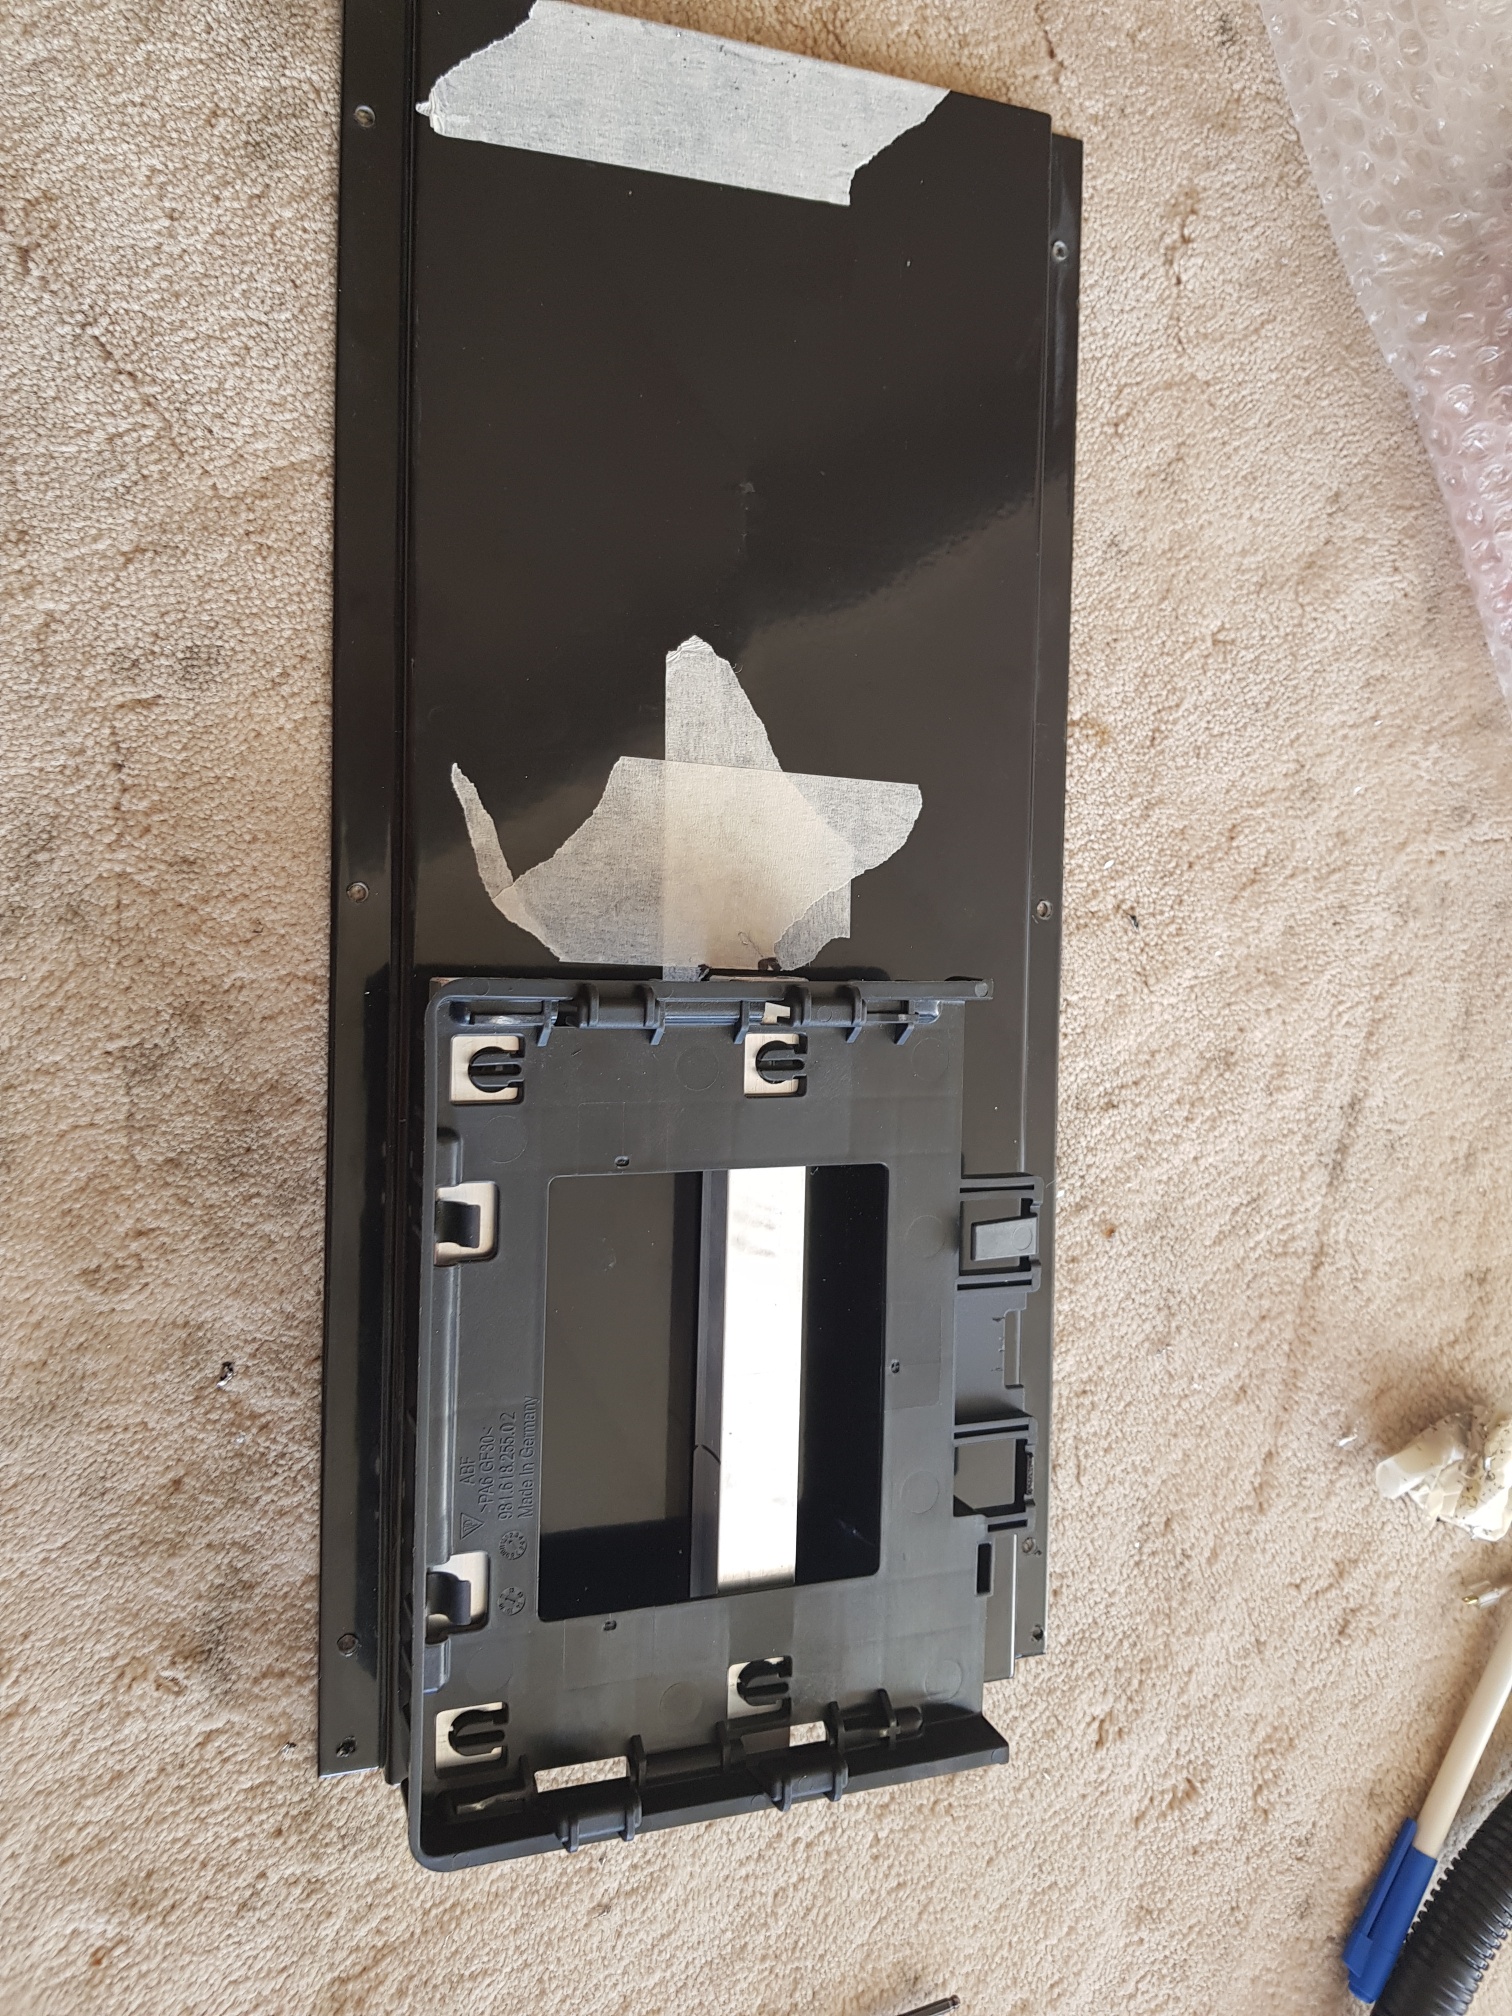
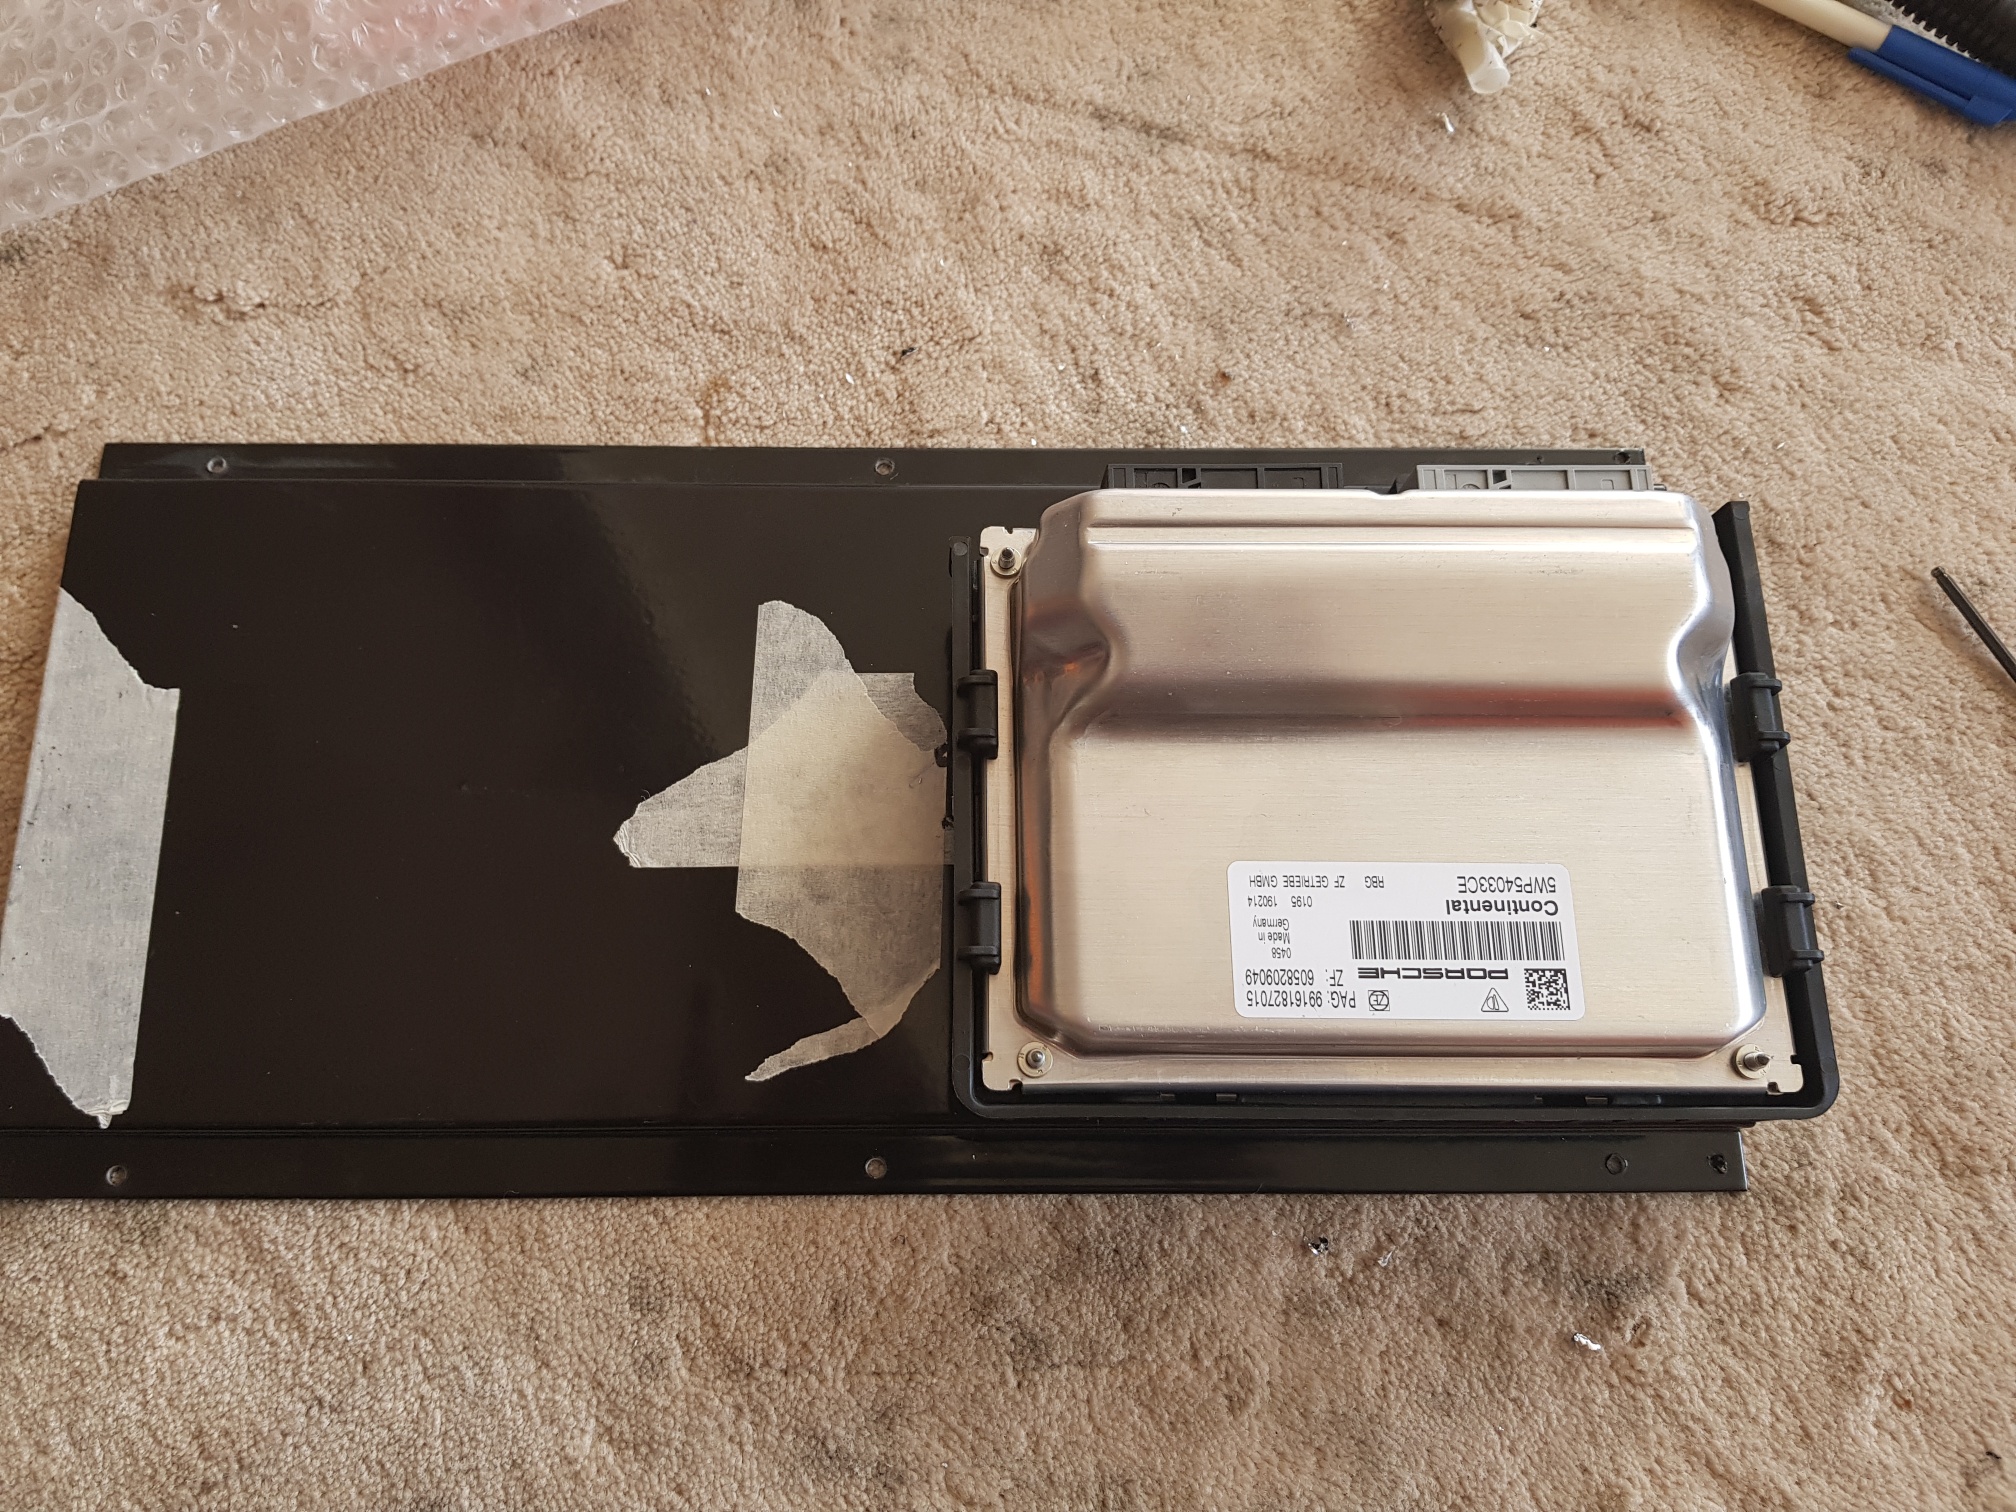
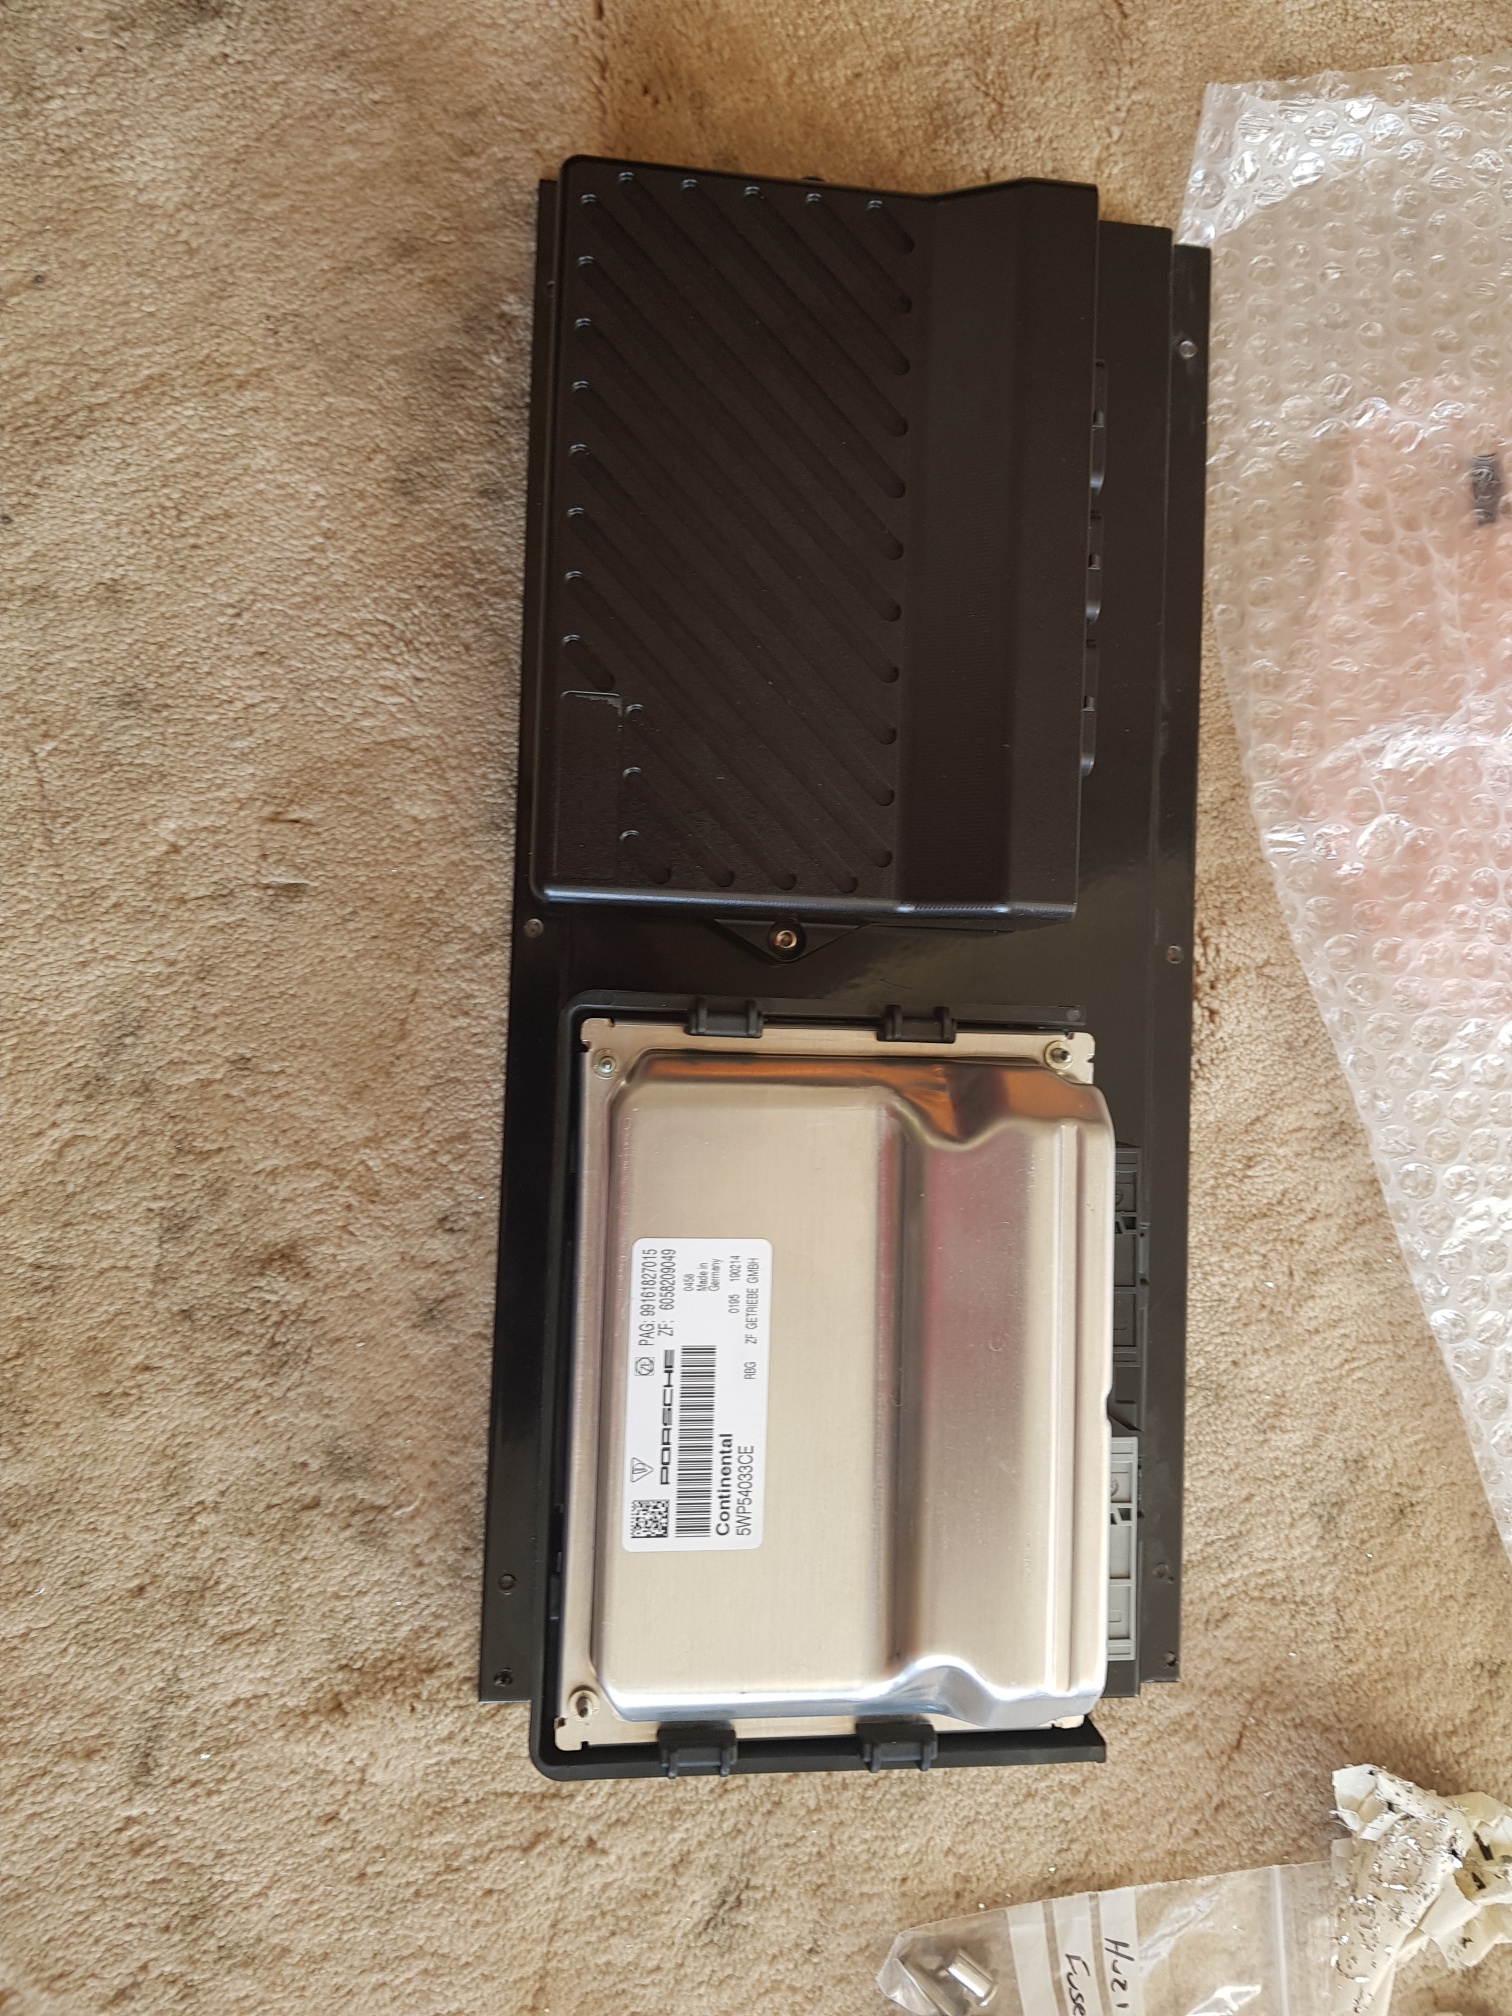
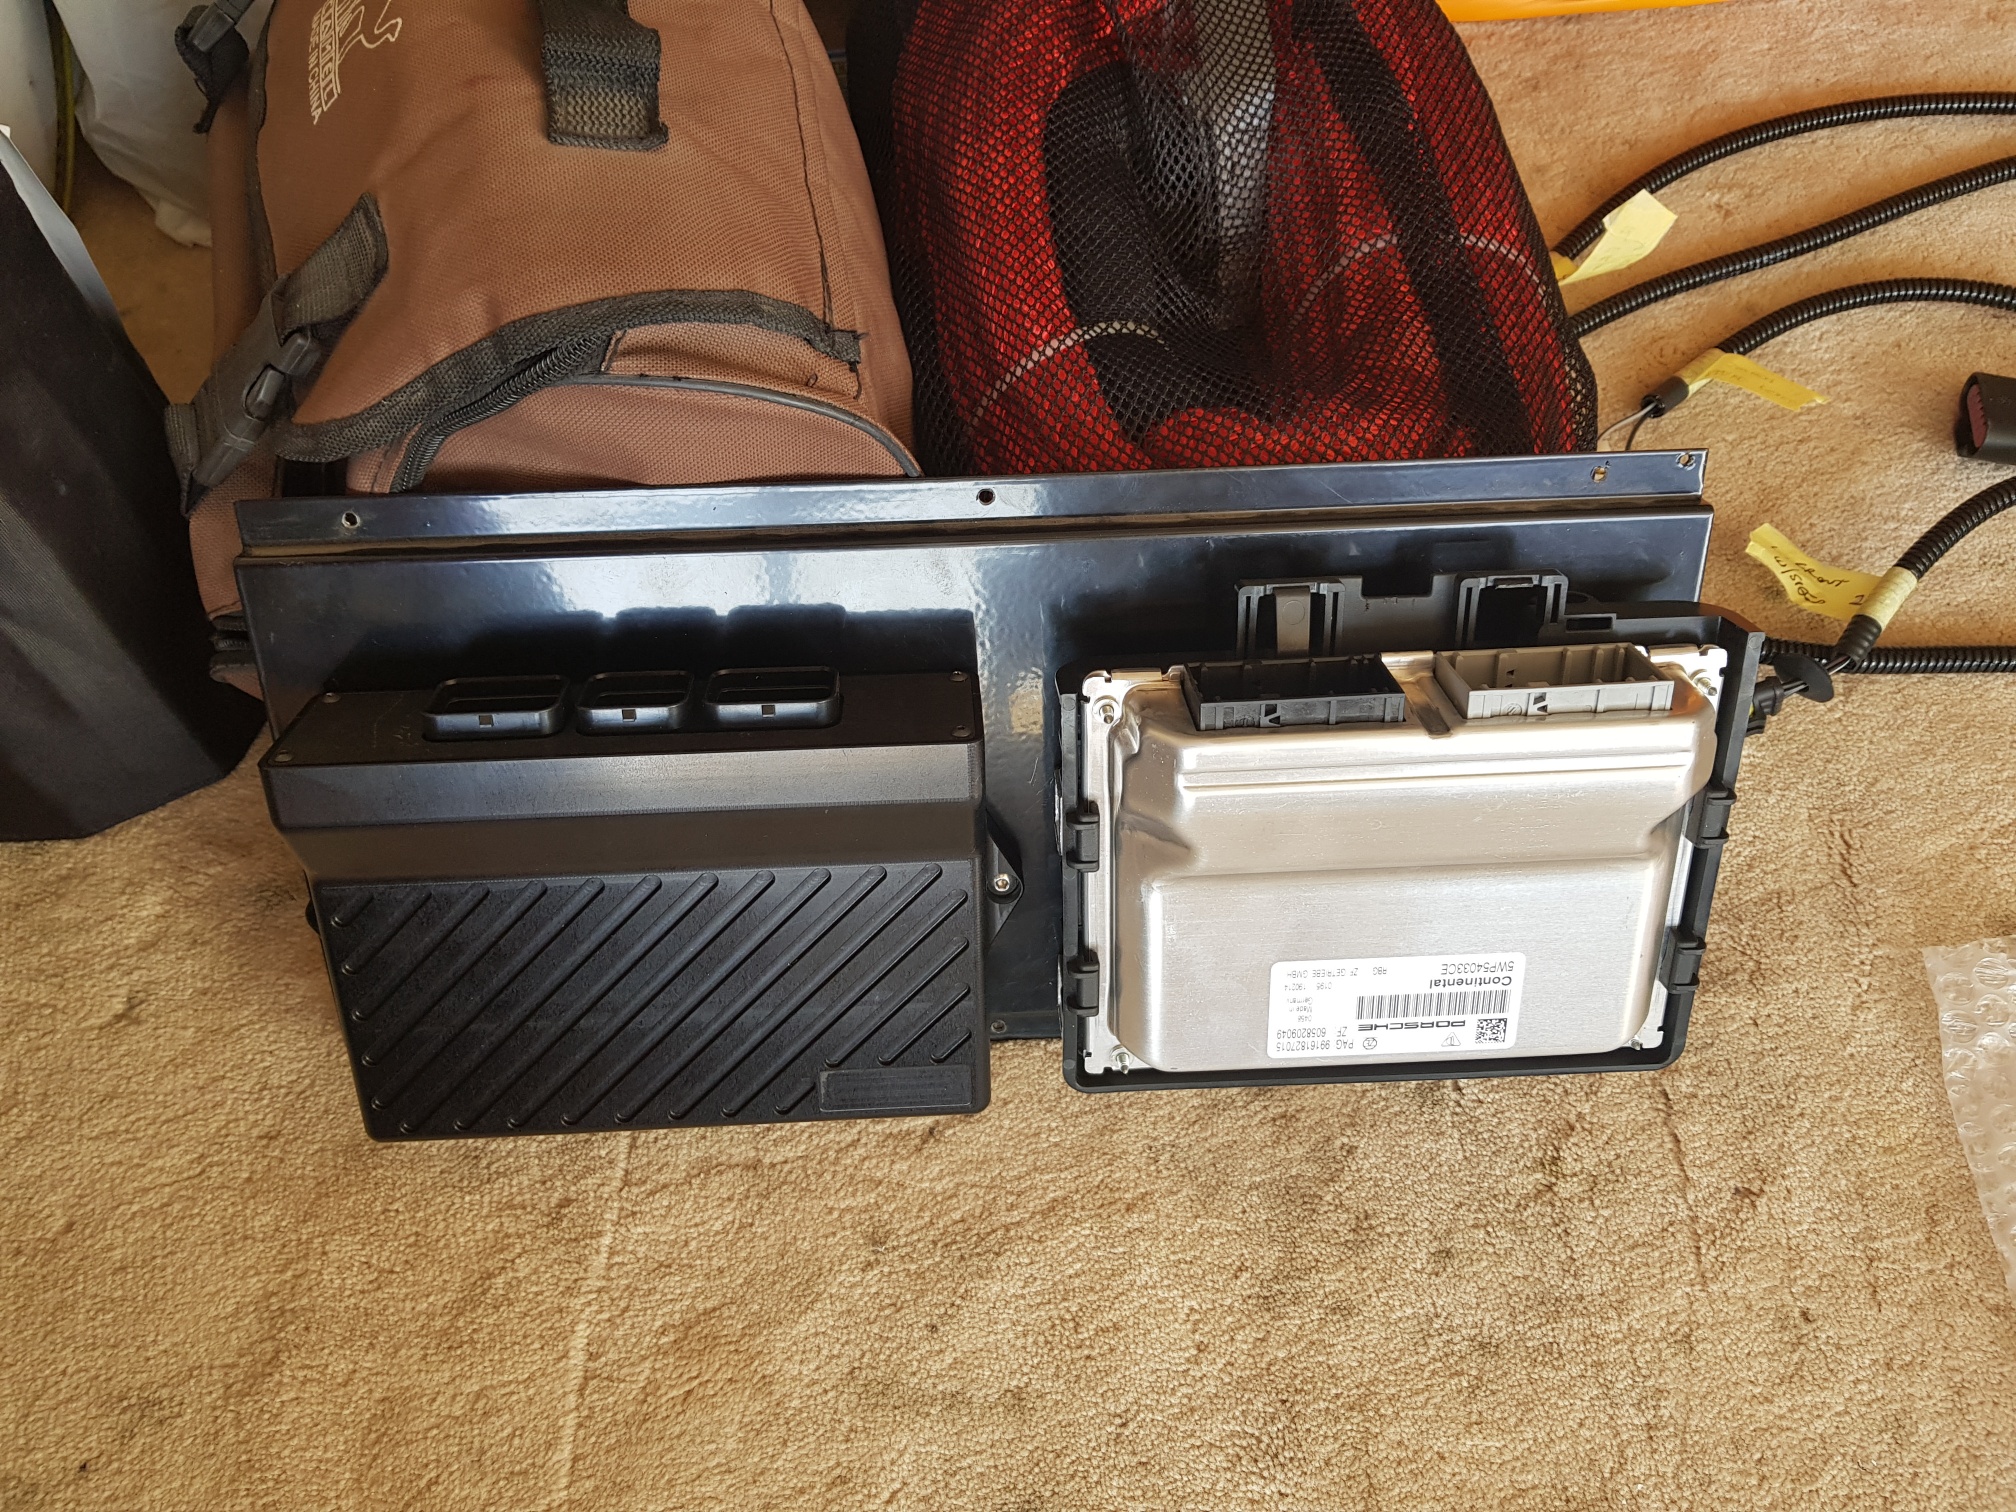
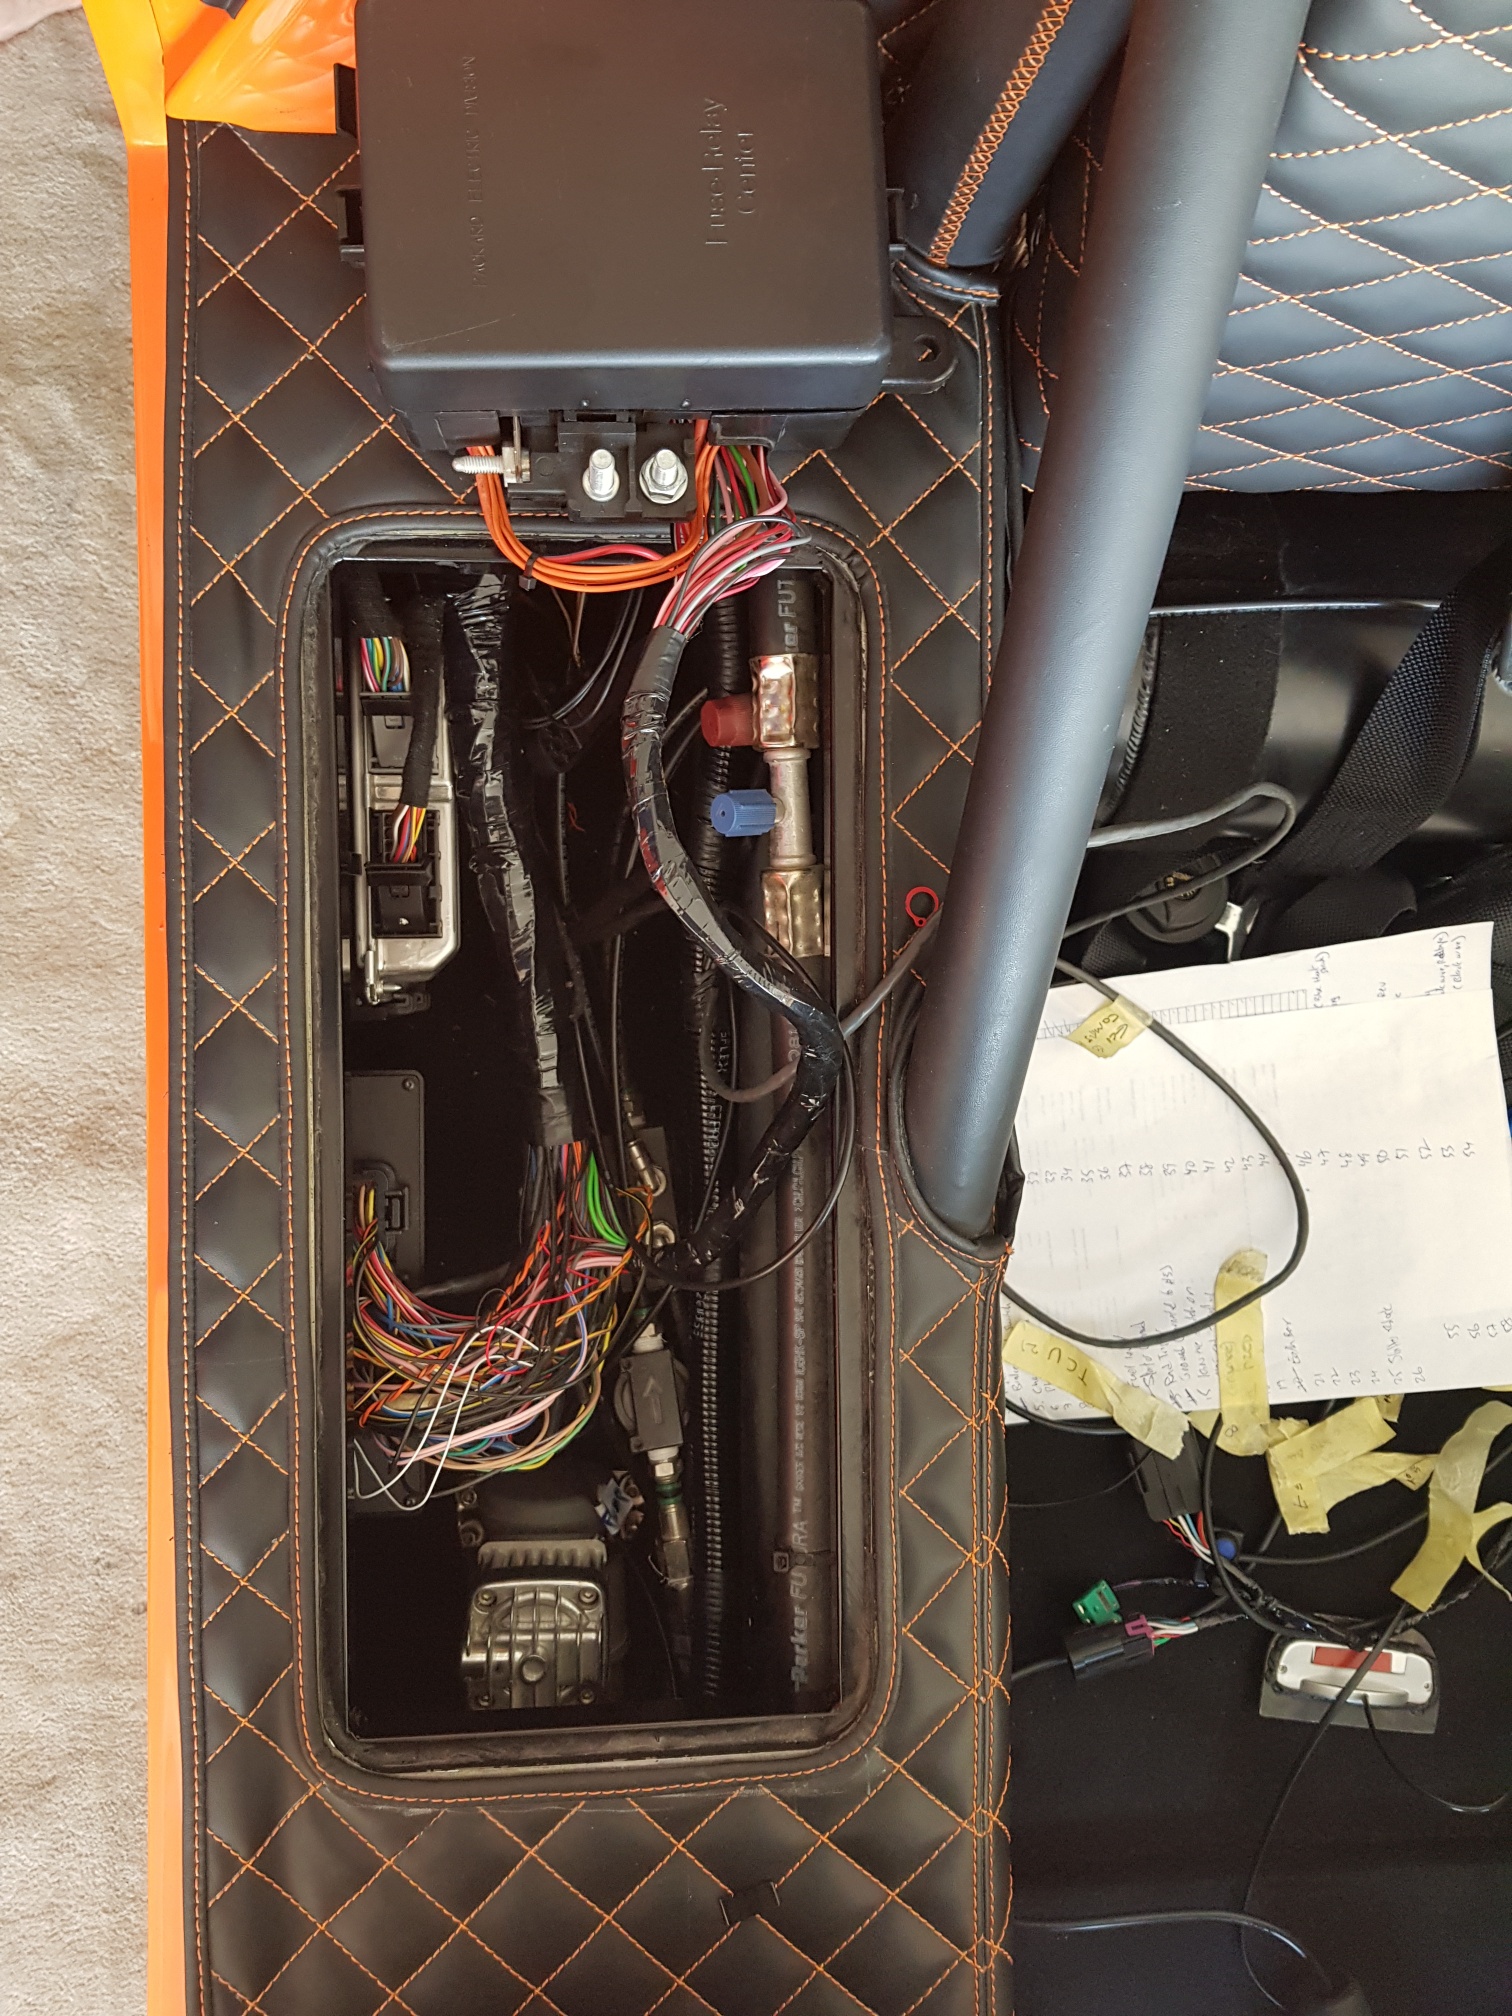
Next, I decided to start on the installation of the ECU/TCU/Fuse box... These are being installed in the passenger luggage box on the ally bracket I had previously installed... the ECU and TCU were placed in the luggage box and checked for best location, and the bracket was marked... Then I removed the bracket and installed the TCU and ECU holders/brackets/rivnuts.. The bracket was reinstalled in the car, and then the ECU and TCU fixed on the brackets...
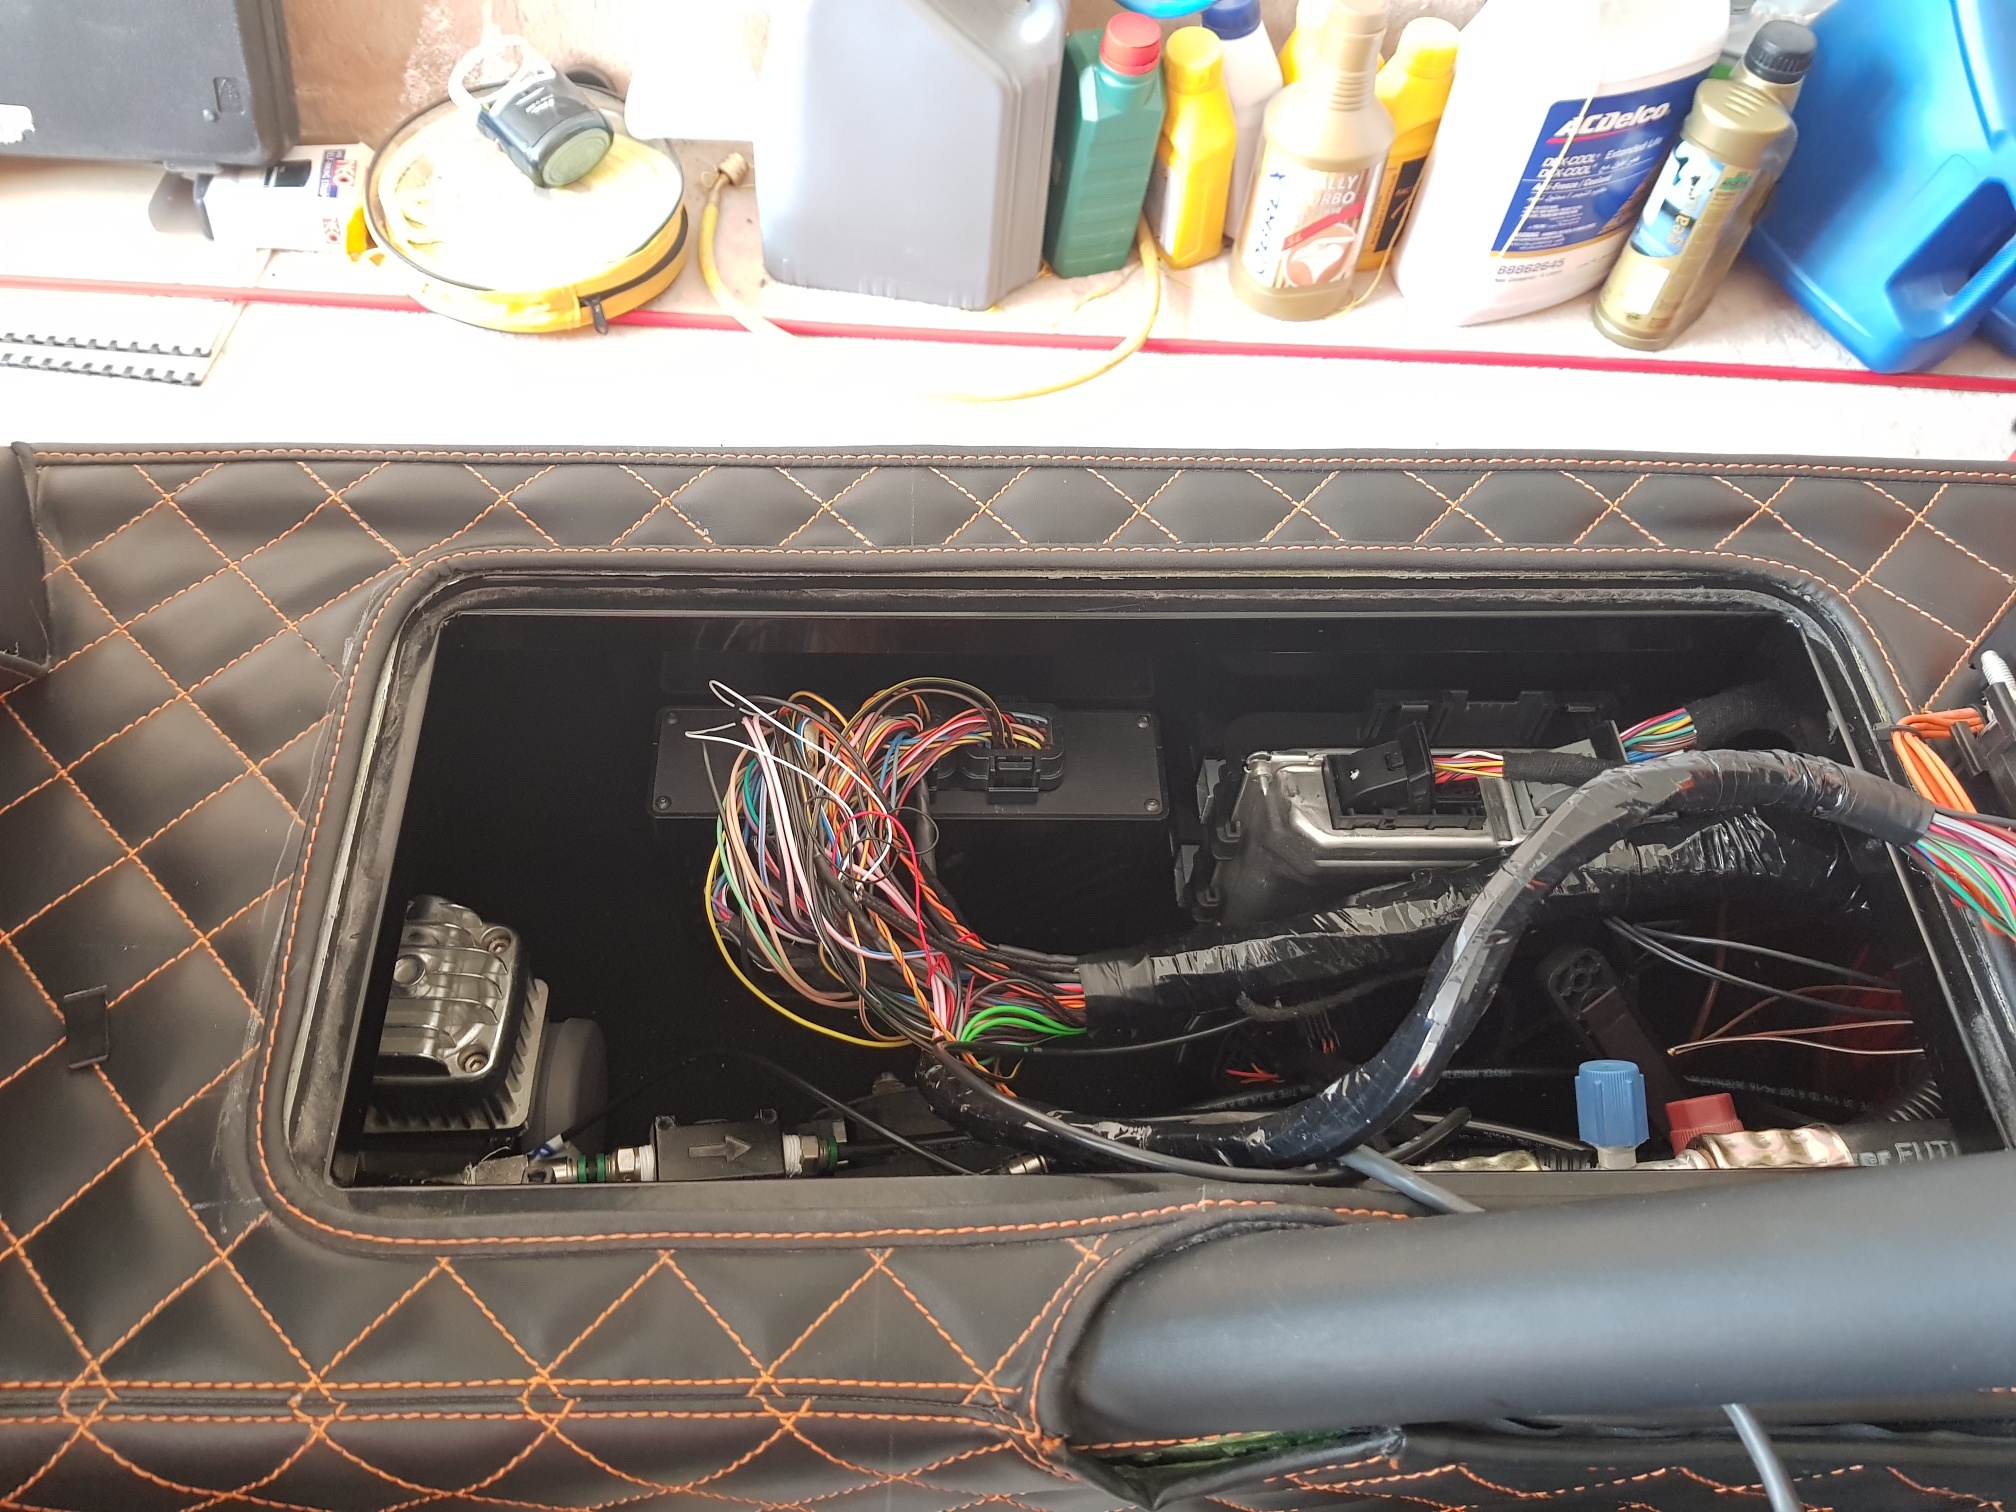
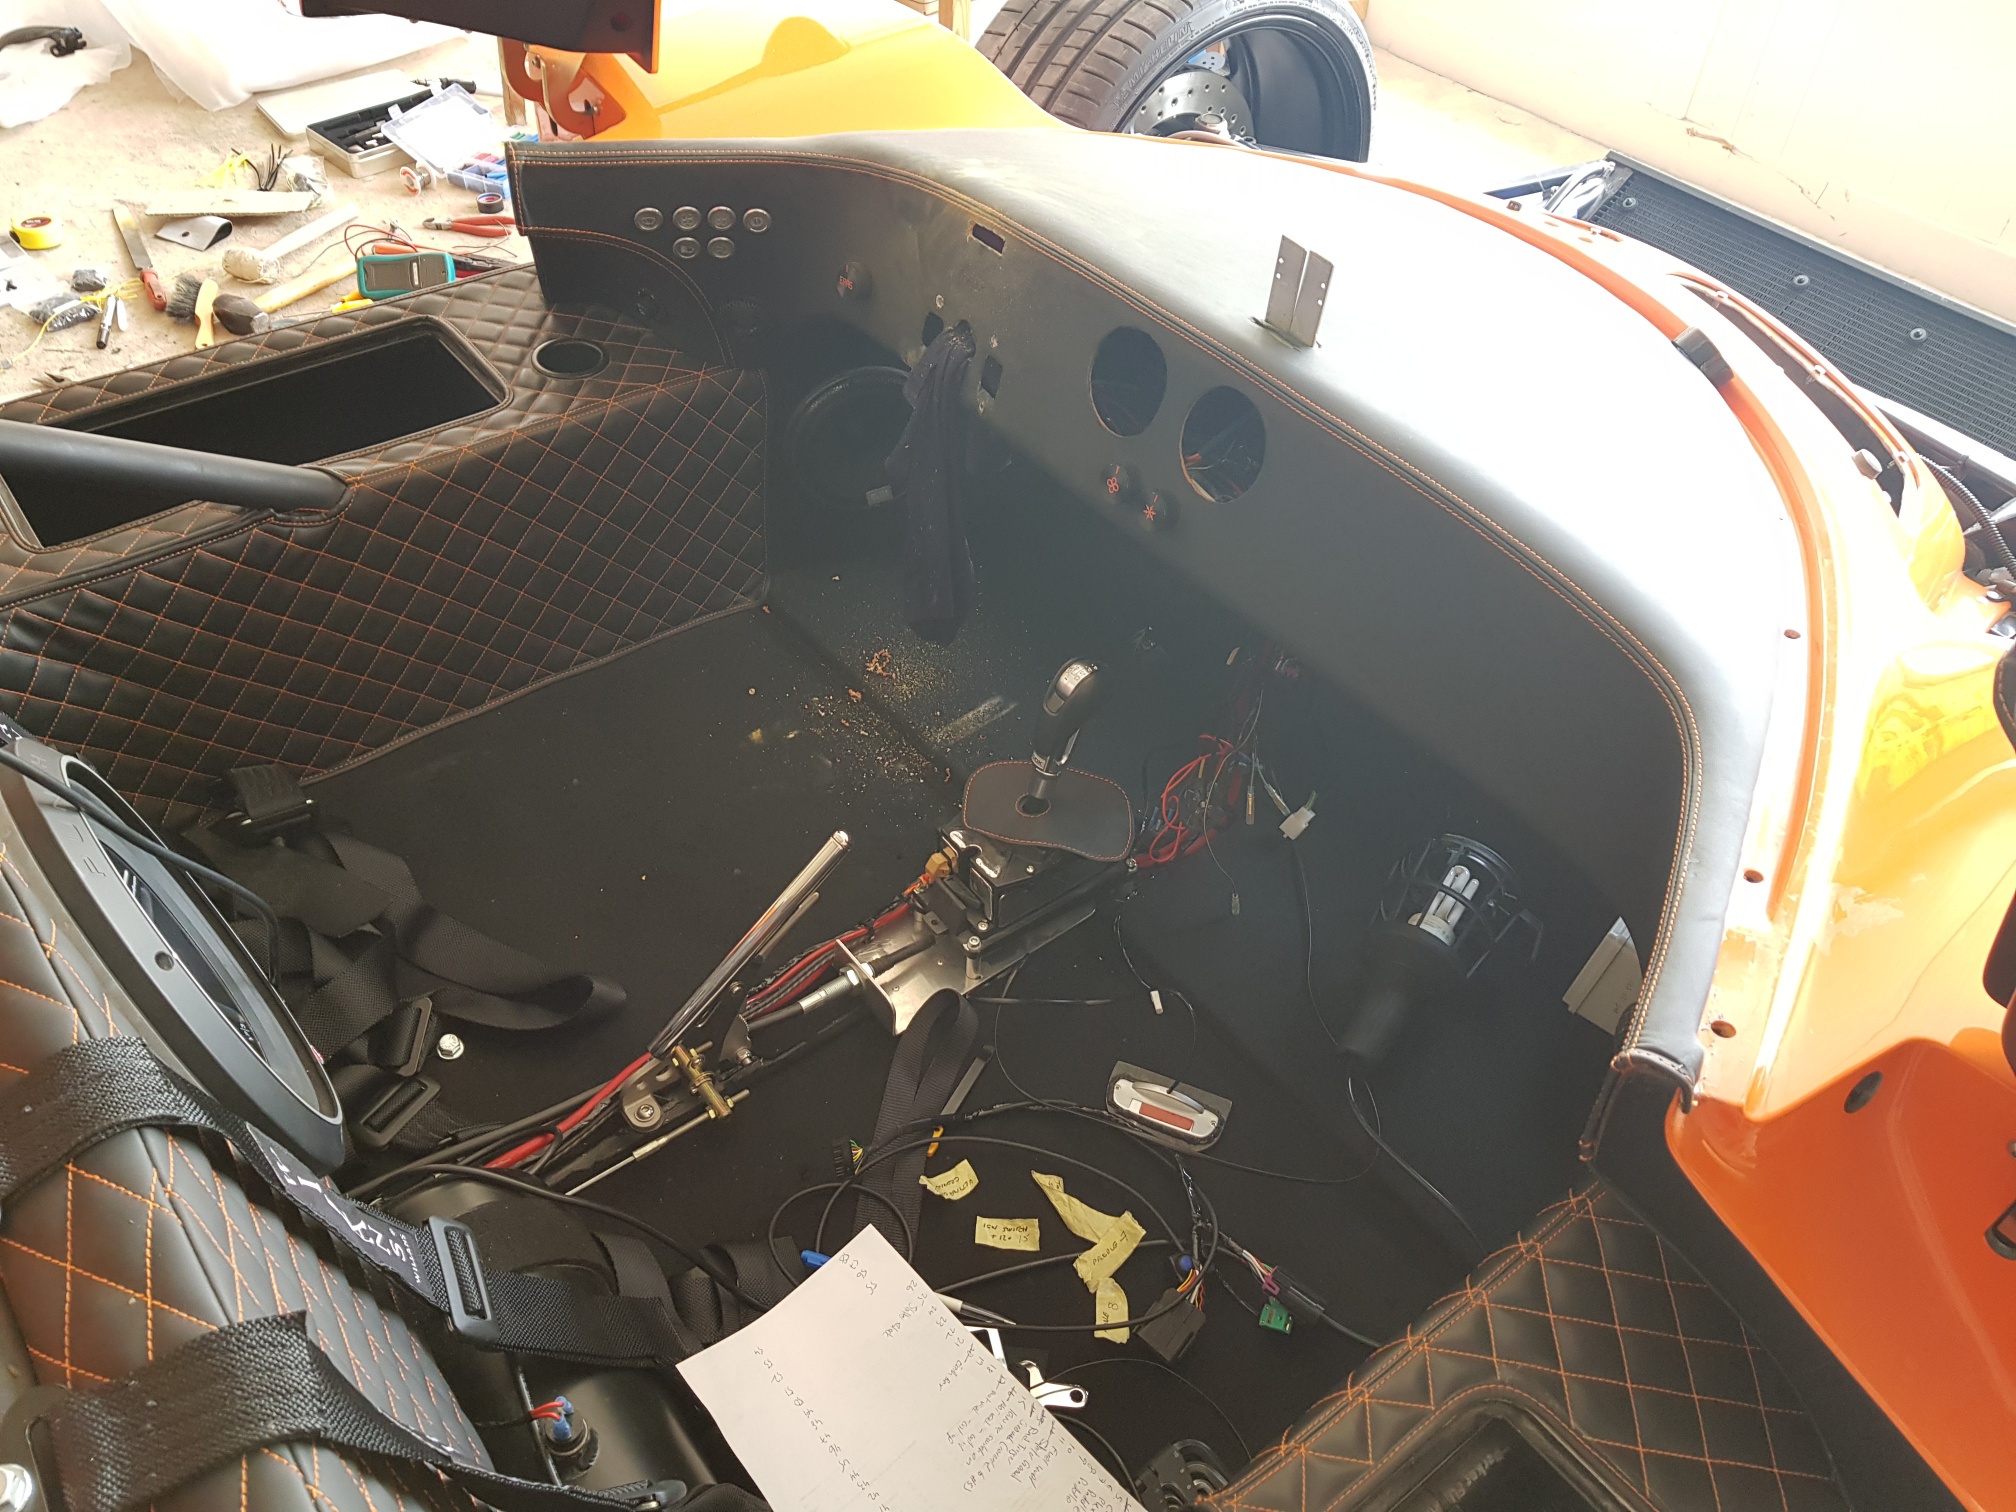
Next step was to install the loom - not fun! Since I have already installed the body, cill covers, etc, it was an extremely difficult process to install the loom in the chassis - the loom (rear part) was passed from the hole in the luggage box to the rear from inside the luggage box, and then the front of the loom was also passed from the small hole in the luggage box to the front... Some of the connectors were too big to pass through the hole, so I had to remove the connector, pass the wires through the hole, and then reattach the connectors on the other side...


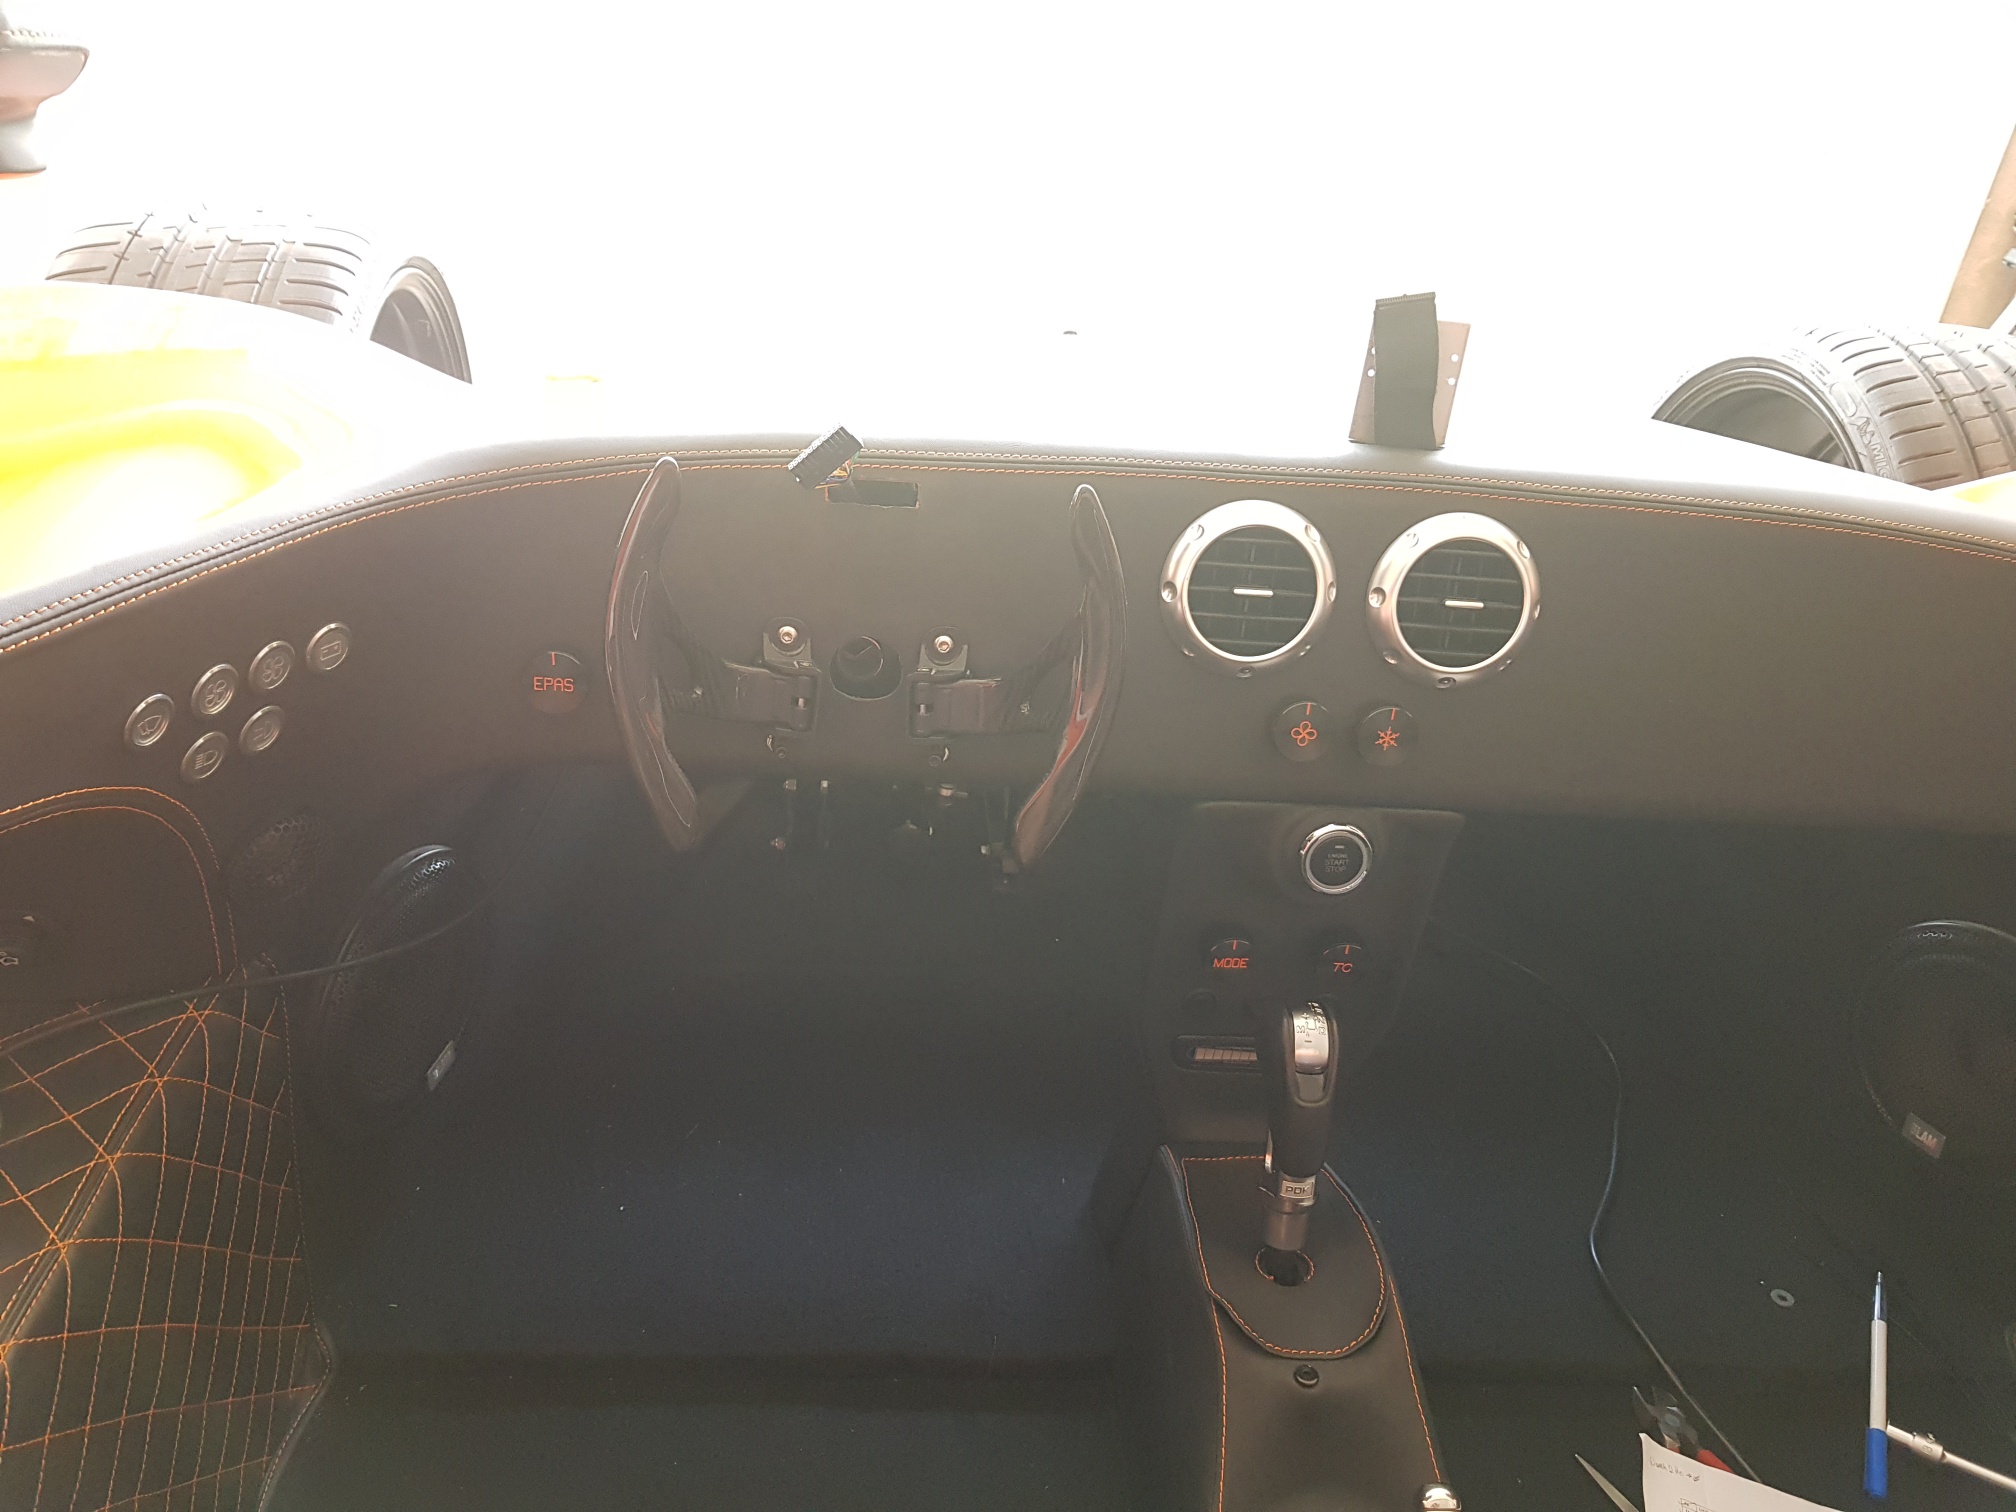
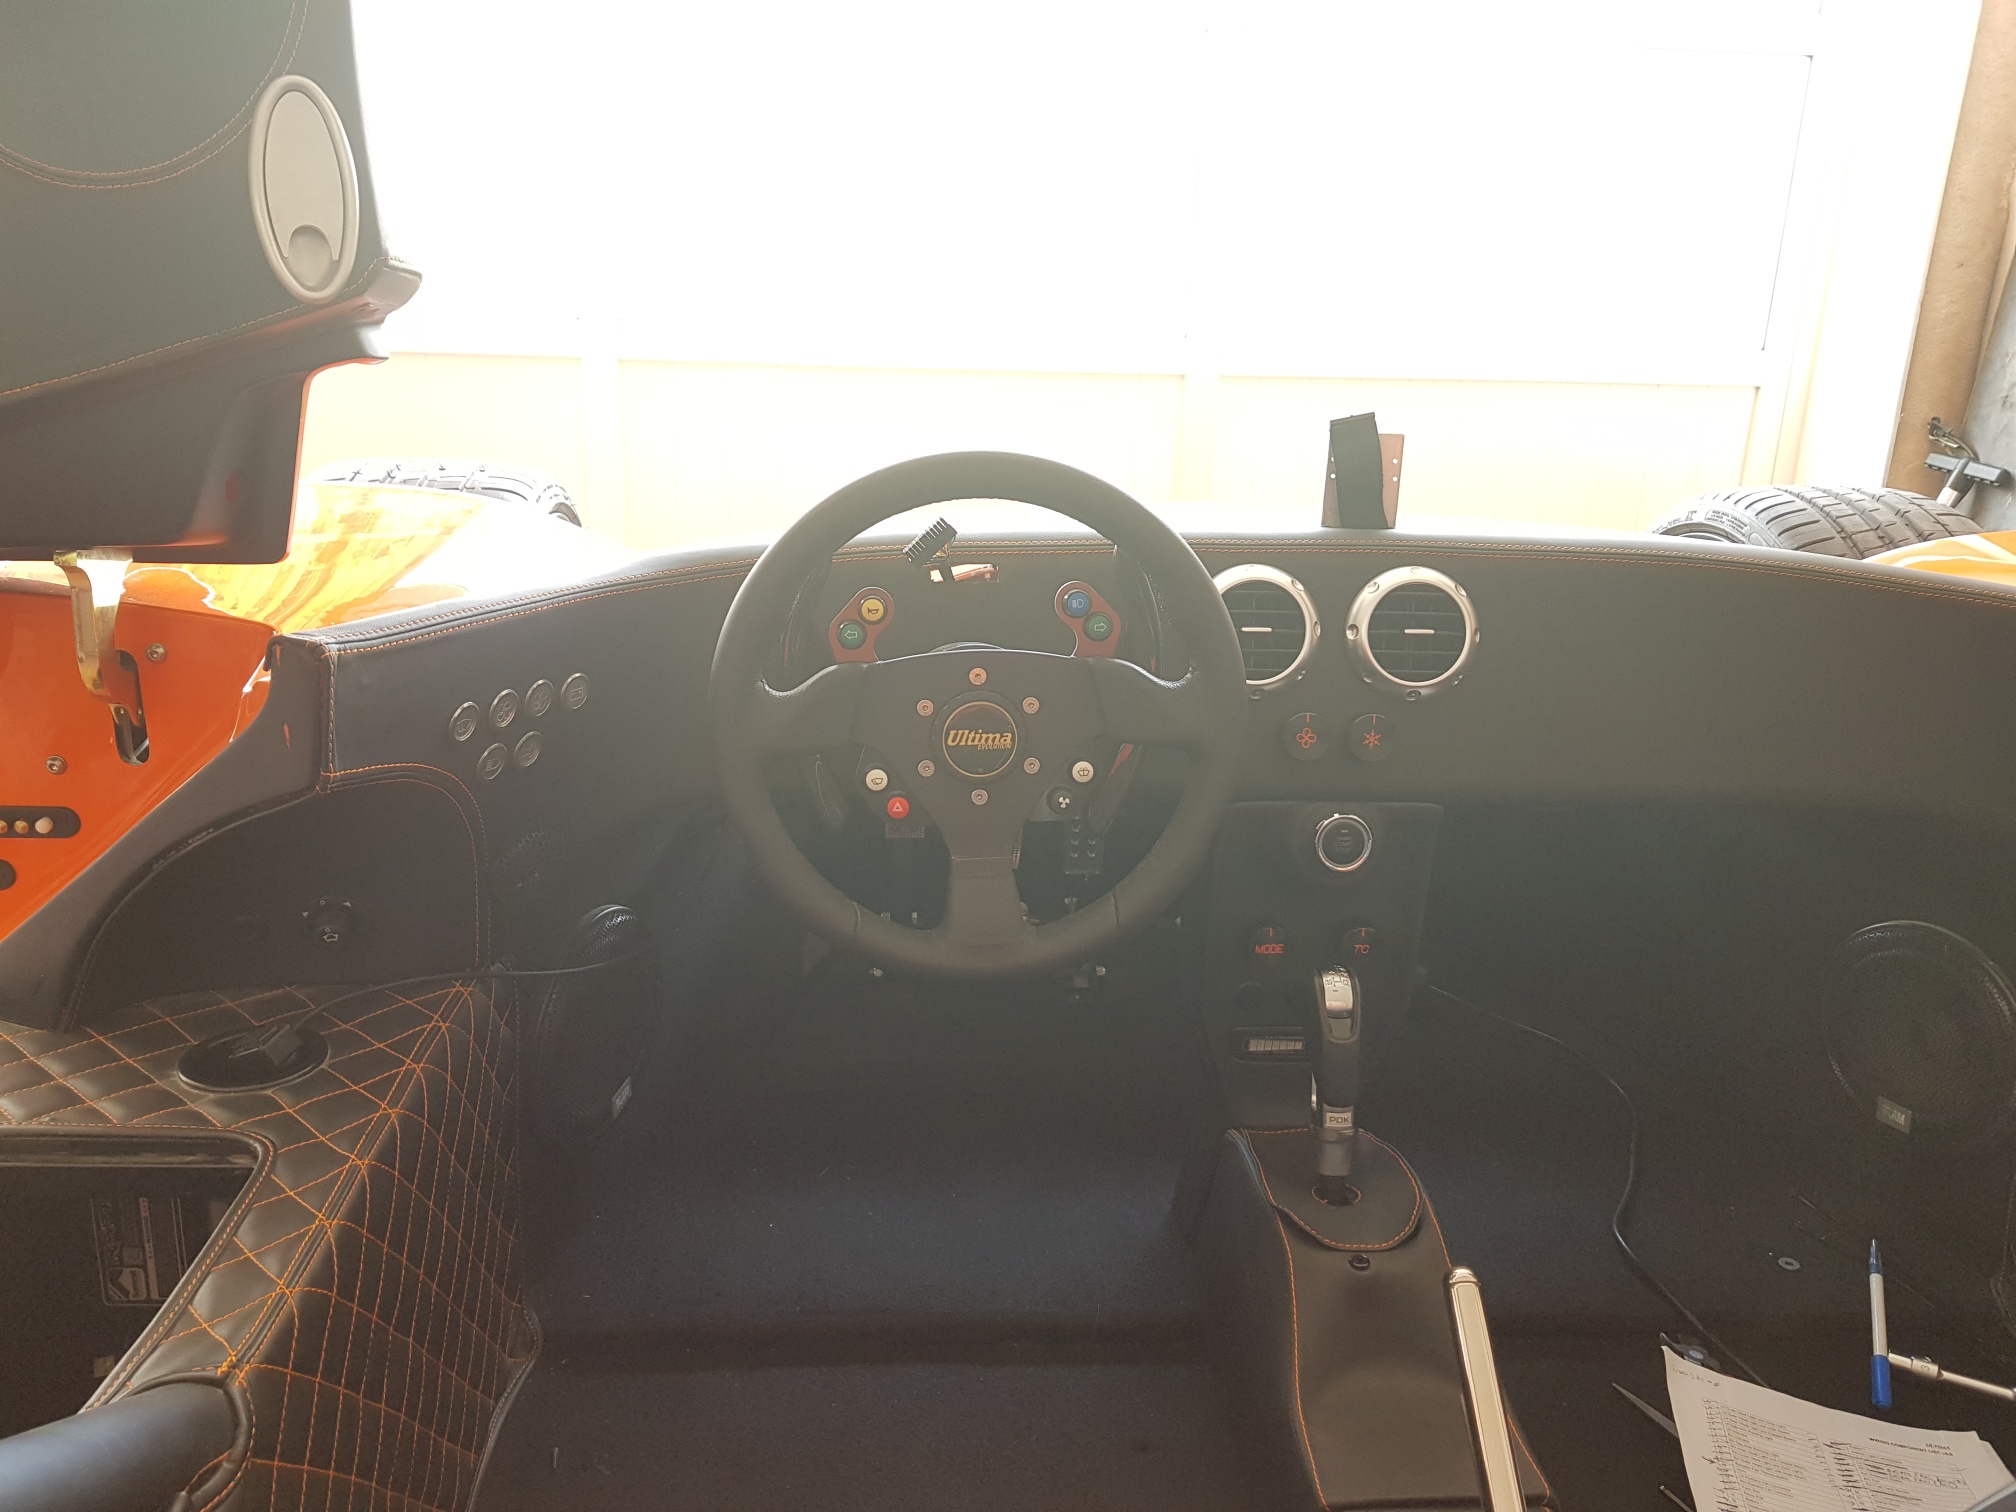
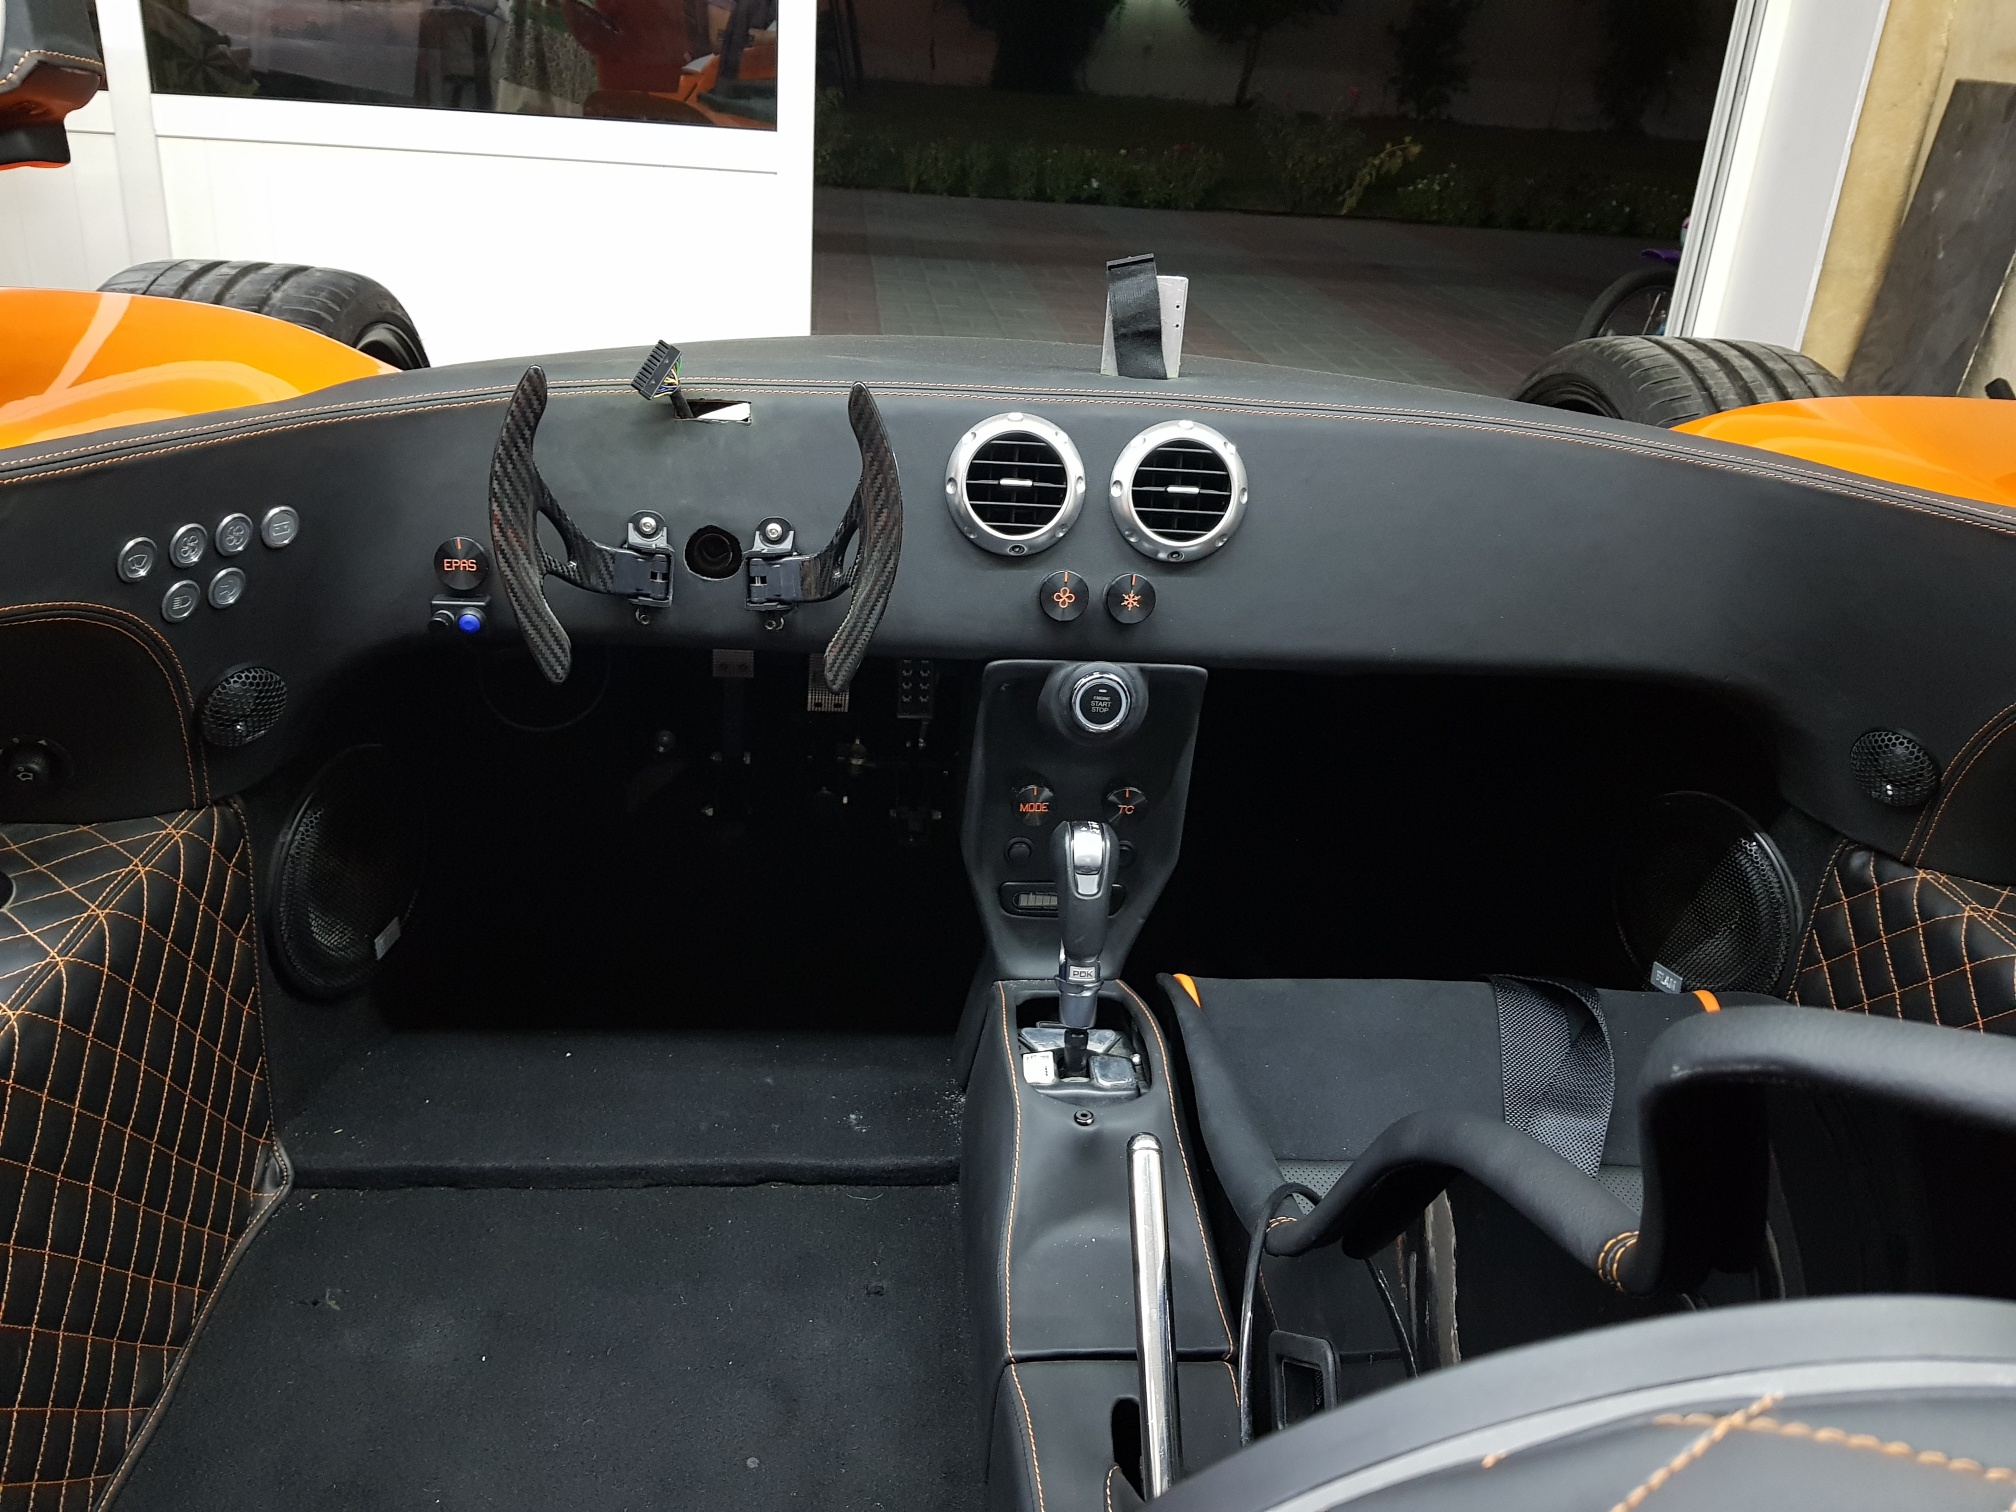
The front part of the loom was permanently installed first - there were multiple wires I had to redo in length because the loom was designed and tested on a RHD - and since I am building a LHD the dash/paddle are on the left... The wires were extended, and then the loom was secured from below the dash with zipties... the dash hardware was installed (paddles, PDK controls, AC vents) and the center dash GRP section was also installed... Now the dash is almost ready except for the 2 displays - 1 X dash and 1 X Nav/radio...
I also passed the front wheel speed sensors to the front of the car through the GRP hole in the front, and the wires were routed to both sides of the car...These can only be connected once the speed sensors are installed, so that was the next item on the agenda:
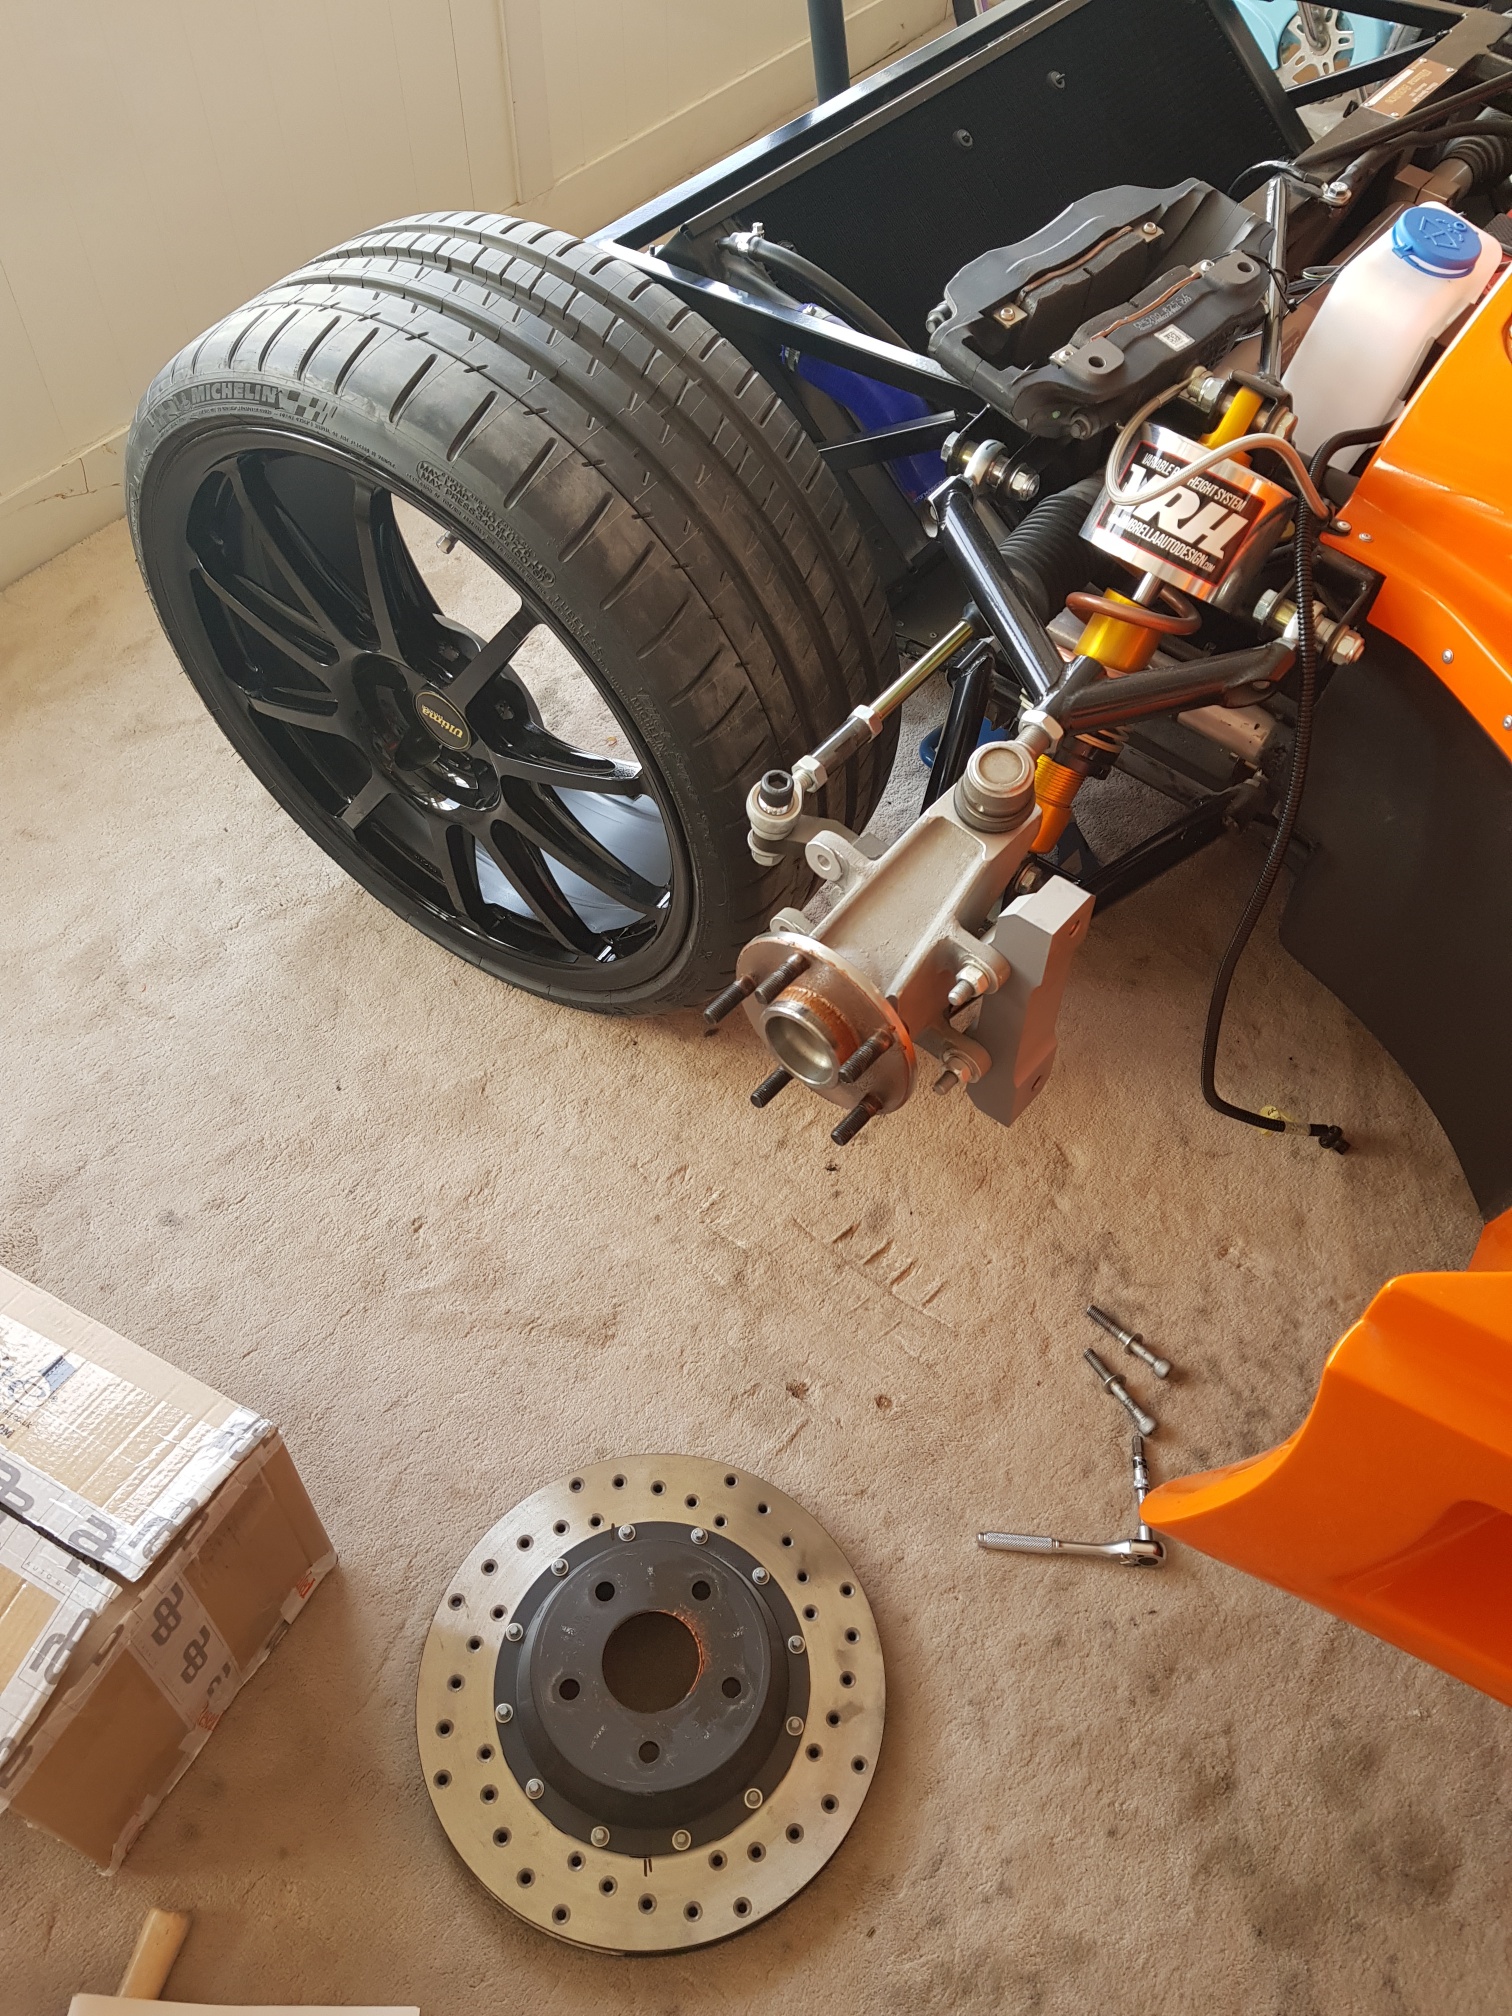
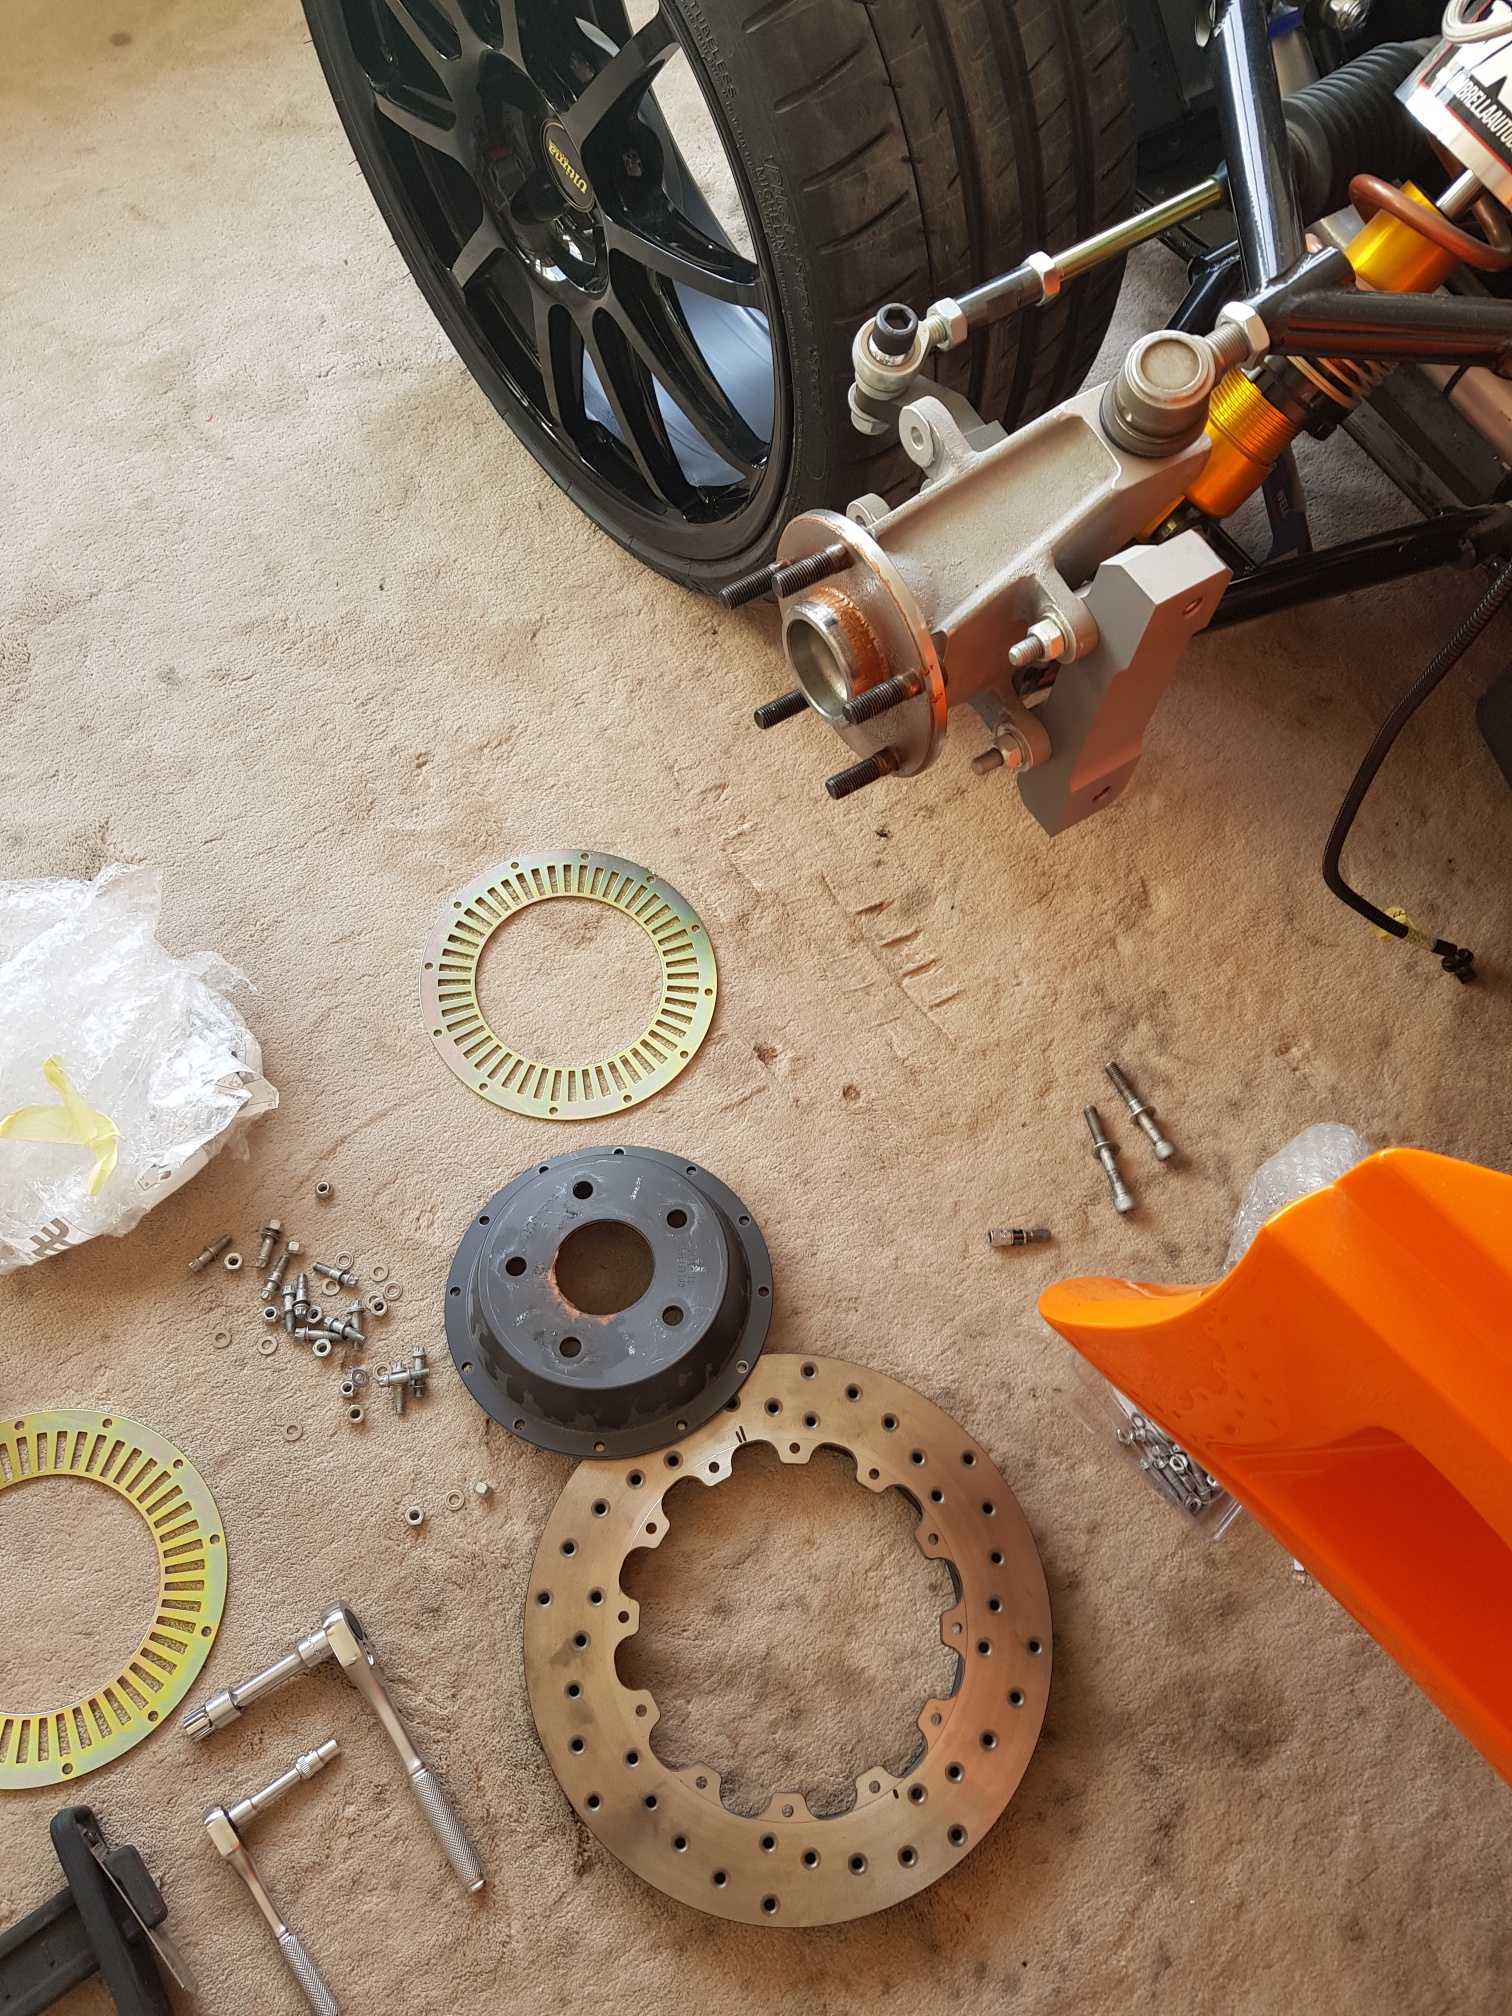
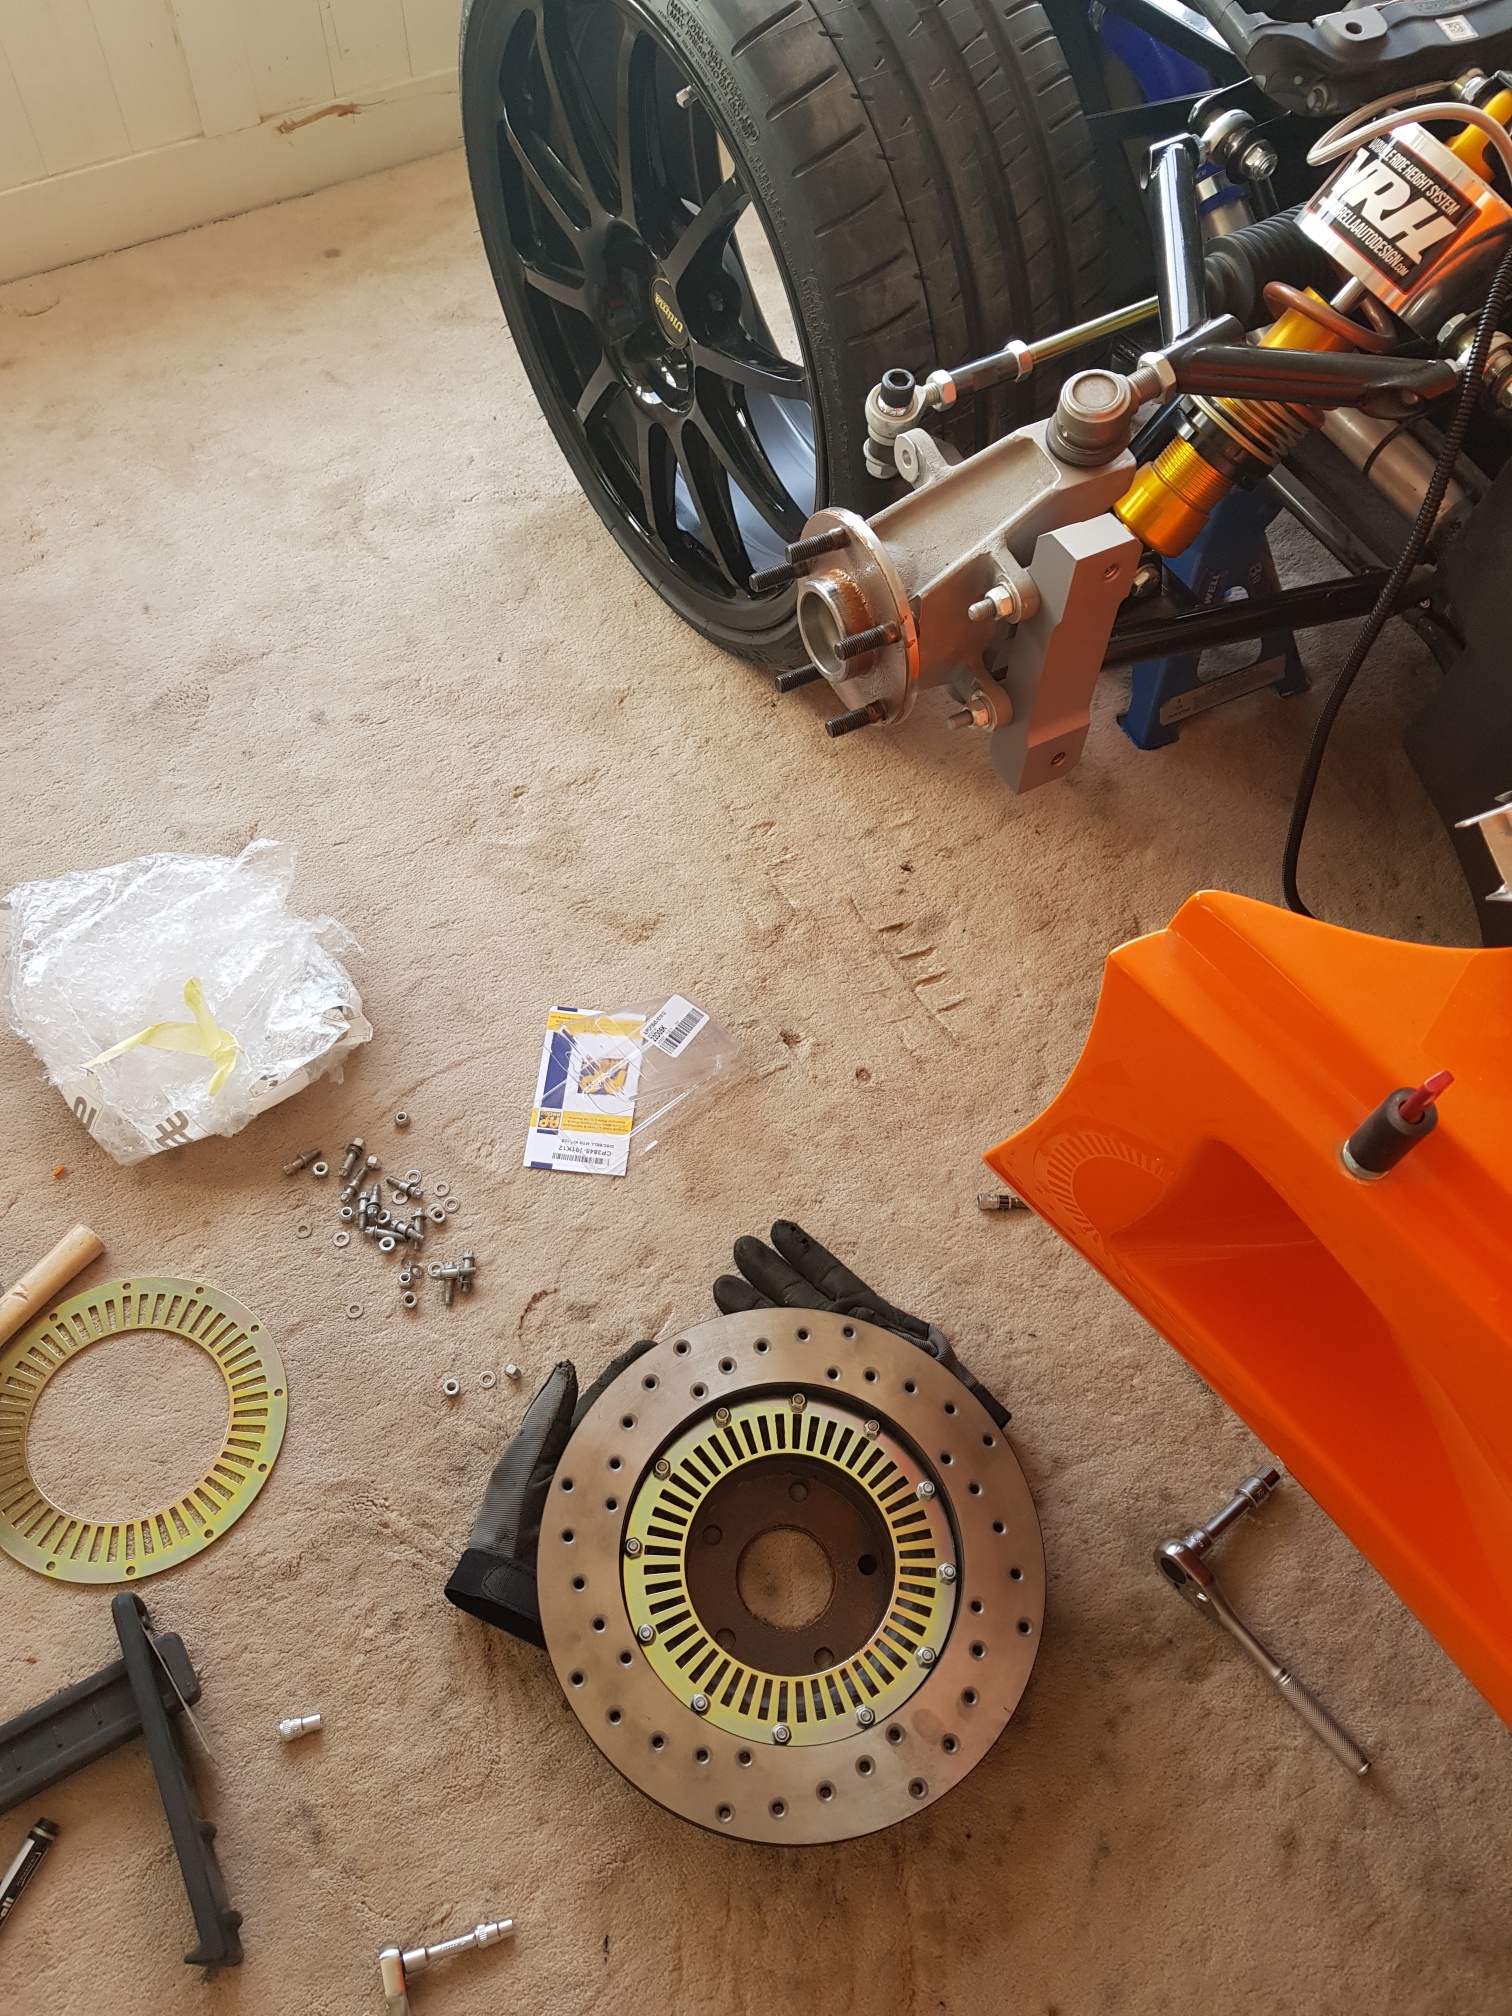
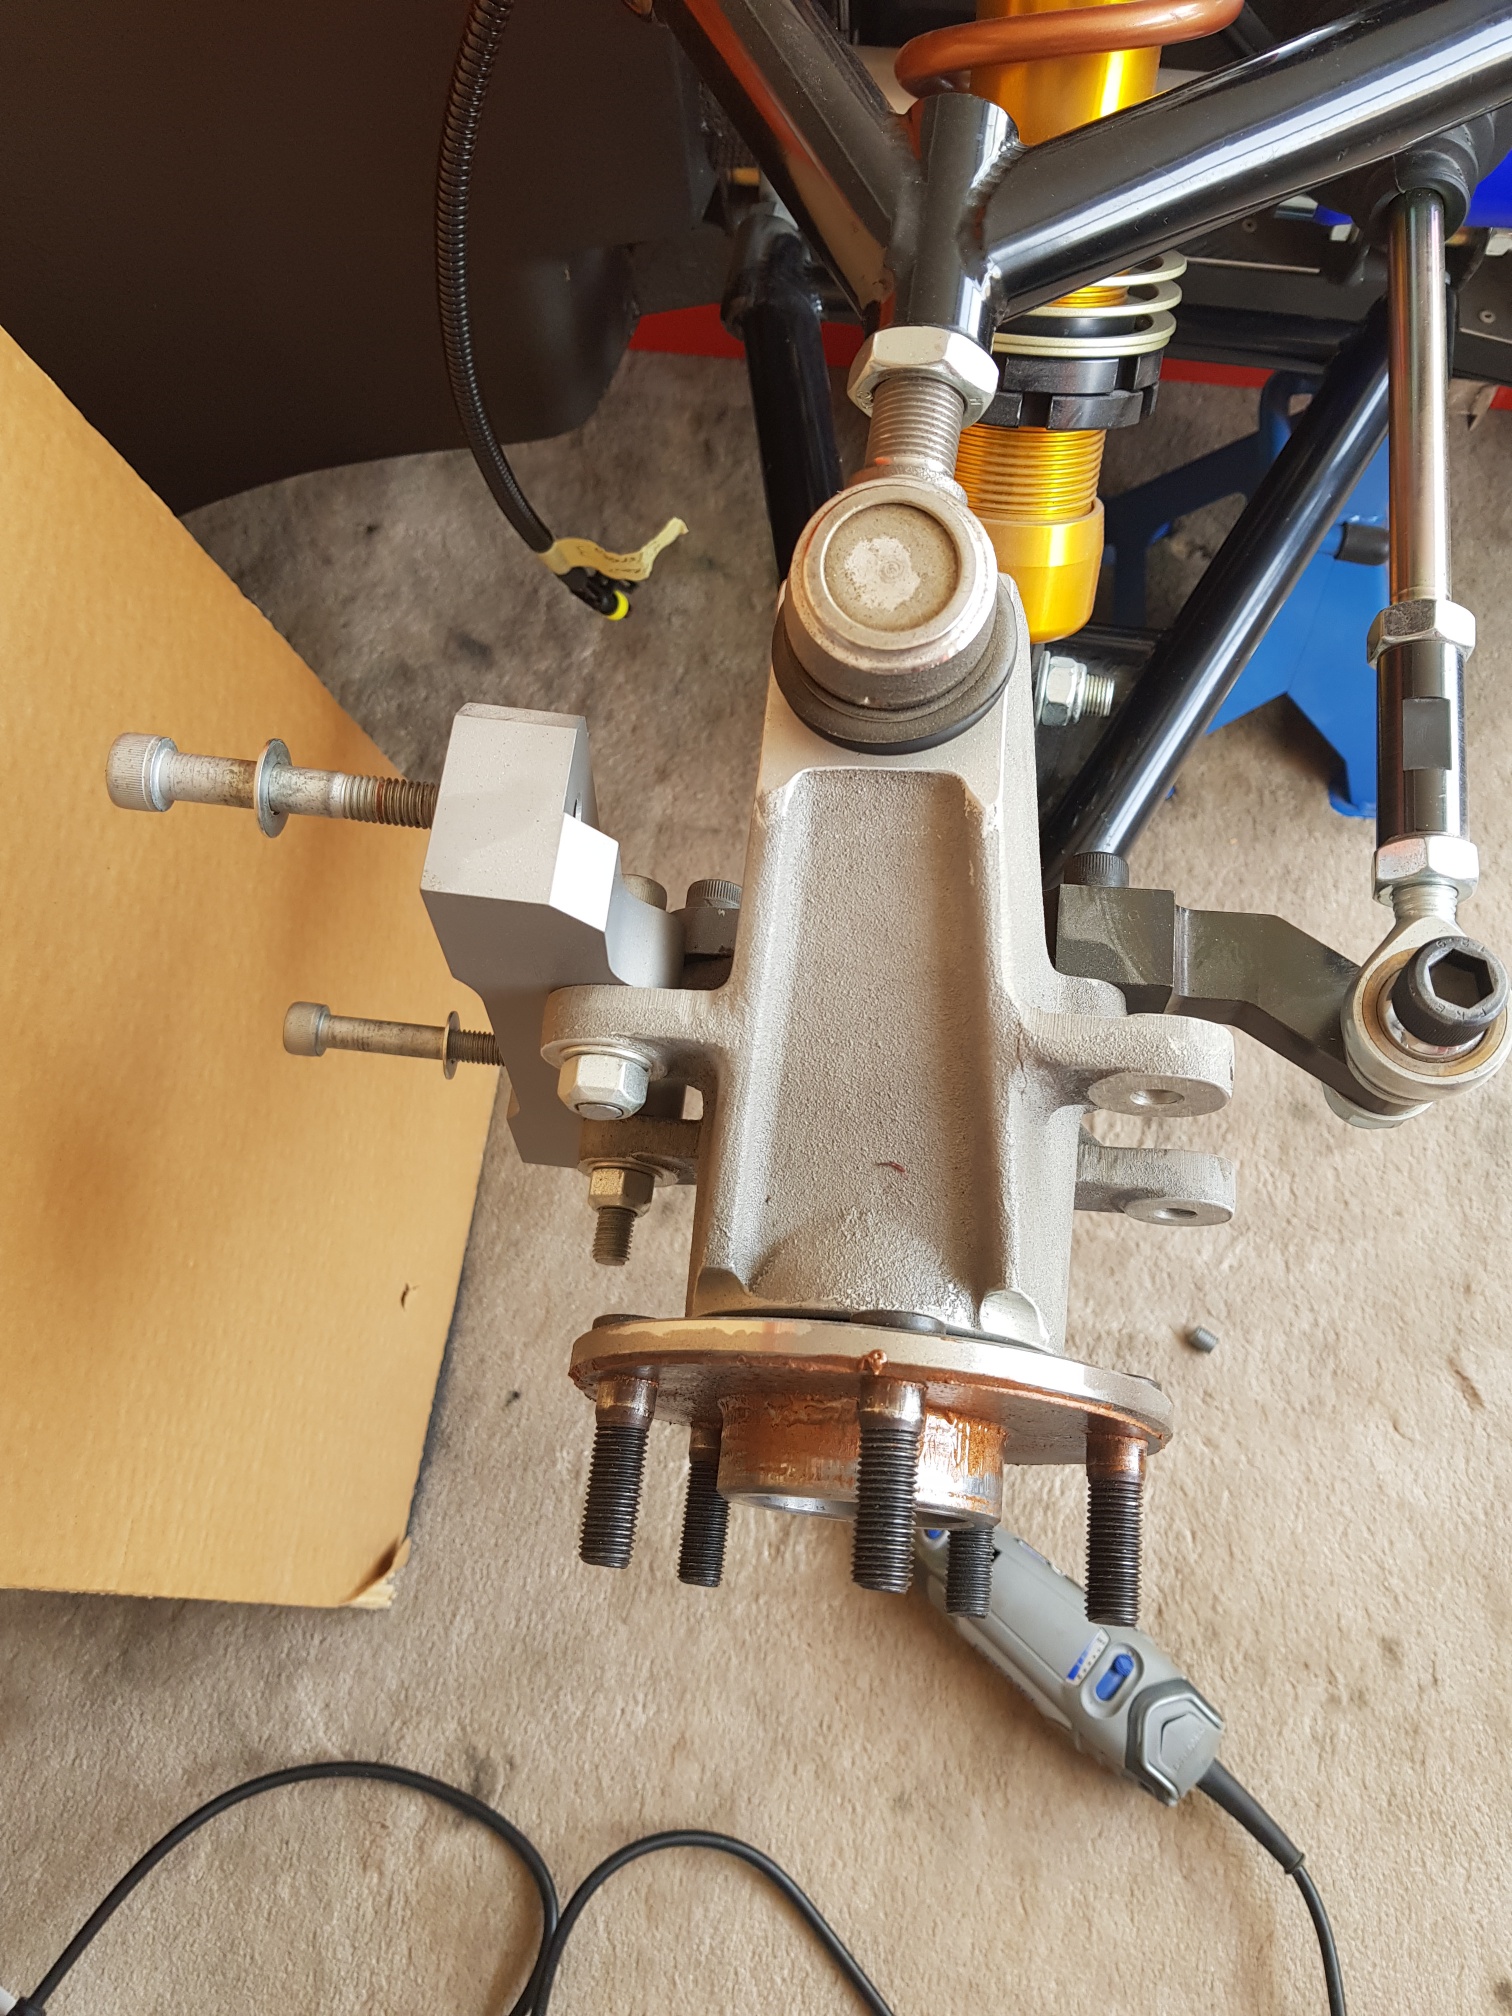
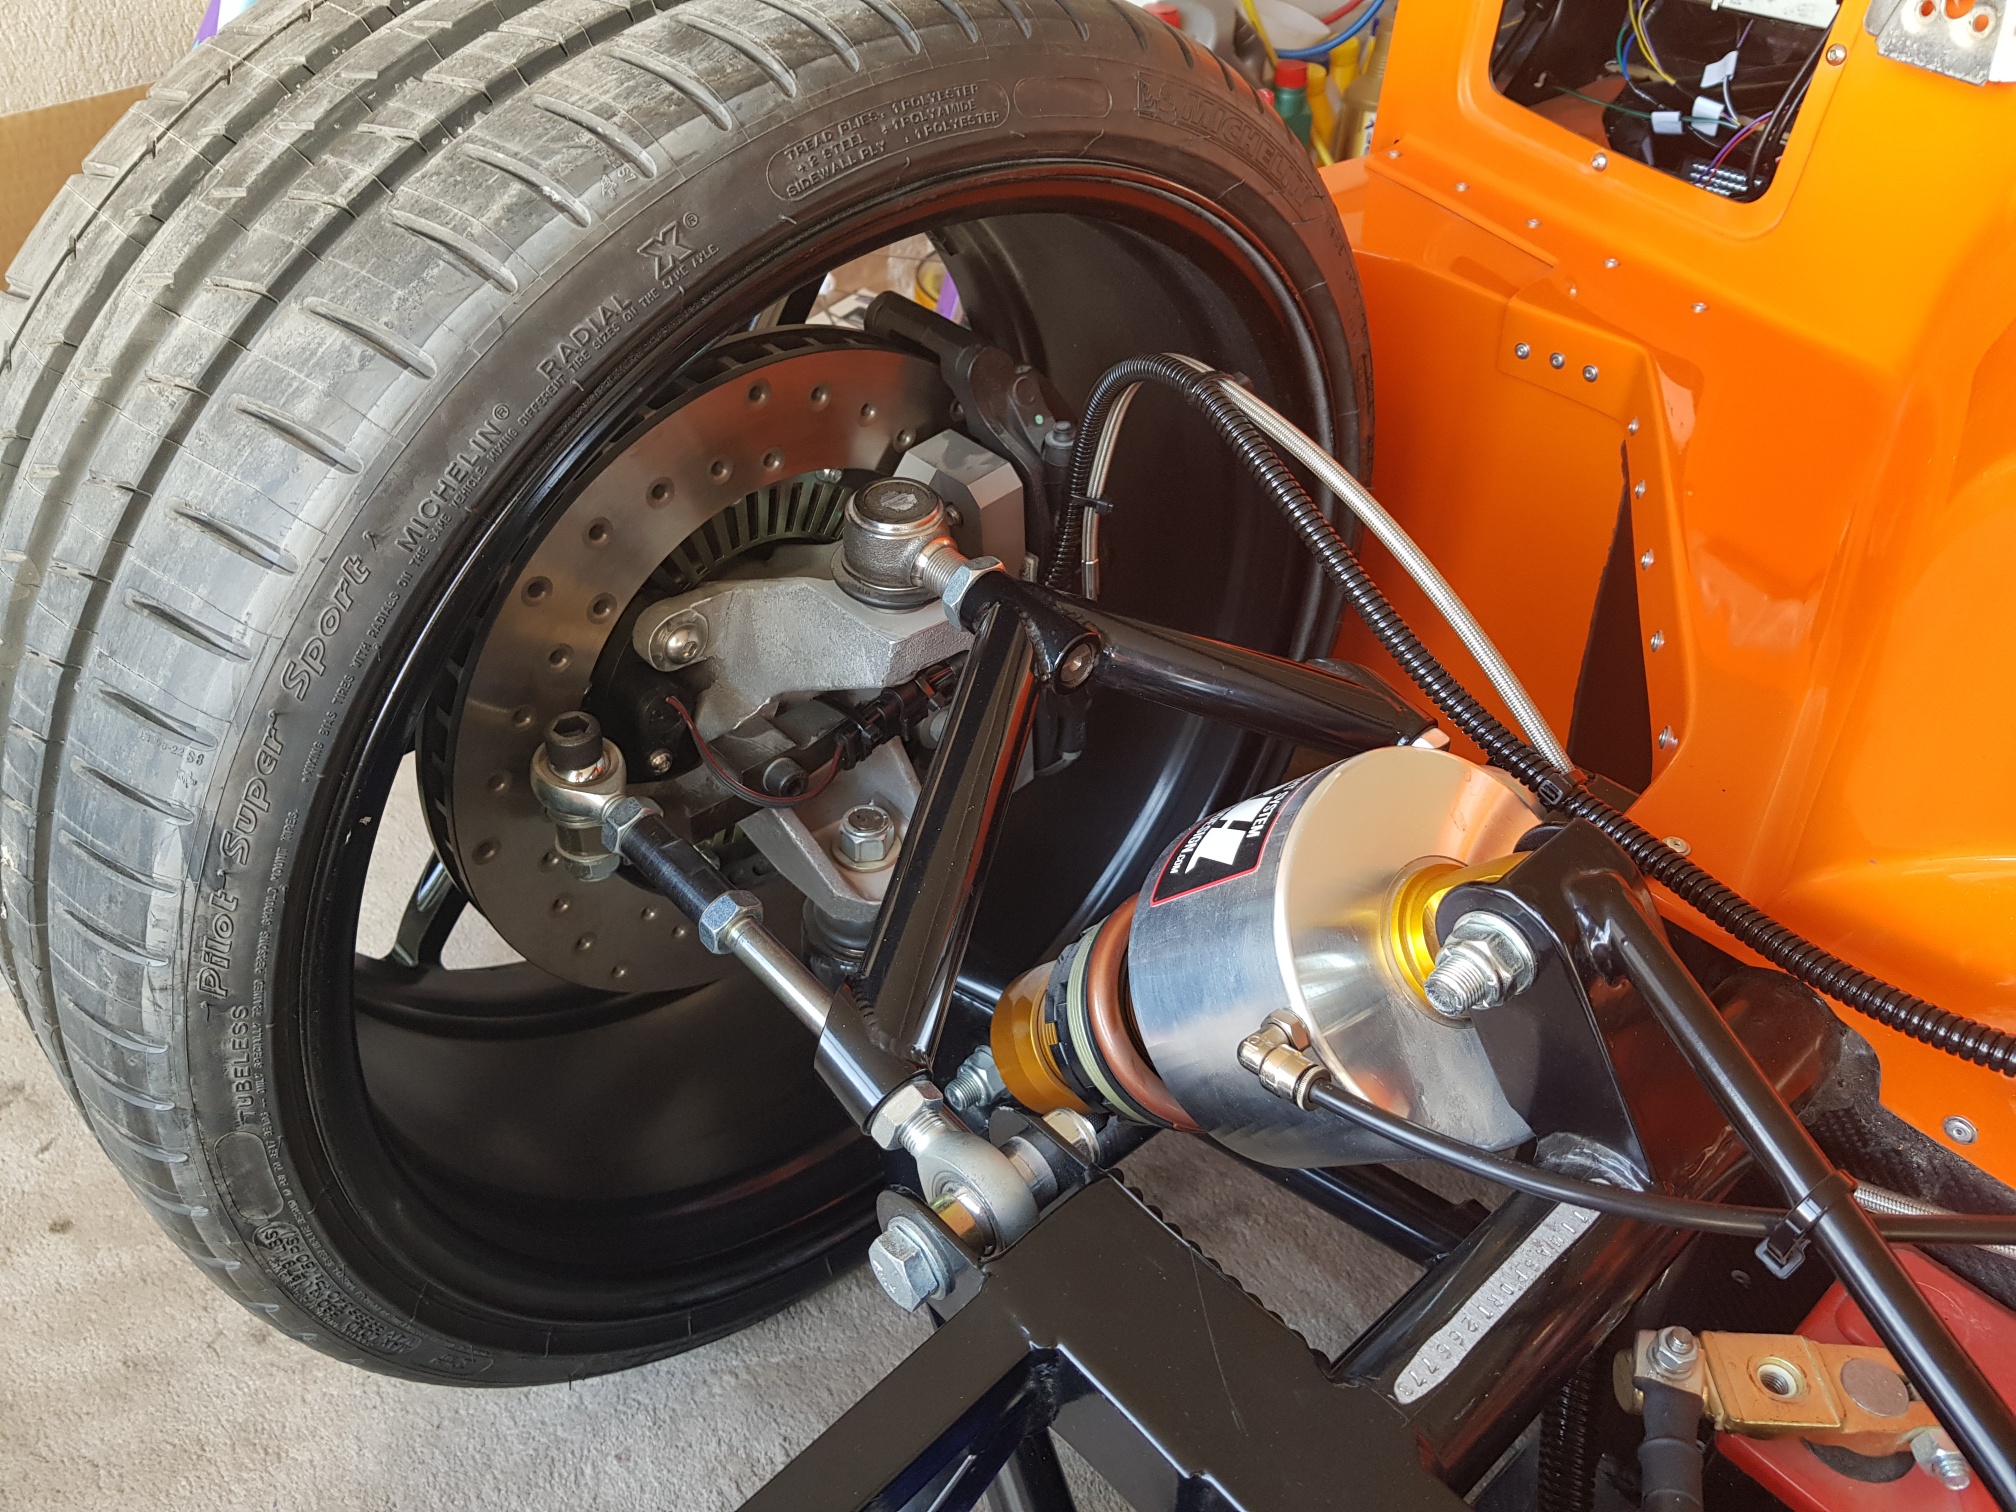
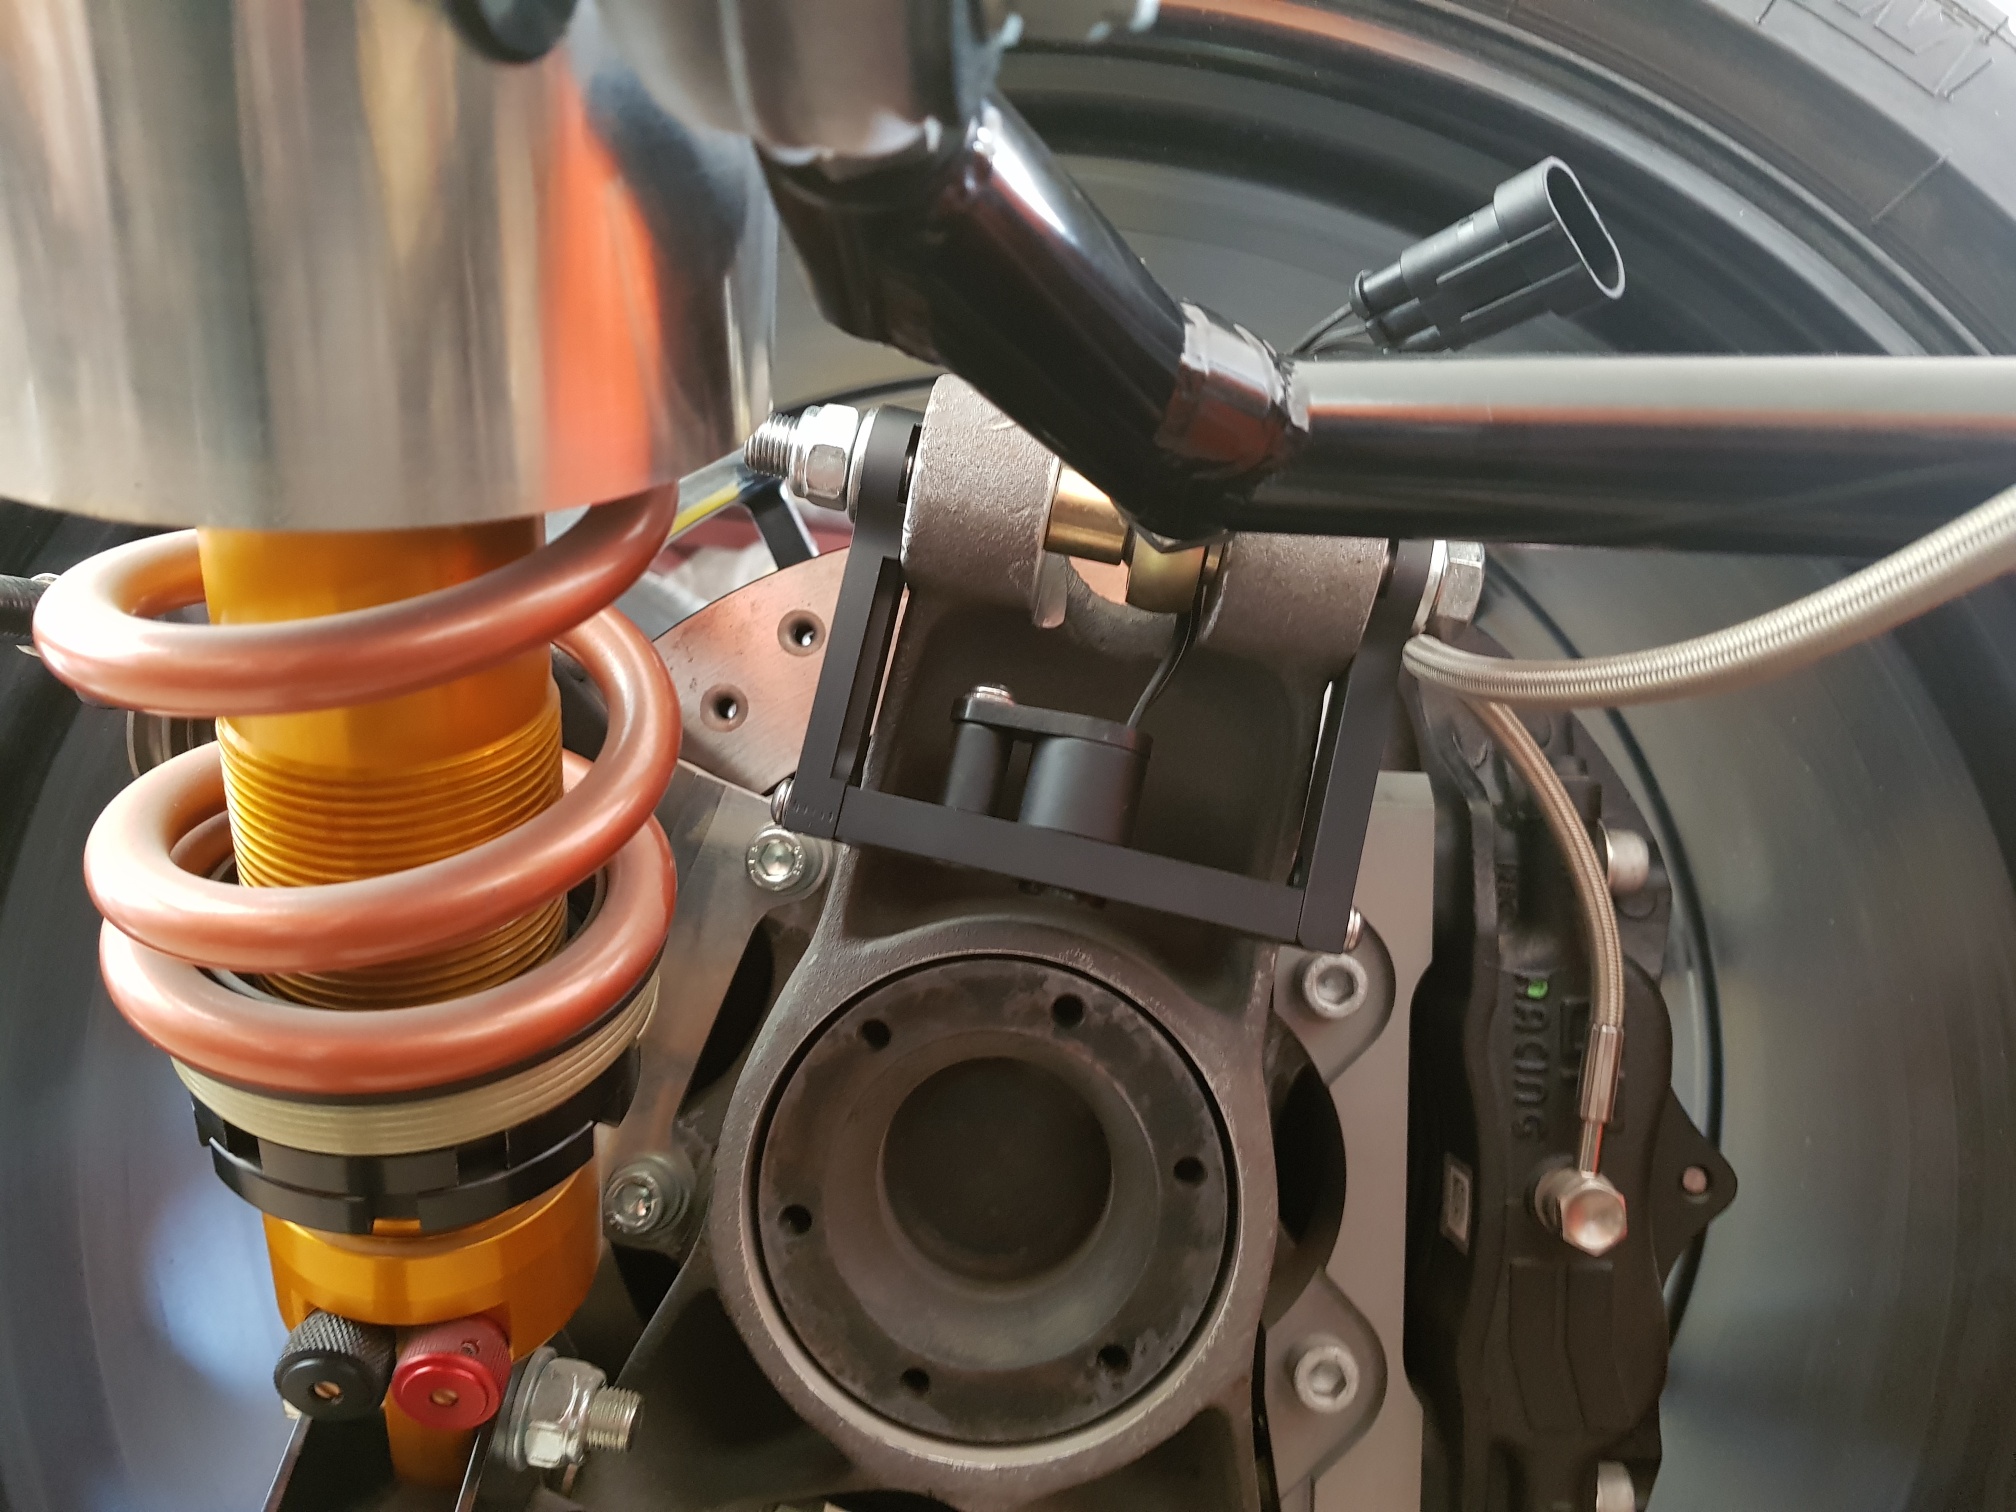
The front wheel speed sensors are designed to fit on brackets that install on the front of the upright... the speed gear wheel are installed on the brake rotors/hat bolts... So first step was to remove the rotors! The wheels were removed, the brake caliper was removed and placed on the chassis (left connected since the fluid has already been bled), and the rotor was removed... the 12 bolts that hold the hat to the rotor were removed, and the speed gear wheel was installed on the back side with new longer bolts... the sensor bracket was then installed on the upright, and the caliper bracket bolts cut down to allow the newly installed gear wheel to fit around the upright... the rotor assembly was then carefully put back on (taking care not to hit the speed sensor on the bracket), and everything was tightened back up and torqued to spec... The wires were then connected and ziptied, and the front of the car is now ready!


The rear wheel speed sensors were also installed on the rear uprights - the speed wheel will be integrated in the driveshafts later on...
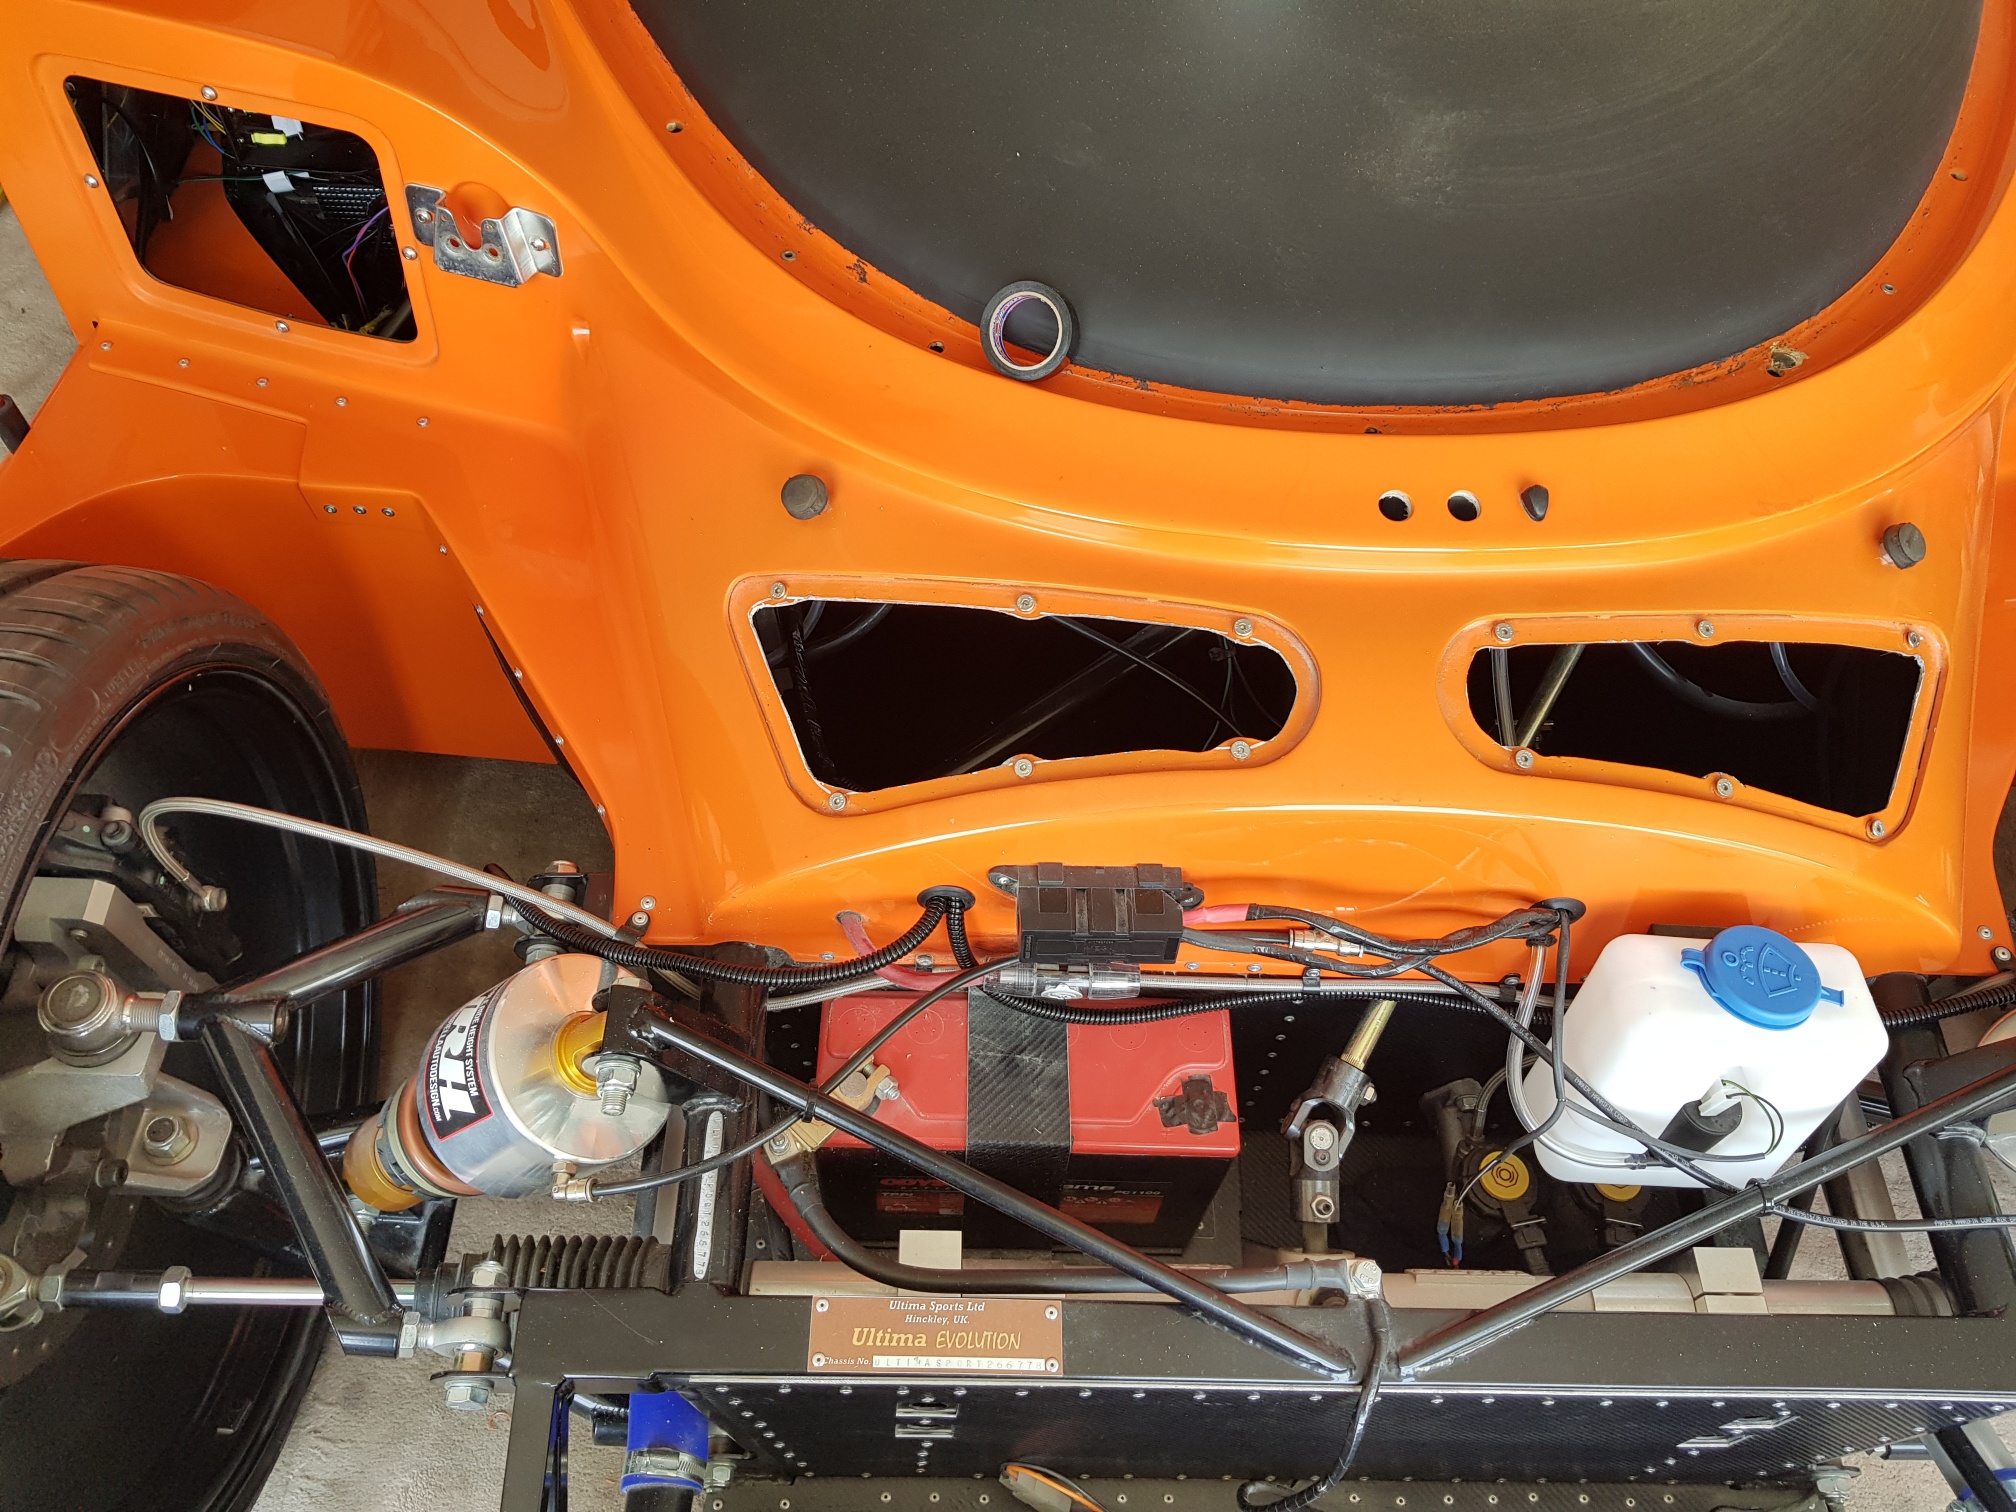
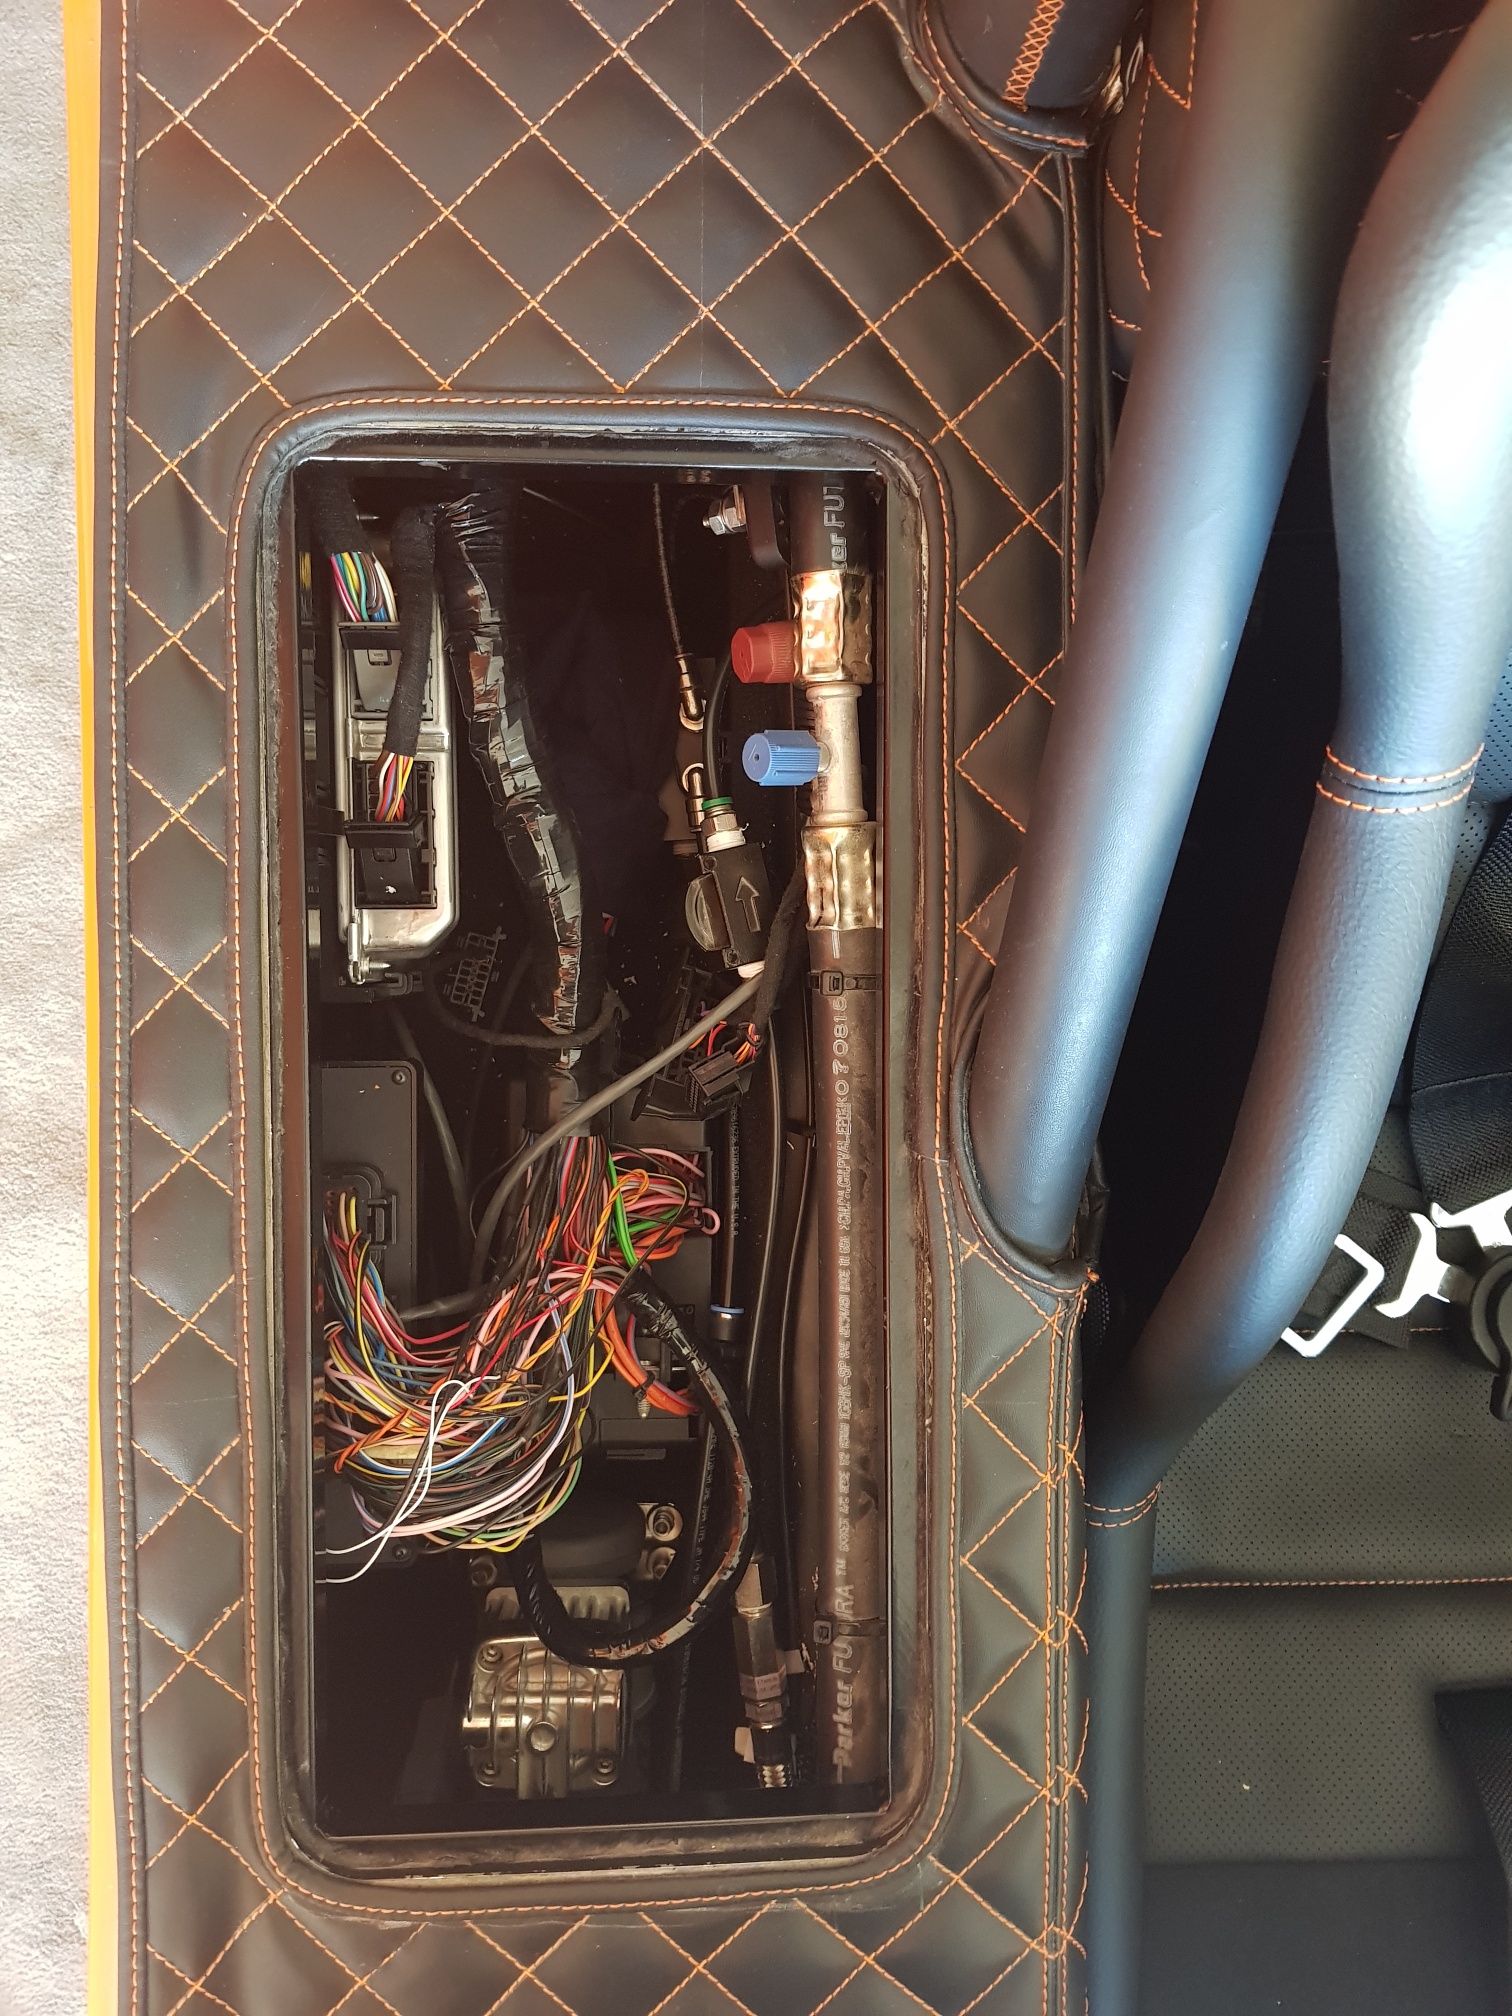
I went back to the luggage box to install the fuse box - this is a problem because my box is almost full - the VRH compressor/drier, ECU, TCU, AC line, FOD Controller and VRH control box are all in the box! There is almost no place to put the fuse box in, and it is already wired on the loom so cannot be reconnected anywhere else! The dilemma had me stalled for a while, but the solution came by moving some items within the box to make some additional room for the fuse box (see before/after pictures)
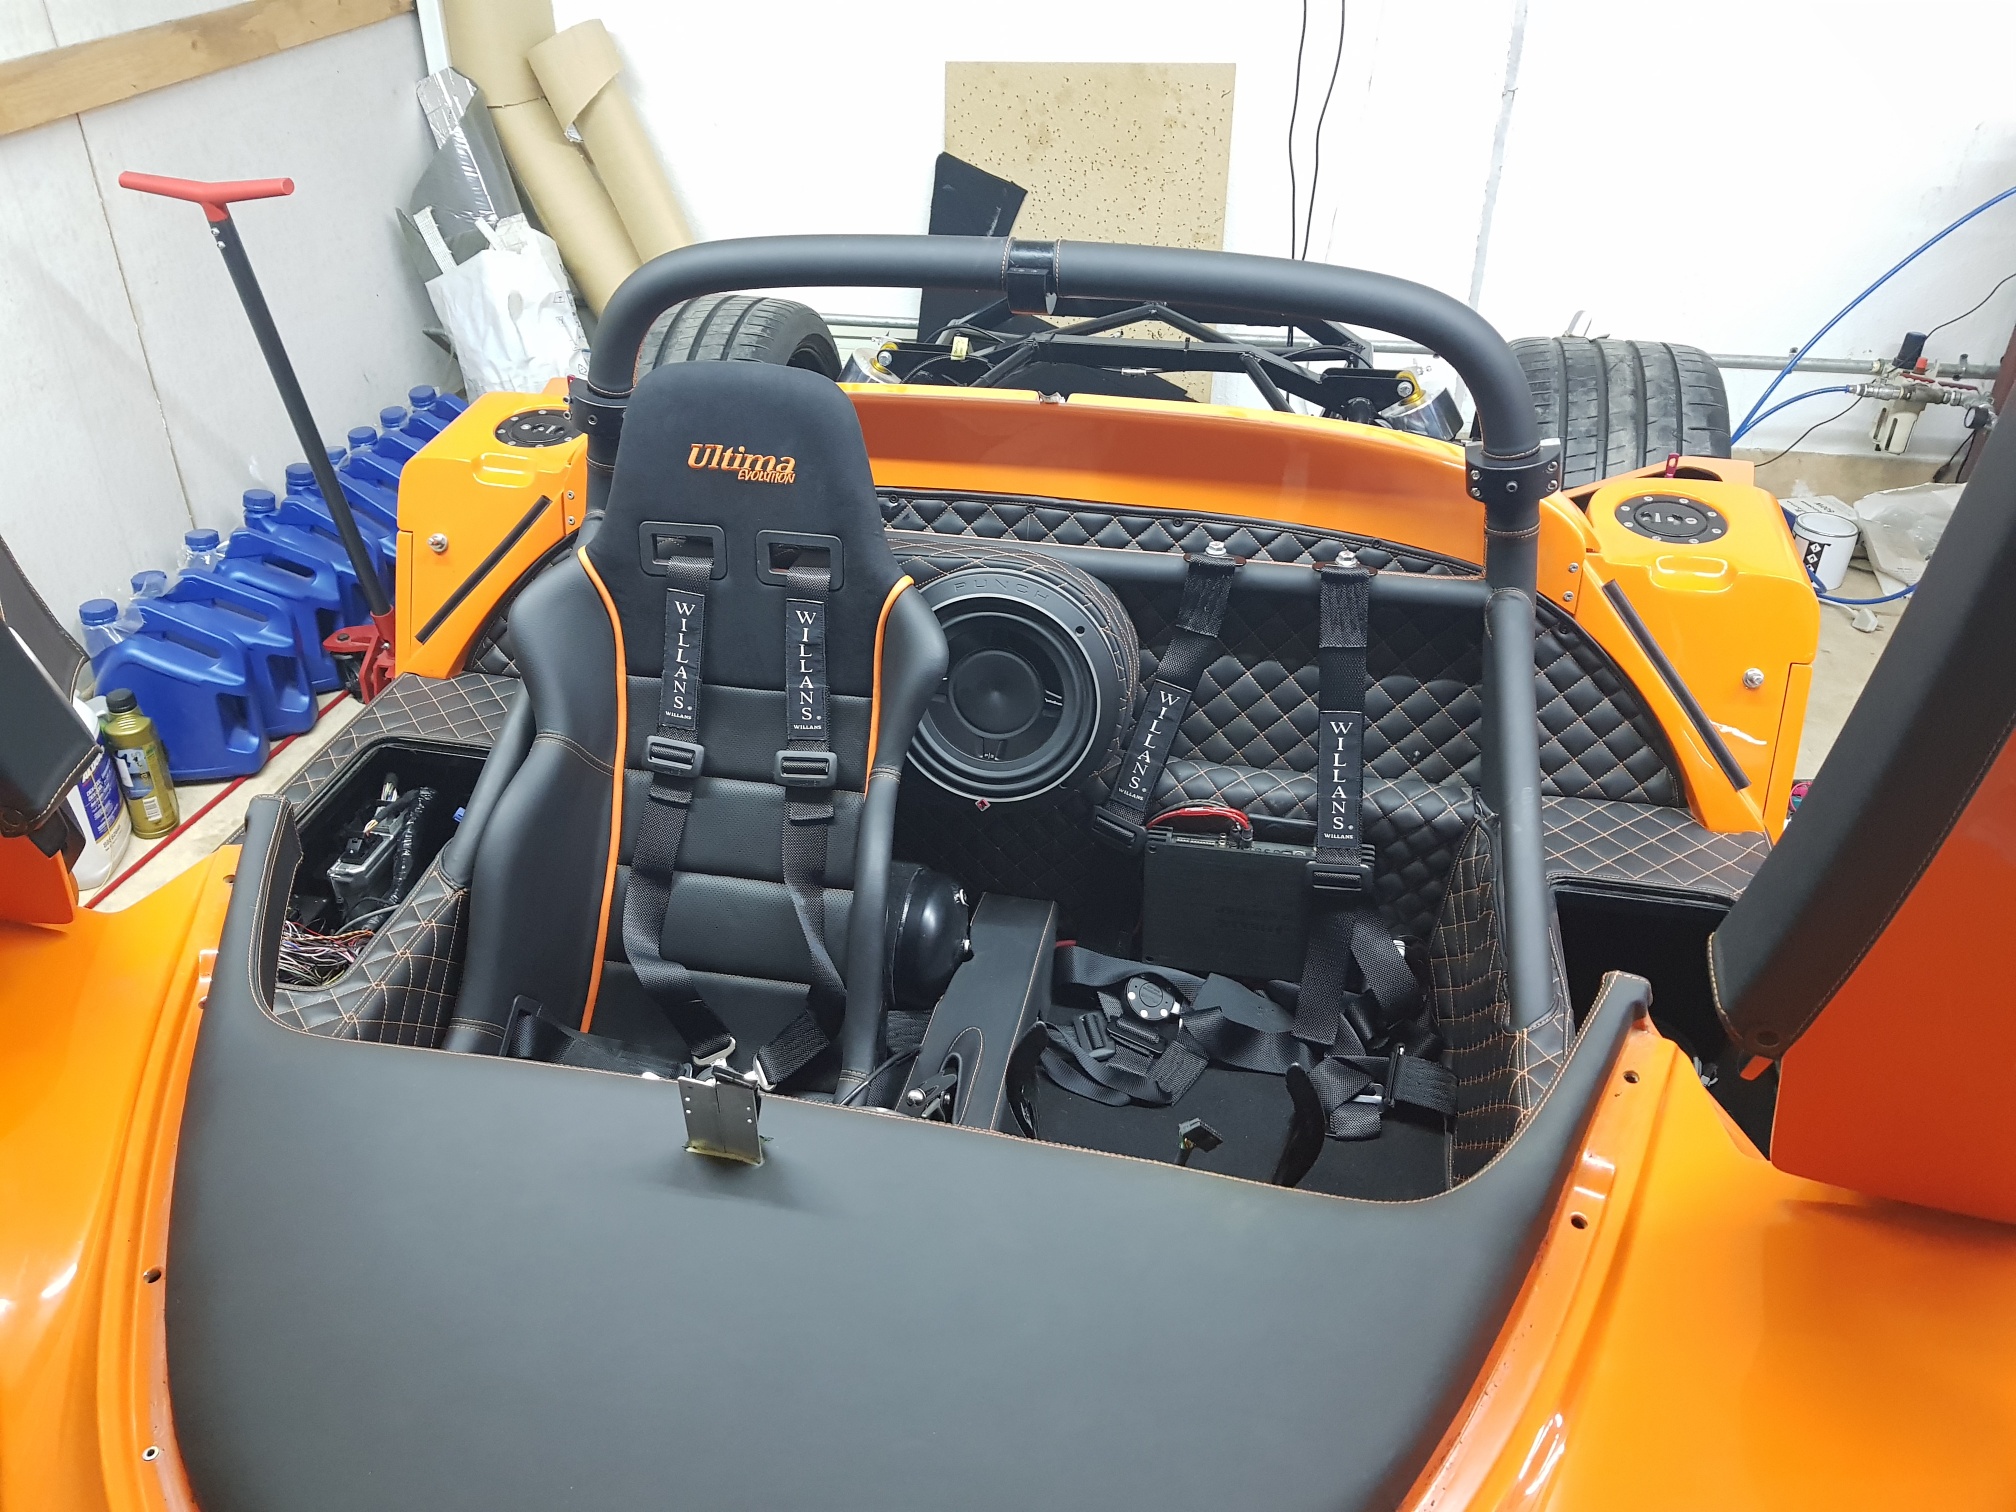
I also installed the passenger seat! My wife is ready to roll:

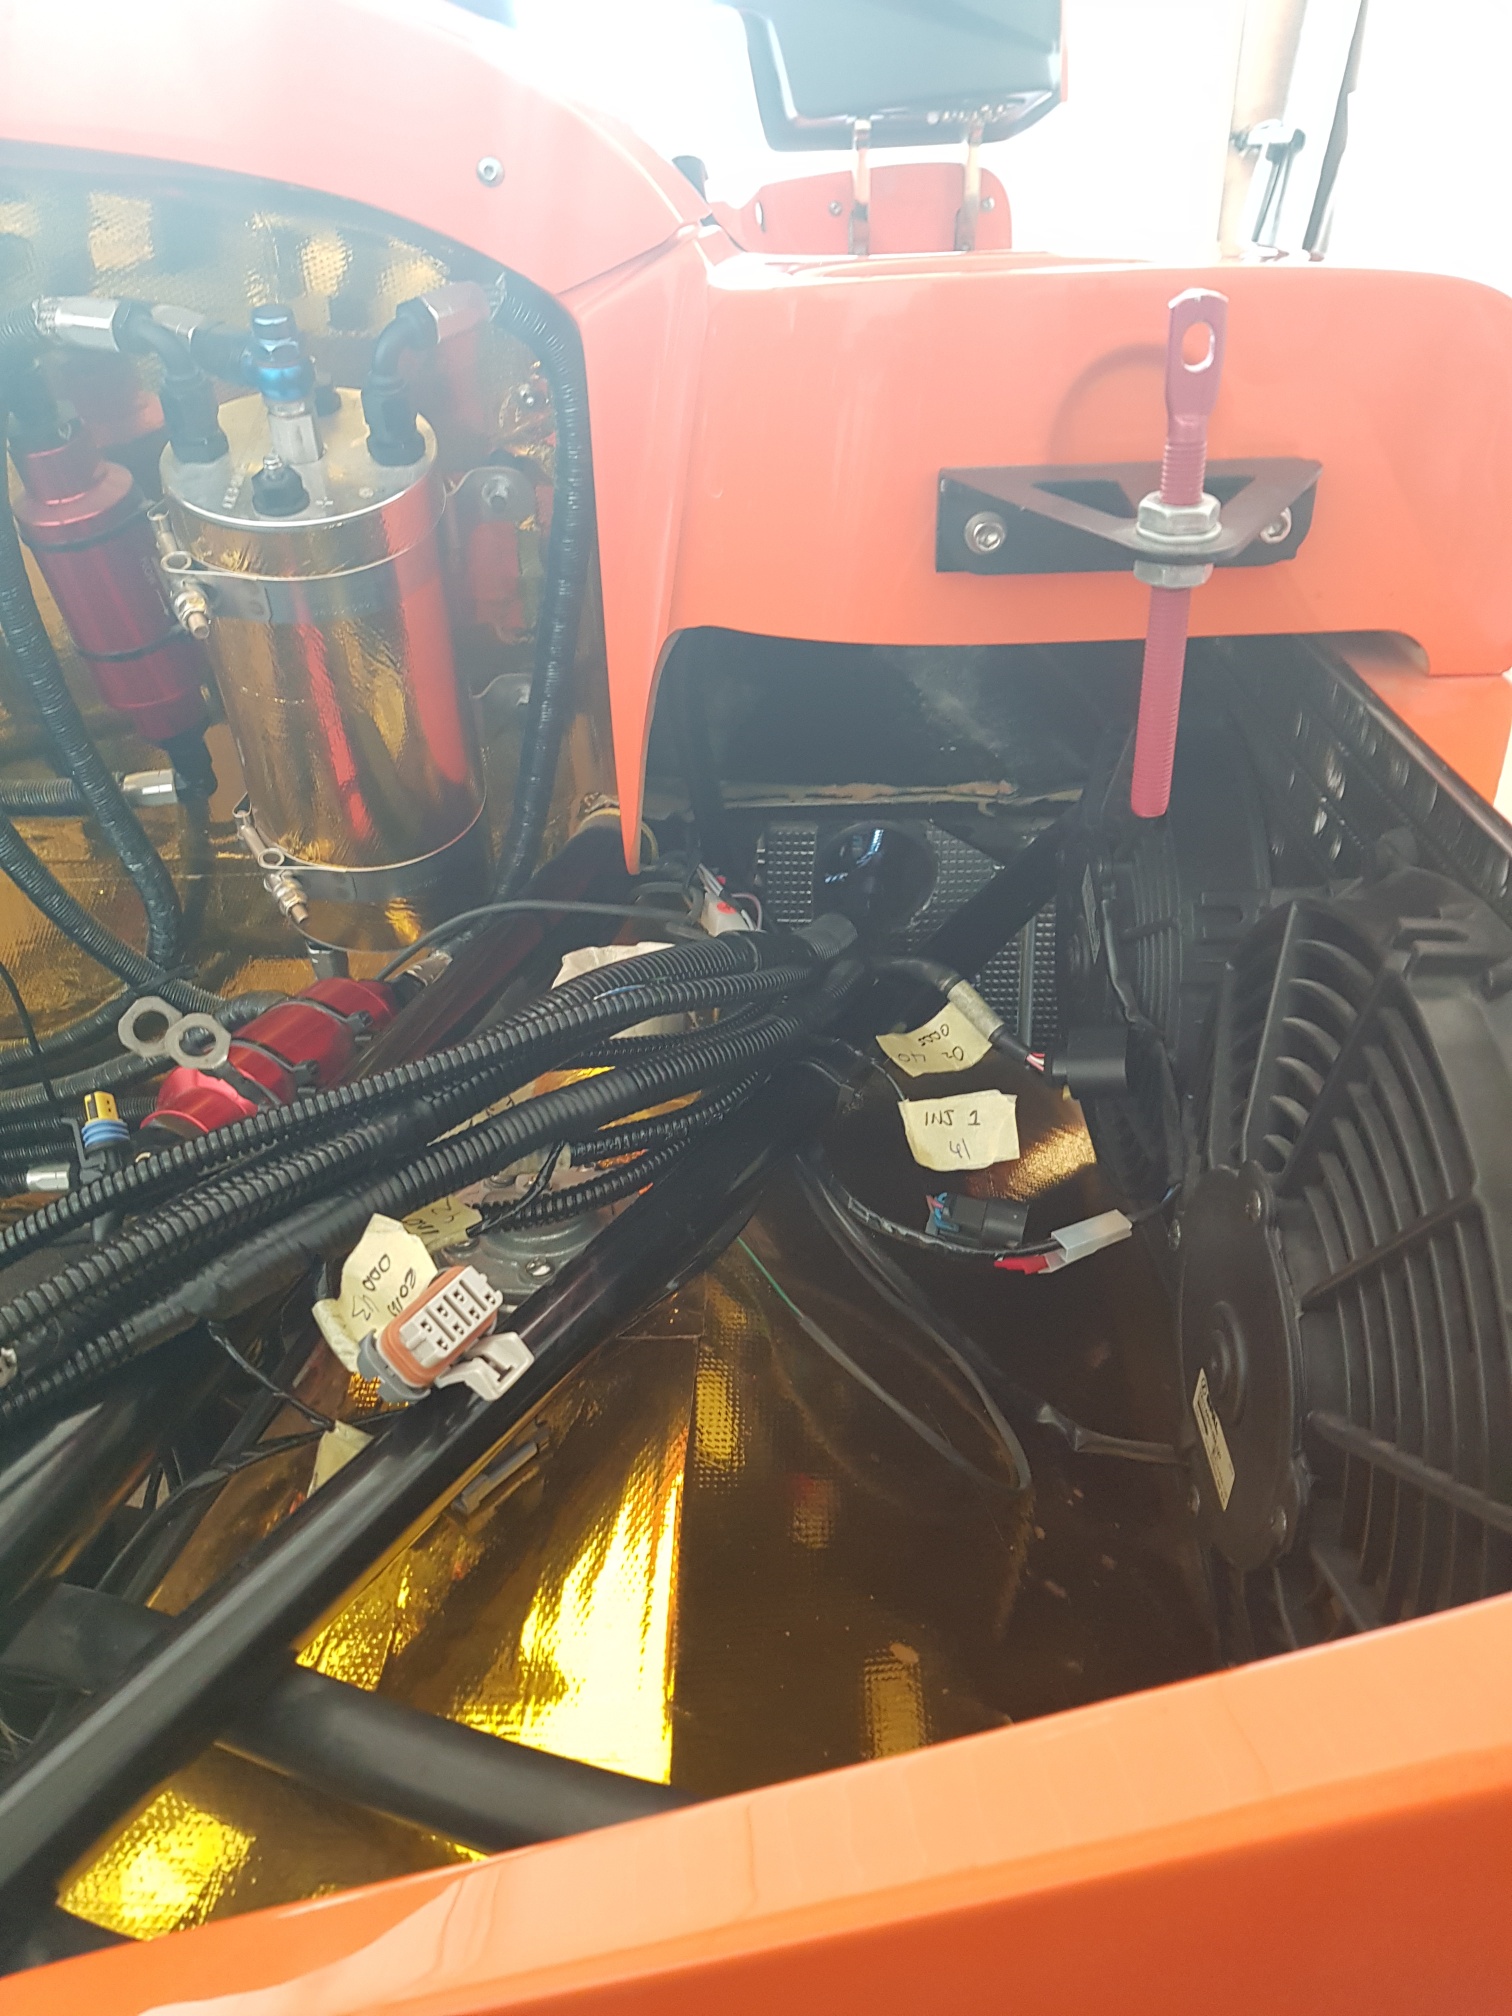
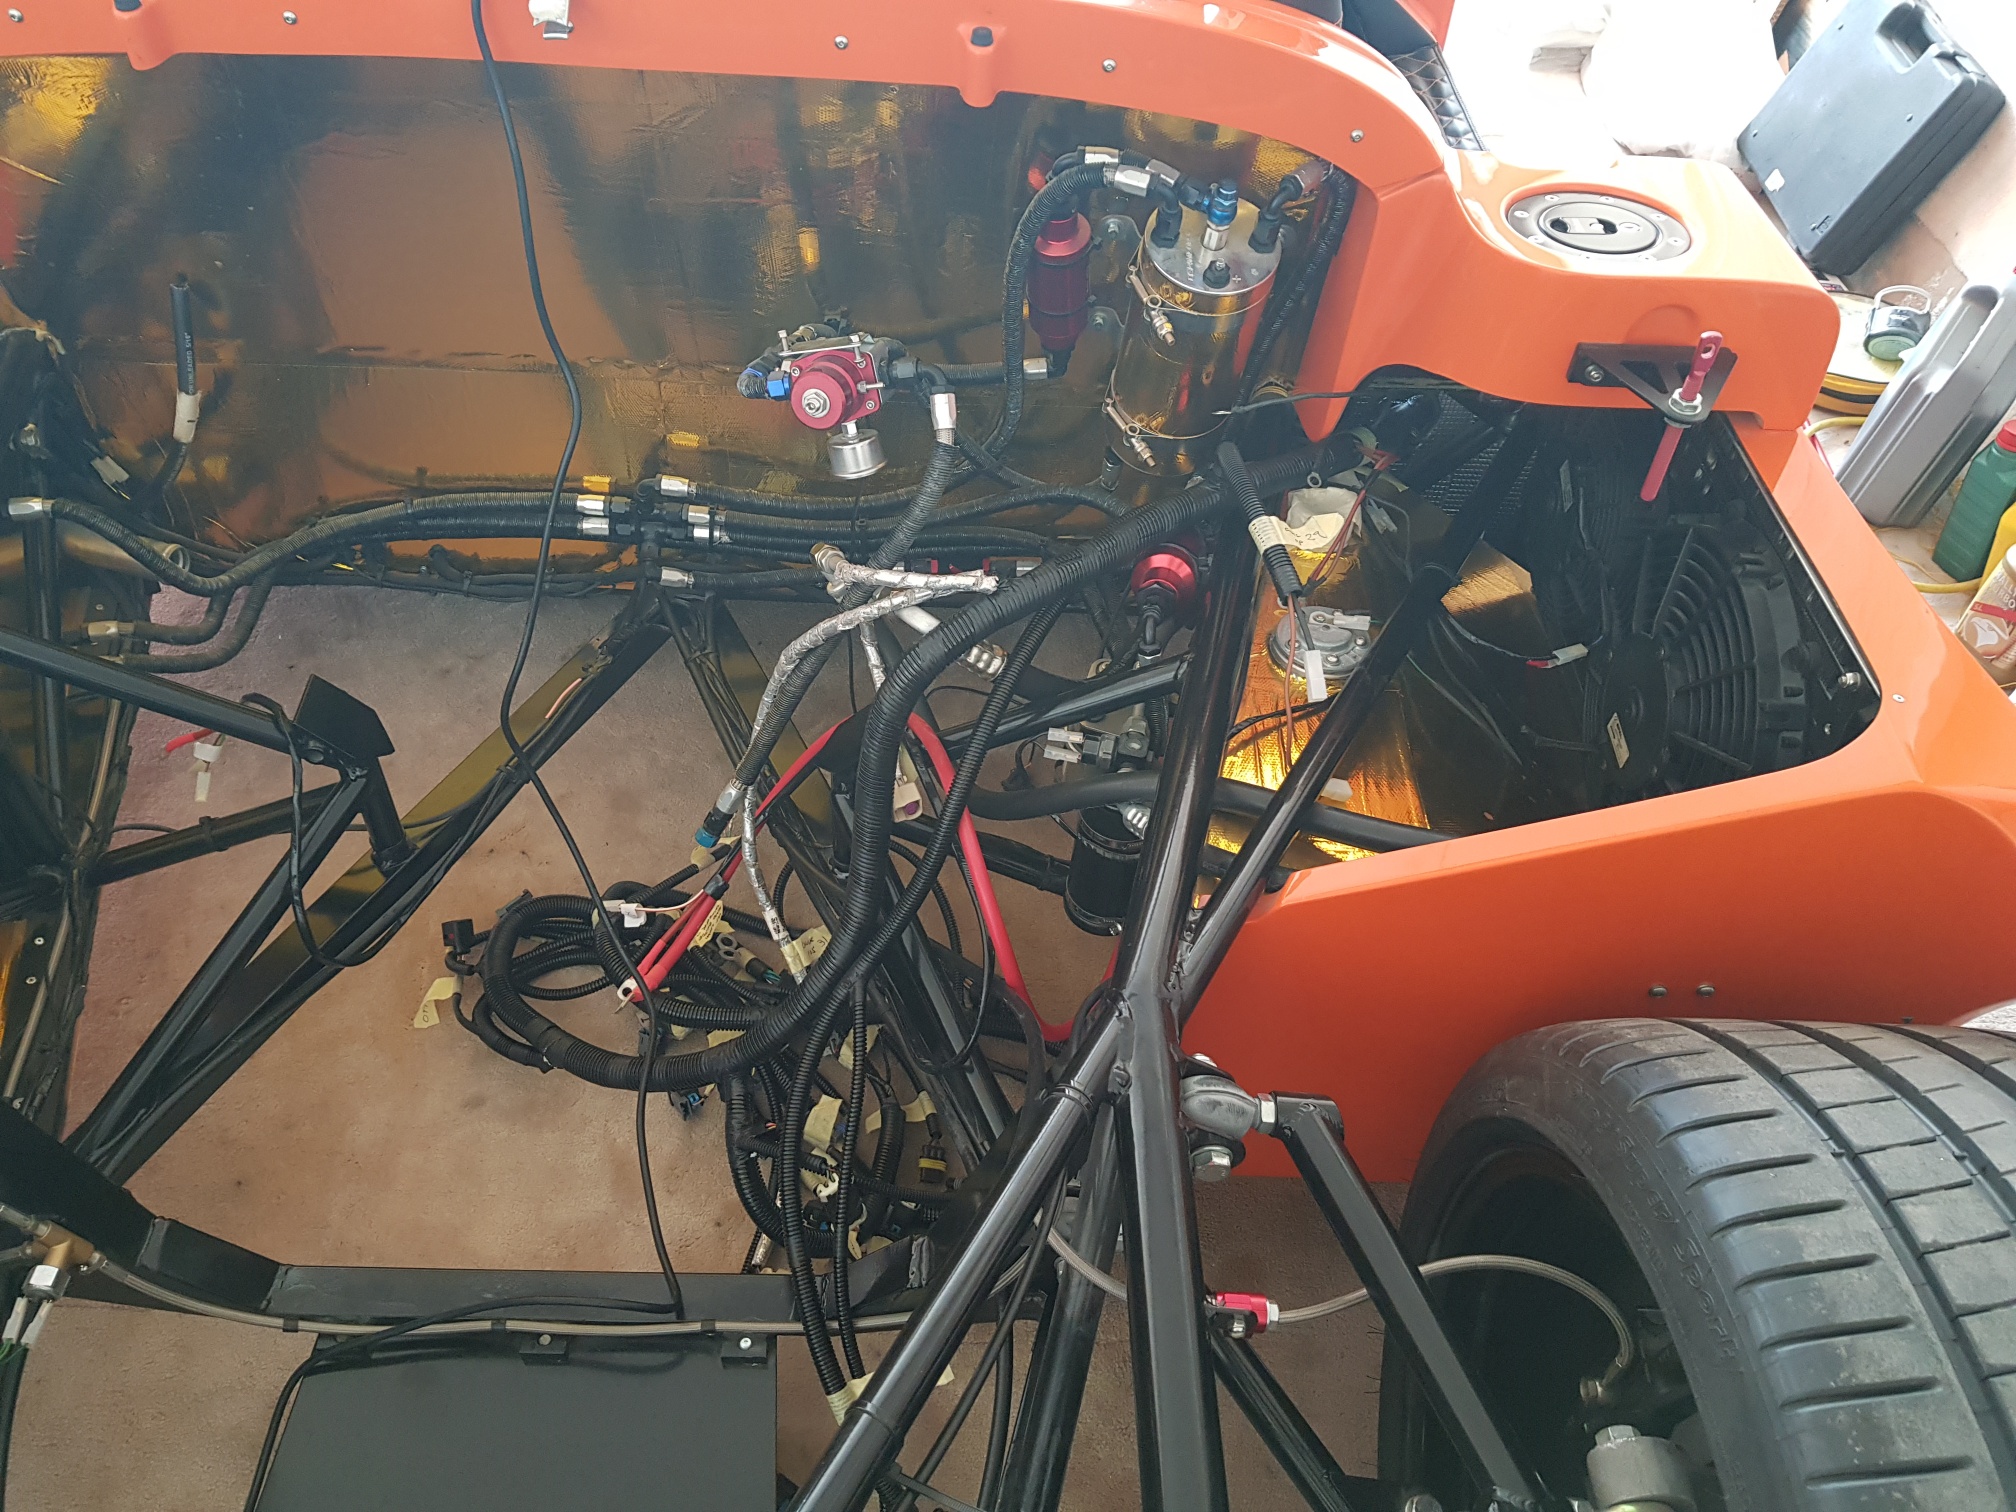
Next step was to work on engine bay area in preparation for the engine: namely, the fuel system had to be slightly modified - the adapter for the second fuel pressure gauge had to be removed because the fuel pressure gauge will now sit on the fuel rail... and the fuel temp sensor was installed in the surge tank to allow measurement of the fuel temp in the future...
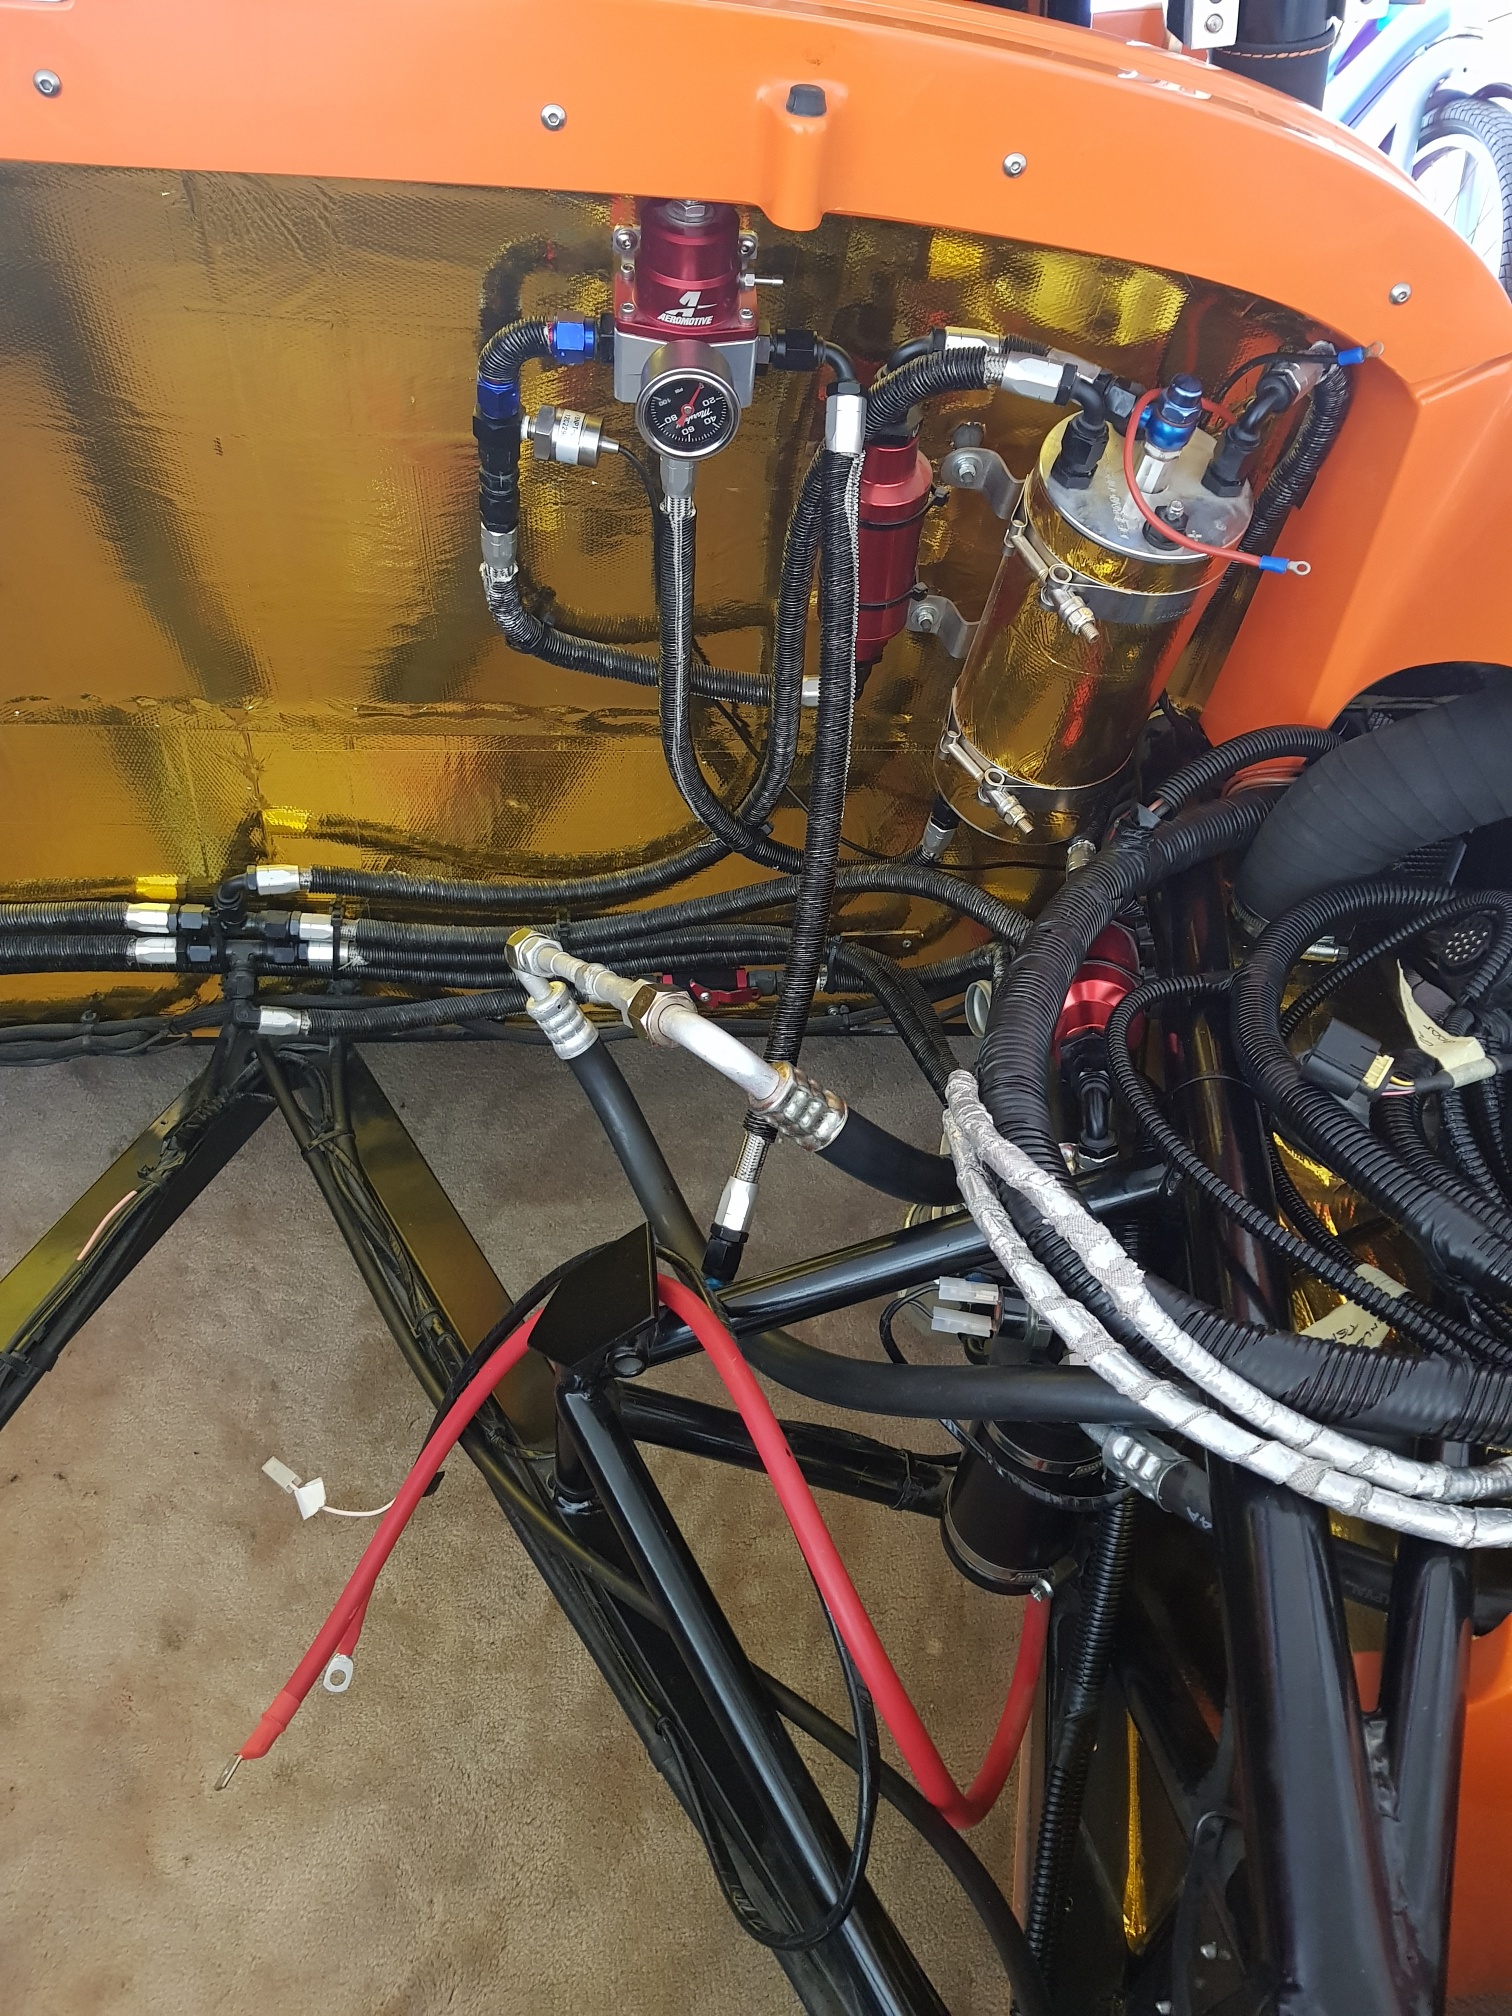
The engine loom was connected to the FOD controller, and the fuel pump and fuel pressure gauge wires were installed to the FOD to have the fuel system now ready for engine!
Once again, I am now out of parts to install till the next shipment (expected to arrive early May).. till then, stay tuned :)