Aug 1-2, 2015
Build Time Today: 8 hours
Total Build Time: 172 hours
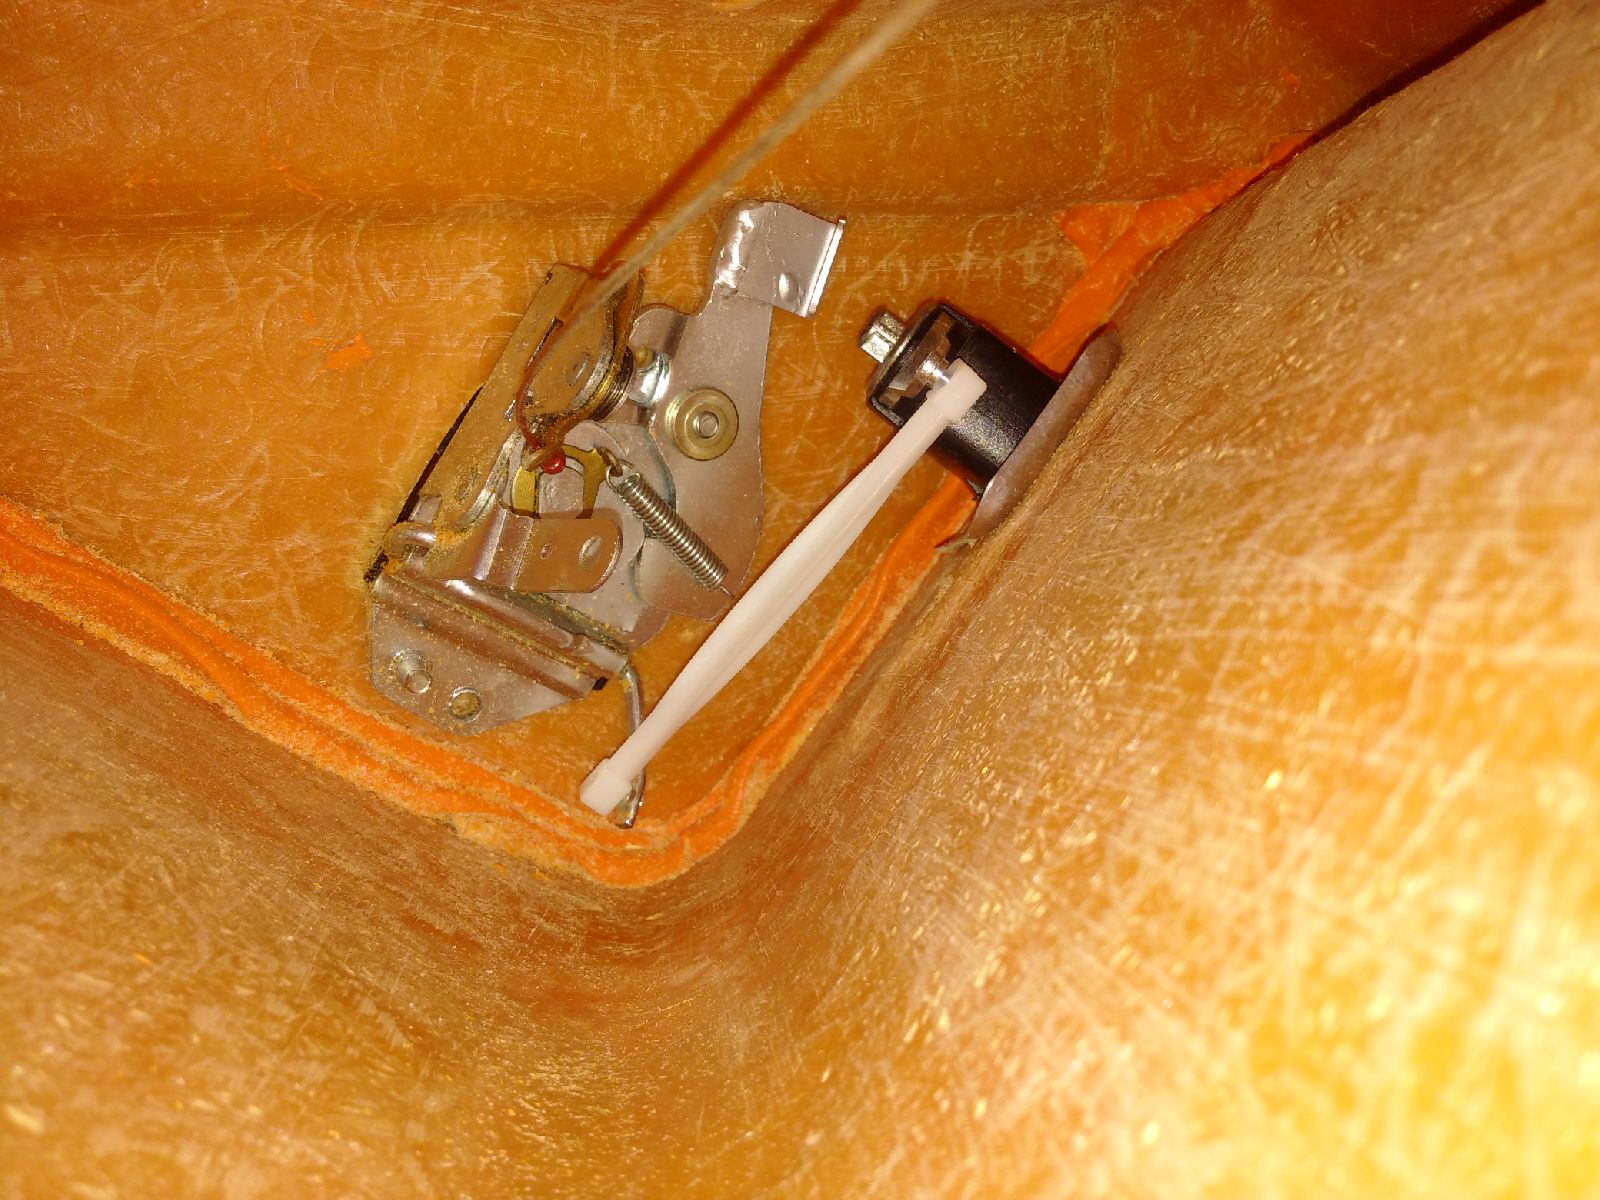
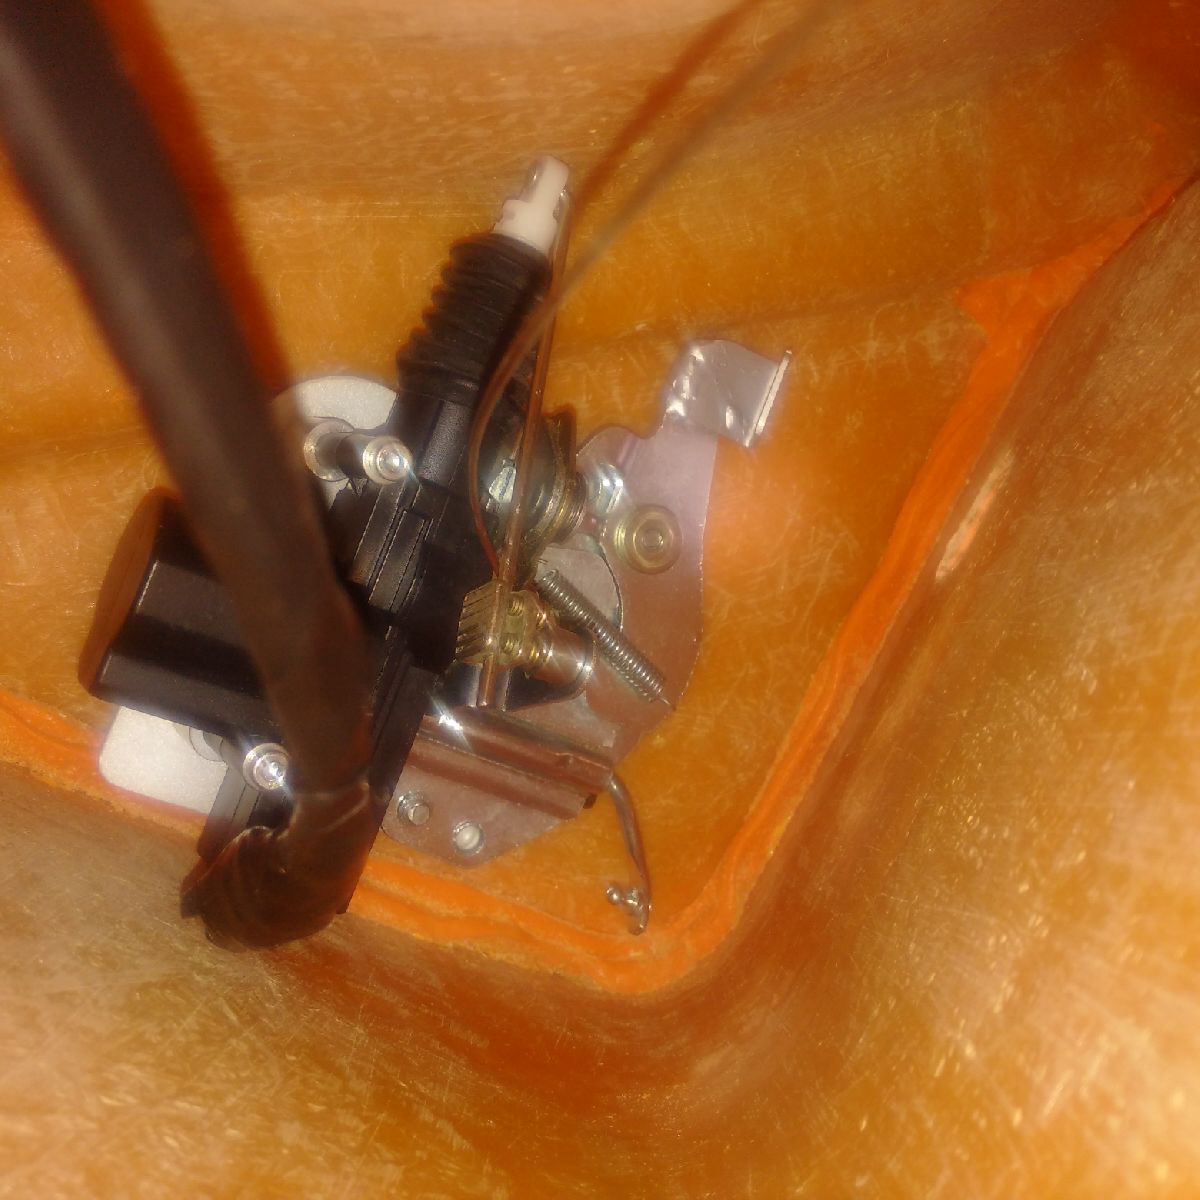
Another day in the garage with not much visible work done - it seems the car build has stalled!! Partly because I am waiting for the factory to send the final parts left, which are currently needed to move forward with the permanent mounting of the pods/bulkheads. While I wait for those parts, I am doing other things out of turn to get them out of the way: today's job was installation of the central locking kit. The Ultima doors come pre-assembled with the lock already installed the door - and there is only a small opening to stick your hand in to do anything.
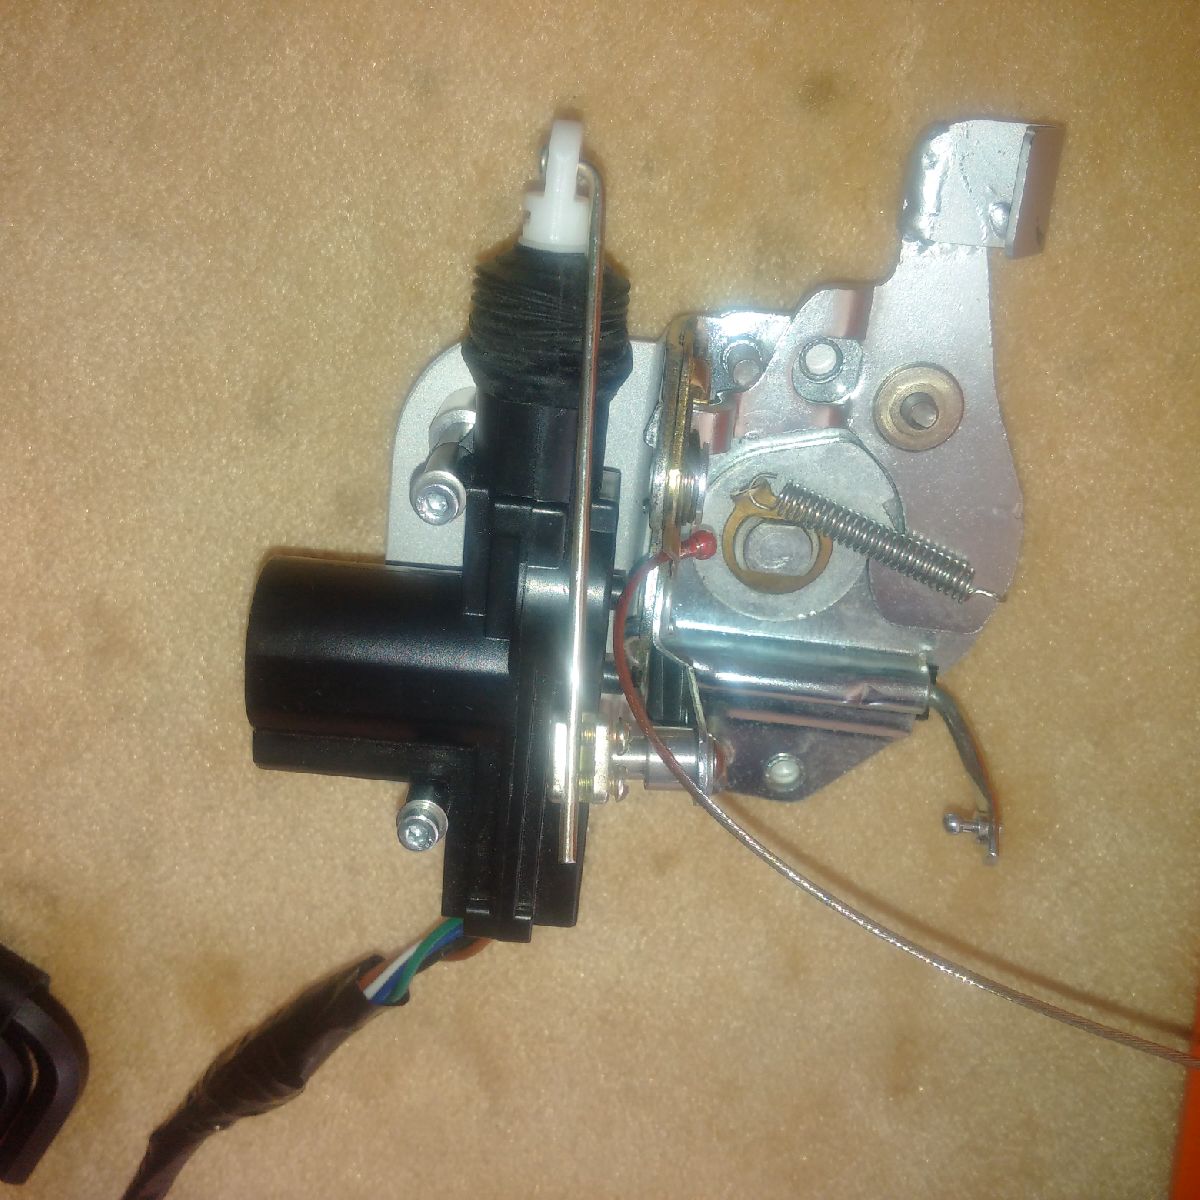
I started with taking a few pictures from inside the door with my trusty phone camera to get an idea of what all is inside. Then, I proceeded to dismantle the mechanism to remove it, and once out, I installed the central locking system on the table to test it. The unit was attached to a 12V supply and the system was tested - all appears to work fine. The central locking pistons were mounted to a custom plate, which was installed between the Ultima door (internal side) and the locking mechanism. Wire's were extended as needed, and then the whole system was reinstalled the door. Now a problem I have run into is that the door locks with the remote, and opens with the external button. However, it won't open with the interior handle, and I am guessing there is a problem with the cable release (too long) because of the custom plate that was used. However, I will troubleshoot this later, as I am tired of the fibreglass dust and electrical work for today.

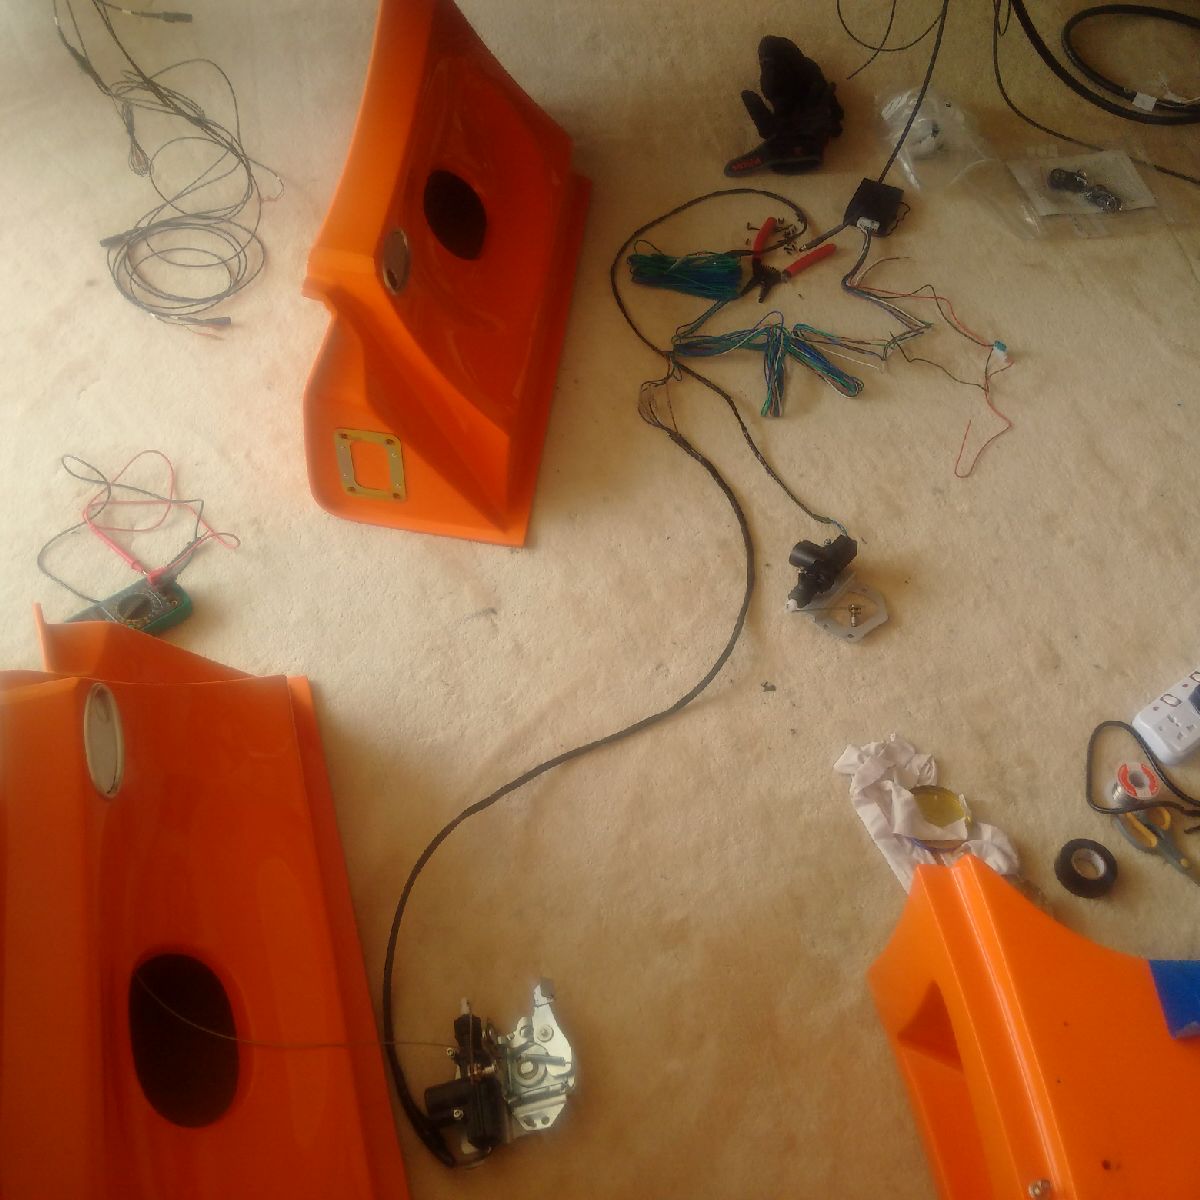
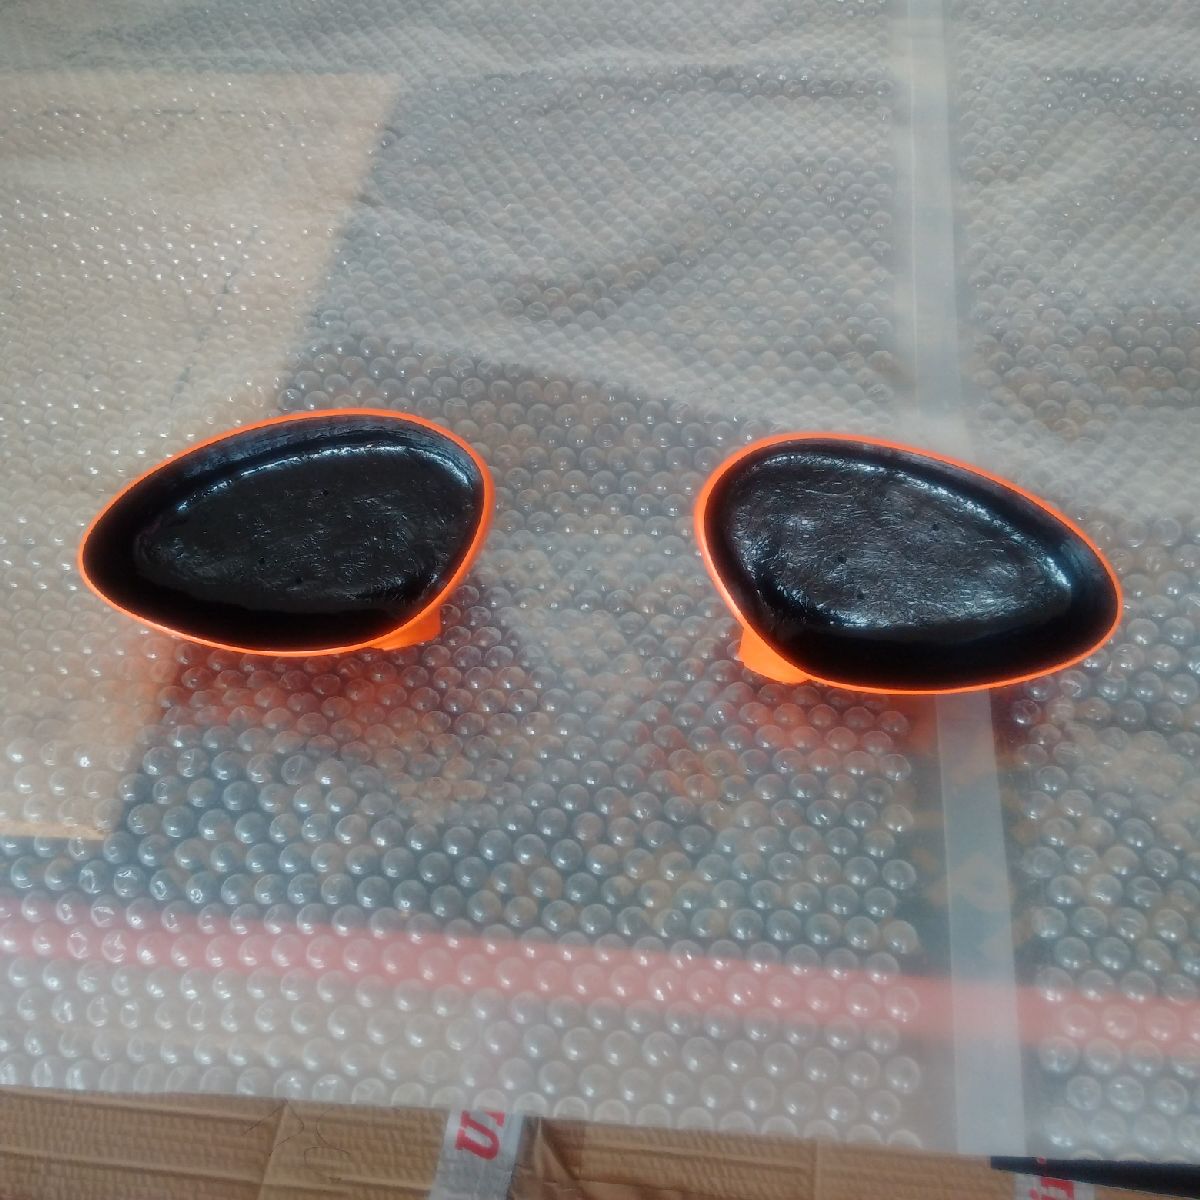
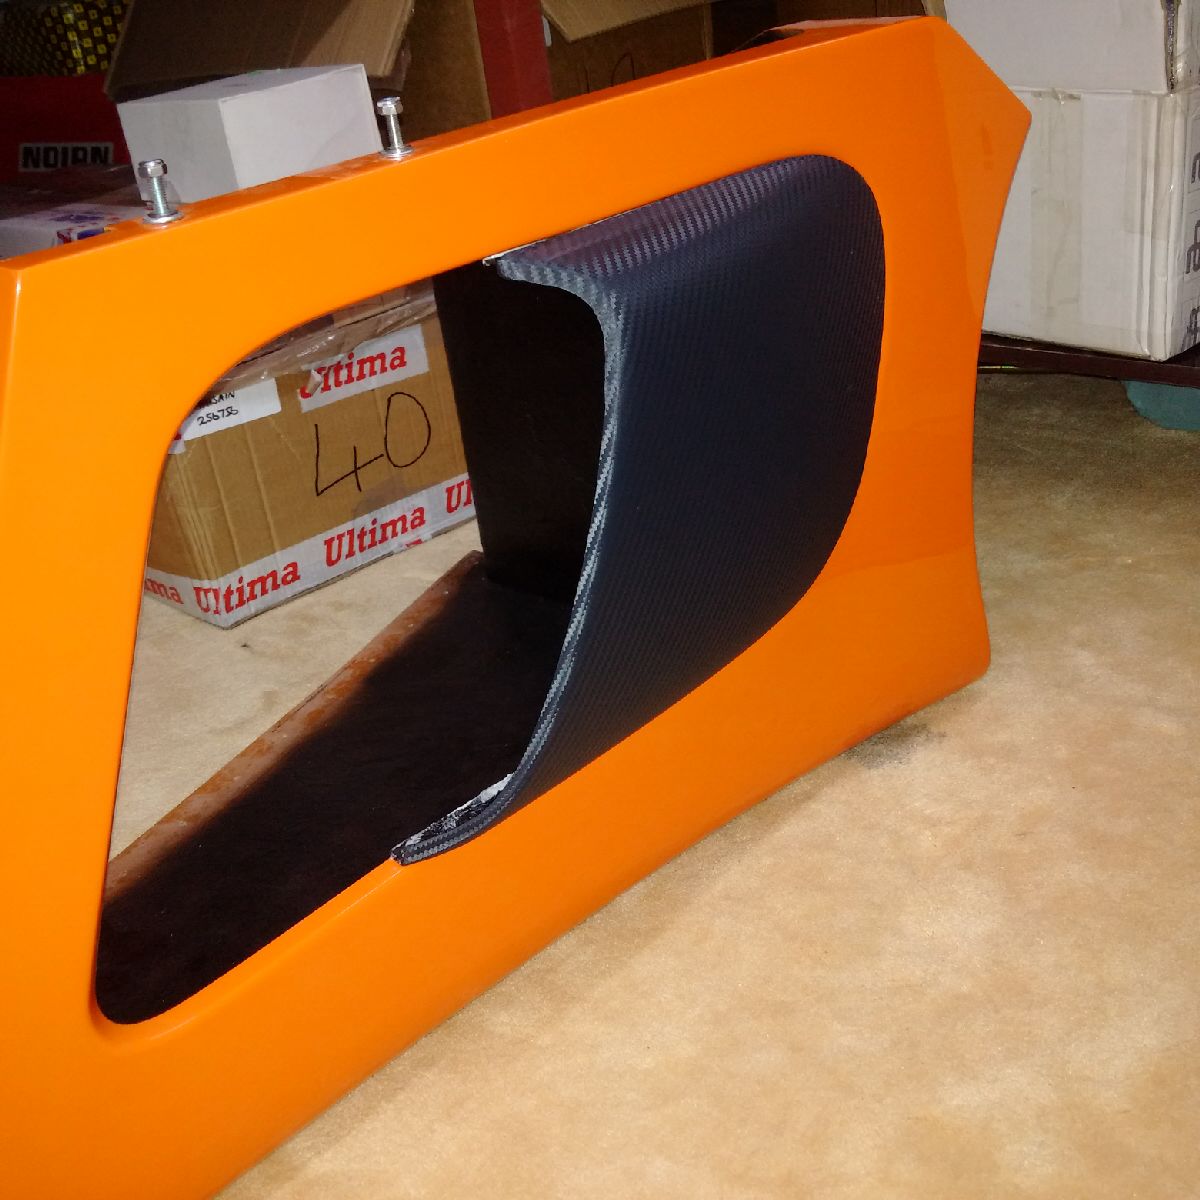
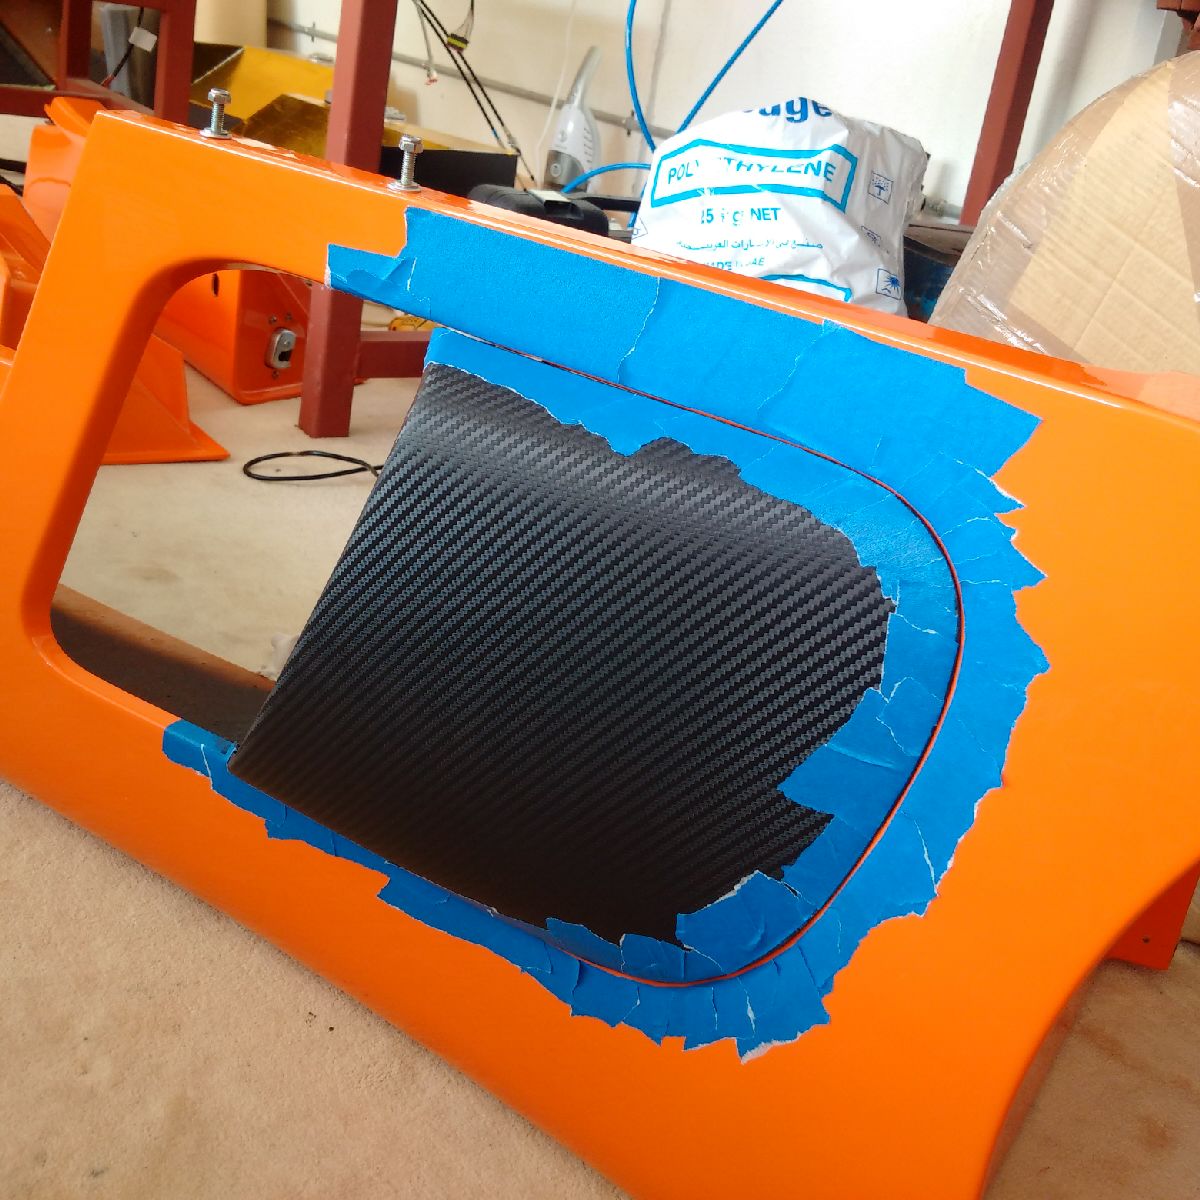
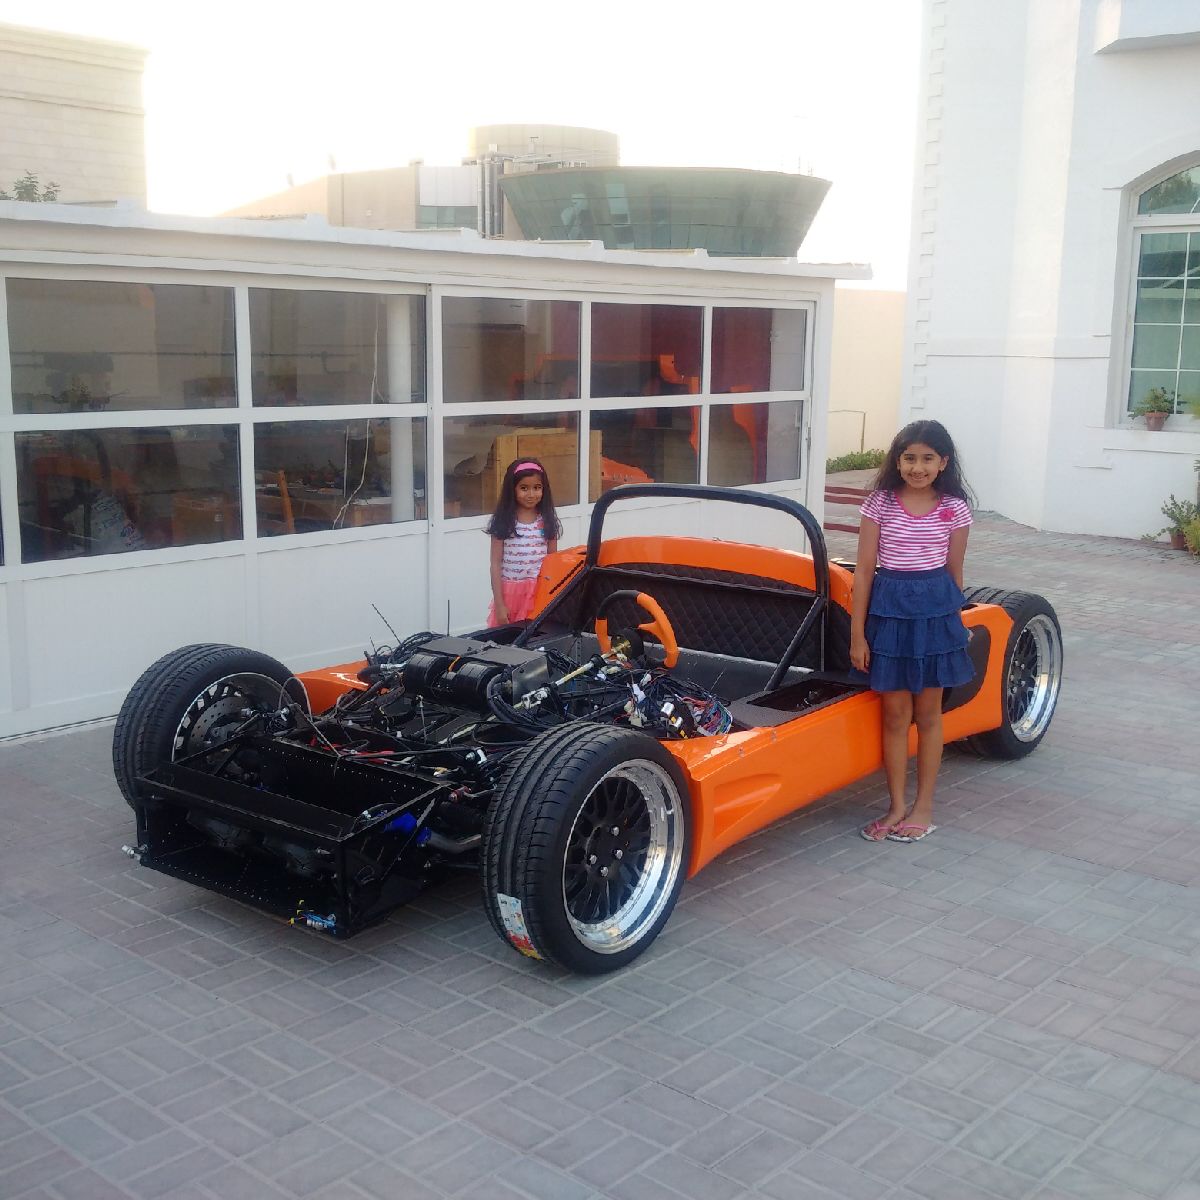
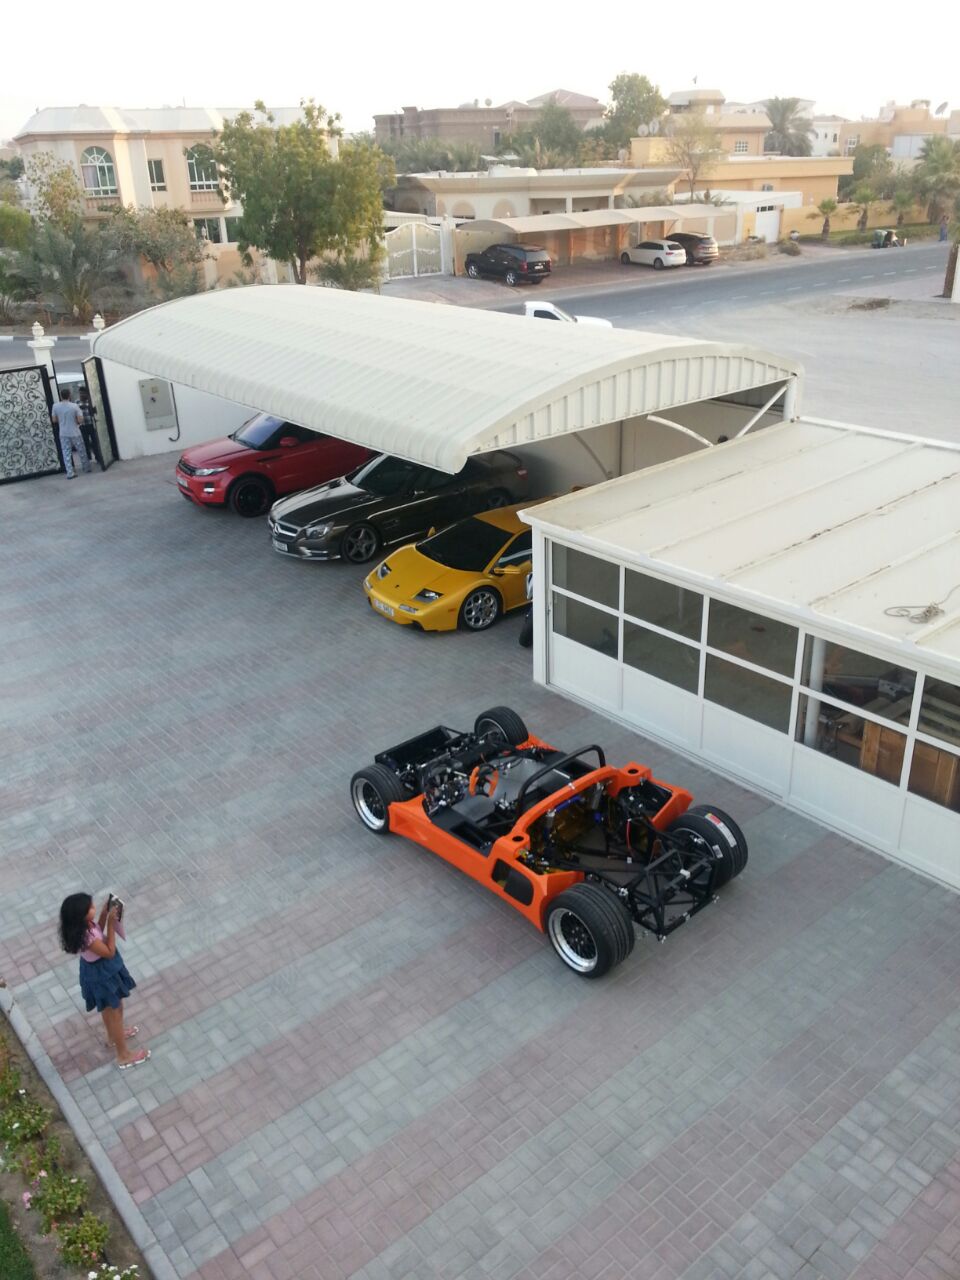
The item on the agenda for today was installing my side scoops into the side pods, before installing the grill mesh. The side scoops I am using a plain black fibre glass scoops. I first covered them in CF to go with the rest of the theme, and then painted the inside black. I then attached them to the side pods using double sided 3M tape to secure to the body, and then marine epoxy to fill the gap between the side pod and the scoop from inside the side pod. Once this is dry, I will apply some black sealant from the outside to create a seal and also form a clean fit. I will also make a shout out to my girls, Sarrah and Munira who helped out today with the installation of the side scoops!

Aug 3, 2015
Build Time Today: 3 hours
Total Build Time: 175 hours
Today I finished installing the central locking motors in the doors. One door is now completely ready, but the driver door still does not open with the interior handle. This will be taken care off later.
Second item on the agenda for today was getting the side pod ready for final fit. To this extent, the scoops were taped off and black sealant used to form a clean seal on the outside.
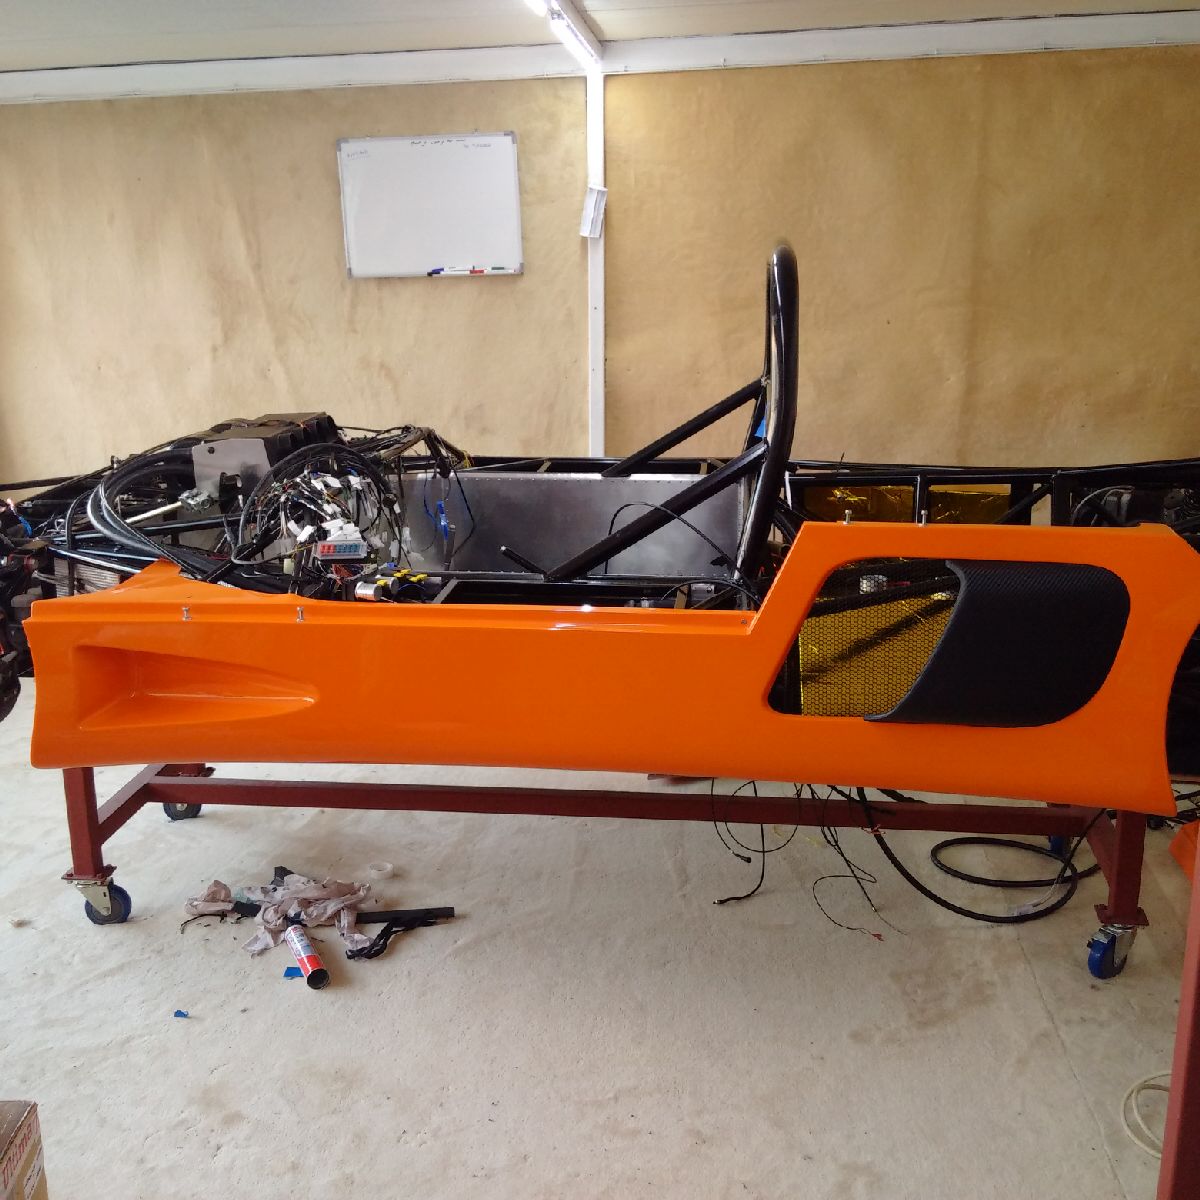
Finally, the mesh grills (EVO style upgrade) were installed with the use of black sealant. Now I need to give this all time to set.

Aug 4, 2015
Build Time Today: 5 hours
Total Build Time: 180 hours
Finally some good progress today!
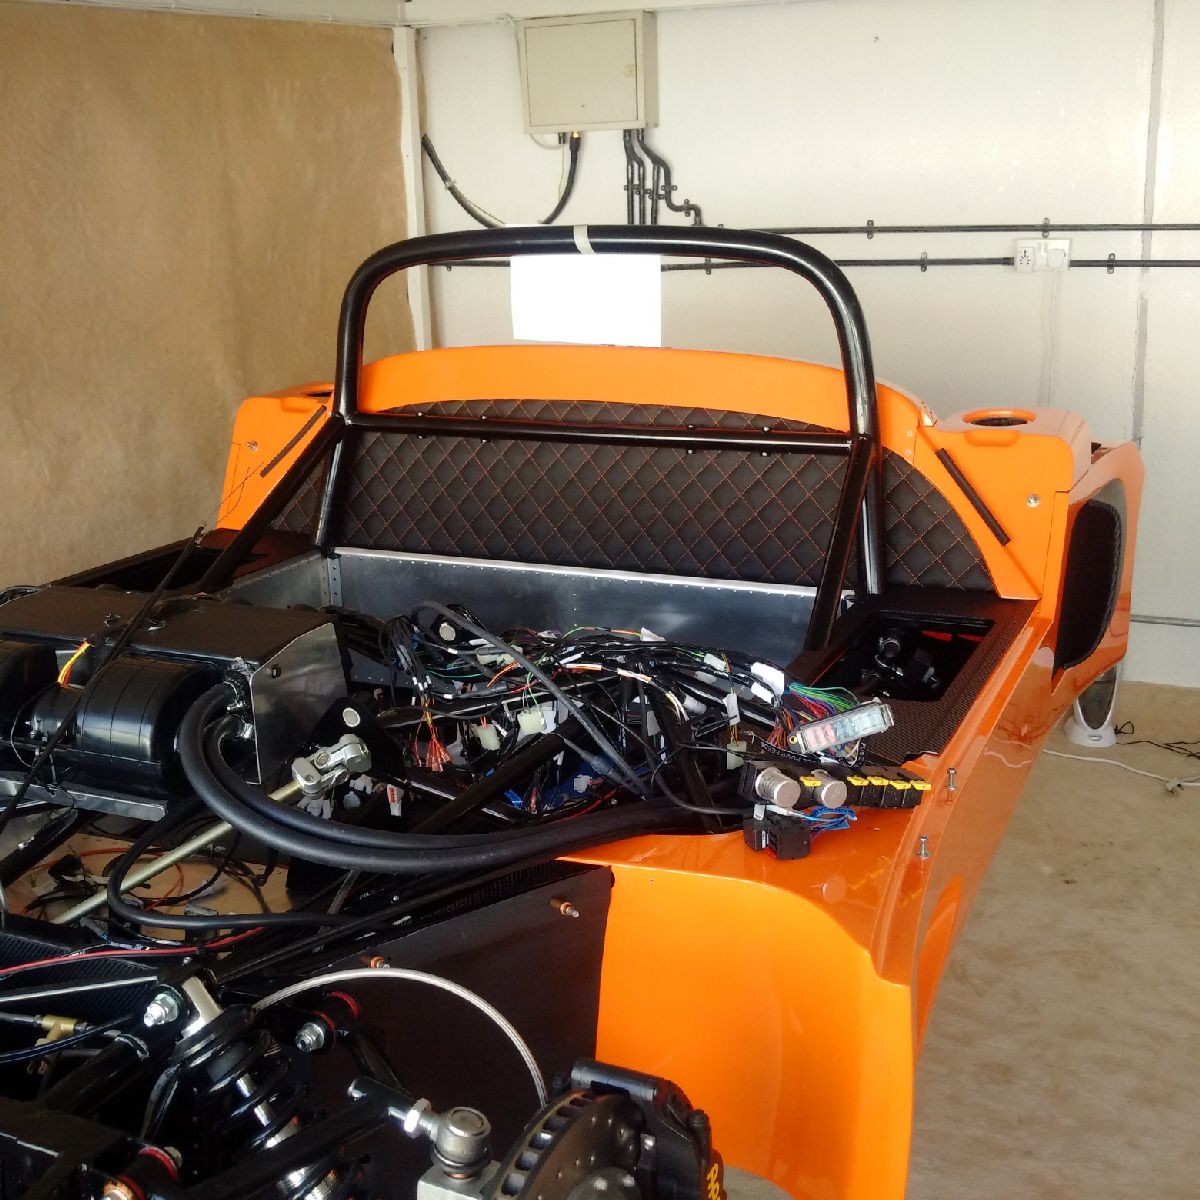
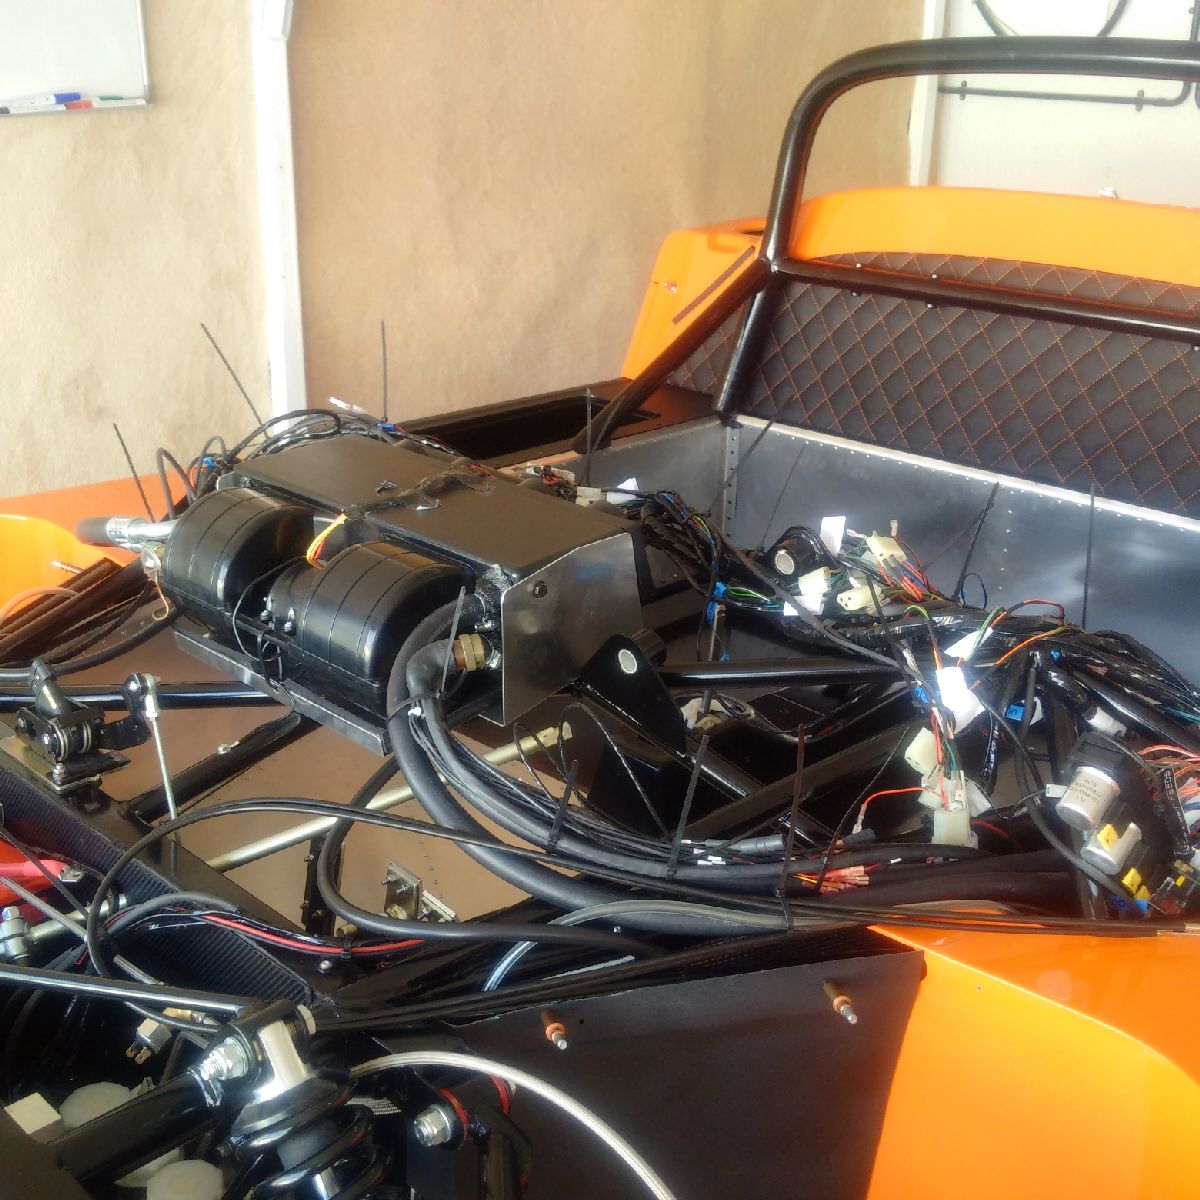
I spent time laying out the stack harness, and routing the cables to the front and rear. I had to extend the harness for the fuel pressure gauge, and that involved splicing into shielded cabling and extending it about 2m. Once the harness was secured in place, all the wires, fuse/relay boxes, canopy latch cables, etc, were tied into place, so that the tank and side pods could be final fitted.
The tank was put in place, and side pod temporarily attached to see where the foam needed to go. The side pod wedge shaped foam, and the expanding foam tape were put on the side pod and tank respectively. The side pod was then carefully placed on the chassis, and a bead of black sealant applied to the underside chassis panels. I first riveted the rear flange (in the rear wheel well) as it has some spacers behind it and that sets the body position. I then riveted the bottom from the front to the back. Once again the girls were excited to help out, and spent some time with me riveting the side pod onto the chassis.
Driver side pod is now on, and passenger side pod will be done tomorrow!!

Aug 5, 2015
Build Time Today: 3 hours
Total Build Time: 183 hours
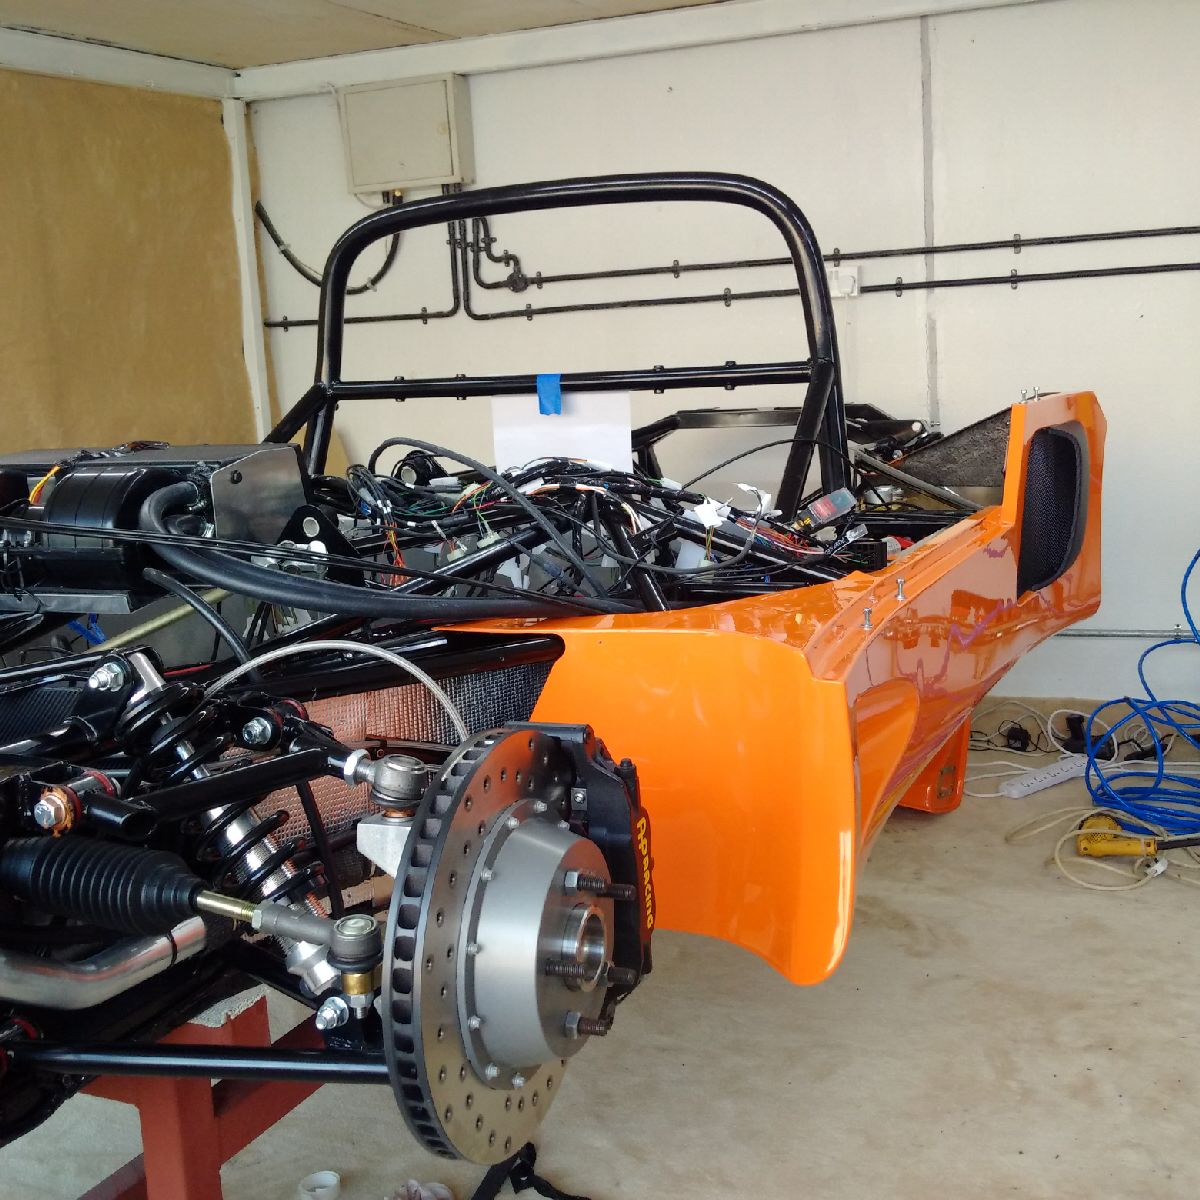
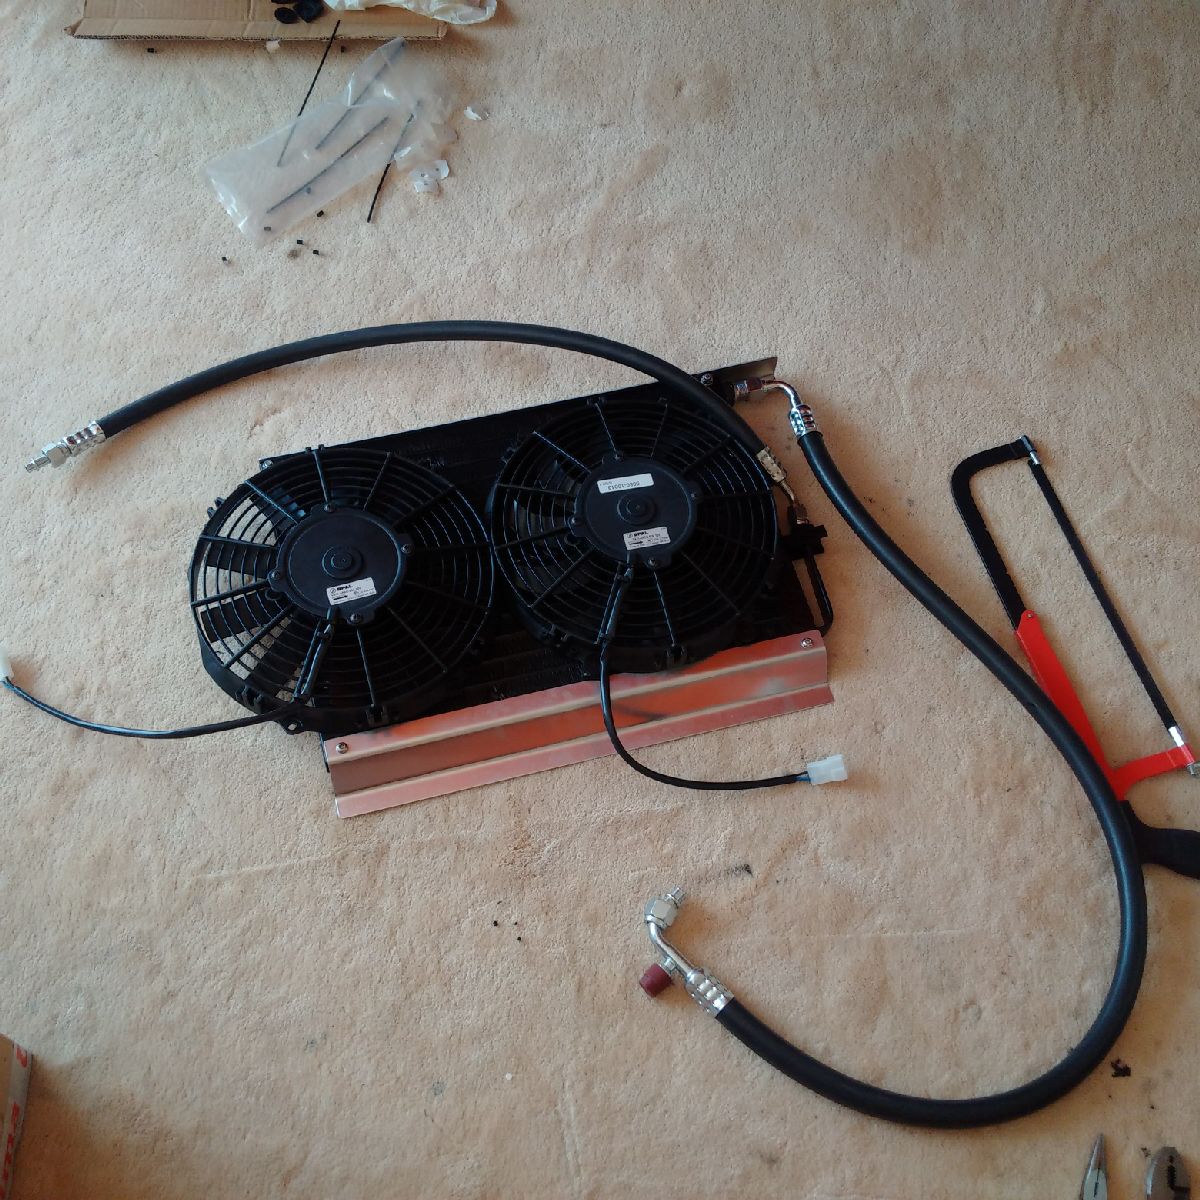
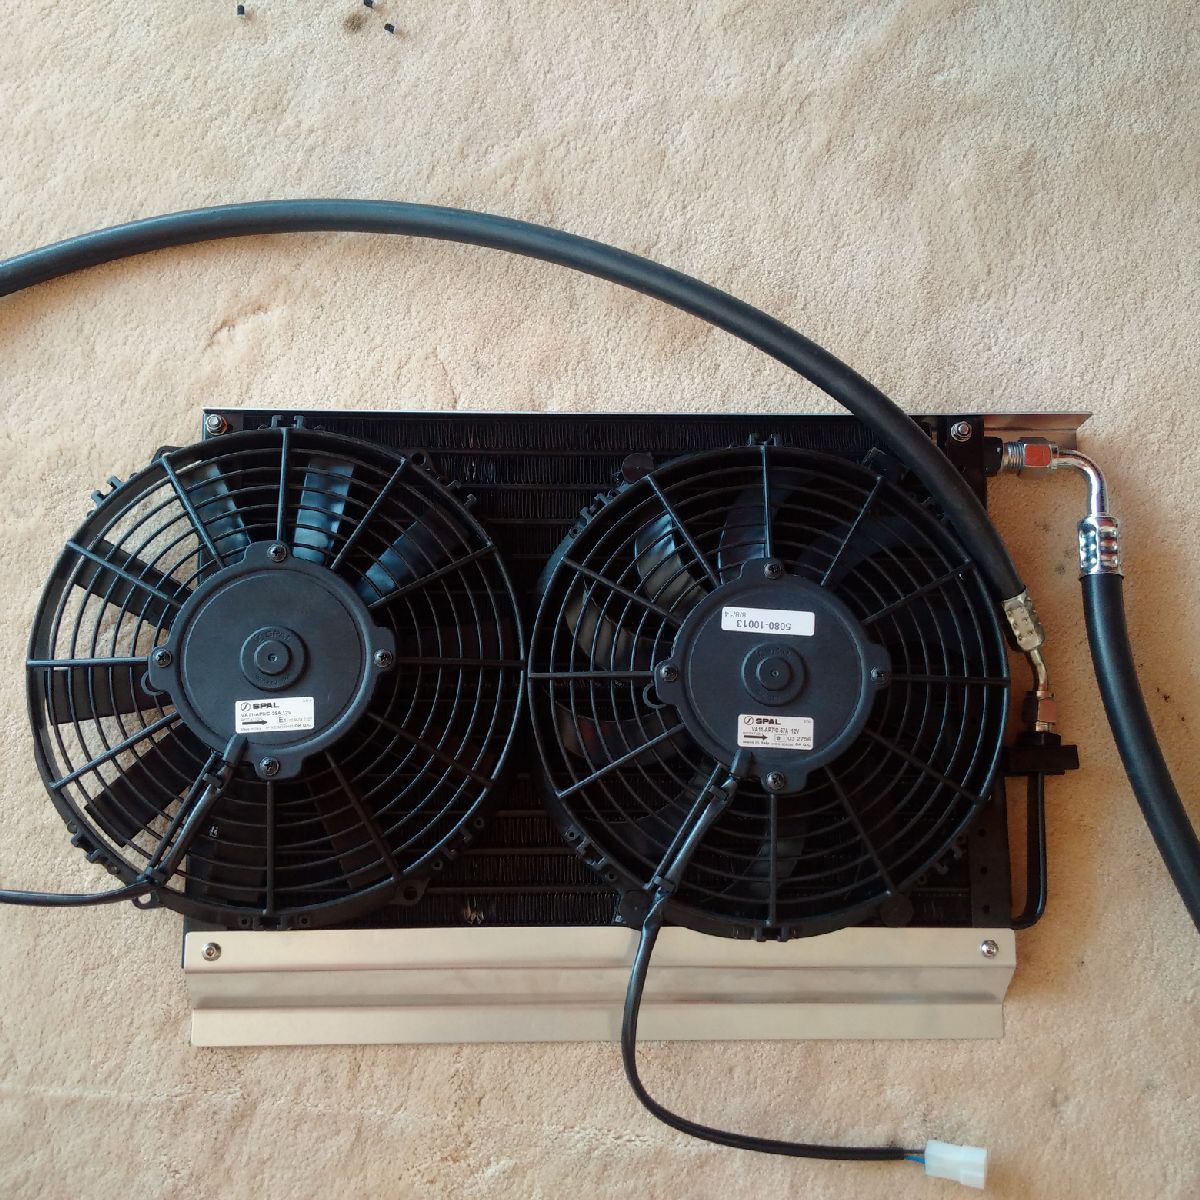
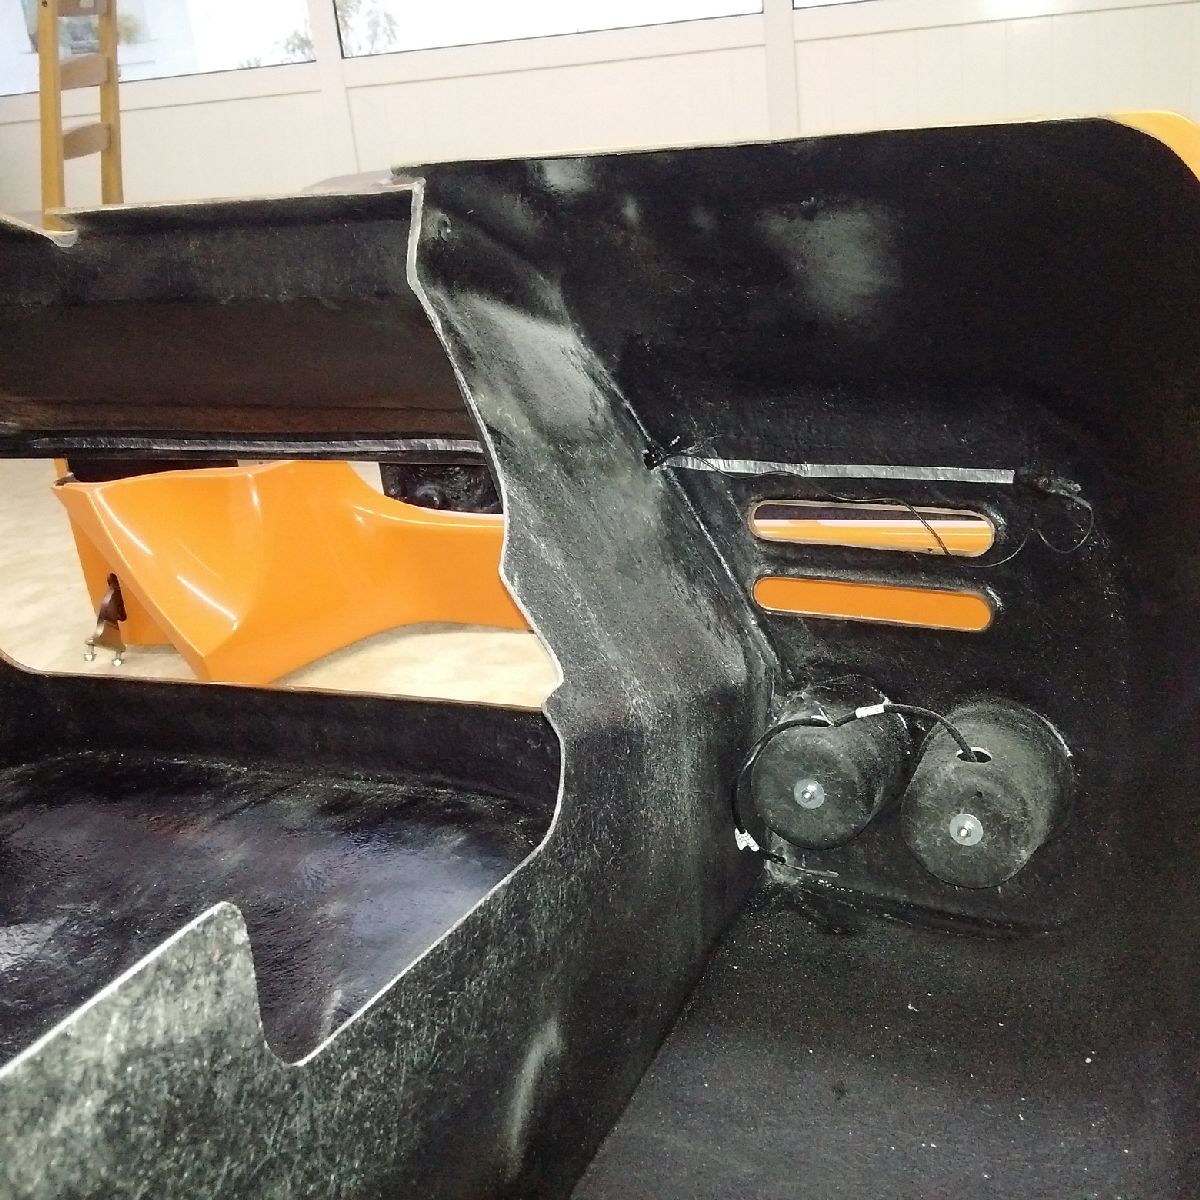
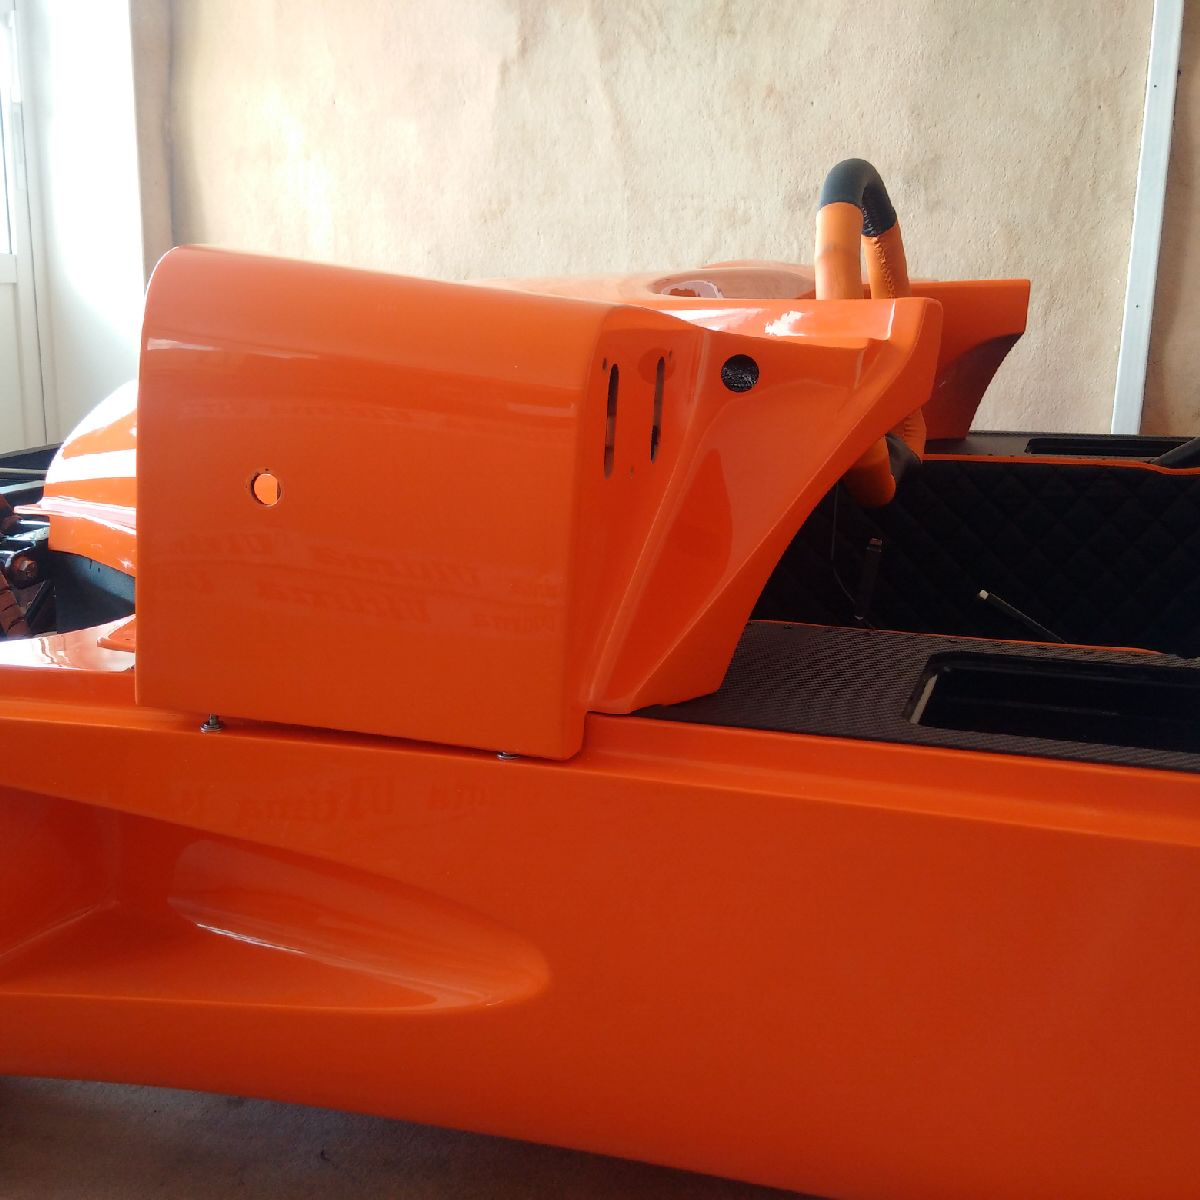
Today some more action on the car - the passenger side pod was prepped - this side pod houses the AC condenser, so the condenser needs to be pre-fitted before the side pod is fitted on, otherwise its quite difficult to get it in... Again I am doing something custom in this area - the heat in Dubai is horrific, and another Ultima owner has recommended fitting an extra fan on the AC condenser to get the AC cooling to what it needs to be in Dubai. This extra fan will also help get more air into the engine bay and help in cooling that area.
To make place for the extra fan, the factory fan had to be first be removed, and re-tied on the side. The AC hoses were then fitted (with the little green O-rings) as getting a finger inside the pod at a later stage will be very difficult. For now only 1 fan has been fitted - the factory fan, but off to one side. The extra fan will be fitted after the center section is installed, to make sure it does not get in the way of anything.
Next the side pod and fuel tank was prepped with the wedged foam and expanding foam tape. The side pod was then attached to the chassis on the front end, and the AC condenser unit was lowered onto the fuel tank while simultaneously fitting the side pod in the rear - this was accomplished with some much needed help from my wife :)

Once the side pod was on, it was again riveted along the rear wheel well flange, and then on the bottom from the front going rearwards.

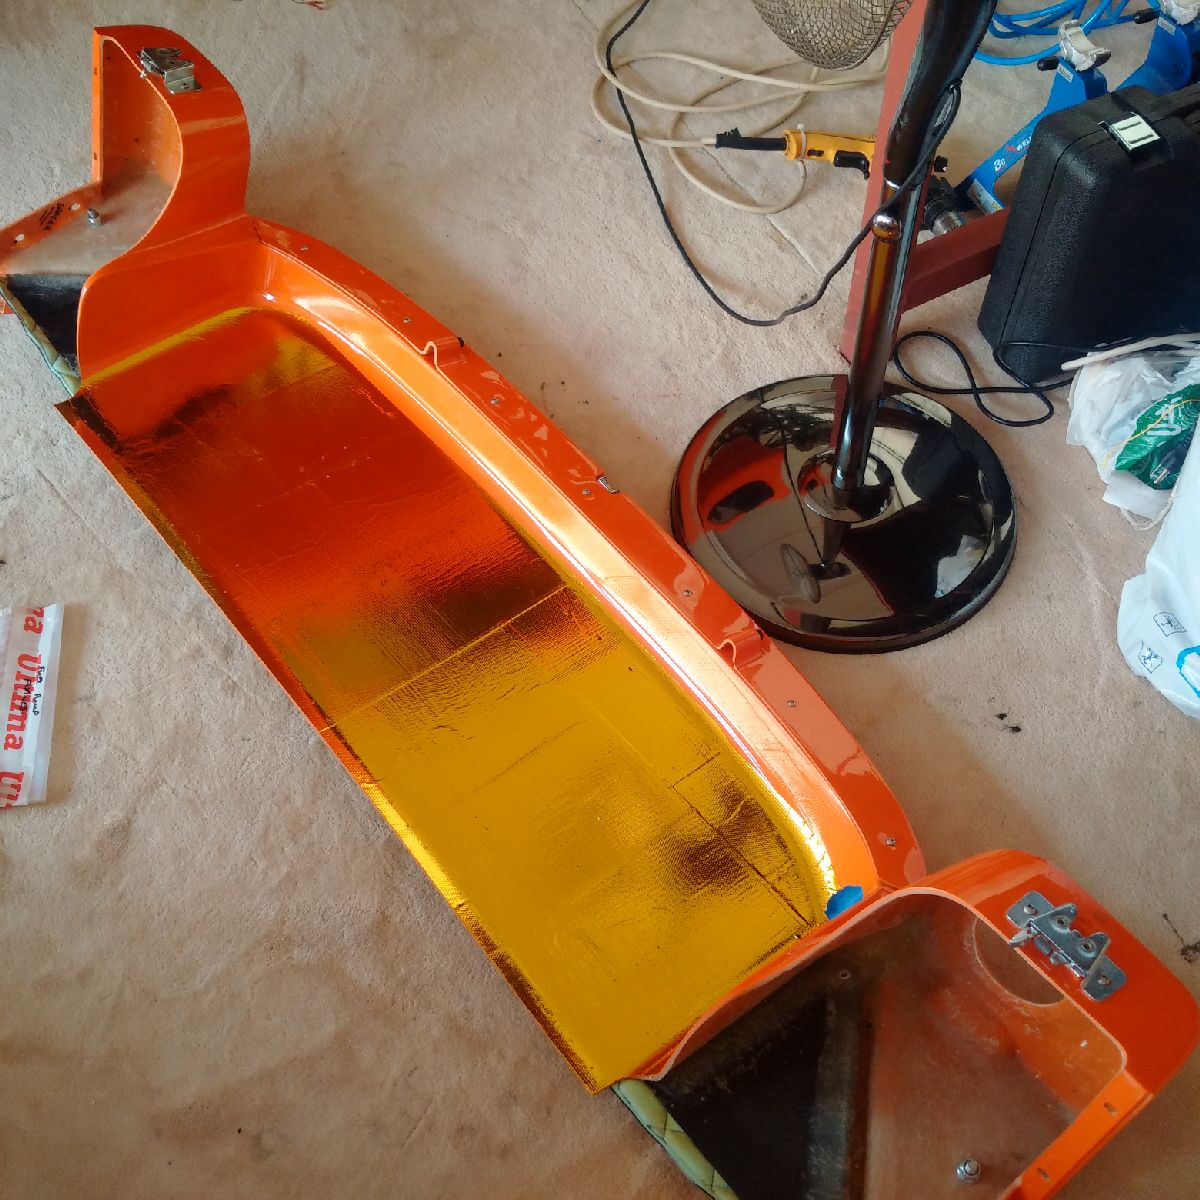
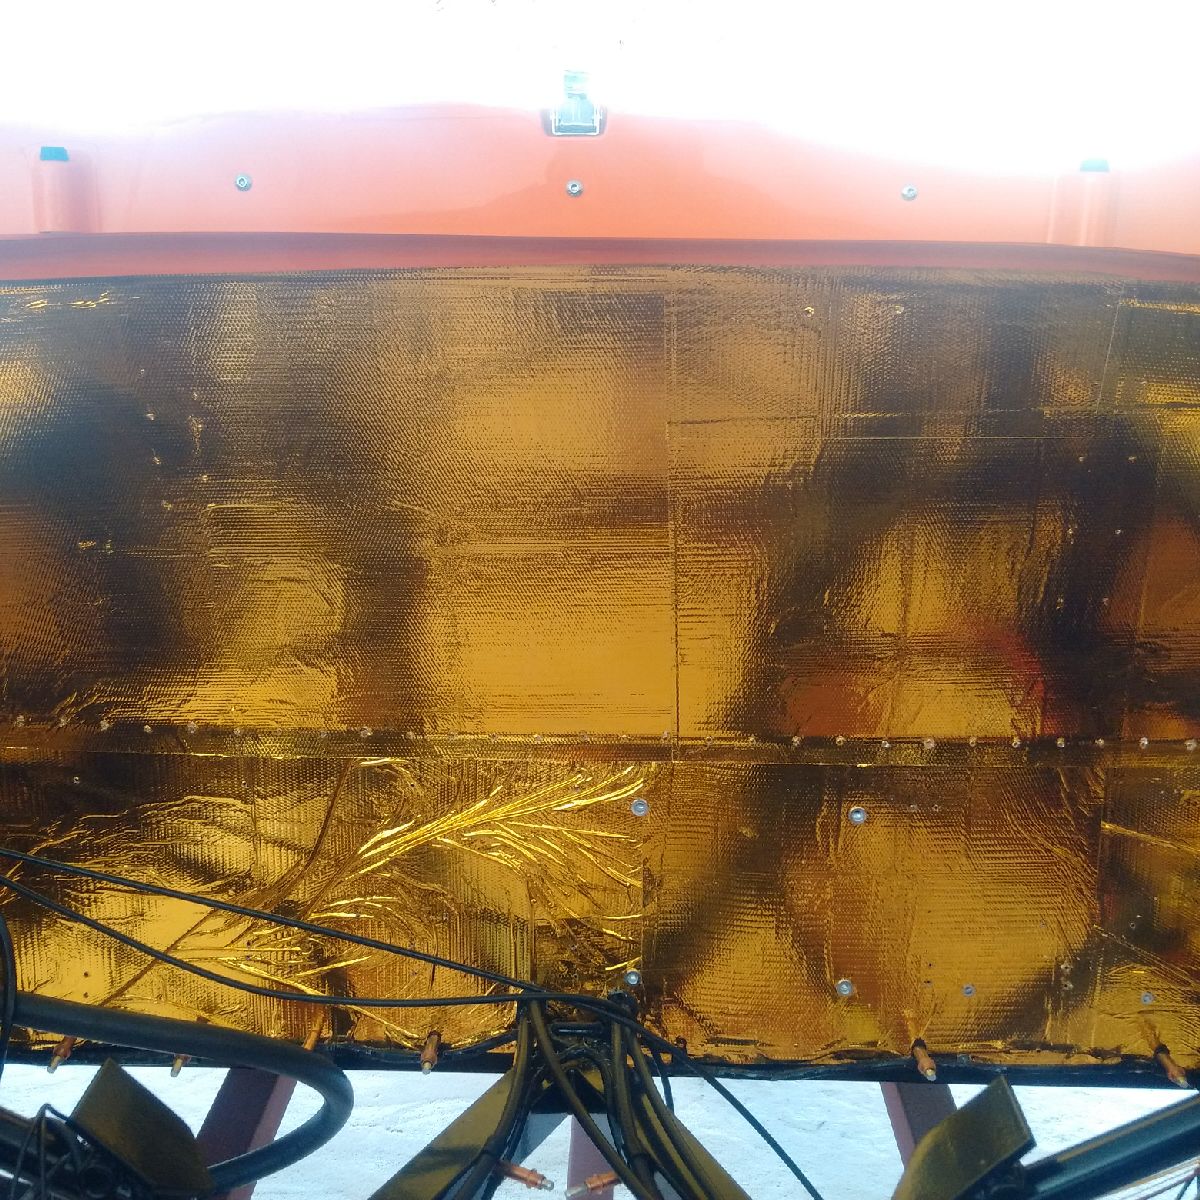
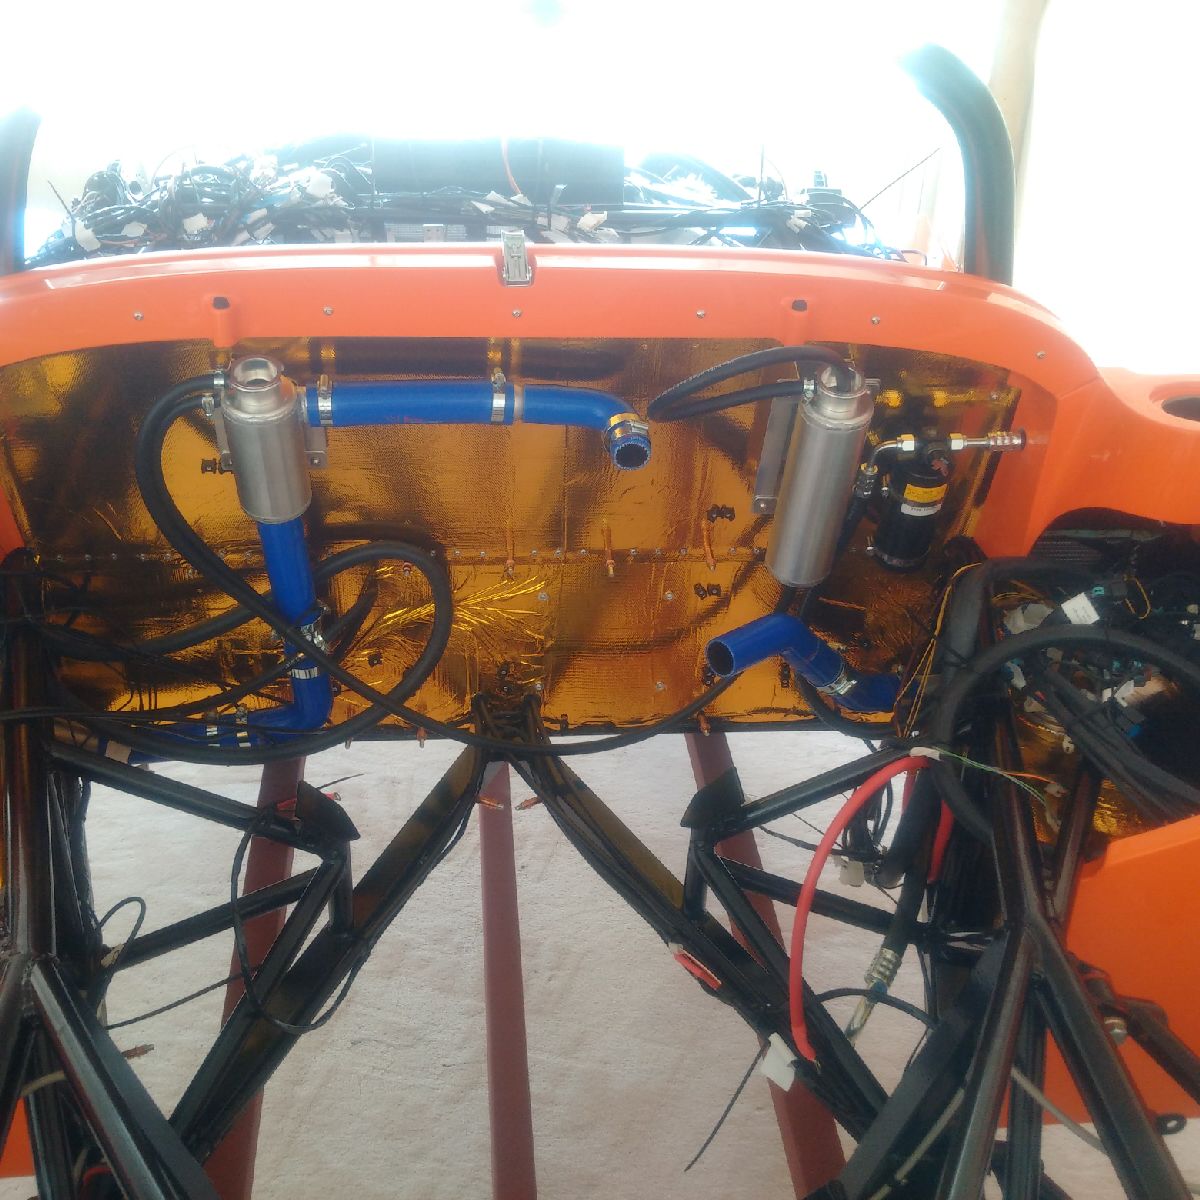
After the side pods, attention turned towards getting the rear center section ready for install - gold foil was applied and the drilled holes re marked.
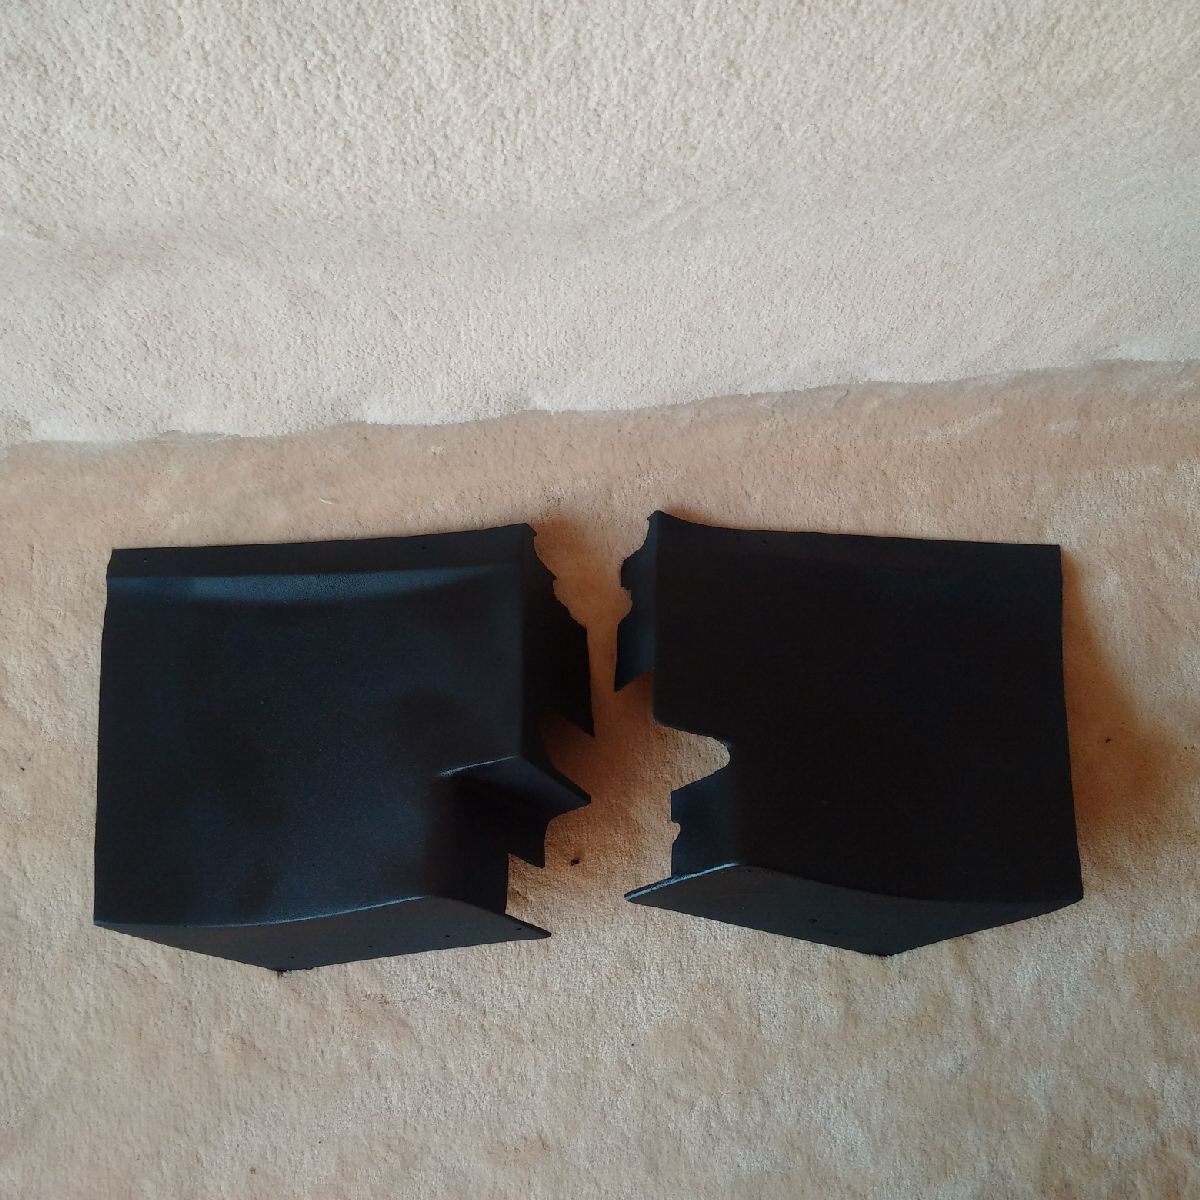
Final thing for today was prepping the forward side pod trim panels - although they have already been cut, and the factory supplied them in a gloss black finish, I opted to have them painted in a matt black rubberized paint - they will be sitting in the wheel well and there will be a lot of crud thrown at them from the wheels - this rubberized product should help them stay chip-free.
Aug 6, 2015
Build Time Today: 3 hours
Total Build Time: 186 hours
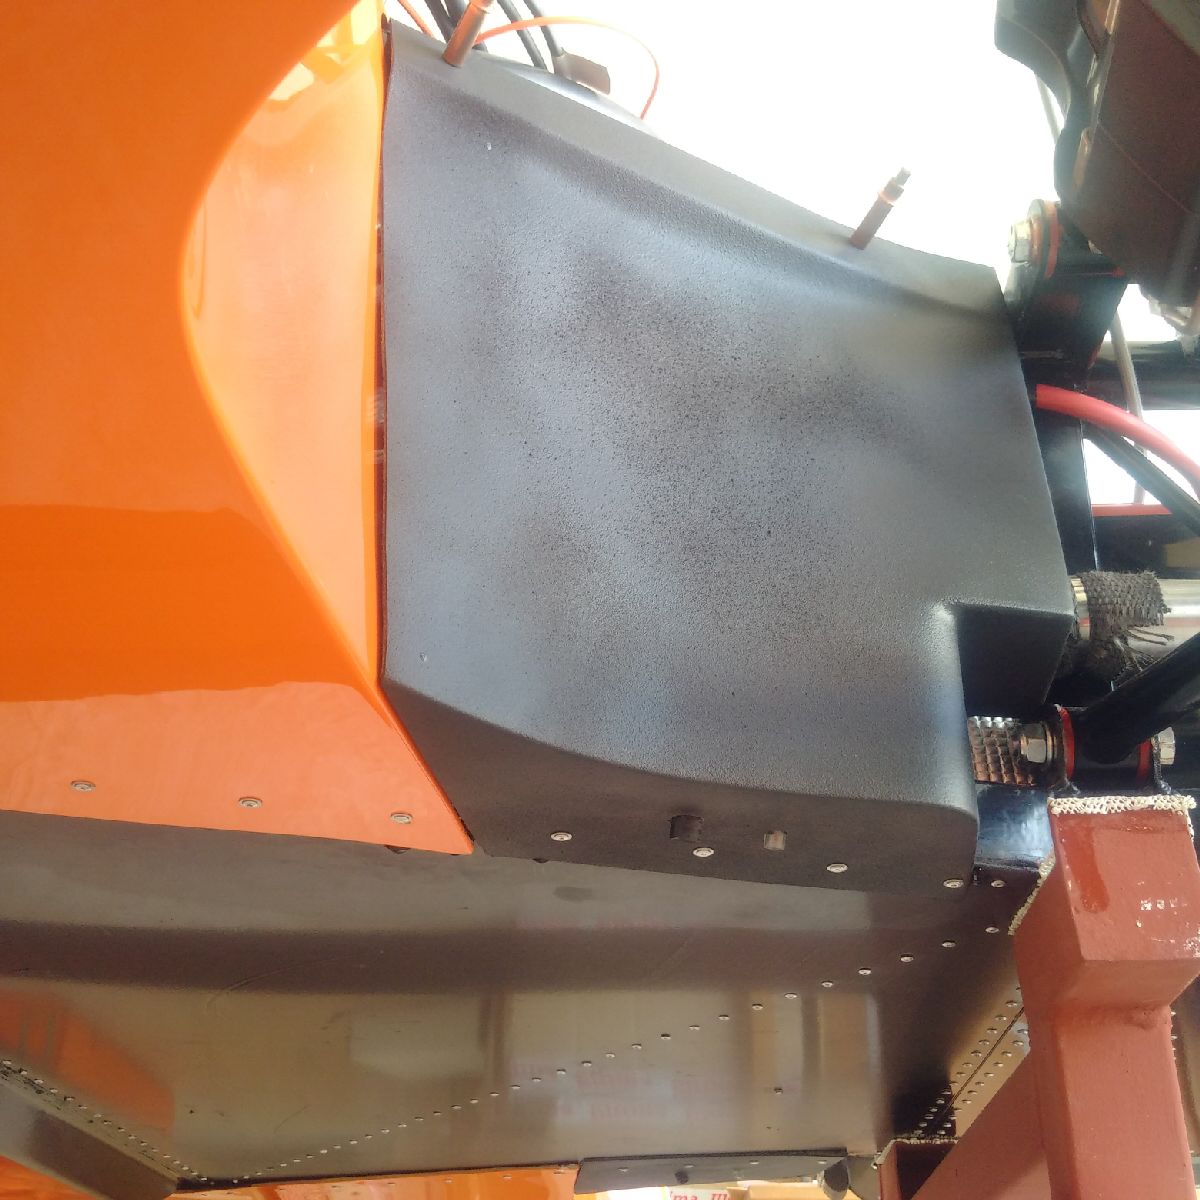
First item on the agenda today was installation of the trim panels - holes were drilled for the AC and windshield drip lines. The hoses were attached to the trim panels, and some sikaflex applied to get it to not move. Sikaflex was then applied to the chassis and the trim panels were riveted from the bottom. The top was only clecoed as they will be riveted together with the body.


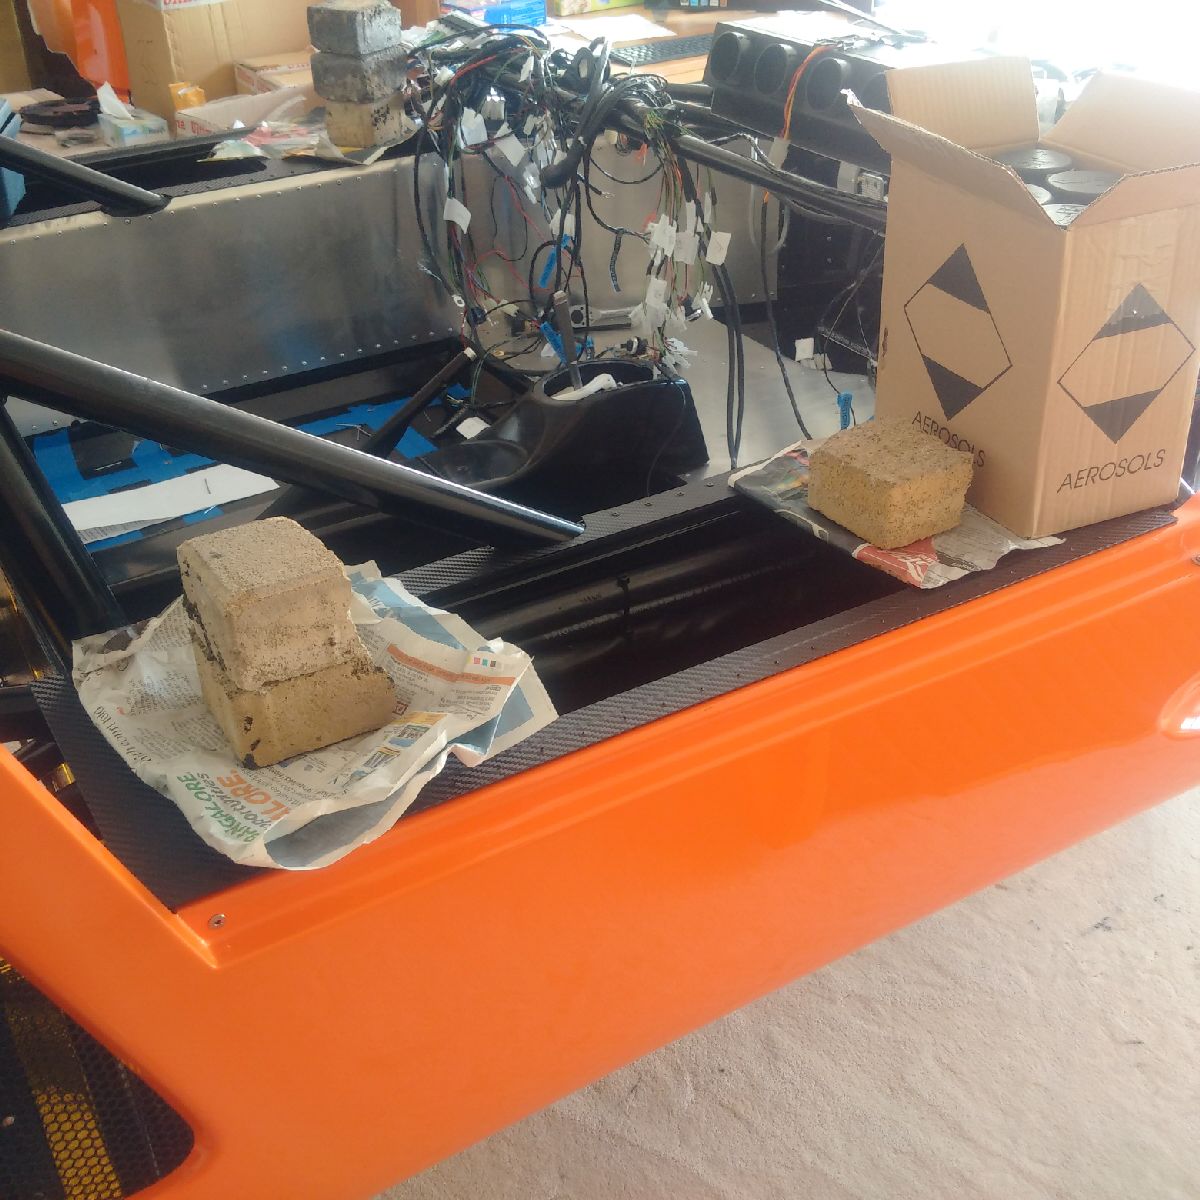
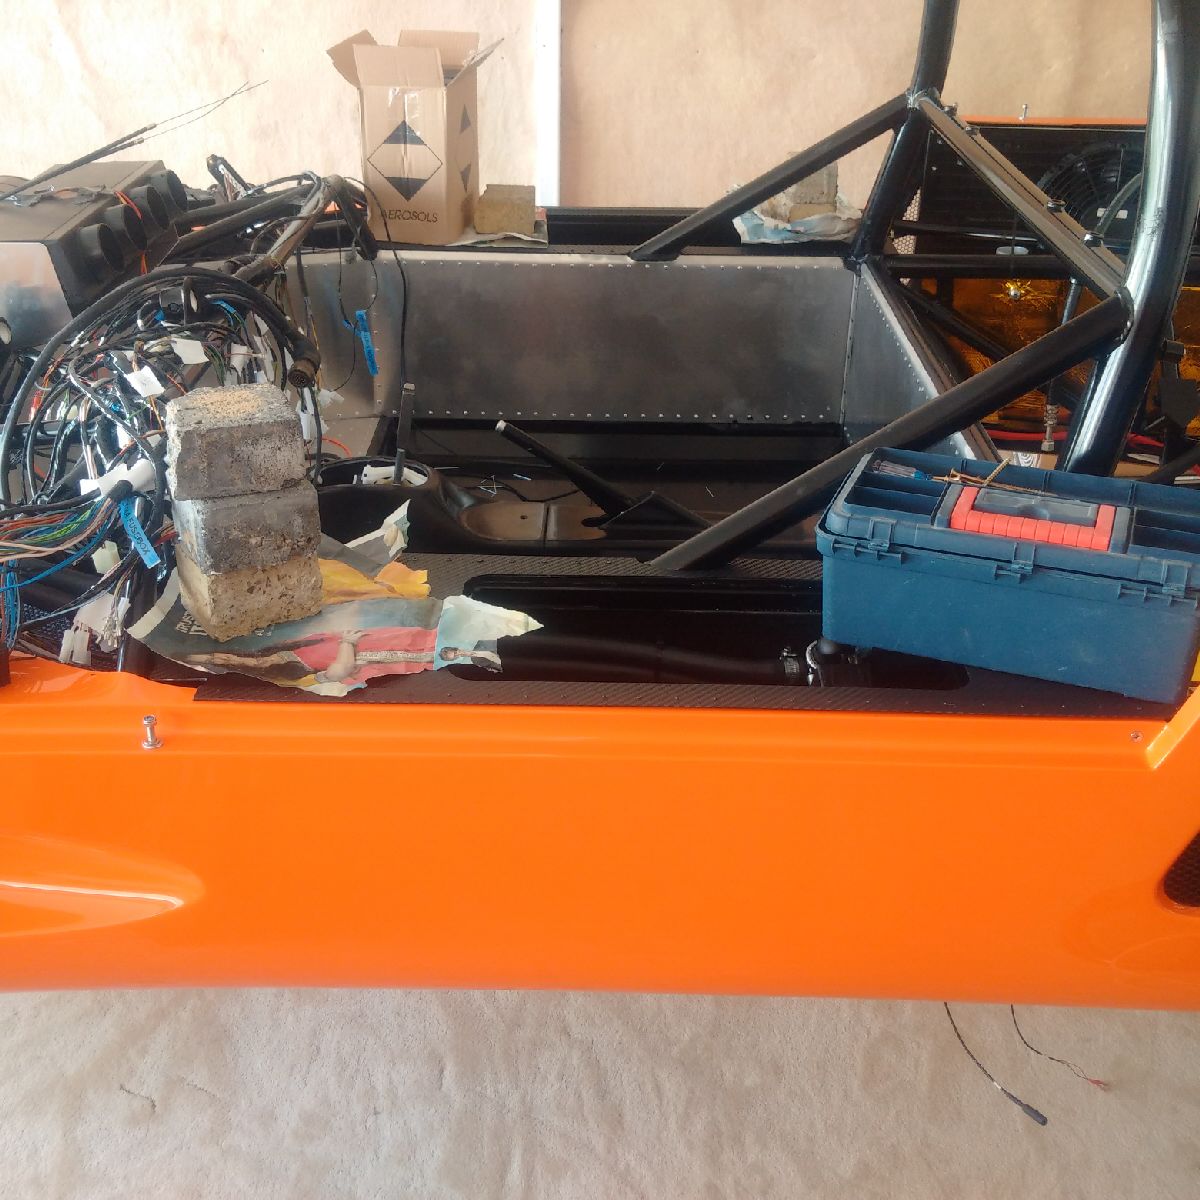
Next item was installing the cill covers - I had left these off until late in the build because i) I didn't want them getting scratched up with the side pod on/off, and ii) I had been lazy in getting them CF ready, which was only done a few days ago. Sikaflex was applied to the cill on all sides (except the side over the side pod), and only the inner side was riveted. The outer side will be riveted once the doors are installed, and shut lines can be established. In order to get the sikaflex to set correctly, some weight had to applied to the cill cover as they were only riveted on one side.
Finally, the rear center GRP was installed. My wife came down to help with this part - the center section was slowly lowered into place, and then the 2 allen bolts into the roll bars, 4 allen bolts into the side pods, and 4 nuts into the side pod bolts were slowly tightened to make sure the GRP was placed centrally. Once satisfied with the fit, I proceeded to drill all the lower holes into the engine bulkhead panel, which once riveted will setup the engine bay for further work. However, riveting was left off for today, as it is time to take the wife out to dinner!
Aug 7, 2015
Build Time Today: 3 hours
Total Build Time: 189 hours
I started the day with riveting the rear center section to the chassis. Sikaflex was applied to the chassis rail, and bottom edge of the center section was riveted to the chassis through the top of the engine bulkhead panel. About 7 rivet were left out for the tie clips for the cables which will riveted later on.
Once the rear section was attached, I started to work on the bulkhead - first, the tie clips were riveted on according to the bulkhead layout diagram. However, I am about 20 clips short and have called the factory to send more.
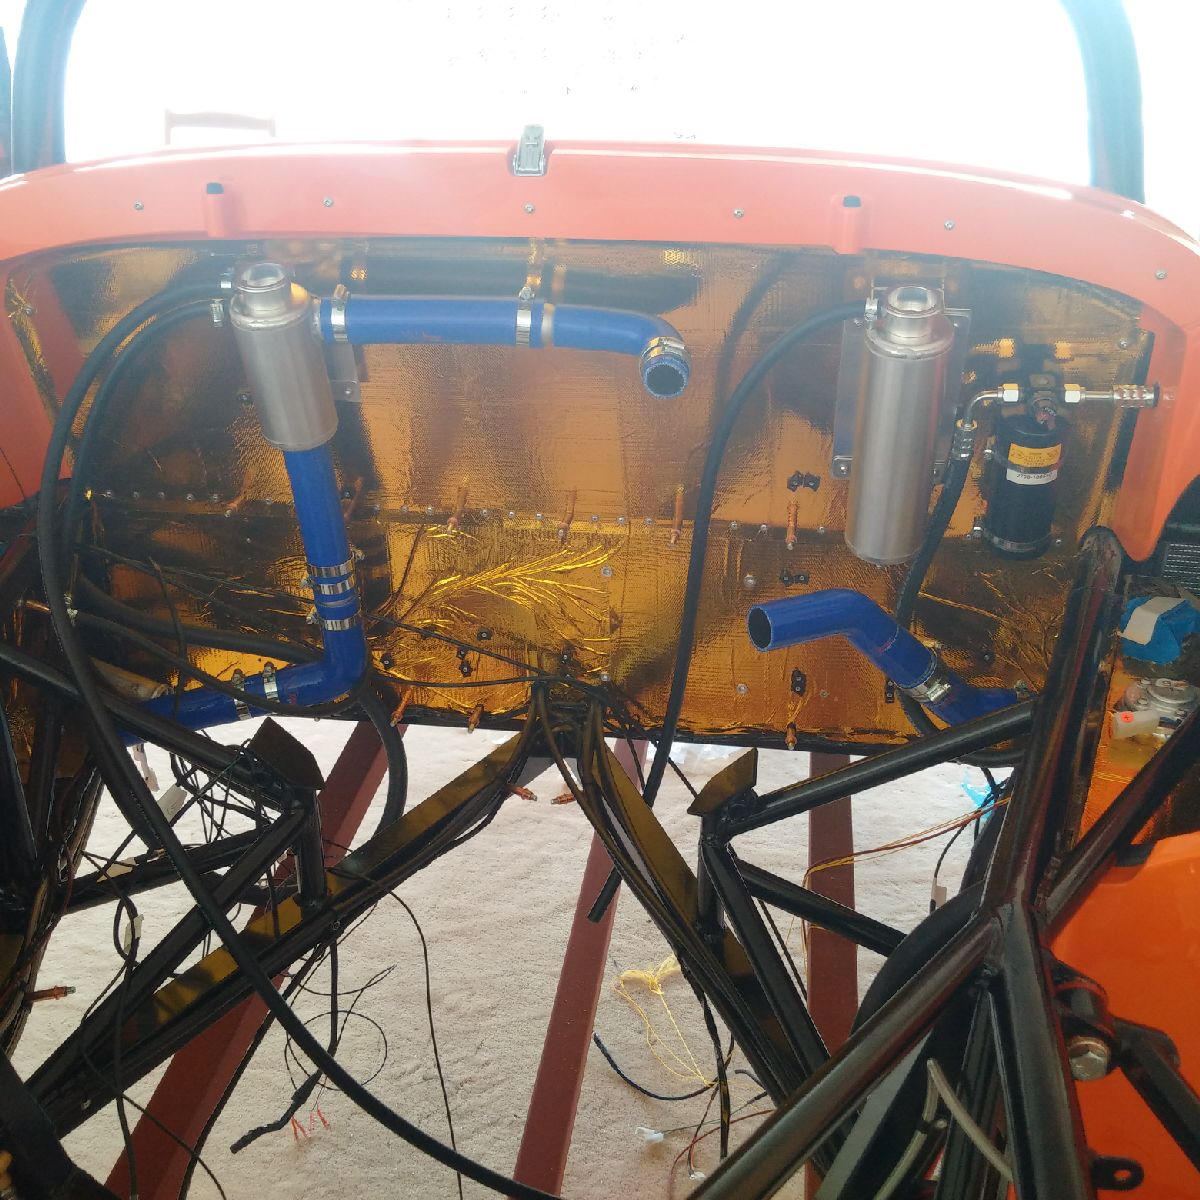
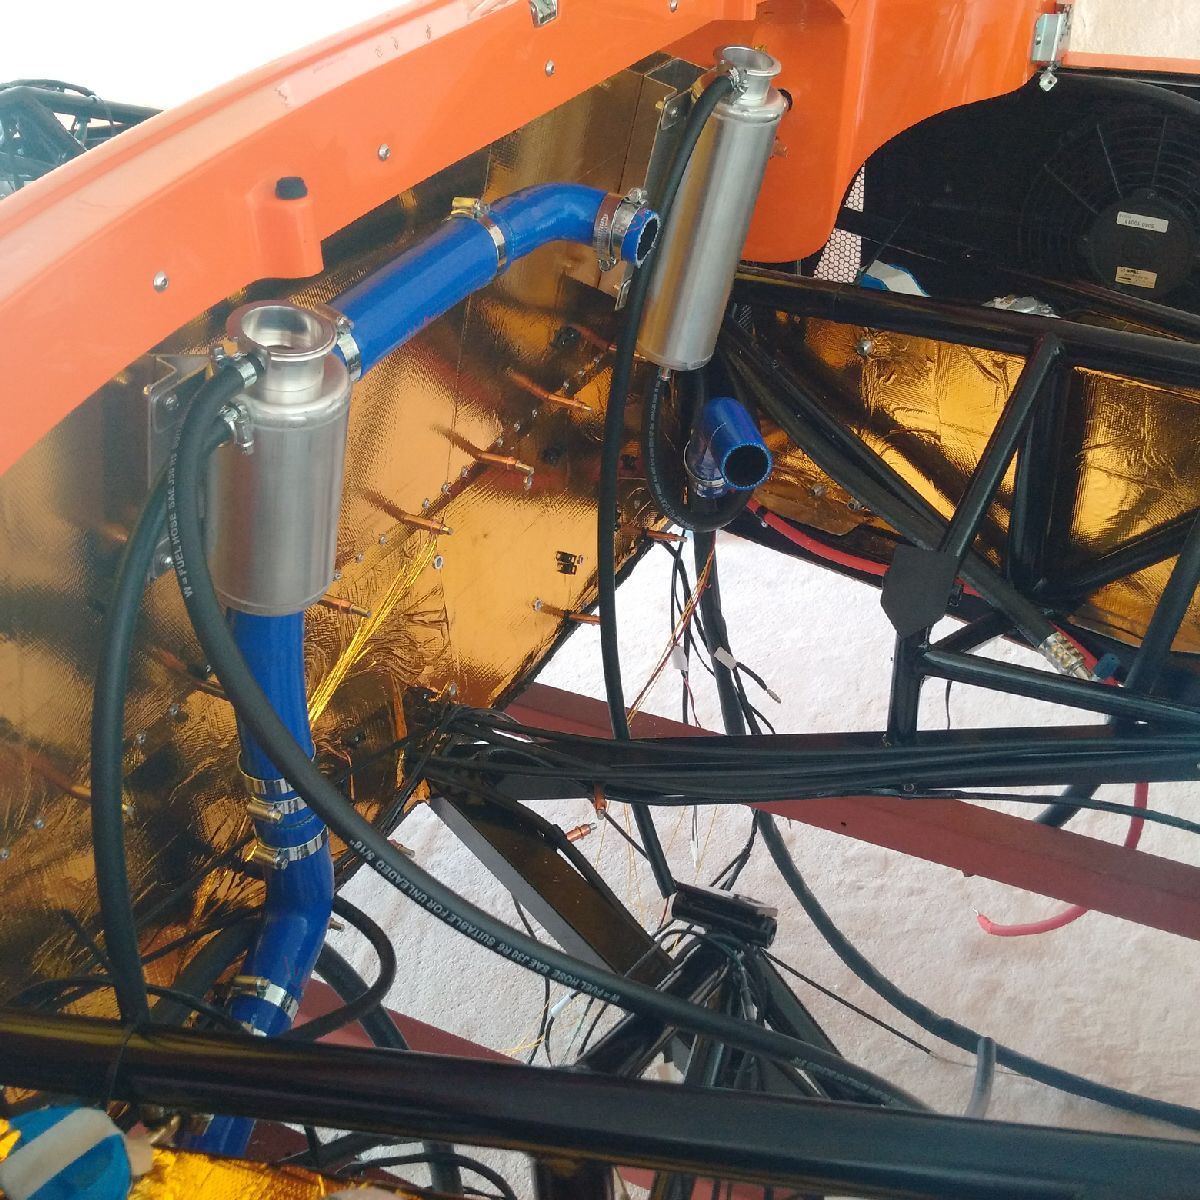
Next, the AC drier was attached, and the hoses screwed on with the green O-rings. That was followed by the brackets for the expansion and swirl pots. Then I cut the rubber hoses to lenght needed, and started to attach the rubber hoses, silicon hoses, connectors and reducers to the swirl pot, expansion tank, and radiator pipes. A lot of the connections were made (there are still a few pending), and the swirl and expansion pots were screwed onto their respective brackets.
Aug 8-9, 2015
Build Time Today: 4 hours
Total Build Time: 193 hours
Big day in for the build!
I am travelling later this week for my summer holidays, and will be out of town for the rest of the month. In order to continue with work on the build, I have decided to get the interior done while I am out of town - that way, I won't have to give up the car for a few weeks later on...
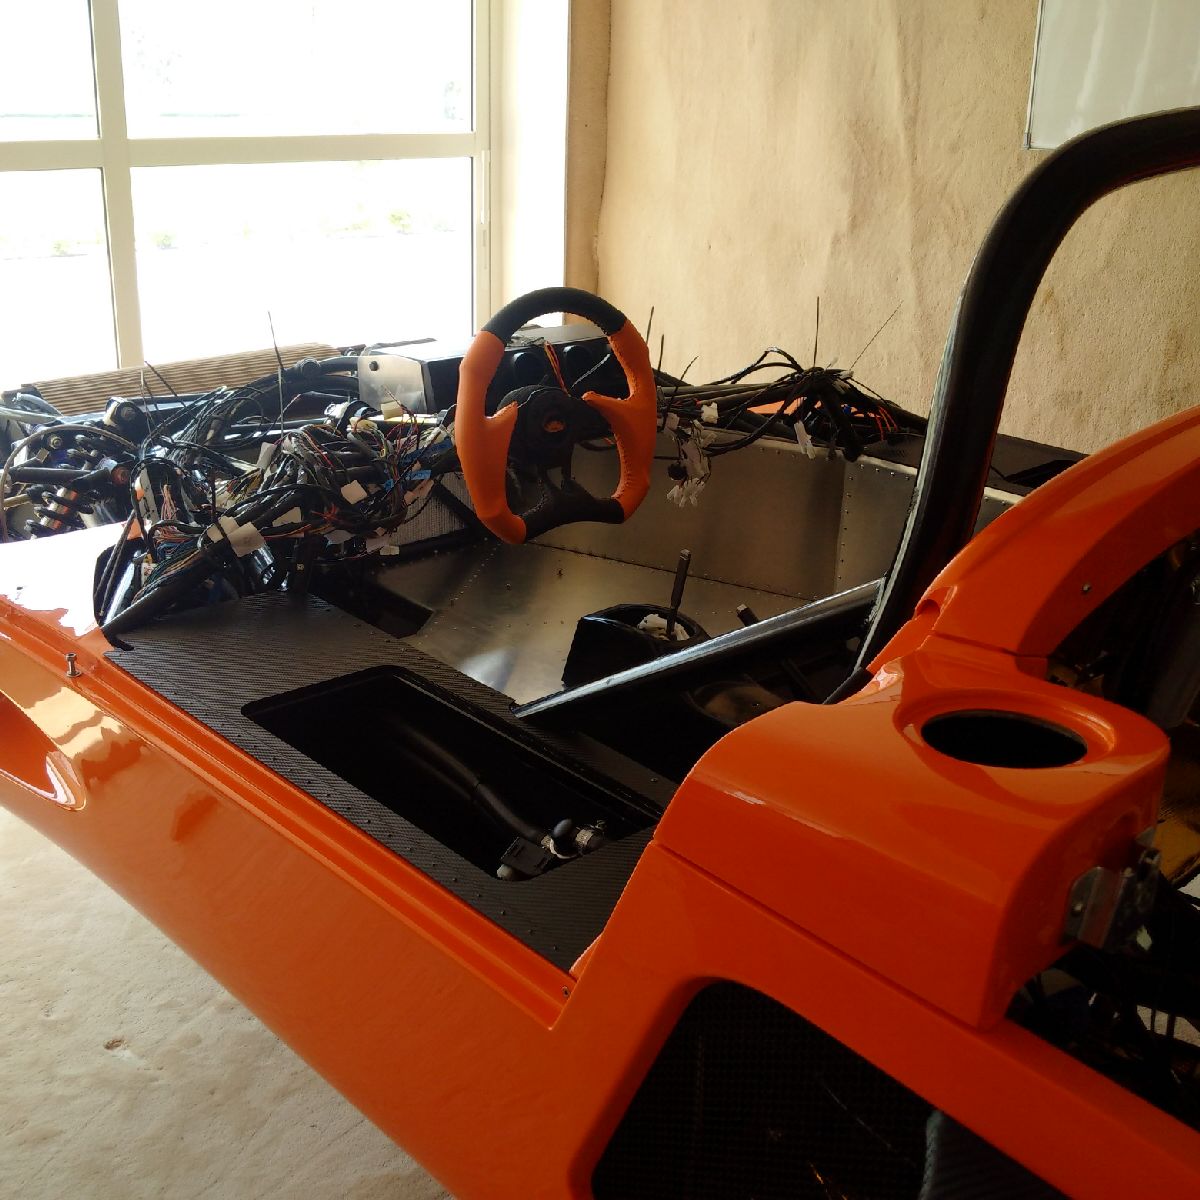
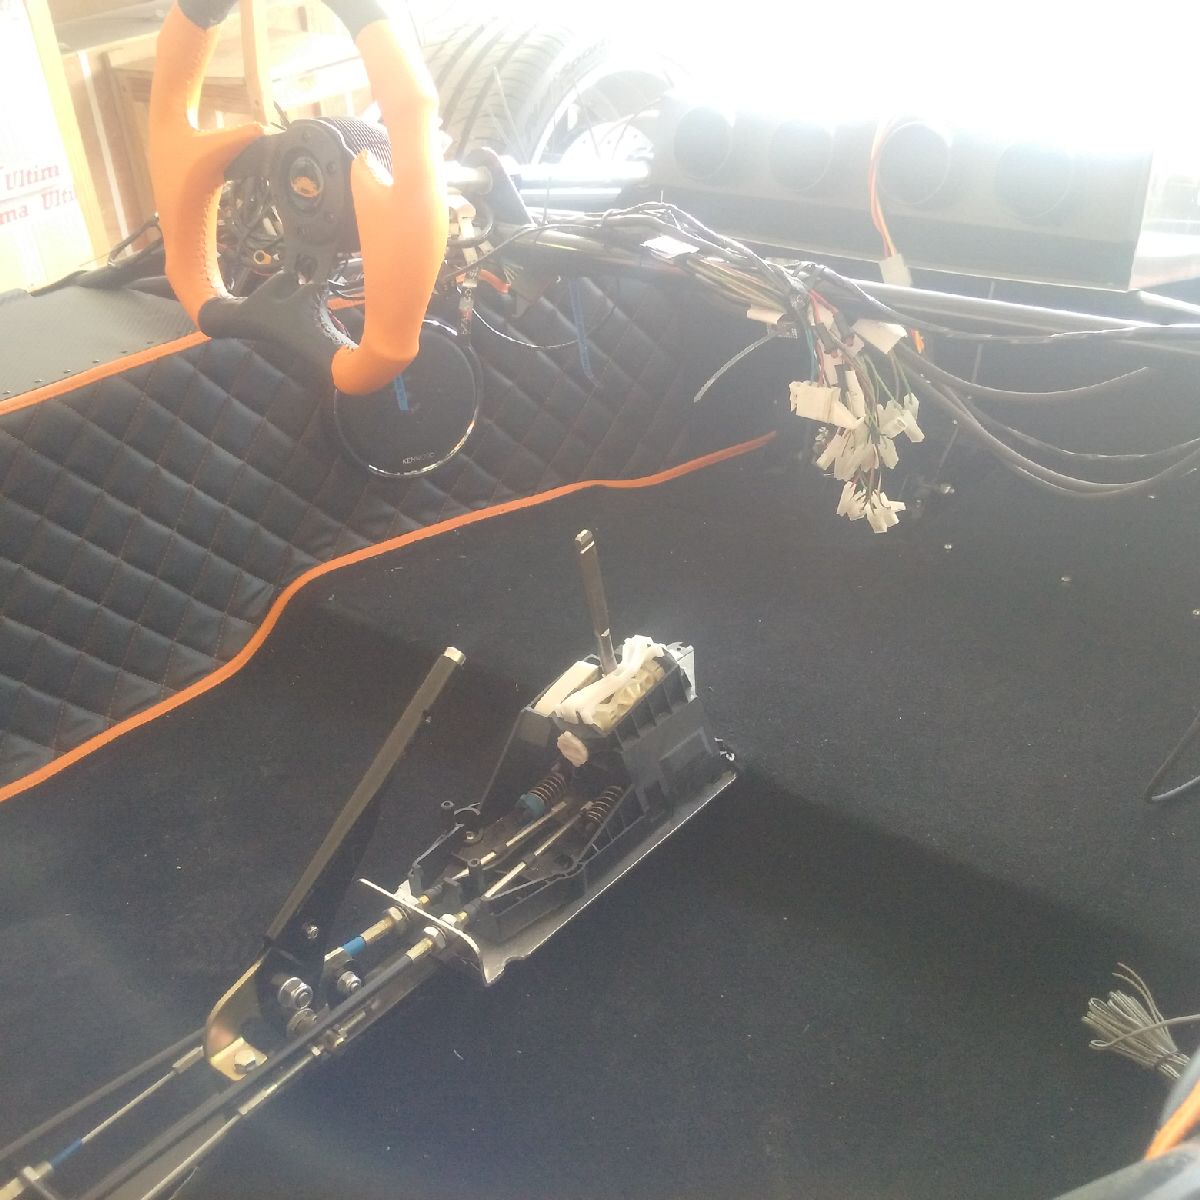
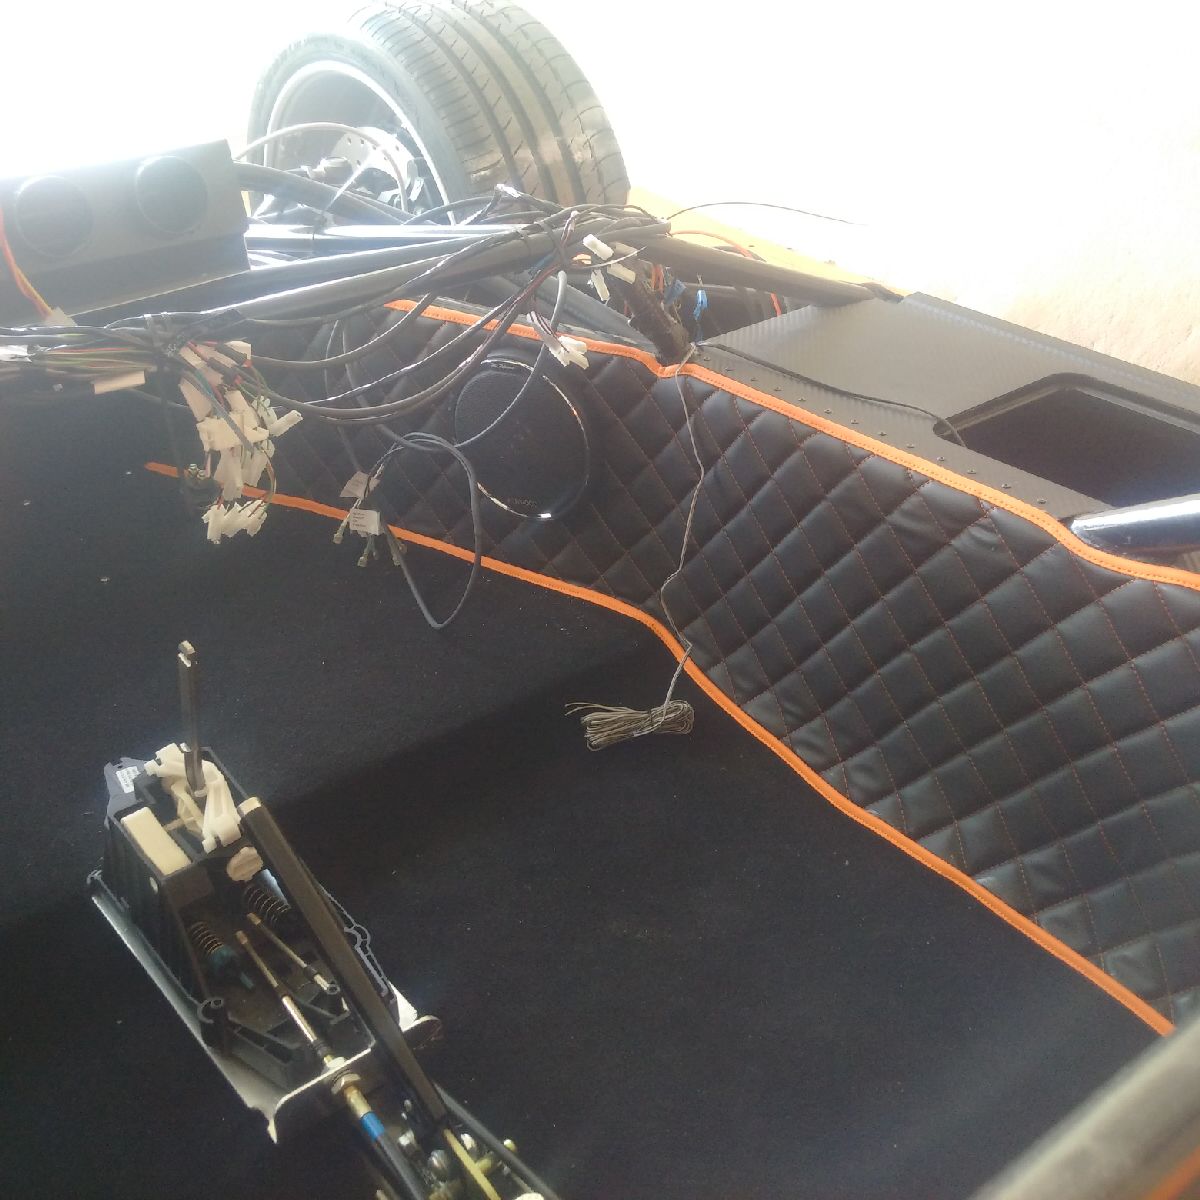
In order to send the car to the trimmers, I had to get all the hoses, lines, cables, wiring, etc tied down - because I do not want it flying around on the recovery. Every wire, hose and cable in the engine bay was tied with nylon ties. Then the same procedure was carried out on the dash - and there are ALOT of wires in that area... Once everything was secured, I was then able to concentrate on what needed to be done before the car was moved...


Namely - seats, steering and wheels!
The seat runners had already been installed before, and so I took the time to drill all the holes for securing the seat, and the holes for the seat belt crotch straps.
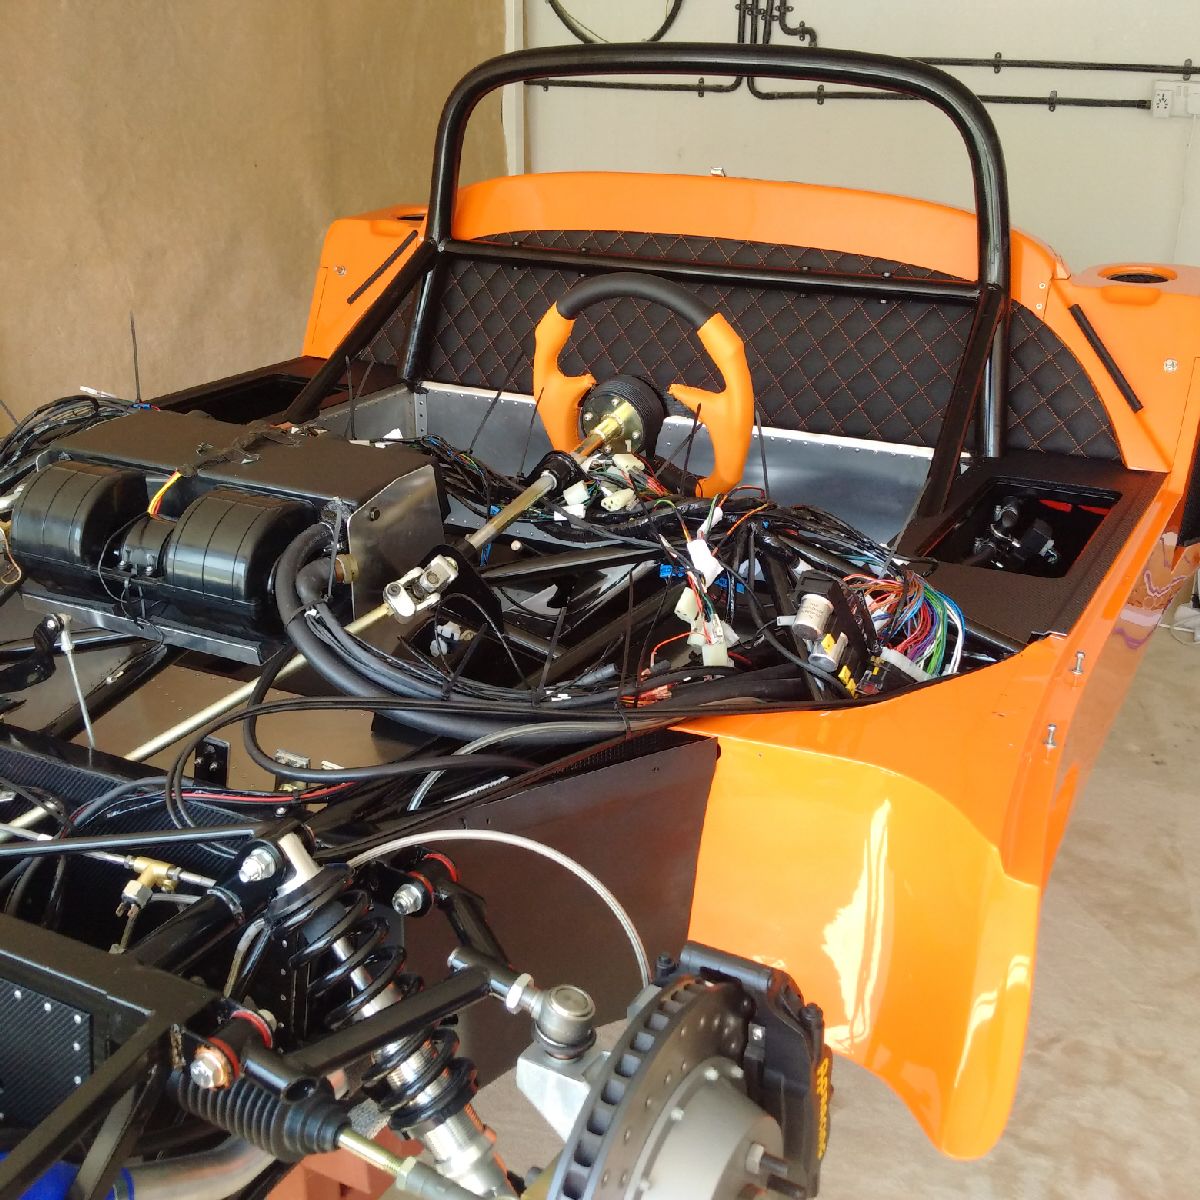
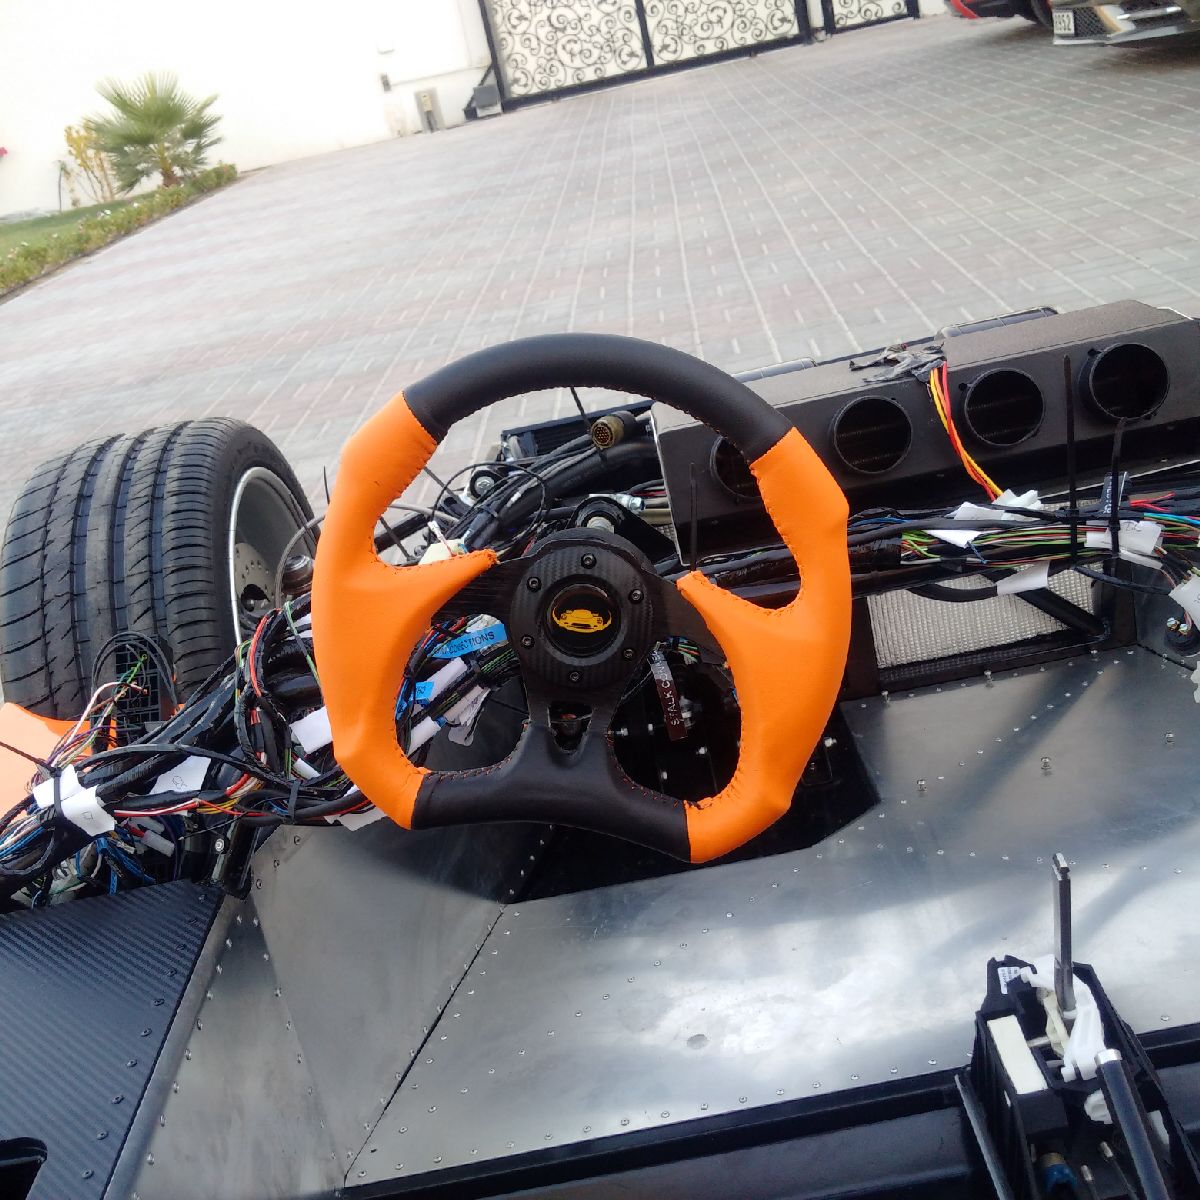
The steering wheel was also installed - the crush mount boss was installed on the upper steering column (which I have finally received from Ultima), and the steering wheel (custom trimmed in orange and black leather - like the interior will be next week) was drilled on. Finally, I added the final touch by adding the new Ultima 'logo' to the steering wheel in a one-off production center cap (again in orange and black)!! The look is amazing!!!

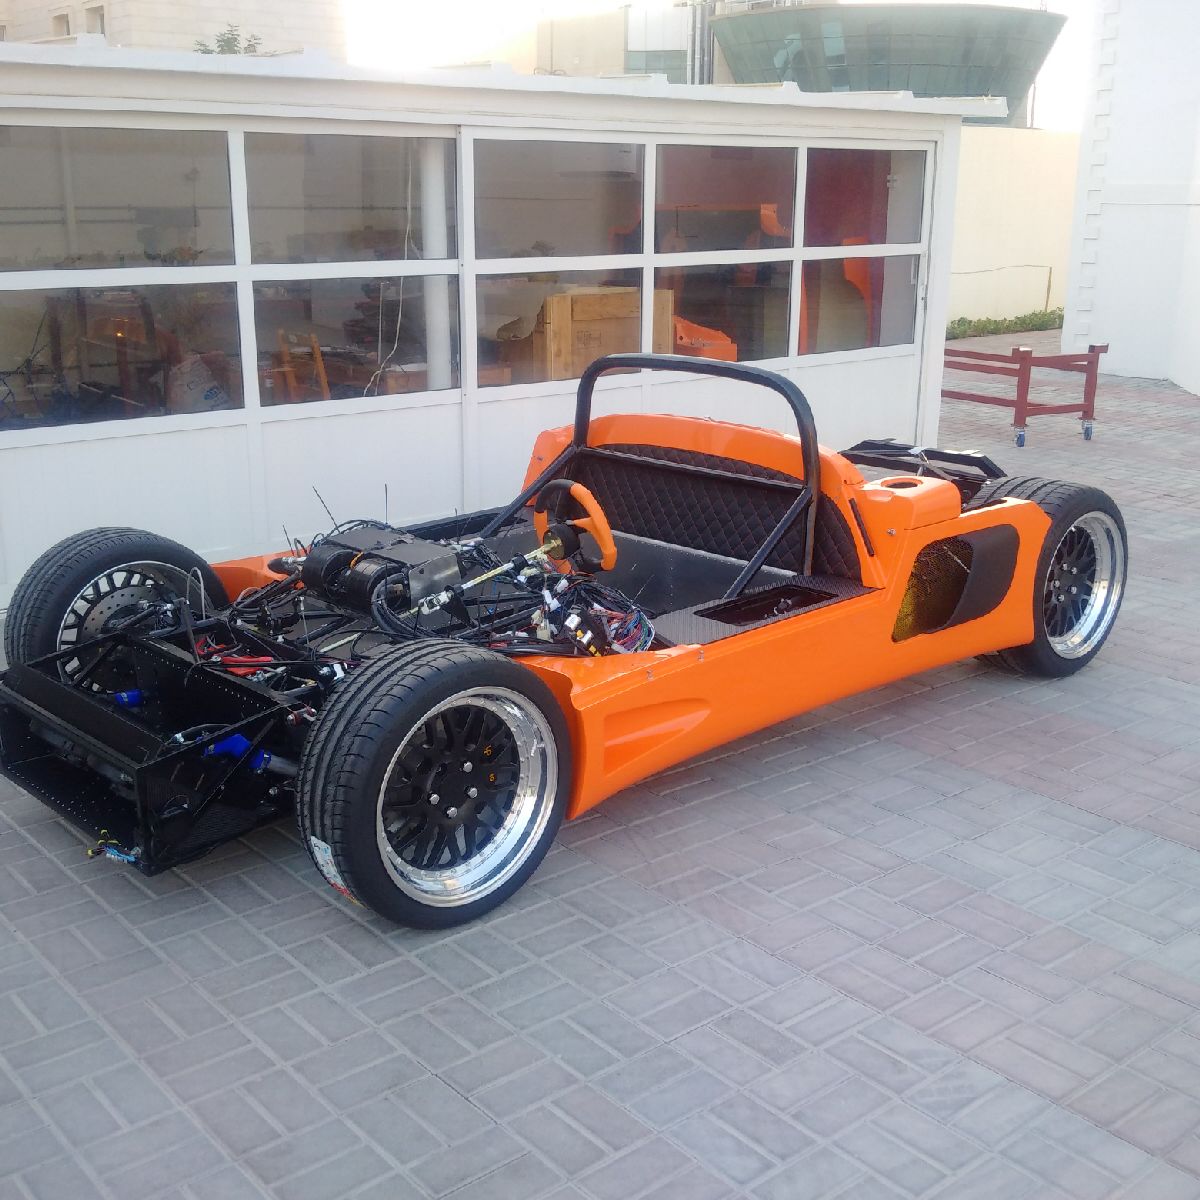
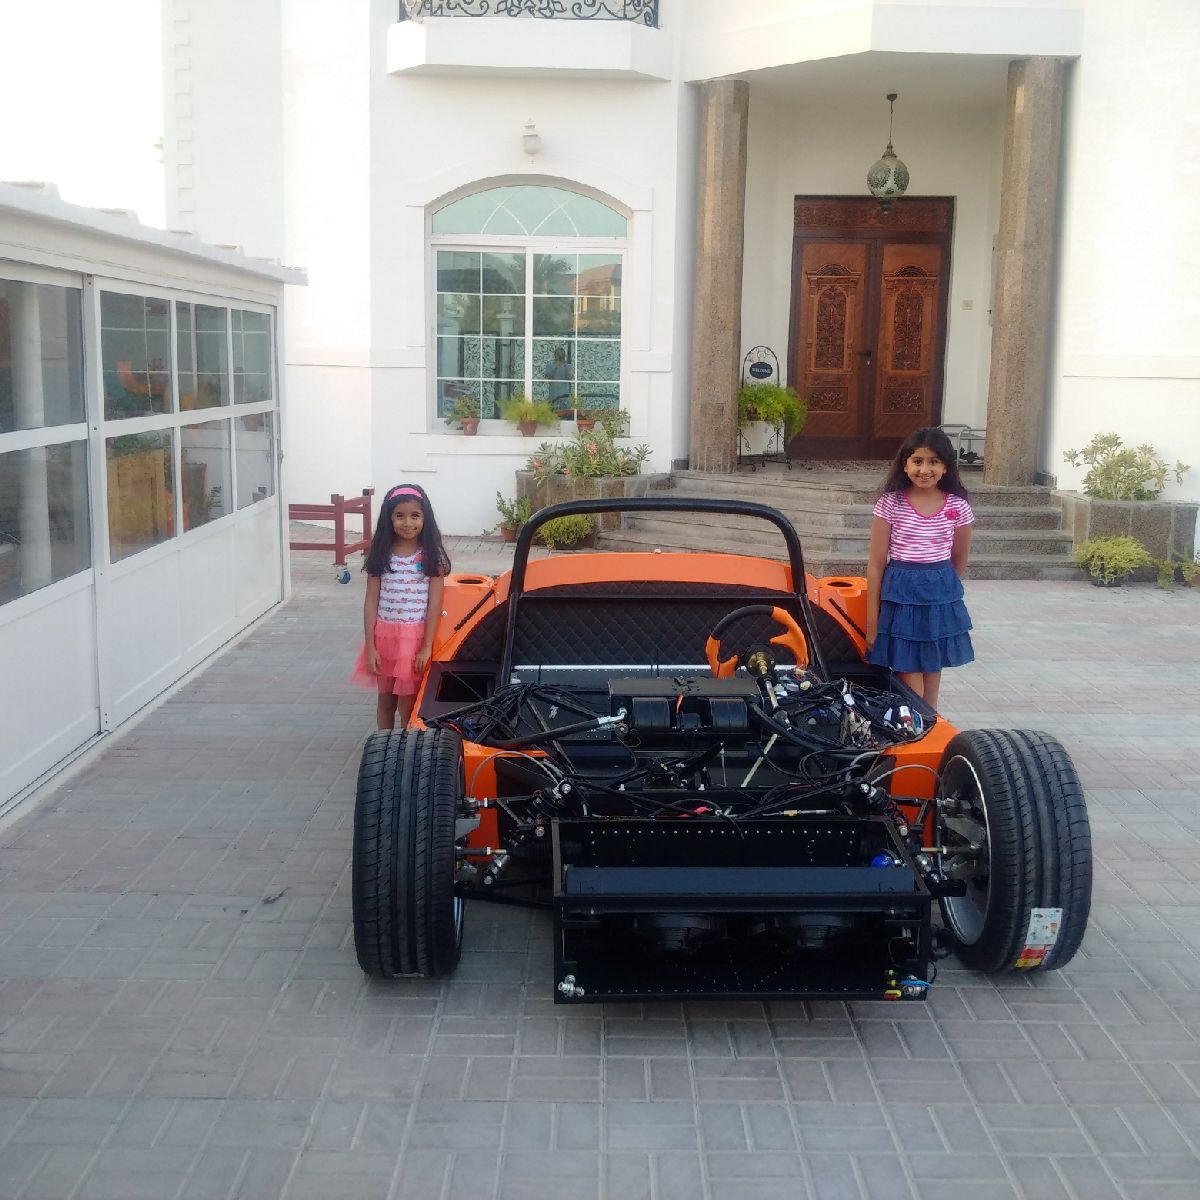
Finally, I decided to get the wheels on so that the car (I guess its a car now) can be loaded onto the recovery and sent for the work.. The rims/tires are HUGE! The bolts were only finger tightened as the wheels will be coming off as soon as the car is back home - I still need to waterproof the lower edges of the sidepods, bolt on the seats/seat belts from below, and bleed the brakes...
However, after all the work of the past 2 months (and almost 200 hours), the car was finally lifted off the dolly (by 8 people no less), dolly moved out of the way, and the car slowly lowered to the ground.. and she finally sat on her own legs!!!! My God is she low to the ground!
Aug 10-11, 2015
Build Time Today: 3 hours
Total Build Time: 196 hours
The car was loaded onto a recovery and sent to the trimmers... Without the car to work on, I decided to paint the front and rear canopy, and the center section... All the GRP sections were masked, painted, and then cleaned up with thinner for the over-runs...
Now I am off to FL/TX for a much needed break... I will be back by the end of the month, so the next update will be probably the last day of August...
Stay tuned!!!
Aug 28, 2015
Build Time Today: 5 hours
Total Build Time: 199 hours
Back home after a great break - Niagara Falls, Disney World, and a Fantasy Football draft with friends... I got home yesterday but was too tired from the travels to get back to the build... However, today I came back to the garage to start where I left off..
Not a lot can be done since the car is still at the trimmers - it was done a week ago, but since I was out of town they could not send it back to me. I am hoping to get it by Saturday/Sunday, so the next two days is really finding stuff to do till the car is back...
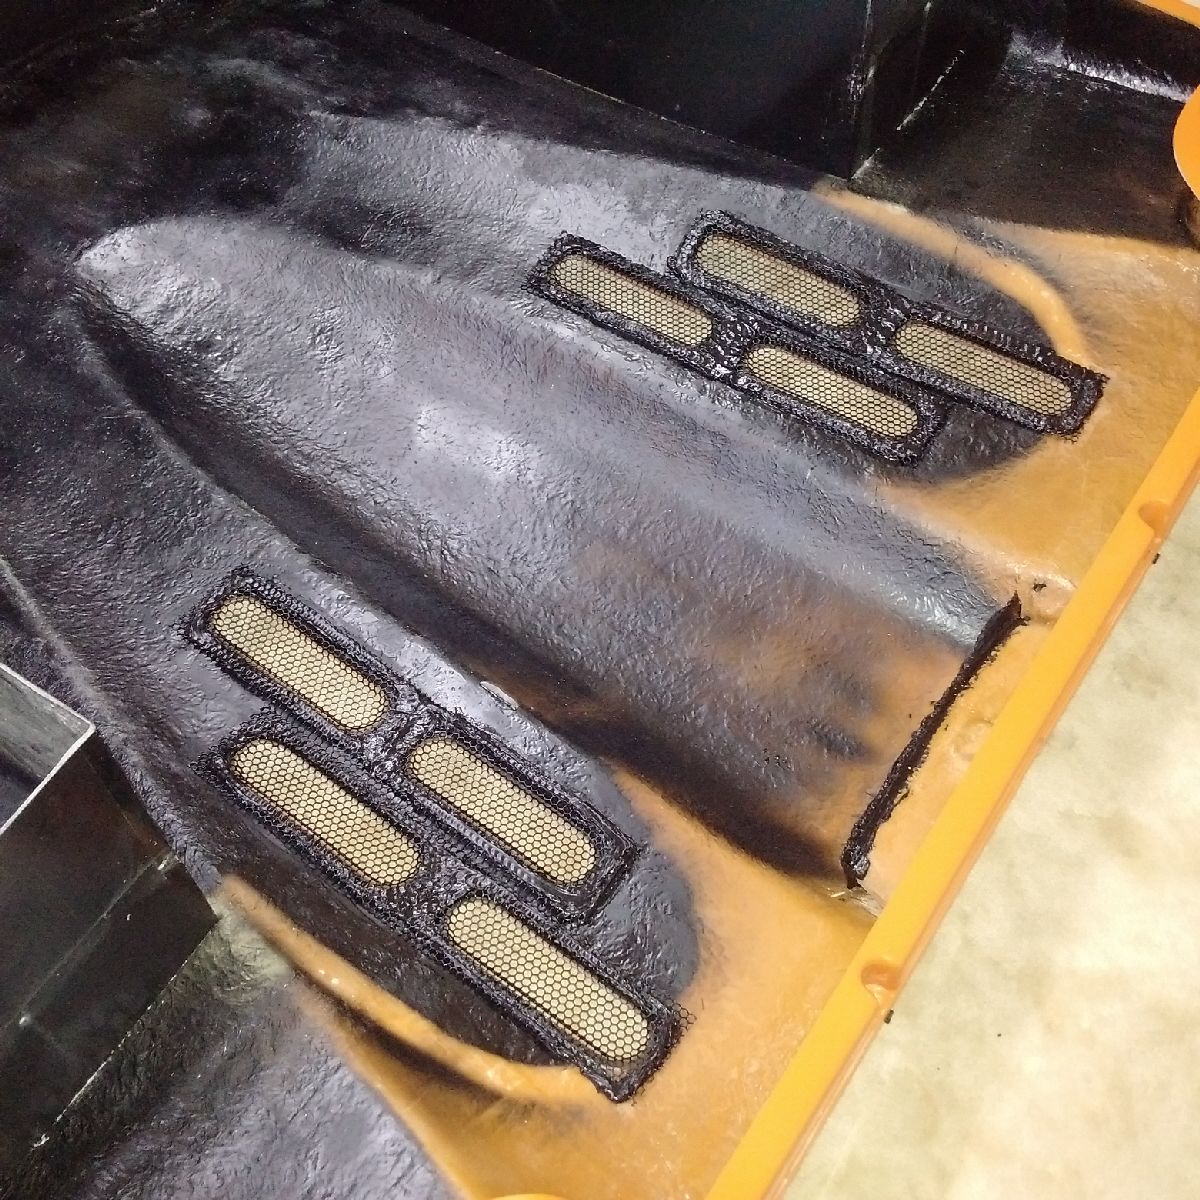
Today I spent a couple hours doing some basic stuff: The rear canopy was the center of attention. I thought about attaching the cold air intake, but prior to doing that, I had to install the mesh on the rear canopy forward and upper holes. The forward hole (facing the passengers) was tackled first - the mesh was cut to size, and then attached with sikaflex. I then tried to install the mesh on the upper holes, but ran into a problem - the new EVO style mesh grills don't fit the hole in the GRP! They have been shaped to form, but the form is too big for the hole. A message was sent to the factory, and pending answer the mesh work is on hold...
I then installed the rear lights in the rear canopy - a simple straight forward job.

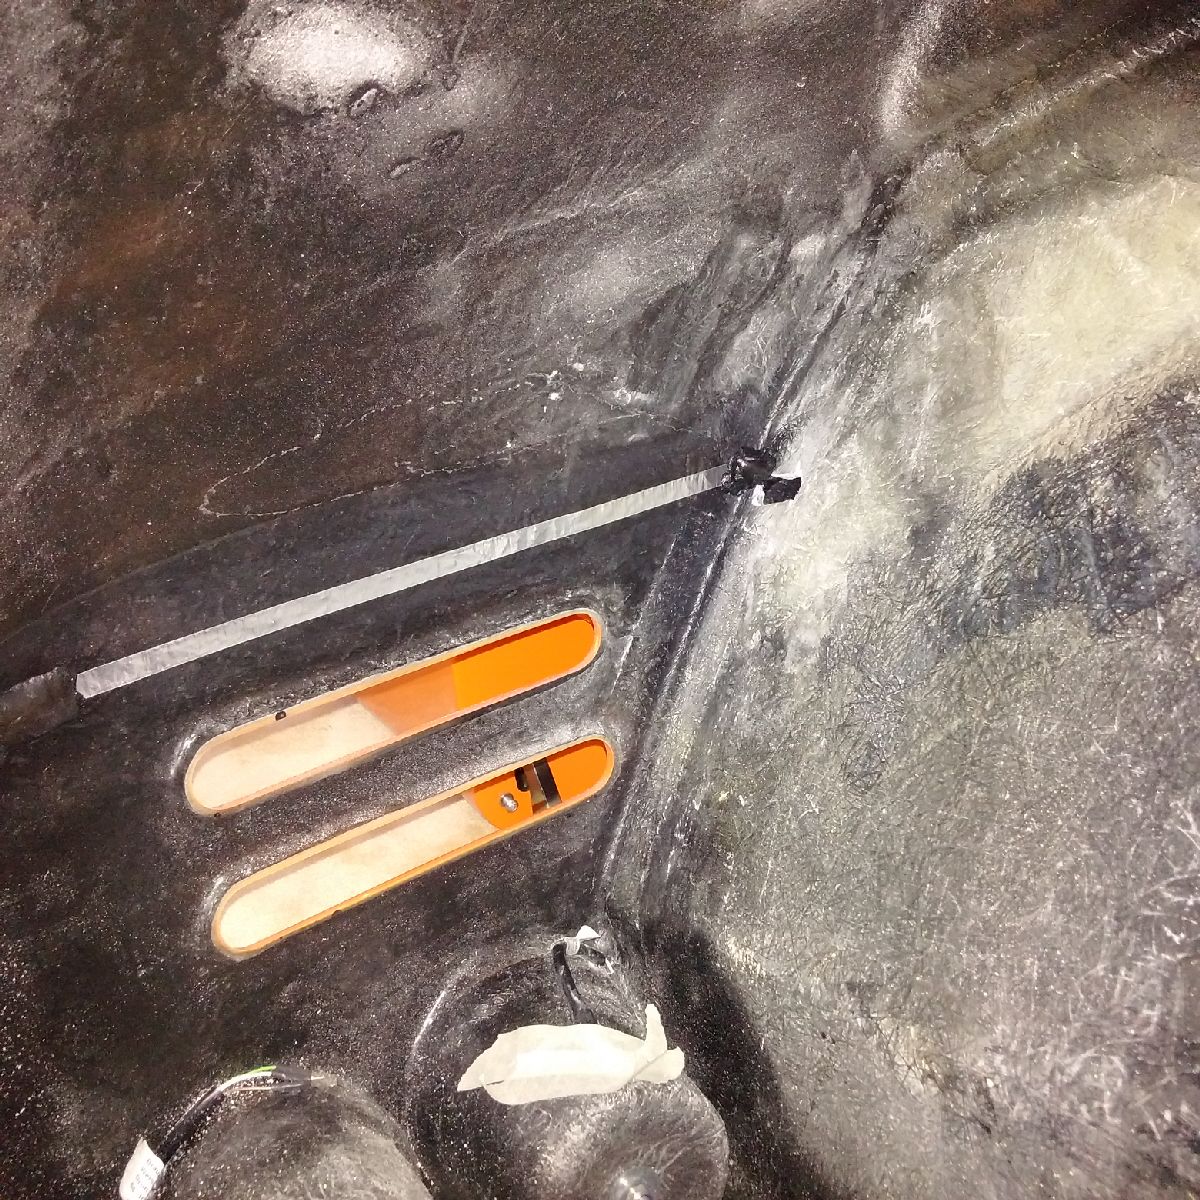
Then I installed the rear parking sensor - this is different than the normal parking sensors - the kit consists of a small ECU and an aluminum strip that works as a sensor. The ally strip is attached along the backside of the bumper. To get the strip to run from one end of the bumper to the other, I had to drill 2 vertical slots in the internal GRP structure to allow the ally strip to run the entire length. Once the slots were cut, the ally strip was attached (self adhesive). The kit also includes a sticky material which is used to secure the ends to the GRP.
By the end of the day, I received a reply from the factory about the mesh (basically to bend it to make it work!) - a lot of adjustment later, the mesh was laid on the GRP, and sikaflex applied to create a bond. Still not the perfect fit I wanted, but this will have to do...
Aug 29, 2015
Did not get a chance to go to the garage today. Between catching up at
work and jet lag, I was asleep by 5pm!
Aug 30, 2015
Build Time Today: 2 hours
Total Build Time: 201 hours
Just a quick day in the garage. Once again, I was quite busy at work getting back up to speed, but still managed to get down to the garage for a quick couple things:
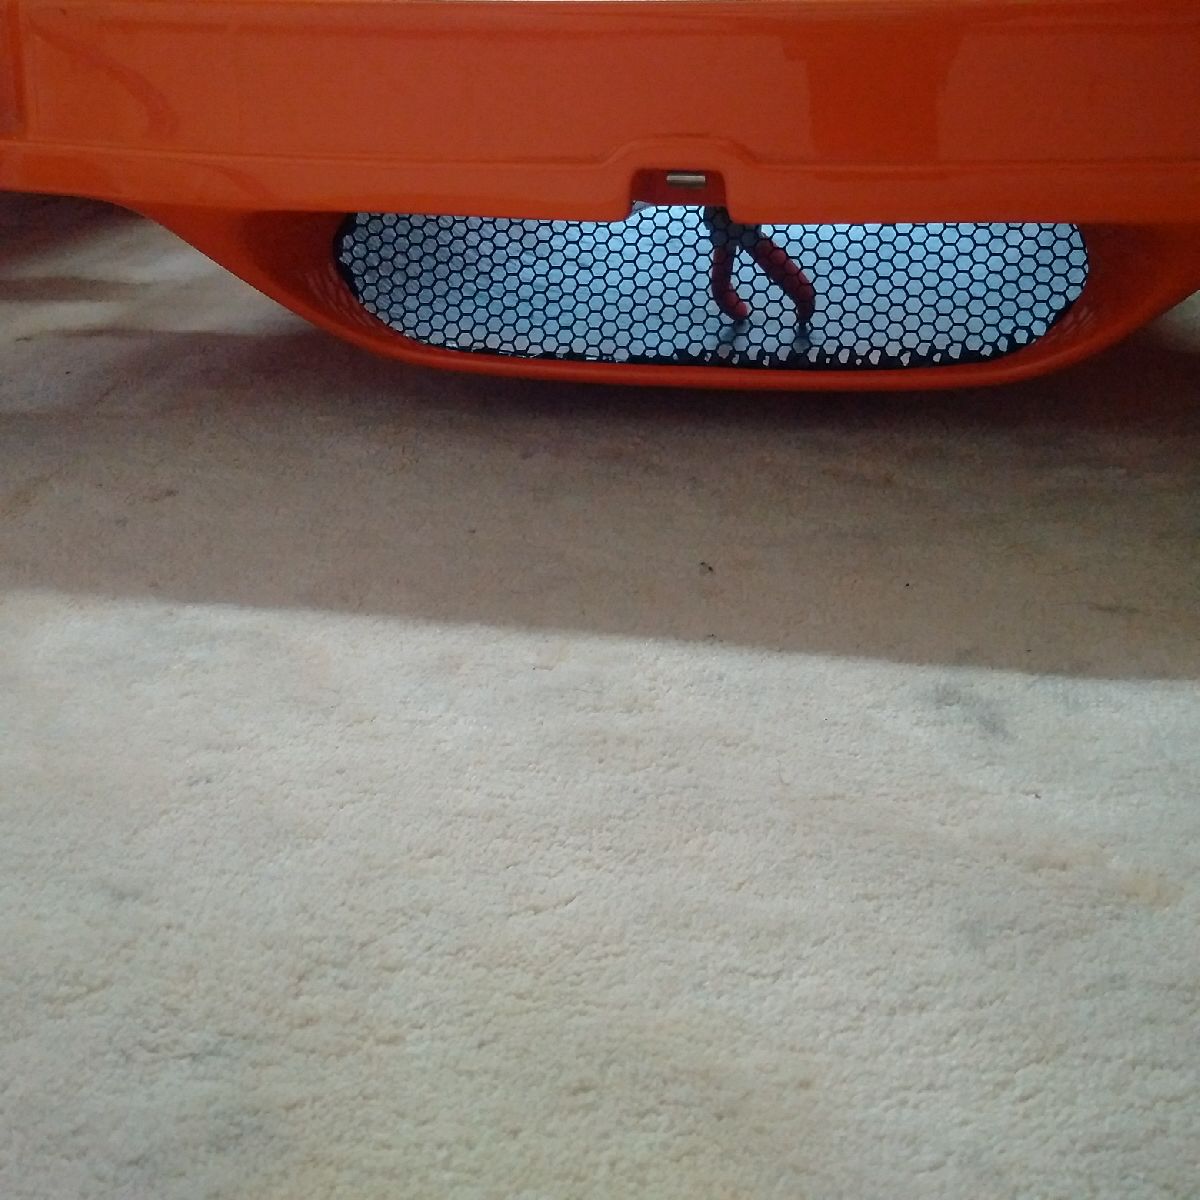
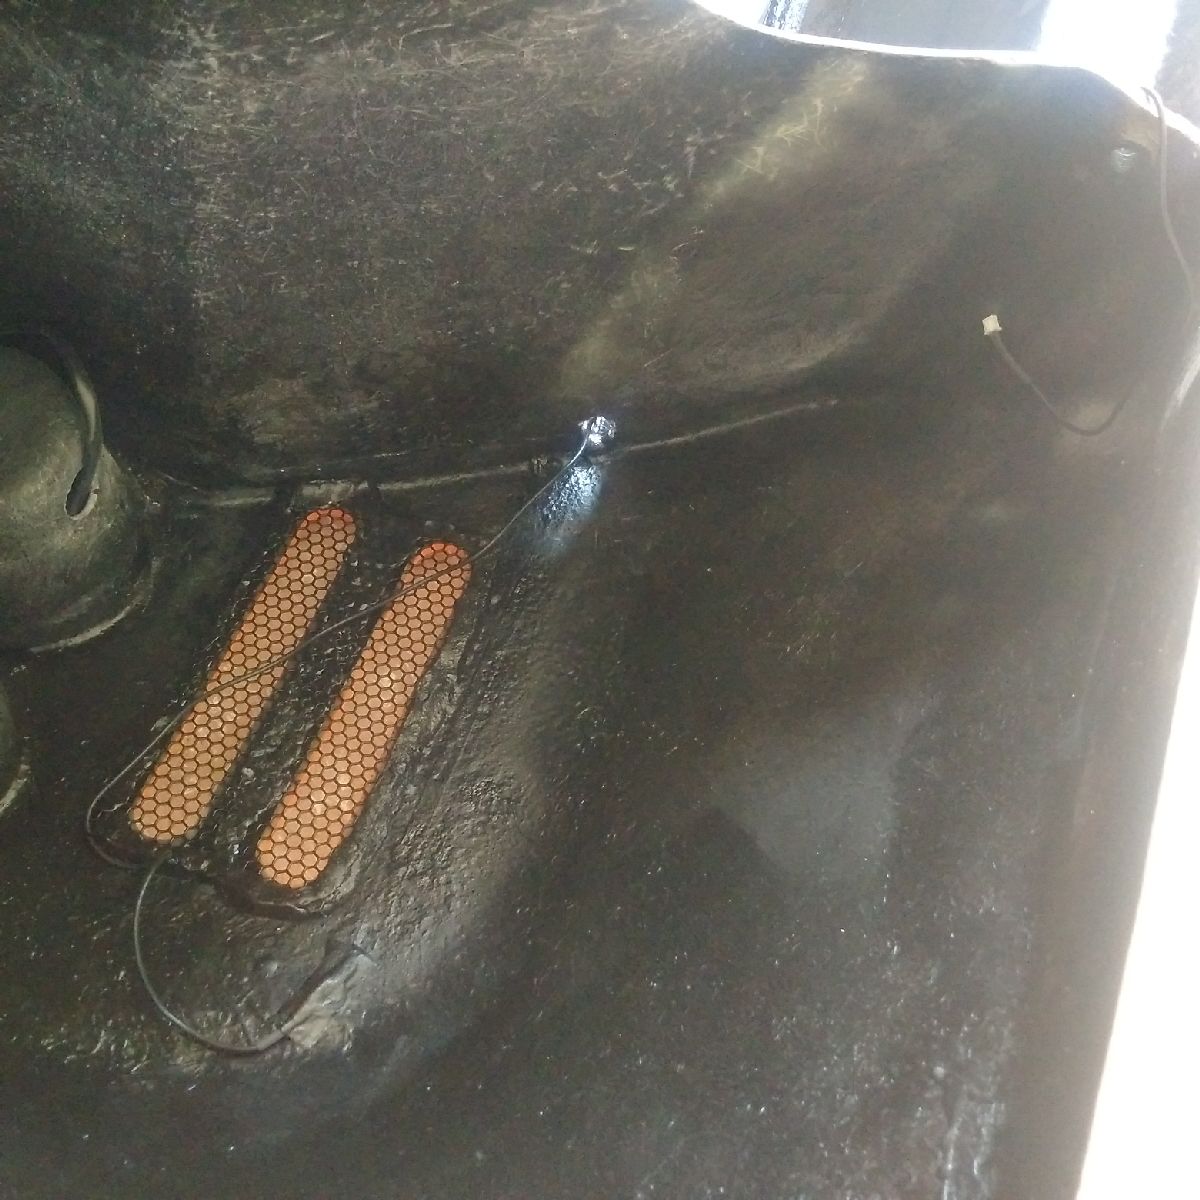
The rear canopy was re-sprayed for all the missed spots - after removing the cold air intake, the underneath area had been missed during the initial spray (seen in pic above). Those areas were re-sprayed. I also sprayed on a rubber layer on top of the parking sensor ally strip for element protection - now its almost invisible! Outside temps were almost 50C (120F), so I was buggered up pretty quick.

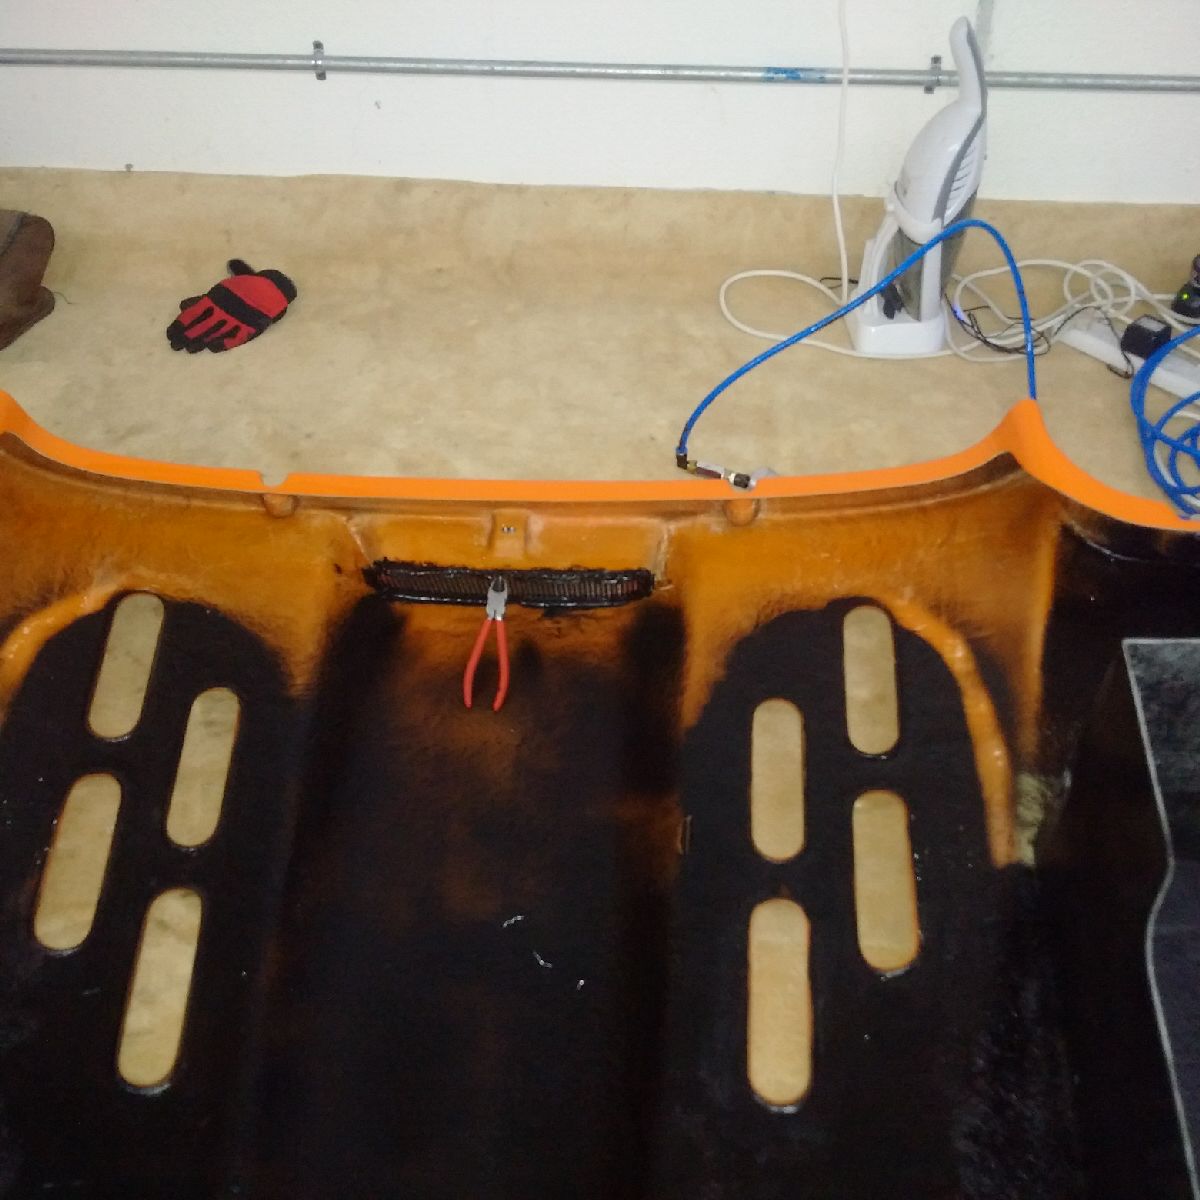
The good news was that the recovery finally delivered my car back today - she has been subtly transformed. The floor and front bulkhead have been carpeted and the the ally panels on the sides have also been covered in leather. I also had them install two speakers in the ally panels before attaching the leather... I can now get back to the build tomorrow!


Aug 31, 2015
Build Time Today: 3 hours
Total Build Time: 204 hours
First job for the day today was to try and start on the dash area - all the holes need to be made for all the various switches, bulbs, etc. I spent quite a bit time trying to get the dash back on the car, but it would not fit! A message posted on PH for now, I turned my attention to another part of the build.
I decided to work on the mirrors. From other builders experience, it was pointed out that the mirror interior GRP is too thick in certain places and can cause the mirror to touch (and even crack) in use... Thus, I decided to fix this before fixing the mirror on the car... The mirror was placed on the motor and moved in the frame to see where the GRP may touch. Those areas were sanded down until I felt that the mirror had enough clearance throughout the motor range of motion. Although this can only be tested once the mirror is attached, I feel pretty confident that I have removed enough material. The inside GRP was then painted black and left to dry.