Jan - Mar 2018
Build Time : 50 hours
Total Build Time: 503 hours
Once again, a cumulative update from Mid Dec to March 2018 - since I have not yet received the next part of the kit, I really cannot progress the install further...
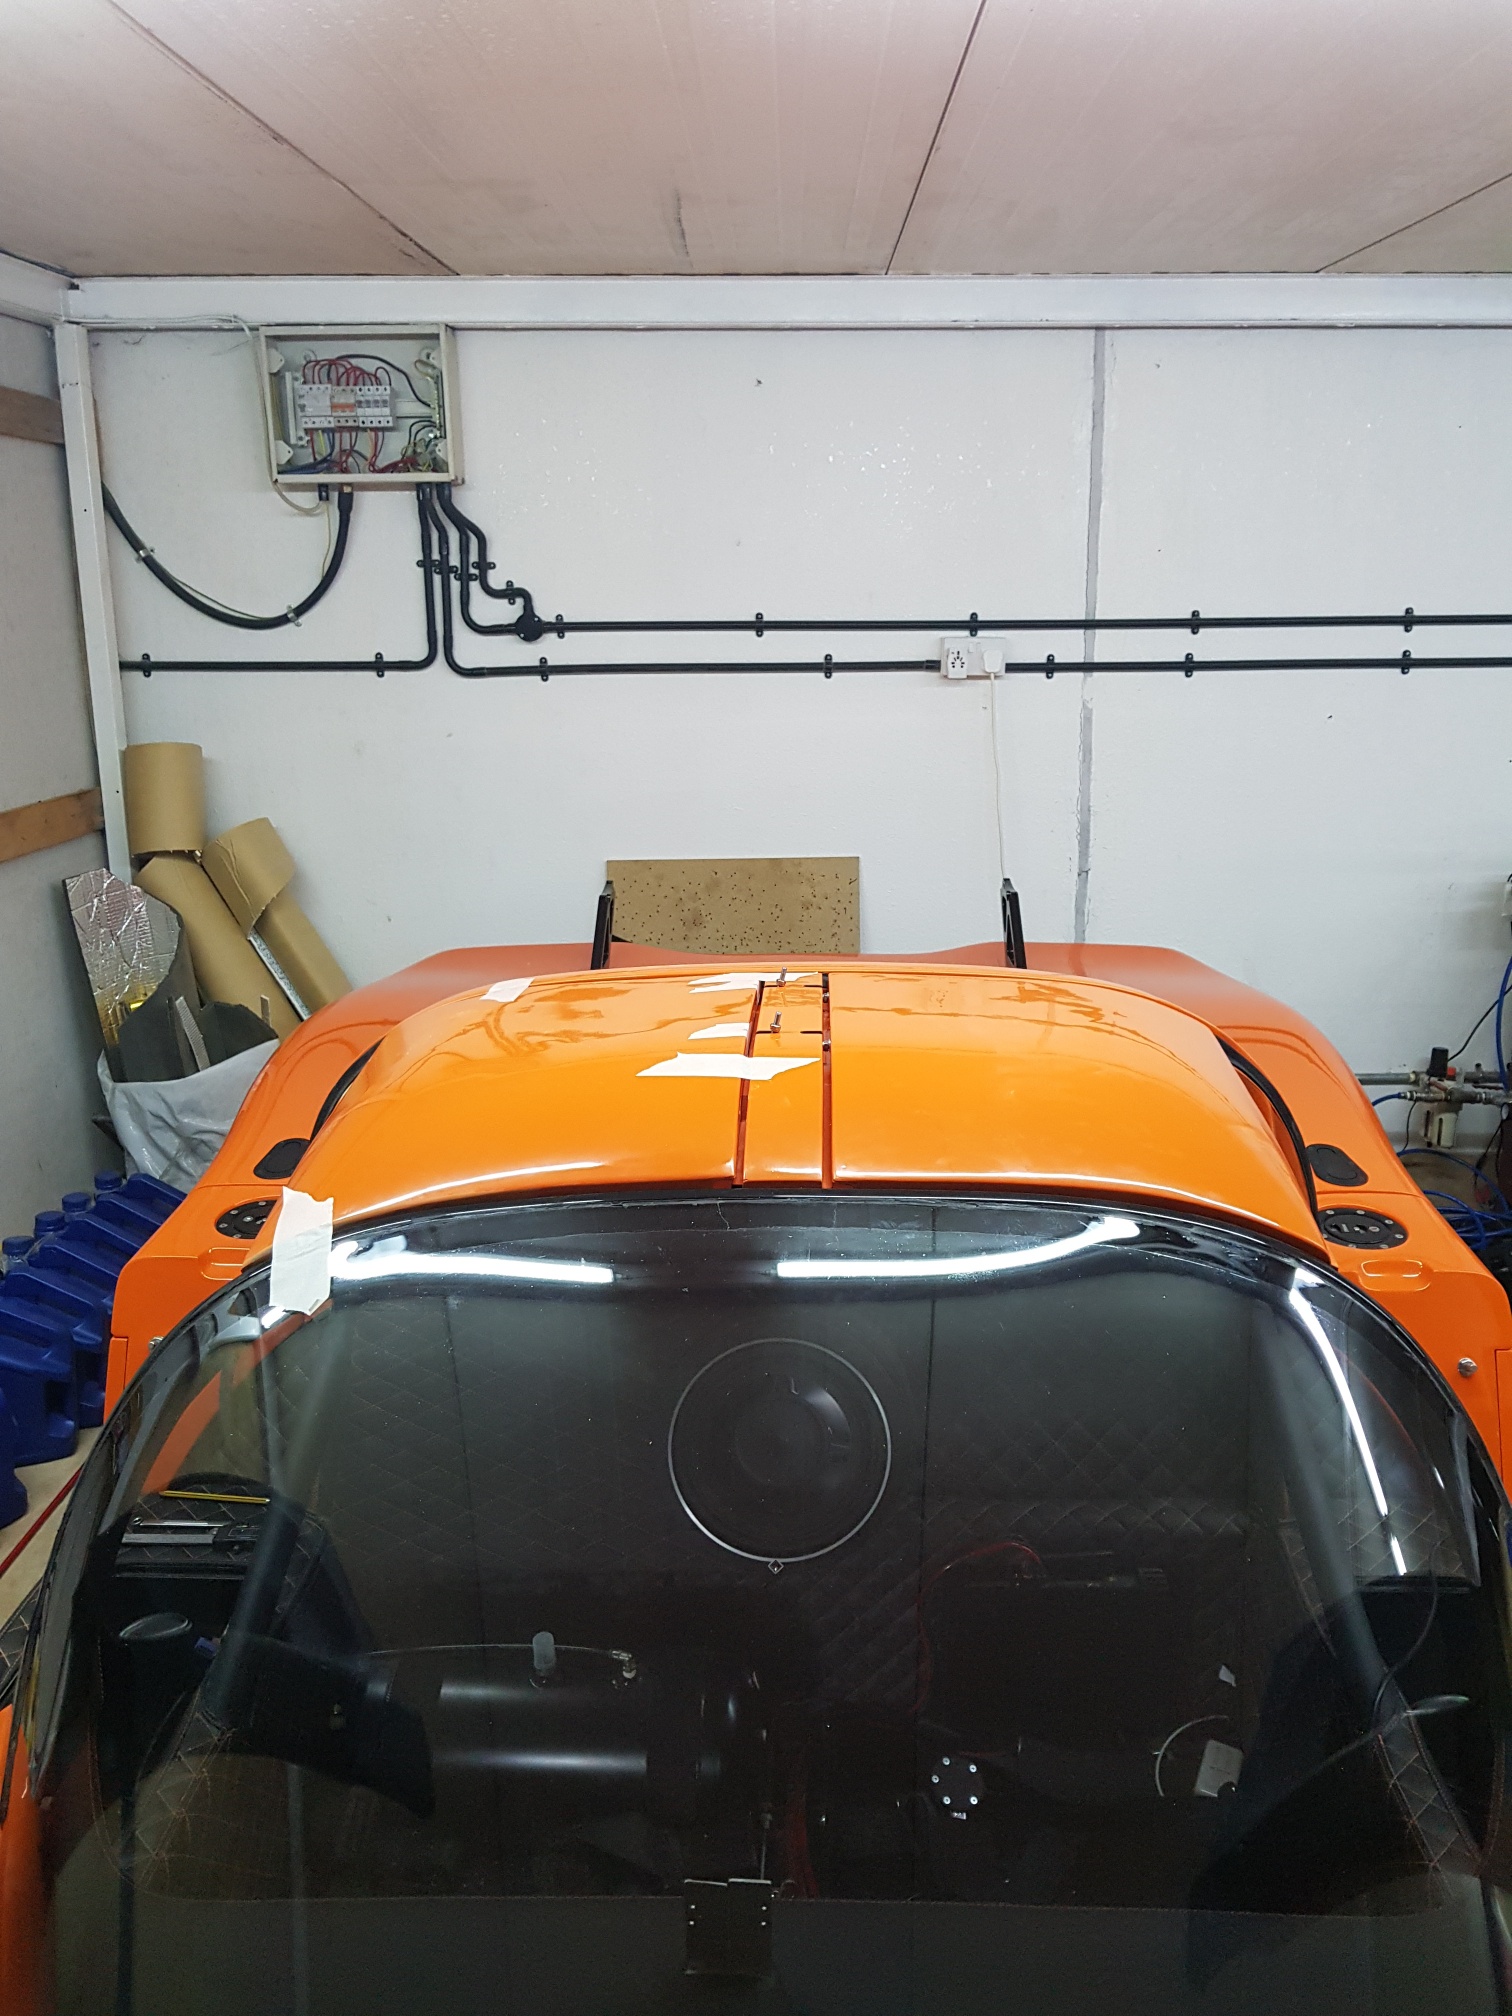
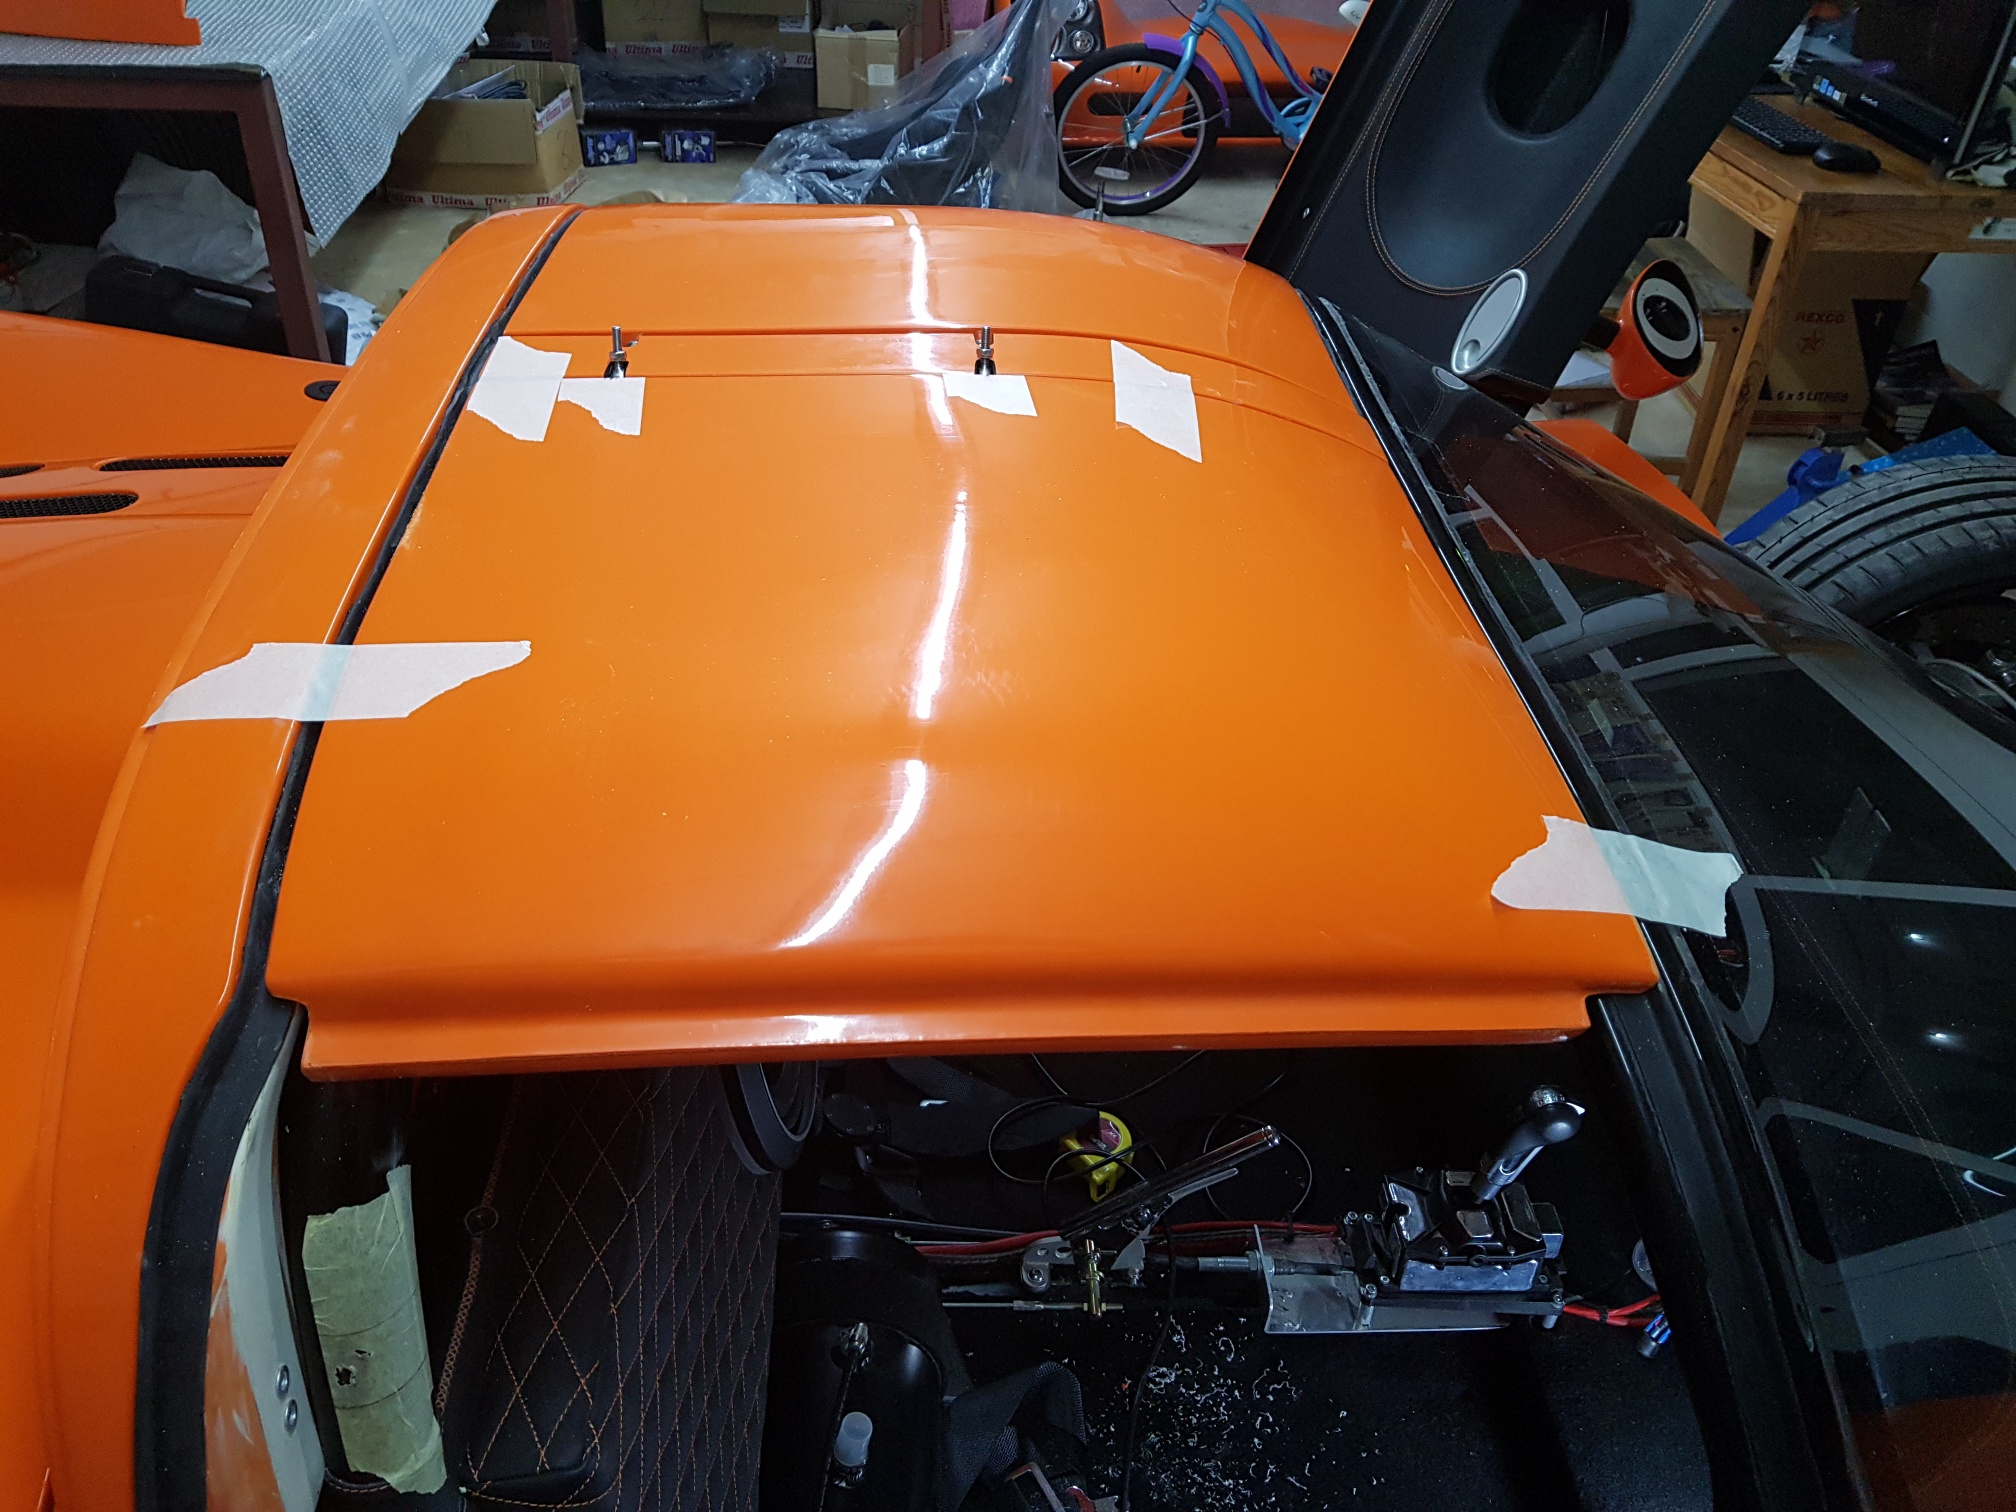
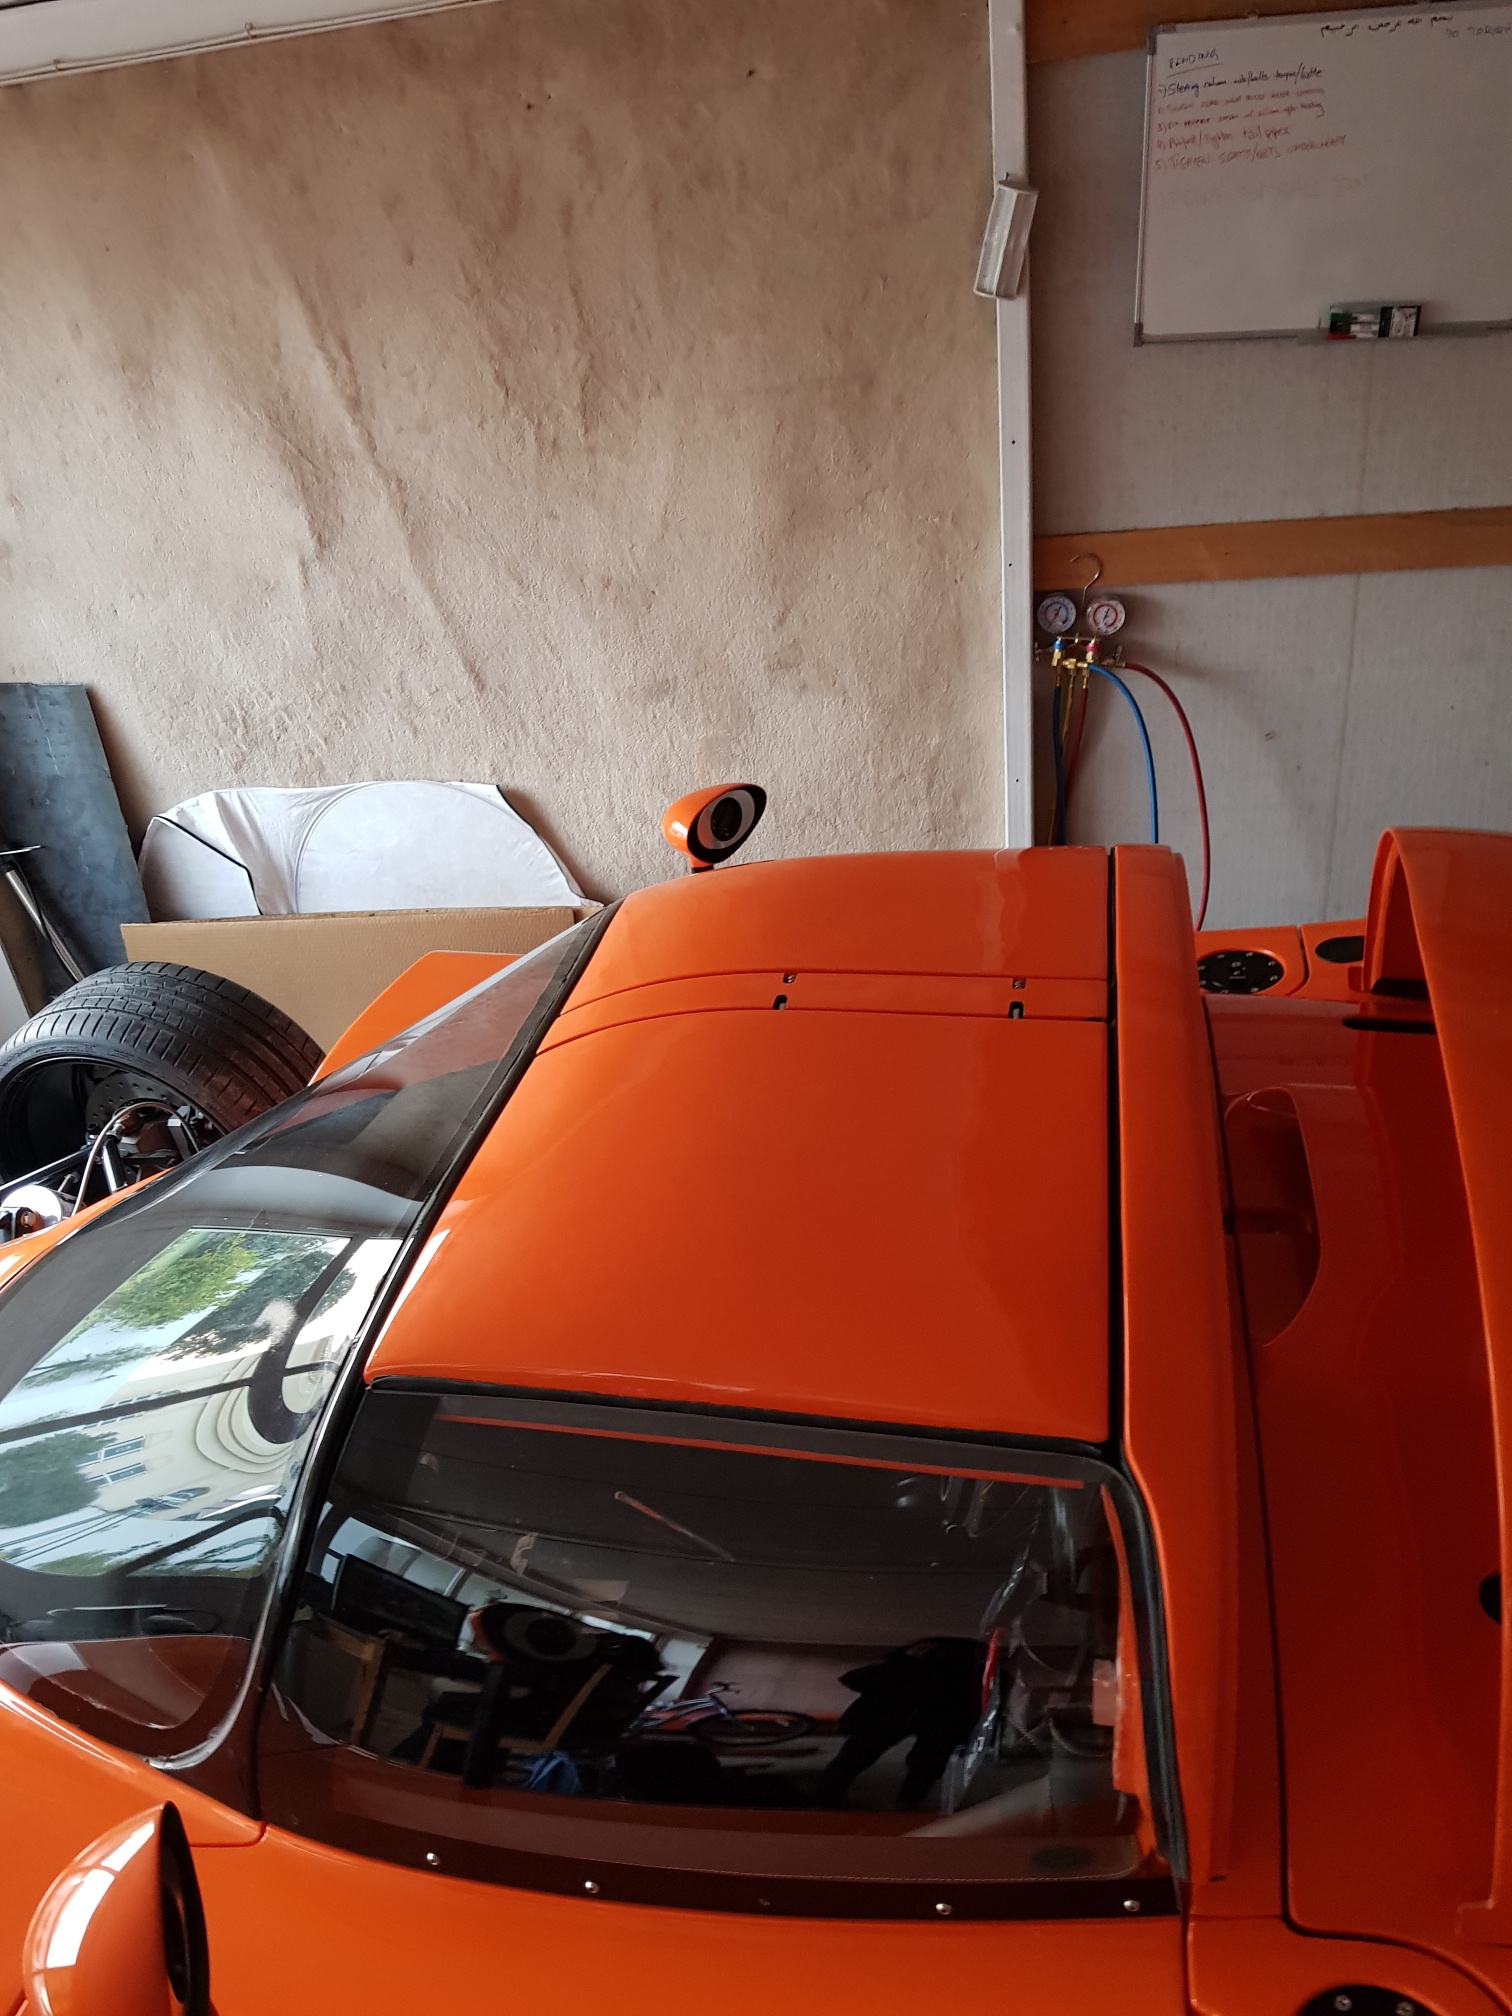
Over the last few months, my main focus has been on the installation of the hard top kit - the Evolution Convertible now has an option of a hard top kit, that allows the car to be used as a coupe (with top), T-top, or Convertible by removing the entire kit... I was able to order the first hard top kit from the factory, and so my install has a lot of 'figuring' out to do...
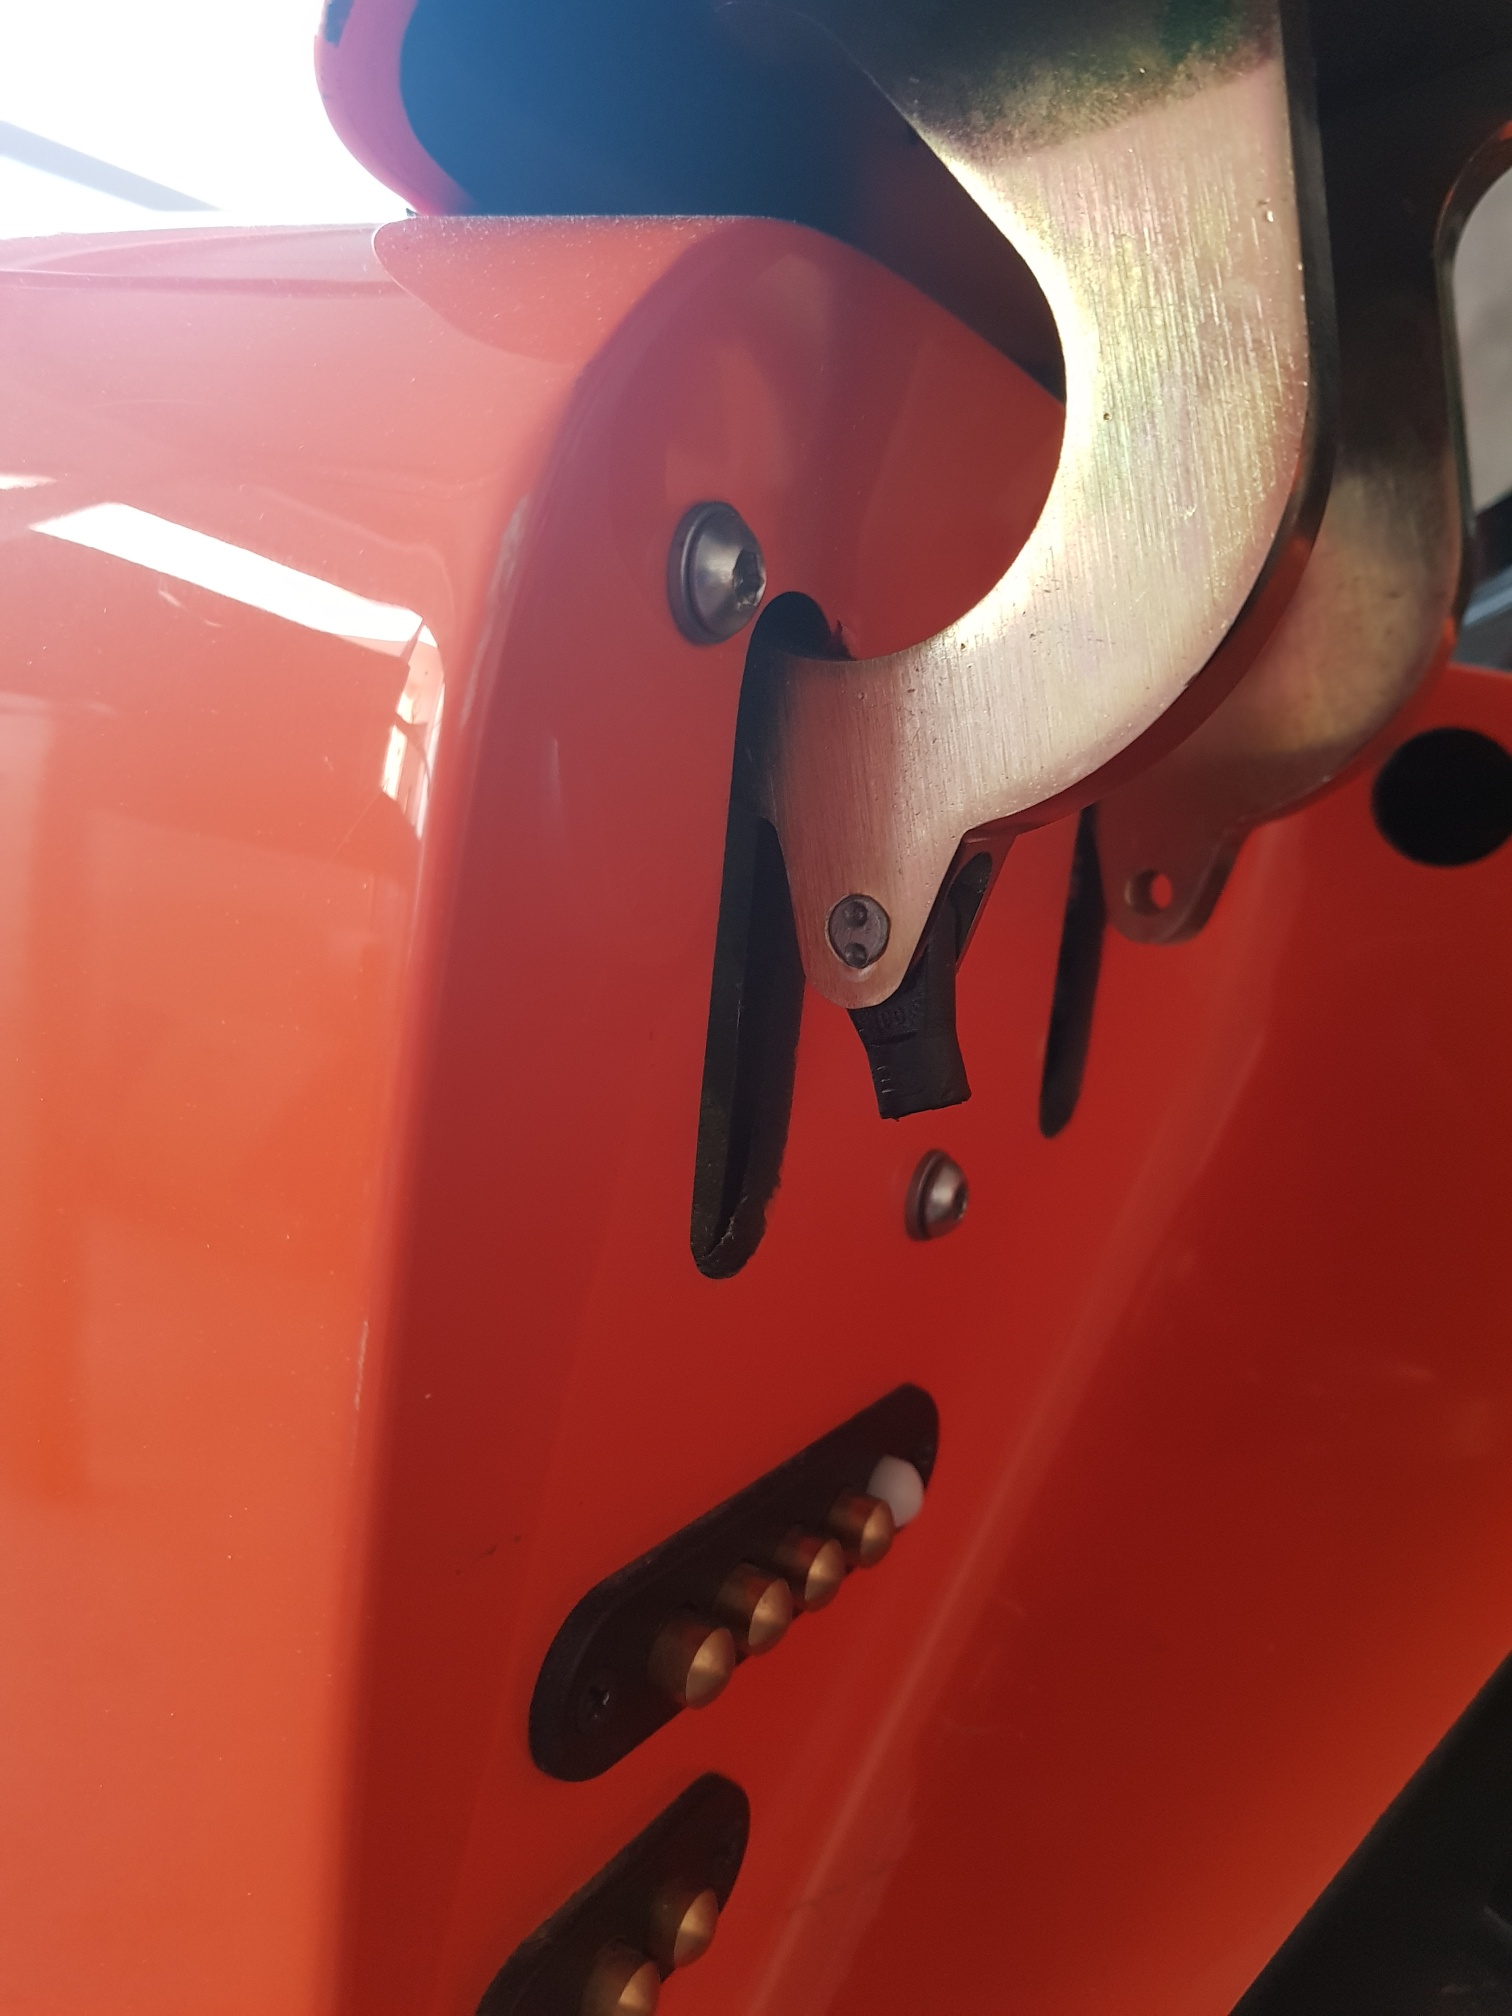
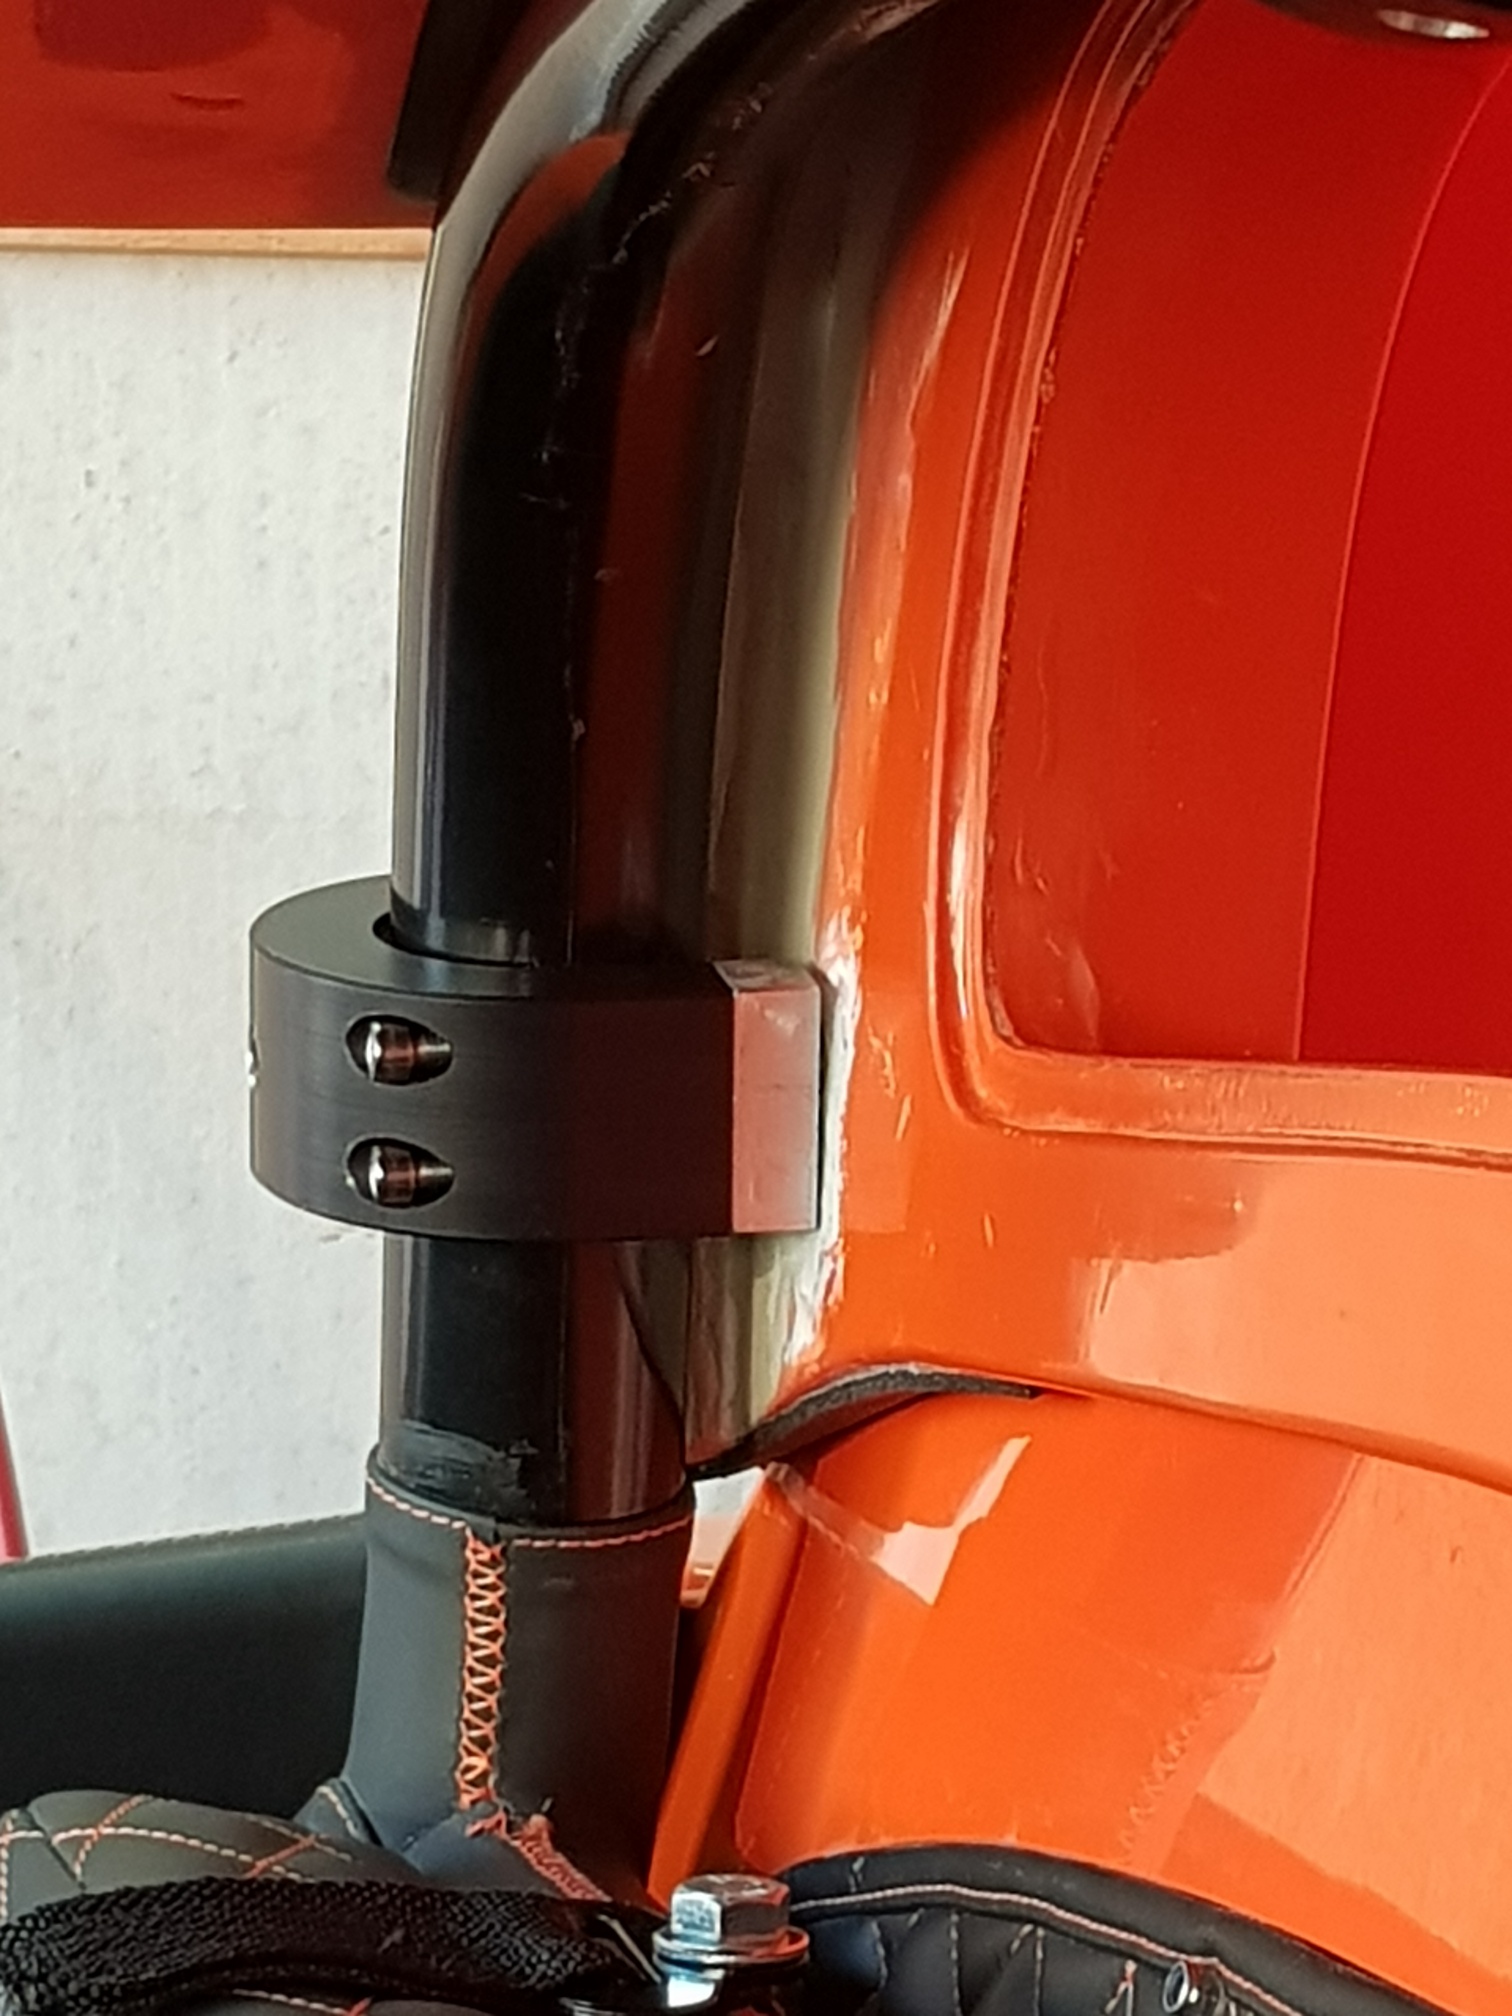
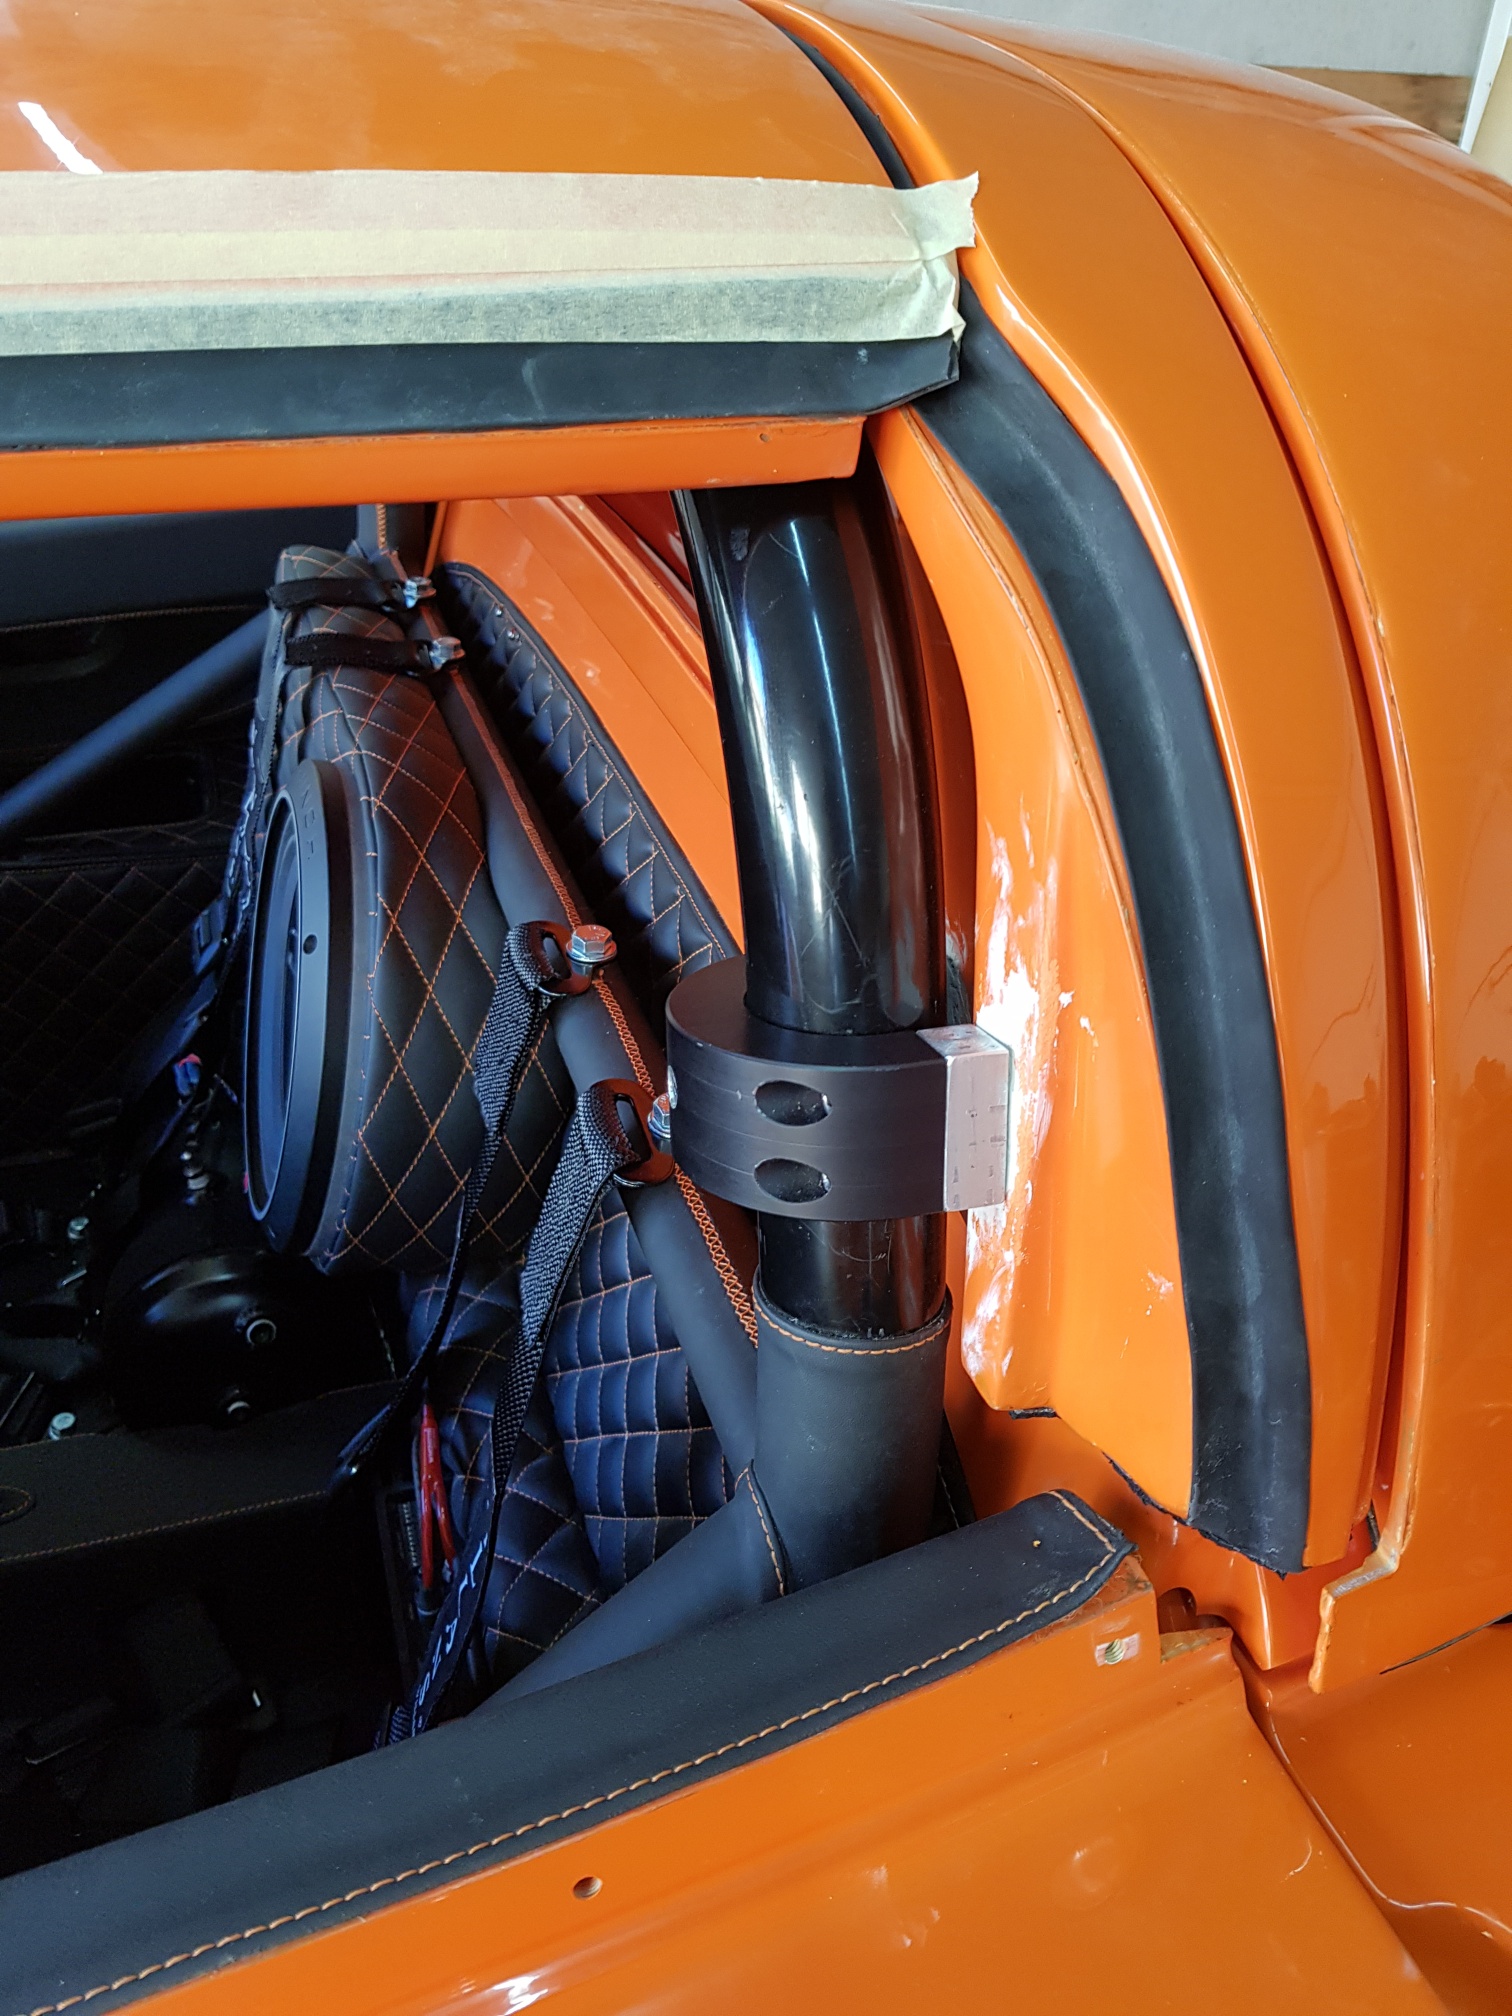
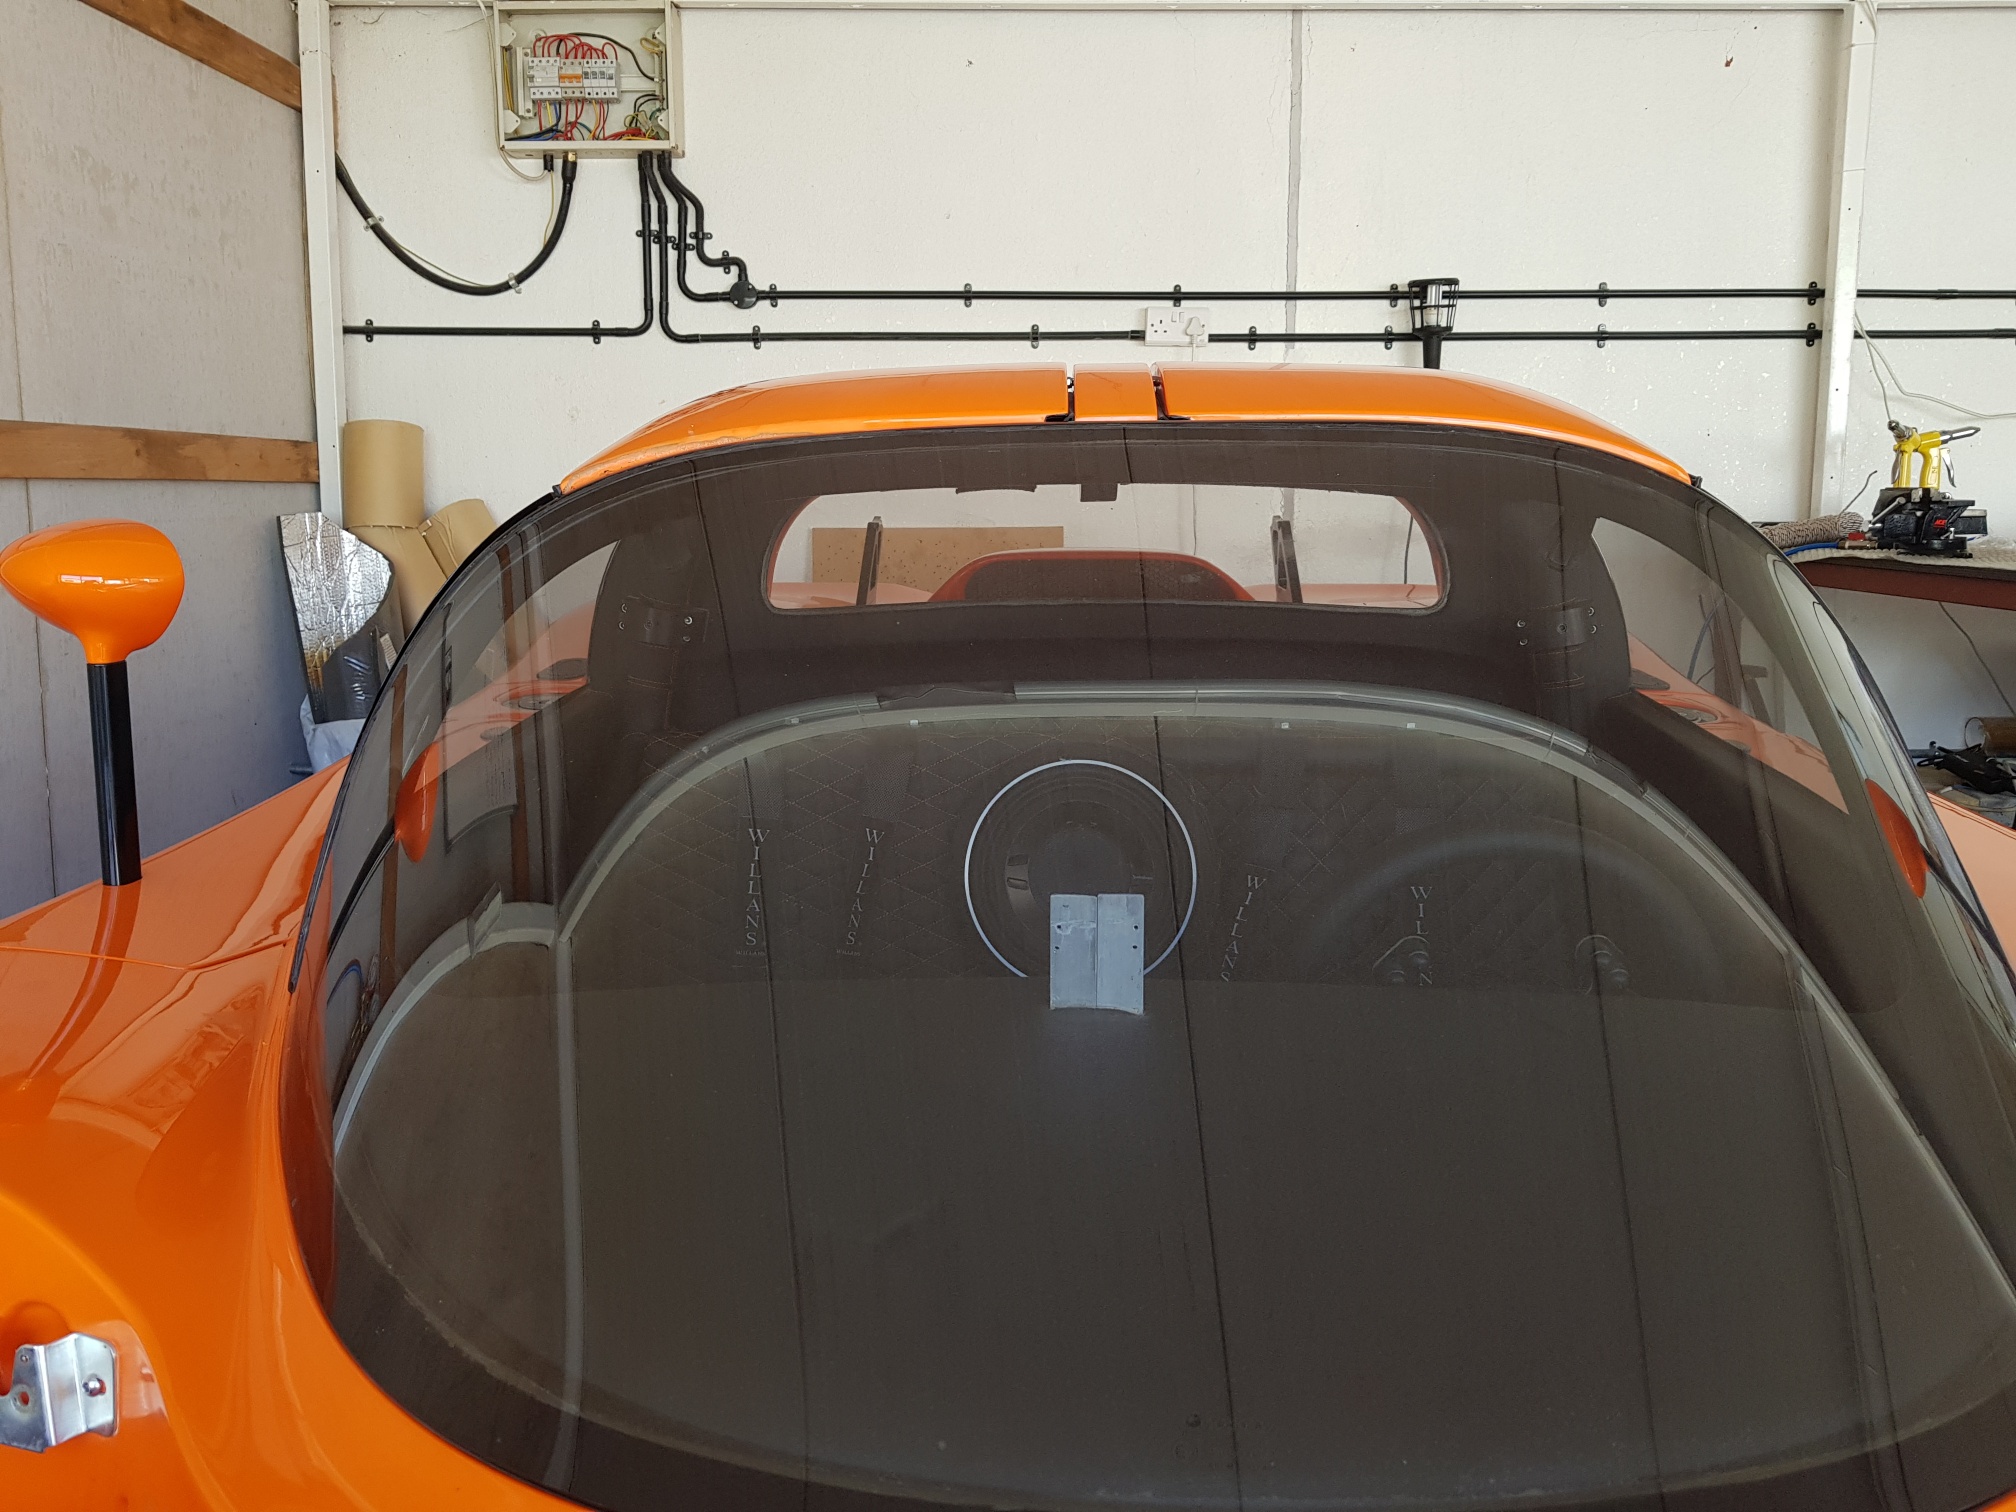
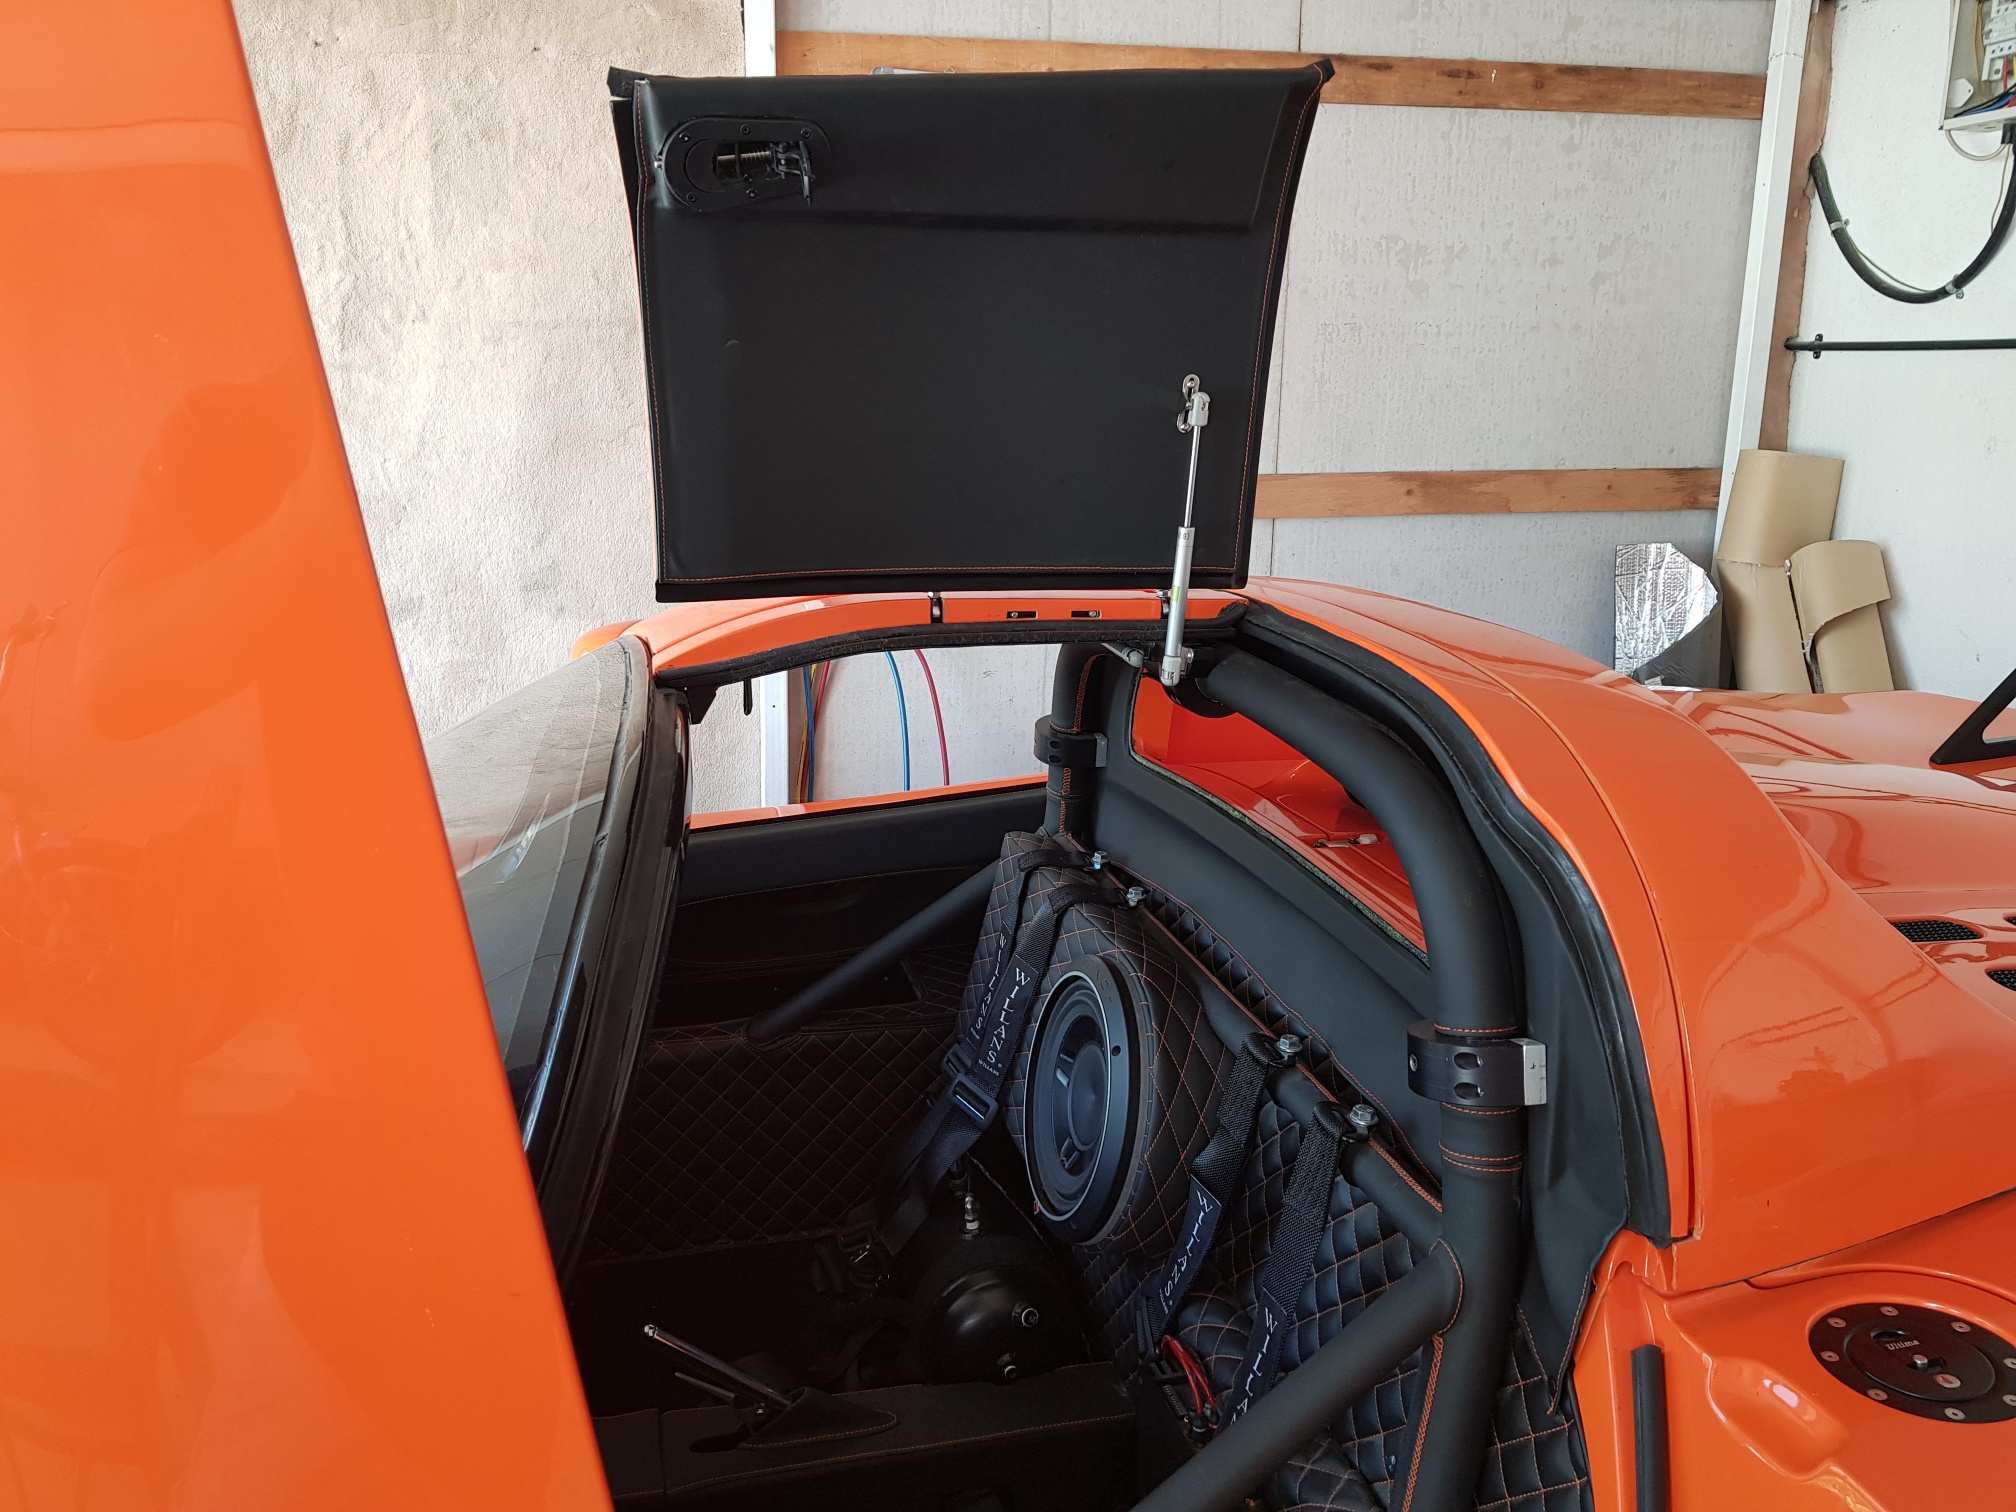
The hard top kit is made of up 5 body parts, and various brackets/bolts/seals... The first job was to get the body parts in rough position to check everything was lining up... This is where the first problem crept up - my roll bar is apparently in the wrong place! Since the roll bars on these chassis' are hand welded, its possible they were off by a bit from chassis to chassis. In my case, the roll bar is too far forward by almost 10mm, and this became apparent as I tried to line everything up: the rear bulkhead was clamped in place, and all the other bits attached as per the instructions: with everything in place, I could NOT open the door as the bulkhead was interfering with the door opening. In addition, the roof top panels were hitting the roll bar and not sitting flat... I had to speak with the kit manufacturer, and was able to check the dimensions on the chassis the kit was designed on with mine, and concluded that the roll bar was in the wrong location...

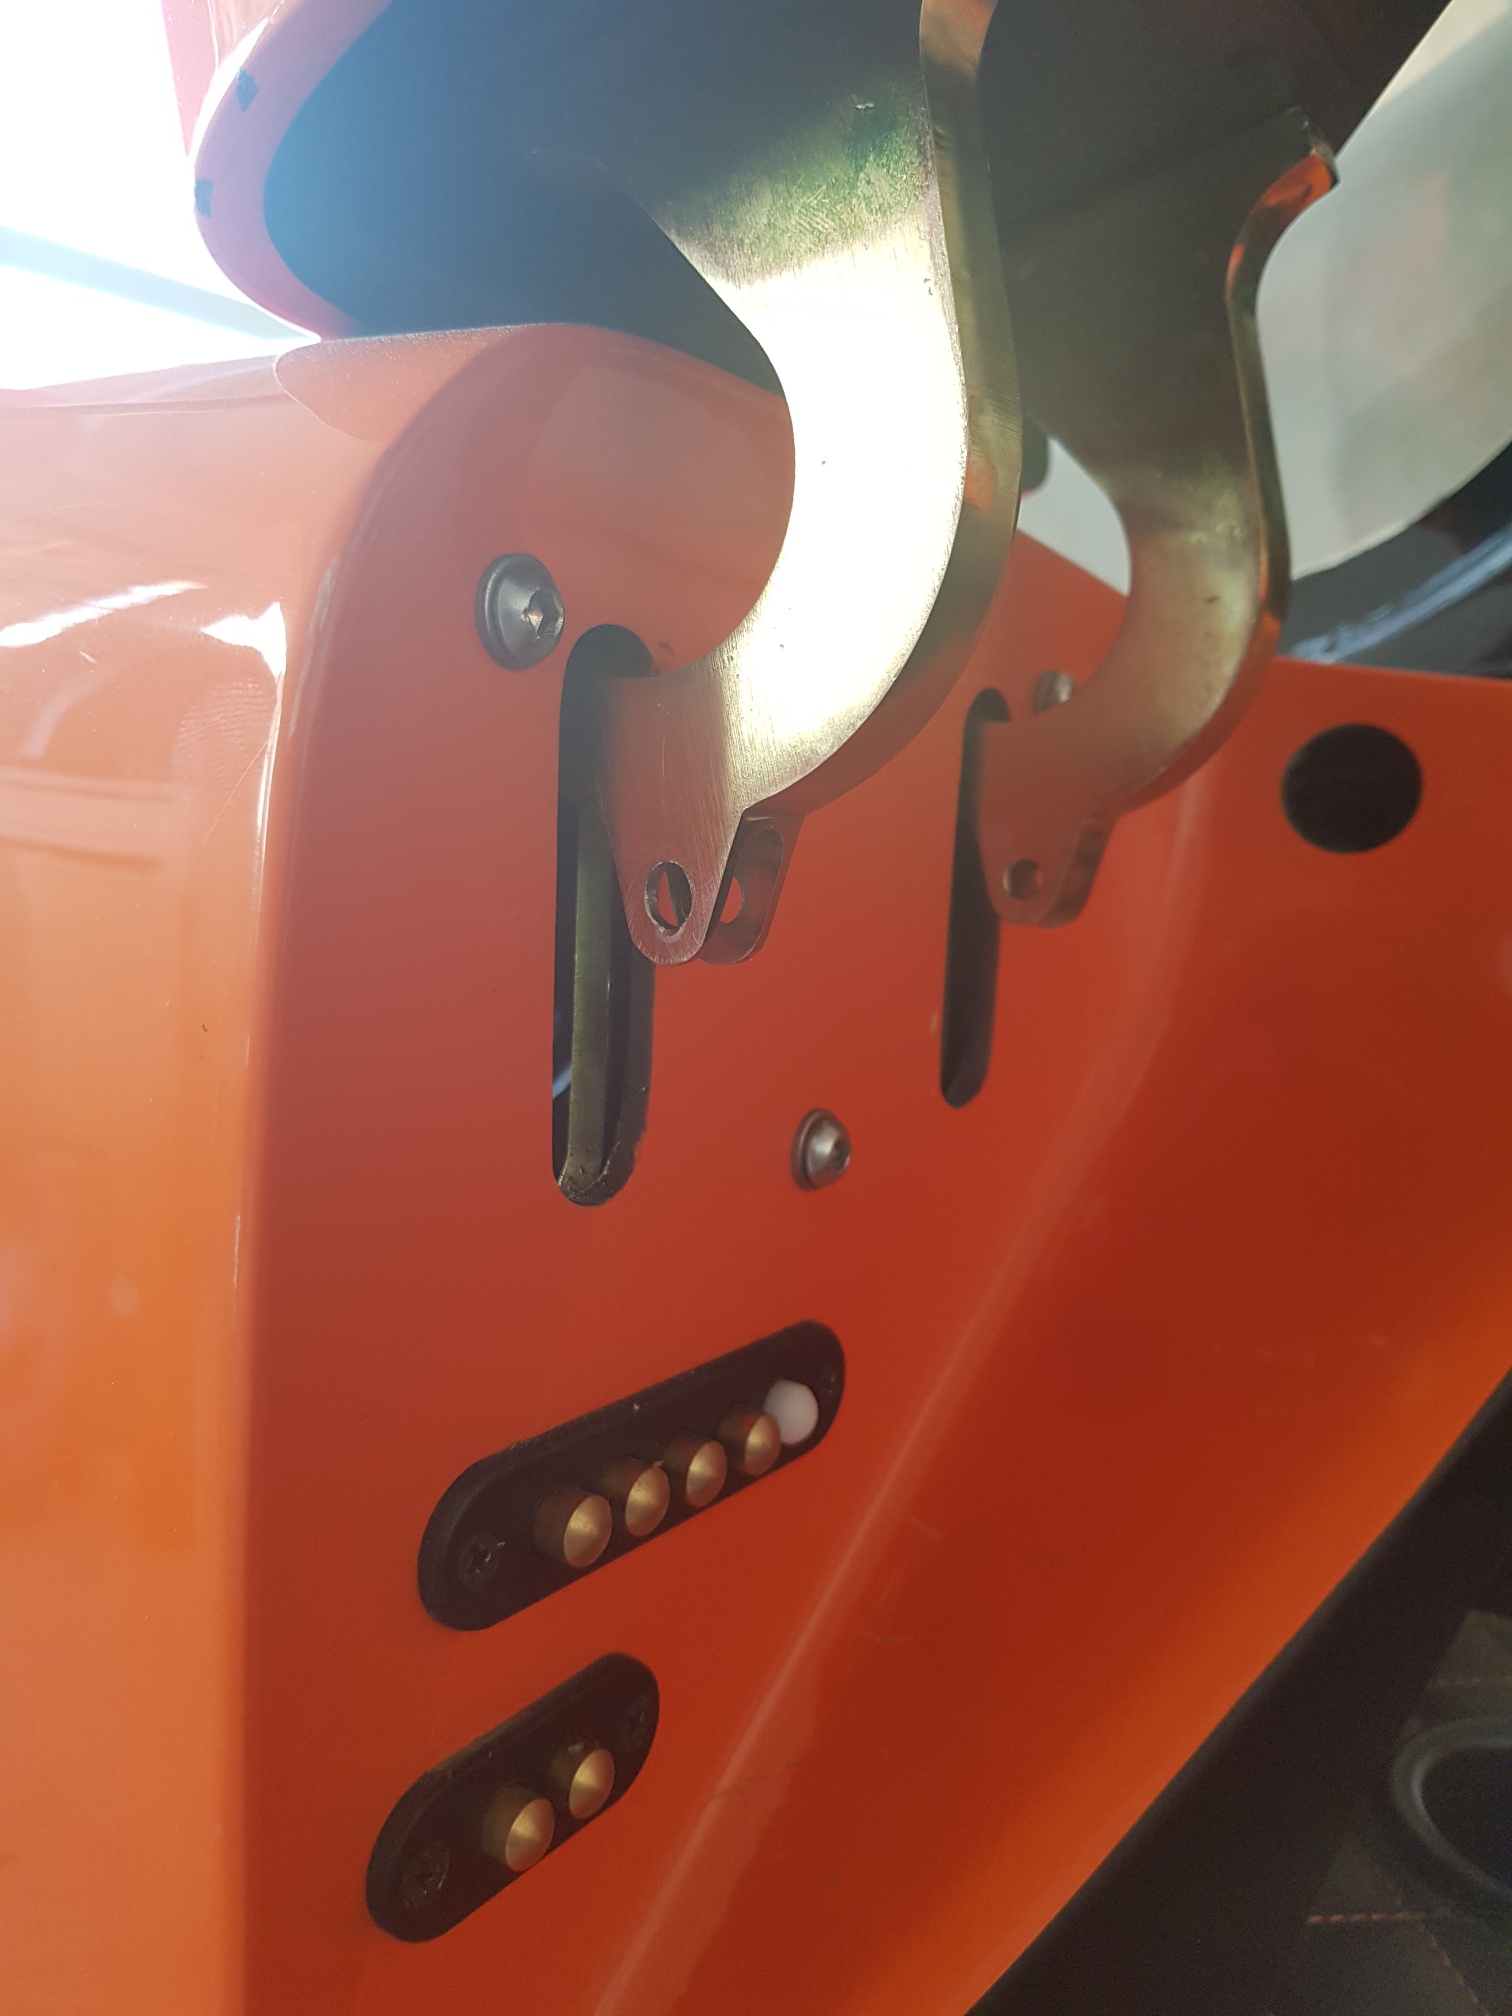
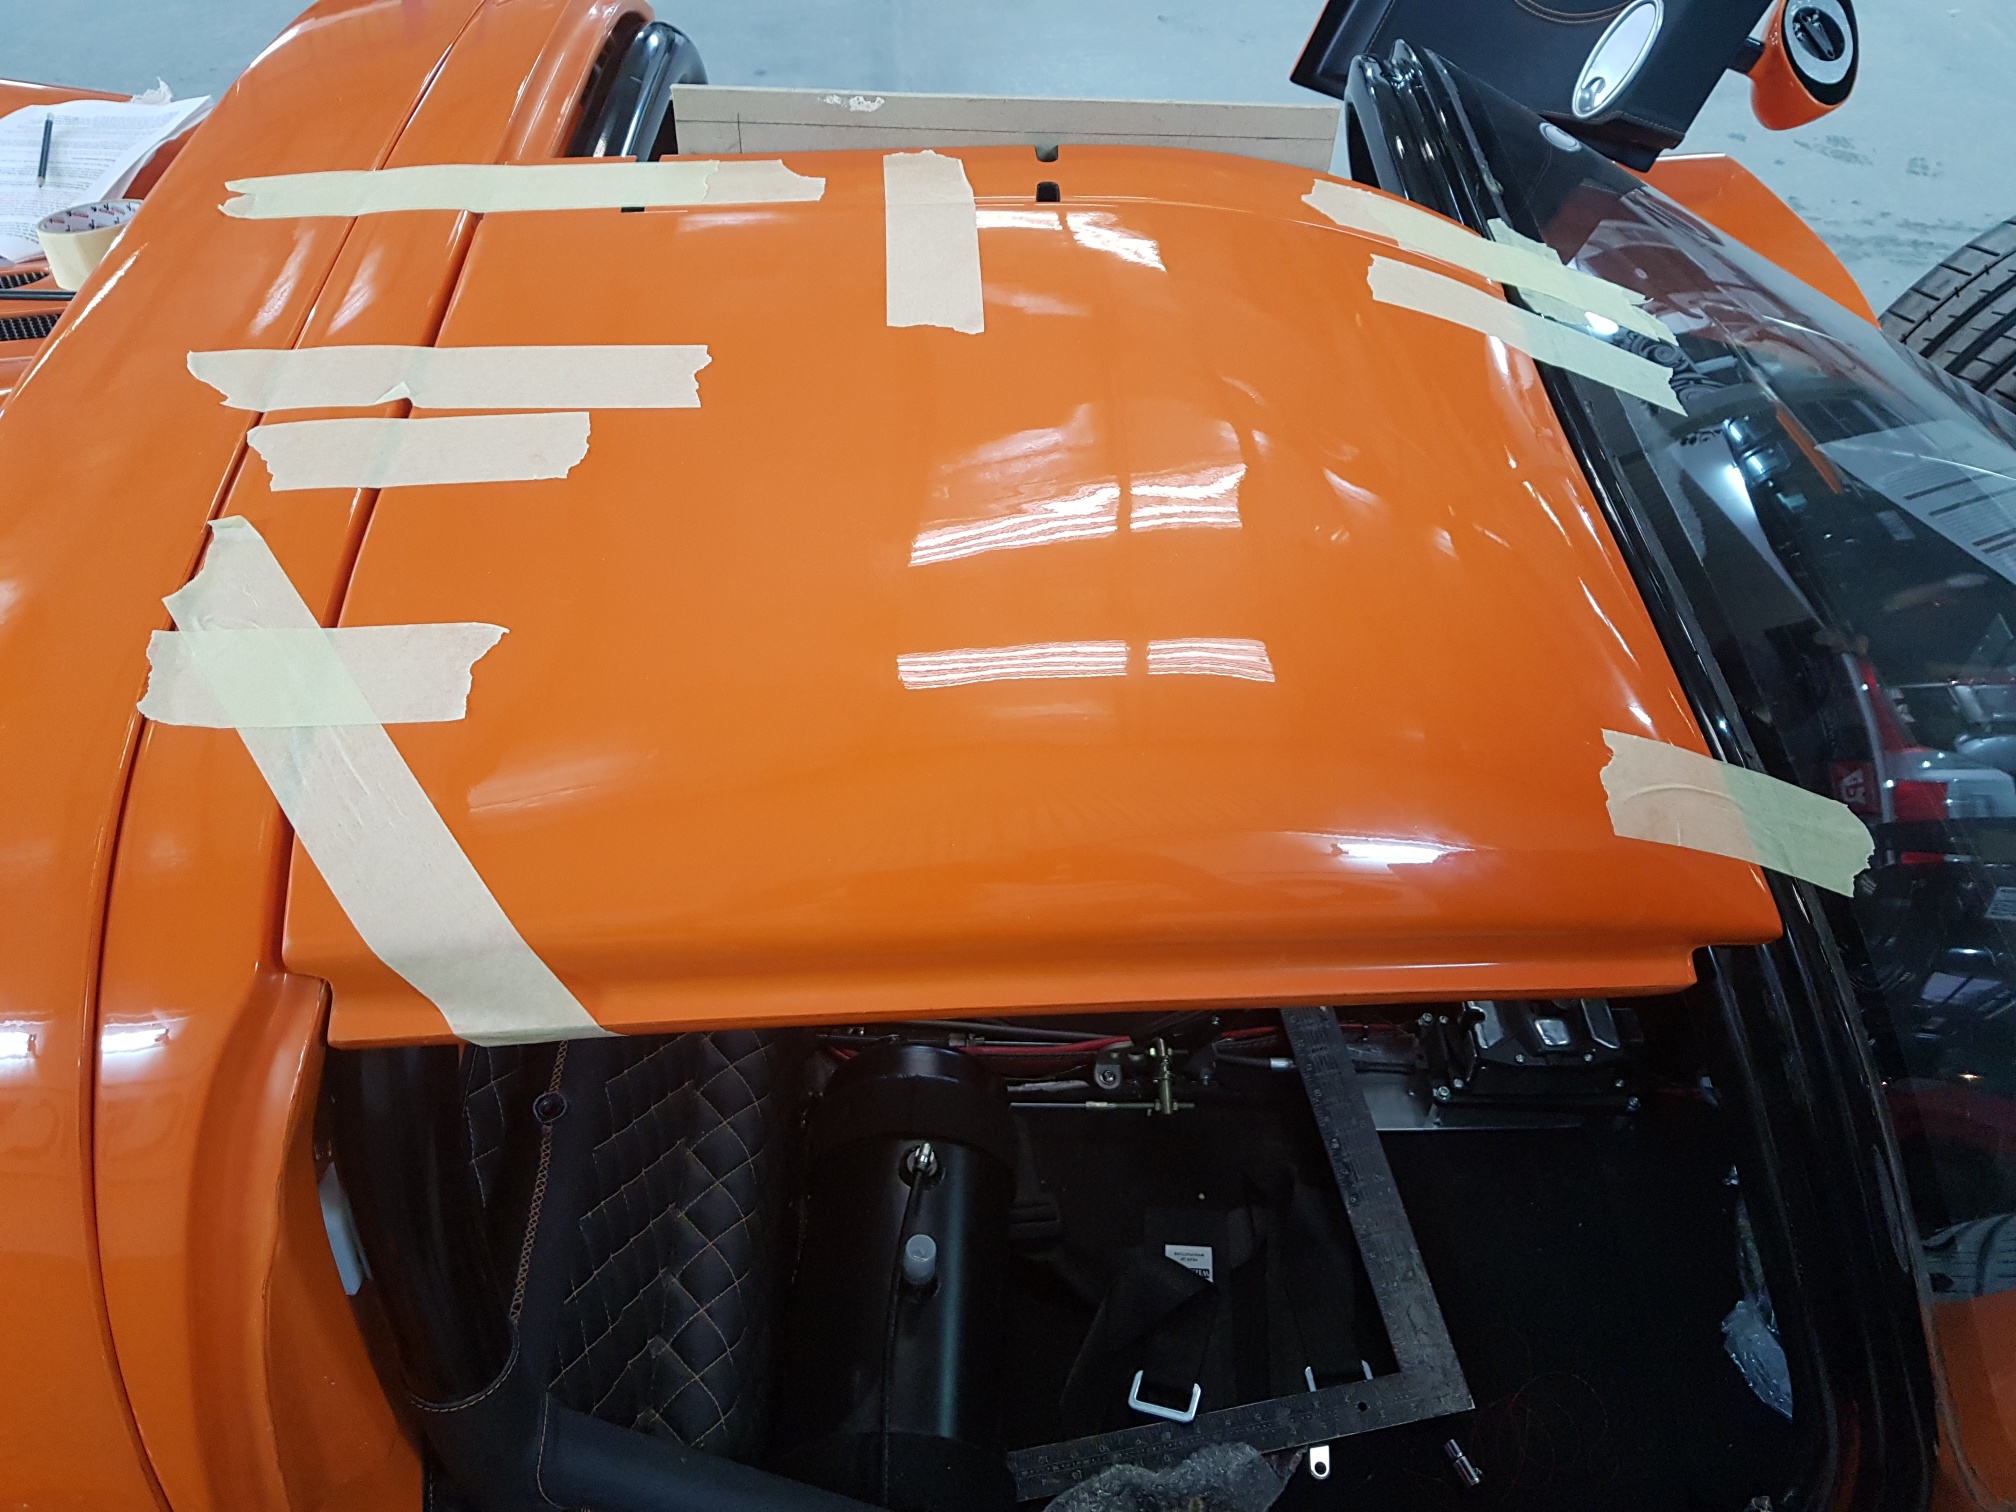
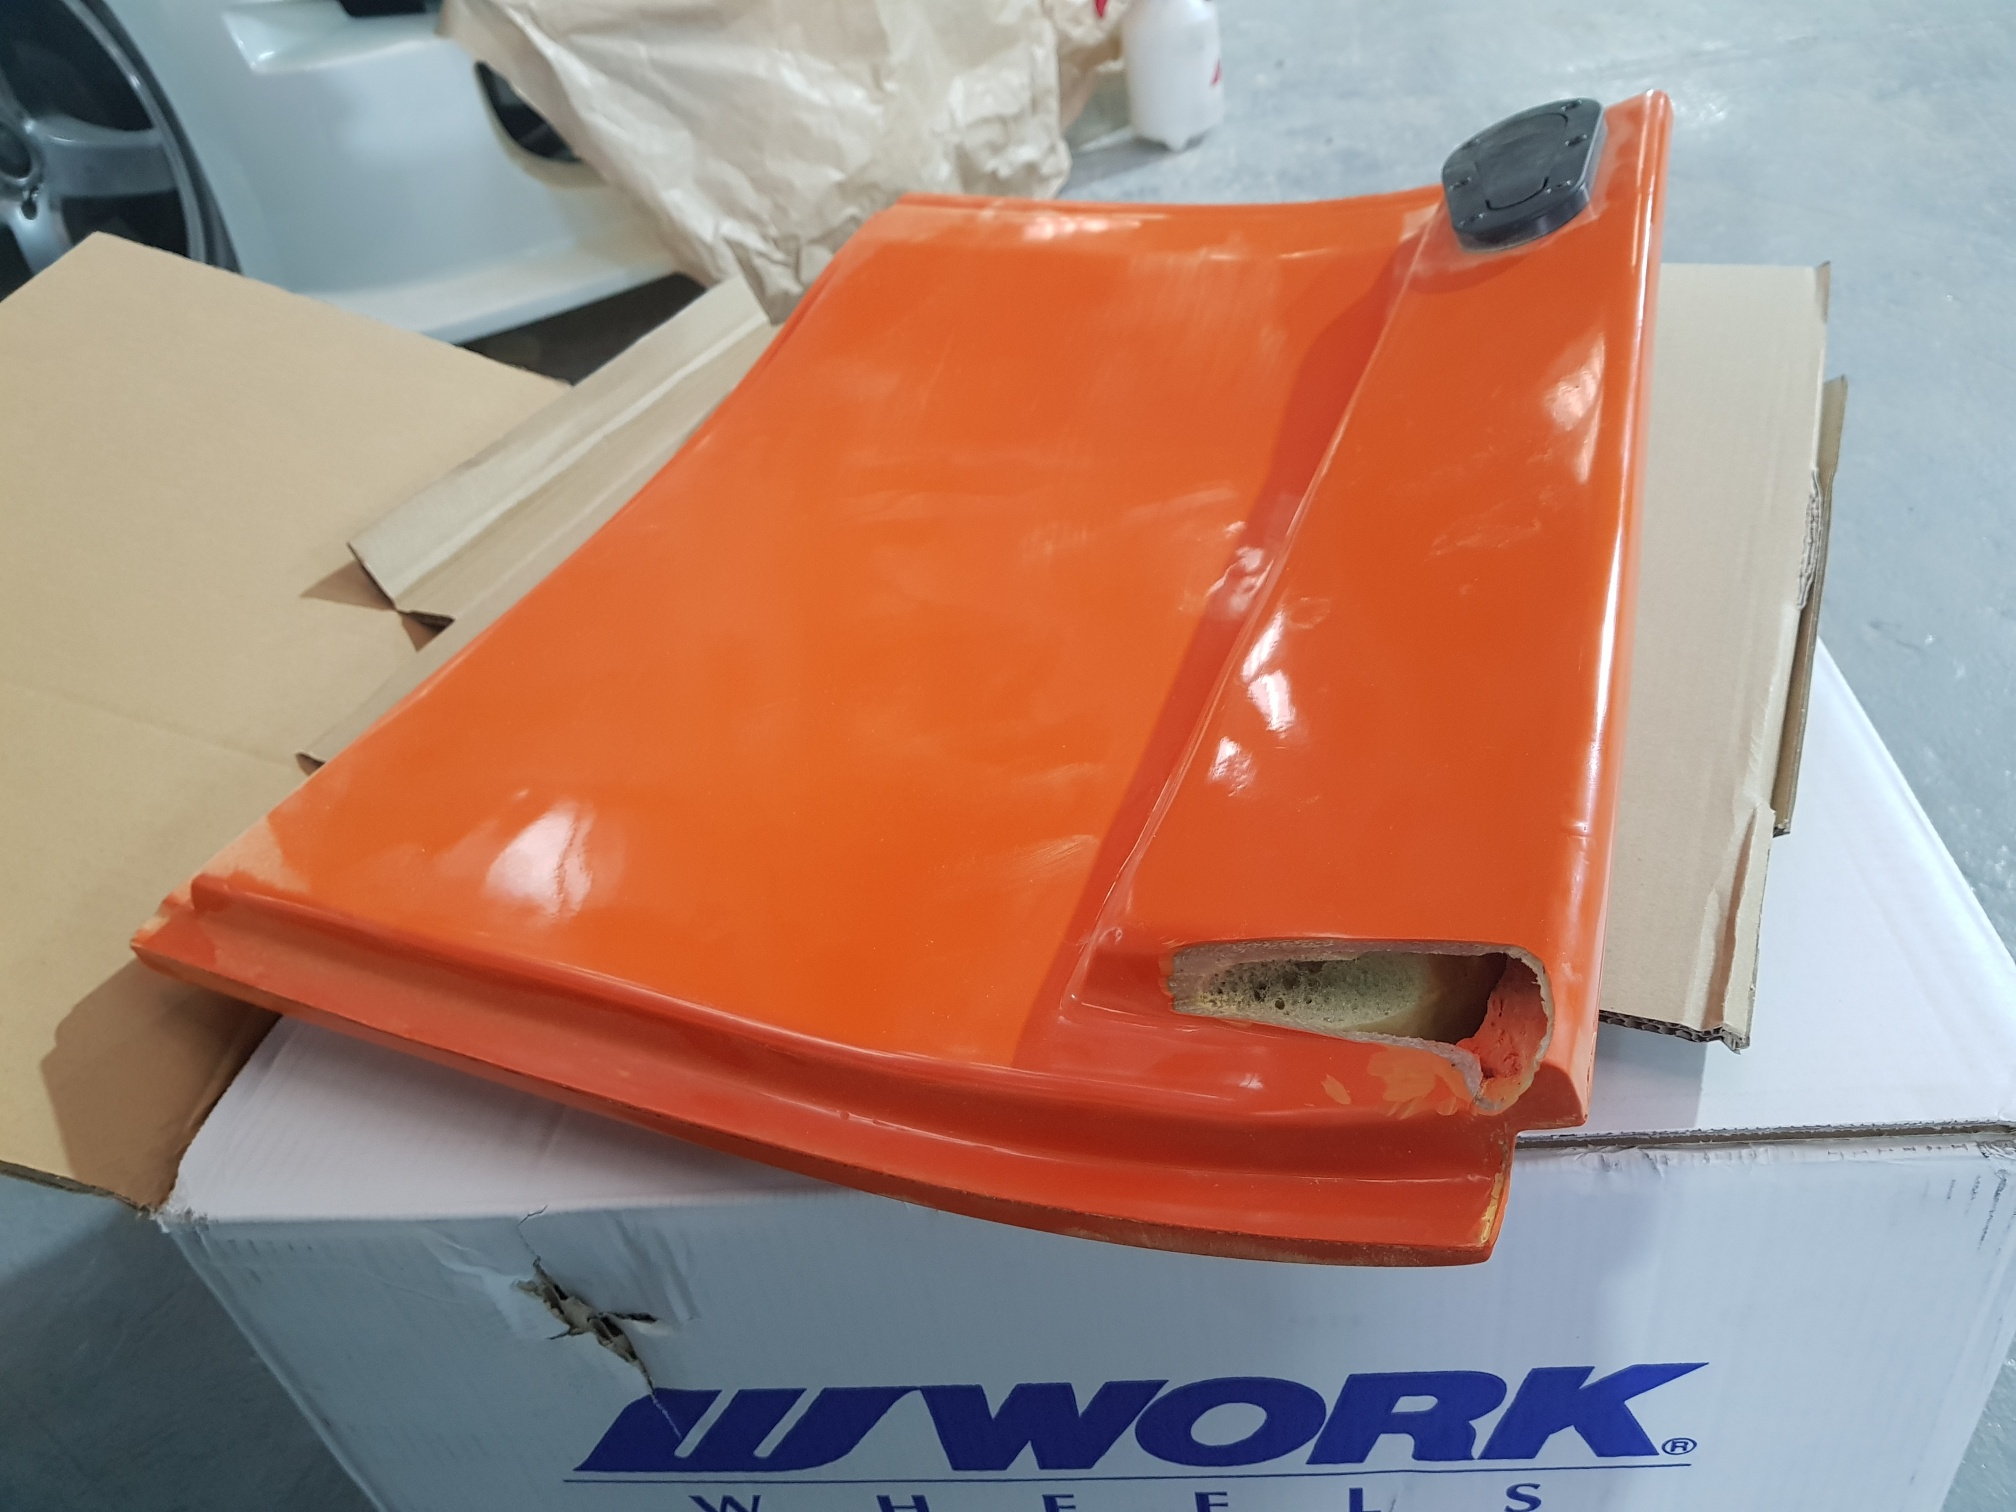
The solution to this problem was not easy to find - since the brackets are designed to allow the bulkhead to attach to the roll bar in a fixed location, I could not use them directly... First job was the get the kit in the correct position and see how far off we were - I used a few ally and plastic spacers to clamp the bulkhead into the correct location (as per the original chassis)... this automatically sorted out the door opening dilemma... Next I got the roof top panels in place, but to install them I would need to cut and trim the panels to allow the roll bar to fit... This took a while as quite a bit of material had to be removed from the panels...
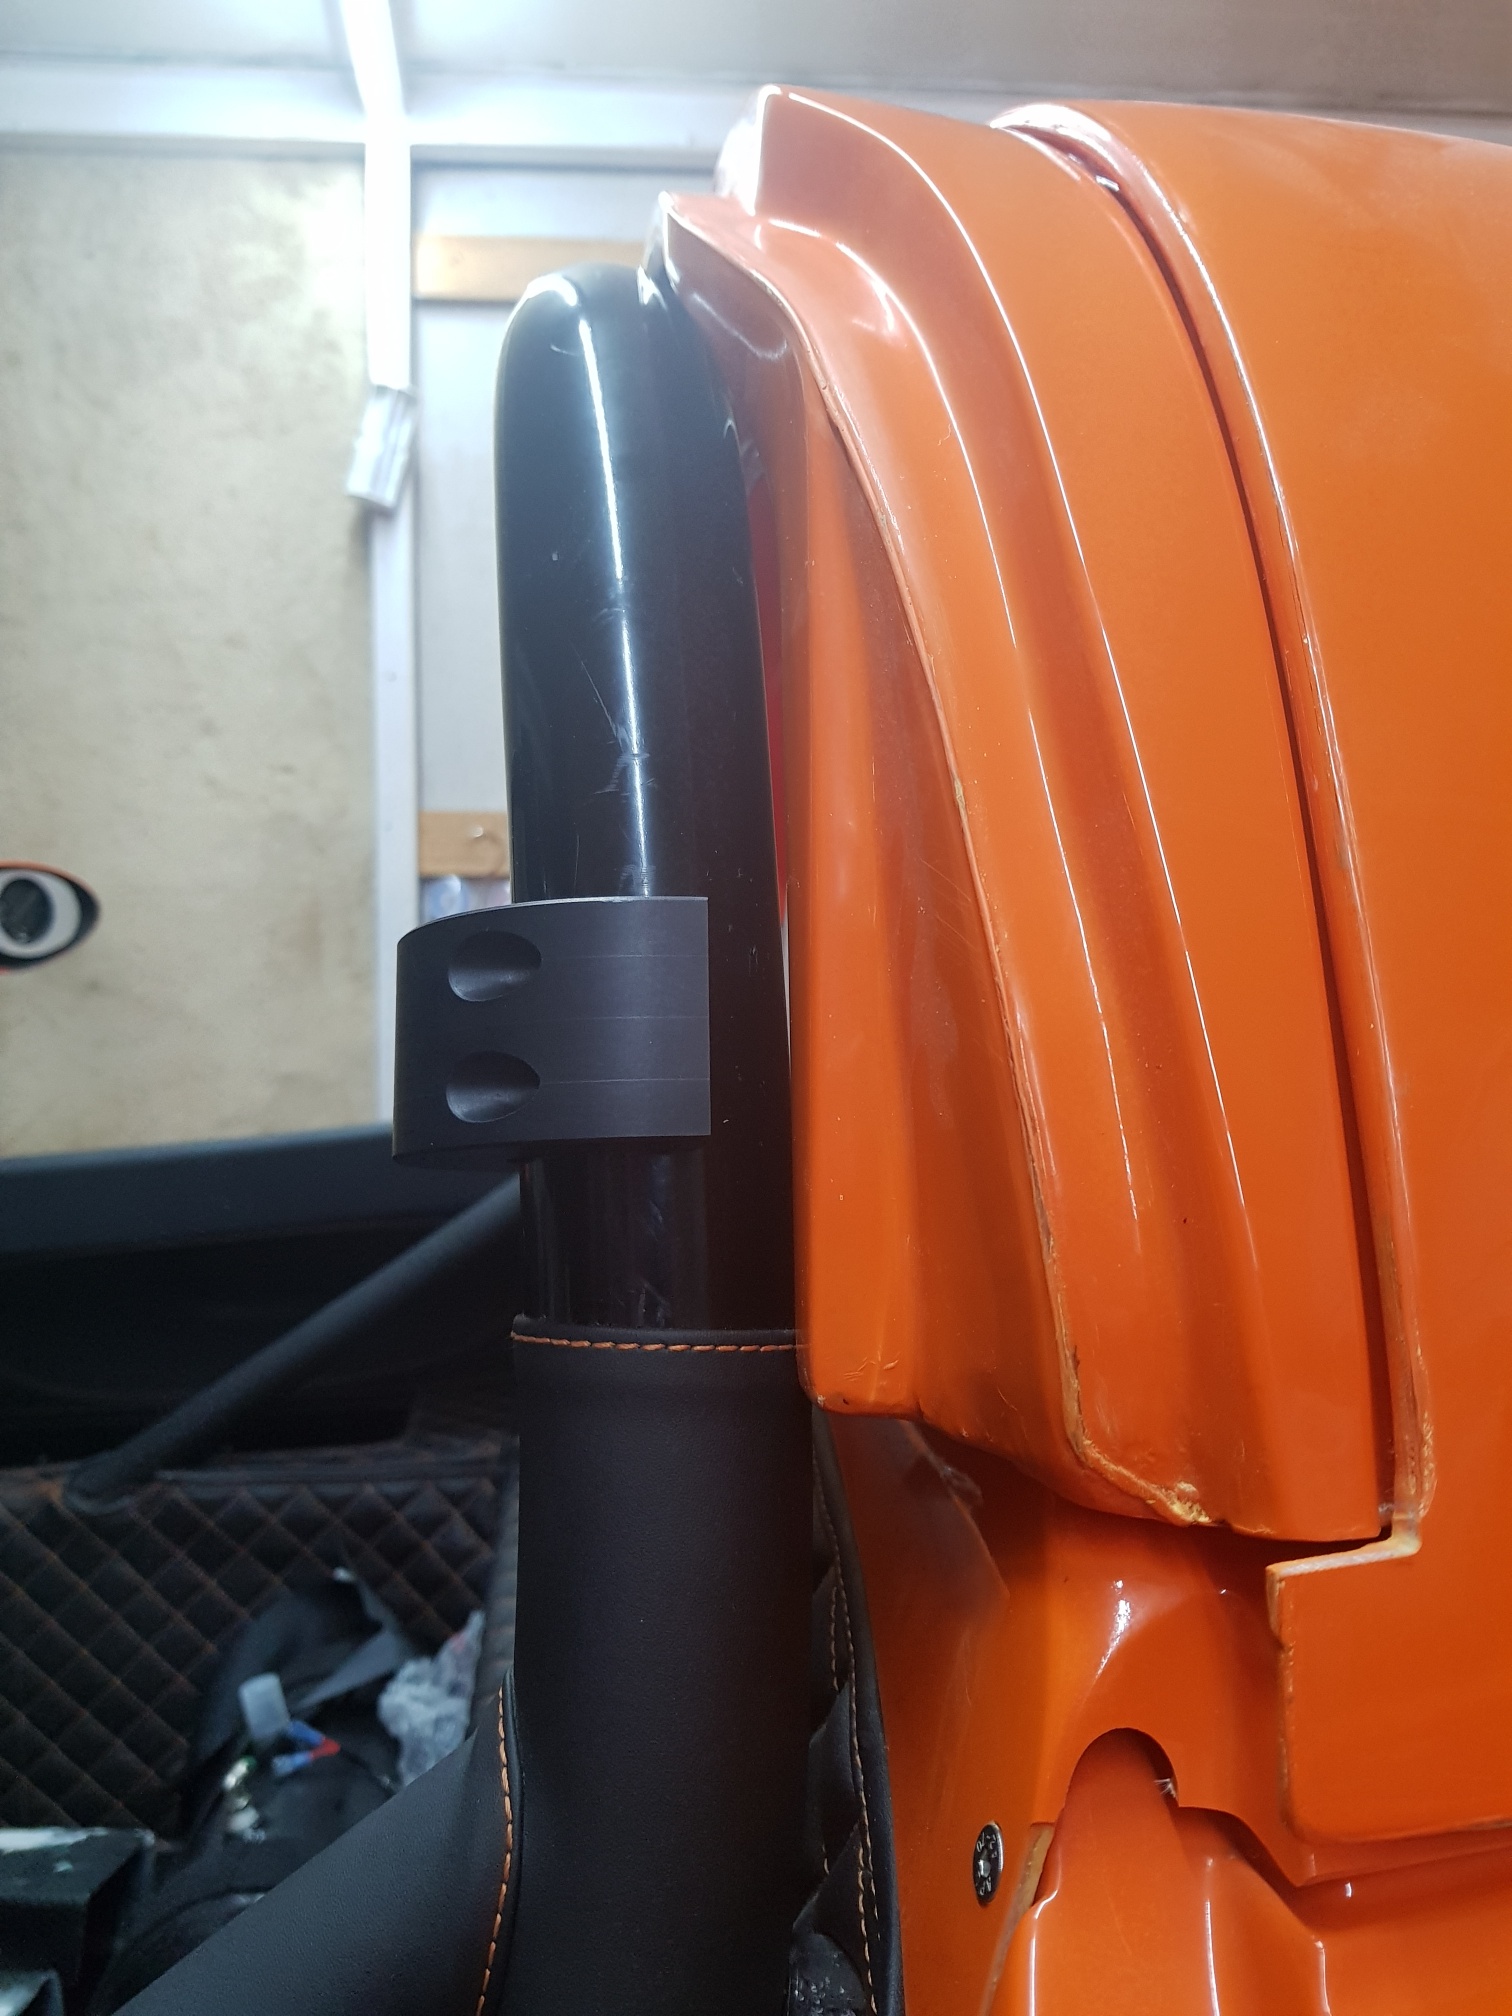


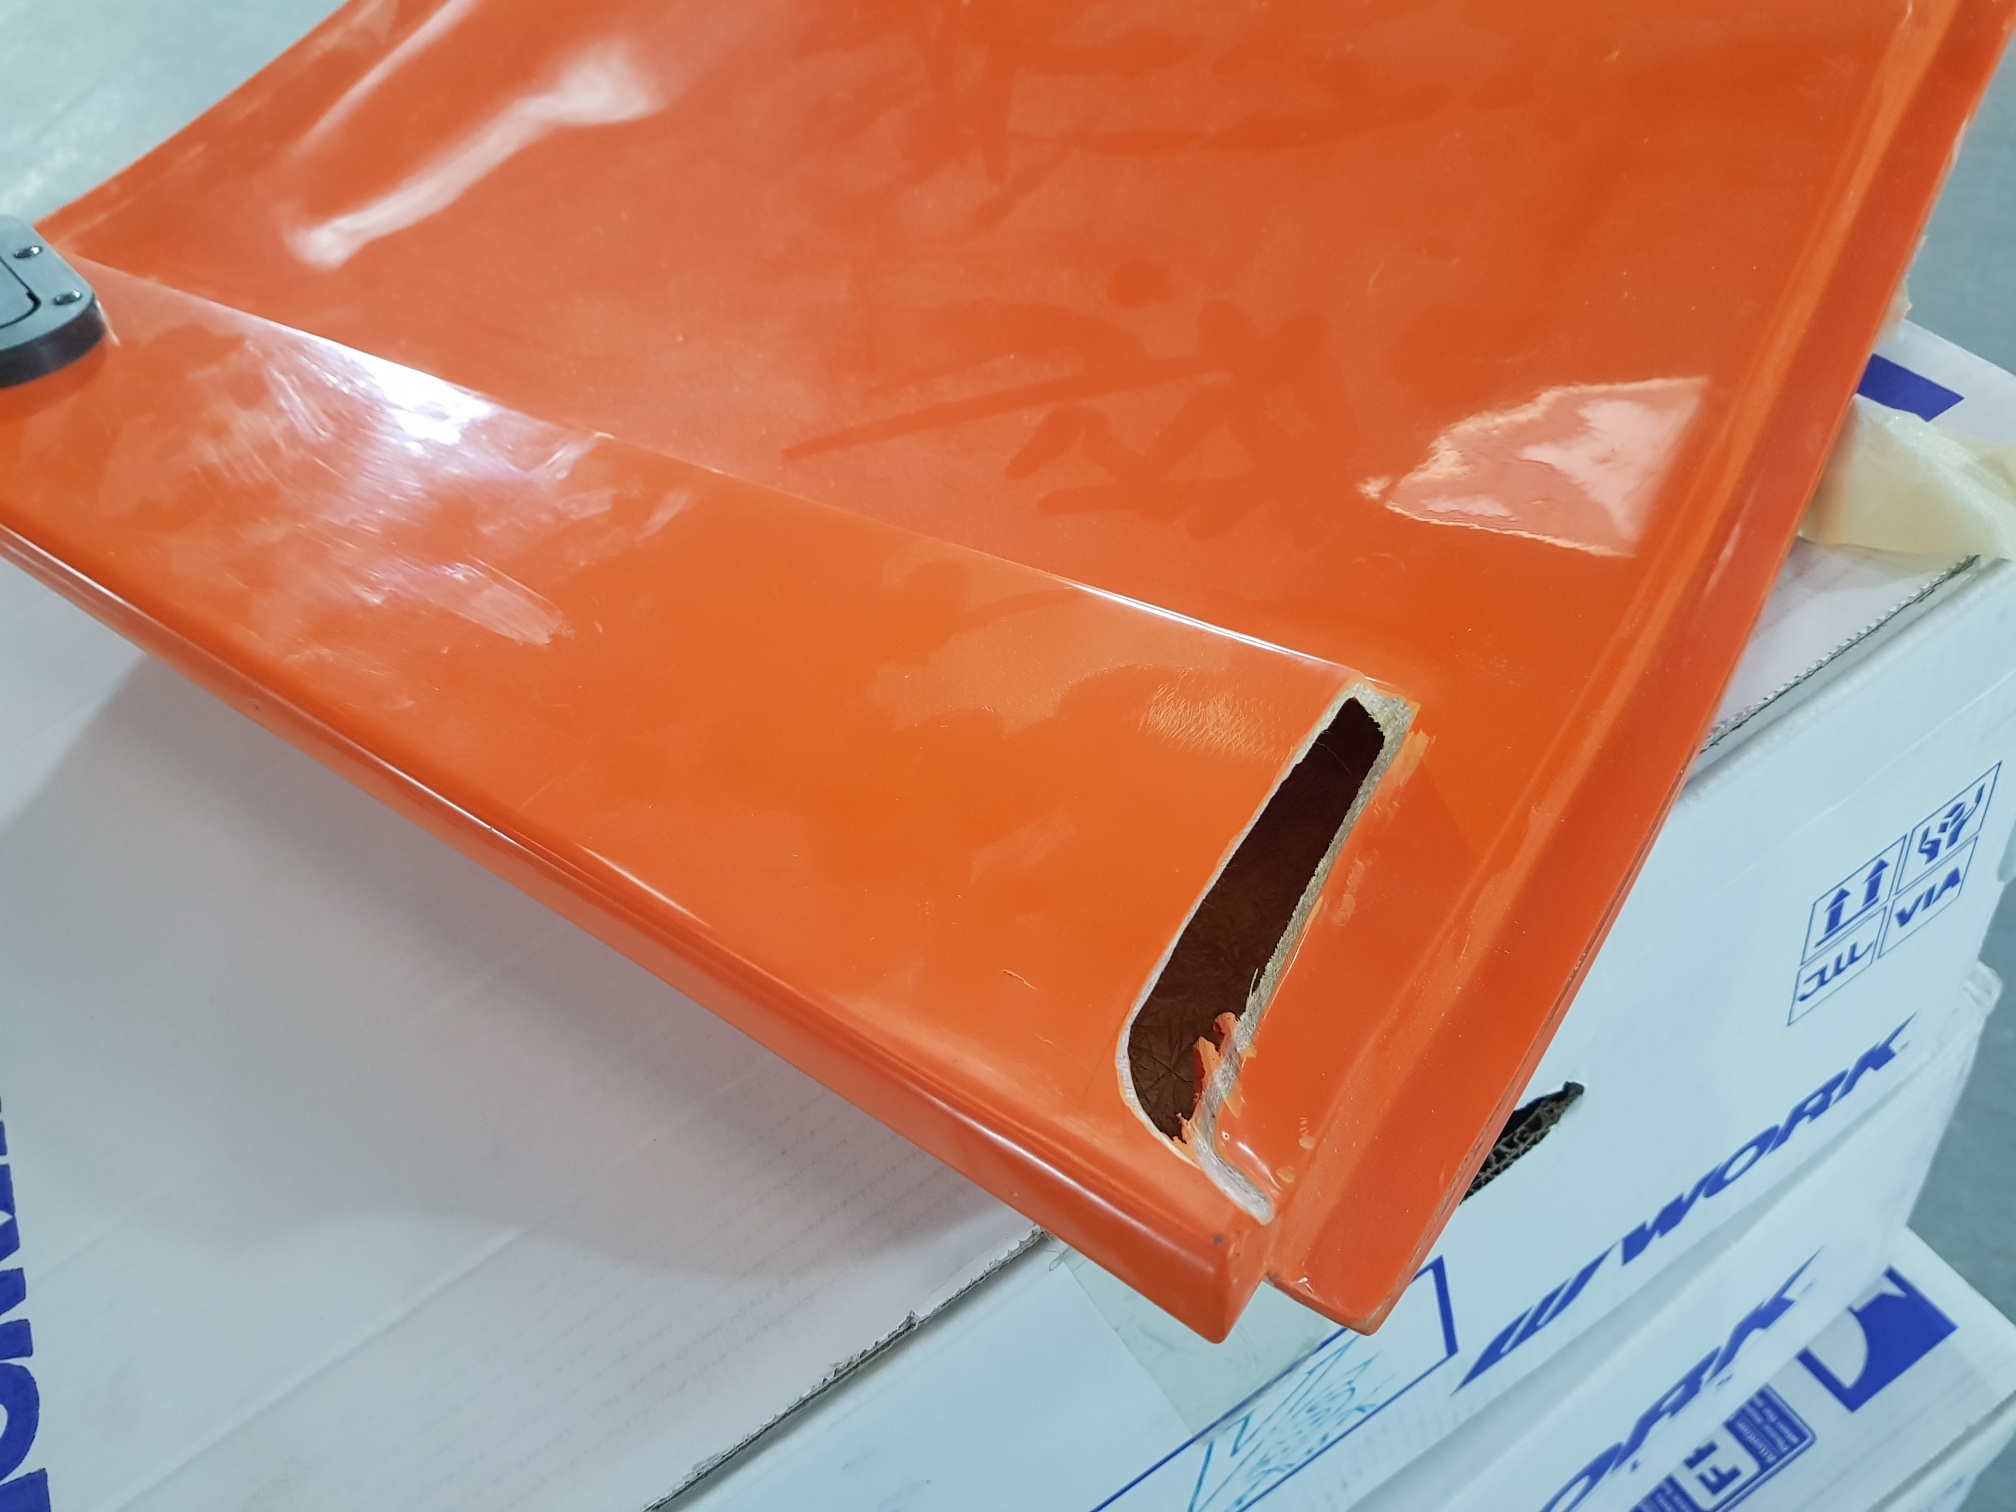
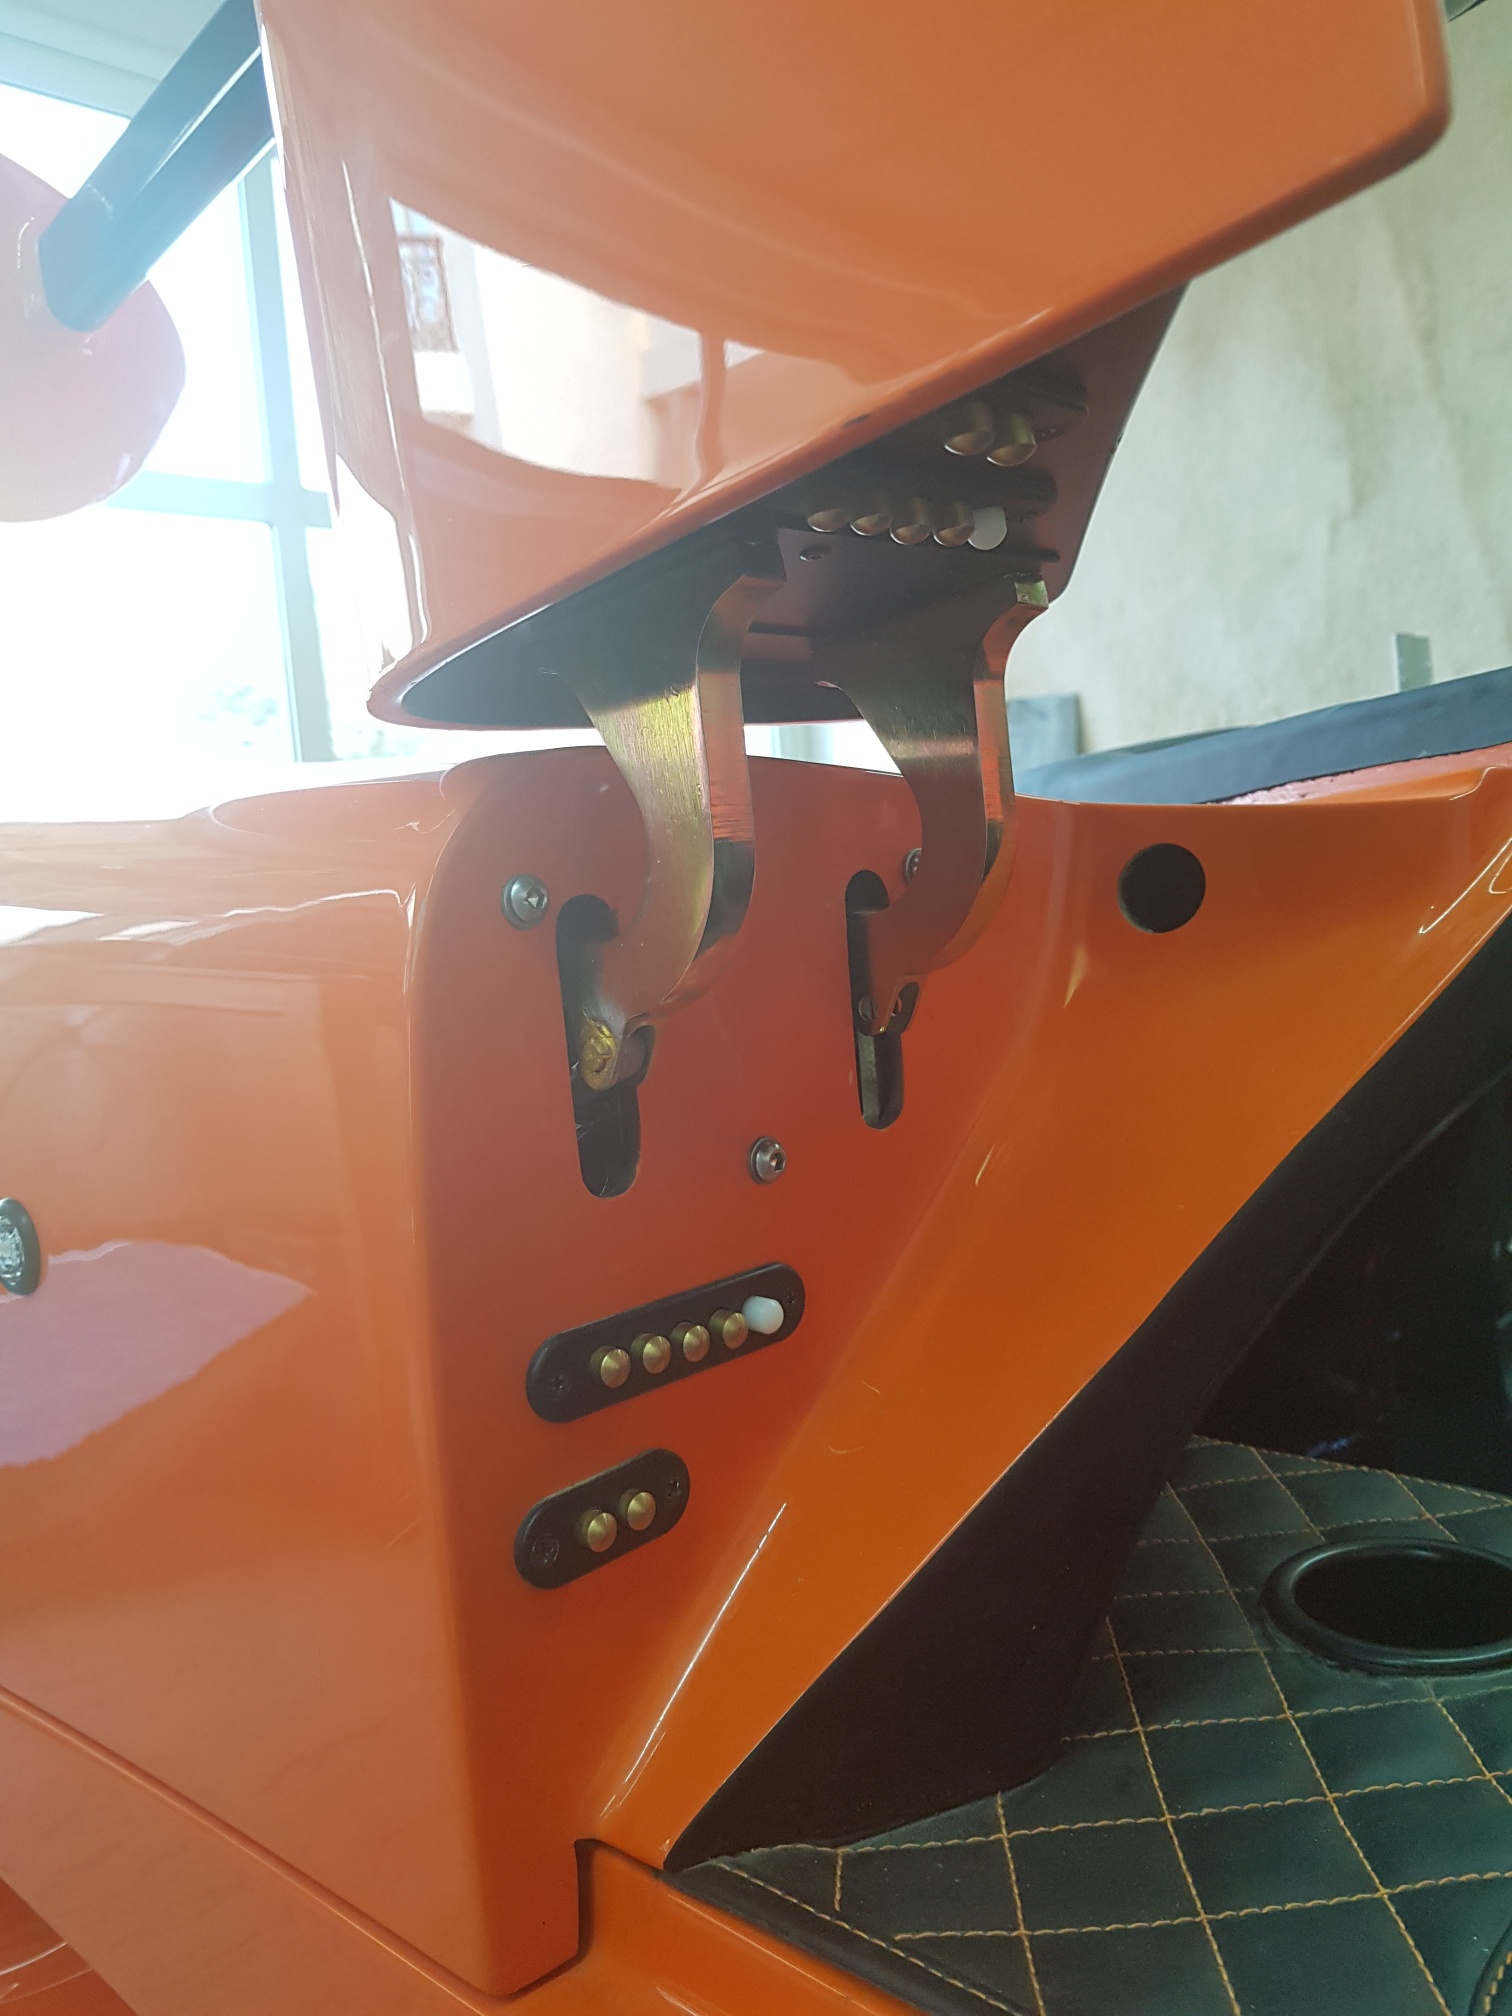
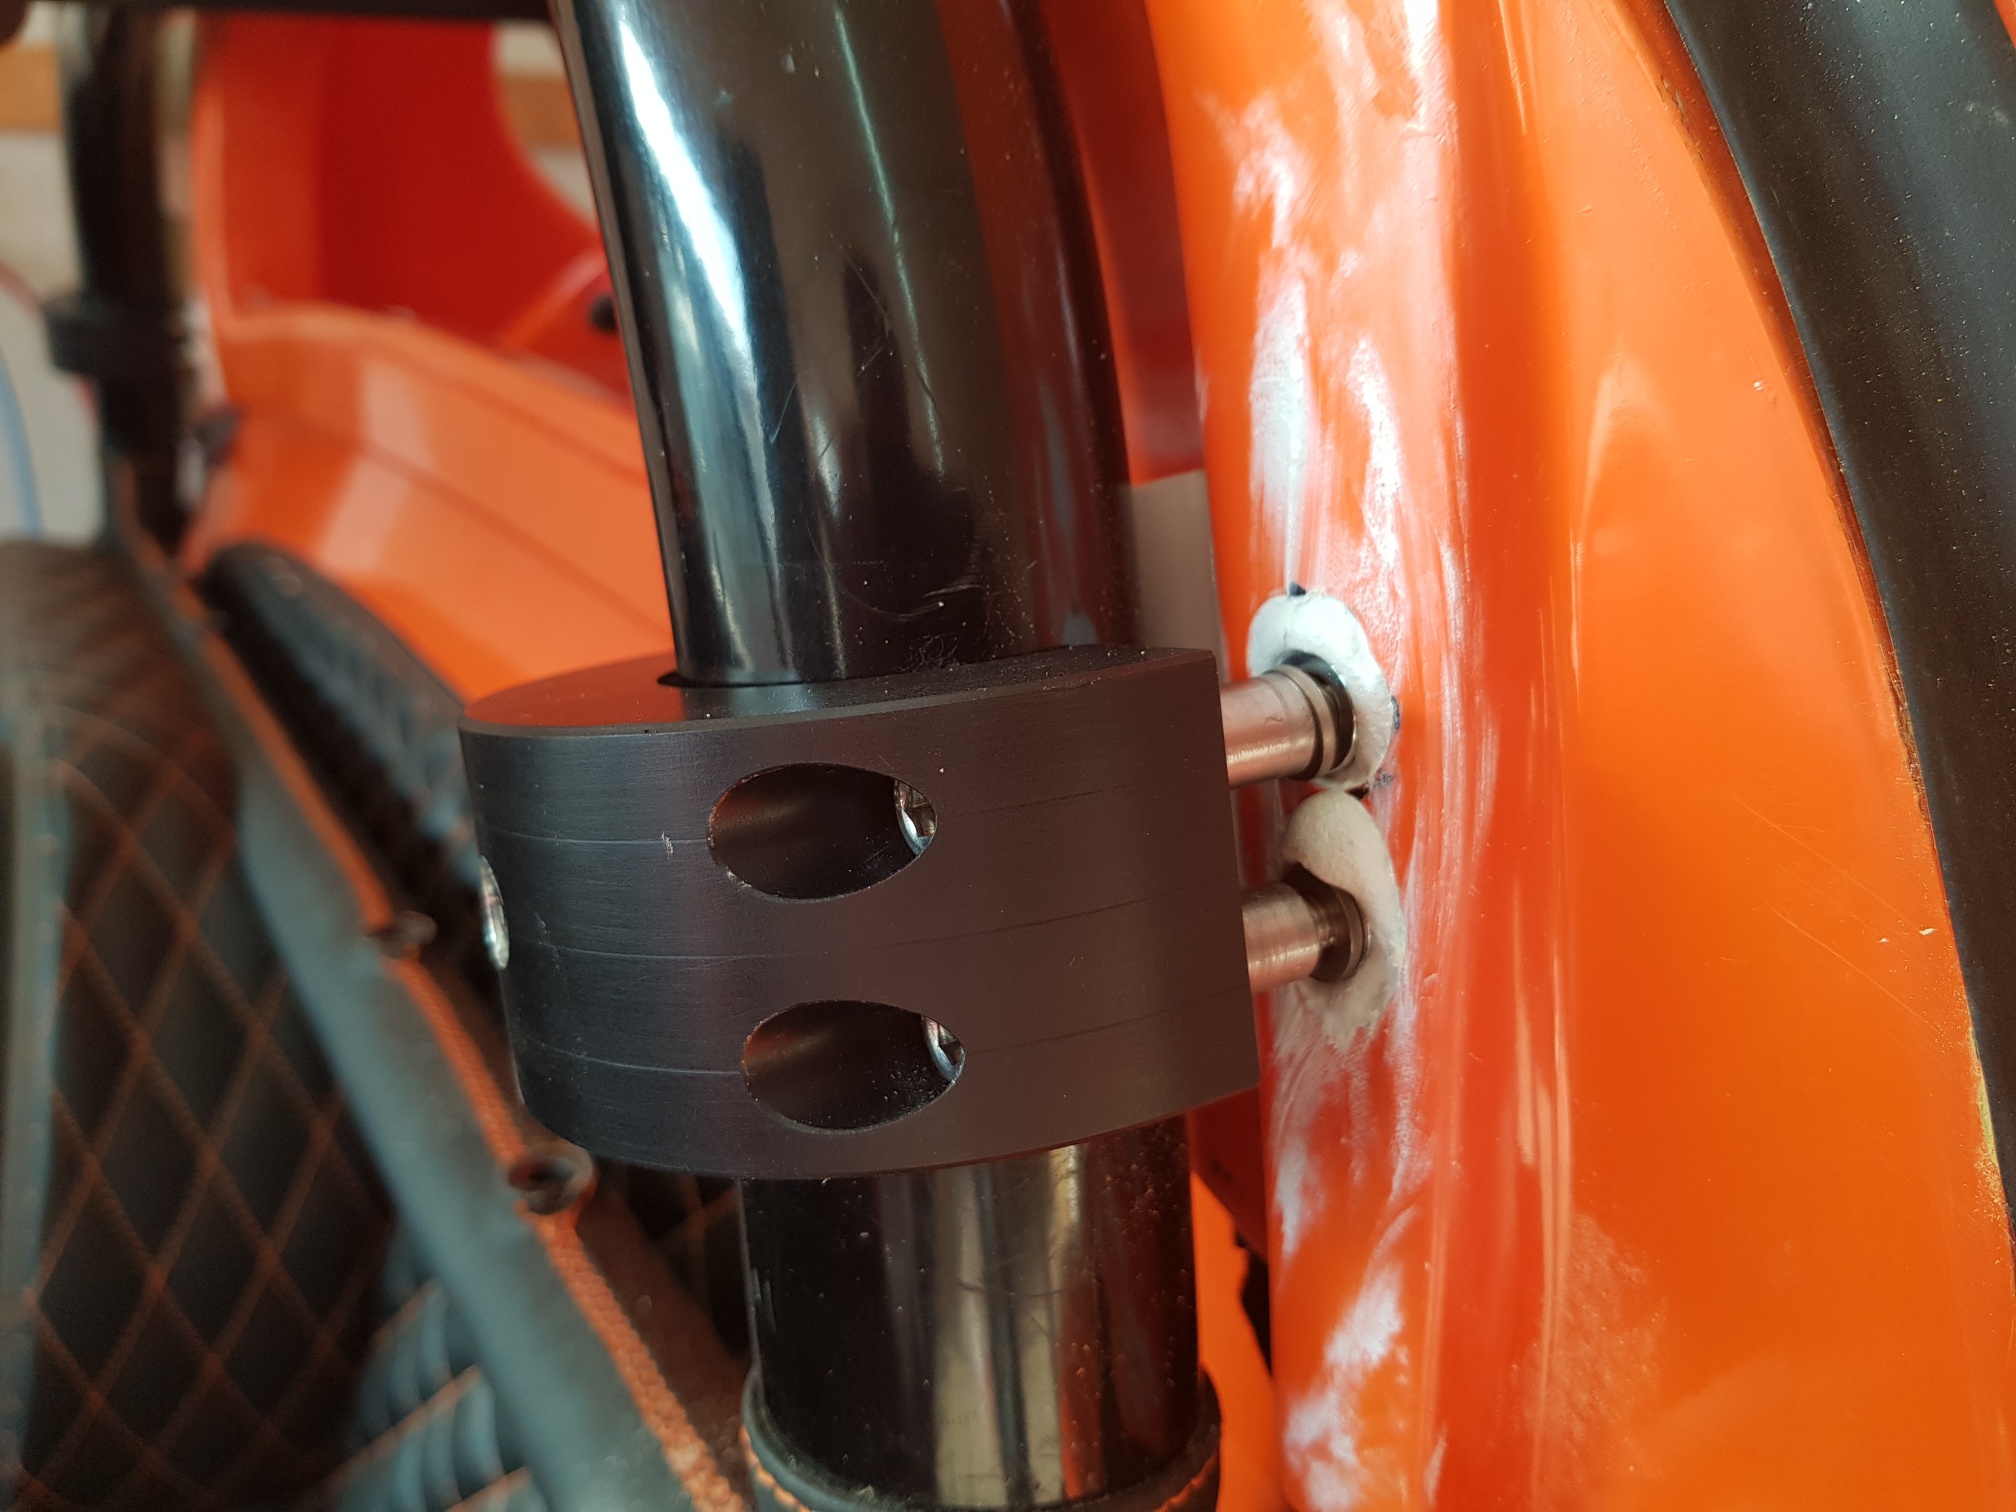
Once the panels were all sitting correctly, I had to get the bulkhead bolted with a permanent solution... The spacers I was using to hold the bulkhead in place gave me a starting point to make spacers to install between the supplied brackets and the bulkhead... ally spacers were made to fit in between, and then I could use the brackets/spacers to install the bulkhead to the roll bar... However, again there was the problem that the roll bar is in the wrong angle, so the bracket would hold the bulkhead incorrectly... to rectify this, I drilled holes in the bulkhead for the rivnuts, but rather than install the rivnuts on the bulkhead, I ended up epoxying them into the bulkhead while keeping the bulkhead installed in the correct location... This way, I could get the angle of the bracket-bulkhead correct based on my roll bar...
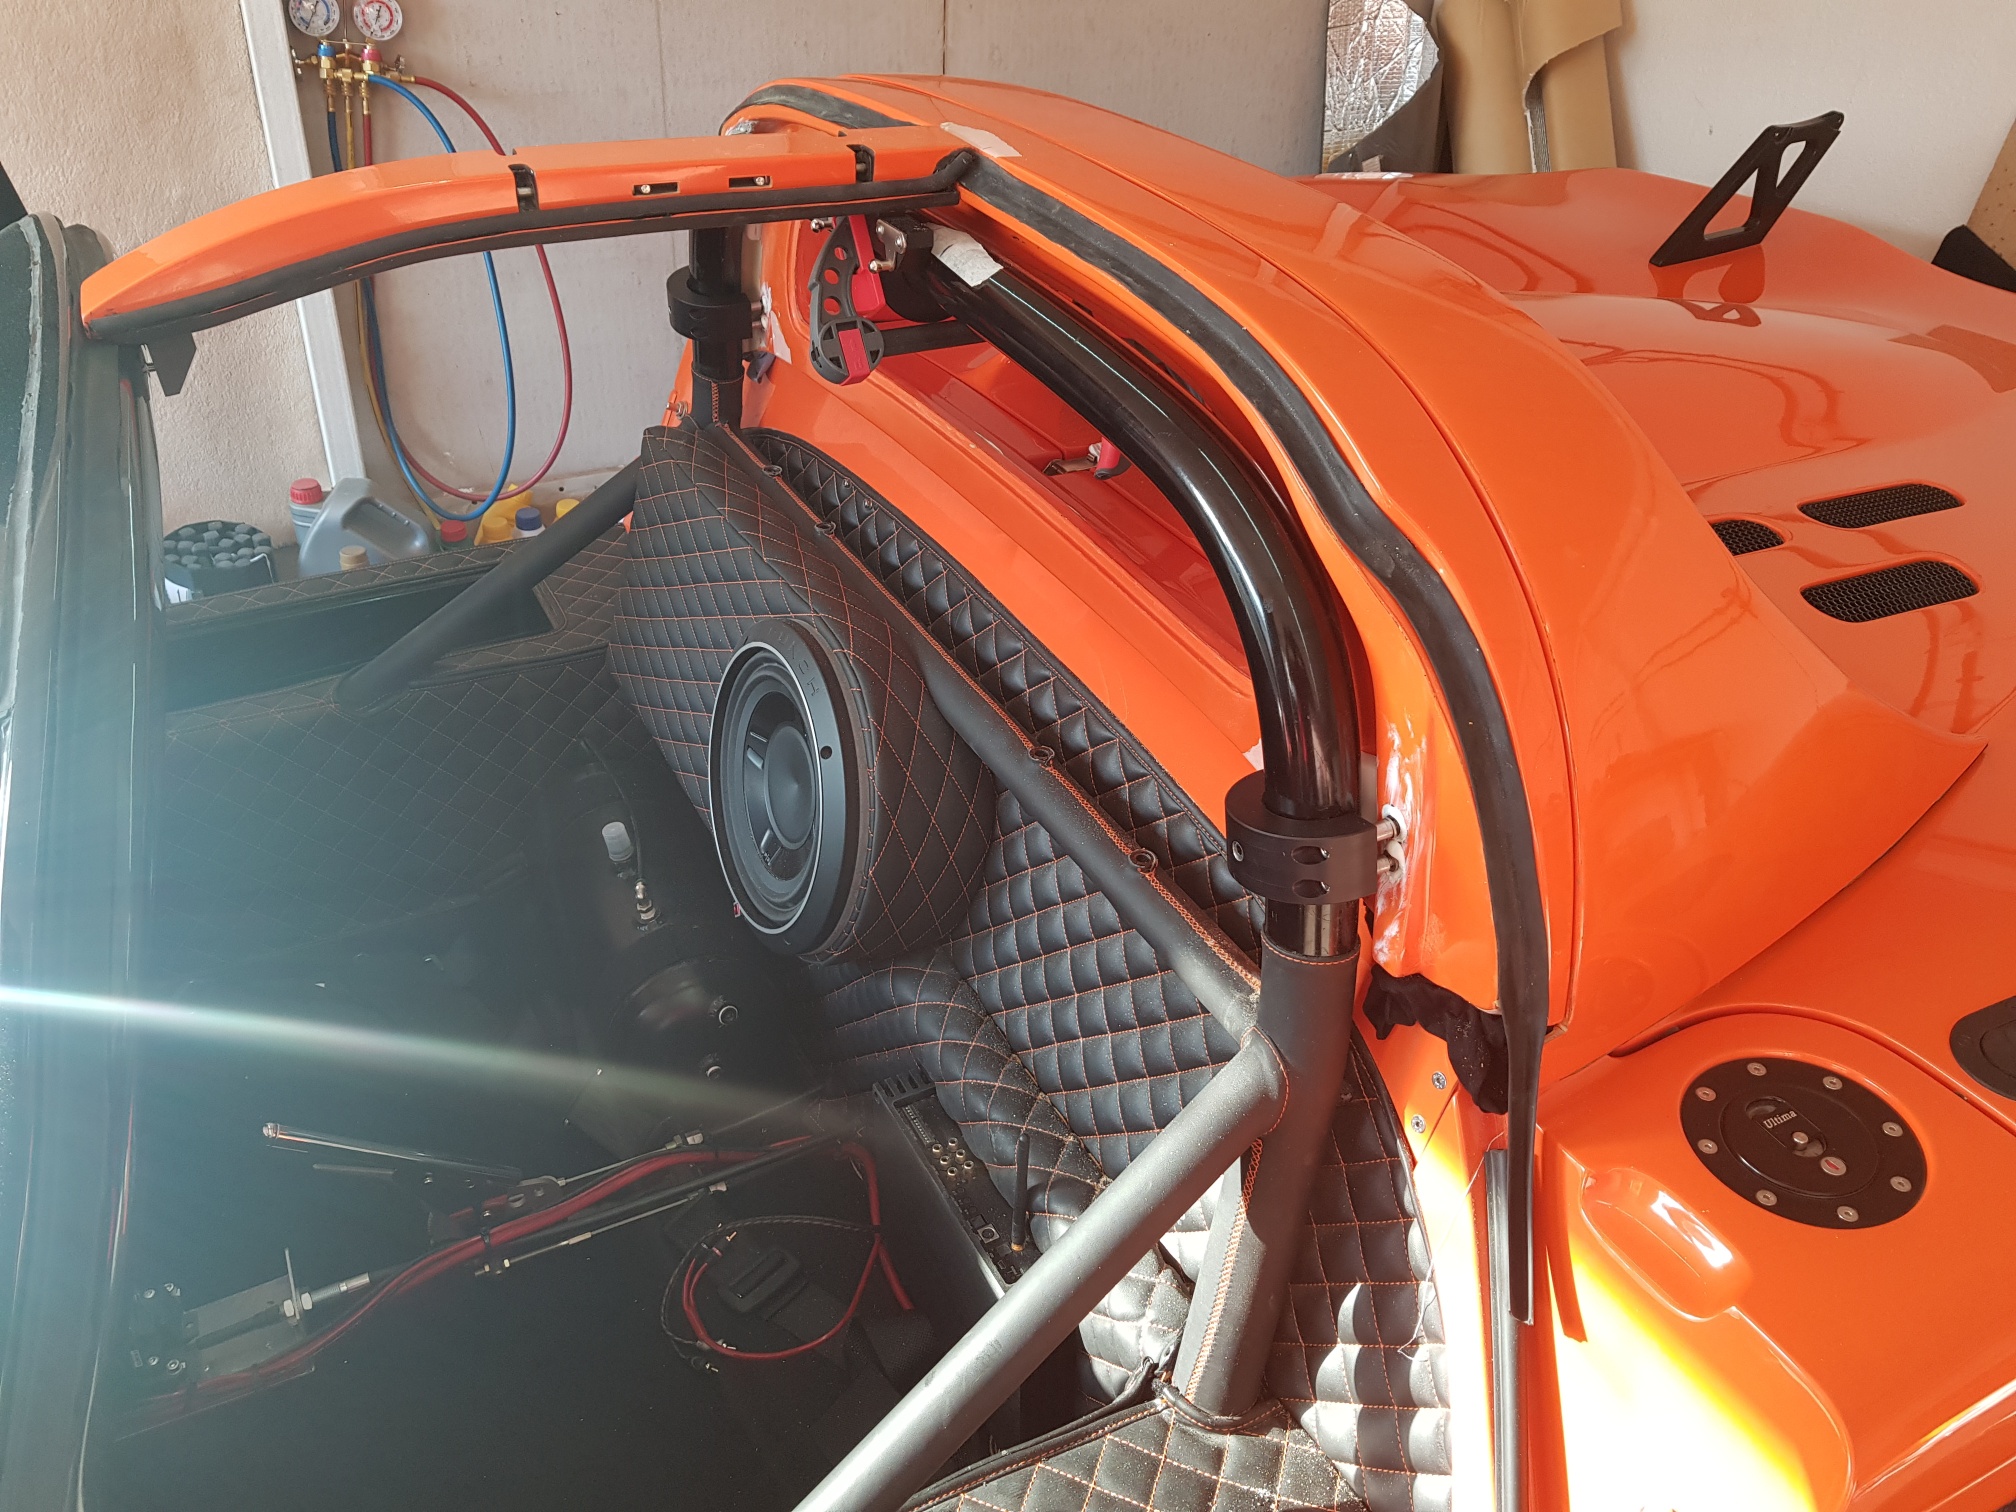

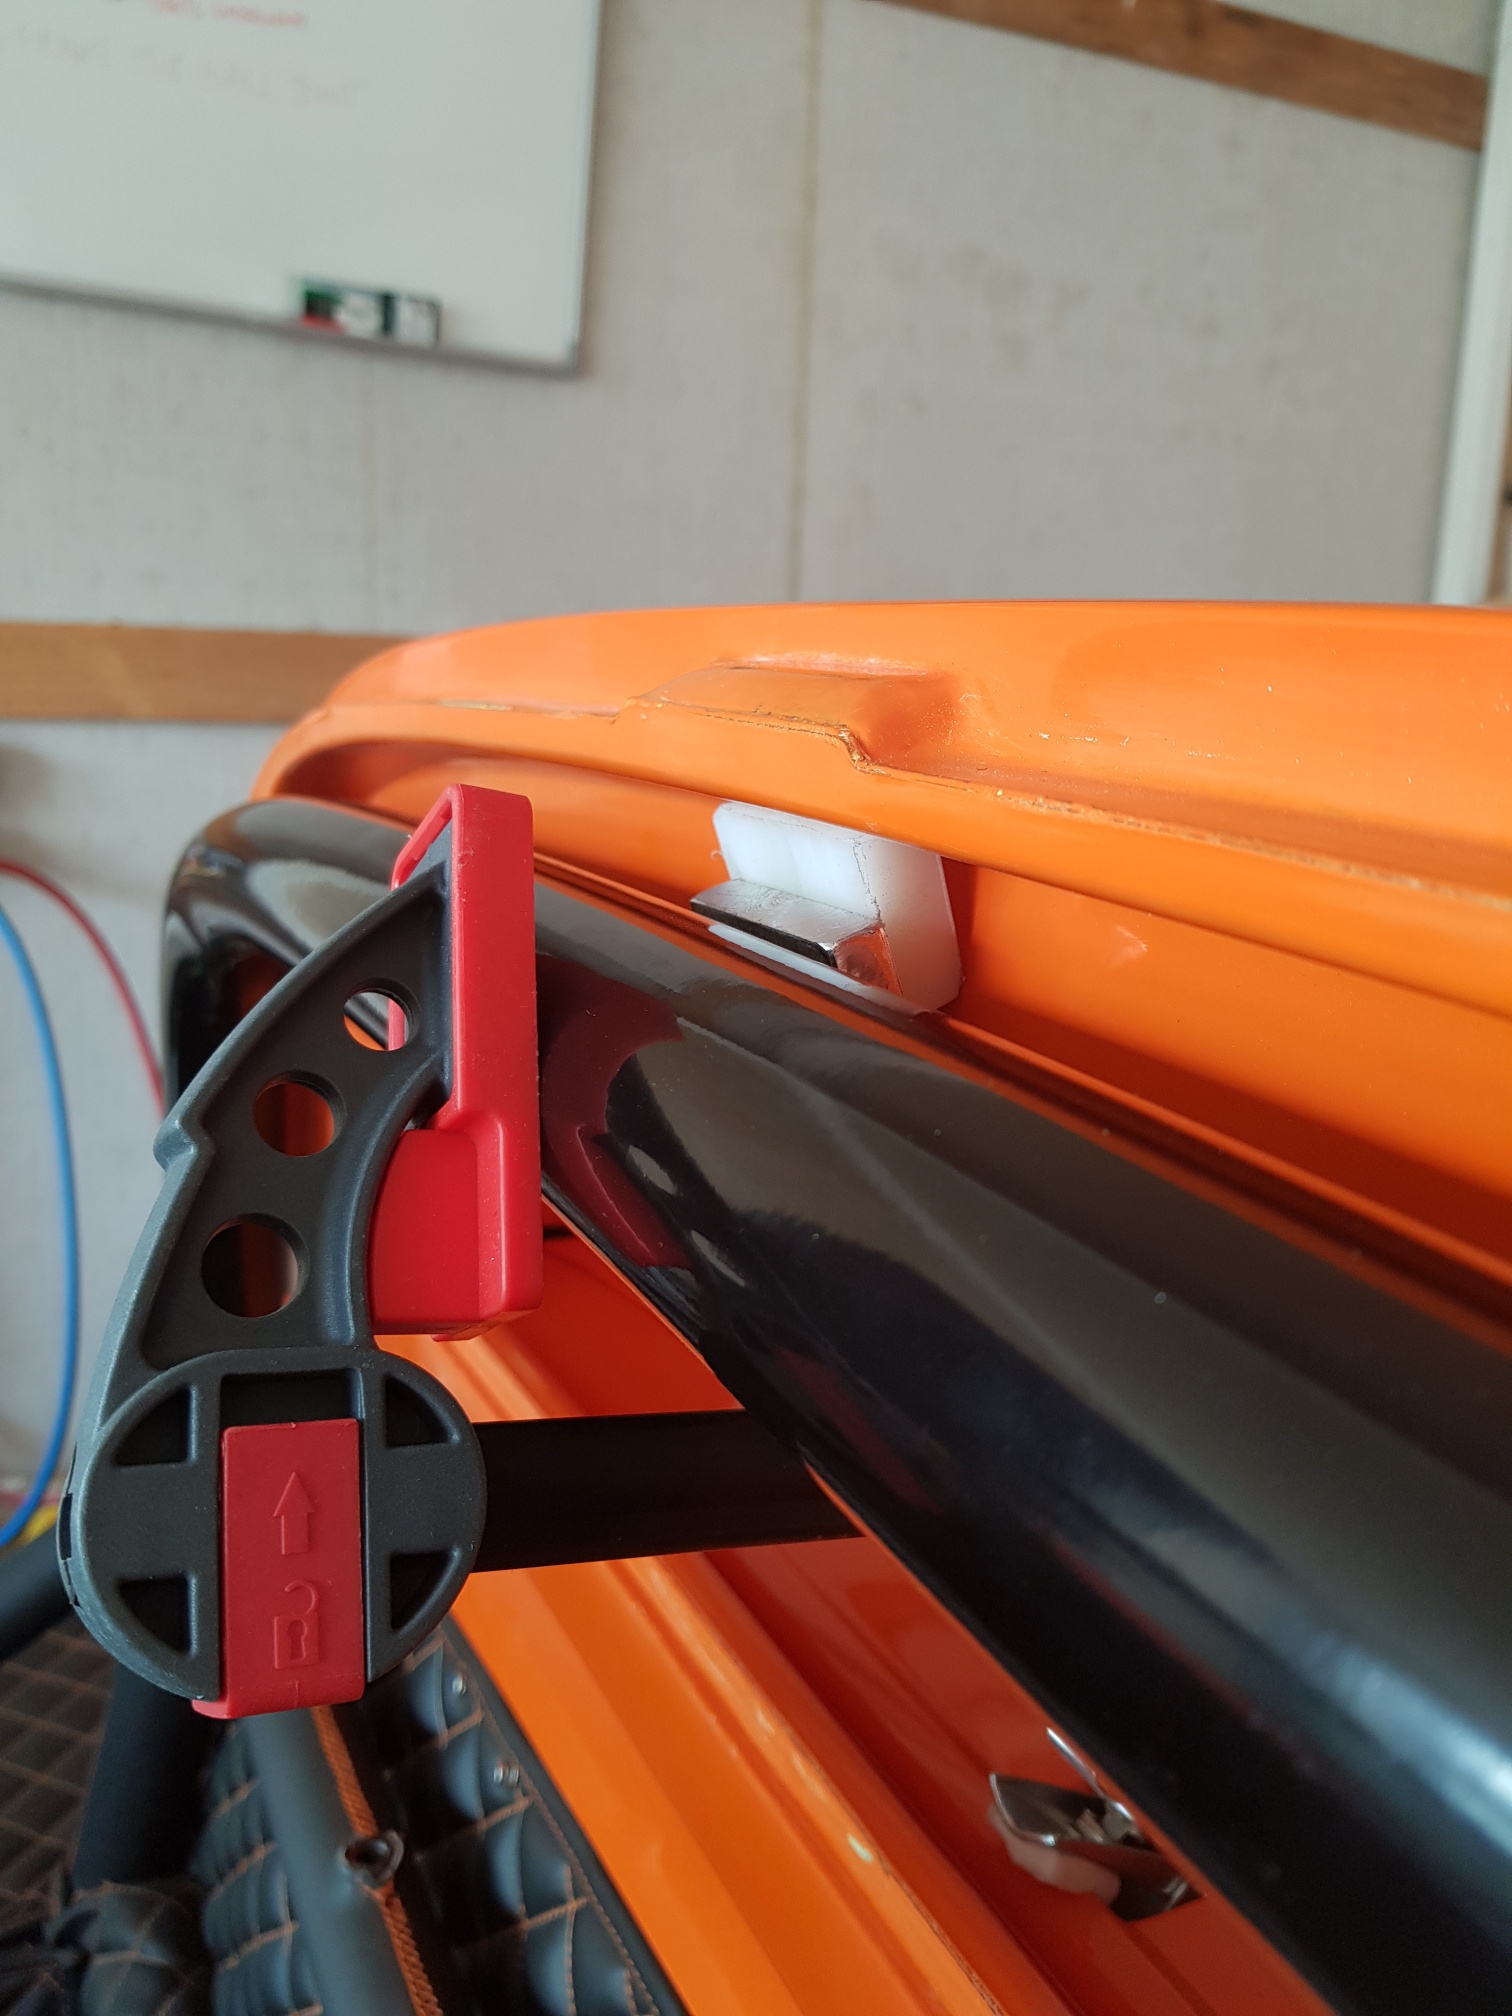
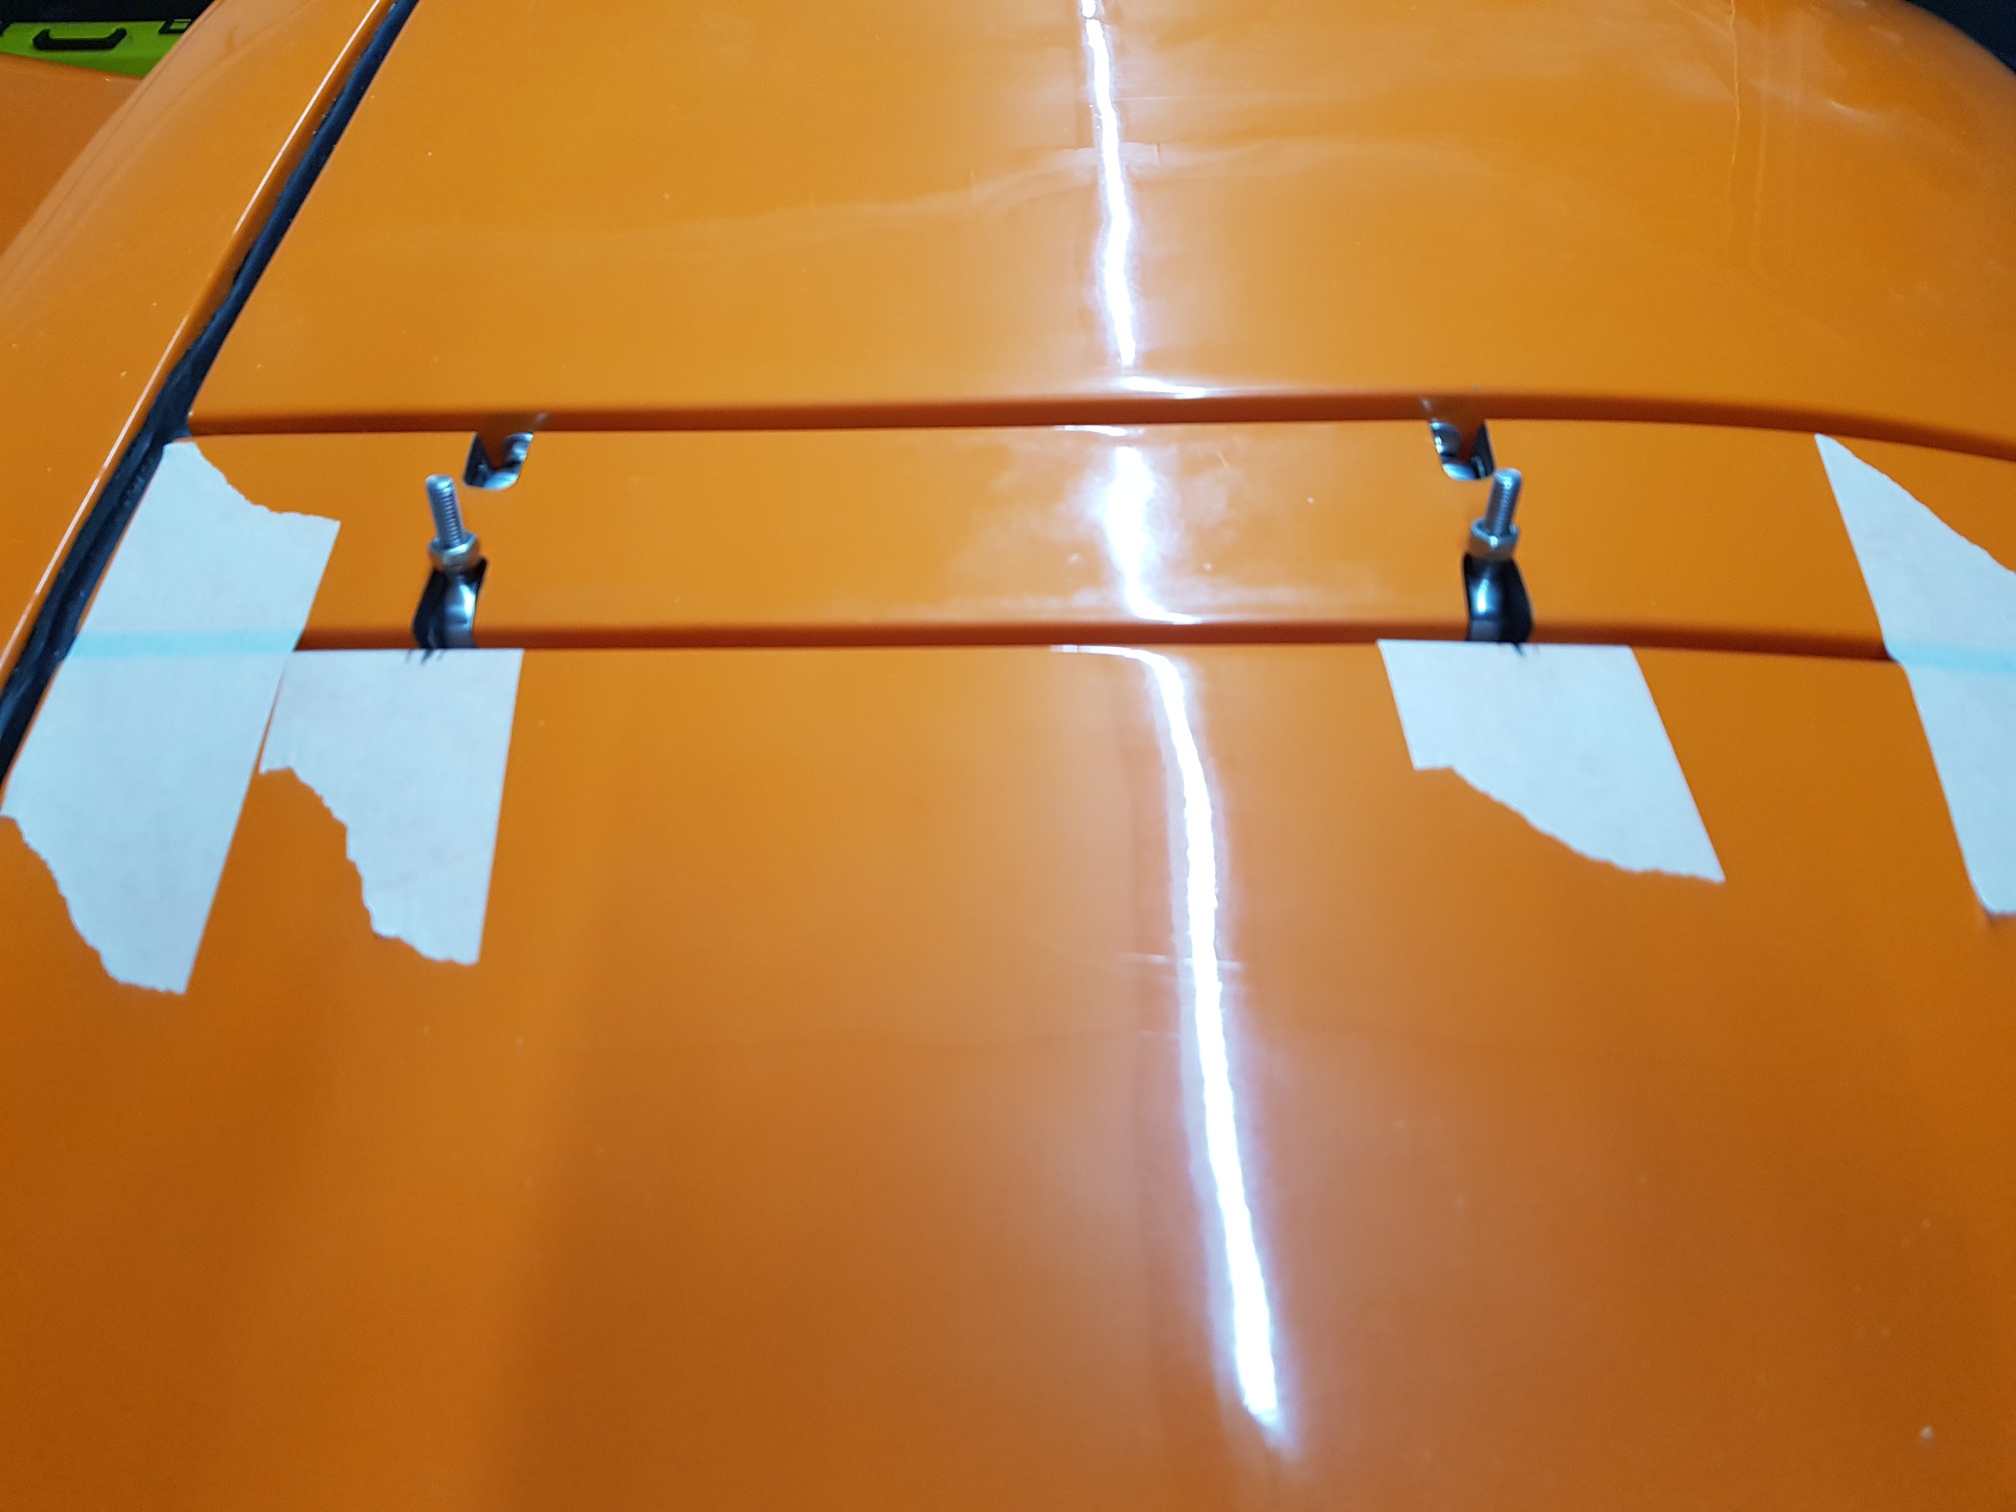
Once the bulkhead was in place, I could install the rest of the kit was per the instructions... The center bar was installed - front and rear bracket position marked and drilled/tapped in the bar, and brackets installed... The seals were installed... Then the panels were installed - rose joint positions marked for each location, height measured and hole drilled correspondingly, rivnut fixed and rose joint installed... All the other seals were then installed...
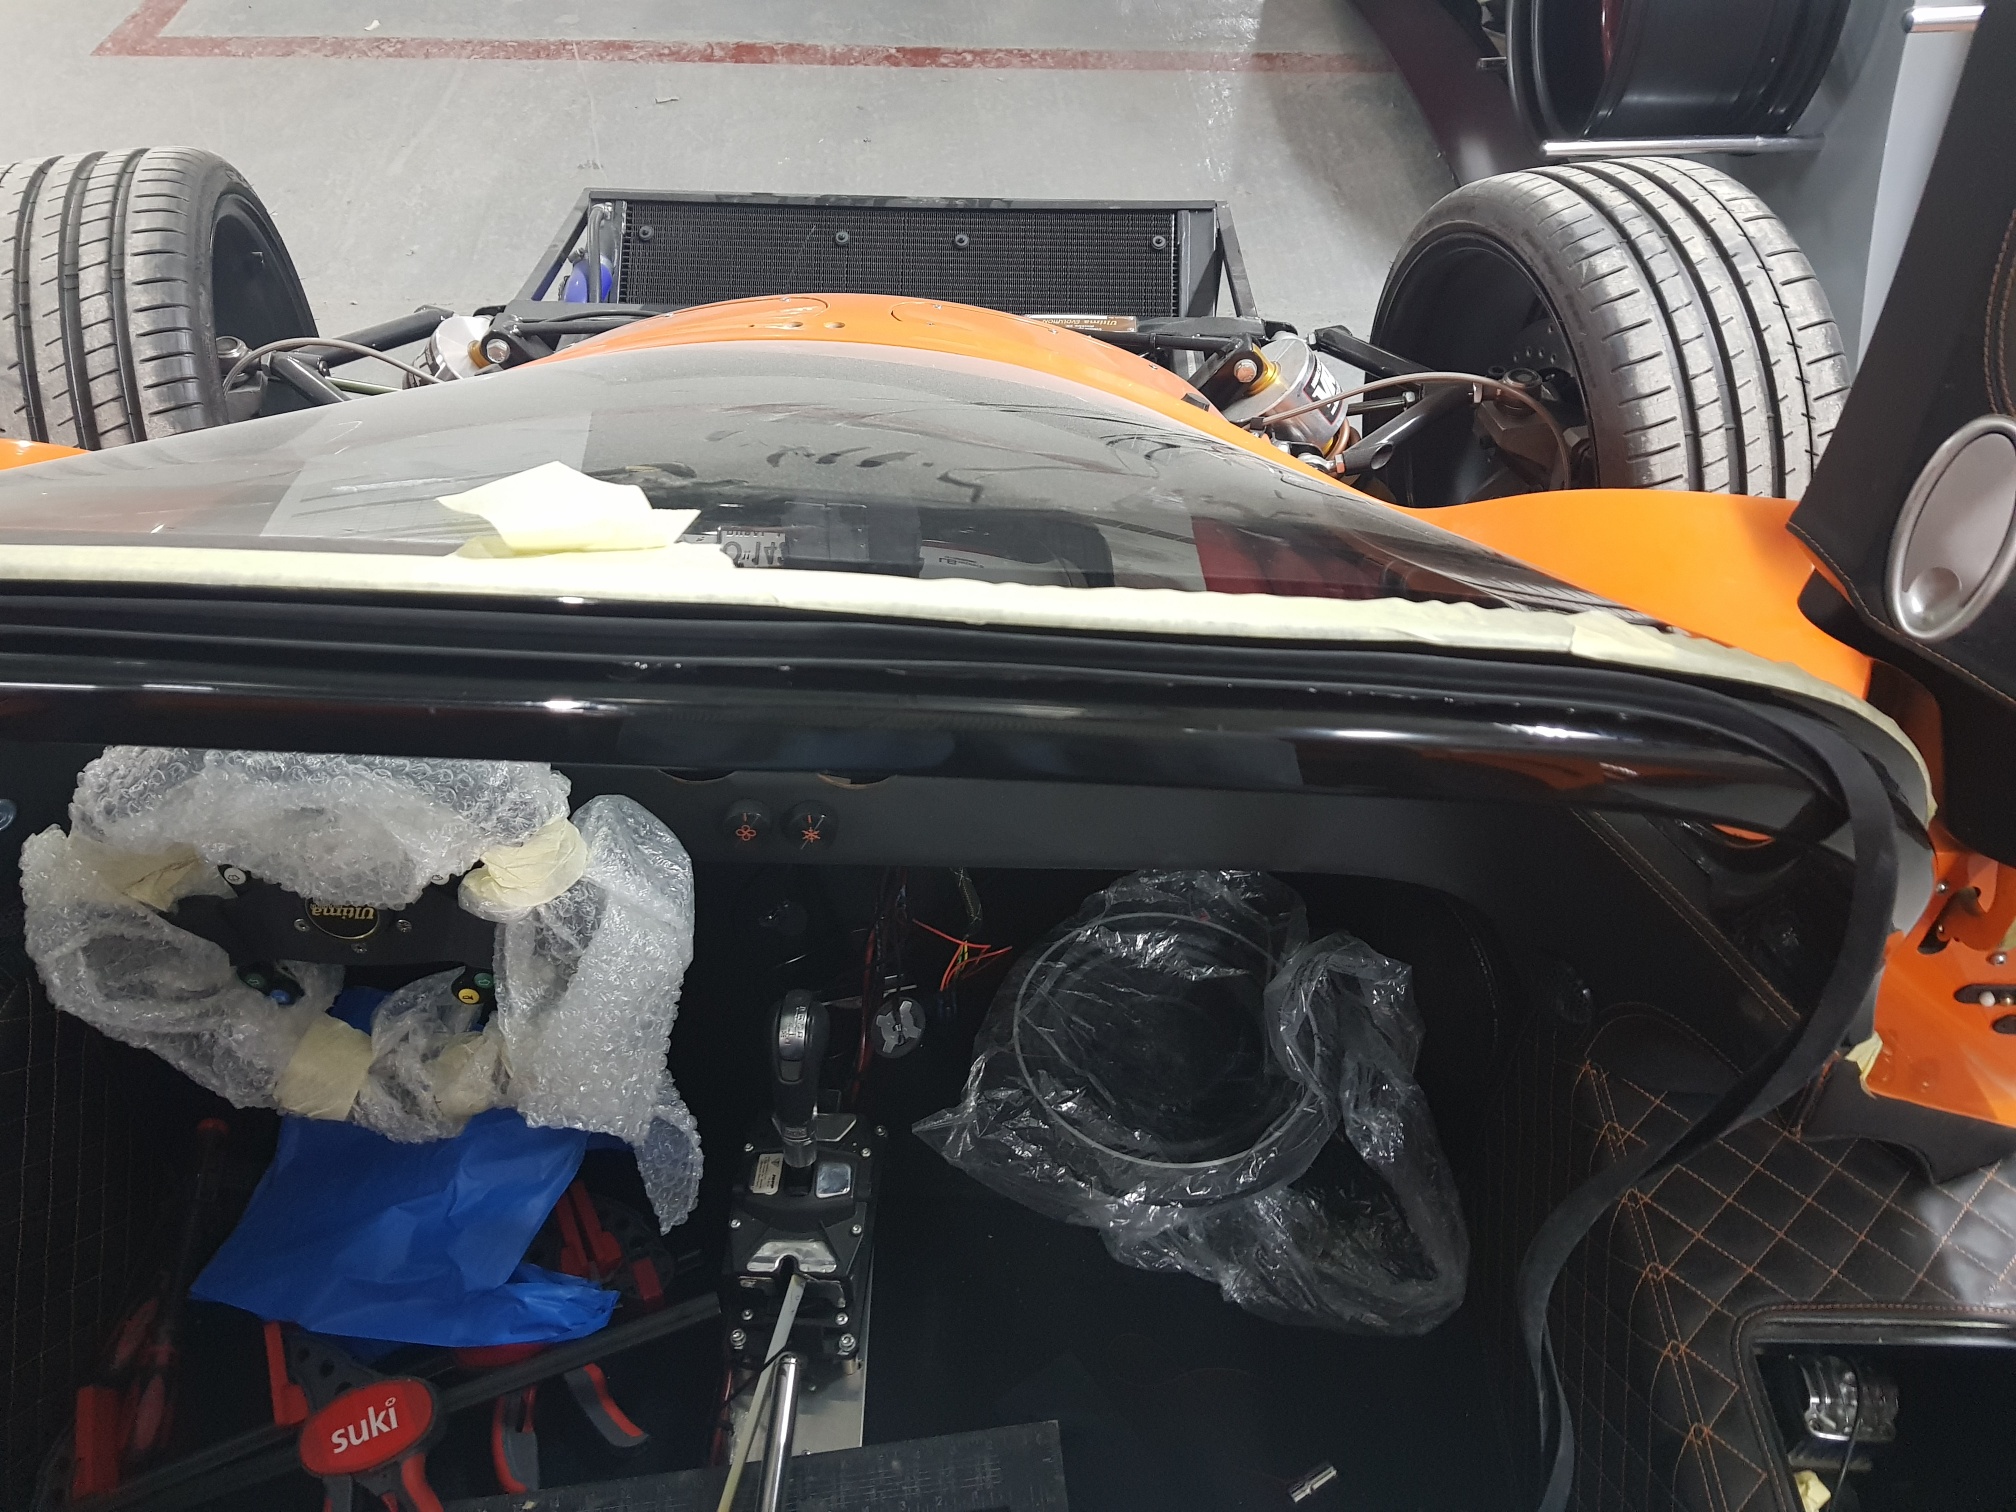
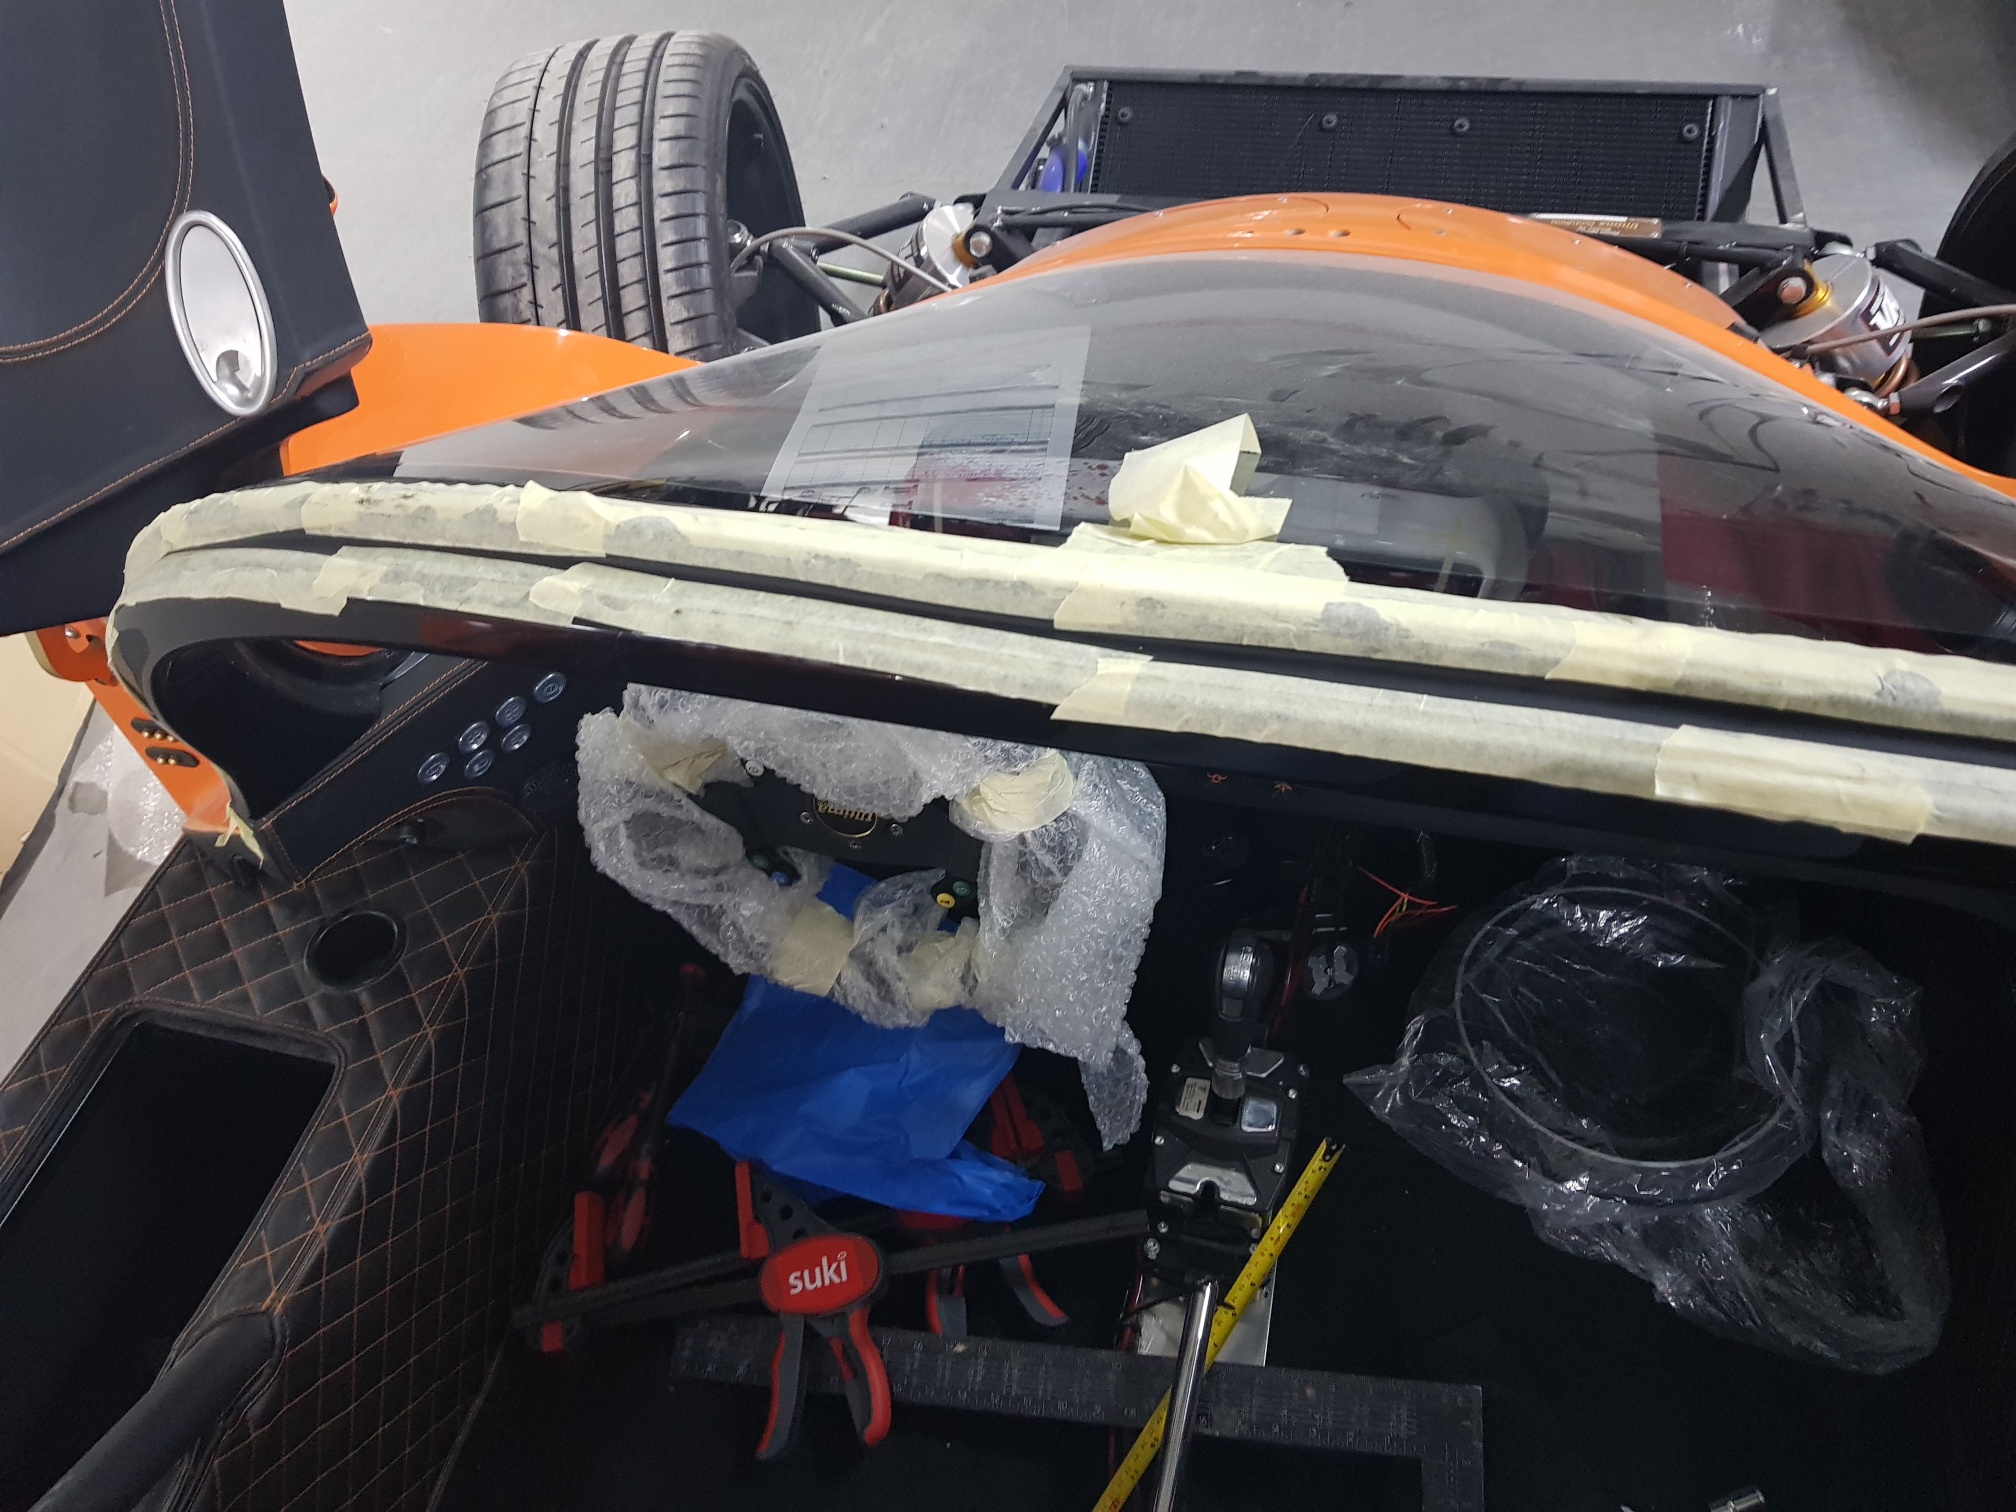
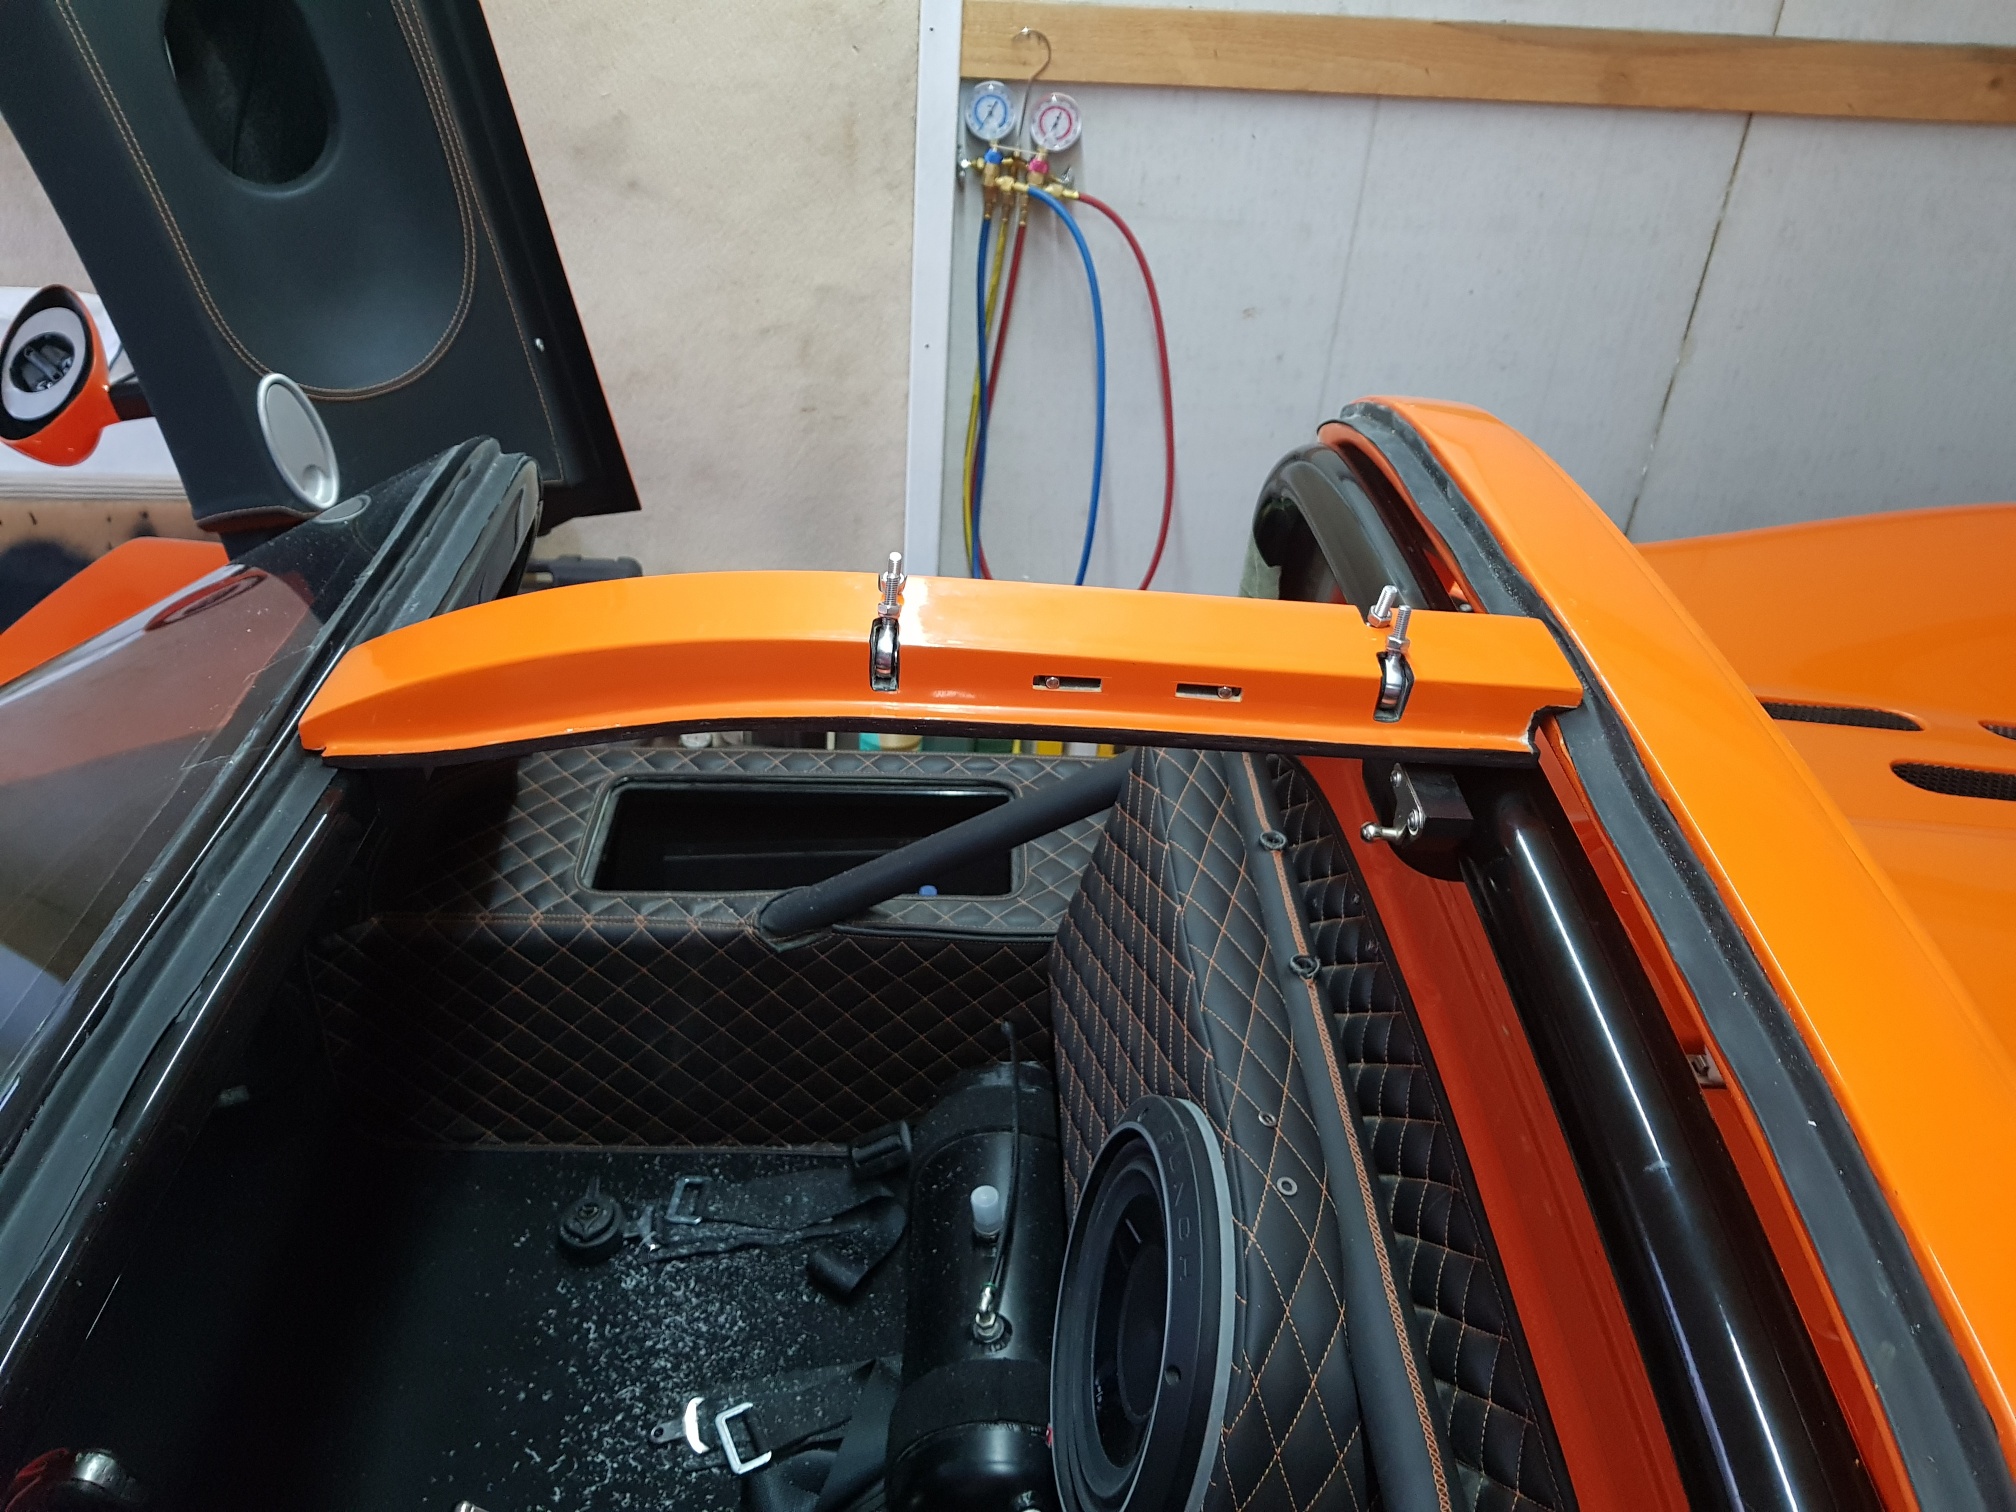
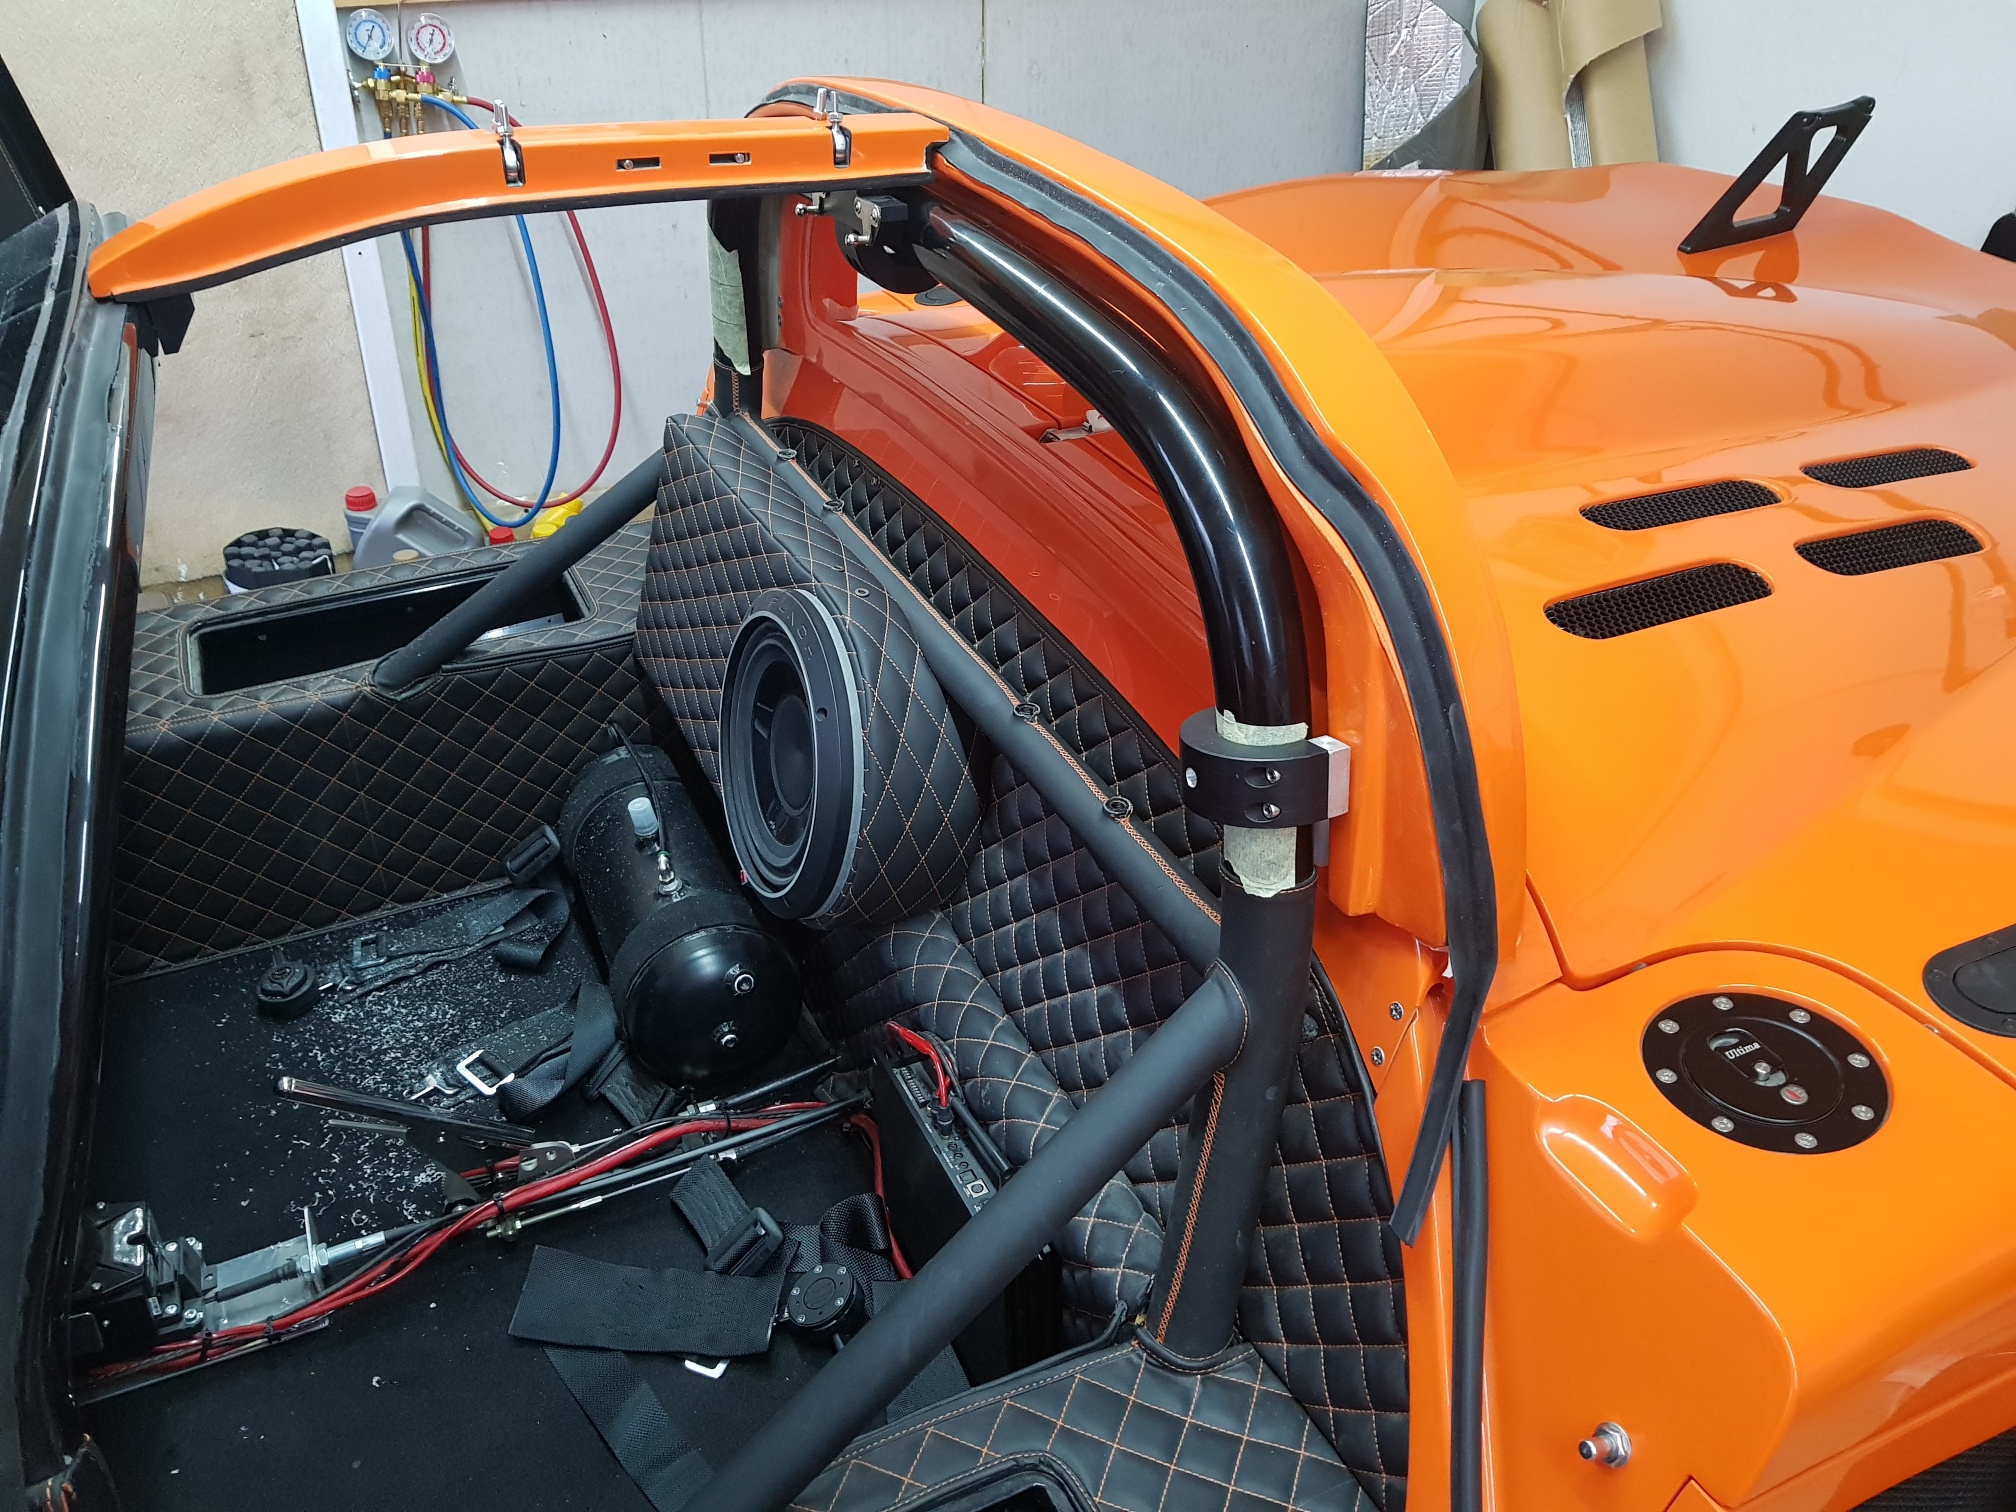

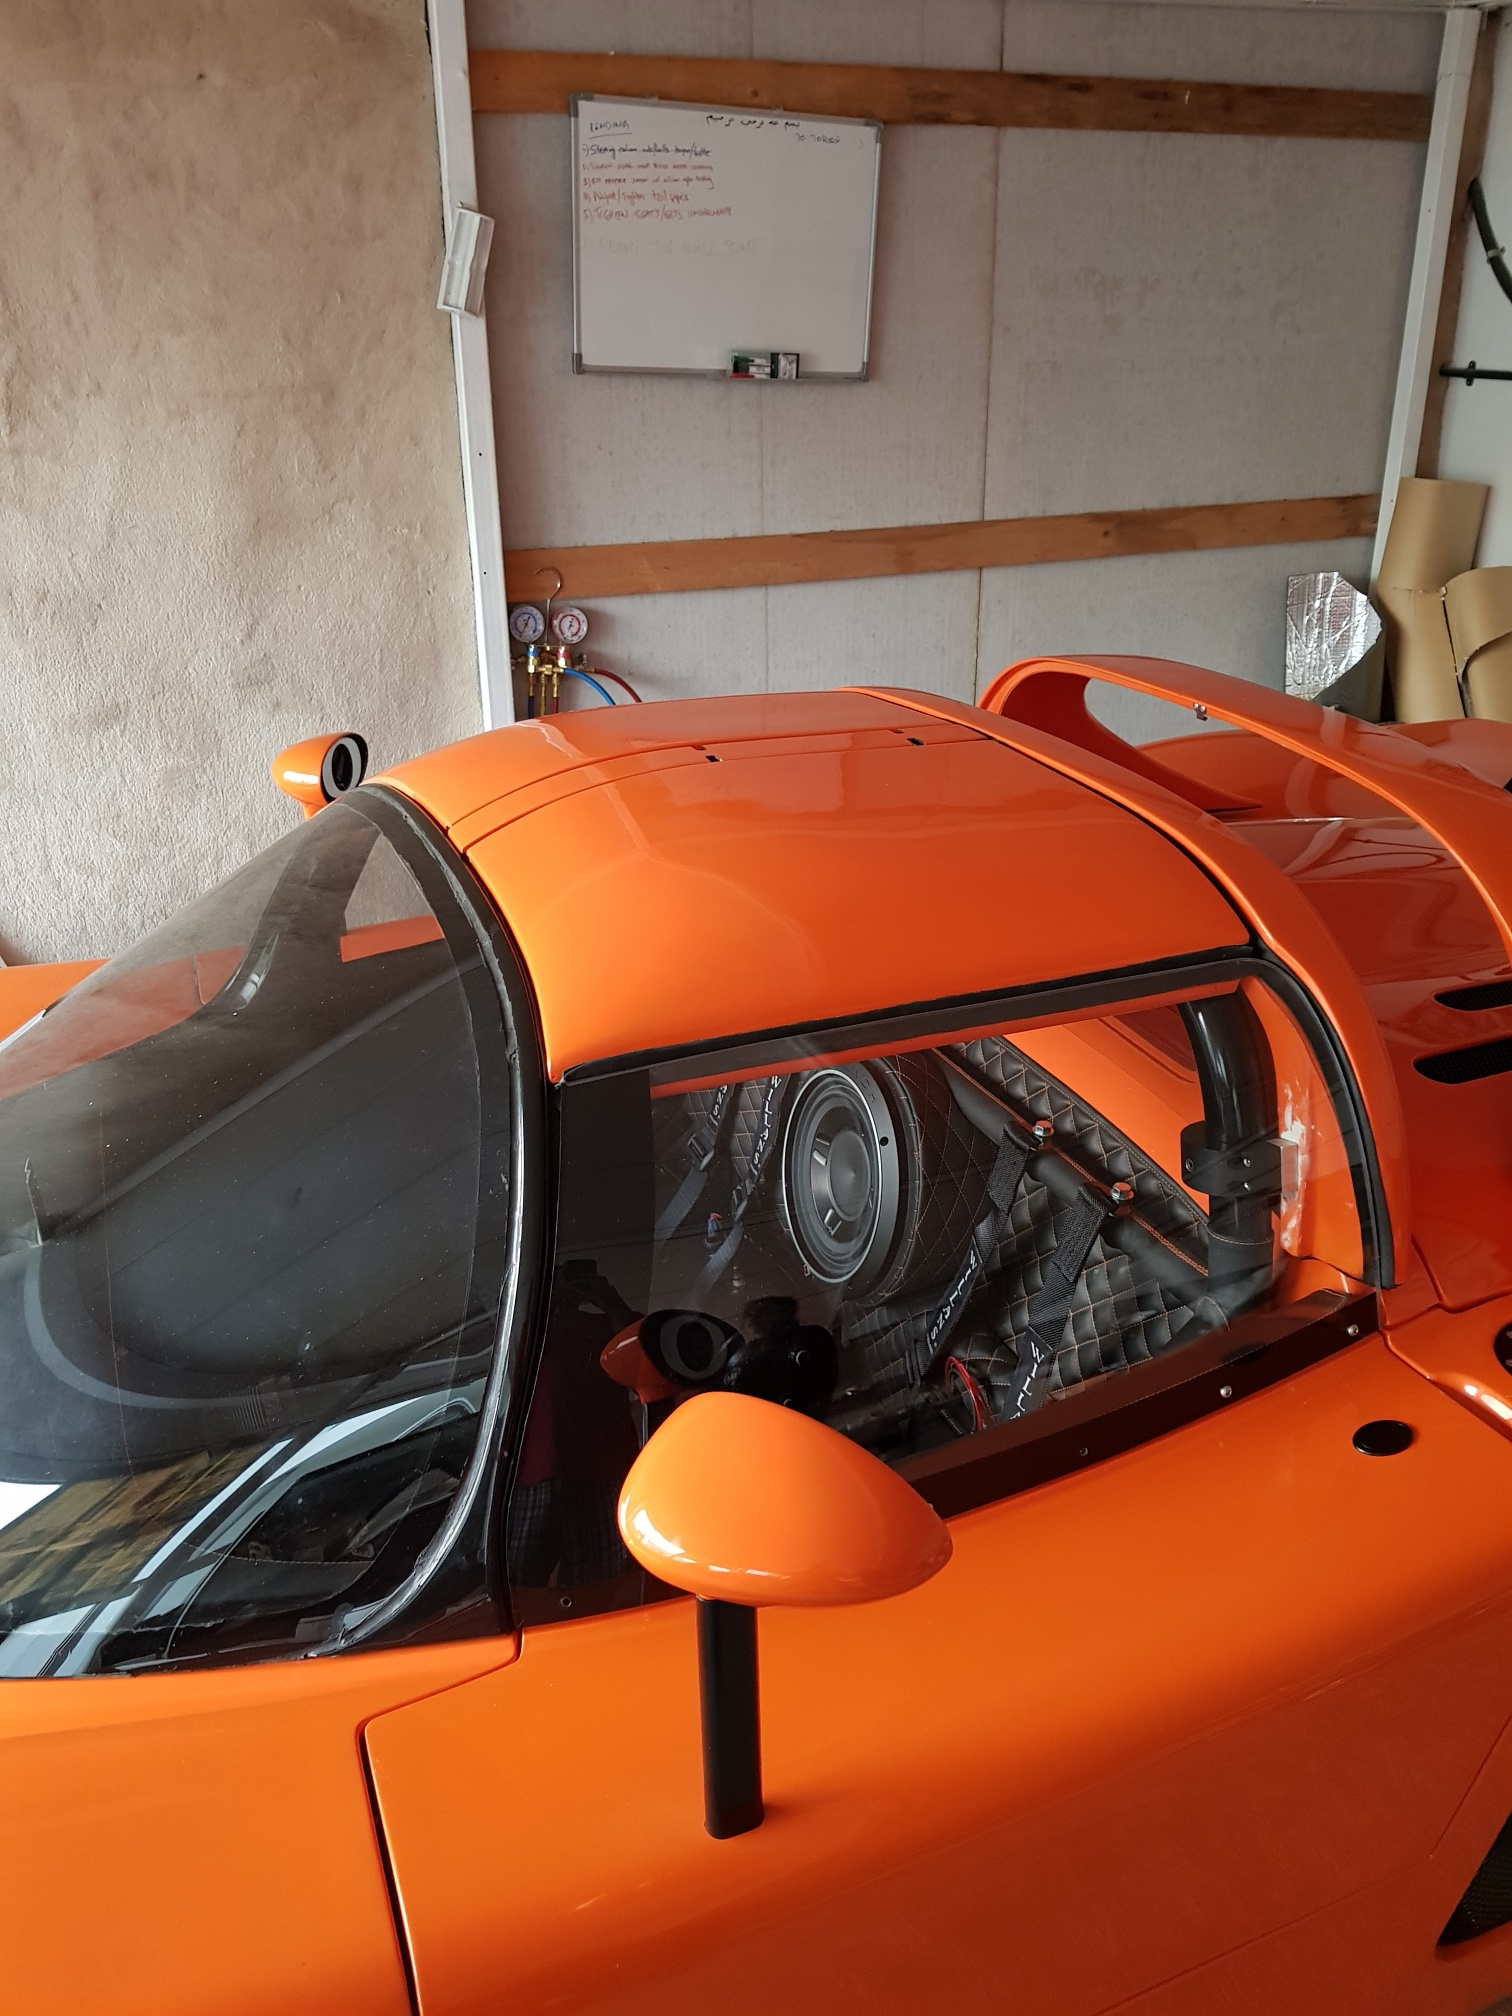
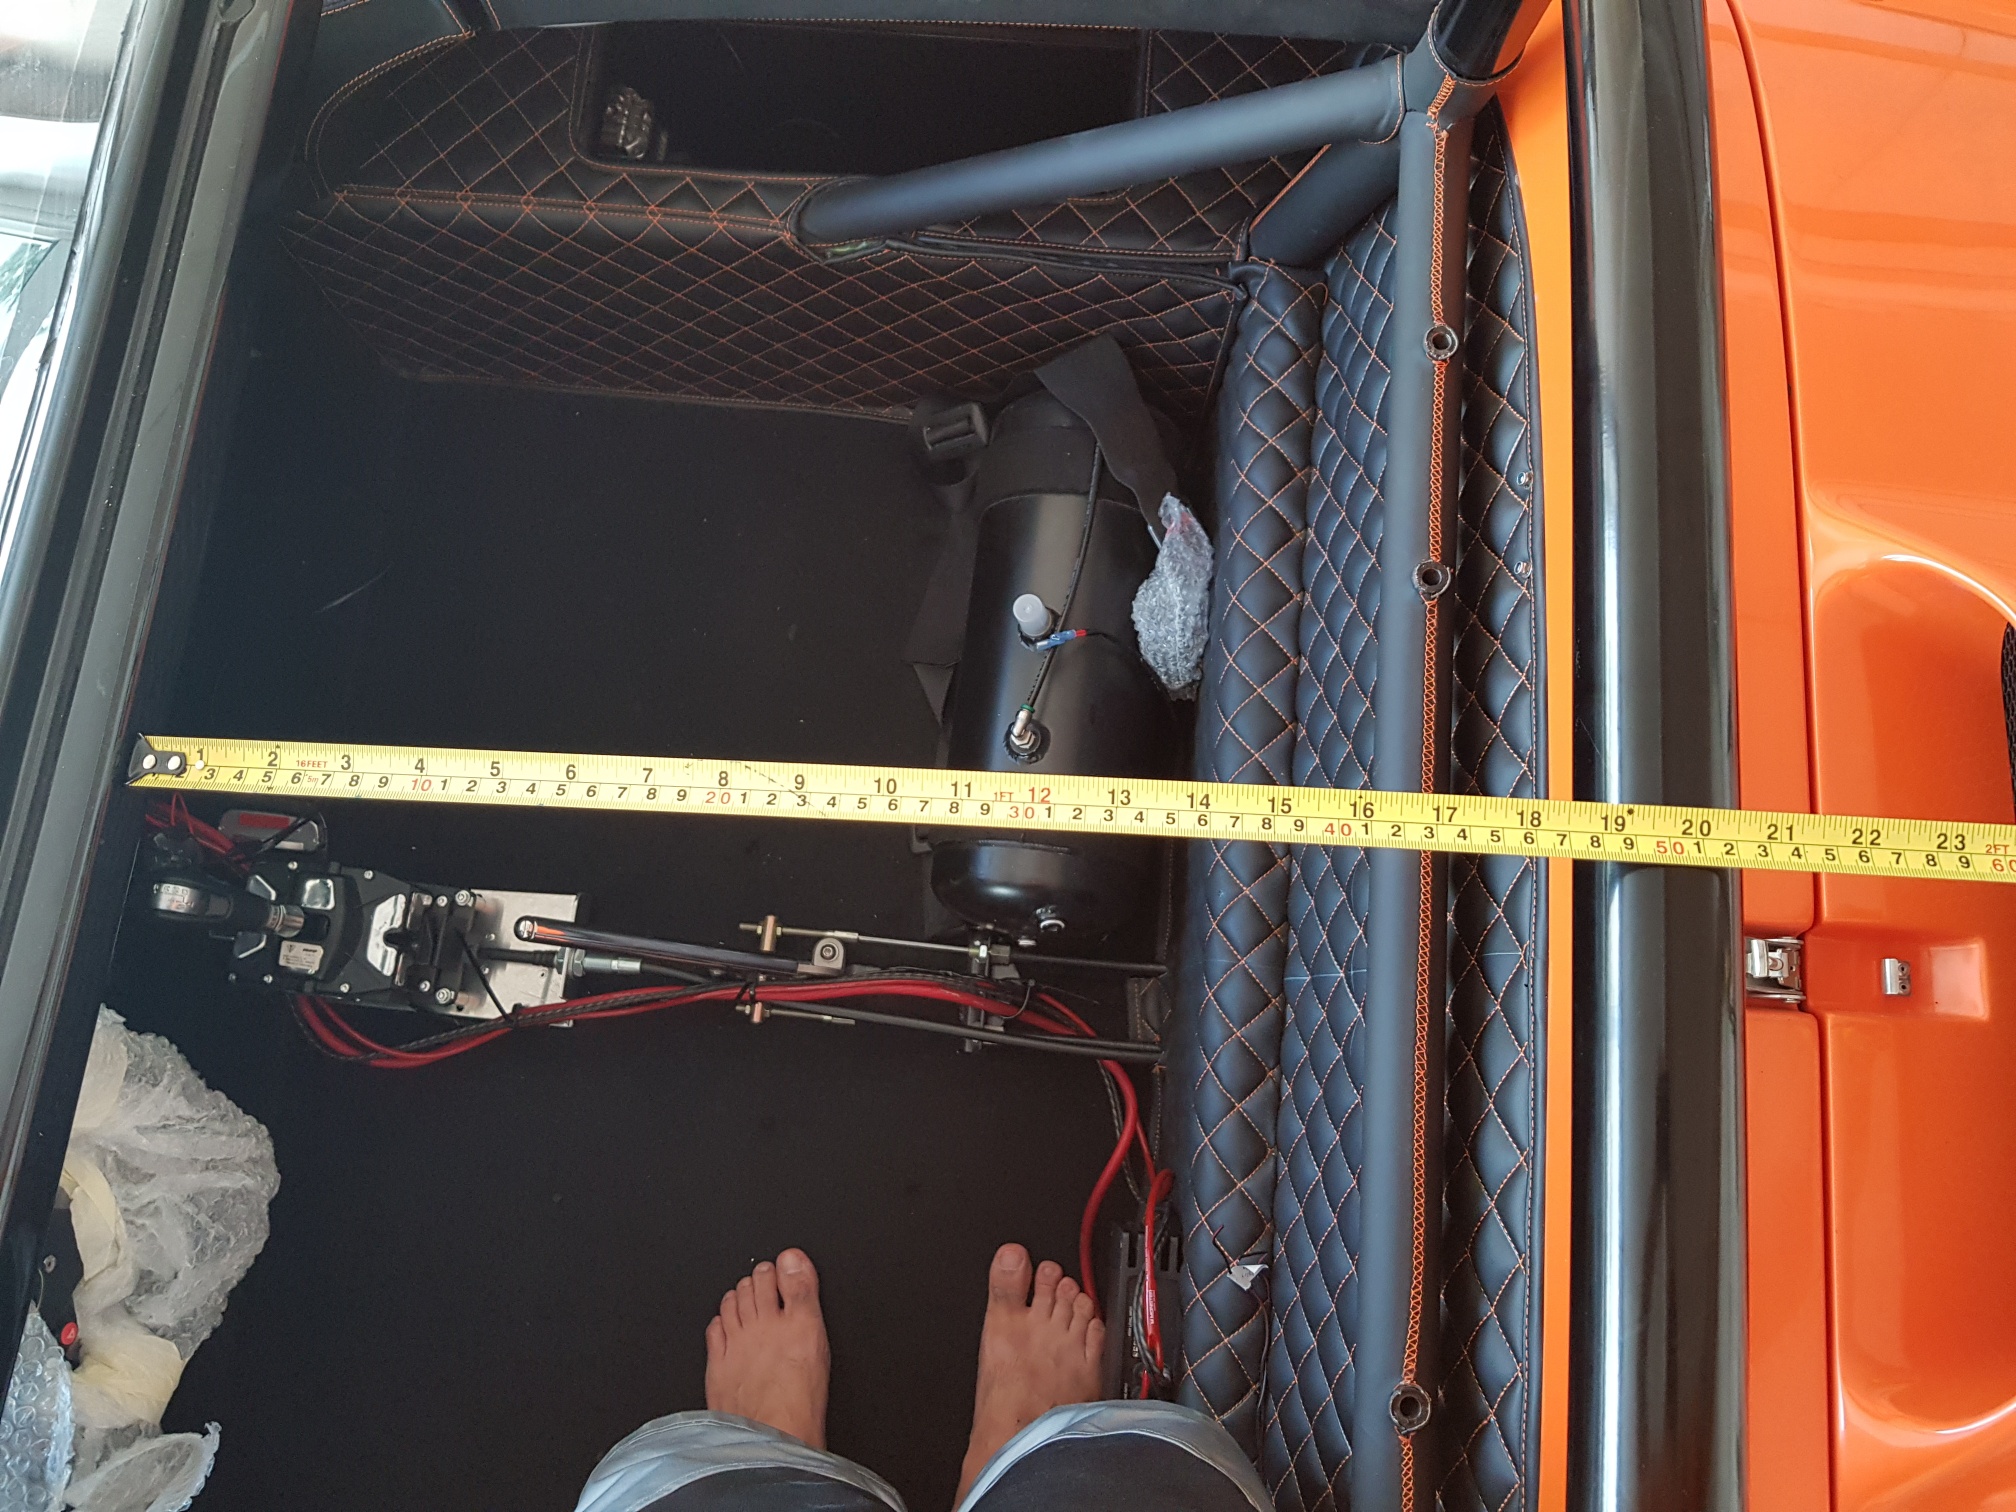
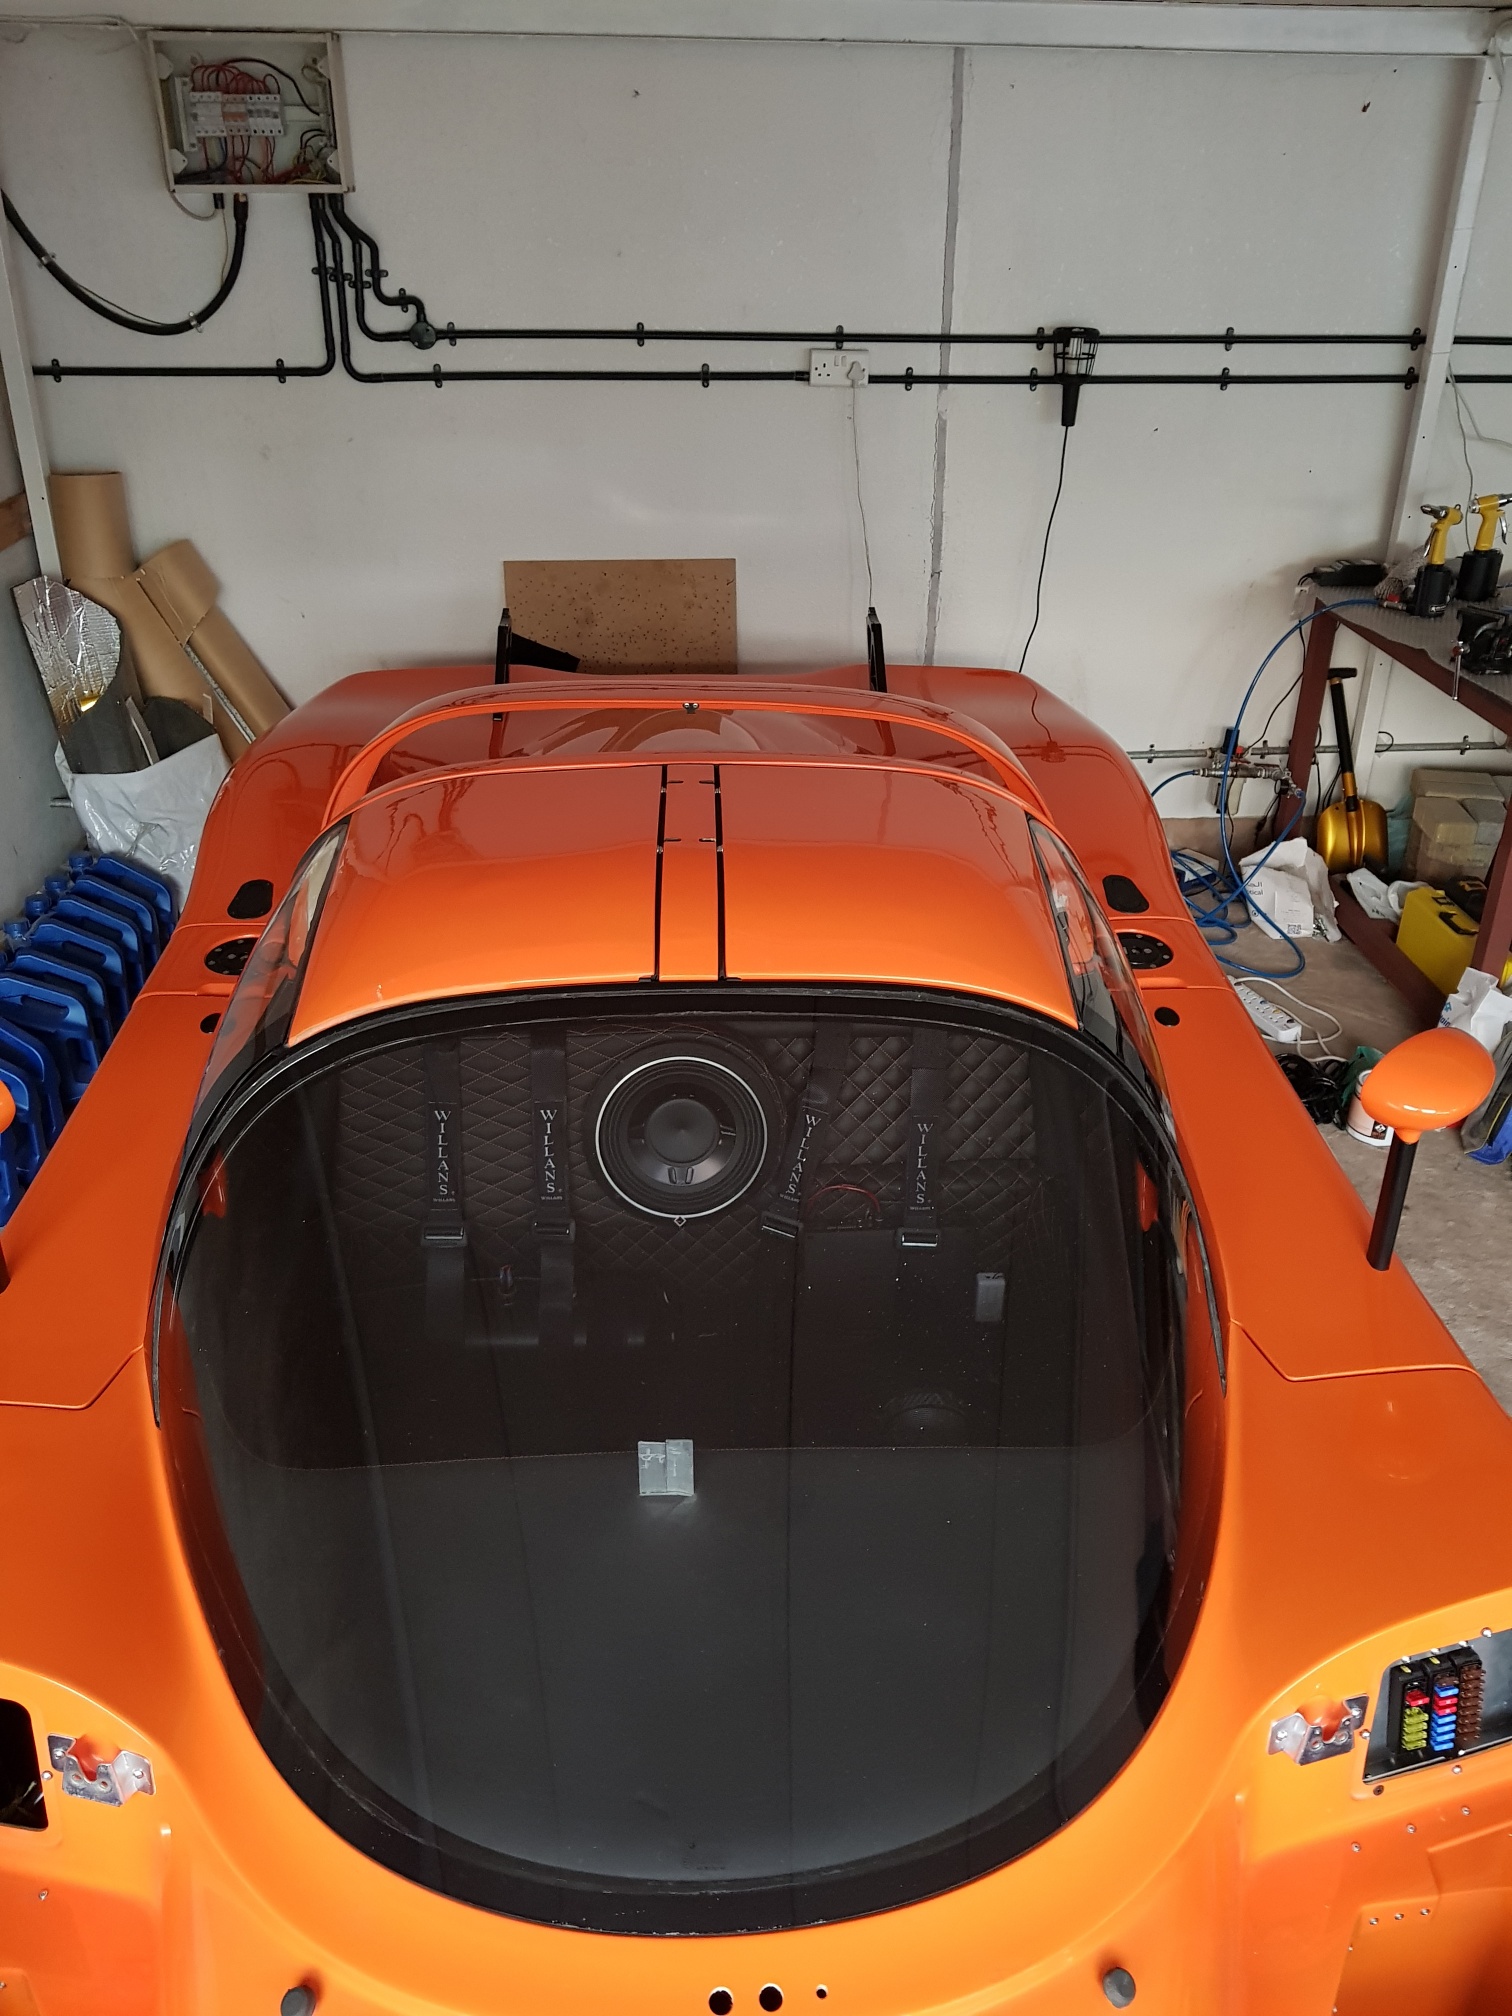
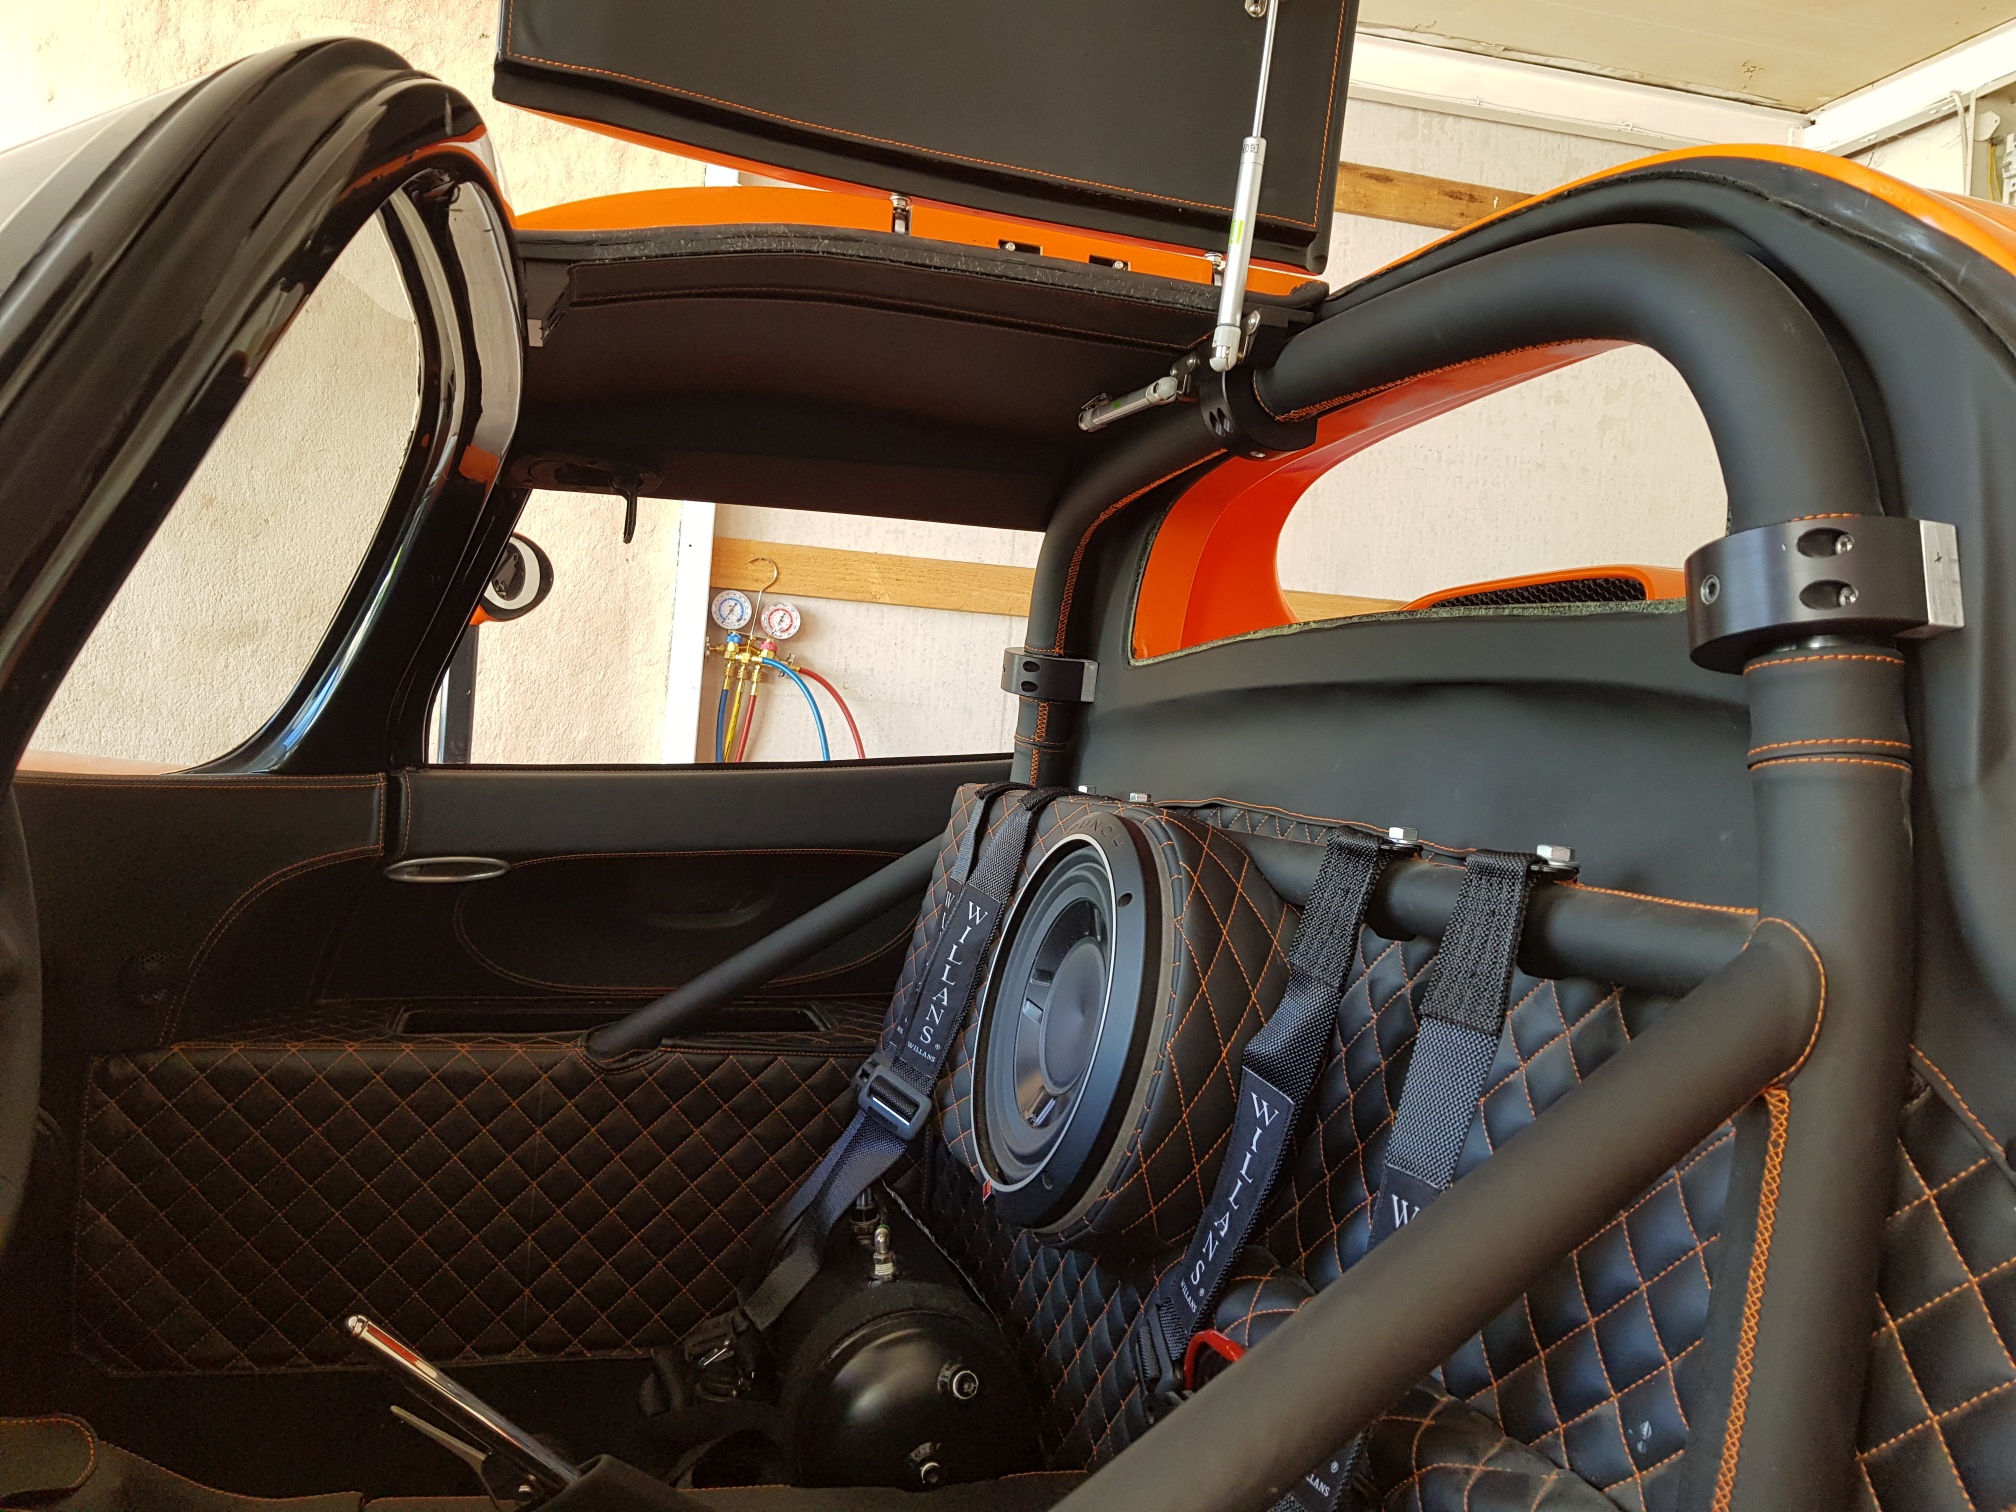
Now, after all the modifications made to install the hard top, I needed to find a solution to the final interior look - the epoxy, and trimming away of material has left unsightly holes in various surfaces... the solution was the trim the entire interior in leather, to match the rest of the interior look.. However, the problem is that the rear bulkhead is removable to have a pure convertible look, so the leather could not be permanently installed on the lower edge (that covers the center GRP section of the car, above the already installed leather interior)... The solution came in the form of a 'skirt' - the rear bulkhead has a leather piece installed with a large skirt below.. the skirt is shaped to fit over the center GRP, and overhangs the interior leather by about an inch... I have then installed snaps on both the skirt and leather interior, so that when the bulkhead in installed, the leather will snap to the lower piece and give a neat finished look.. When the bulkhead is removed, the interior will maintain a clean look, and only part of the black snap will be visible - which is not really that bad! All the roll bars and other pieces were also dressed in the leather, and my interior look in now complete!!


Build Time : 10 hours
Total Build Time: 513 hours
Other items worked on over the last few months include:
Installing the center console, and getting the custom center GRP piece to fit.. the pieces were then trimmed in leather, and a small piece also made to cover the gear shift lever hole...

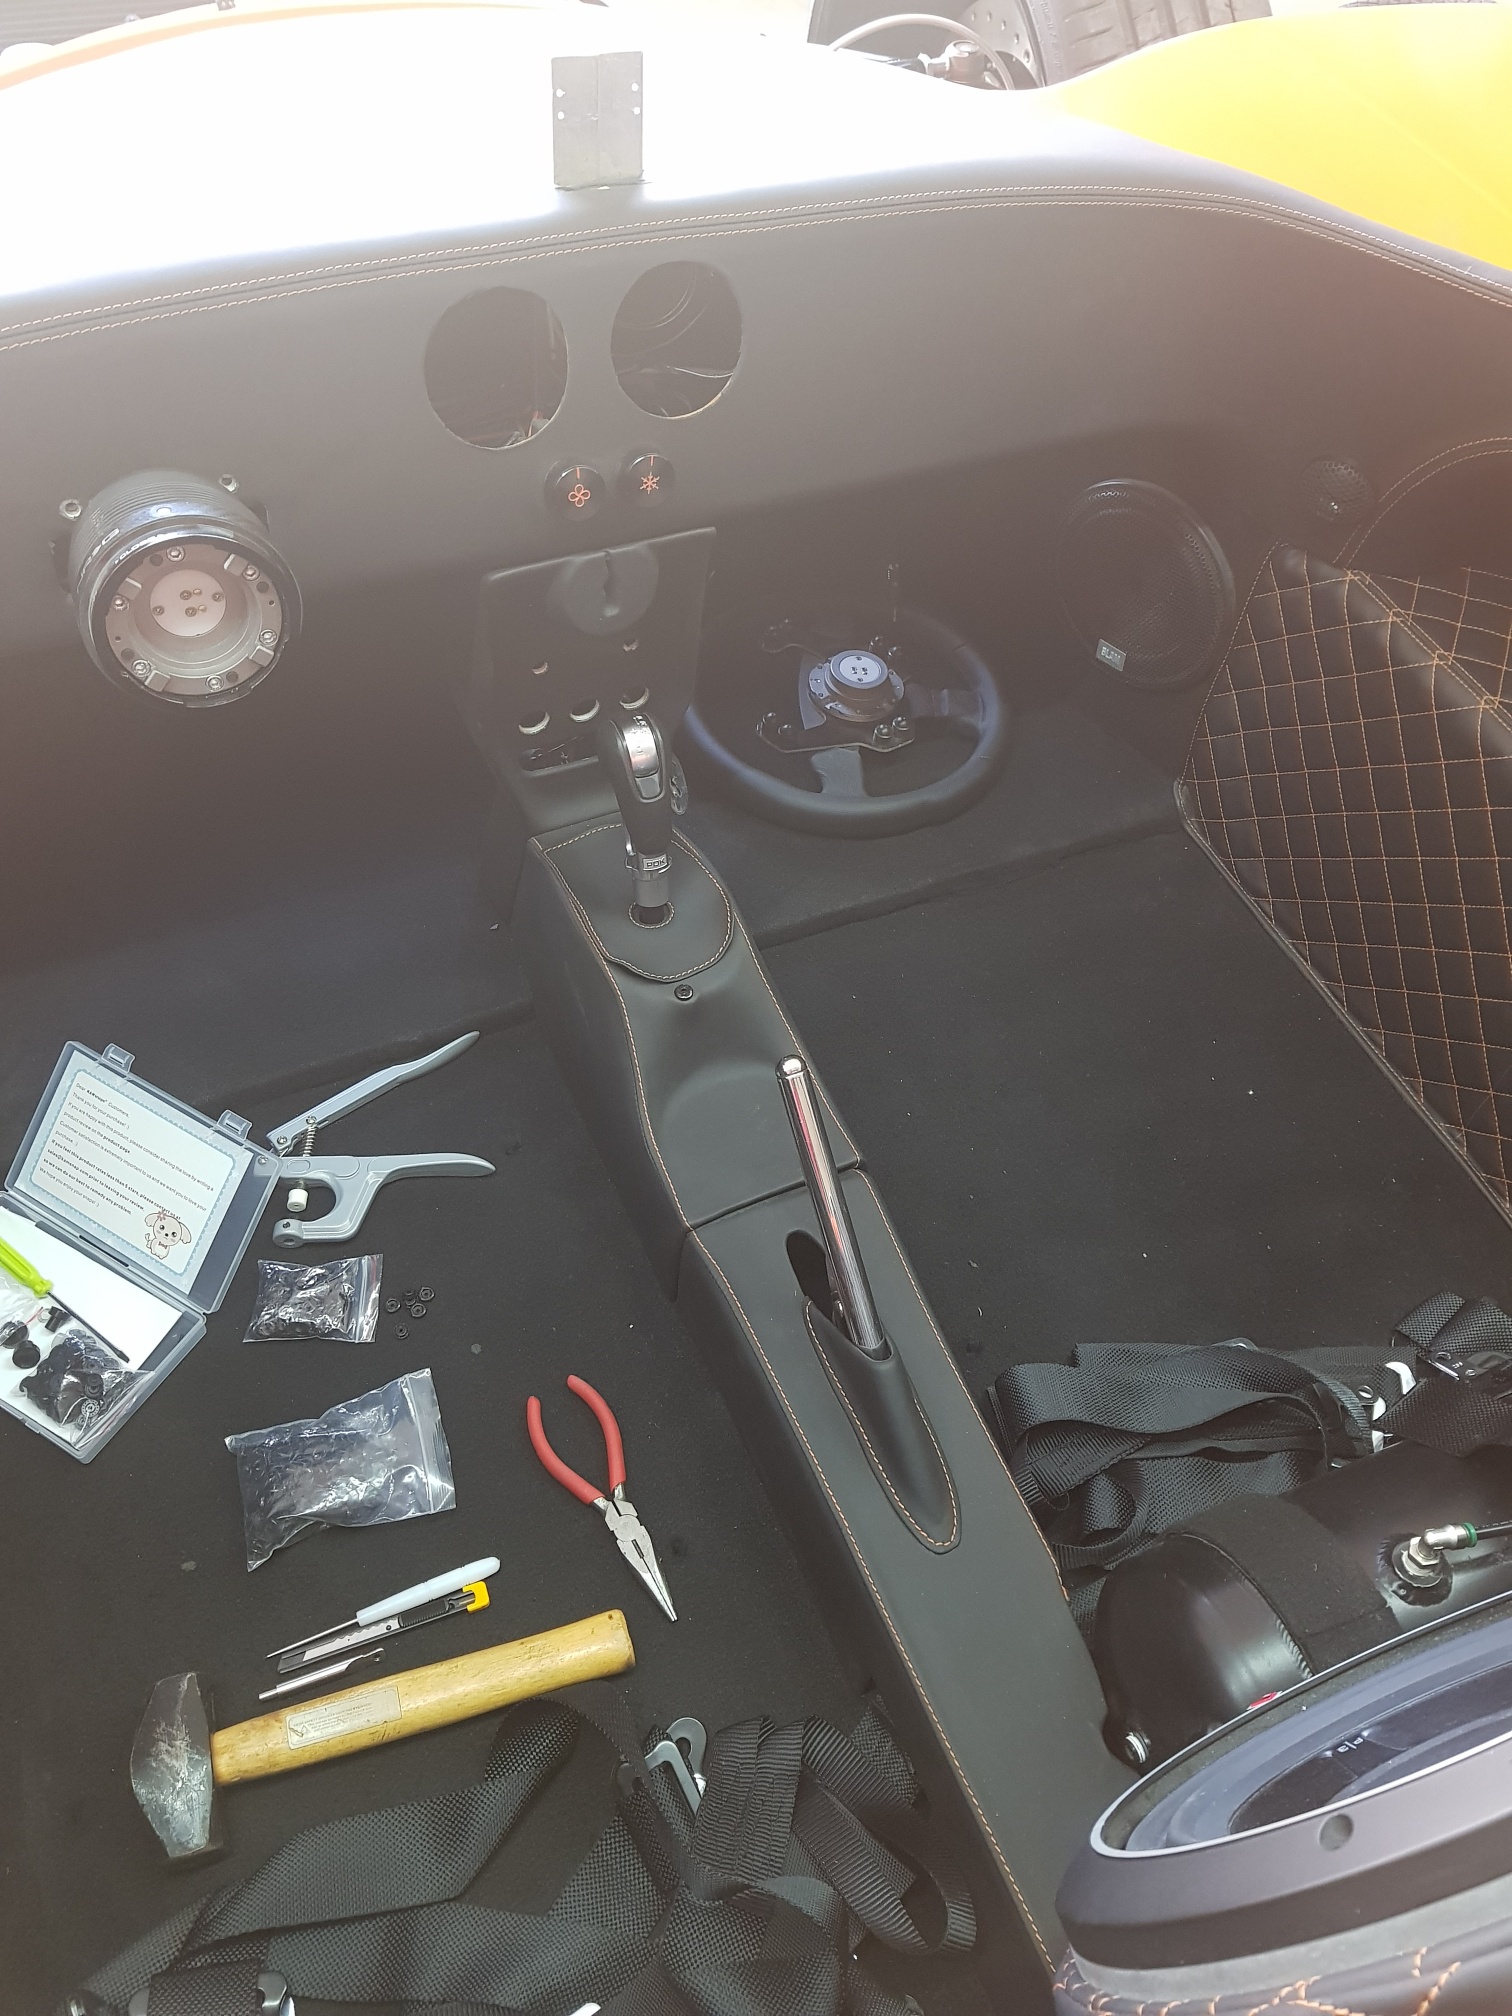
The Fuse/Relay bracket was installed and the area behind the access panel cleaned up...

The brake fluid sensor was installed and the wiring connected to the loom after a small modification for lenght... the wiring for the washer pump was also connected, and the washer fluid pipe connected from the bottle to the spray head... the two large fuses were installed on the bulkhead (175A for vehicle and 100A for Amp)...

I also had to replace the joint on the driver side door the holds the door ram - the plastic piece broke off, and needed to be replaced... The easy way to do this would be to remove the door, remove the hinge from inside the body work (since the center GRP is permanently installed), and then remove the broken piece and replace with a new one)... However, I did not want to remove the door so I set about to replace this in-situation.. While I was able to do it successfully, I would not recommend it to others as its a scary process! The old pin was drilled out, and the plastic piece removed.. a new metal piece was fabricated and installed on the ram from inside the access panel... the piece was then installed into the door hinge with a new pin and tack welded in place... the weld was cleaned and painted