1 Sep - 15 Nov 2017
Build Time : 51 hours
Total Build Time: 421 hours
A long update past over due!
First of all, I am still to receive the rest of my parts! I know previously I was expecting them in Sep, but due to development issues that has been pushed back - now looking at December to receiving the rest of the kit... We have got the engine-box combo to work, but there is still development of the dash display pending - getting all the info we want to show on the dash screens! Since we are using a non standard combination of engine and box, there is no dash available on the market that can read the data of BOTH the engine ECU and gearbox TCU at the same time, thus making our dash display an issue. We have recently found a supplier willing to work with us, so that is currently under development...
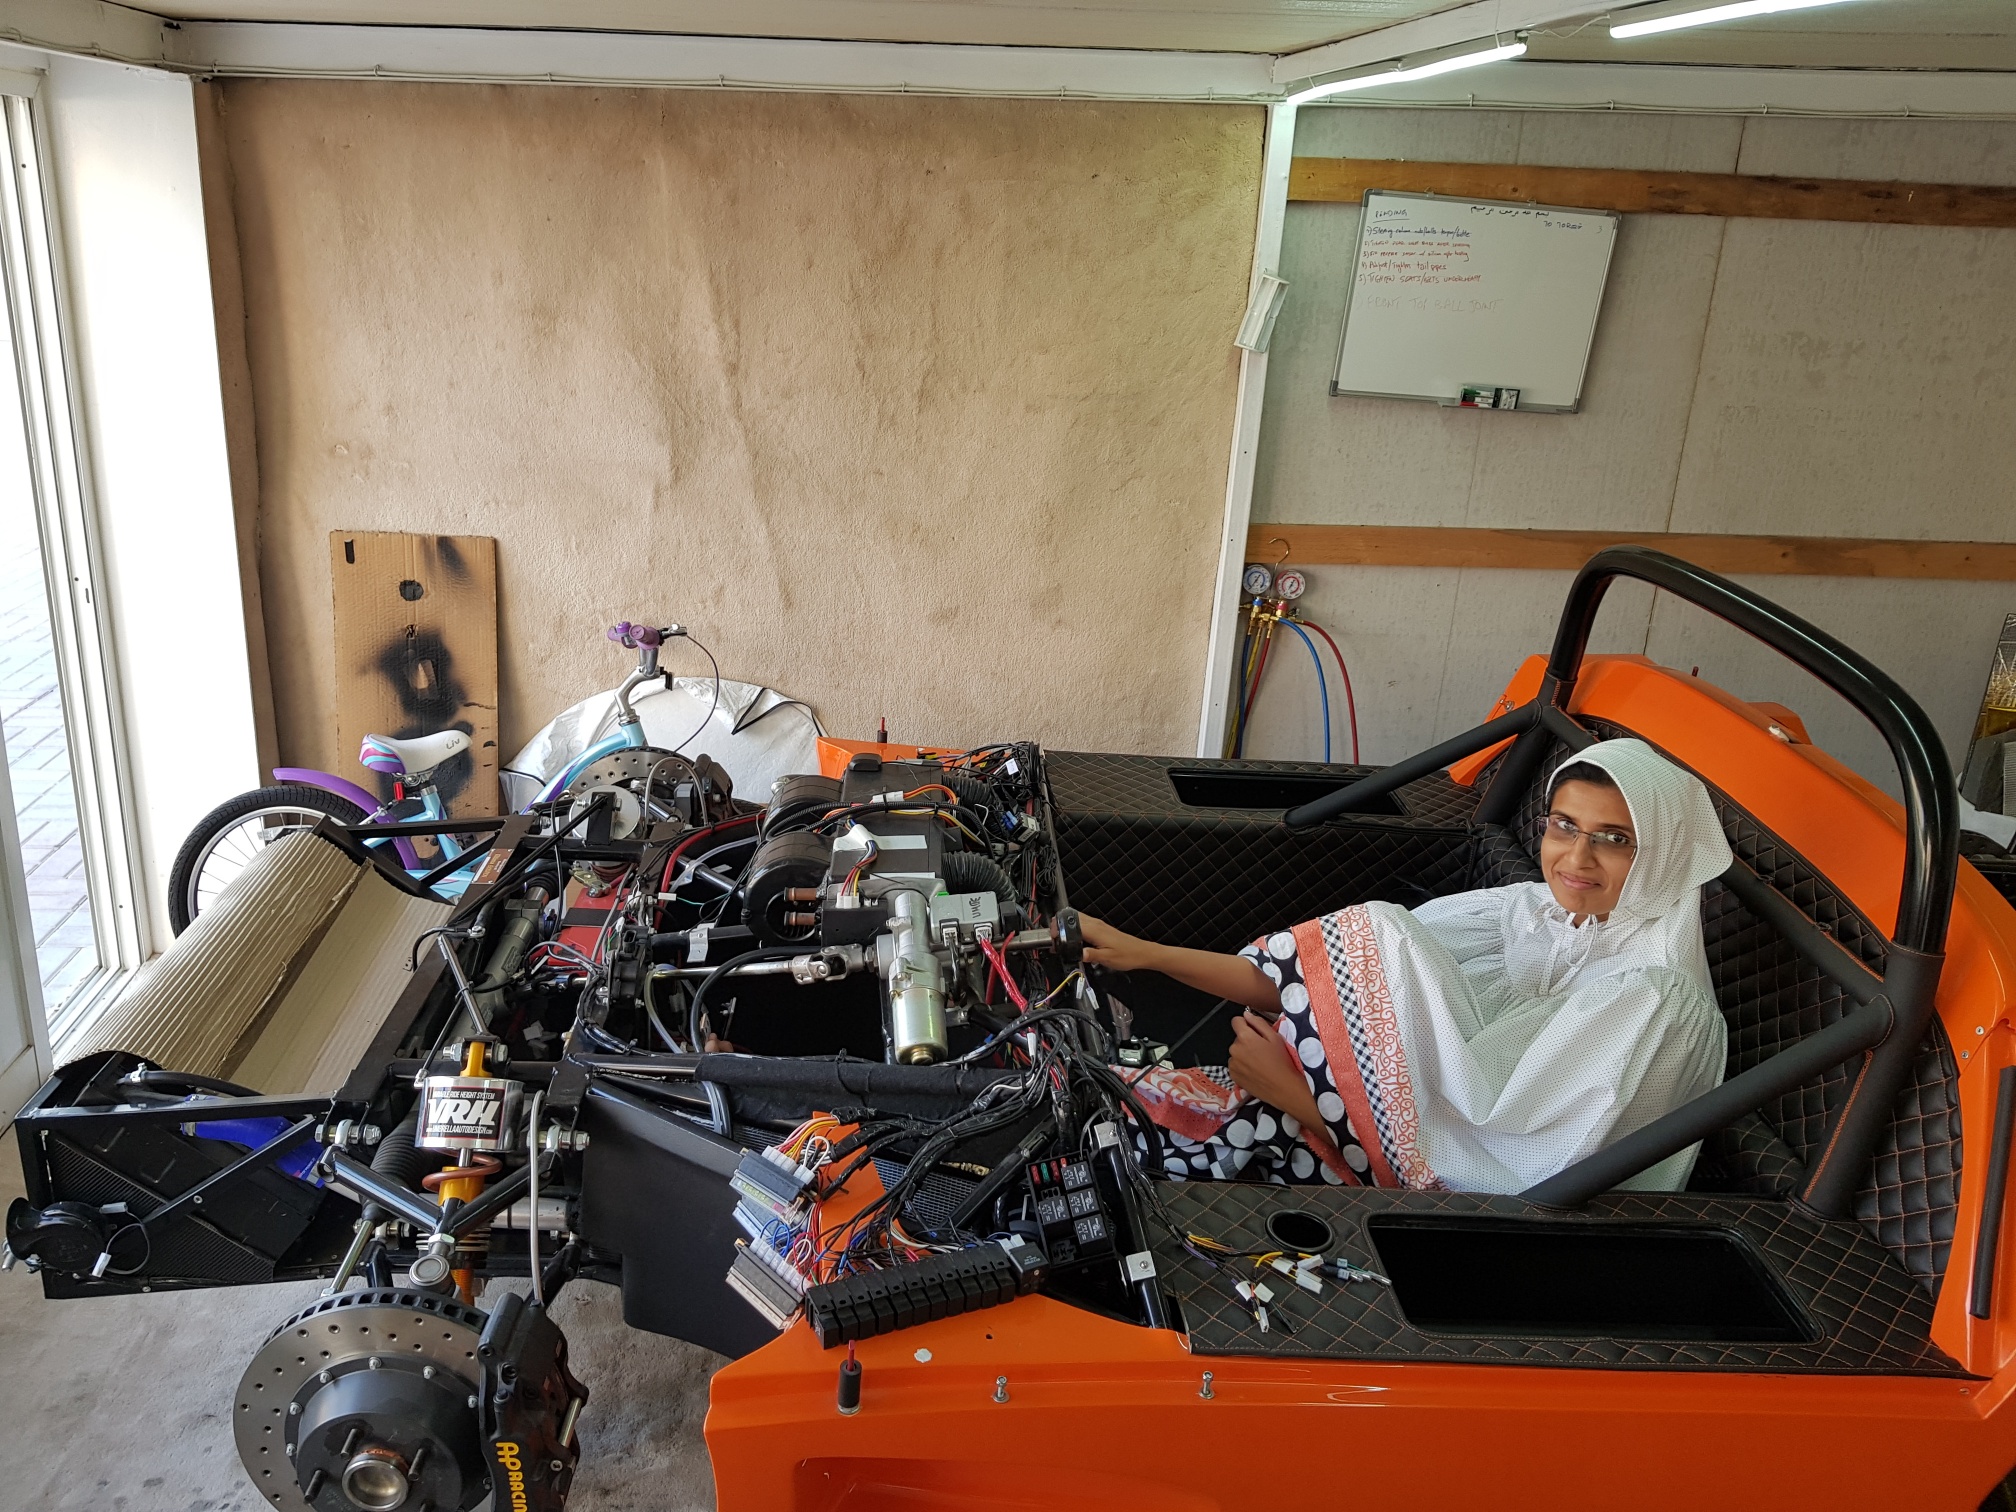
Over the last 3 months (mid August to mid Nov), I have not had much work to do... so I have worked on a few bits and pieces while waiting for the rest of the parts to arrive... A brief summary of what I have done is below:
ICE:
I have spent quite a bit of time on the ICE development - I am using an android based headunit with a detached screen... I have spent a lot of time upgrading the OS, rooting and installing various software, testing different launchers, etc.. I also ended up bricking the unit and spent time reflashing the OS and going back to a clean/base install with basic software I want running on the Ultima... I probably spent close to 50 hours on the software development, but am not including this towards my build total as there was really no BUILD happening!
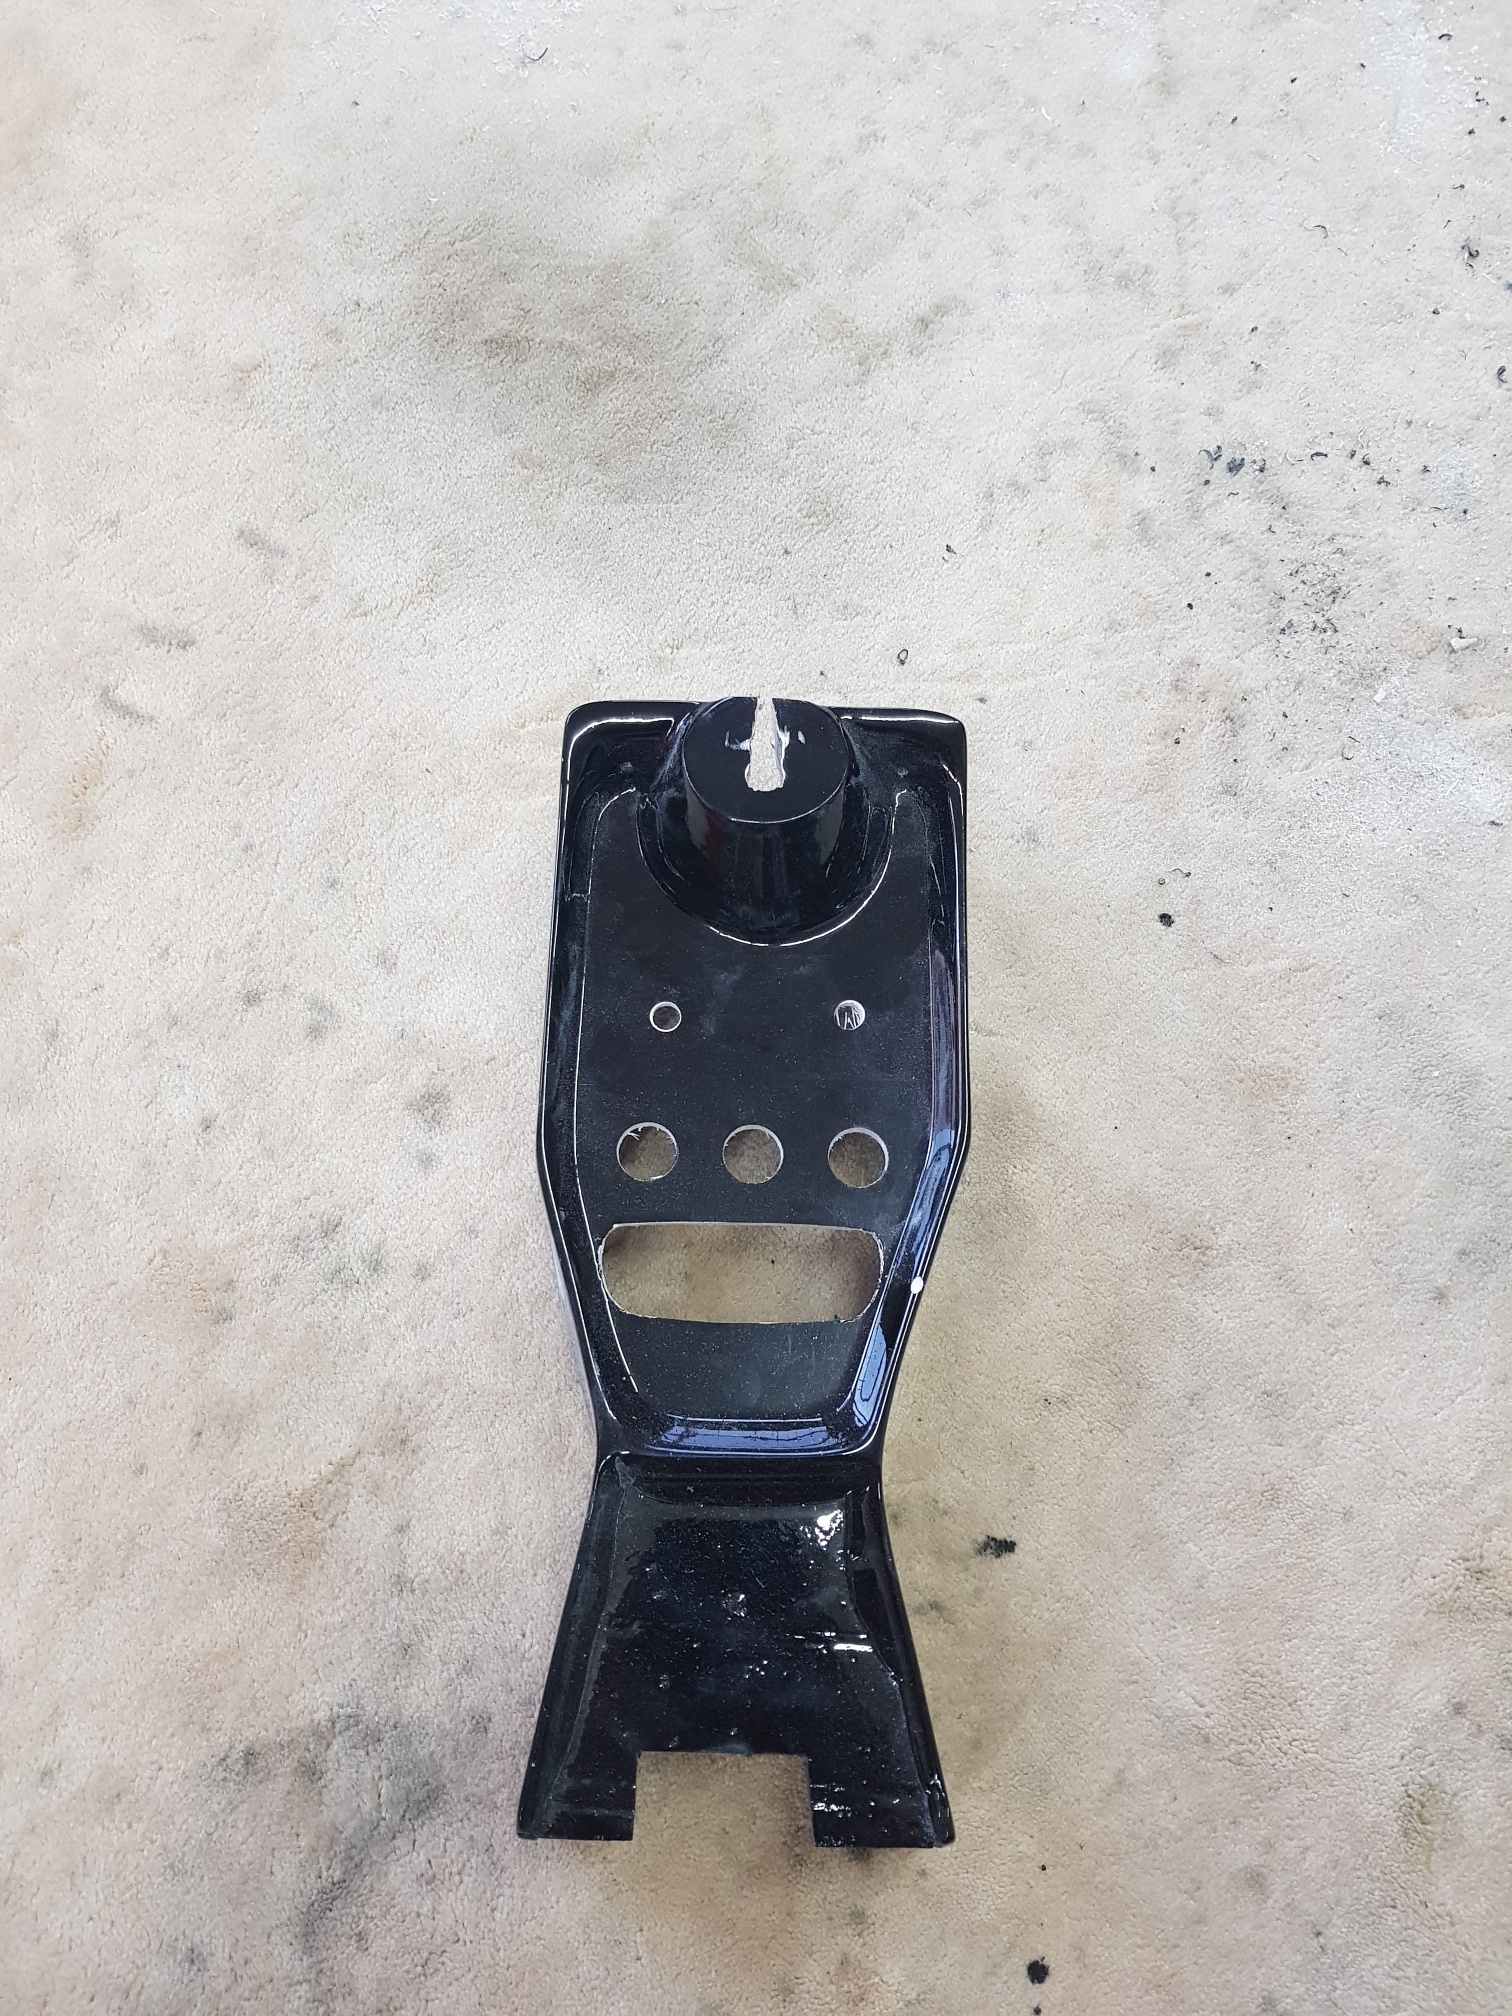
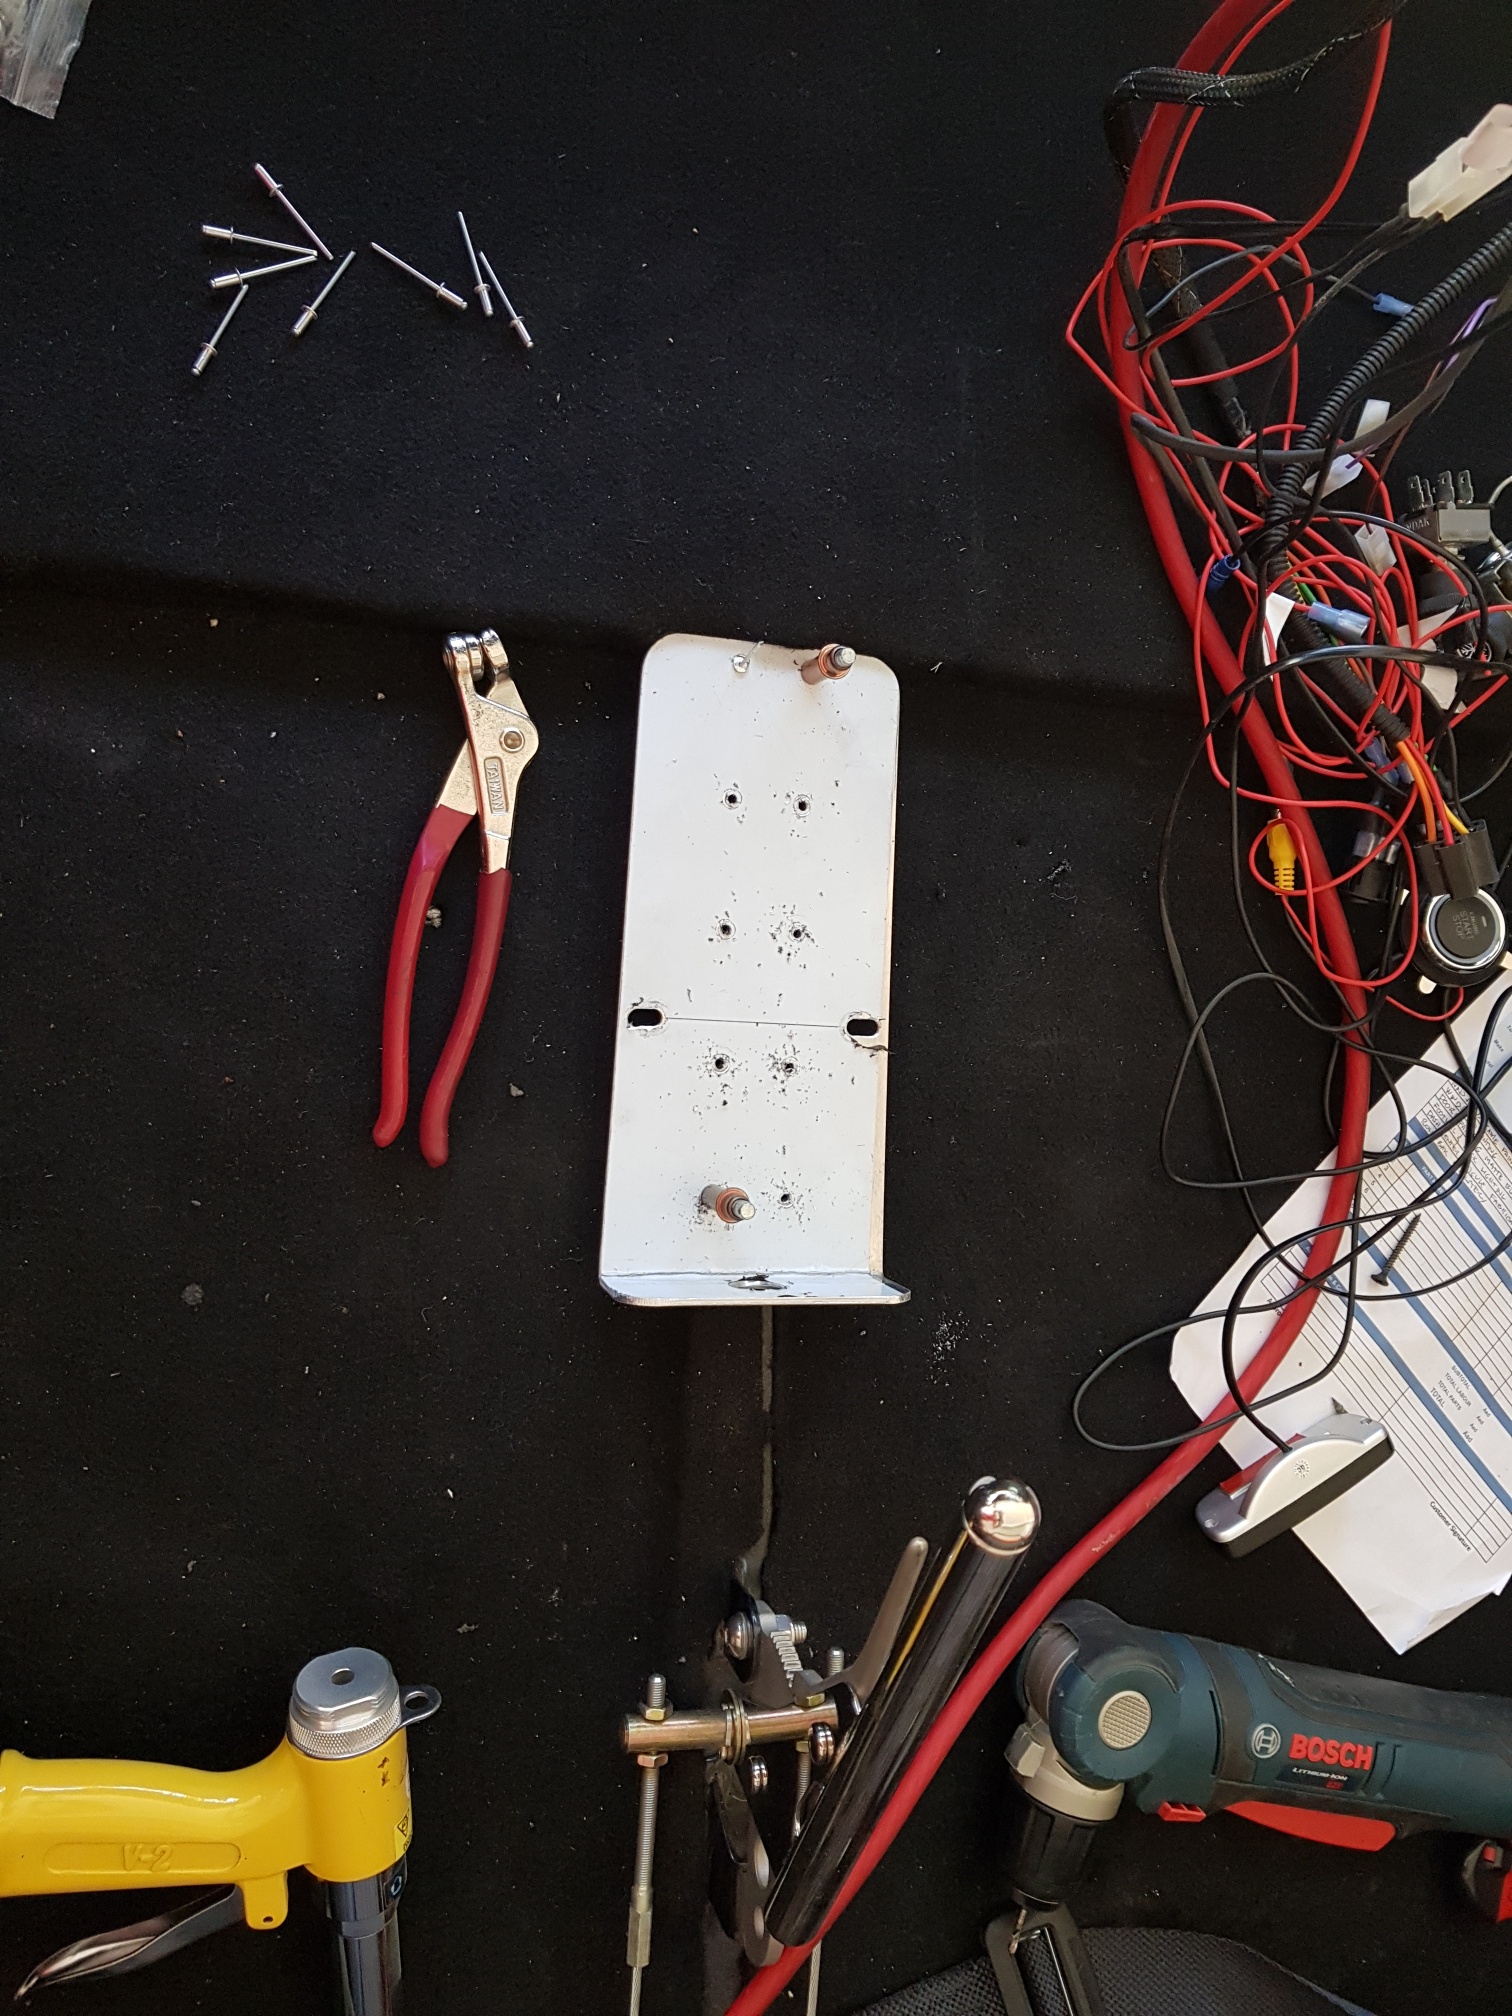
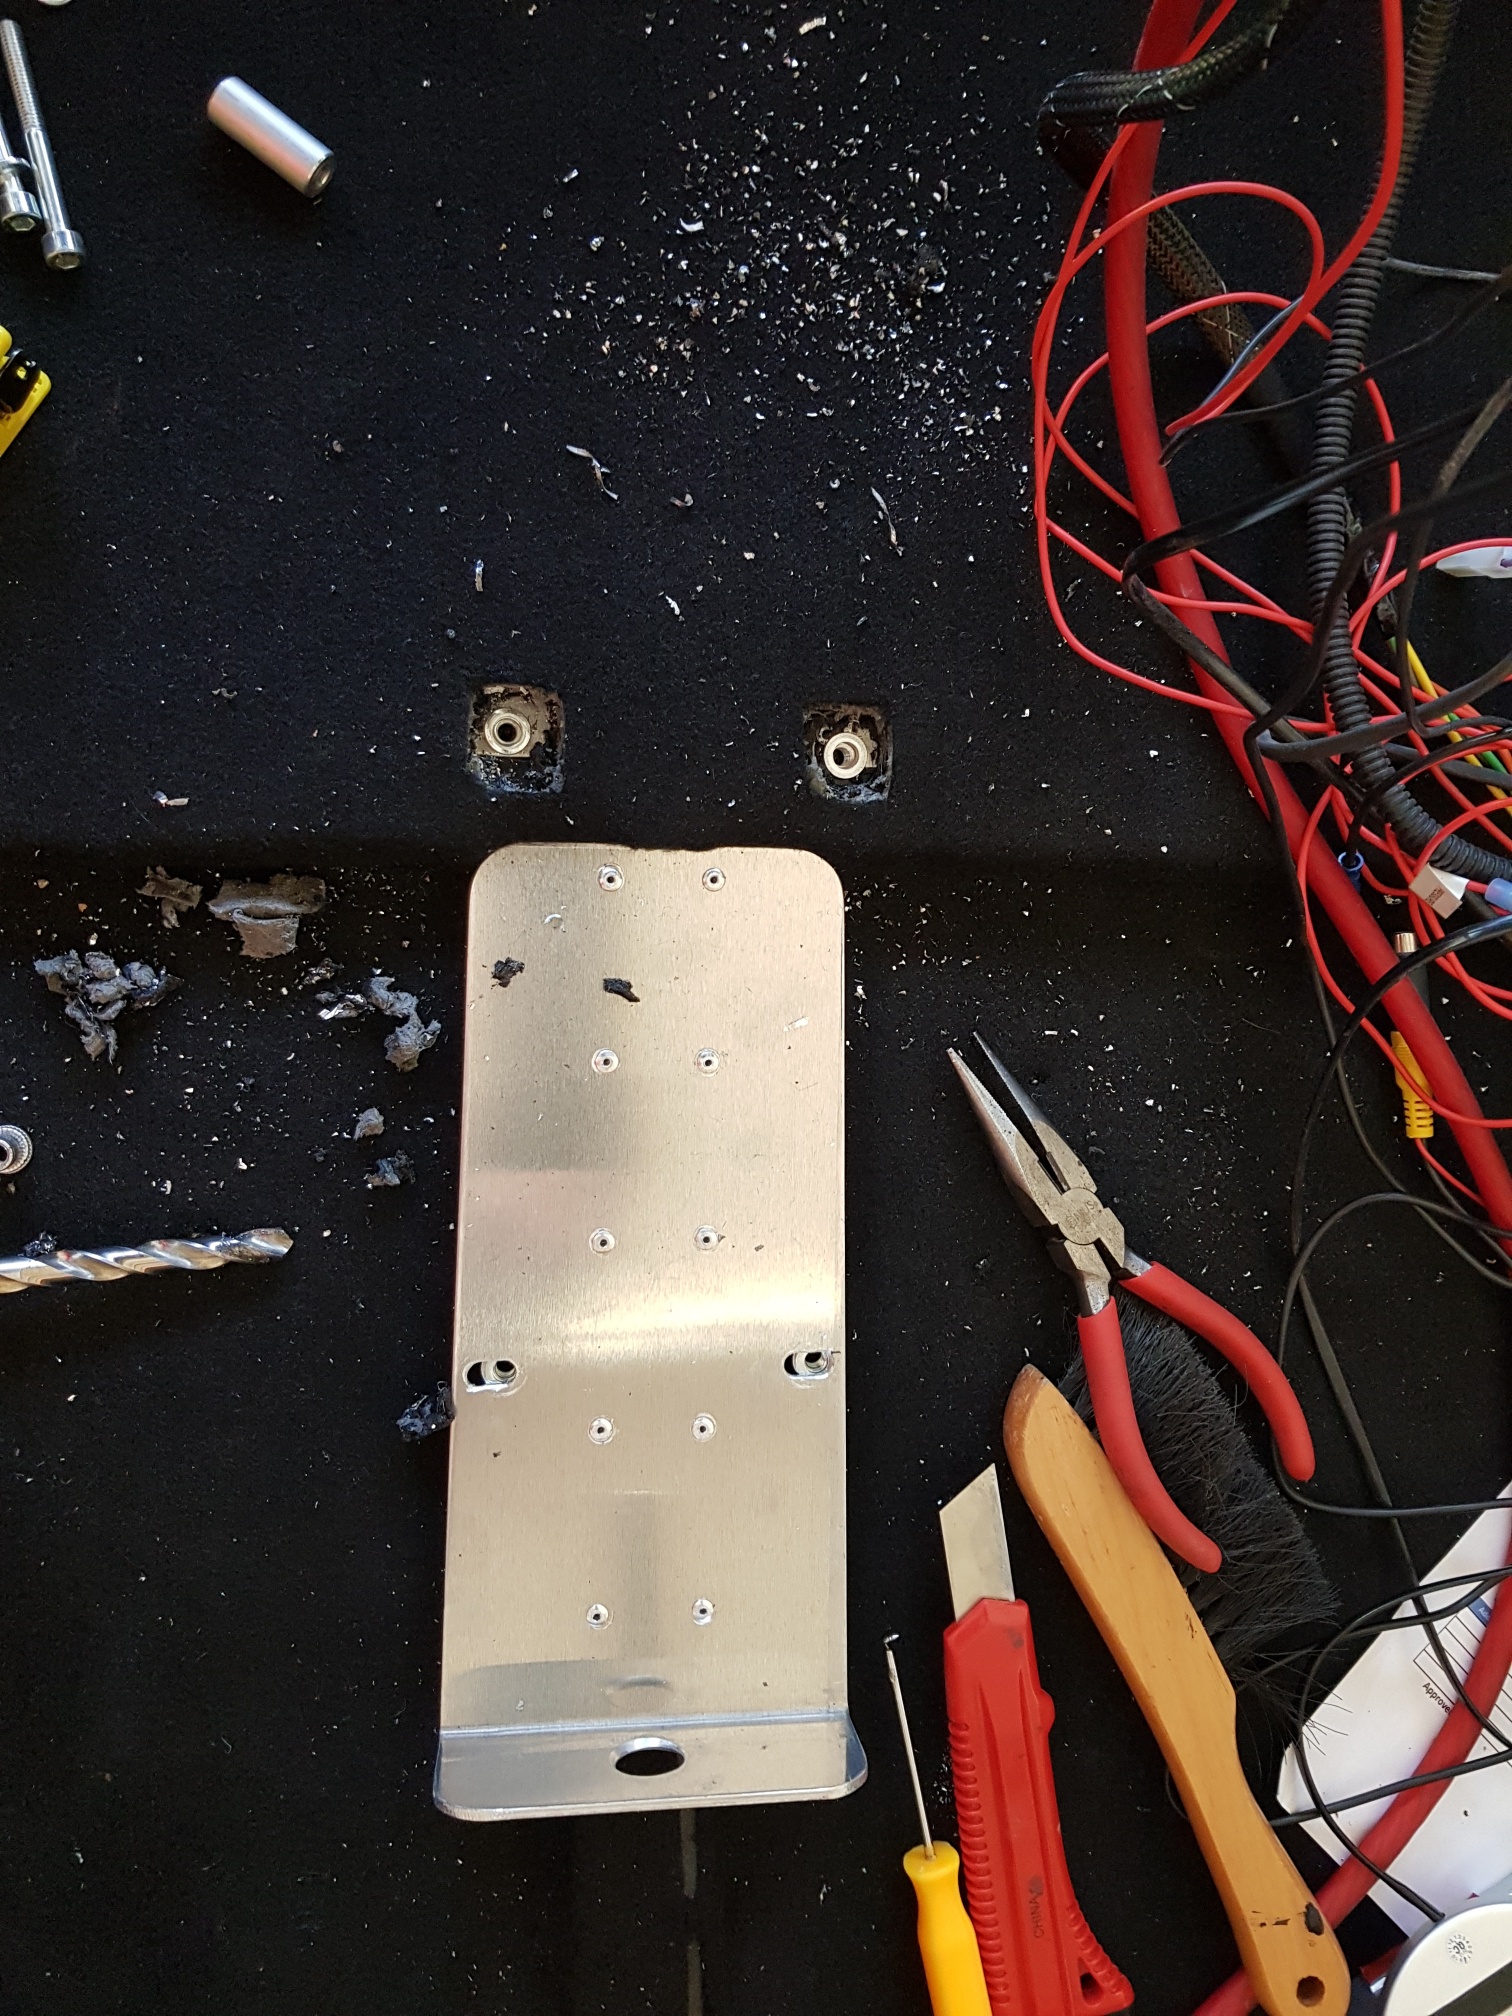
After happy with the software side, I spent time on the hardware - a cooling fan was installed on the unit to keep the unit cool (a known fault), and then a bracket had to be designed and riveted to the chassis under the dash area to hold the Headunit... The wiring for the ICE system was them installed - connections for rear view camera, amp, fm antennae, power, gps were run and trimmed to size, and all the wires zip tied for a neat finish... (8 hours)


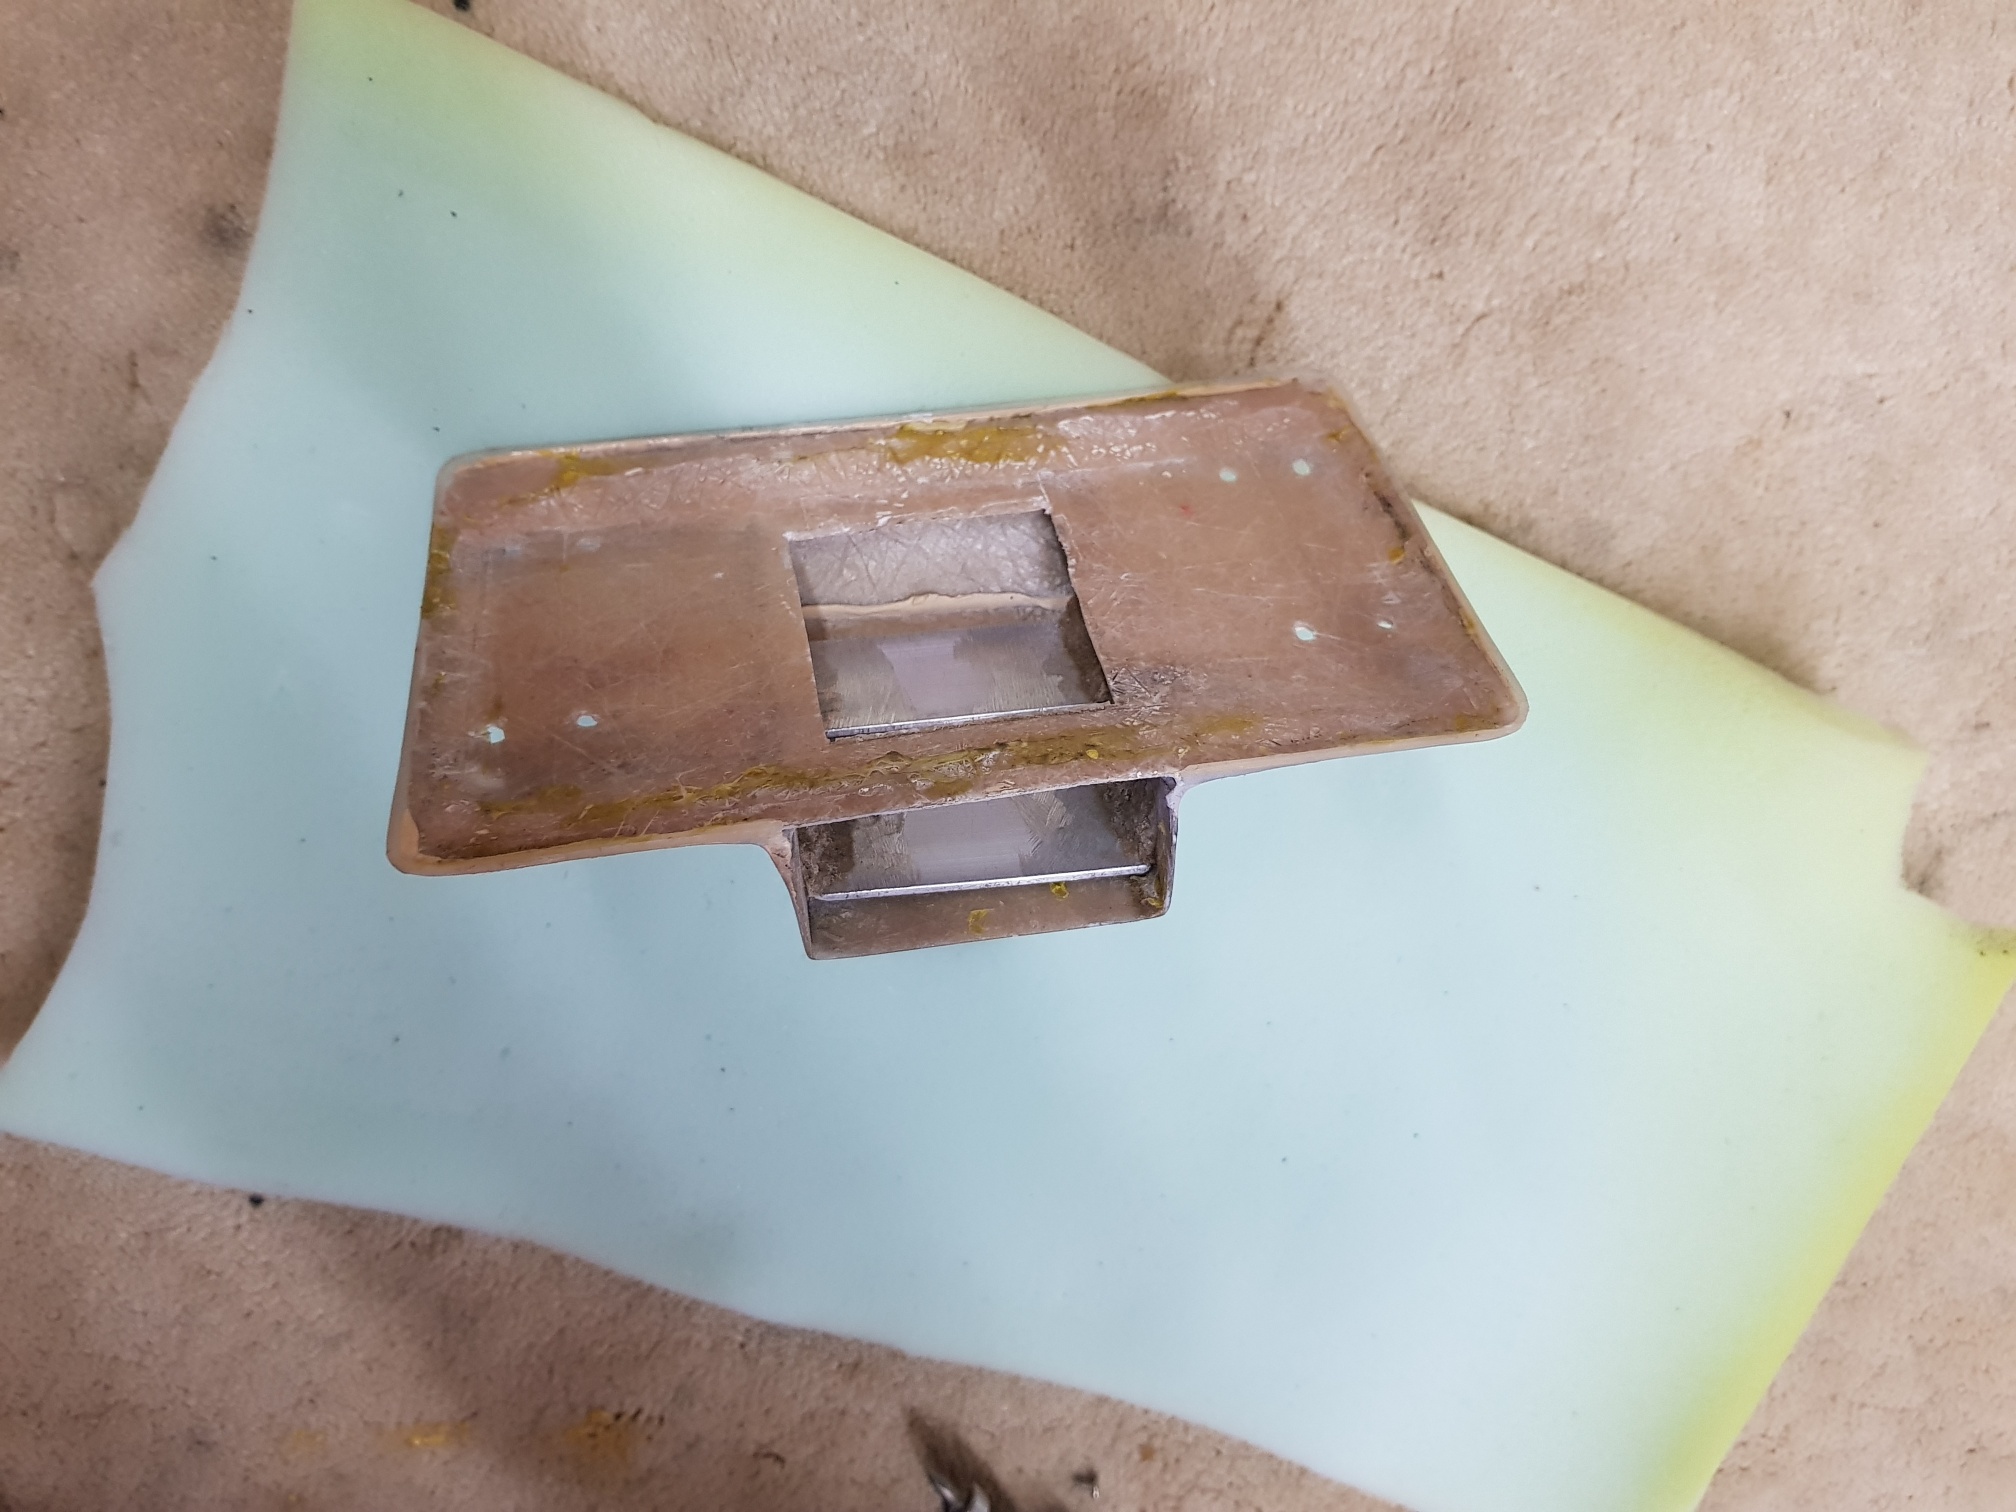
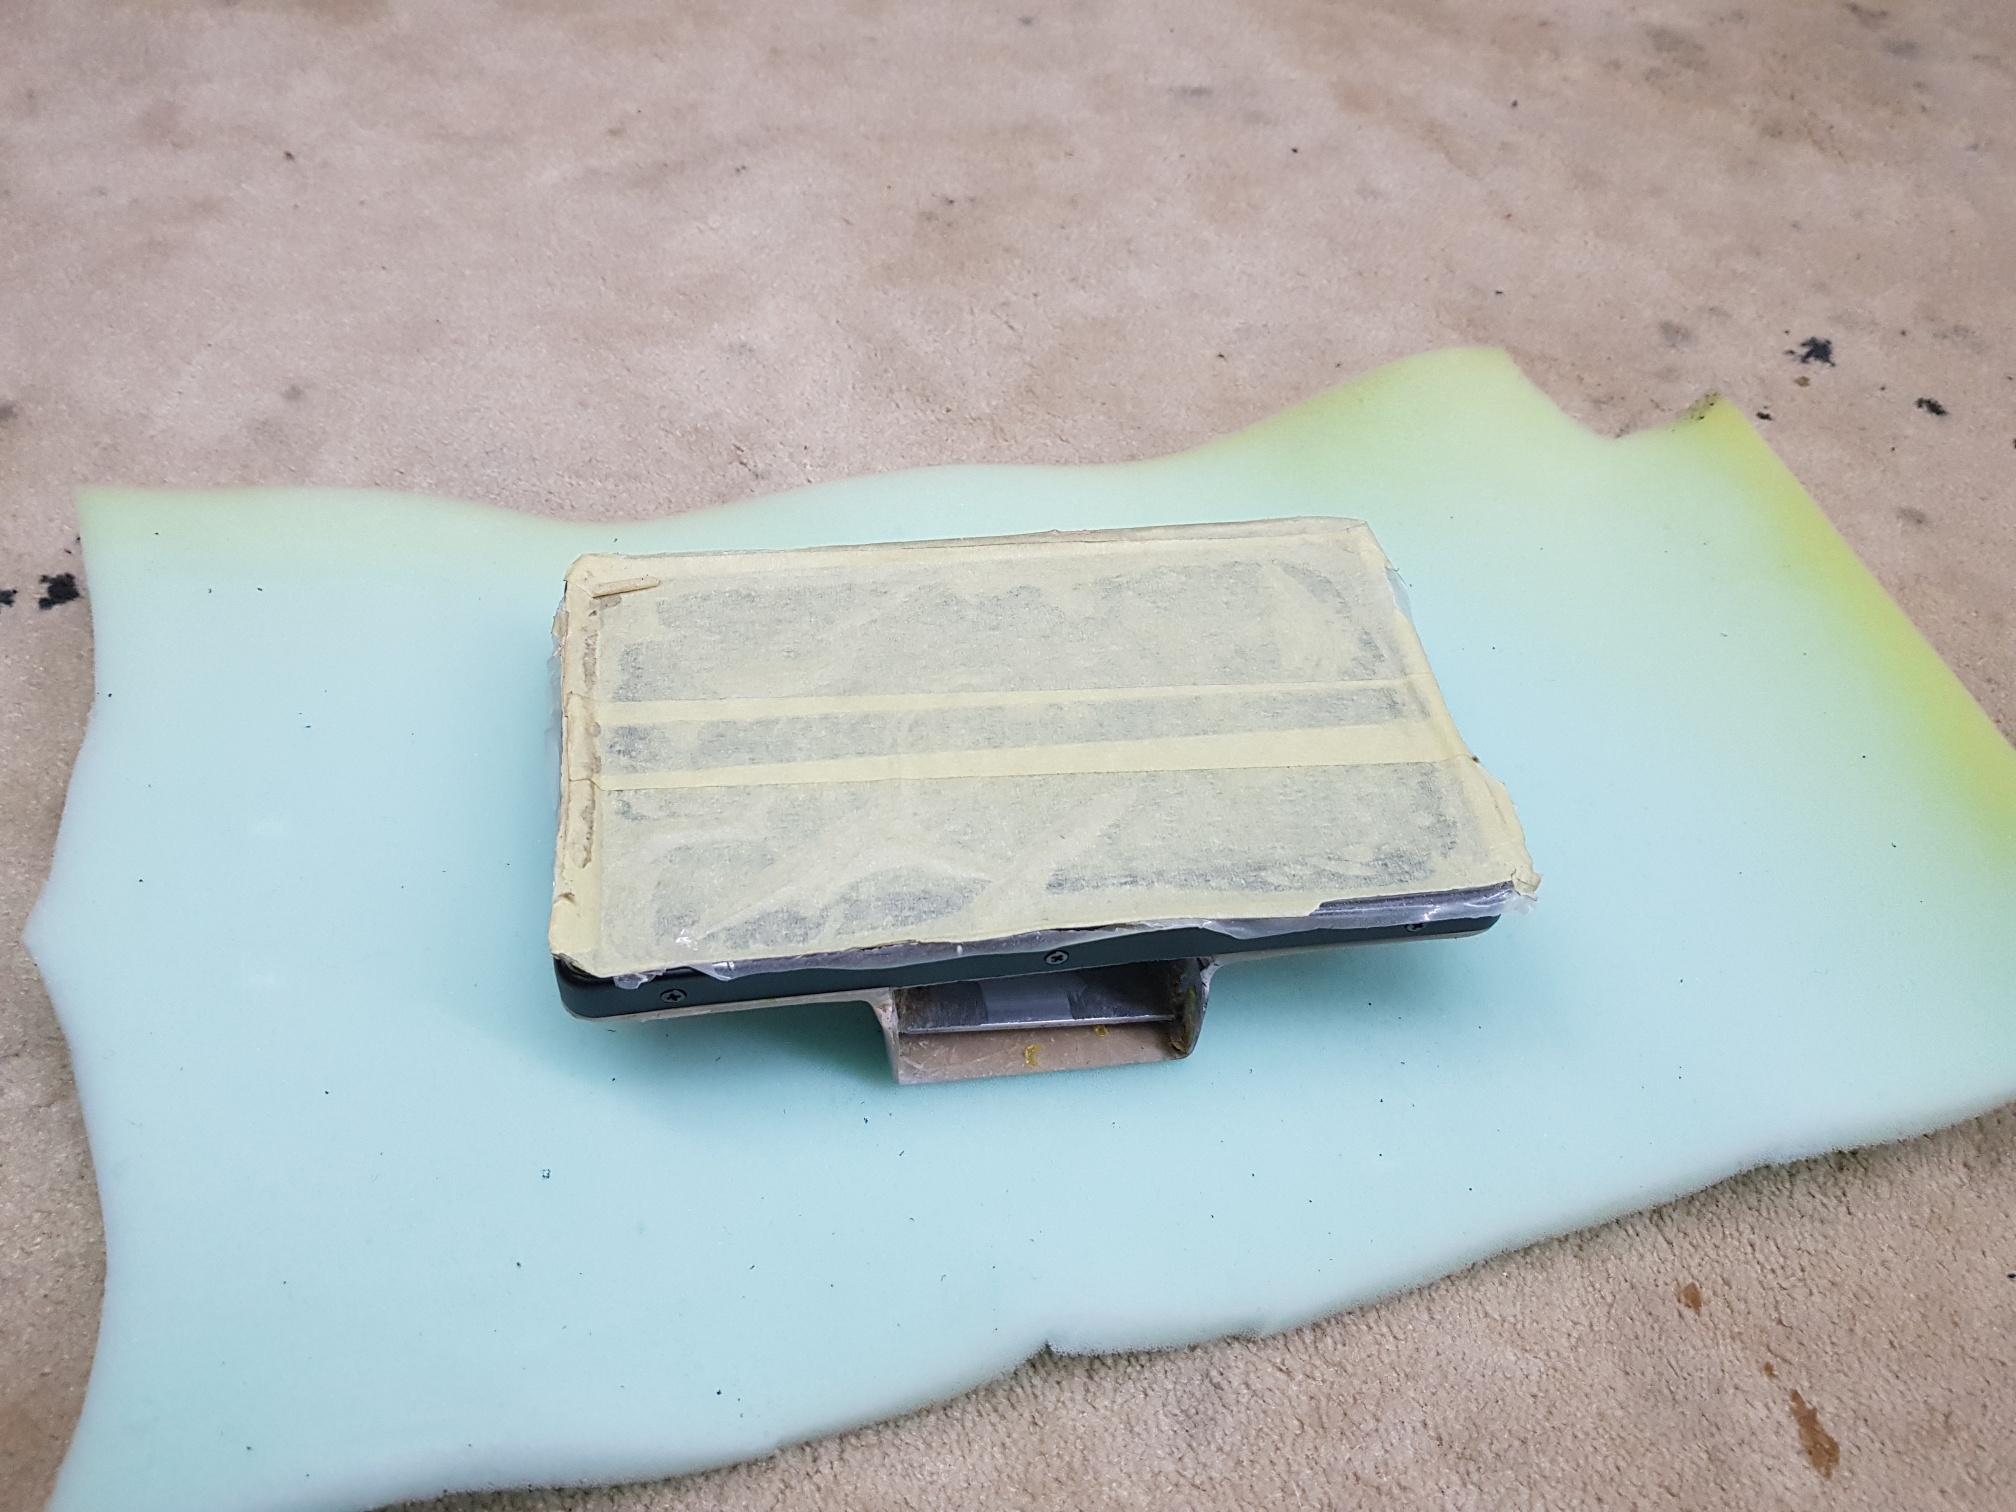
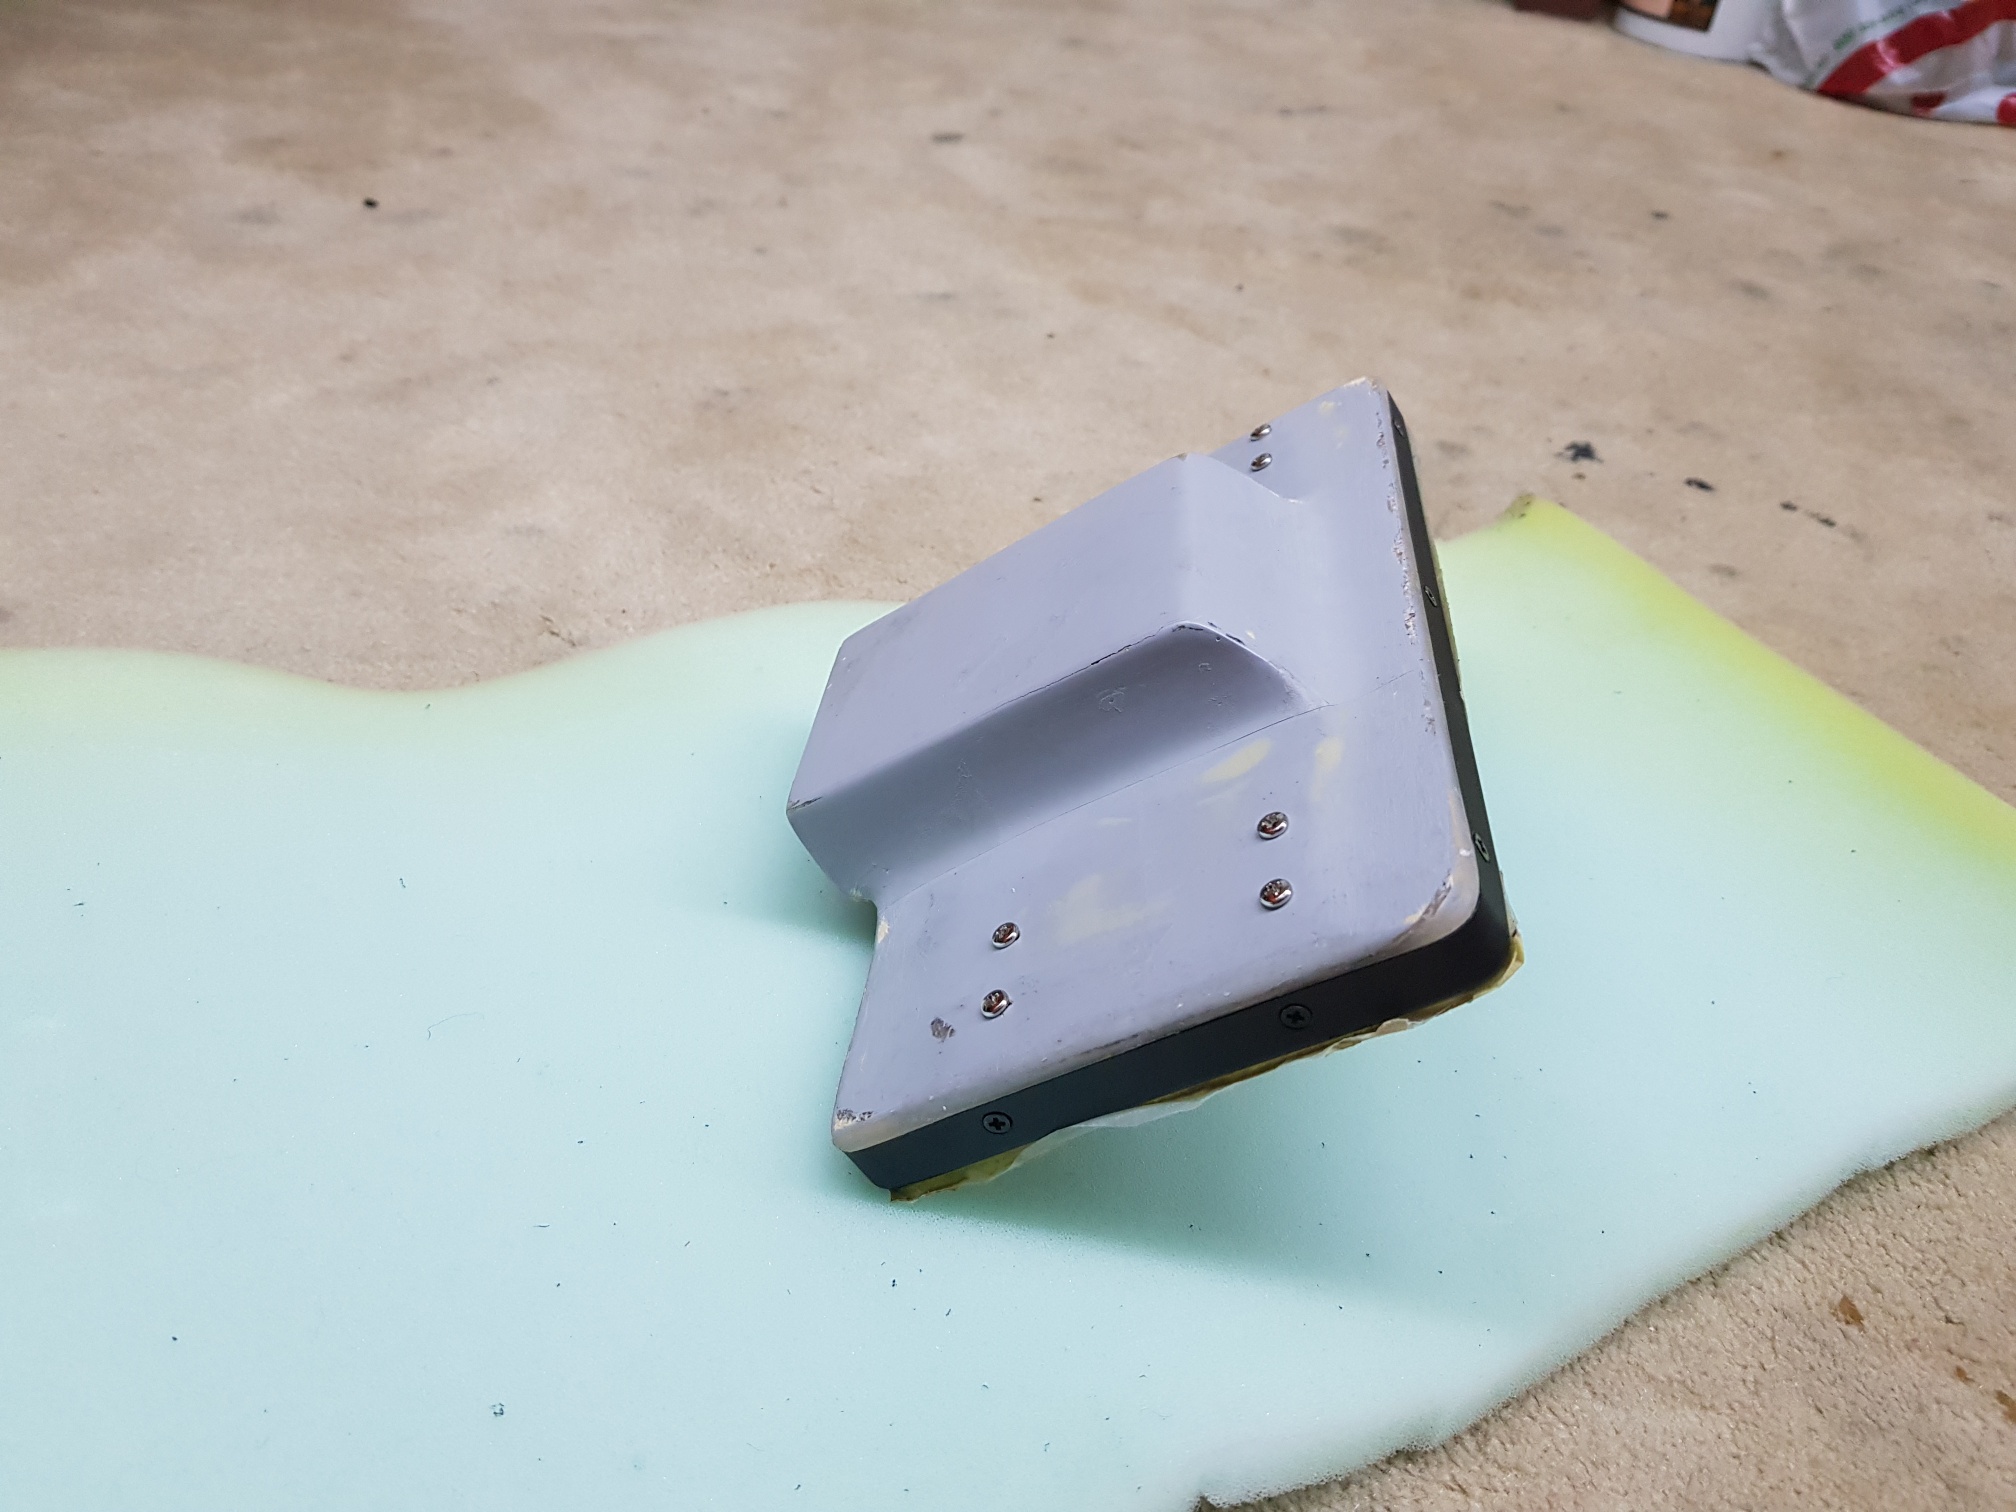
I then had to fabricate a screen holder to place the screen on the dash - this had to be a 'neat' solution as the screen will sit ON the dash and be visible from outside - so the finish was of utmost importance... The screen was used to build a fiberglass screen back, which will function was the screen holder... Brackets were then made out of 2mm ally strips to hold the screen holder to the dash, and the strips riveted to the dash... The holder can now be installed onto the ally strips and secured with internal screws, and the screen once installed on top will hide all the hardware! The holder was then covered in CF to get a clean finished look! (10 hours)


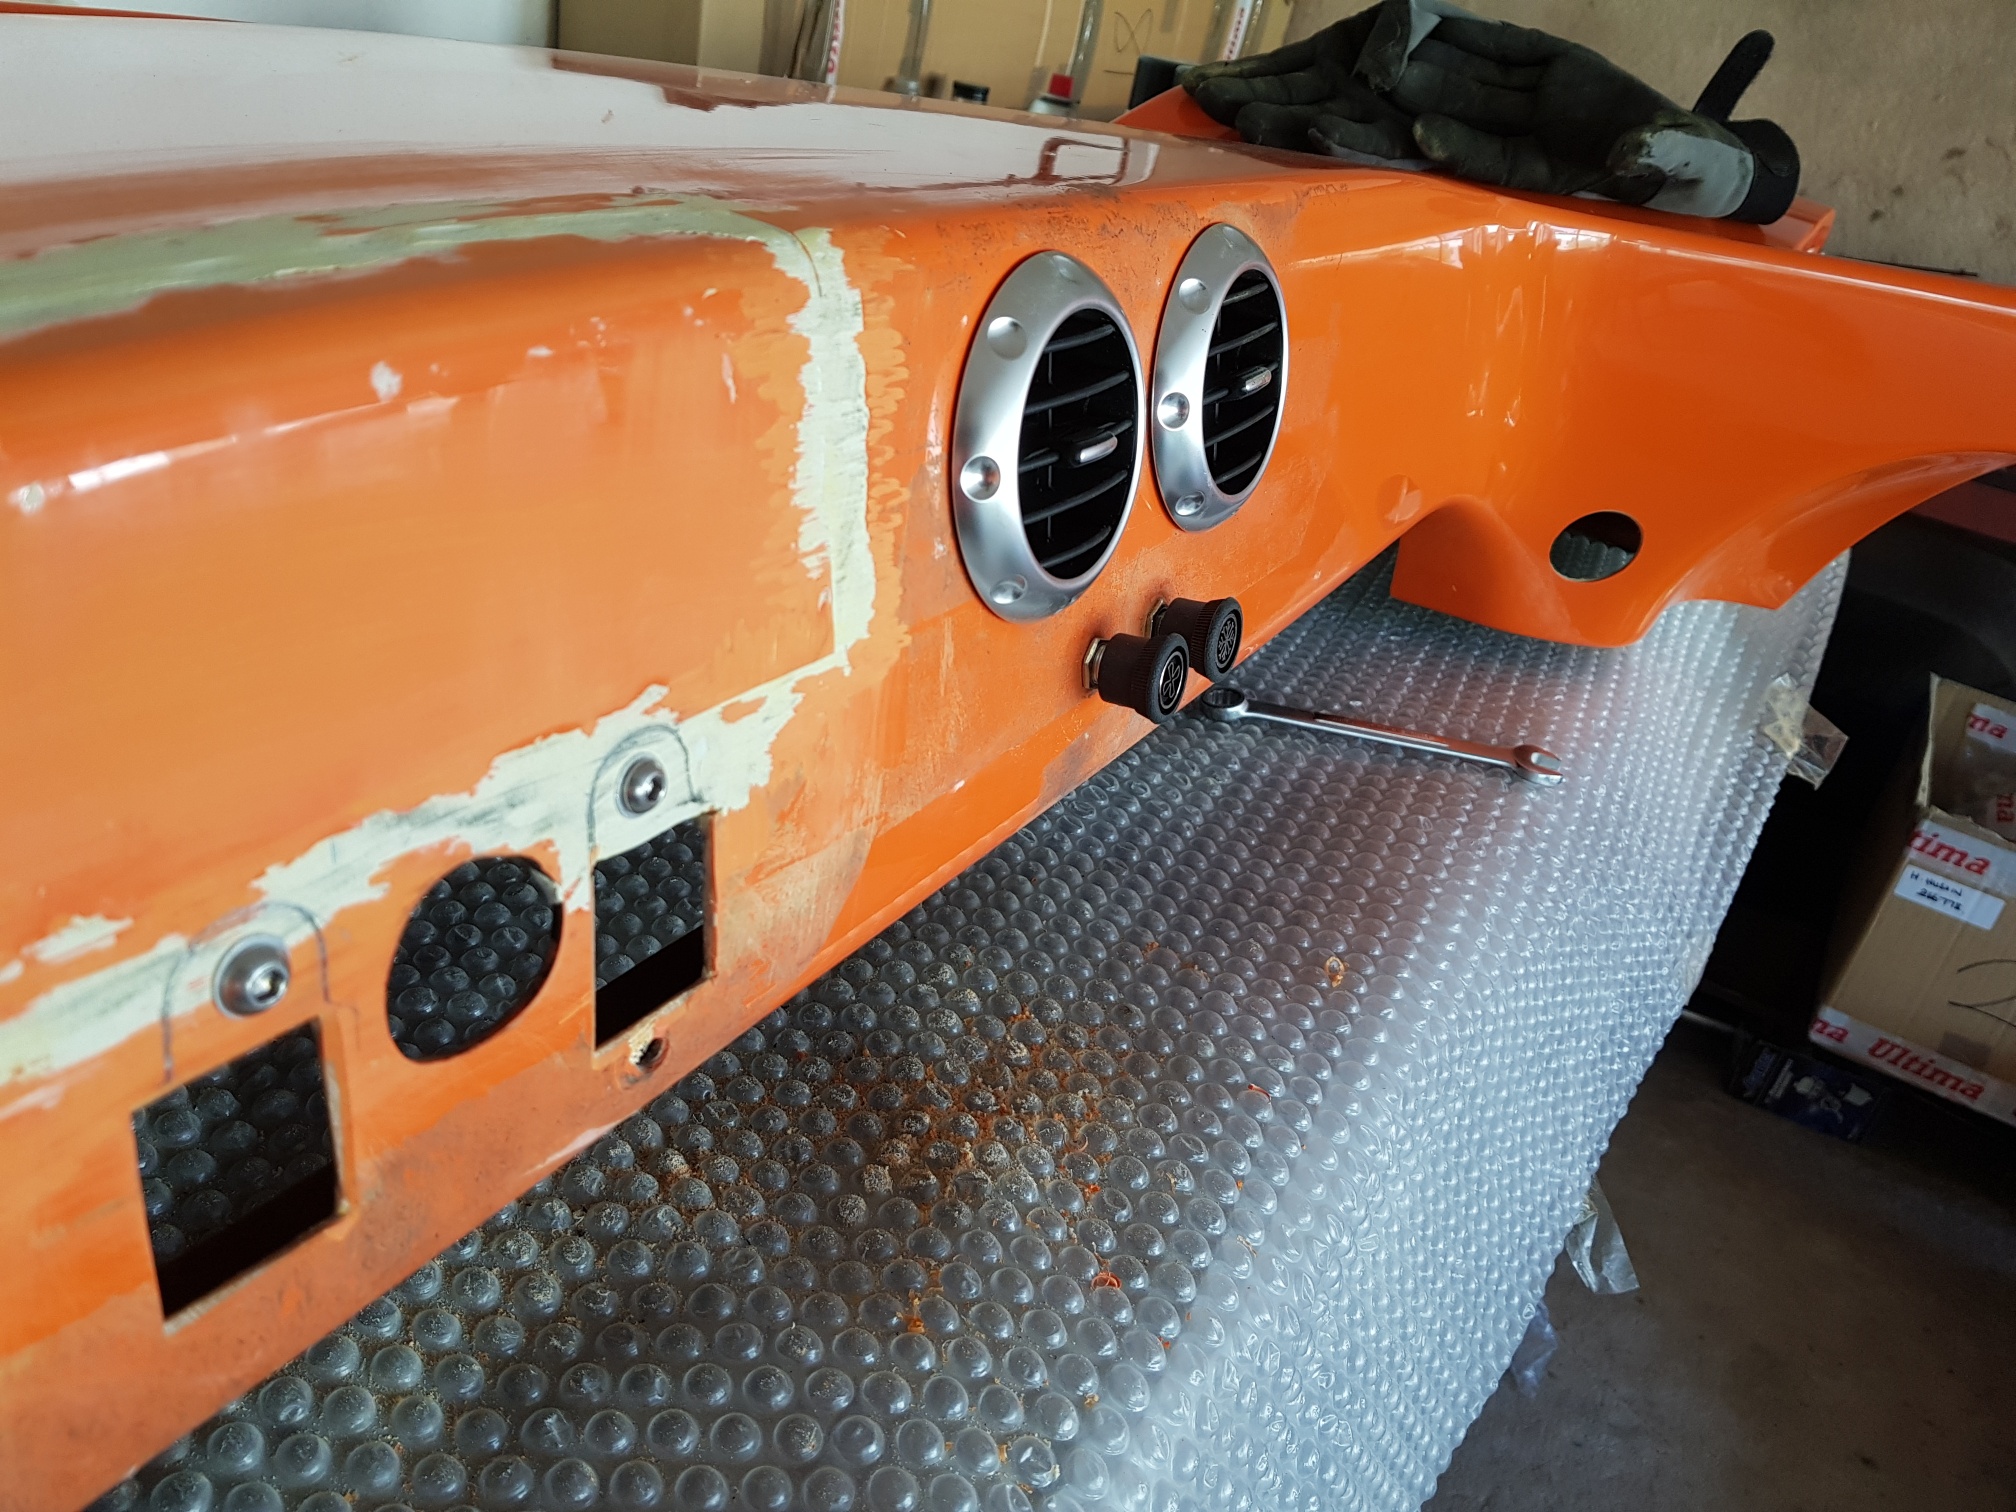
Dash:
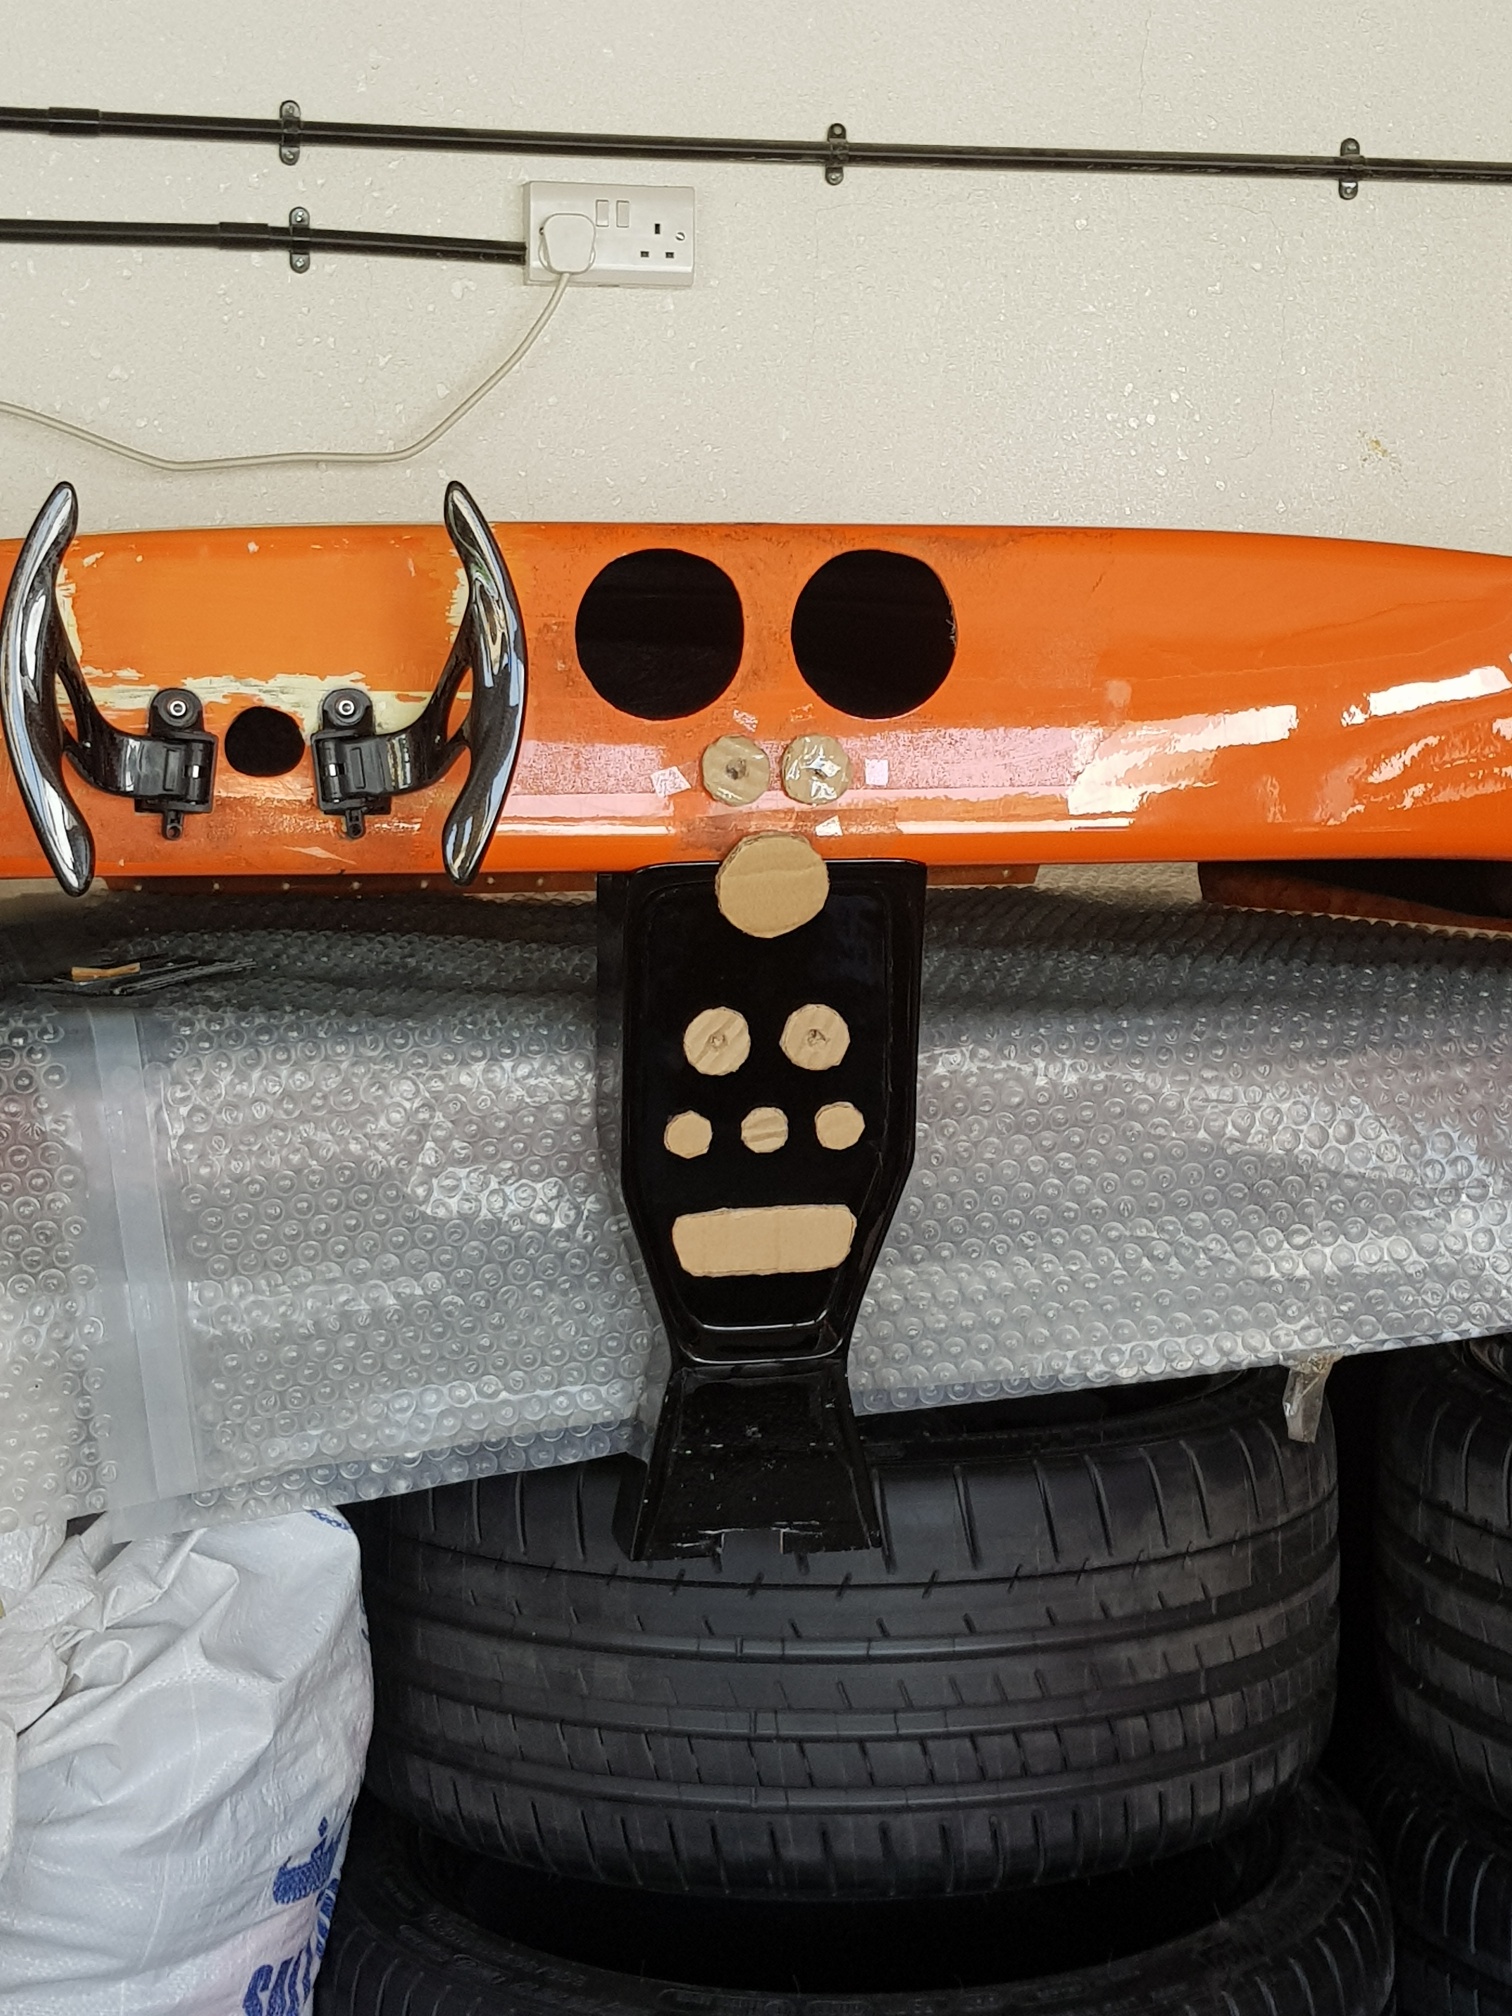
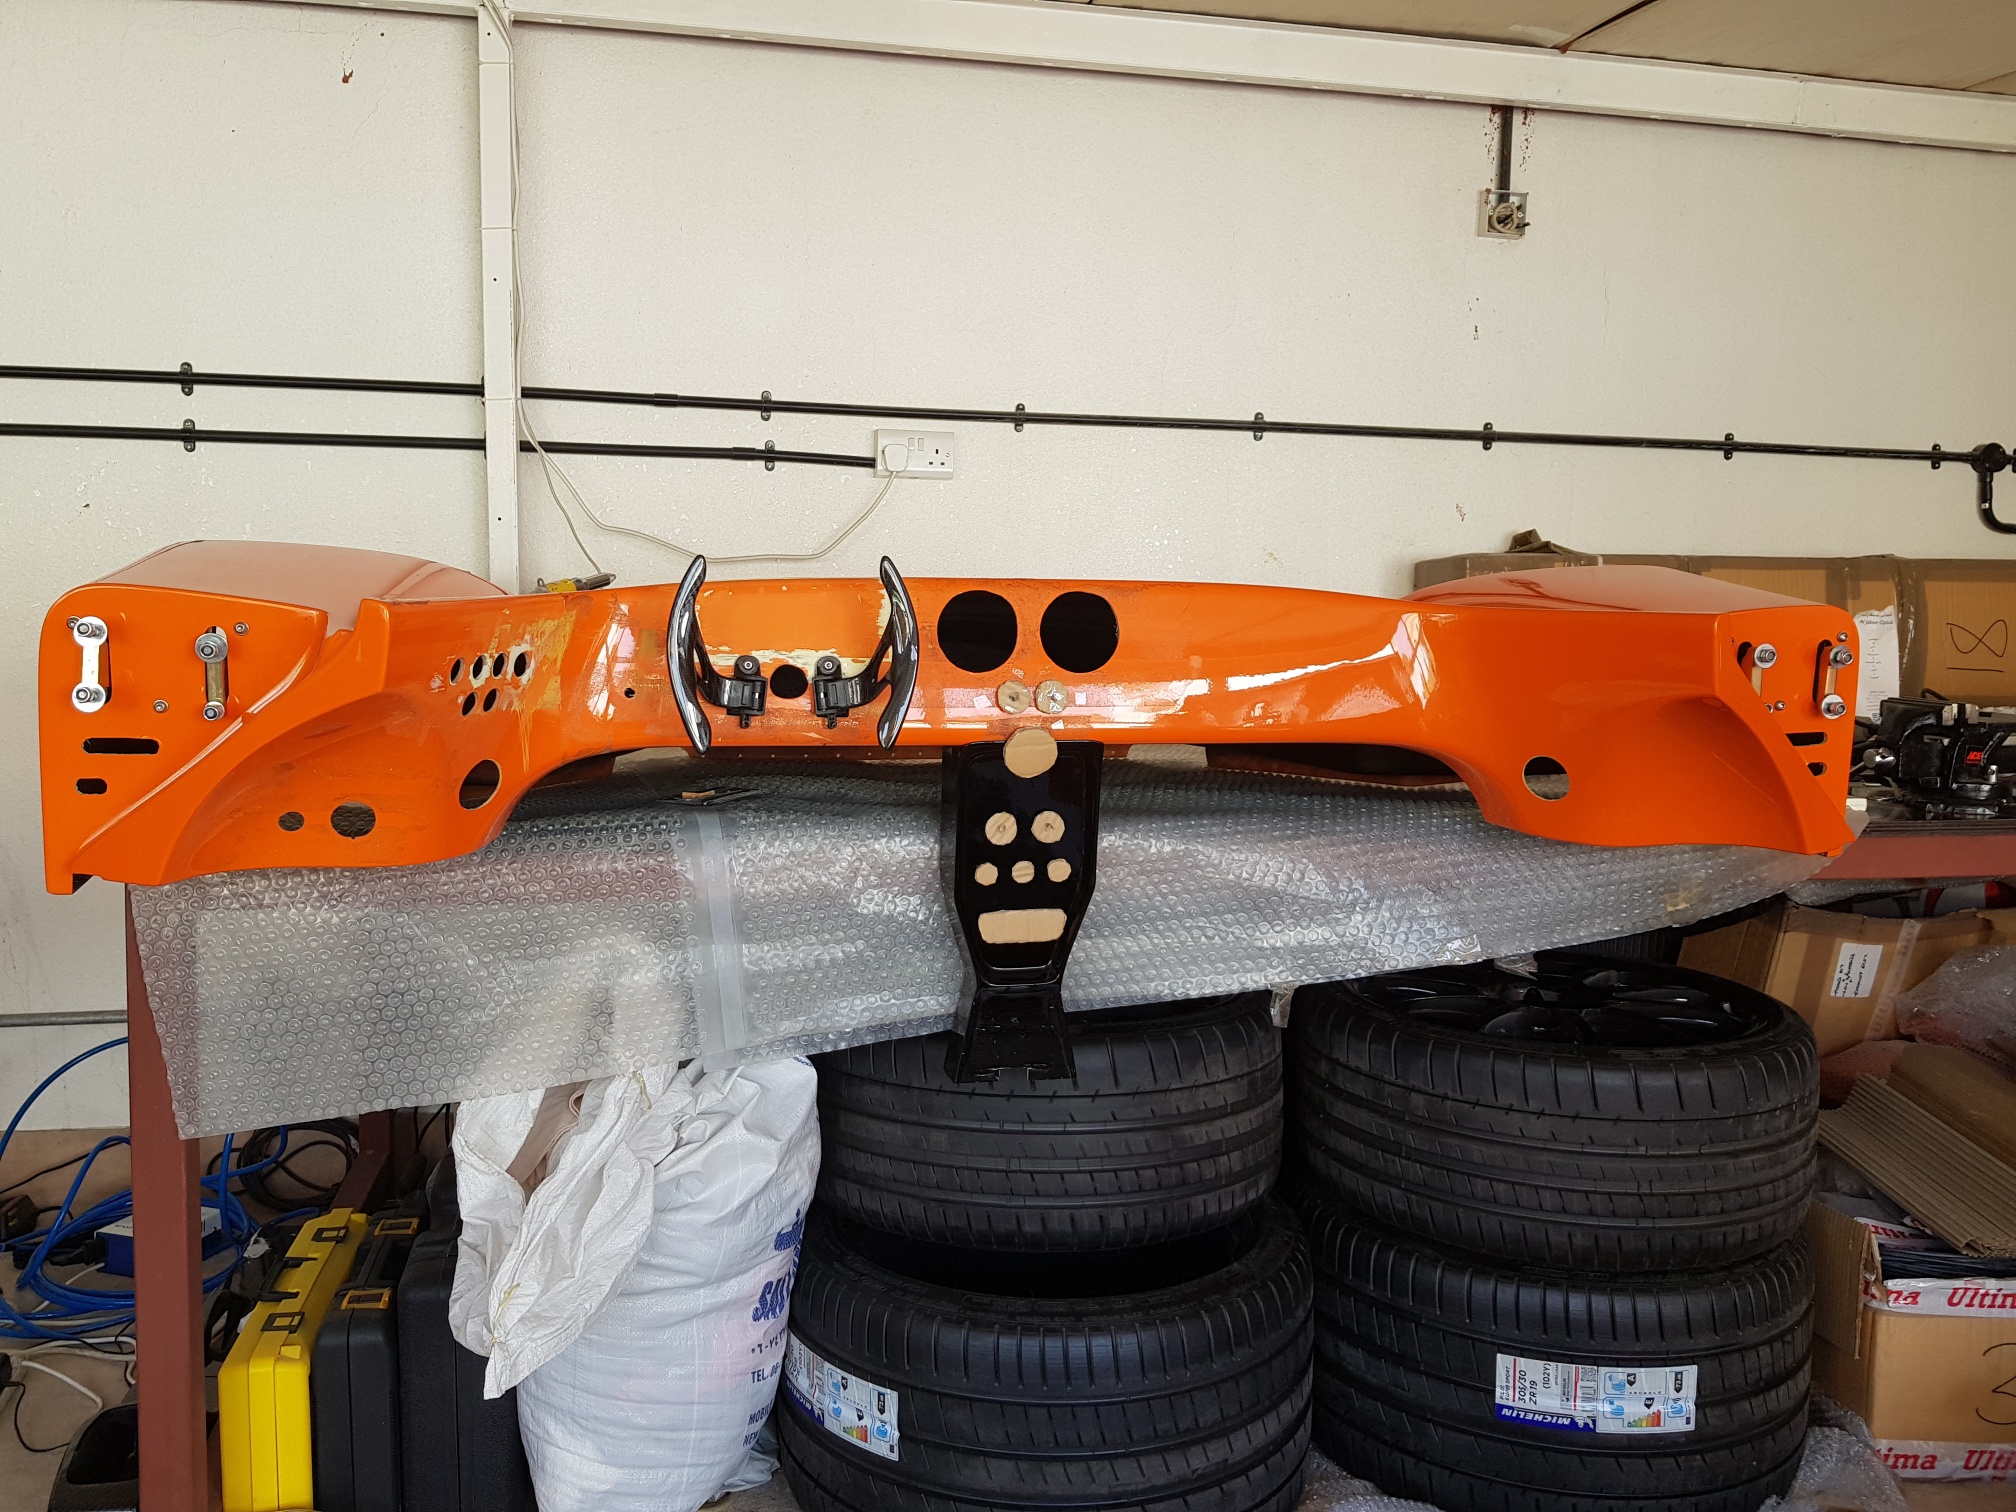
The dash was drilled with holes for all the remaining switch gear...Holes for the AC switches and EPAS were drilled... Holes for the rivnuts for the gear selector paddles were also drilled, and the rivnuts installed by using epoxy to glass them into the dash GRP... Because of the angle of the paddle screws, the rivnuts cannot be installed normally and had to be glassed in... (4 hours)
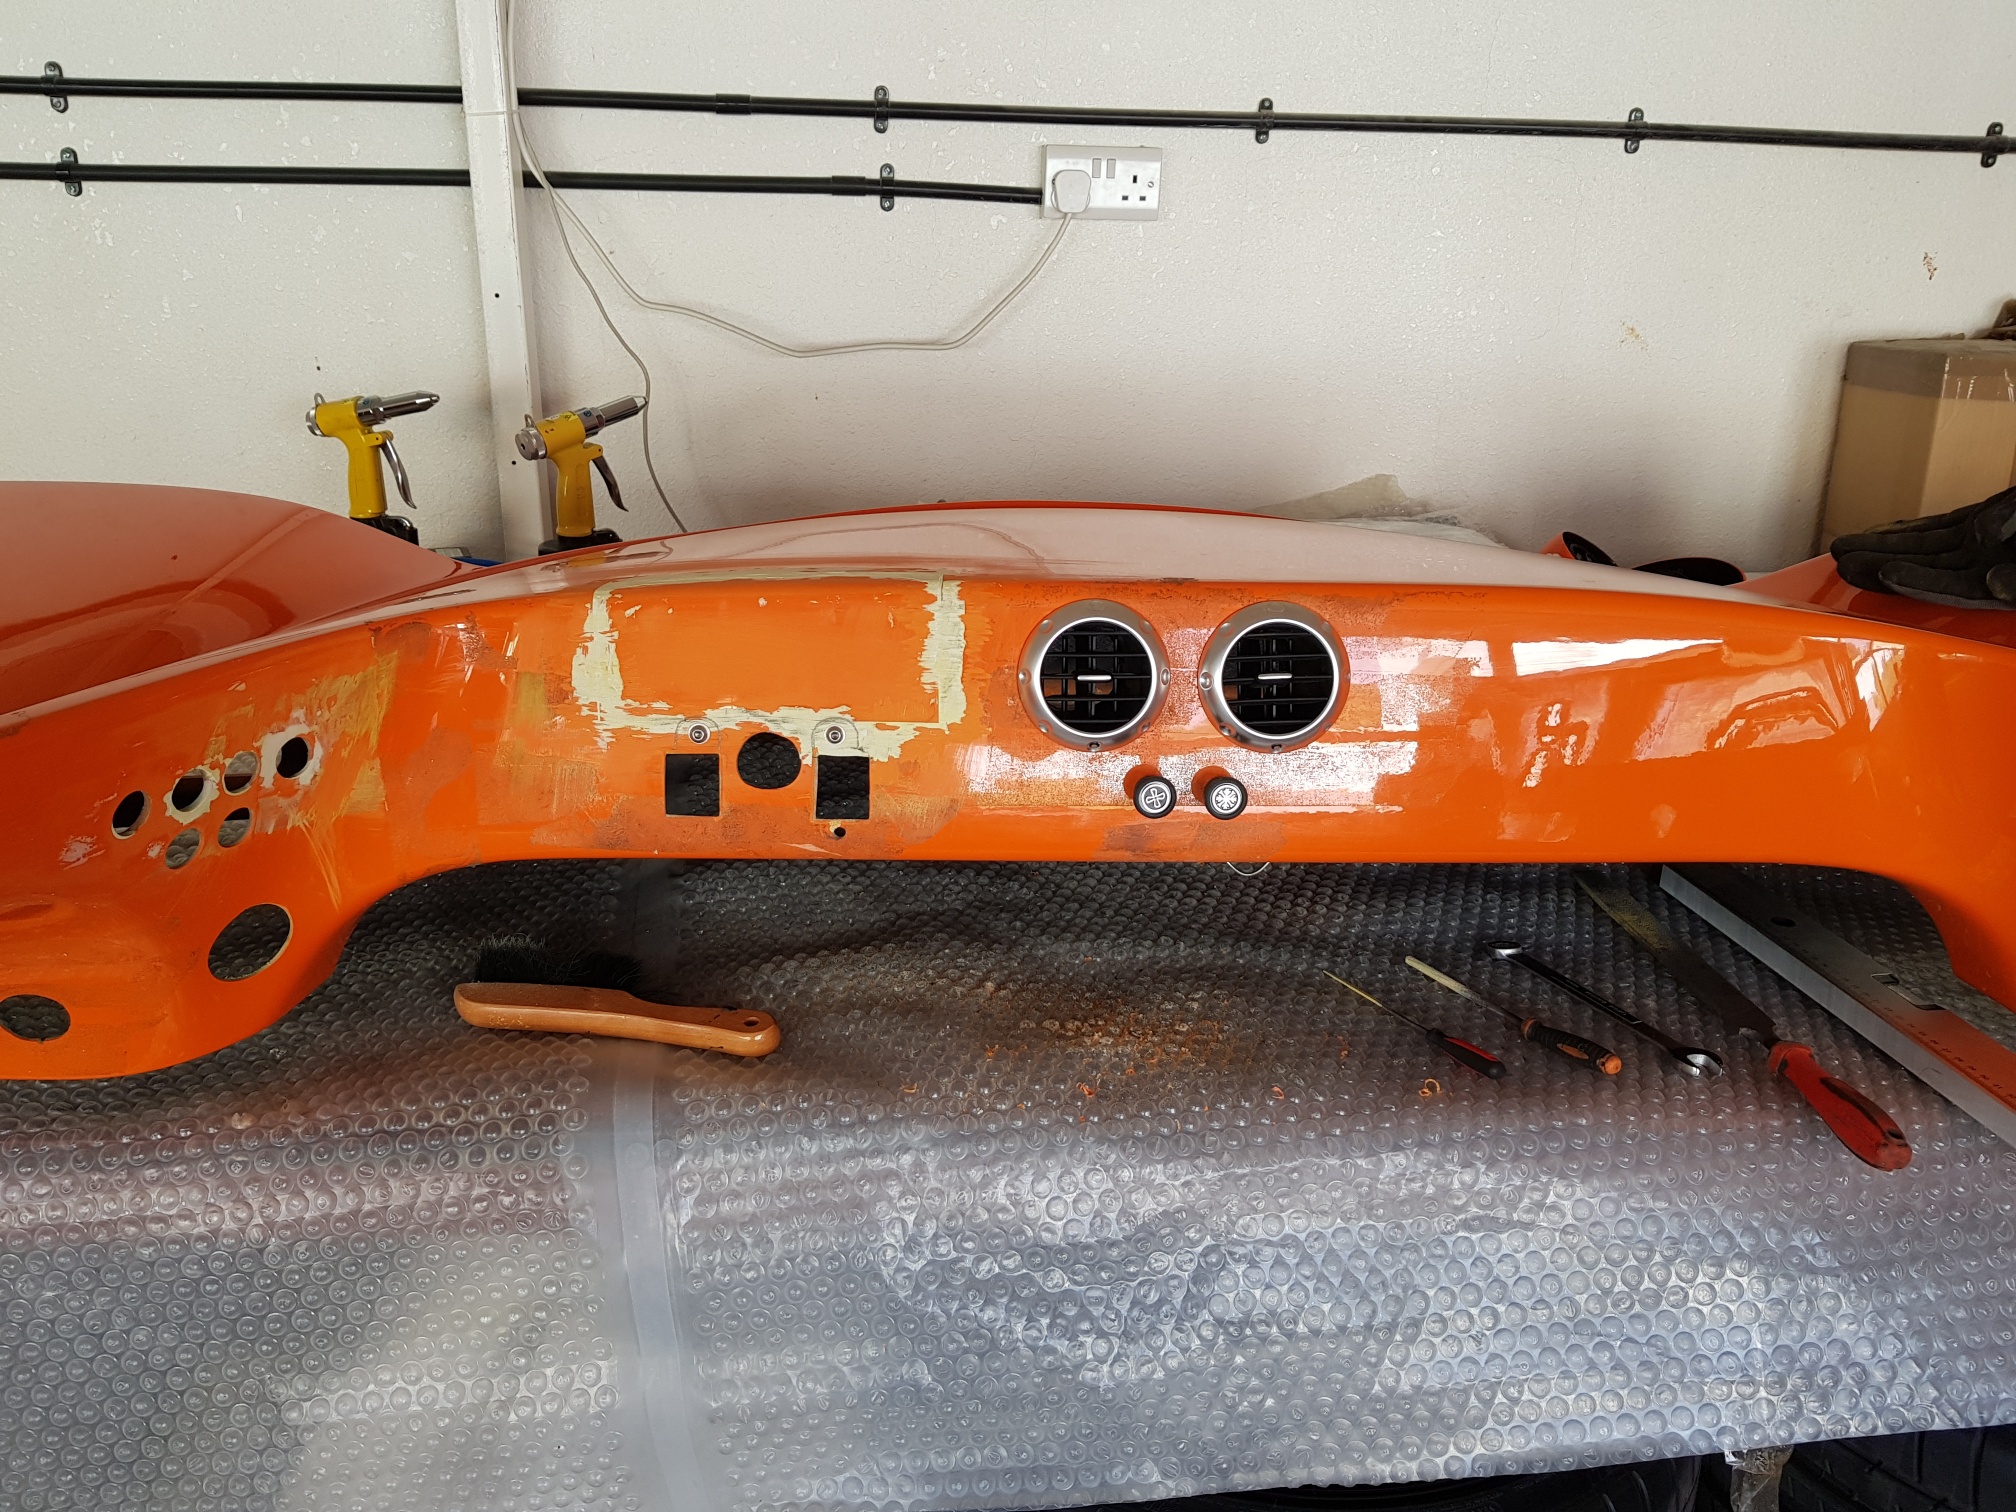
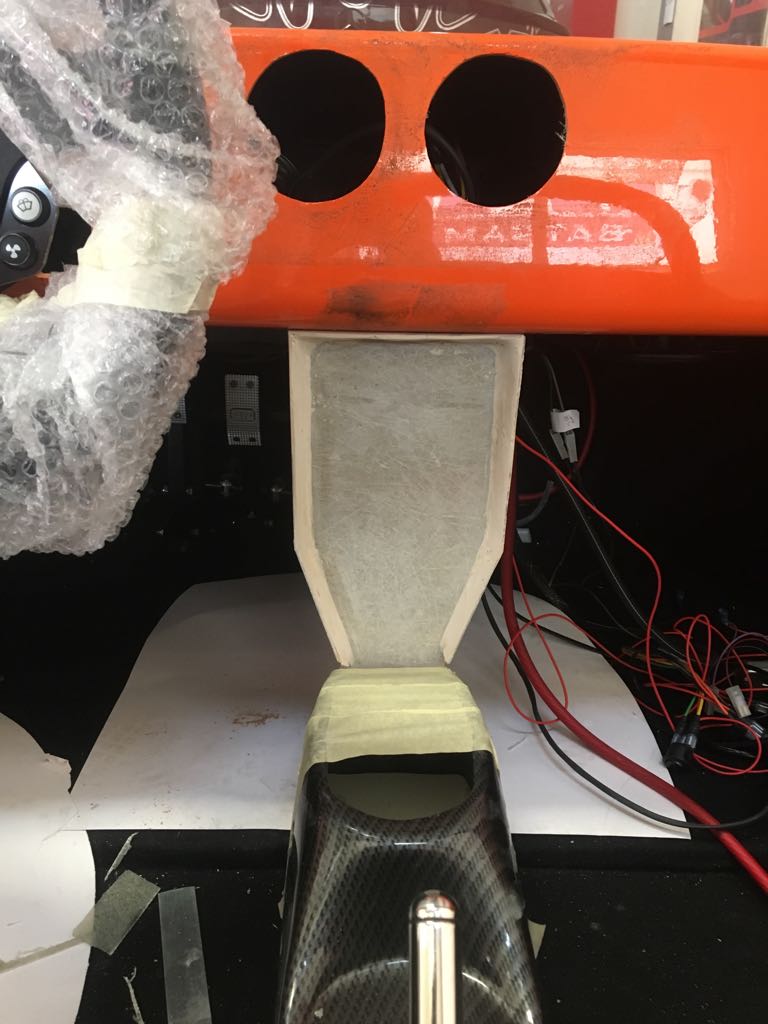
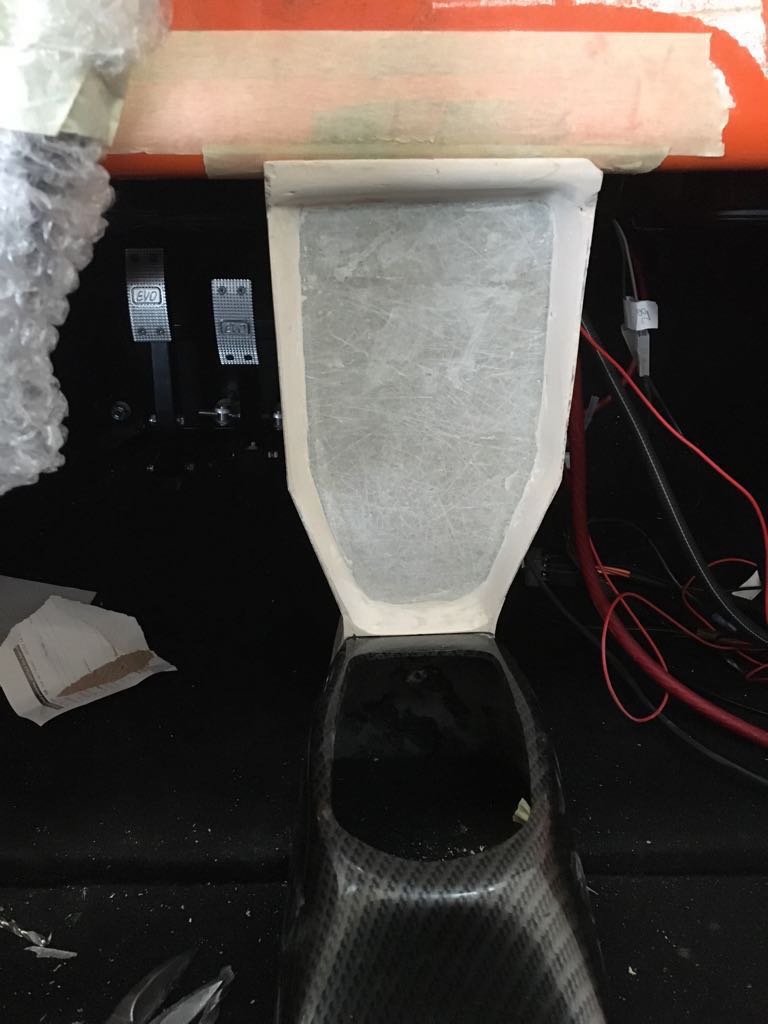
I also built a GRP based center console unit to go between the dash and the center tunnel between the seats... this unit will hold the starter button, VRH switches, PDK switches, and reverse sensor display... Once the unit was fabricated, the holes for the various items were made and the unit put aside with the center tunnel for future upholstery! (12 hours)
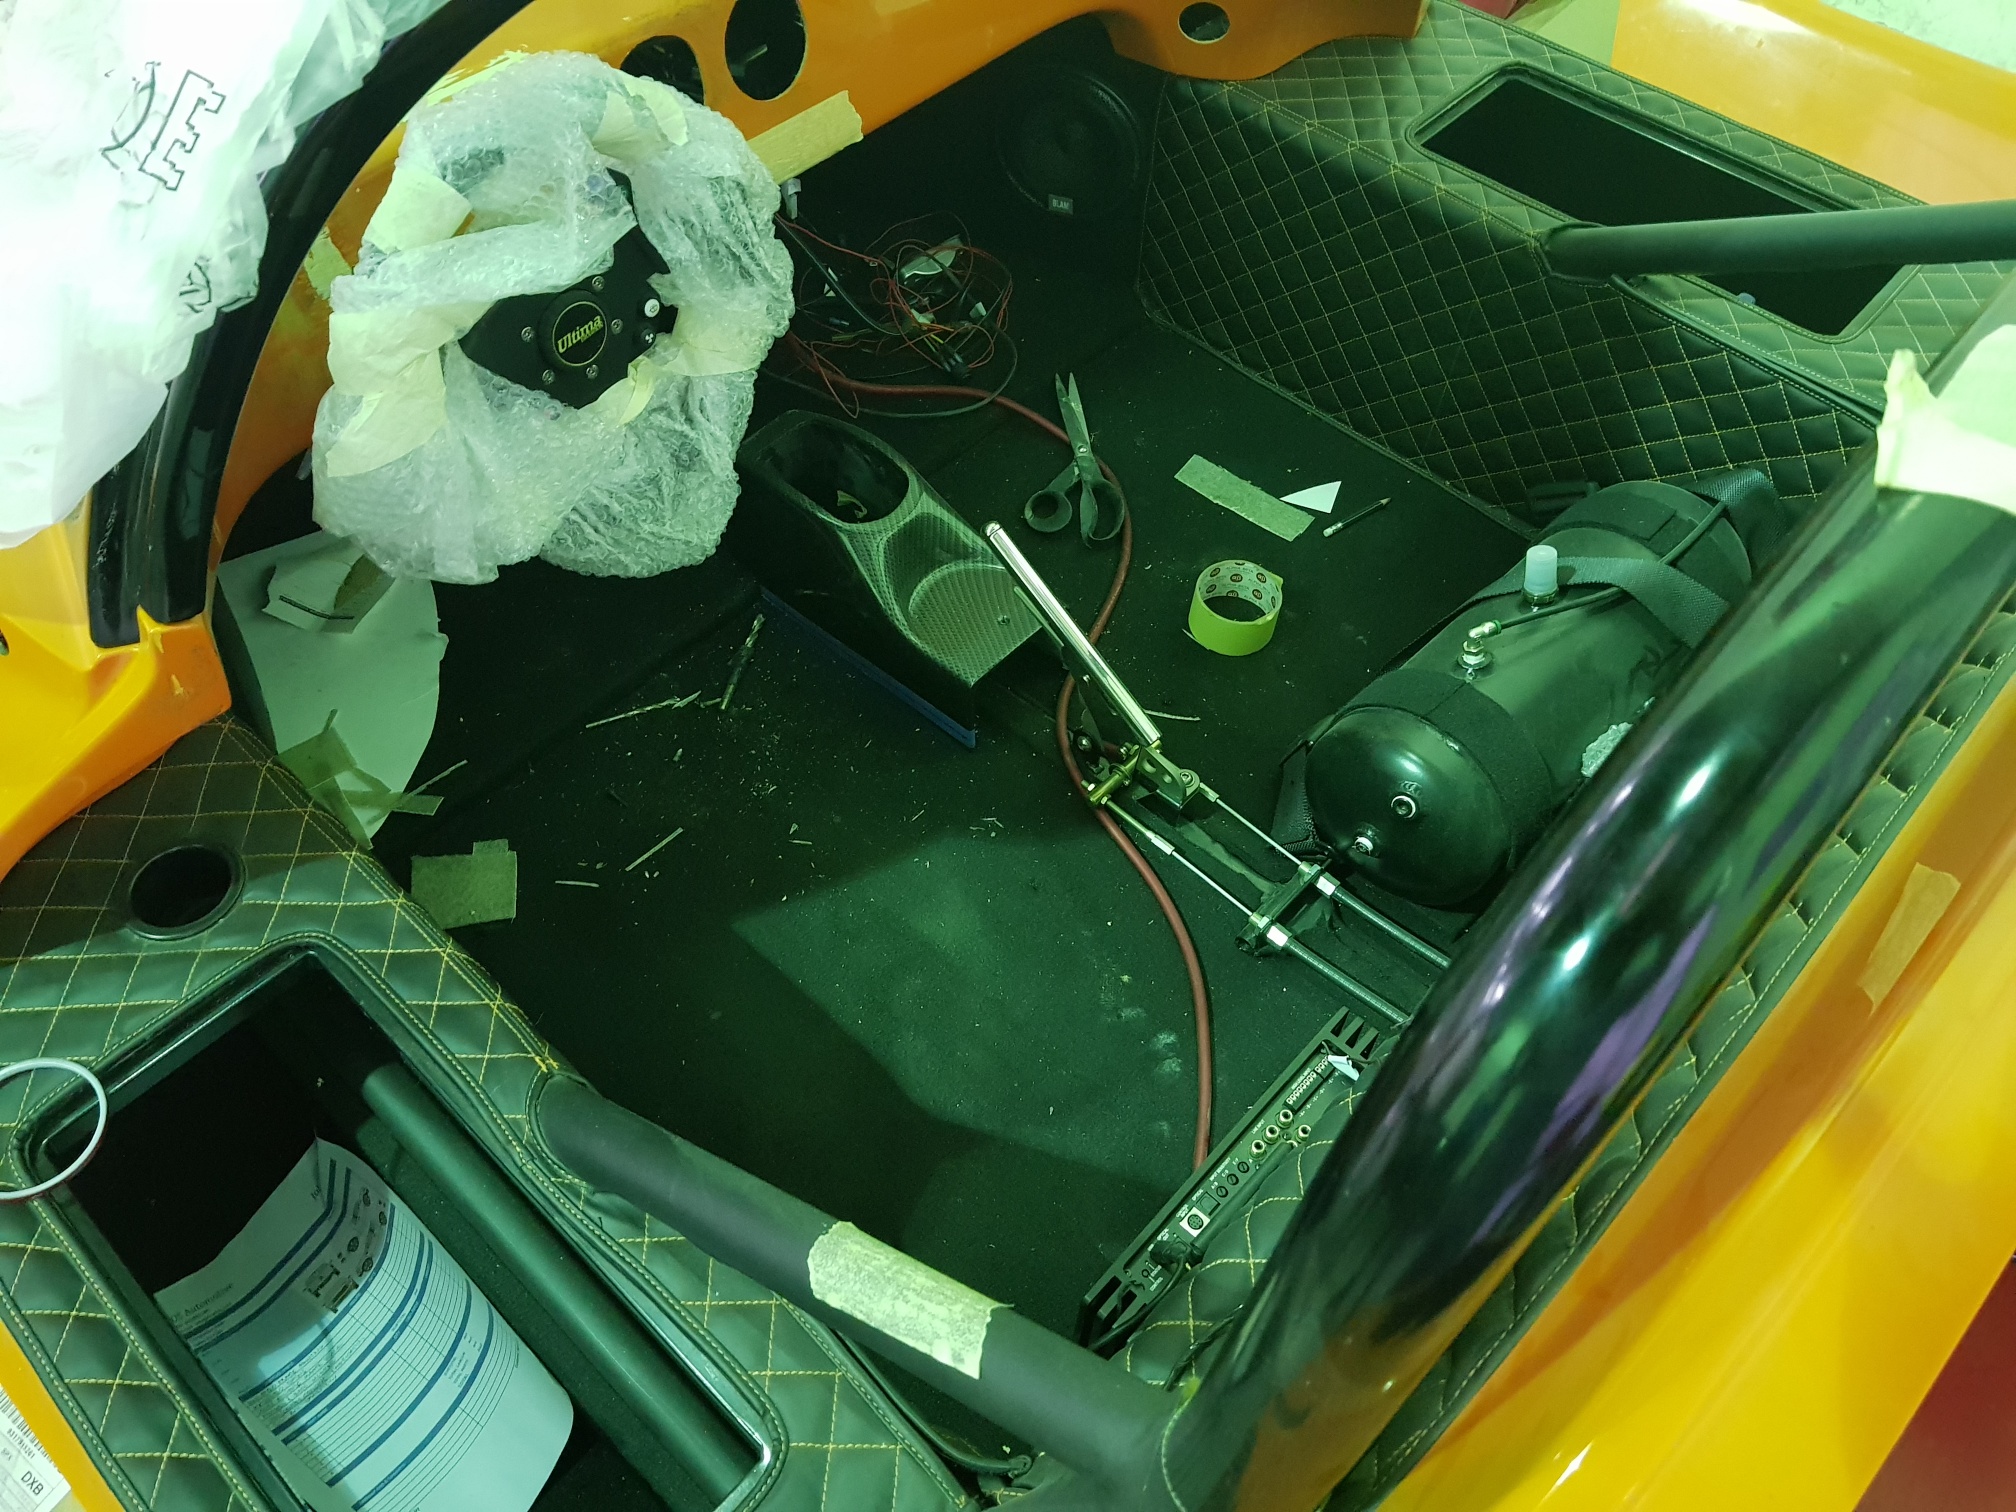

Shifter:
I made a trip to the UK in Oct to see the progress of the drivetrain and dash setup - while there, I got to test drive the mule and it was AMAZING! There is still some work left, but I should be able to move the build along a little since I am picking up the gear selector lever and brackets during the trip!
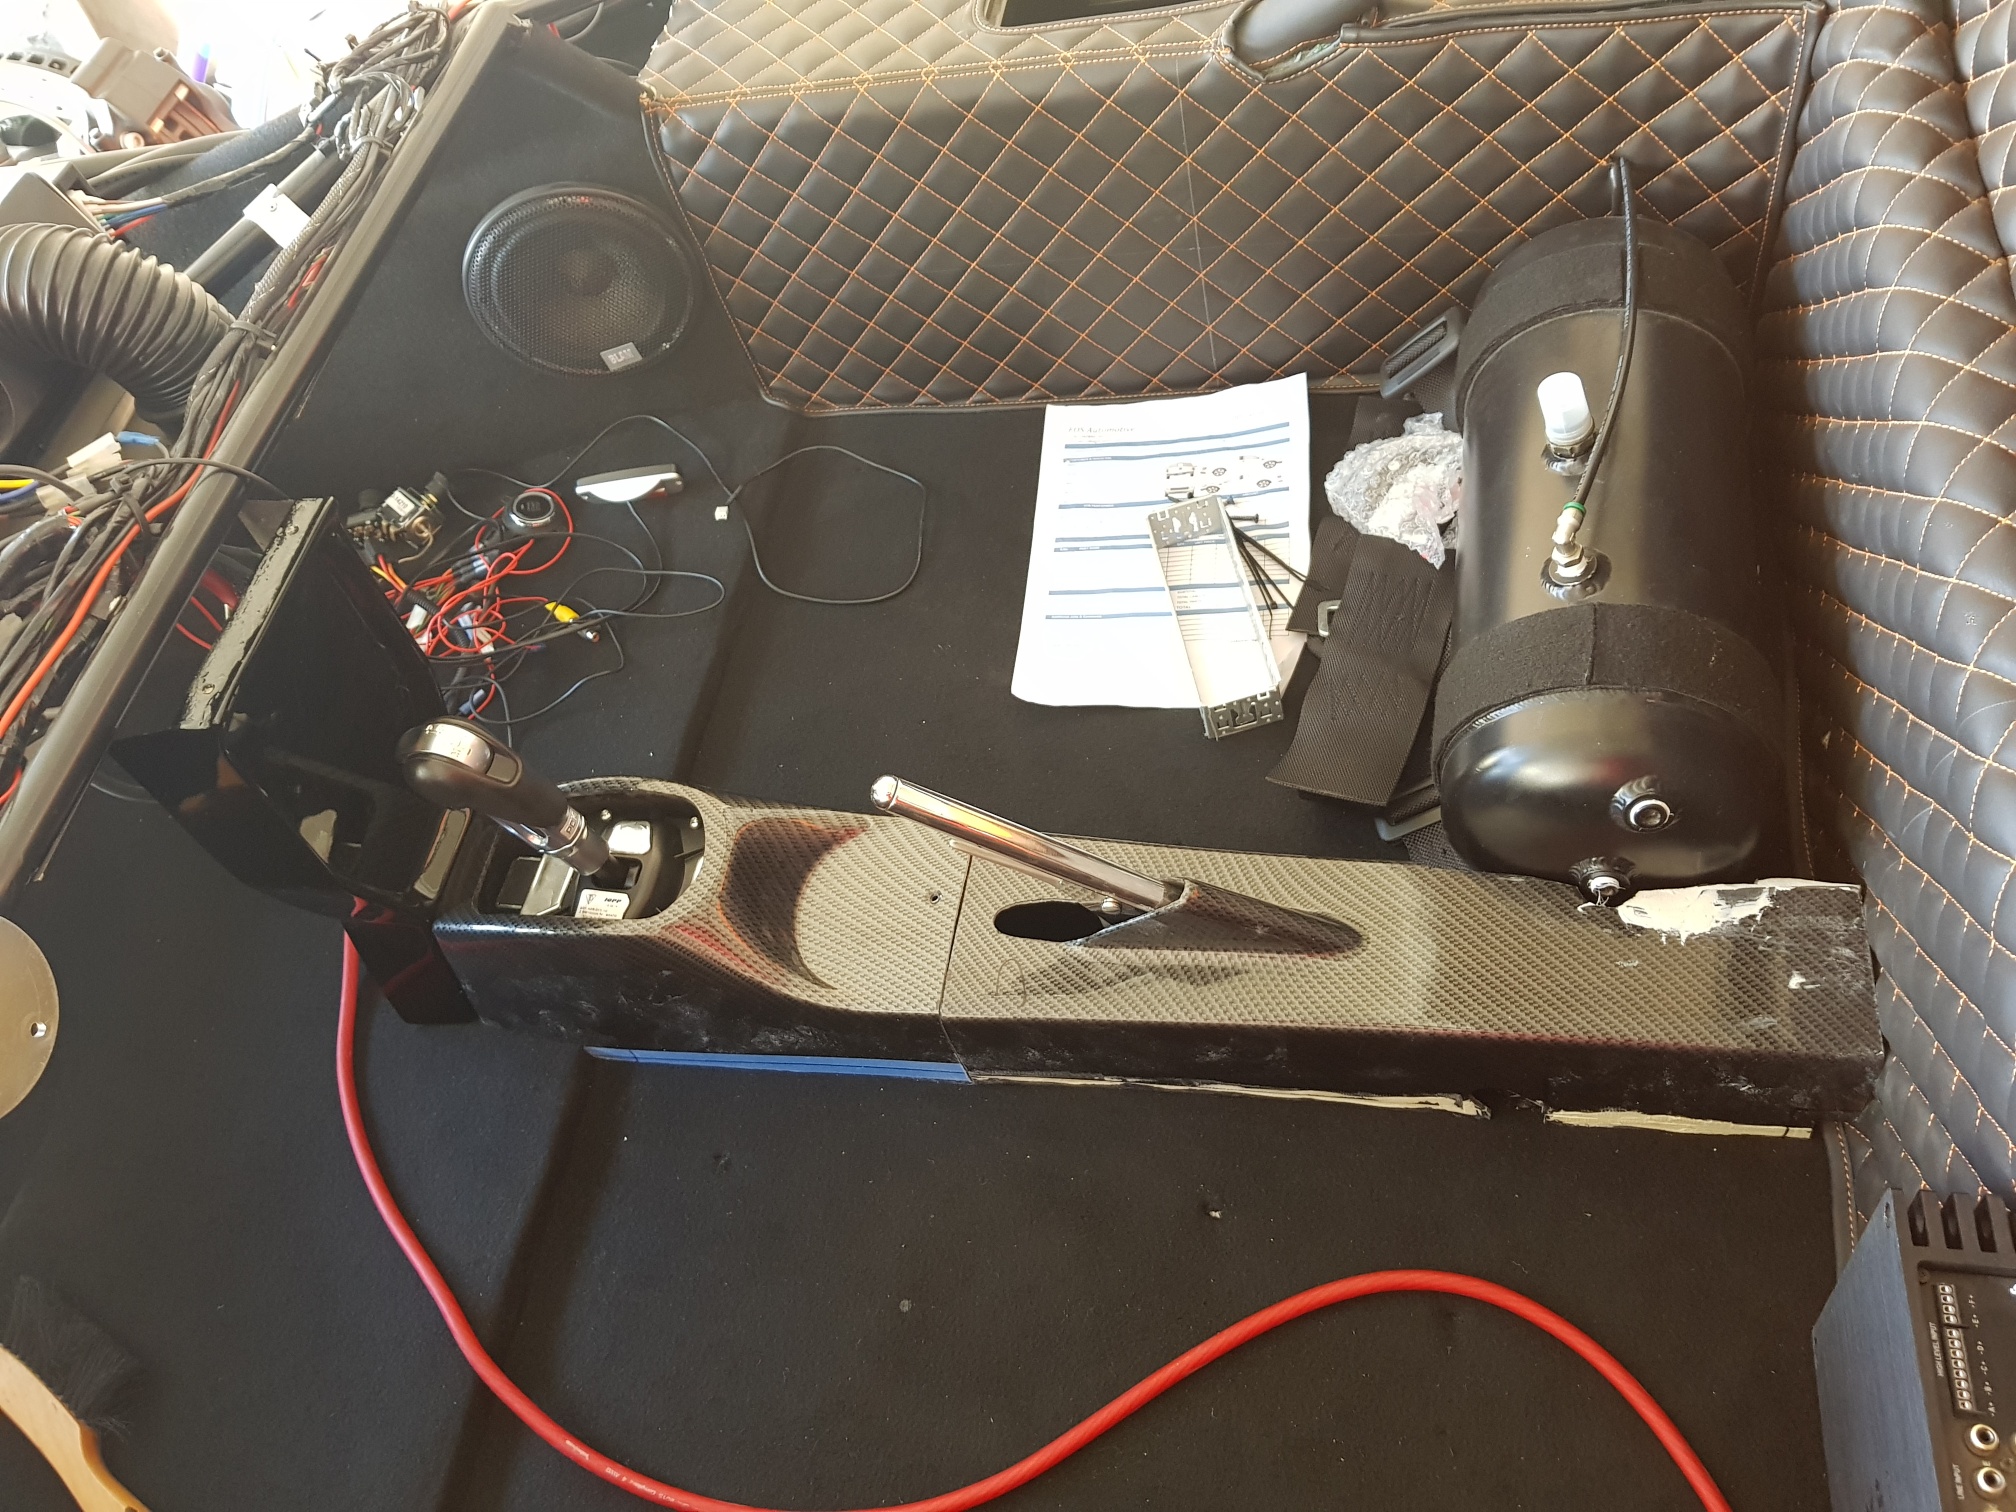
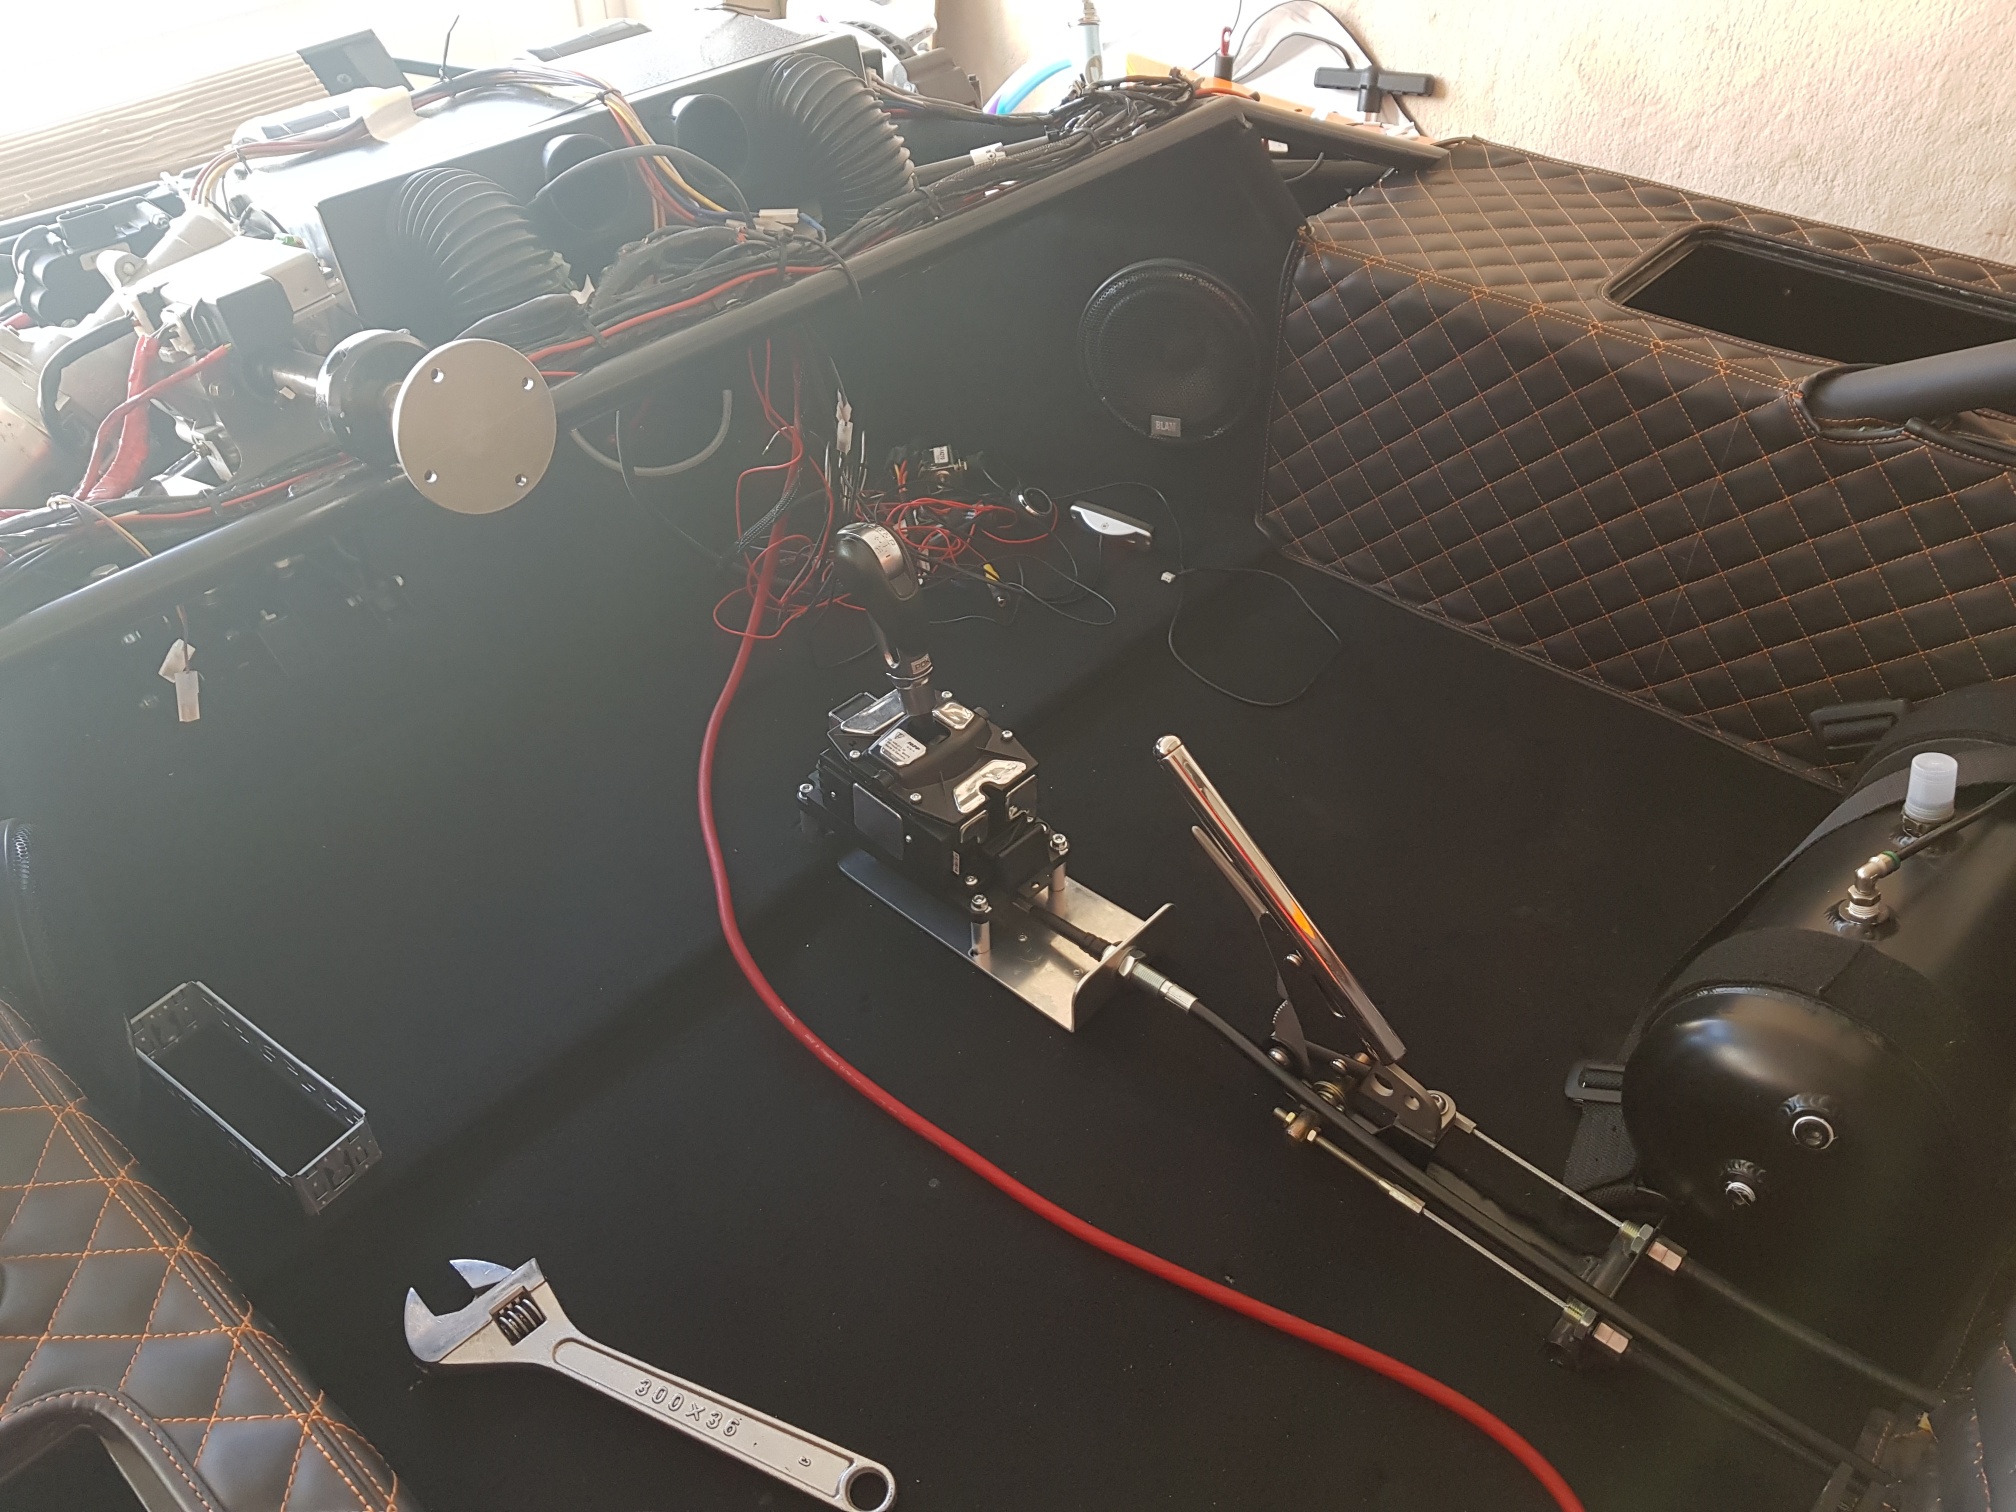
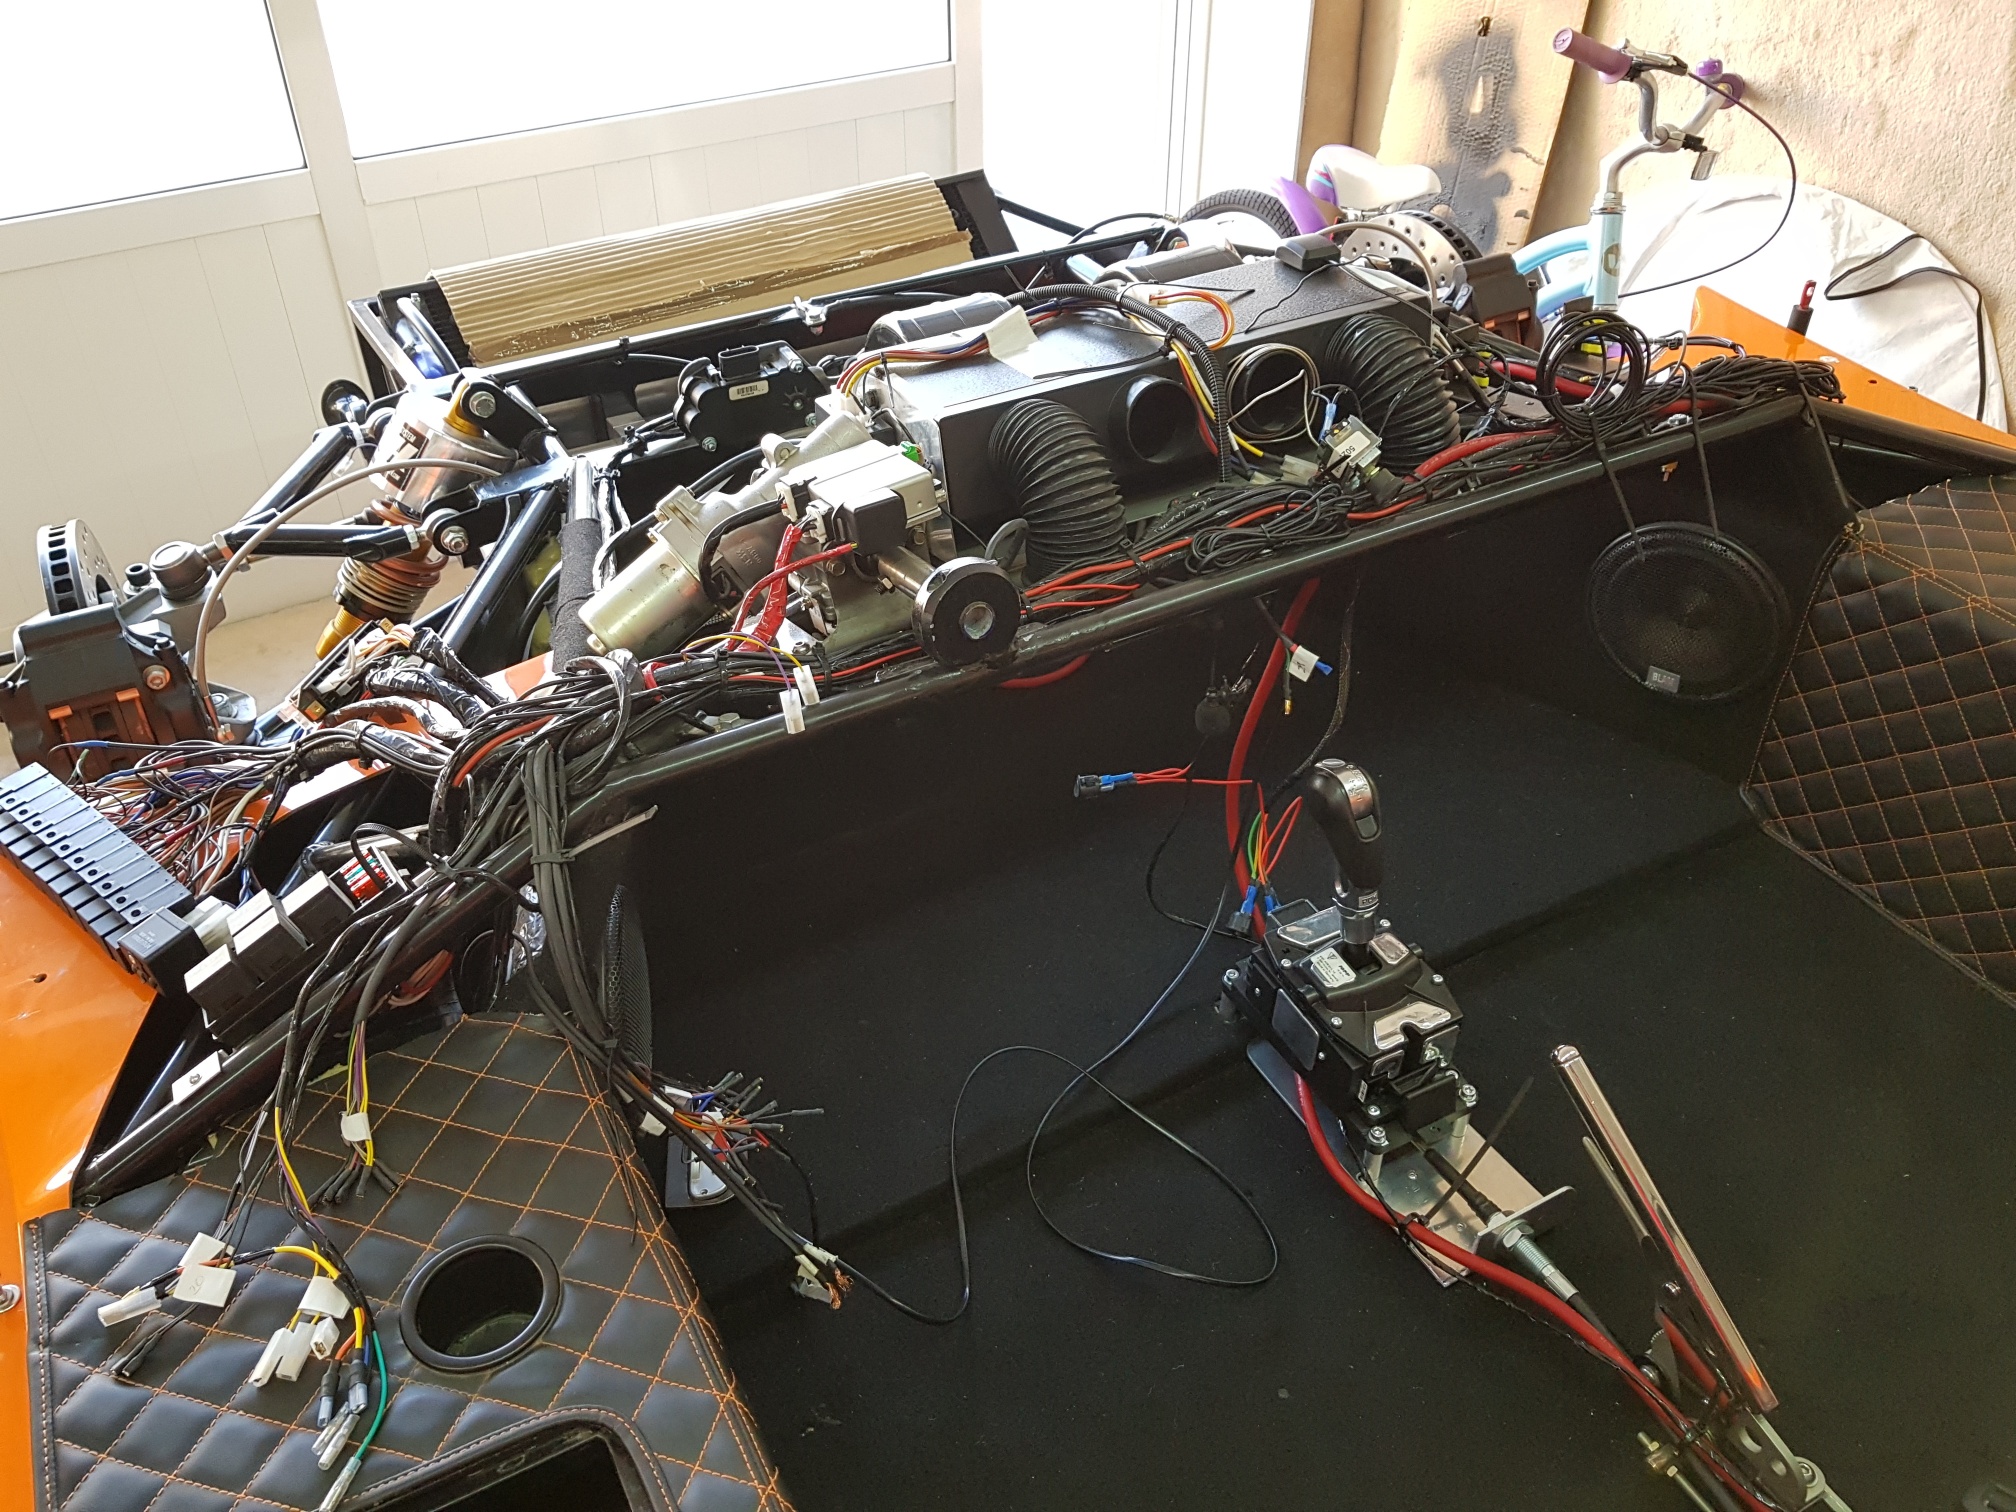
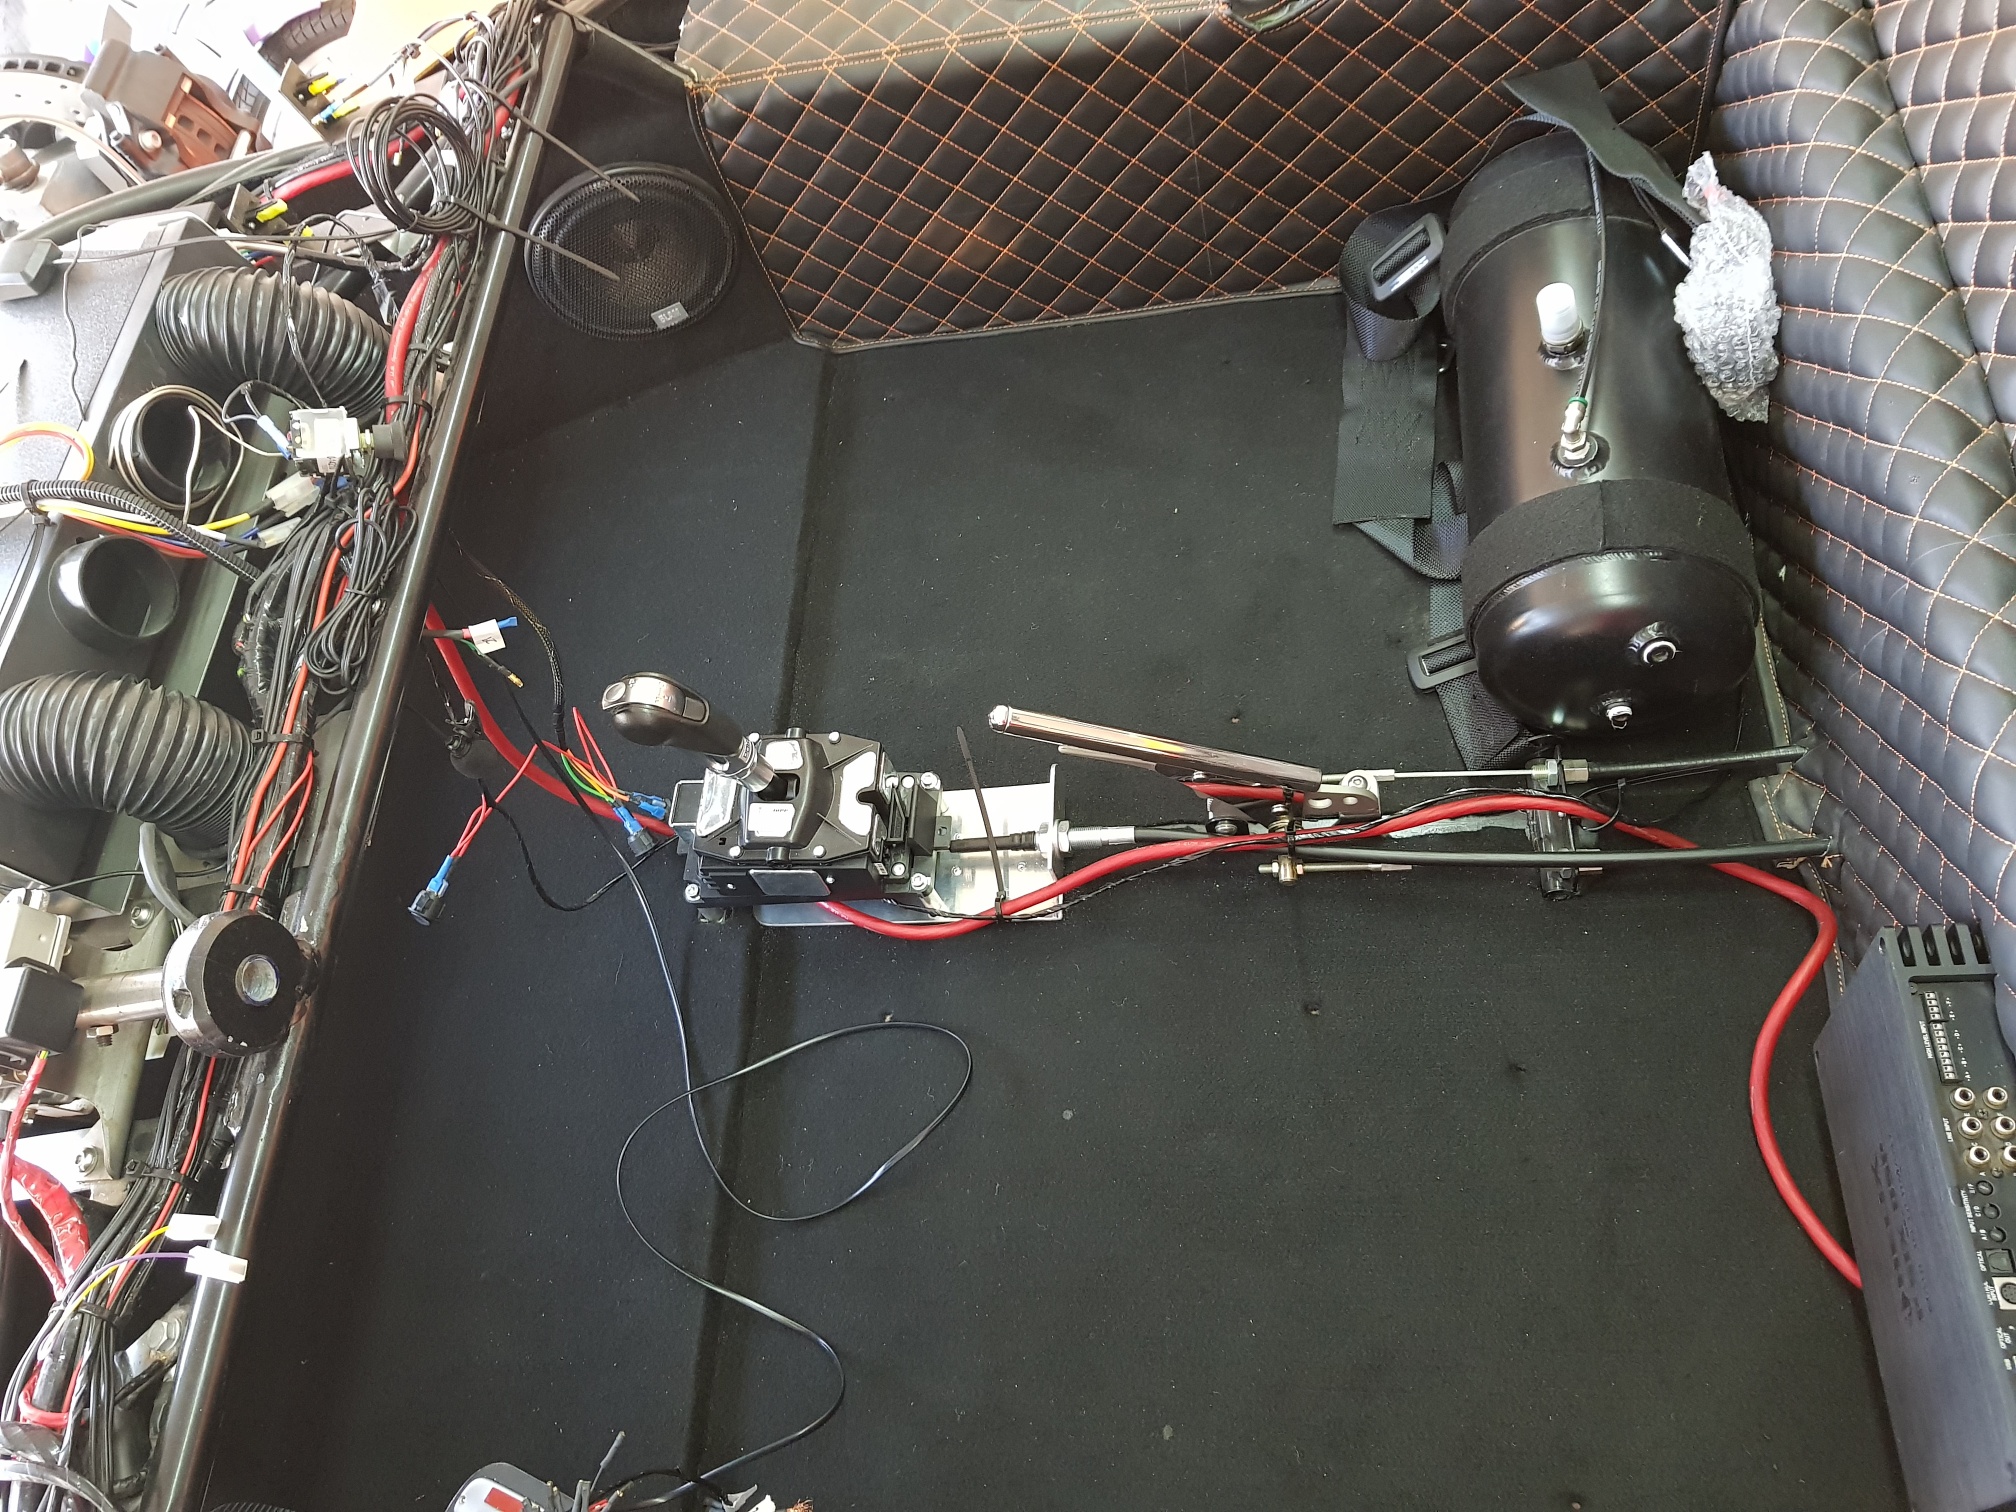
Once home, I installed the bracket for the Porsche gear selector, and then installed the gear lever on top using the 4 long bolts.. I had to drill 2 rivnuts into the passenger foot-well ally panel, and then the lever was installed... the gearbox cable was run from the lever to the back of the chassis following the lower chassis rails in the engine bay... (2 hours)

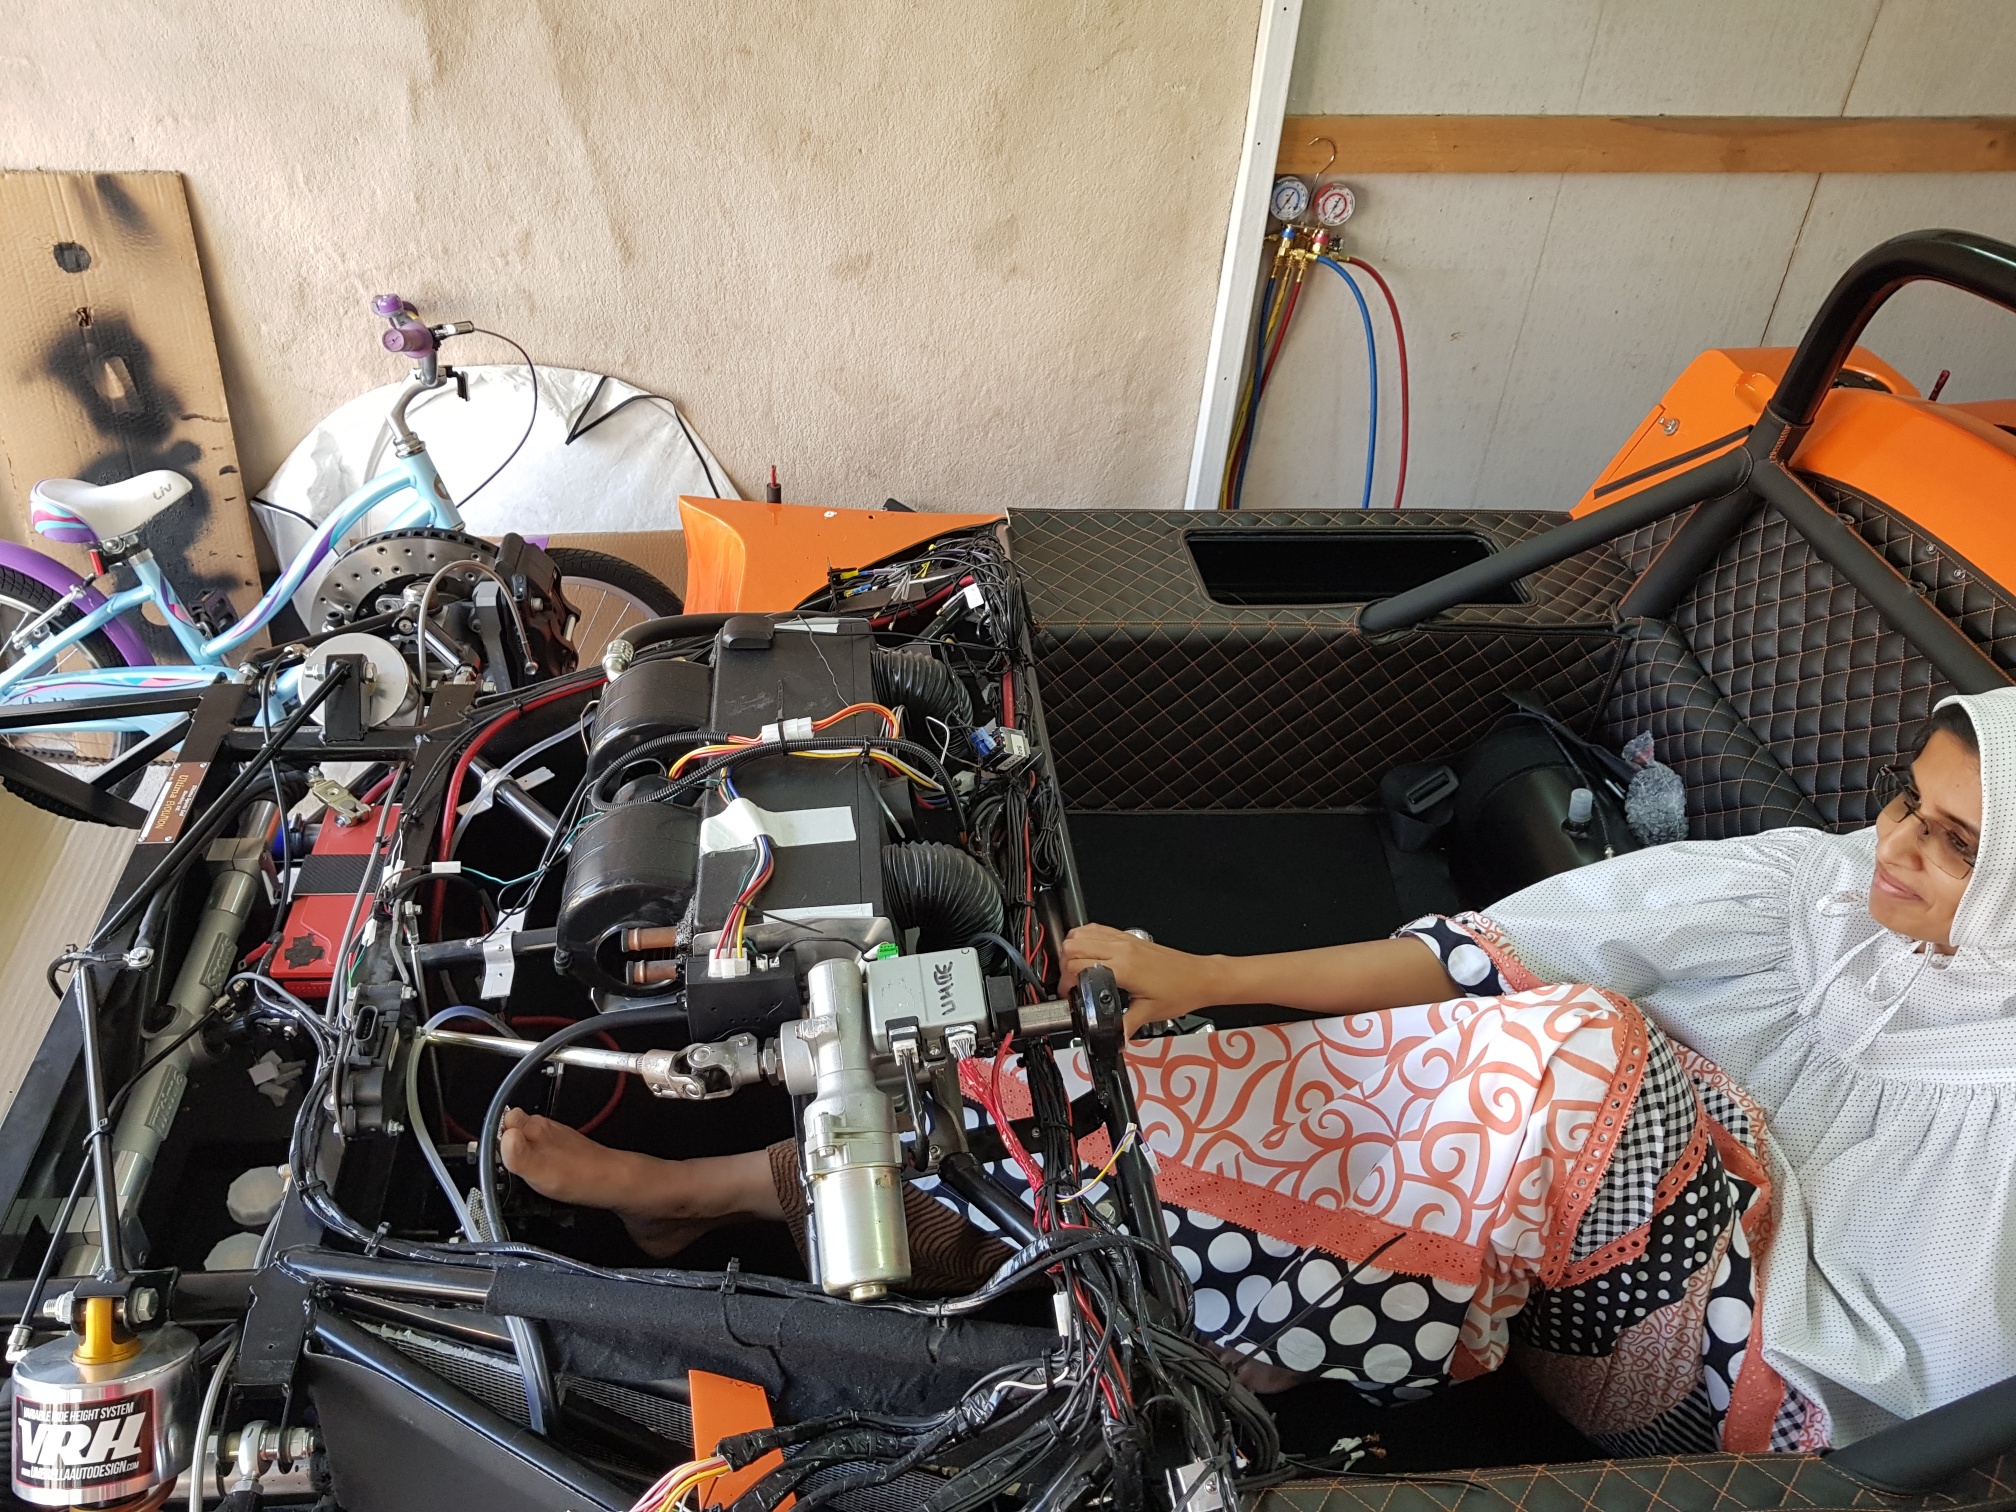
Electrical:
I had to tidy up all the electrical wires under the dash area in preparation for the dash install - First, I had to make sure all the wiring for the engine/gearbox/dash loom will plug-n-play with the Ultima wiring - this meant changing some of the wiring in the relay rail to accommodate the ECU driven starter wiring... I also had to redo a bit of the brake and reverse light wiring since the ECU will trigger both brakes and reverse lights... Once done with this, I also tidied up the wiring that will run in the center tunnel for the amp and VRH system... All other wires were rechecked, and then all the wiring ziptied and secured, ready for the dash install... (10 hours)

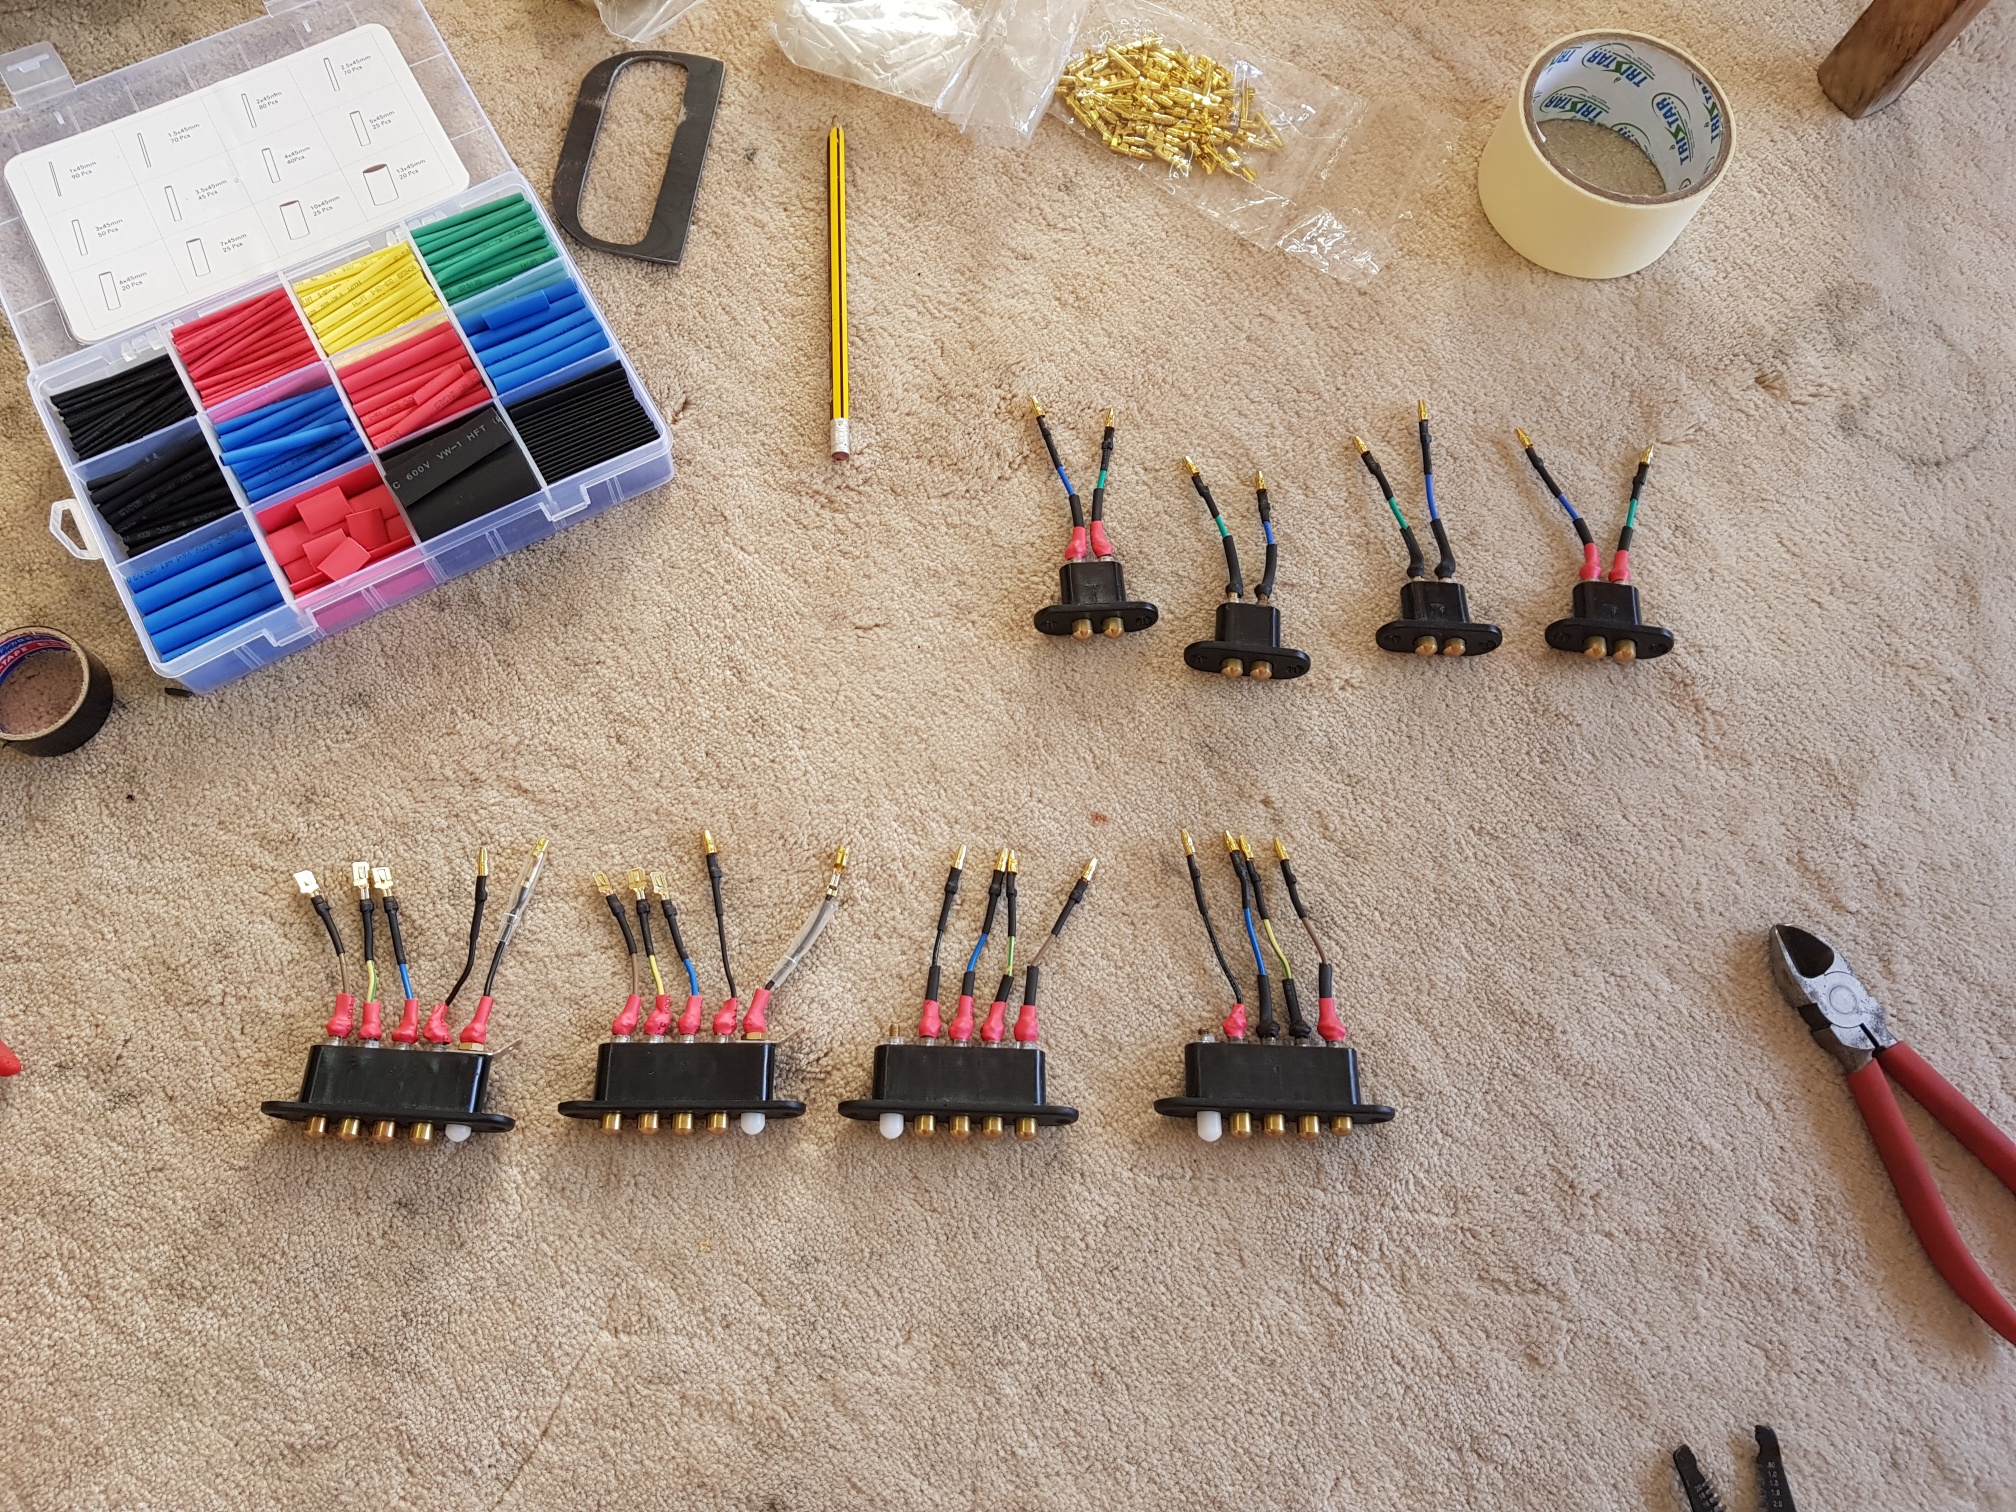
I also cleaned up and installed connectors on all the JambTac connectors... Then I finalized the door units by installing the side mirror units into the door, and running the wiring for the mirrors and central locking to the JambTac units on the door... The doors are now ready for final install (only pending install of mirror glass, which will be done at the end)... (3 hours)


Brakes:
The brakes were bled for the first time - my wife came out to help, and pumped the brakes while I bled all four calipers.. I checked all the lines and connections for leaks, and there were none! After bleeding the brakes, the mastercylinder rods were secured with the locknuts to the bias bar clevis... (2 hours)
16 Nov - 30 Nov 2017
Build Time : 14 hours
Total Build Time: 435 hours
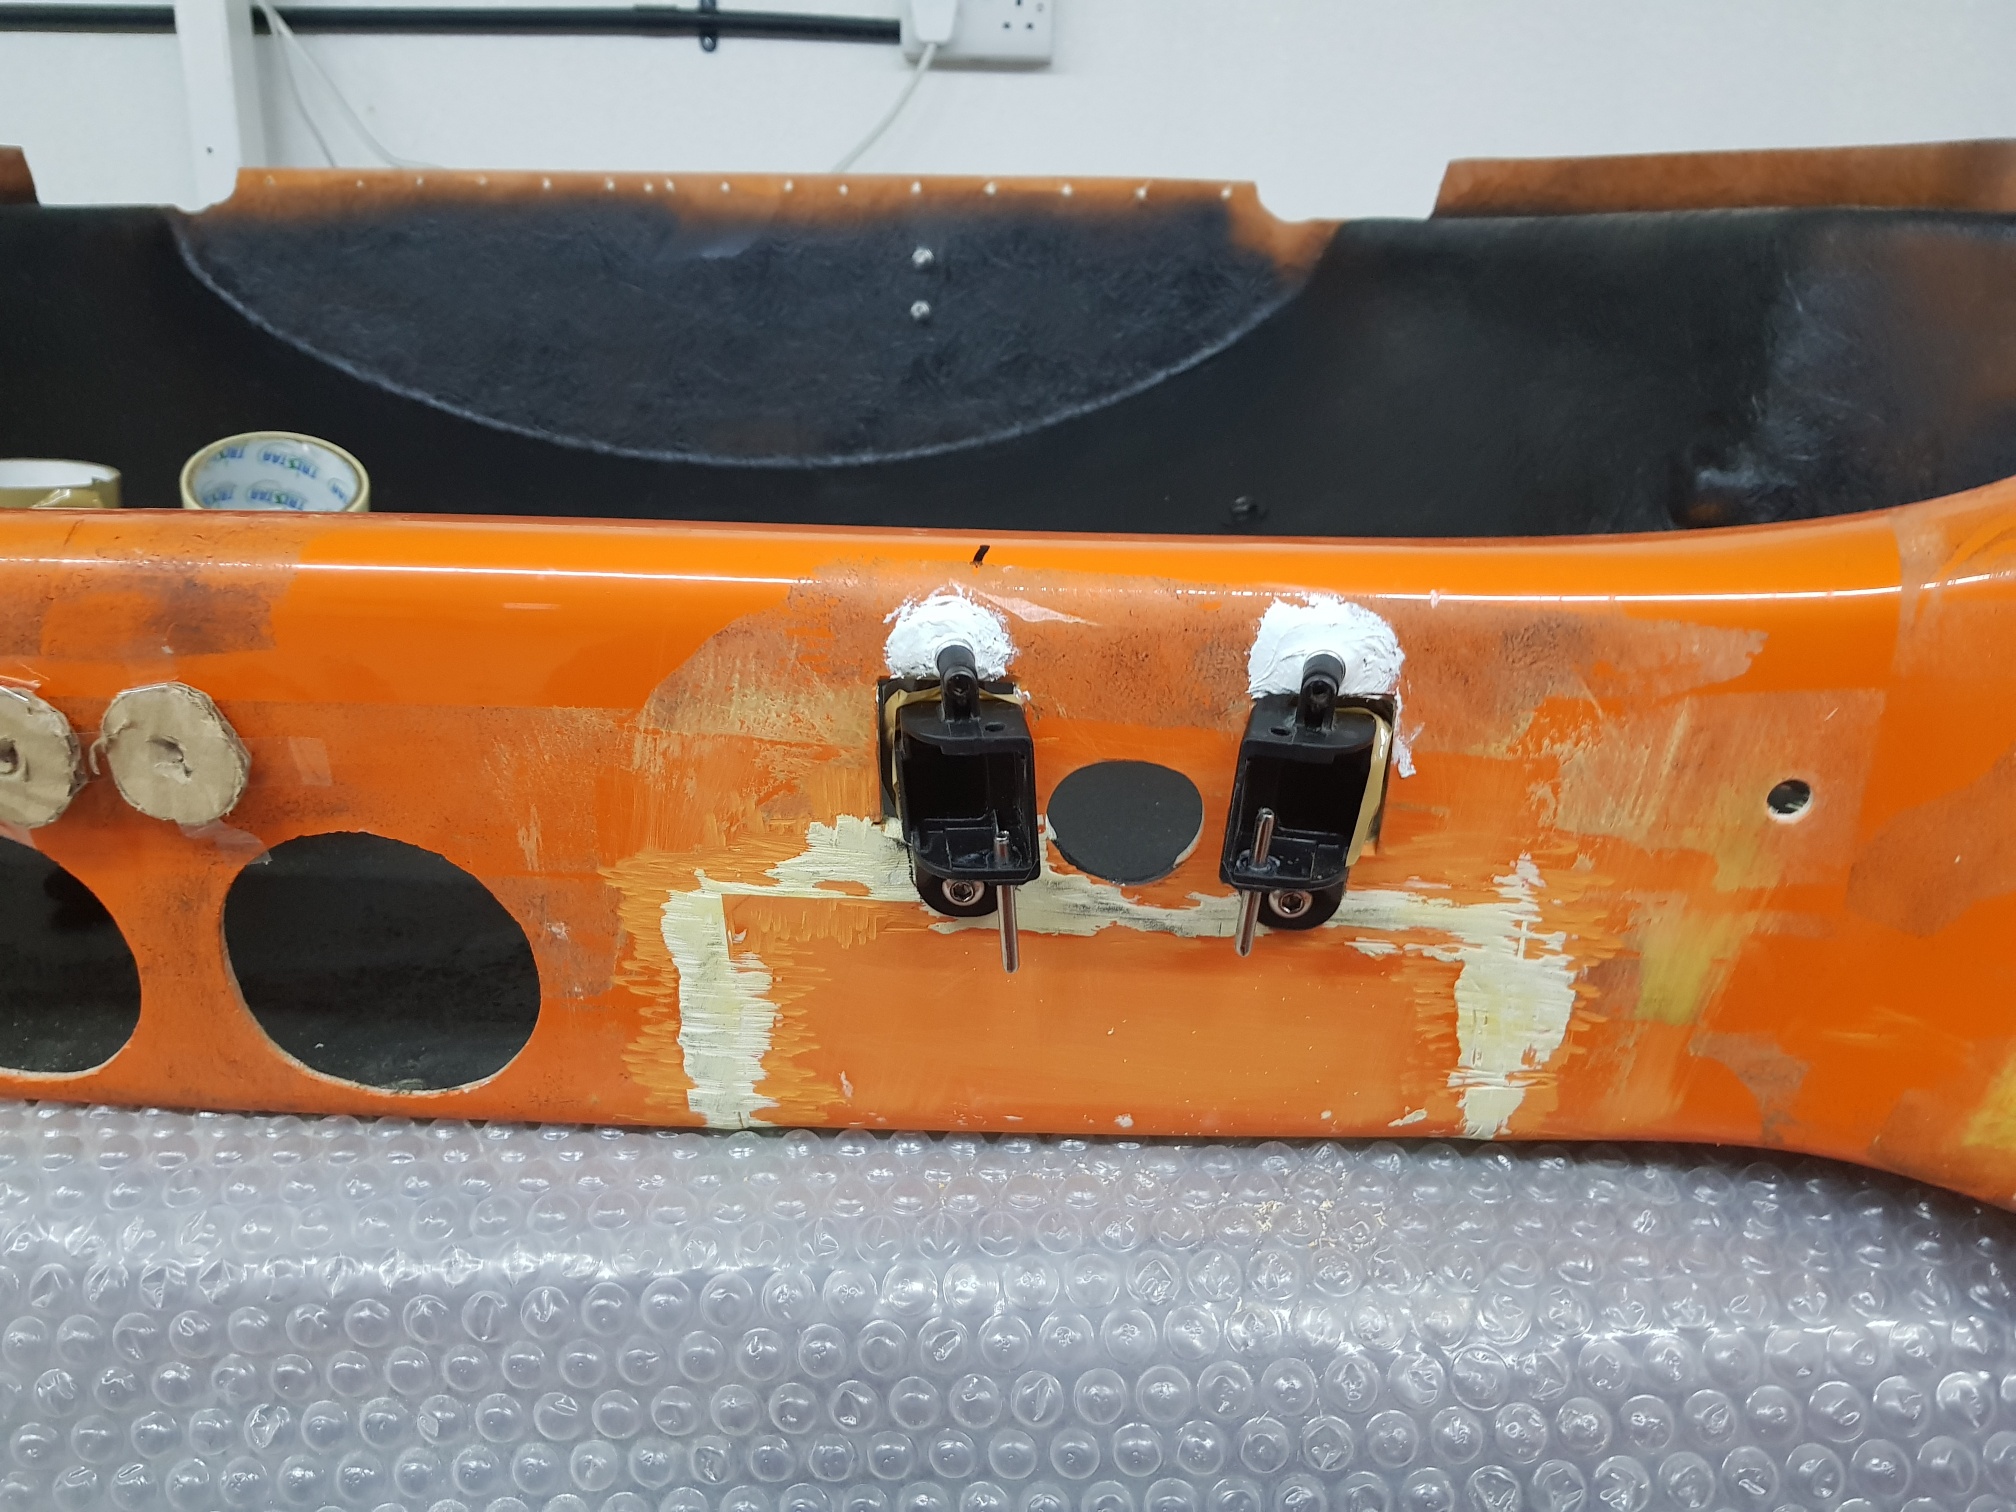
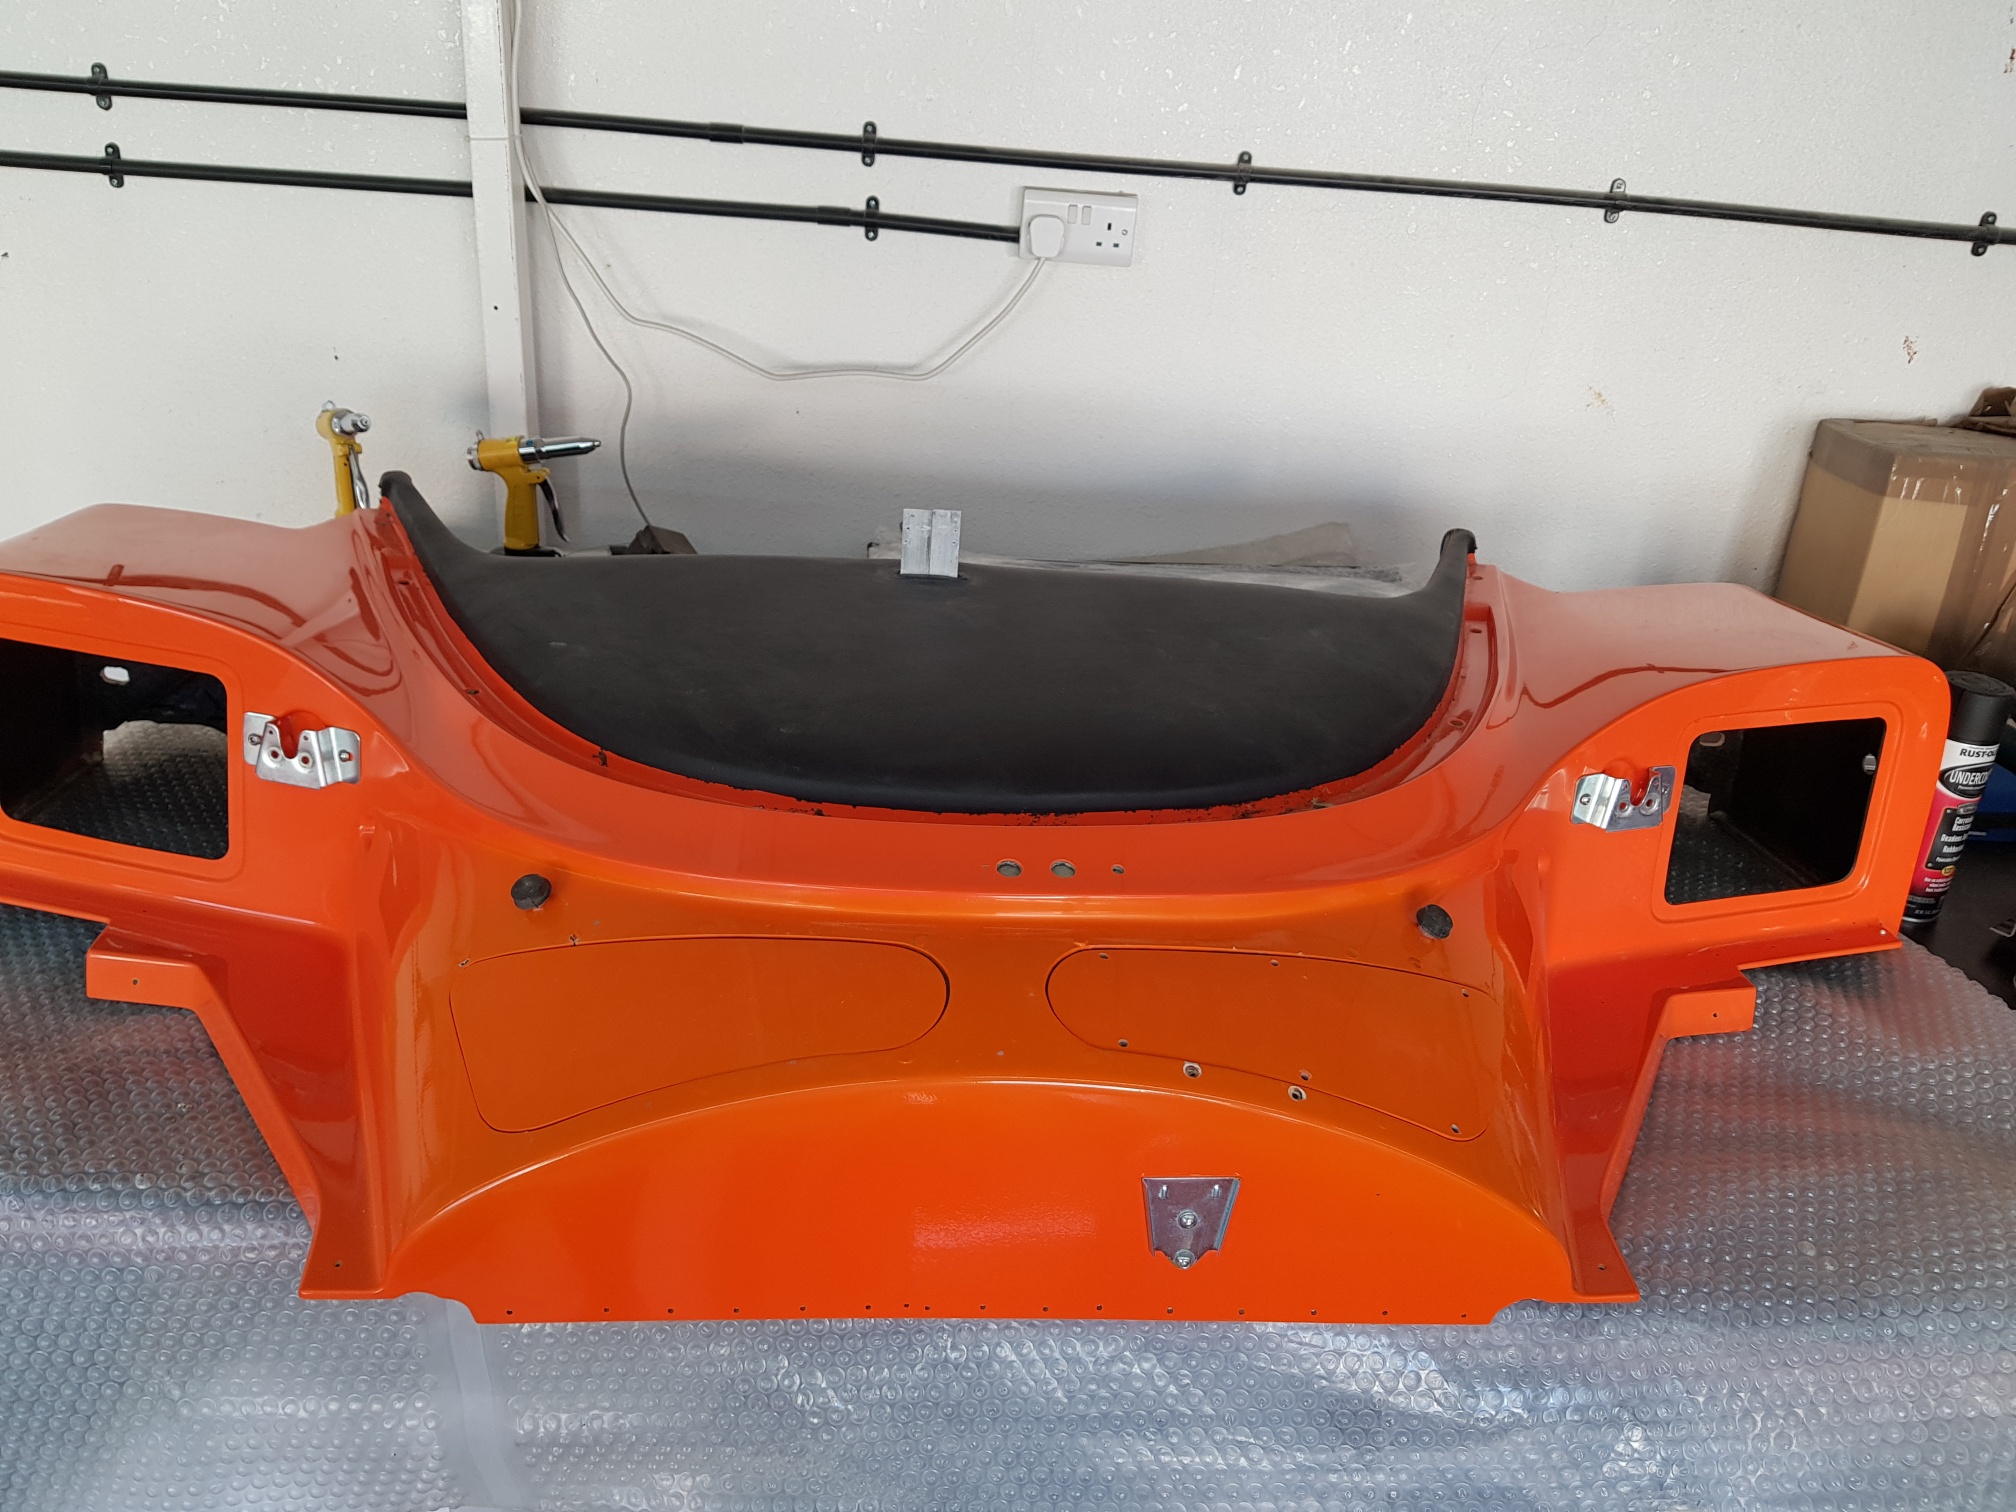
Dash Work:
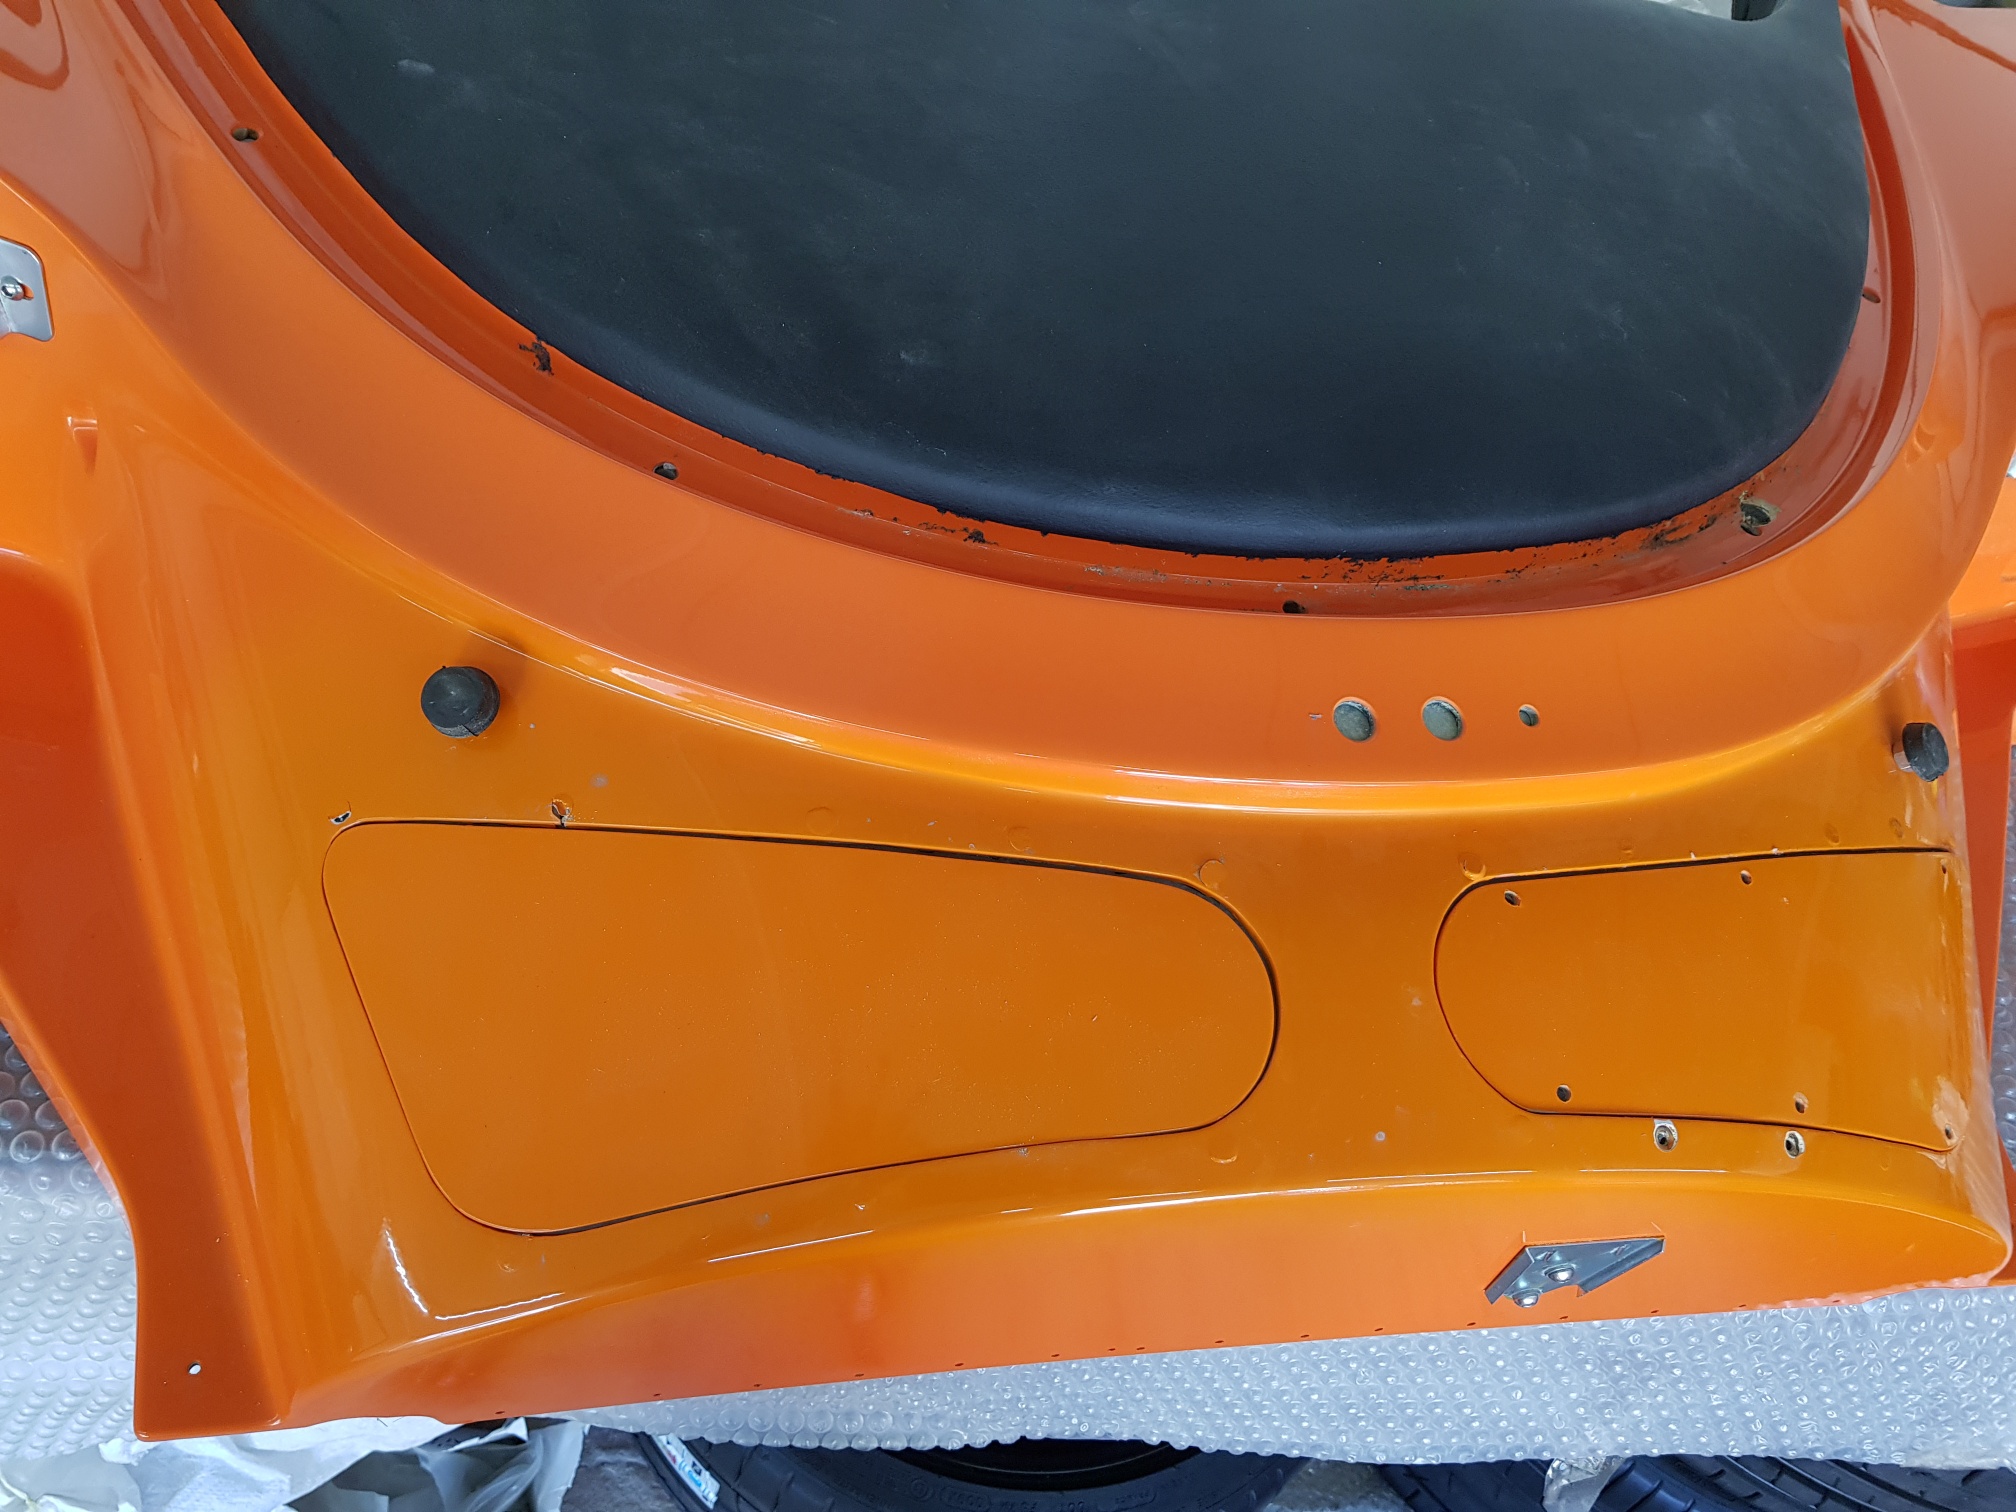
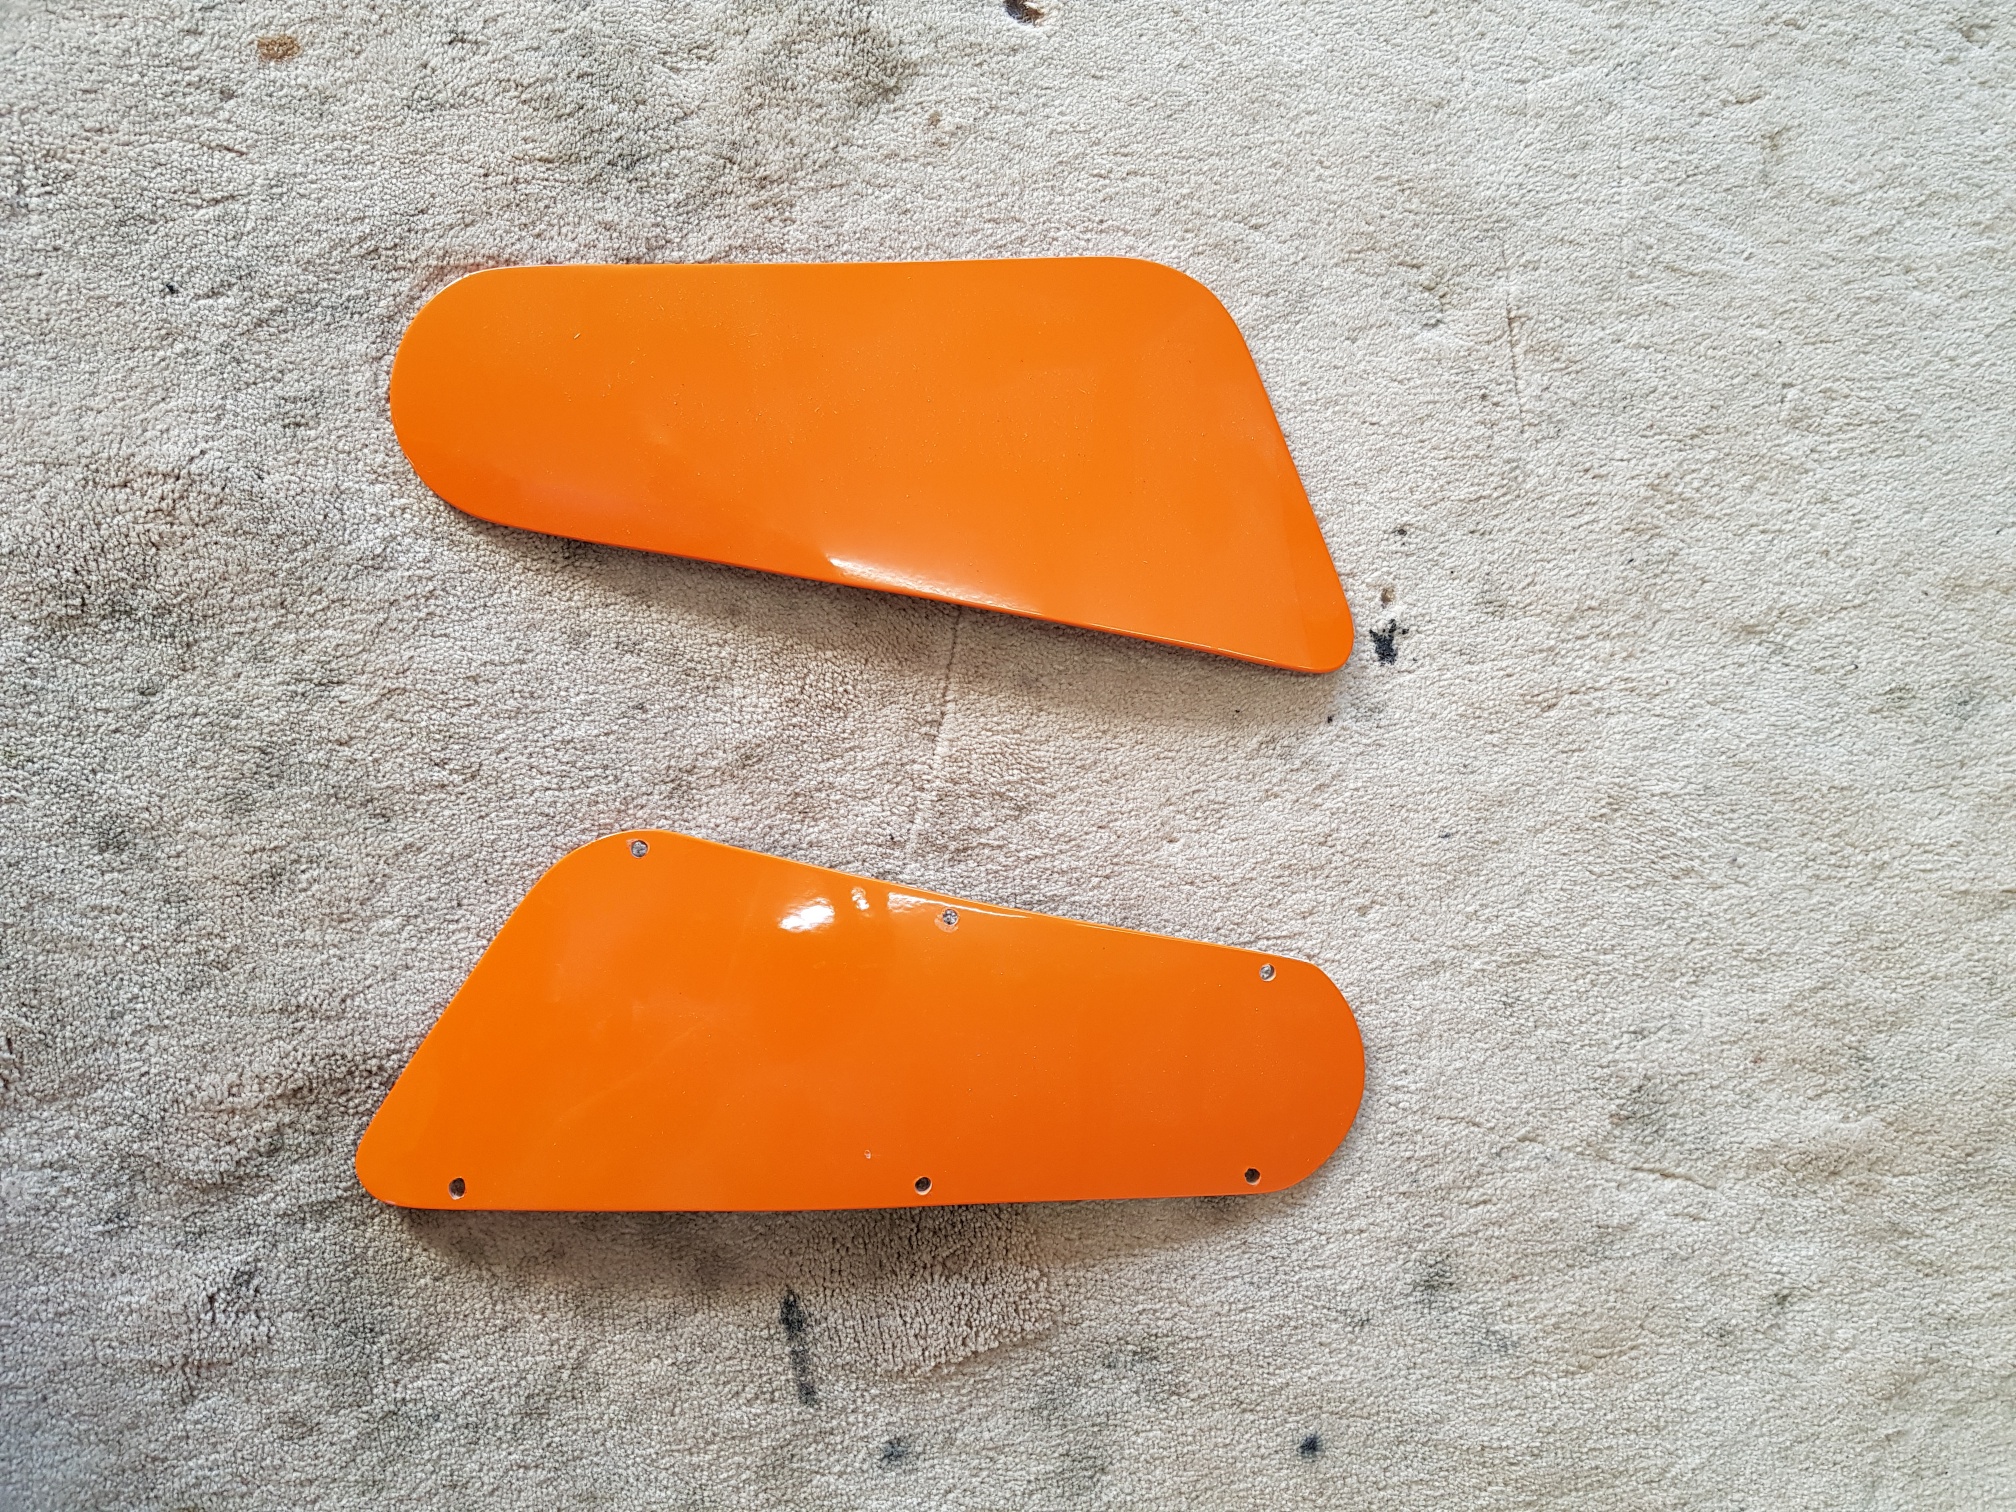
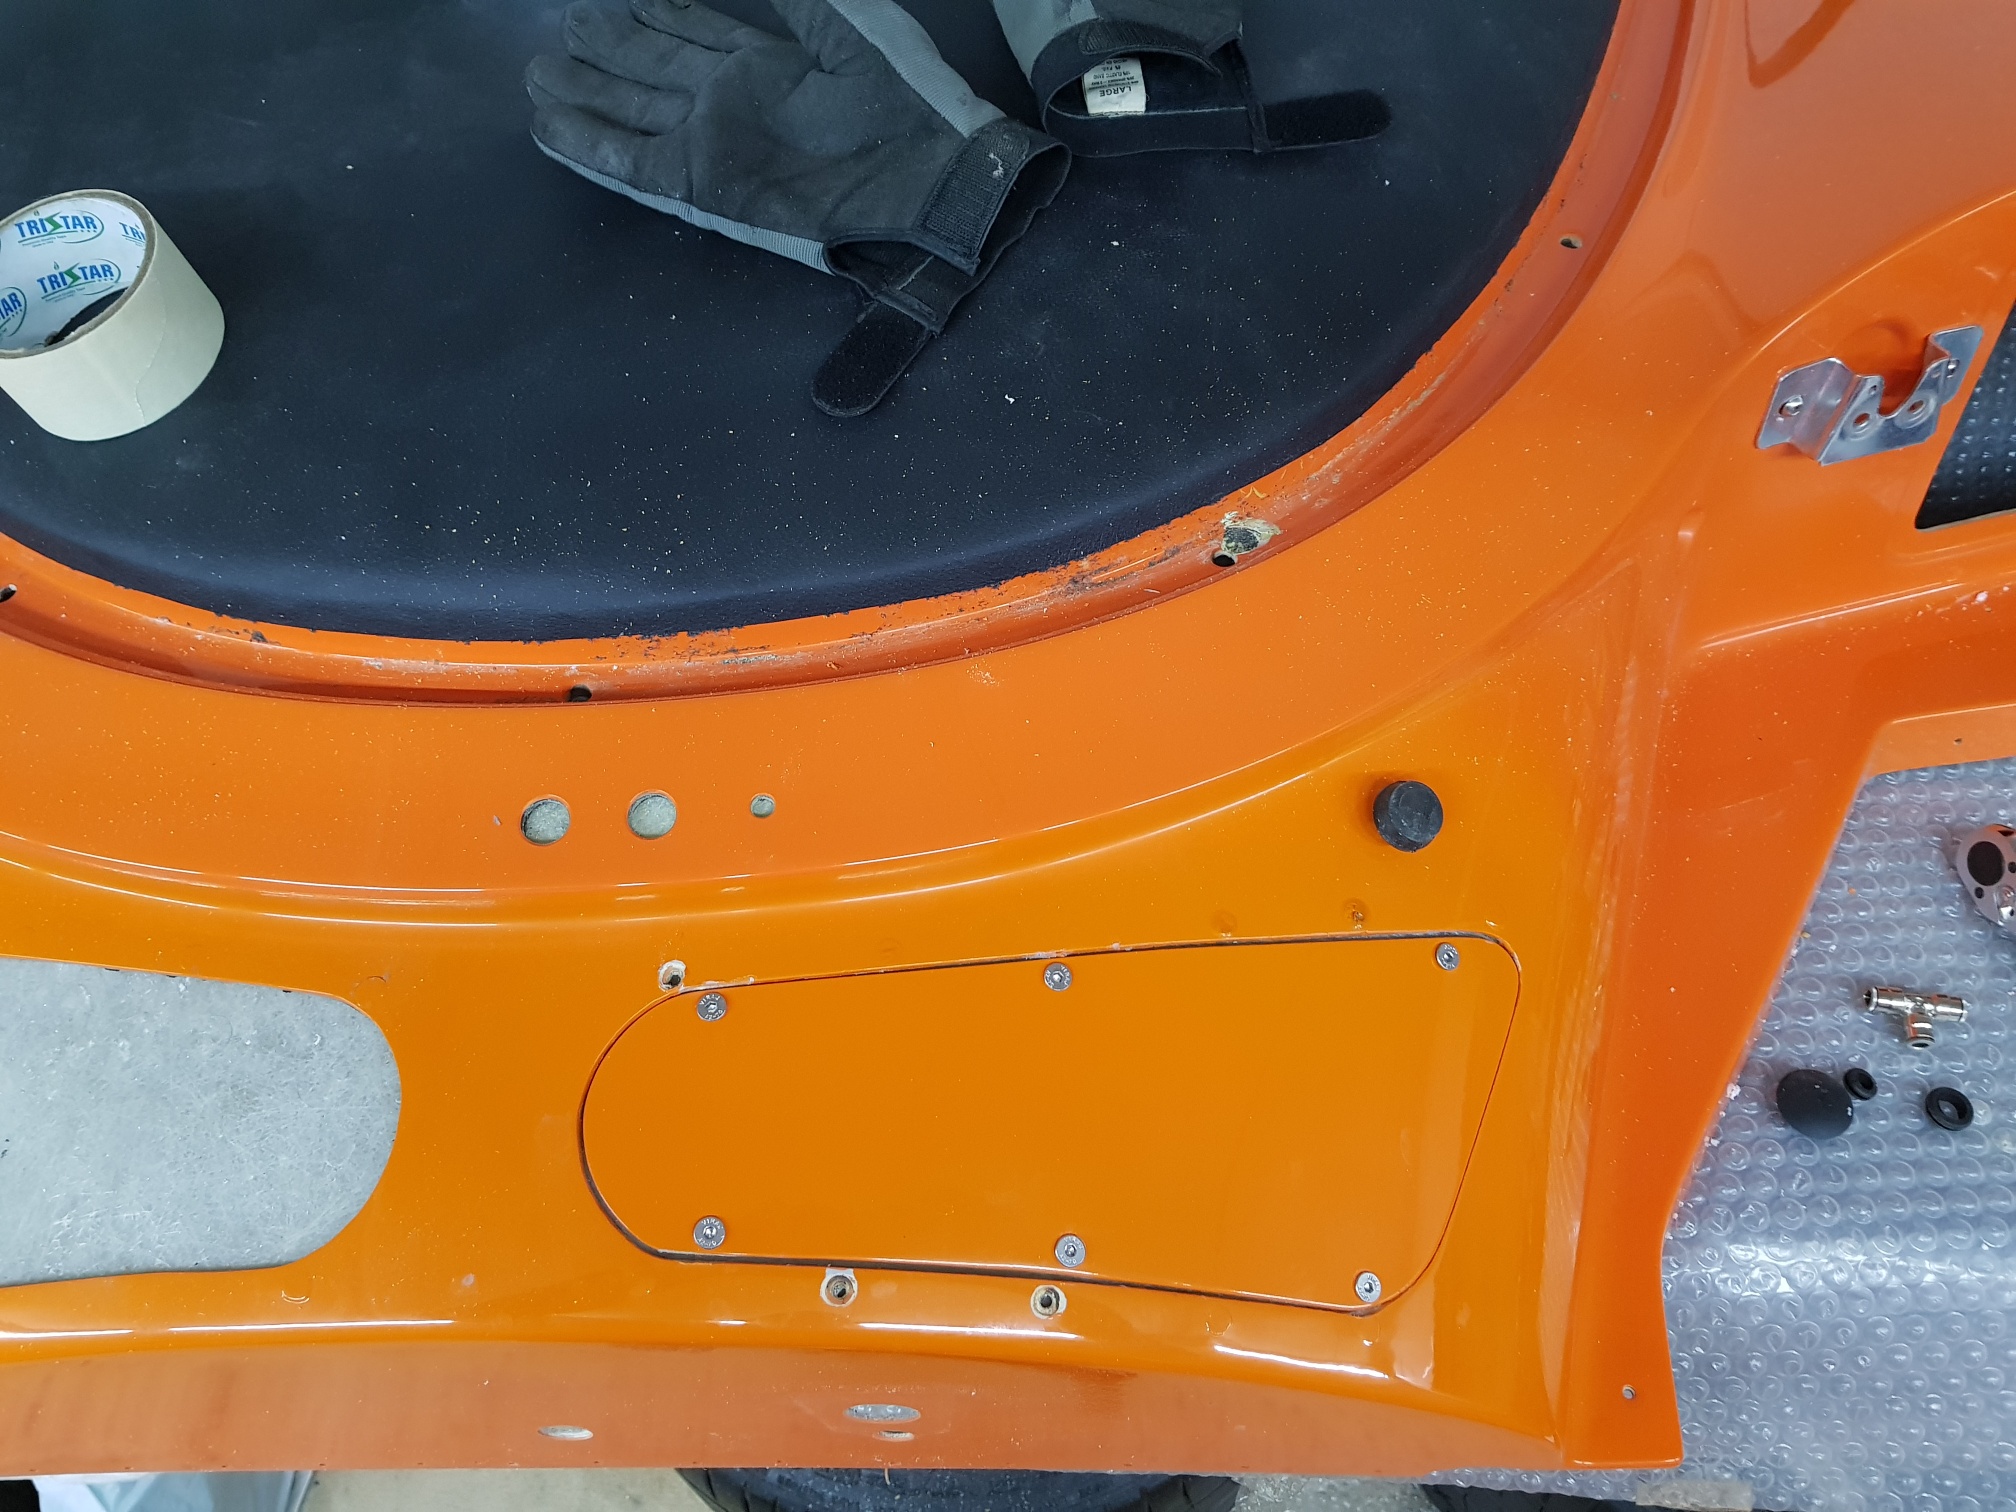
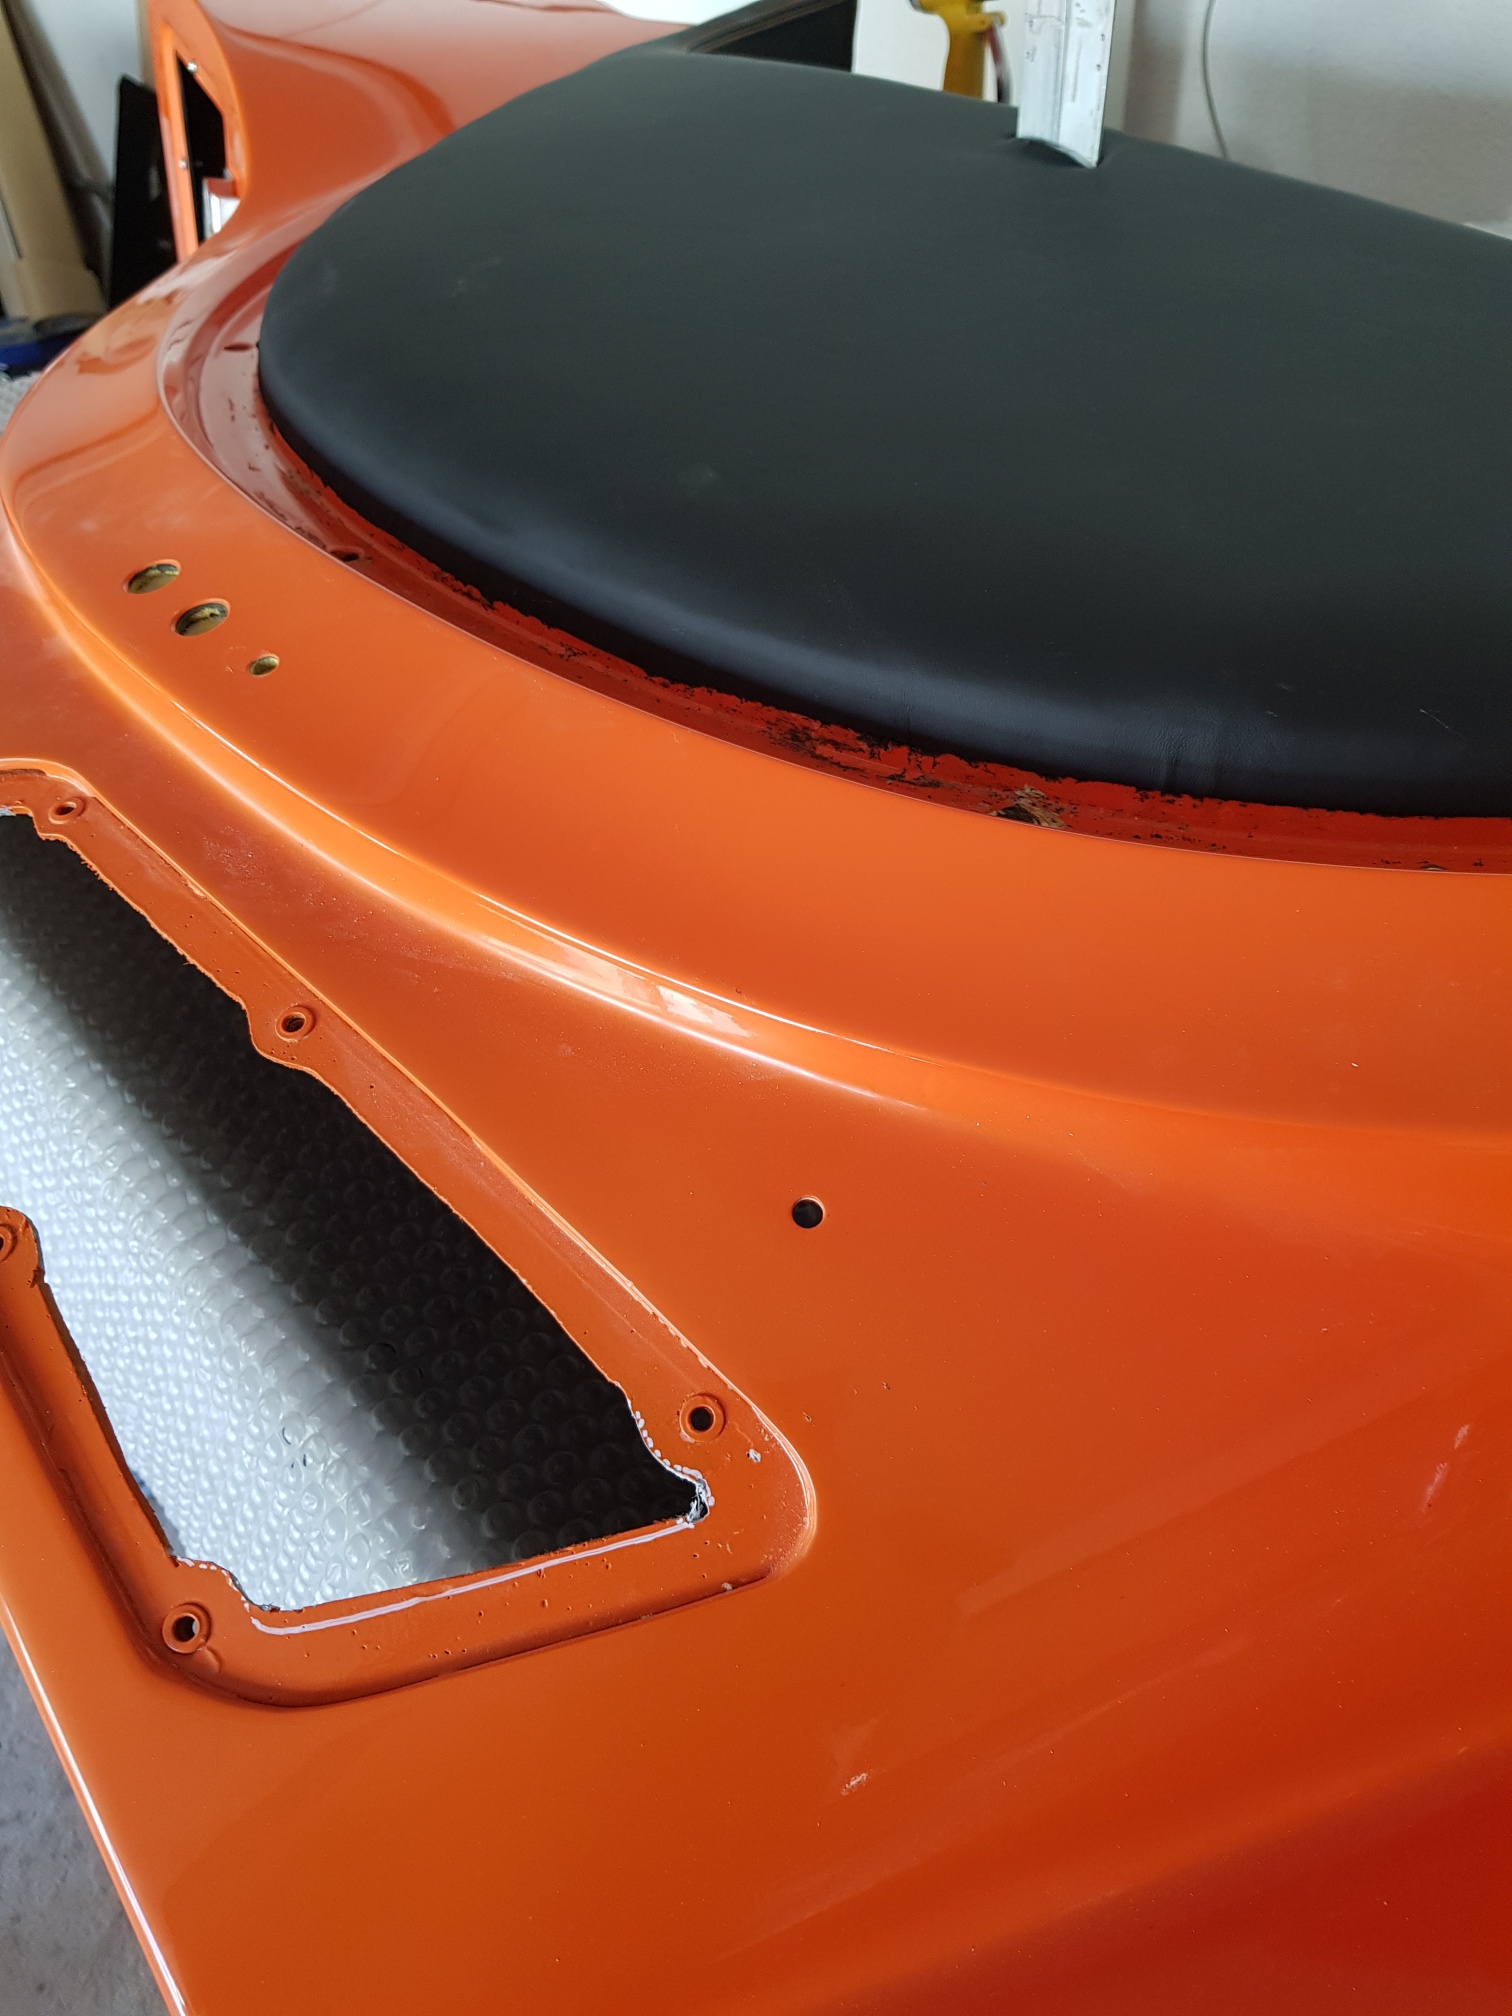
Dash work continued as I first glued the leather onto the dash... Then, I turned my attention to 'access panels' - I am building in 2 access panels on the dash area to be able to access the under dash area / pedals area from outside the car, without having to squeeze myself into the footwell area... 2 panel areas were cut out of the dash grp, and then taped back on. The area underneath was then glassed in, and once the fibreglass had set, the panels and glassed in area were drilled for matching holes for bolts/rivets... the glassed area was then trimmed away to the shape I wanted, and I ended up with a nice access panel while using the original dash GRP as the covers! I finally painted the area with as close a matching color to the GRP as possible...(8 hours)


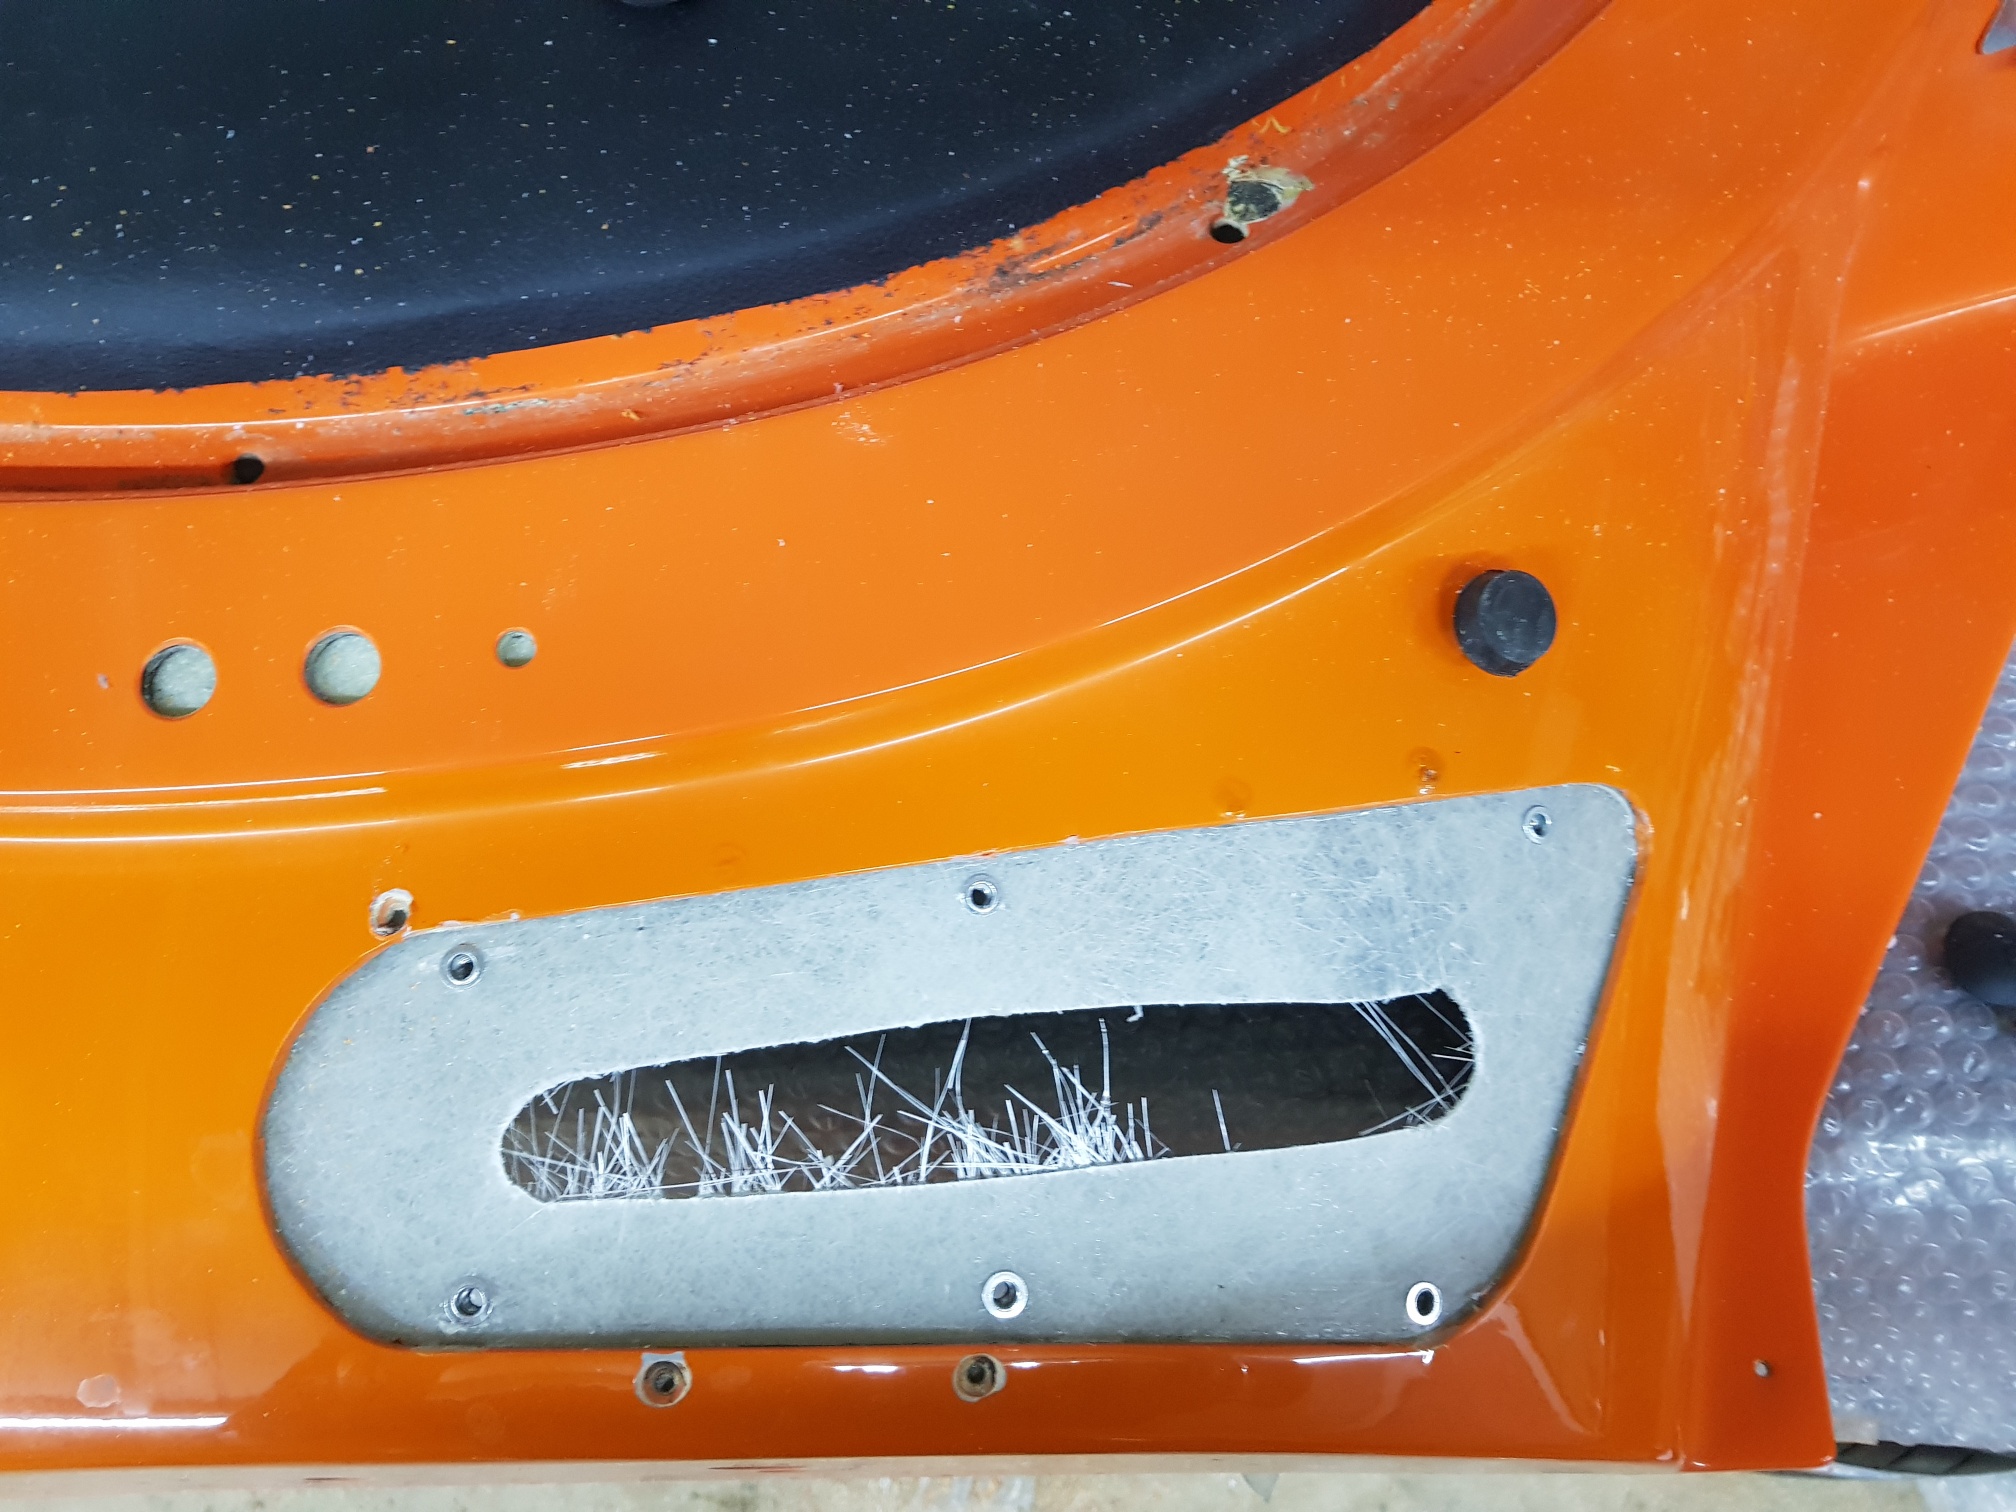
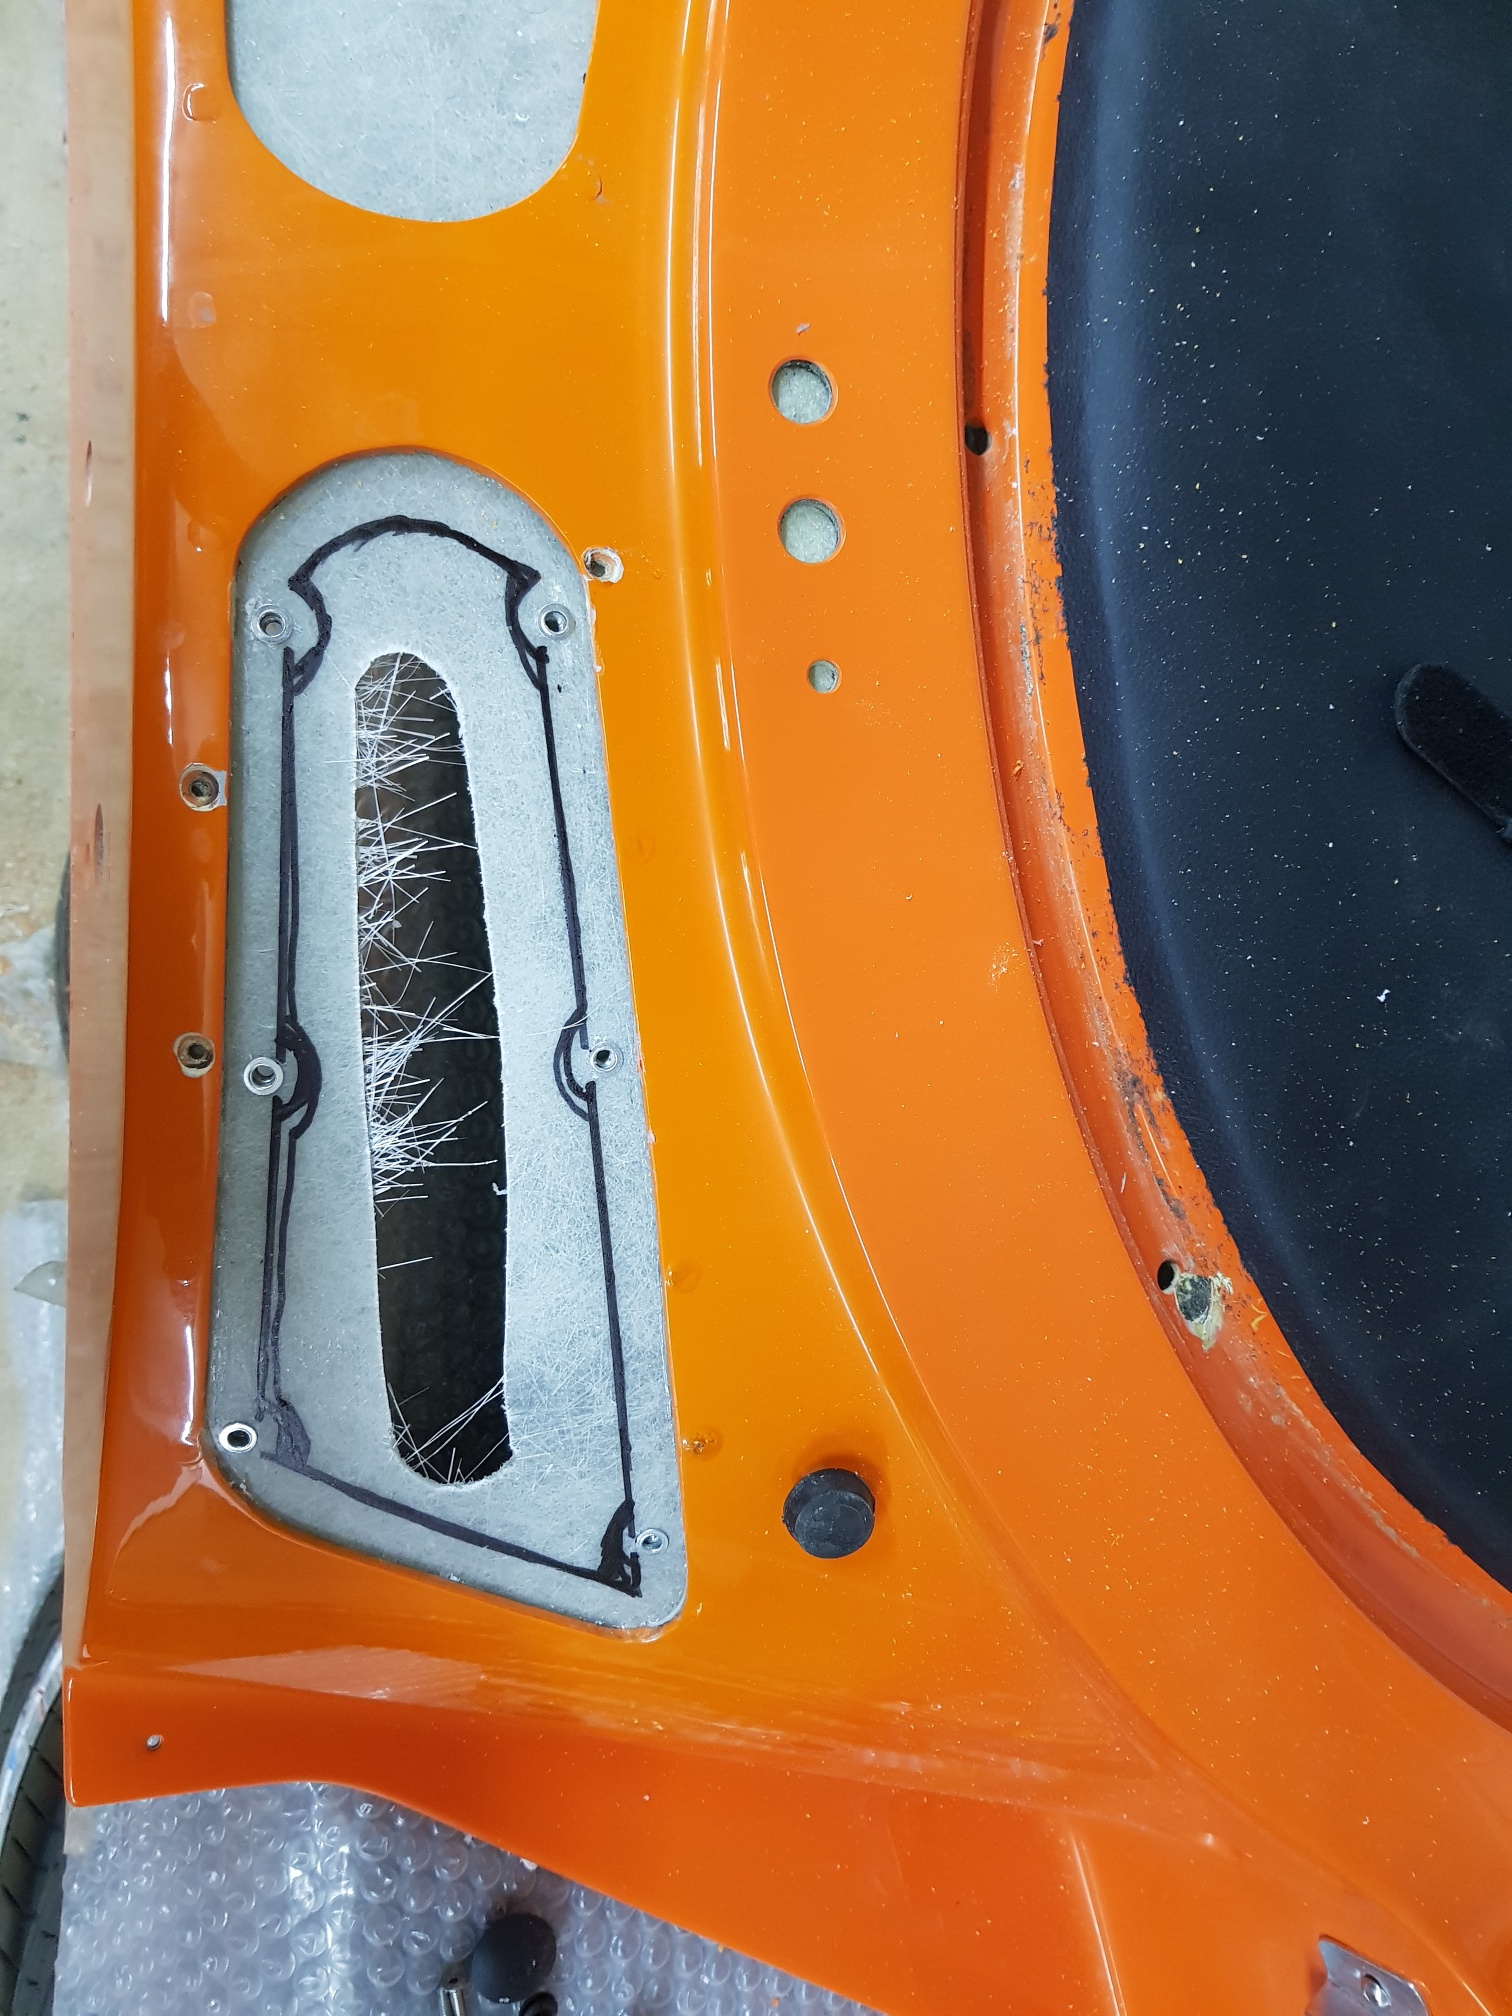


I then drilled the holes on the front of the dash bulkhead for the battery wires, amp wire, VRH air line, wiper water pipe, etc, and also ended up having to move the holder for the water bottle as the VRH airline was not getting correct access... I ended up having to place the water bottle over the mastercylinders, but becase of the brake line 'T' fitting, I had to space out the water bottle bracket by 20mm to provide clearance for the brake lines... (5 hours)
Finally, I drilled the holes for the side access panel covers, and tapped the holes to allow the panel covers to bolt on correctly... (1 hour)