1 Dec - 15 Dec 2017
Build Time : 18 hours
Total Build Time: 453 hours
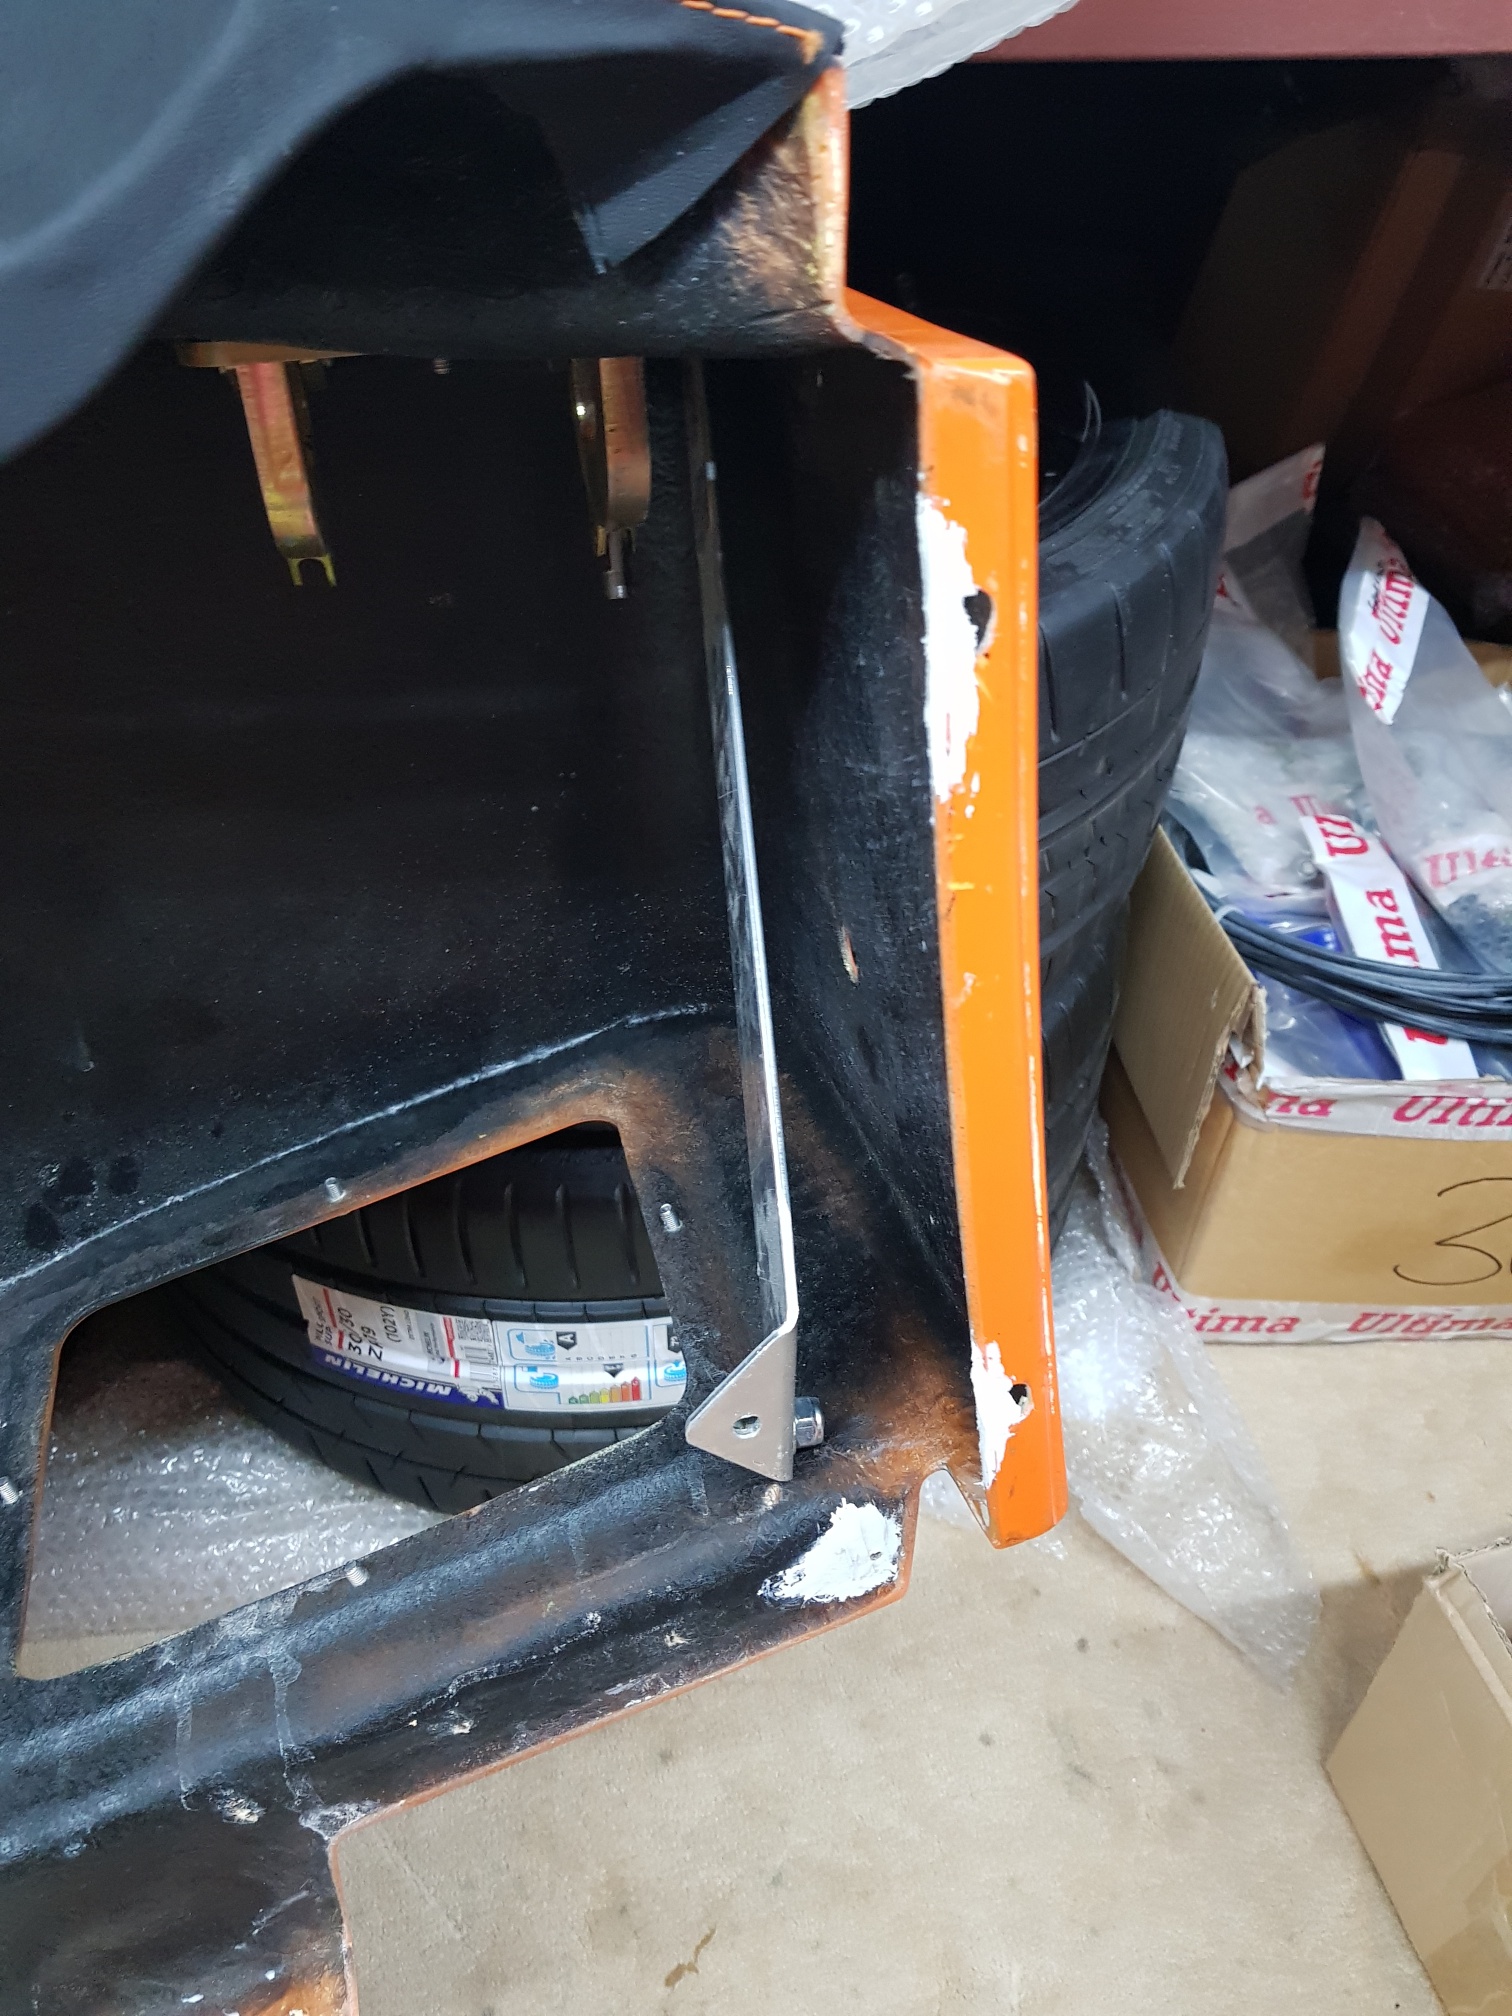
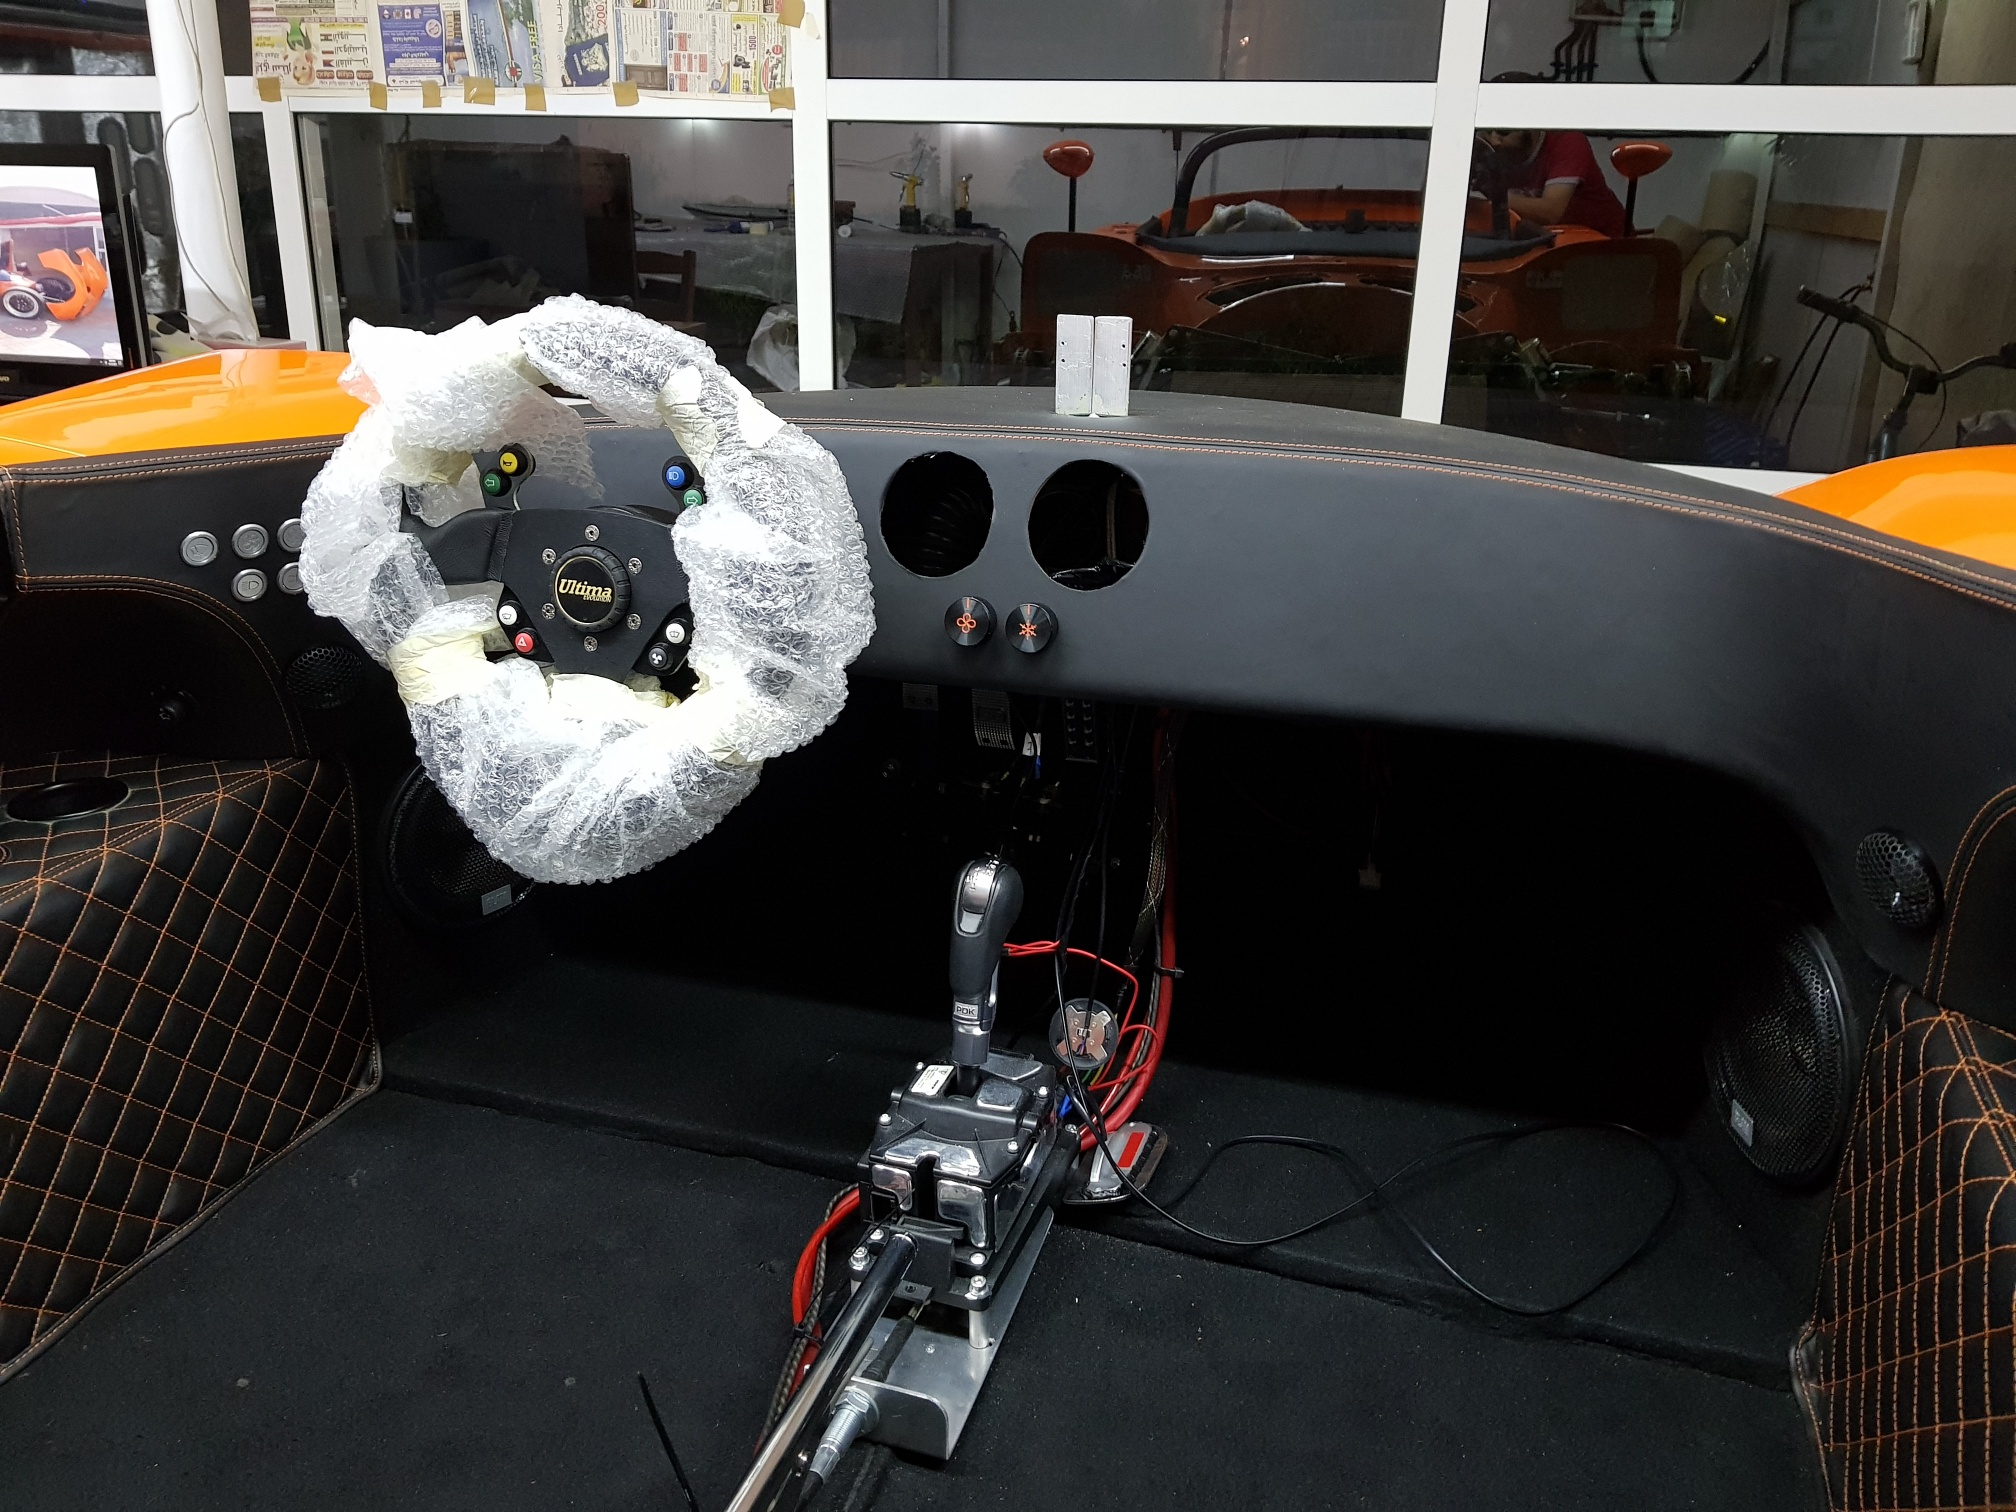
I started on the dash install preparations: the holes for all the switchgear was cut and shaped, the holes checked for clearance to allow the switches and AC vents to fit... I then placed the dash on the chassis to start drilling all the holes in the body/chassis for rivets - during this time, I noticed that the passenger side was sitting higher than required, and on further inspection, it became apparent that the AC unit was touching the underside of the dash GRP and not allowing it to fully seat... I ended up having to move the AC blower unit forward 20mm, and also trim the top of the AC unit (plastic) and underside of the dash GRP to get the required clearance... This process involved repeated putting the dash on the car and removing, and resulted in the side GRP near the bolt holes cracking (like the first build) - so I ended up applying some epoxy to that area to get it fixed, and then sanding away the excess to get the correct profile...
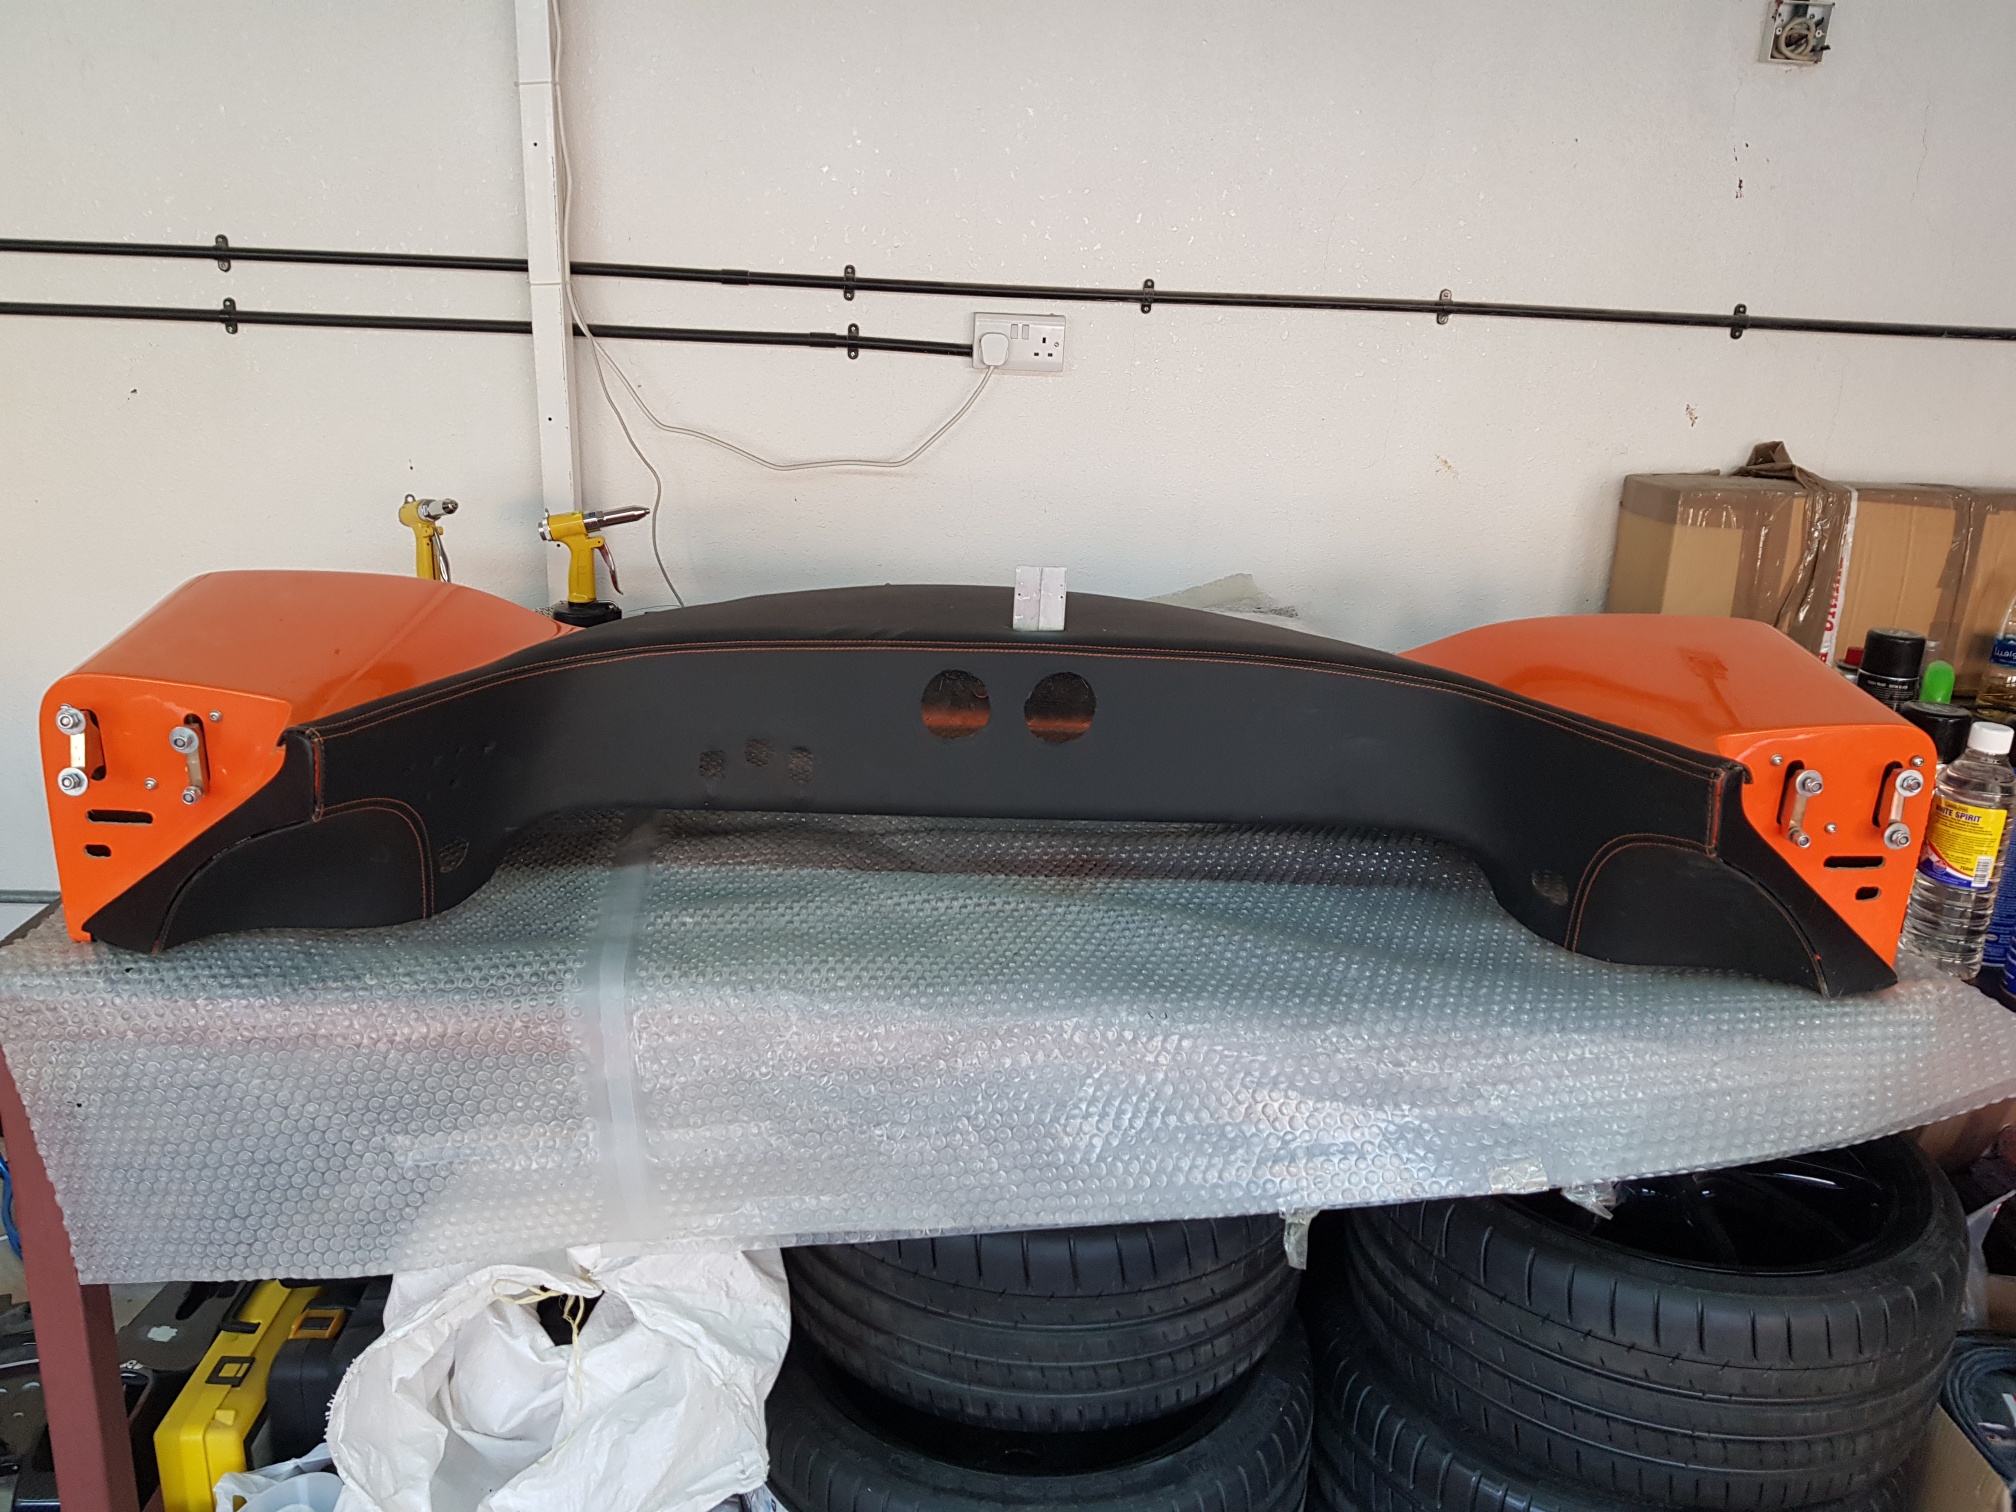
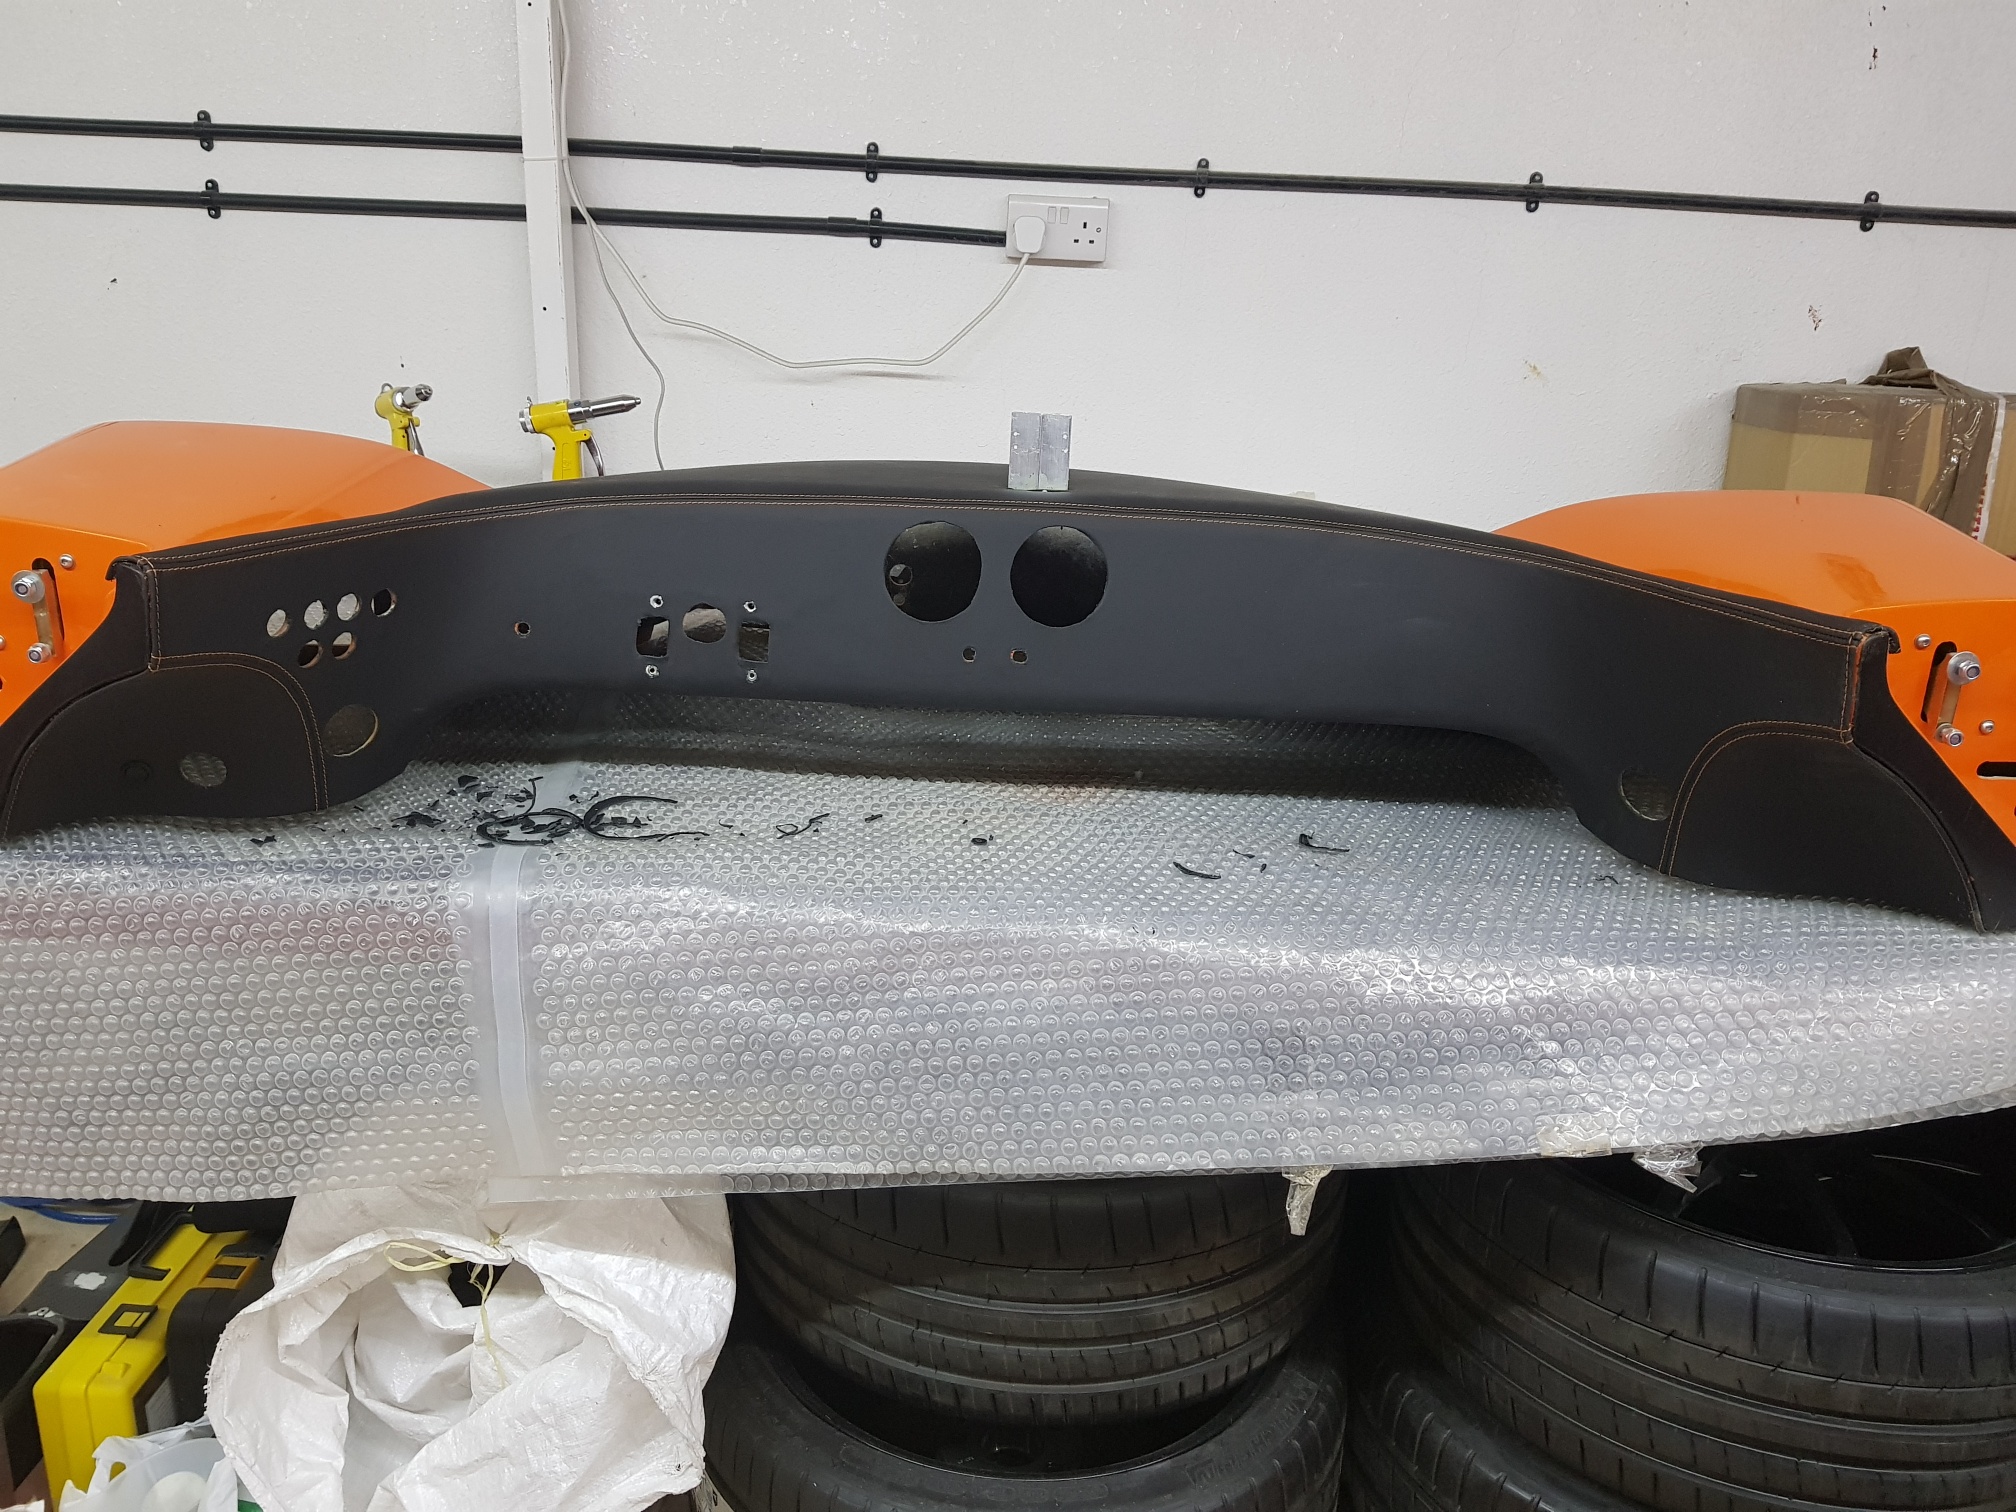
I still had to fill the gap between the front GRP trim panel and the side pod - the area was masked off, and a layer of Sikaflex applied... the tape was removed when the sikaflex had half set, and then the rest was left to dry...
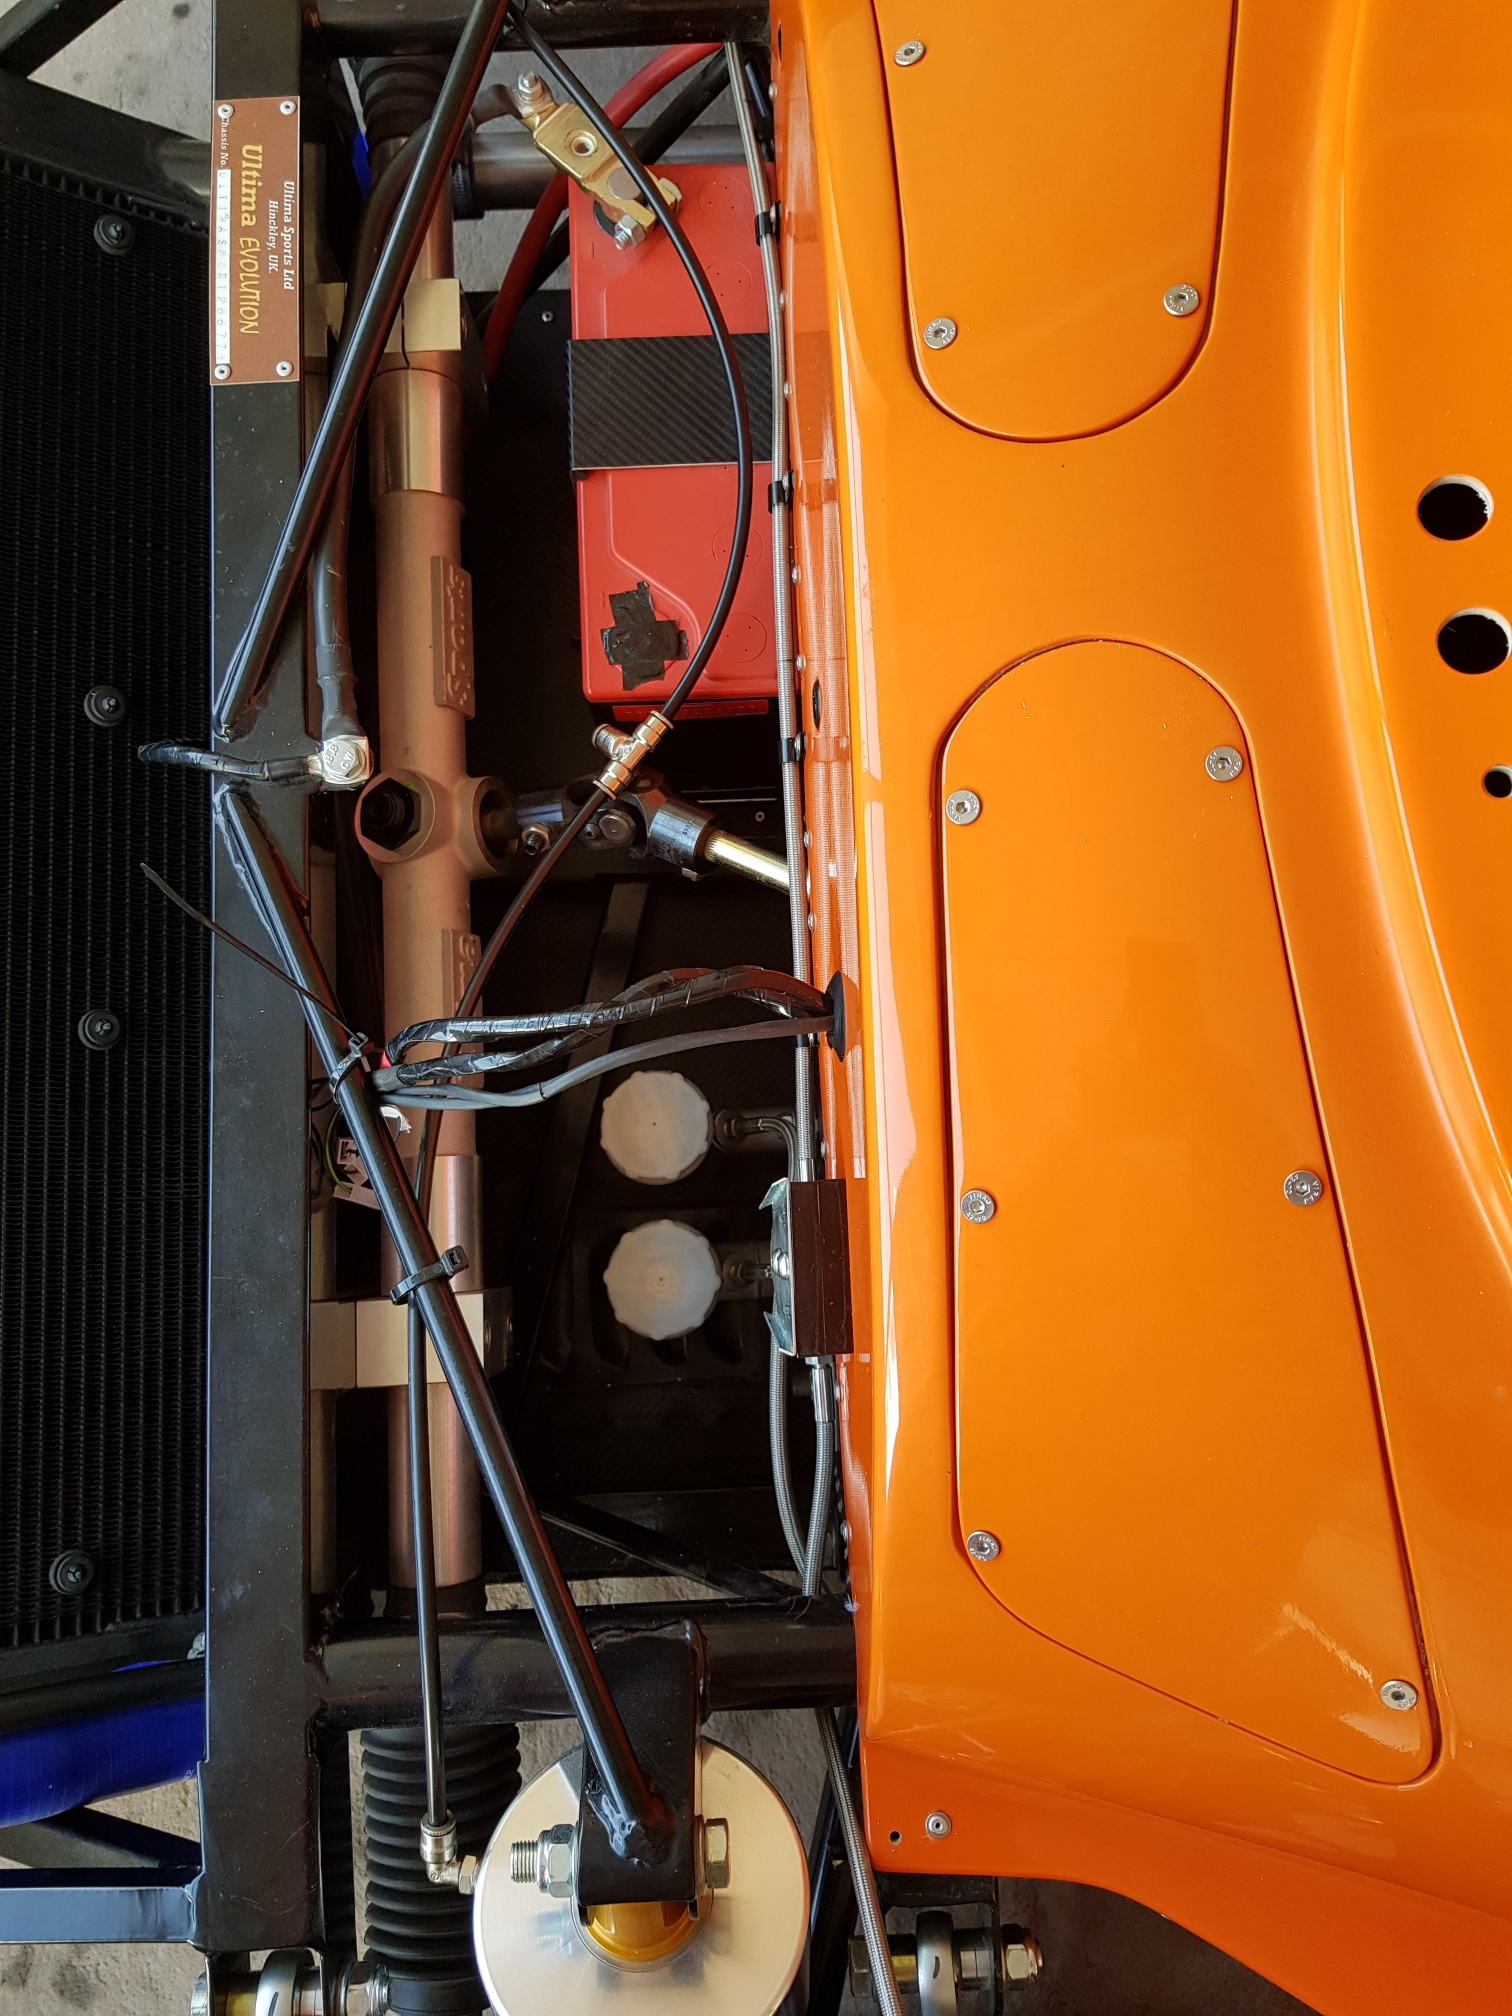
I installed the ally P clips for the front and rear brake lines to ensure they do not move around when driving...
The dash was placed on the chassis, and sikaflex applied between the dash/side pod/trim pieces, and finally riveted in place... P clips were used to hold the brake line in place, and then the door supports/gas struts were installed...
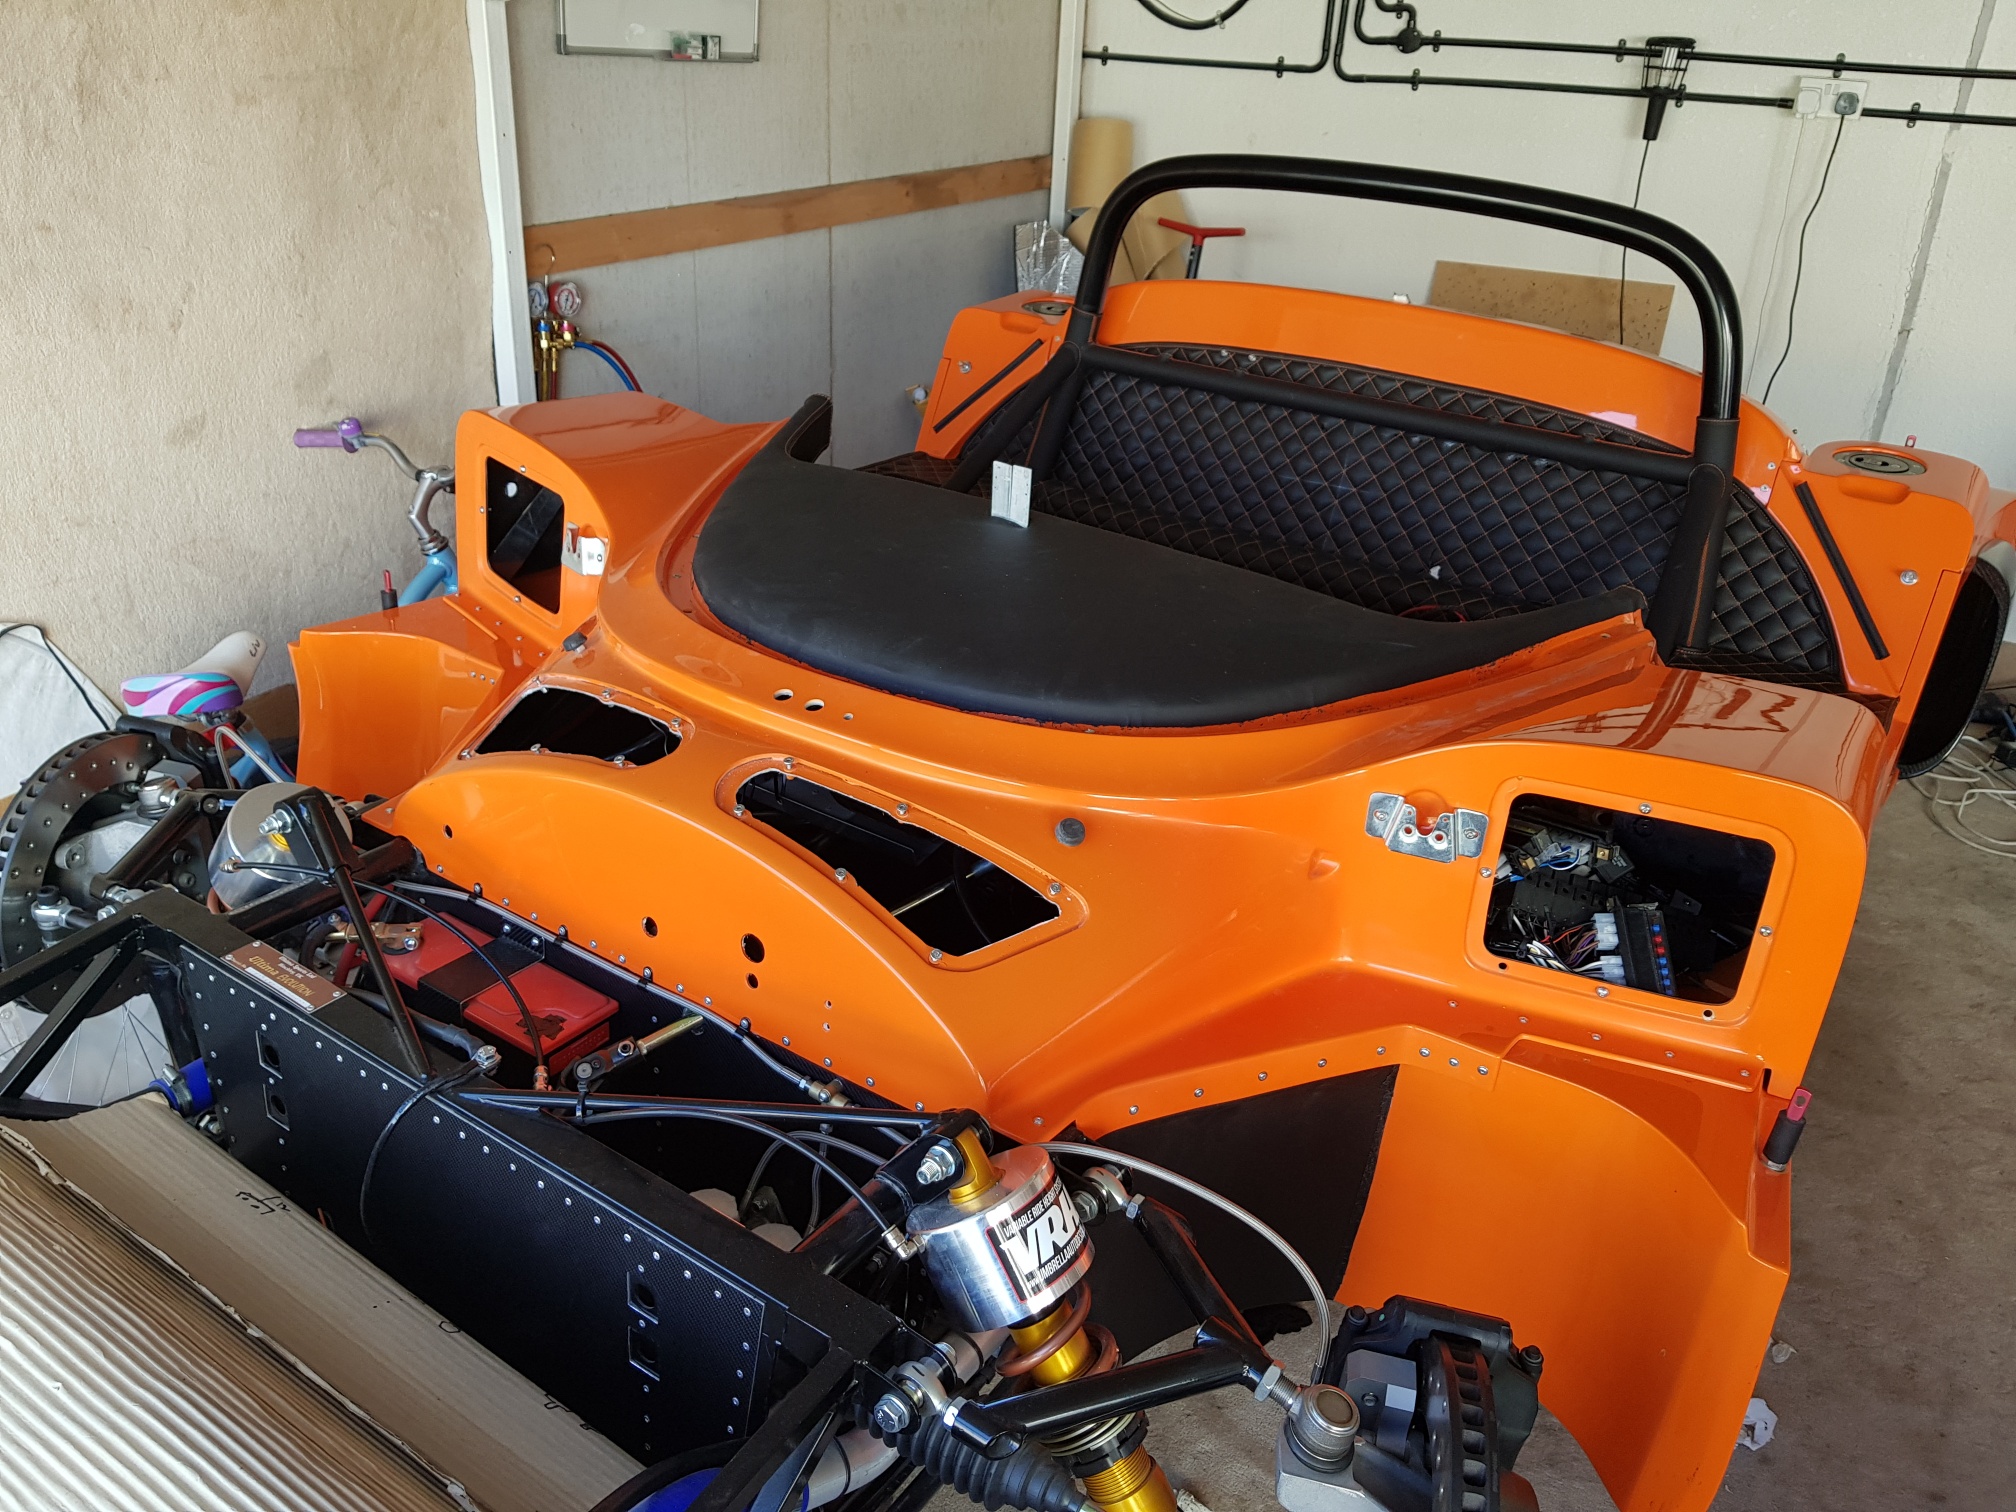
I then worked on the interior - the EVO ally switches were installed and wired from the inside of the dash, and then the mirror switch and interior light switch were installed and wired... I also wired up the JambTac on the dash (both sides),and finally installed the EPAS switch and its wiring... the last bit of interior wiring was the AC fan switch and AC temp switch...

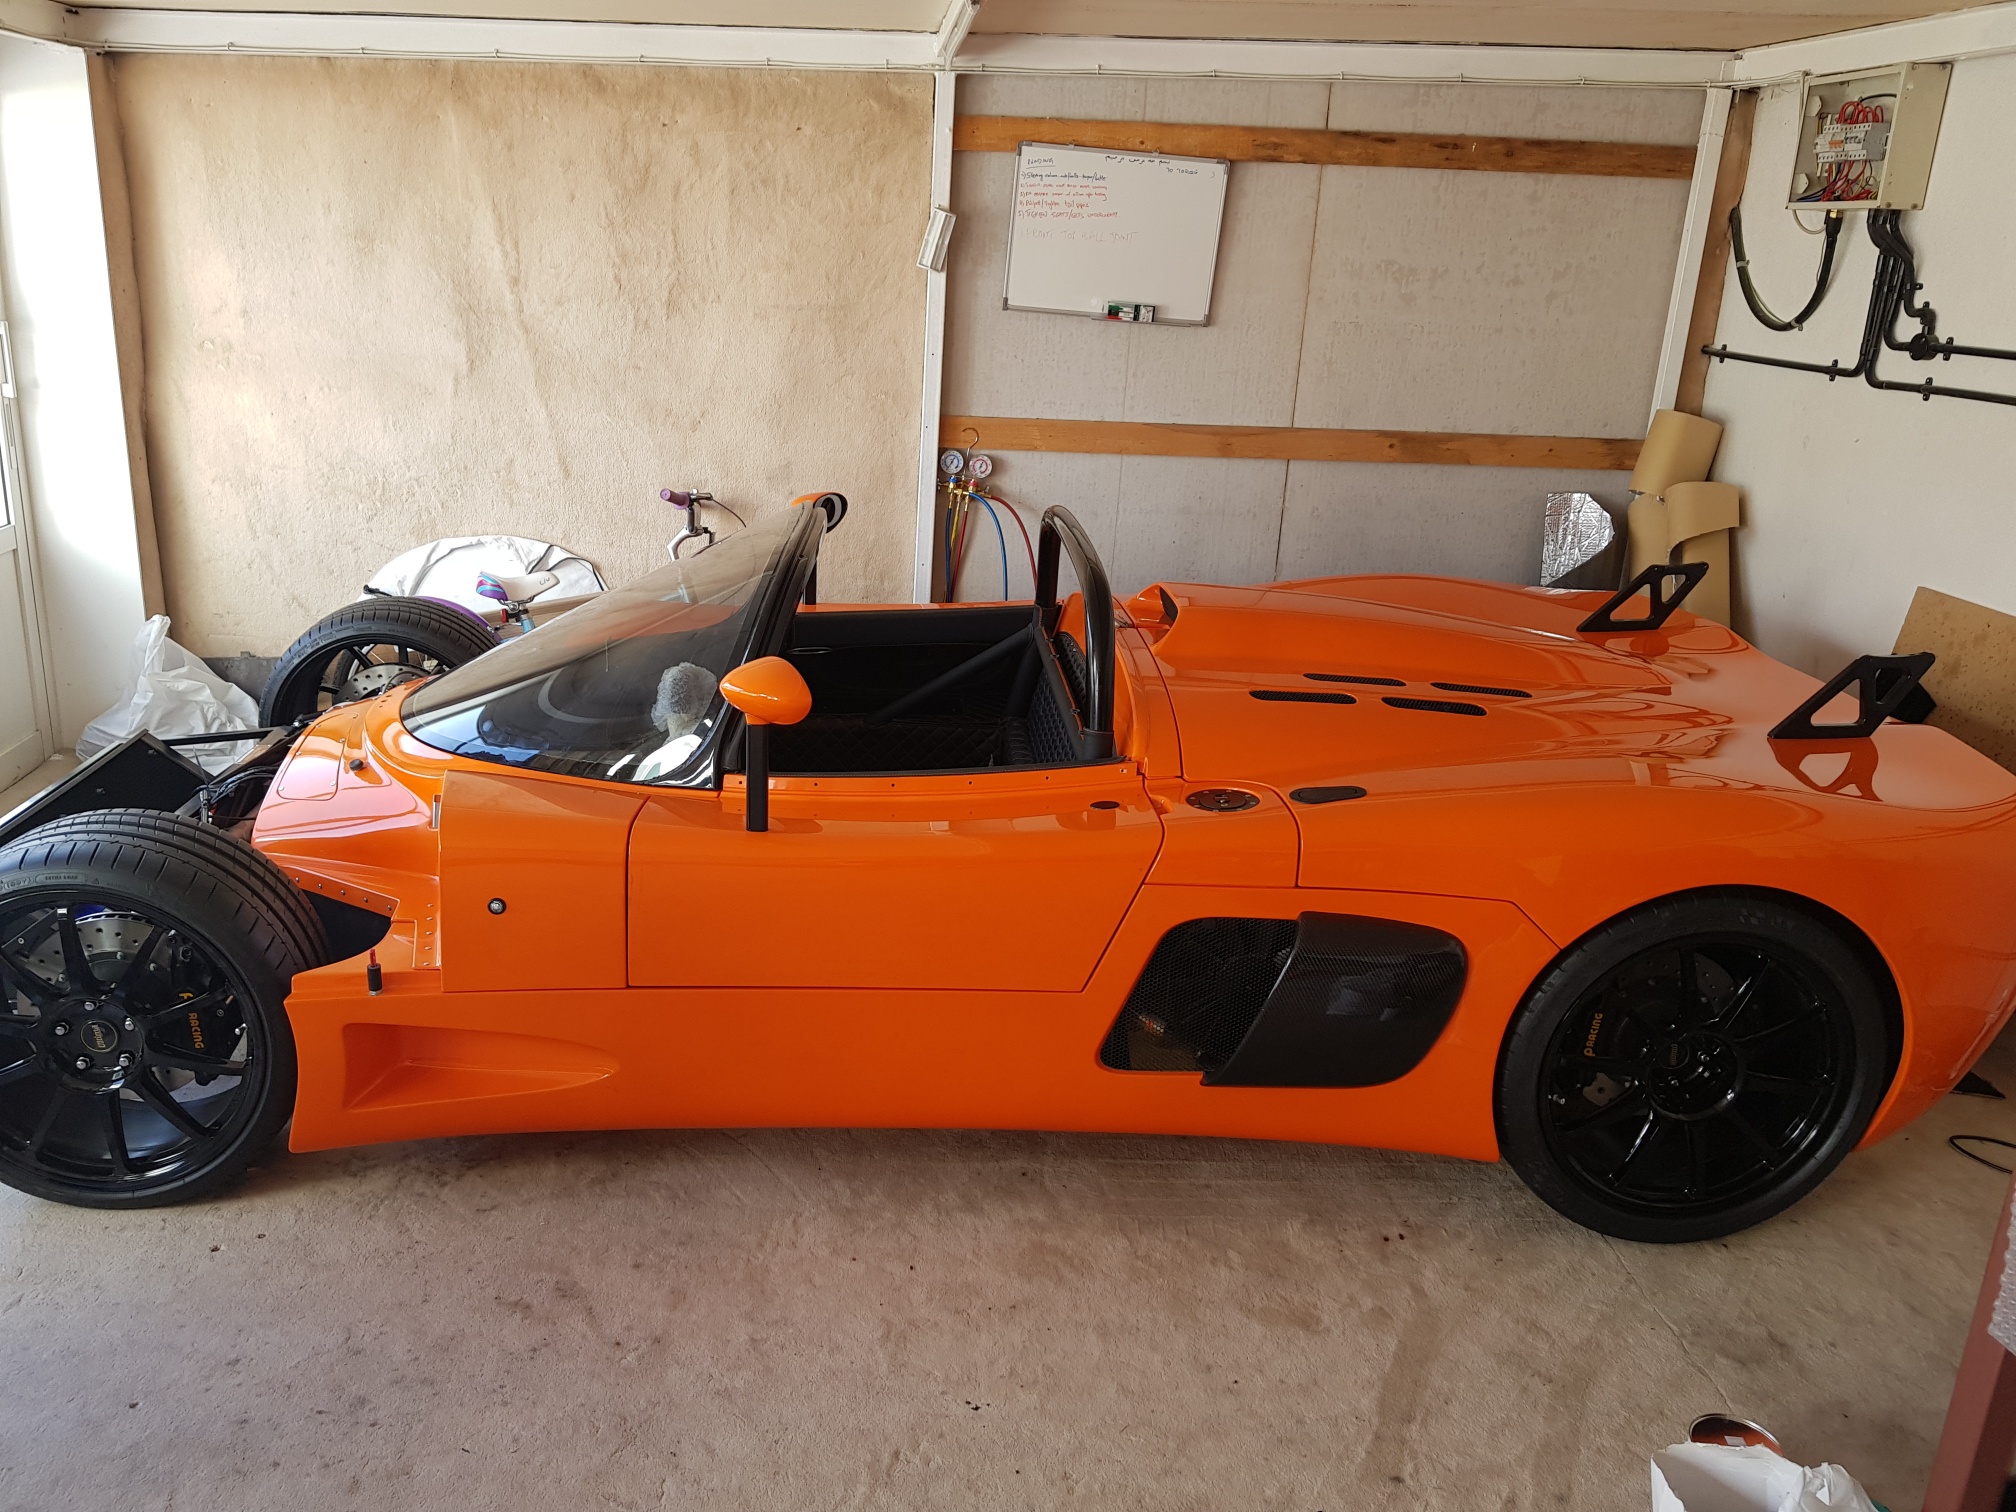
The doors were installed - each door was held up with the help of the wife, and the door bolted in place - a hard job considering that the side view mirrors have been installed so that the inside door area is pretty difficult to maneuver in... THe JambTacs in the door were also installed...

All the wires/connections between the passenger area and front canopy were passed through the dash holes made earlier, and rubber grommets were installed to protect the wiring/pipes...

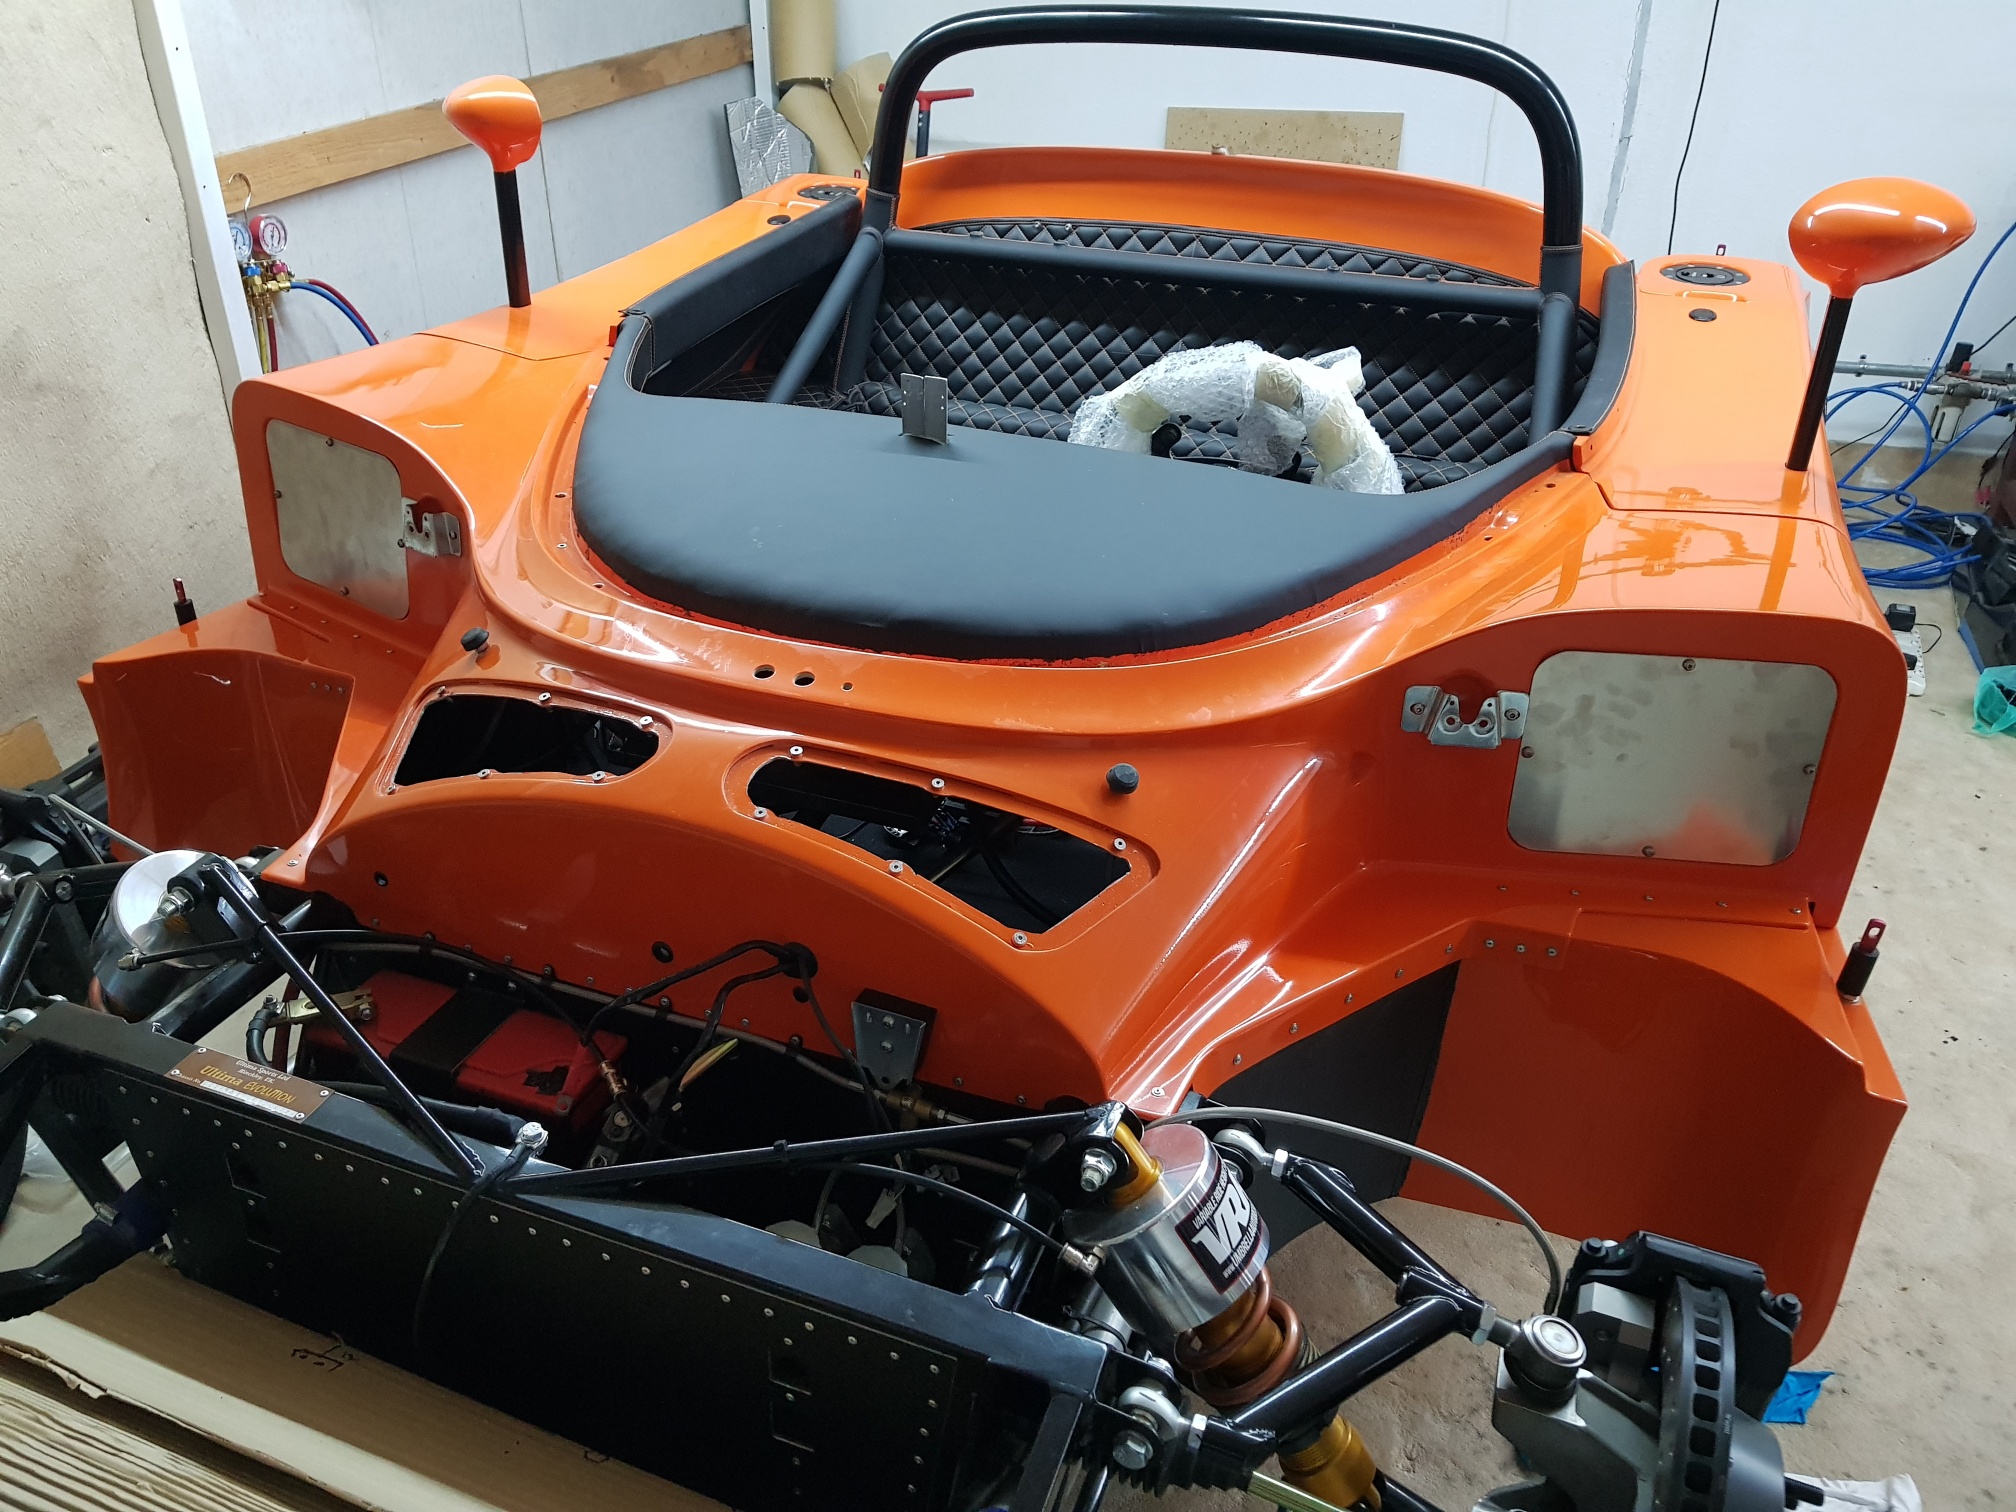
Finally the rear canopy and windshield were temp installed, so that I can now work on the hard top next...
Dec 16 2017
Updates will be posted in the next month blog as a cumulative Hard Top Install update...